_week 2
project management
Web and git set up
This week is dedicated to create our website that we will have to update weekly with the progress and
results from our assignments.
As our website is going to be hosted through GITLAB first I need to activate is my account, understand
how
gitlab works and start working with my repository.
So, let's do one thing at the time.
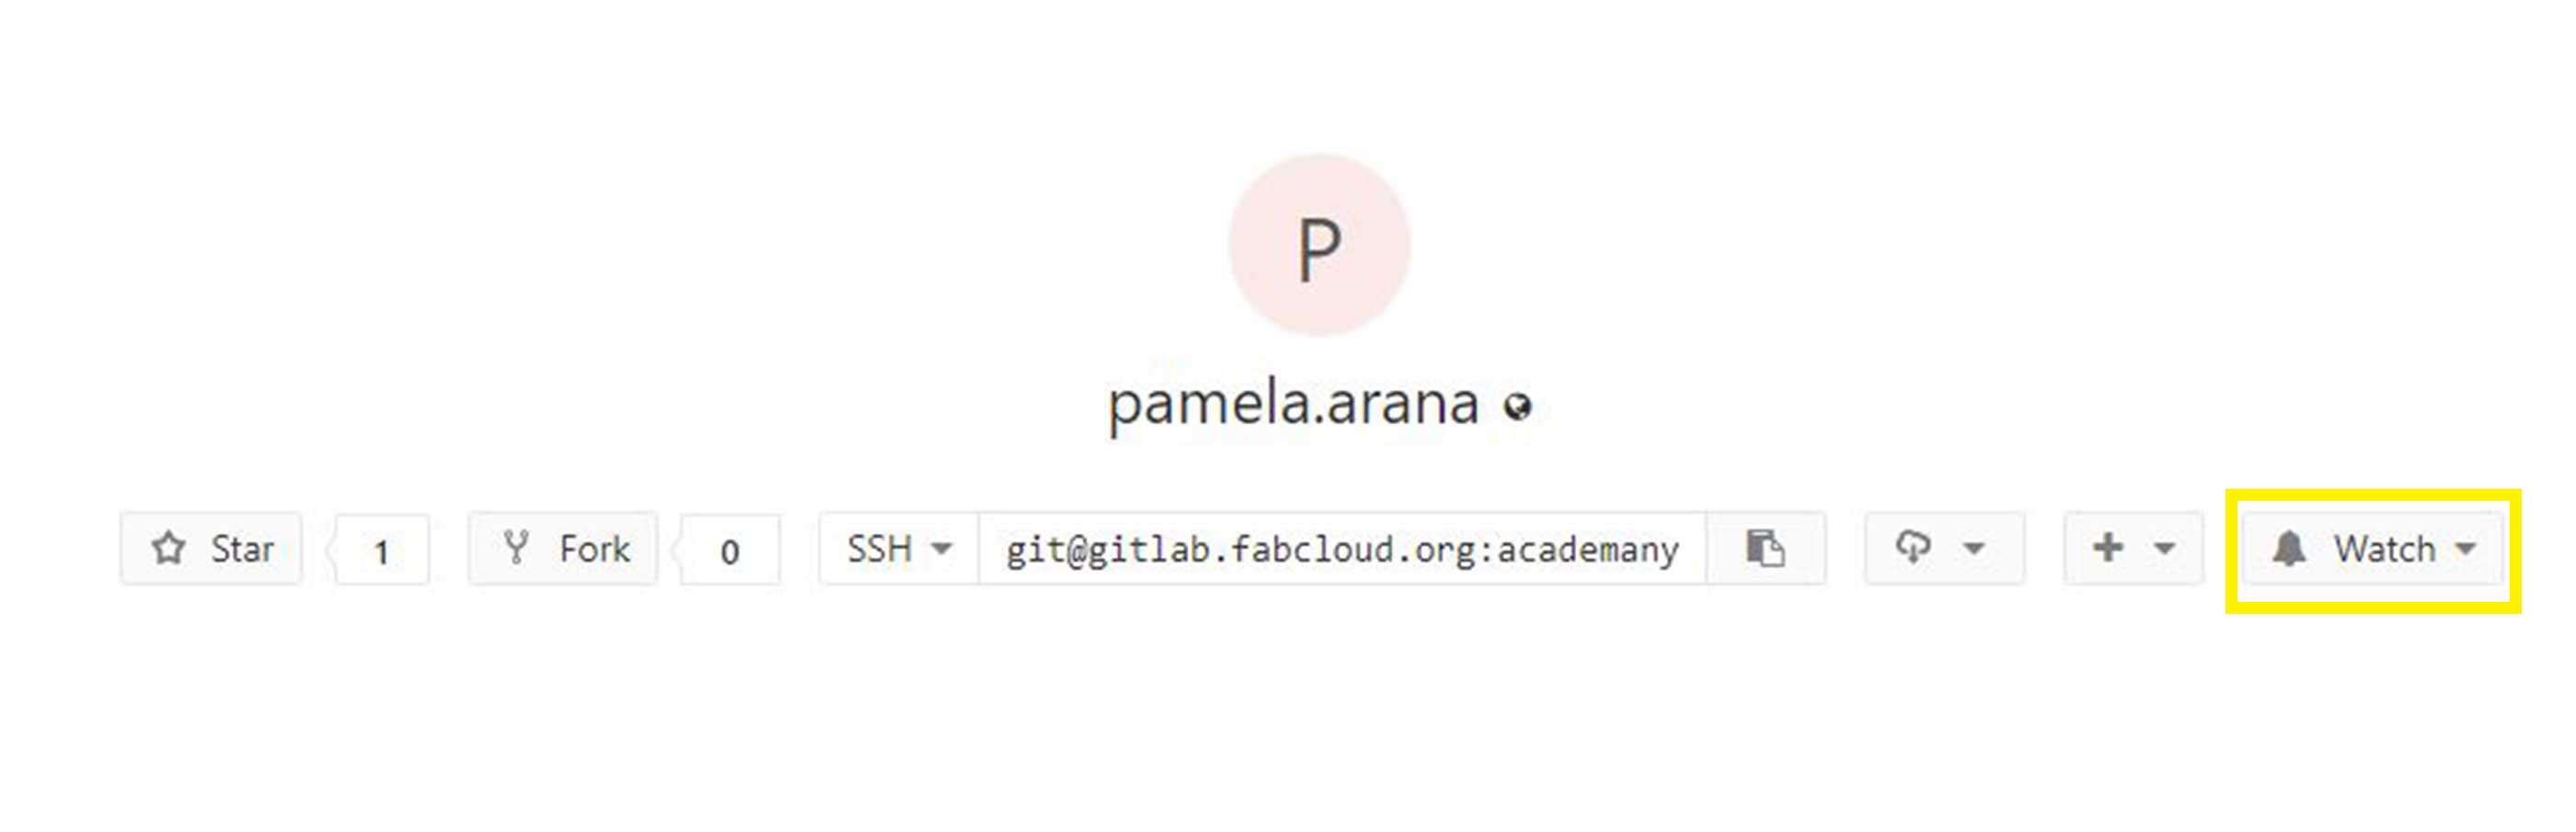
Access to GitLab
Activating my account
You should receive an email from the central coordination with the steps to activate your gitlab account, these are the steps to follow up (quite straight forward):
_1 Go to GitLab FabCloud
_2 You have to use the same email that you used when you registered to the FabAcademy, use that one.
_3 To access use the temporary password that is the same as your student ID, after these
steps you should change it.
_4 Remeber once you have access to GitLab (your new best friend), set the notifications to
GLOBAL
Work through a git tutorial
Intro to prompt commands
Once you have your account set up you have to install in your computer GitBash (if you
are a Windows user like myself). Gitbash is like using Terminal, and what exactly is
this?
Terminal is an interface in which you can type and execute text based commands. And
Git Bash works similarly but to run specifically Git commands.
Commands we will use to control, update and check the status of our repository.
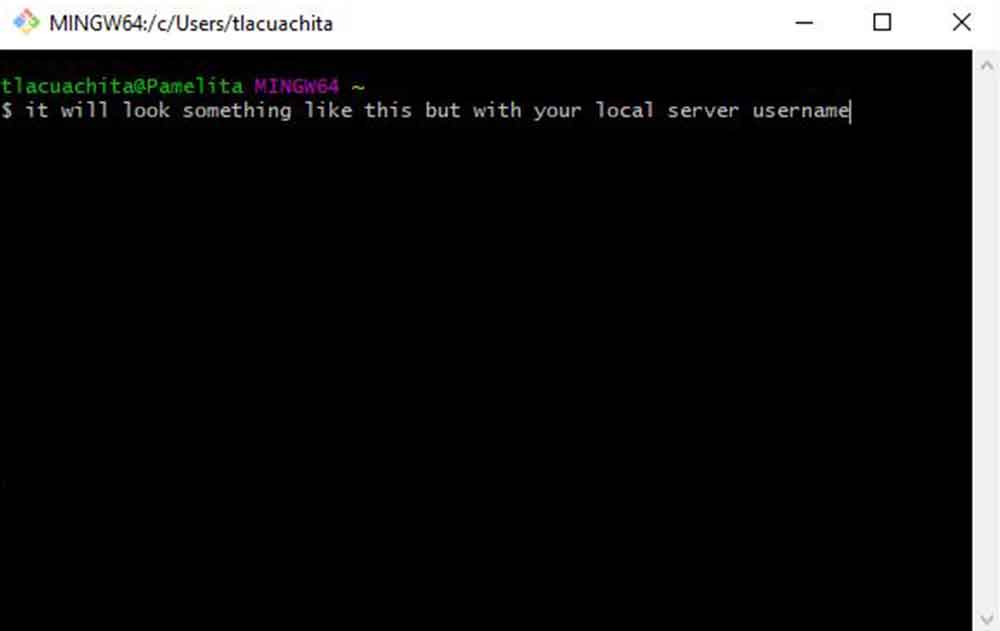
This is Gitbash prompt window (if you've never used it before, it looks something like this, similarly to terminal on Windows):
Once you have installed GitBash you have to set up the configuration that you will only do once (for this repository).
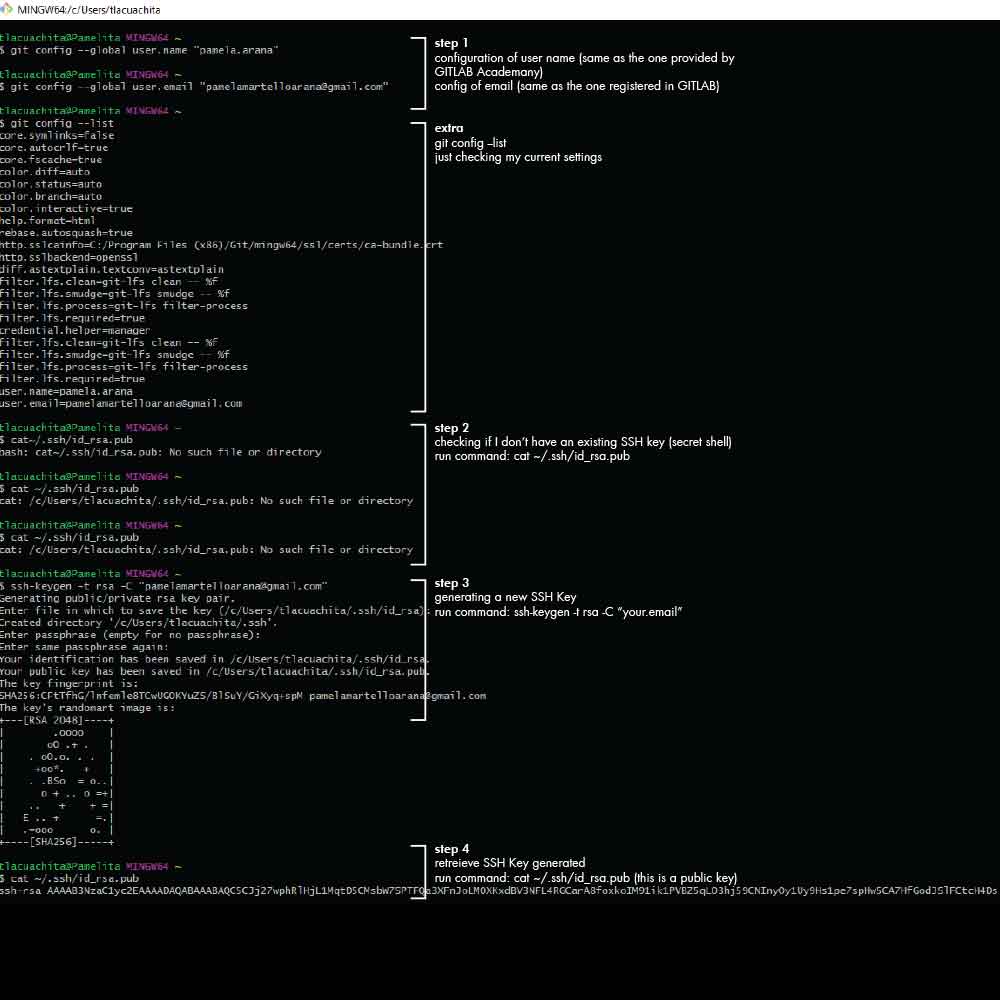
Steps:
_1 Configuration of user name (same as the one provided by GITLAB Academany)
_2 Configuration of your email (same as the one registered in GITLAB)
_3 Just as a checkup run: git config --list, this is
jus to check your current settings.
_4 As it is the first time I do this, I should generate something calle SSH KEY, you could
have several, one for each repo for instance.
Run command:ssh-keygen -t rsa -C your.email
_5 If you need to retreieve the SSH Key generated run the command: cat ~/.ssh/id_rsa.pub (this is a public key).
_6 You need to copy the key you generated and then open your gitlab account and copy it inside
User settings -> SSH KEYS.
After this set up you are ready to clone your repository and start adding information to it from your computer.
But wait... what means a repository or repo?
A repository can be a place where multiple databases or files are located for
distribution over a network, or a repository can be a location that is directly accessible to the user
without having to travel across a network. Also see data warehouse and data mining.
(source: webopedia).
It is basically a virtual warehouse where you store folders with information.
In our case we are going to clone this repository and copied inside our computer, this way
this specific folder every time we add or remove information, through GitBash we will control the update
of the repository that is online. Pretty cool right?!
So now the next step is to clone the existing repository. I choose to clone it inside my Desktop to have a quick access.
Inside GitBash navigate inside the folder where you want to clone your repo (use "cd" to change directory). And then run the following command:
git clone
This will clone your repo to your computer. Now you can start working and update/upload new files.
This is the address to my repository in GitLab:
The following commands will be handy for you along the course:
git add index.html (upload file by file)
git add (upload all the files in one instance)
git pull origin master (downloading the last copy from your repo)
git add -A (means copy all the files from your local server)
git merge (have a working copy)
git commit -m "write the reason"
git push (to commit the changes and upload to your repository)
git rm (remove a file)
git mv (move or rename)
git status (check what has changed)
dir (view the contents of a directory)
ls (view the files as a list)
cd (to change directory)
mkdir (create a new directory)
del (delete files)
*Capital letters matter, use lowcase
If you are still confused how Git works, check out some tutorials, there are many resources online to
understand how it works and how to run it.
This has a useful documentation step by step: https://git-scm.com/
And I also found this website that has some useful resources digital citizen
Website development
So, I decided to make my life a bit more complicated than it already is. I am not familiar with HTML and CSS, nevertheless I decided to create my website from scratch using HTML and CSS.
1_BRAINSTORMING WEBSITE LAYOUT
Before you start coding, check out some inspirations out there for the website layout. What I did as well was to check out websites from previous years students from the FabAcademy, this helped me a lot to understand how to layout the content and visualize the way I wanted to document my work.
You can navigate through previous years students through the random generator FabAcademy.org has. Check it out here (maybe you will find my website and hopefully it will help you as well as other student's documentation has helped me this months.)
These are some of the websites from students from previous years that I found interesting. Some of them I like the layout, others the way they present their ideas, the way they organize the content, others the graphics, others the content and documentation information, and others their final projects ideas. There are many more that are really cool.
_Dorota Orlof really nice site, she used
HUGO template and personalized it
_Miriam Choithis is my favorite website
from our current year 2019, I love the graphics, the icons and the layout.
_Abdullah Y. Ibrahim
built from scratch, clean, organized and nice
_Javier Albo simple
website but clear for navigation
_Claus Nicolaisen
interesting way he uses gifs to explain his work
_Bertgthora Olof
interesting final project
_Juan Felipe Fiallo
nice idea for final project
_Zenna Fiscella well
documented information
2_CODE EDITOR
As I stated before I have no experience in web development, I just know the meaning of a few syntax, but aside from that I never did a website from scratch.
The reason why I decided to build my website from scratch is because I wanted to make something simple and learn, although through the months of this course I realized simple is not the word.
First thing you will need is a text editor to write down the code (skeleton) of your website. I am using
BRACKETS, which is an open source code
editor.
There are a number of other open source code editors, such as ATOM (which I sometimes use), also Sublime, and more. You can
choose the one you prefer the most.
3_TAKE SOME TUTORIALS
Once I had my code editor installed and I navigated into other students websites to have an idea of how
to layout the information, I started taking tutorials online about HTML and CSS.
These are some of the most useful websites I used to develop this website, all from scratch following a
lot of tutorials. In fact, since the first month I started my web up until now, I have changed my code a
lot to improve my site (hopefully).
Here are some of the useful online and free resources I have been using:
_1 W3schools Basically this is the guru of the tutorials if you are starting from scratch like me you will end up on this site, and beilive is super useful as you have step by step the explanation about HTML, CSS, JavaScript and other languages. And one of the cool features of this website is that you can try the code by yourself, meaning you can copy the code and start playing with it on you own skeleton.
_2 CSS TRICKS Another nice website full of free resources and tutorials.
_3 STACKOVERFLOW Someone already had that problem you are having (probably), in this forum you can find lots of useful (and sometimes not so much) answers to your questions.
_4 STACKOVERFLOW Someone already had that problem you are having (probably), in this forum you can find lots of useful (and sometimes not so much) answers to your questions.
_5 cool icons Nice resource of icons.
On youtube you can find a lot of more tutorials, some that I found useful for me are these:
_6 USING CSS GRIDS
_7 USING SVG graphics
_8 USING CSS HAMBURGER MENU
3_ORGANIZING FOLDERS
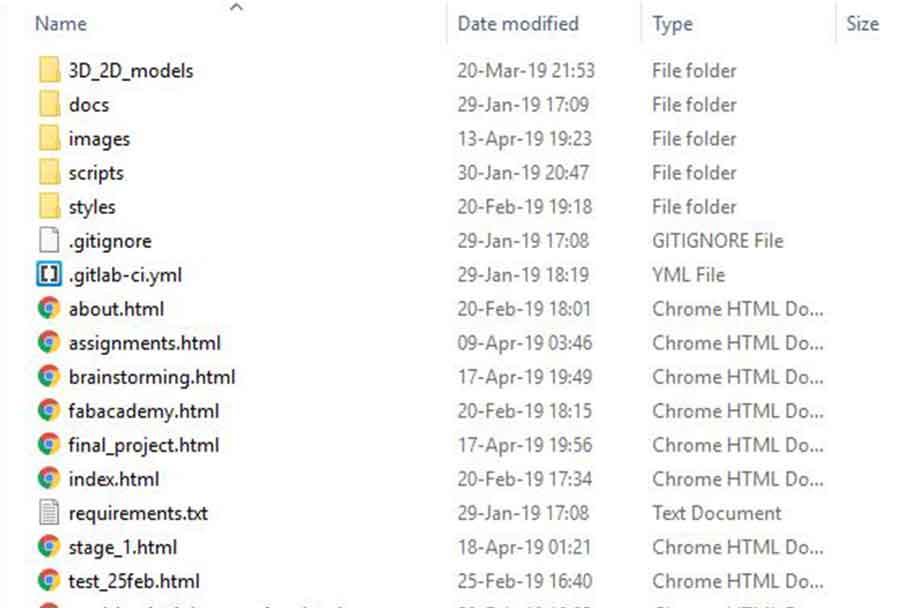
When building a website is very important that you have order and organize the folders that contain your images. In my case as I cloned my repo on my desktop, under that same folder I will start adding my photos and update them.
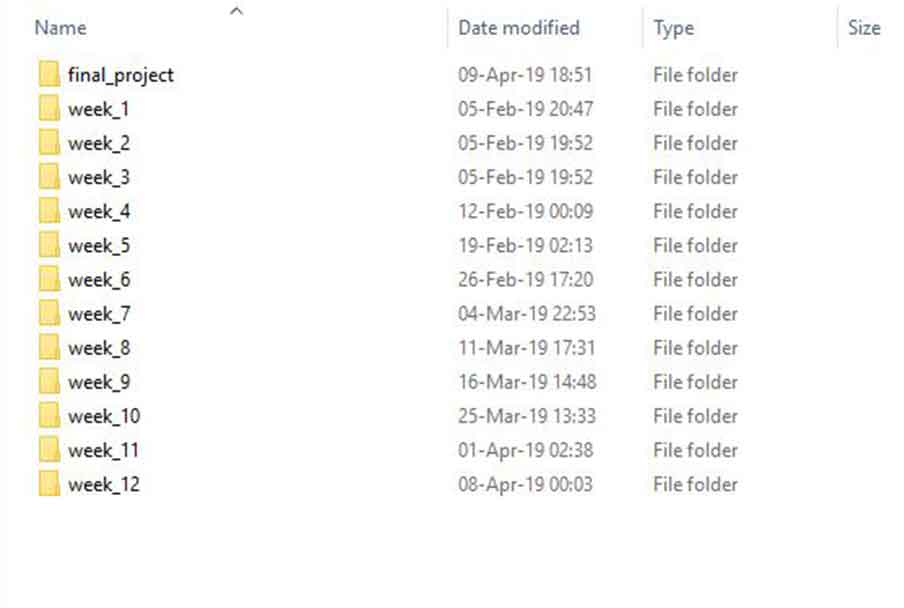
I did folders subdivisions for each week. When writting the code you will have to refer your images links to where you locally have them, therefore is super important to be organized from the beginning.
Is useful to have a unique folder for each week.
4_BUILDING THE SKELETON
As mentioned earlier, I will use HTML and CSS, you could have a website that is entirely coded on HTML without CSS, but the advantage of having CSS is that you can create global variables that you don't need to repeat on each new .html file, that is why is useful to integrate CSS at least on you code.
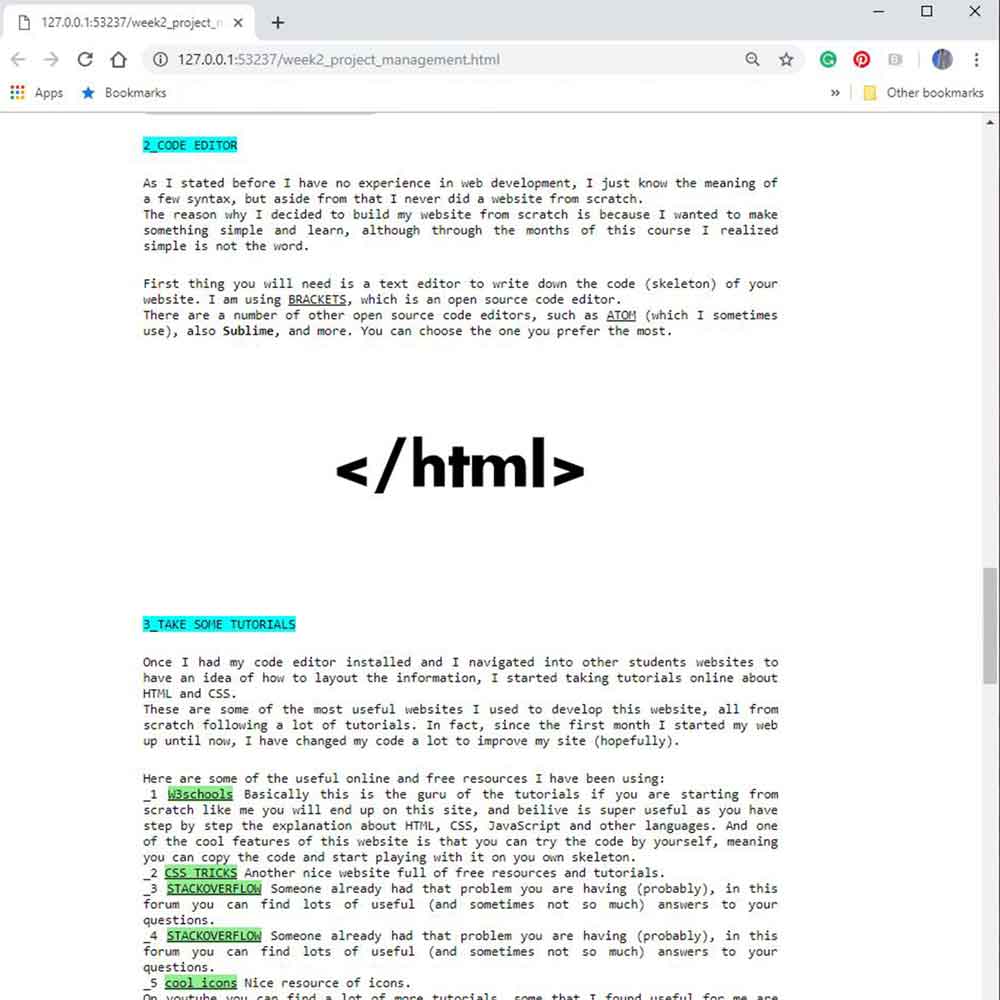
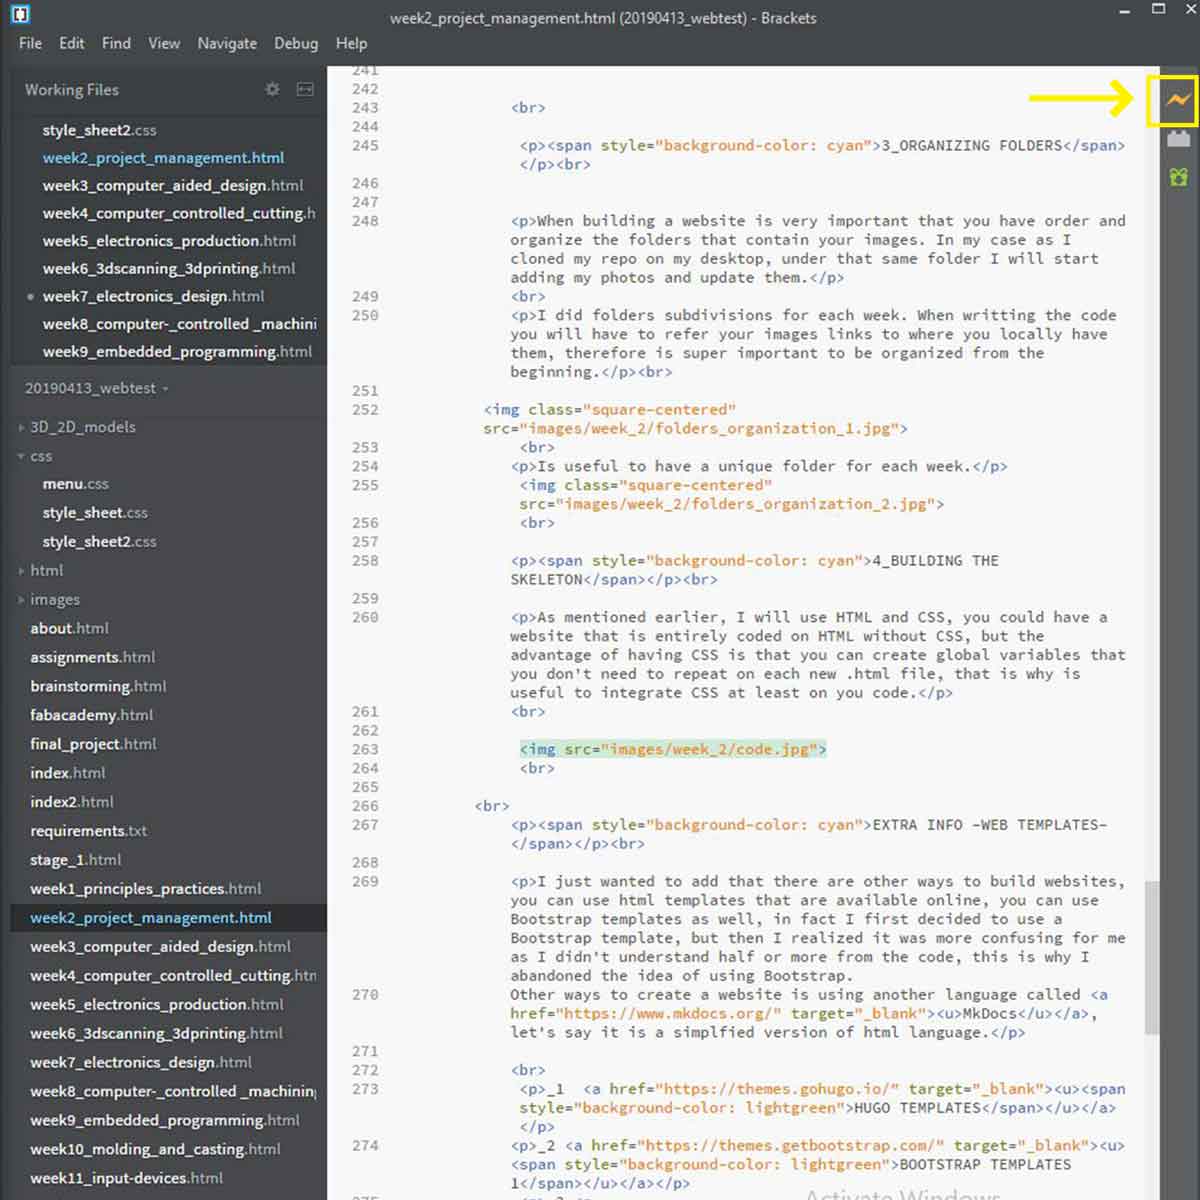
Inside brakets there is this bolt icon if you click on it you will be able to preview your code, something you will have to do while coding.
Basically the HTML body consists of the following syntax:
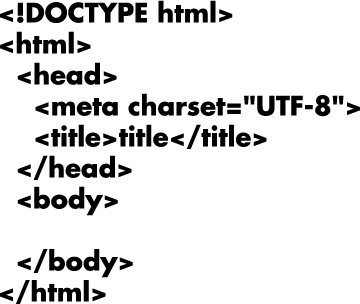
You need a head where you will add all the information that relates to the CSS stylesheets, then you have
a body where you write down all the content of the code.
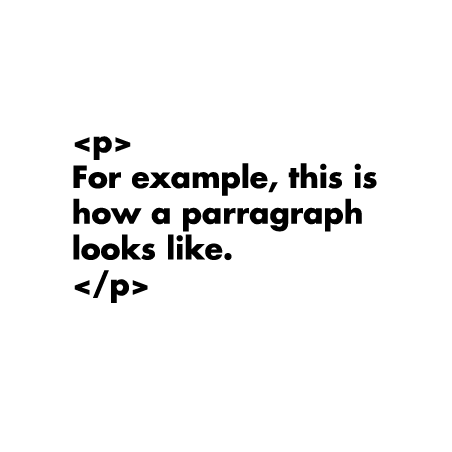
All the syntax you use for HTML coding has to be inside those brackets, and most of the syntax has to be
closed, you open a syntax, write your code, and then you close it.
EXTRA INFO -WEB TEMPLATES-
I just wanted to add that there are other ways to build websites, you can use html templates that are available online, you can use Bootstrap templates as well, in fact I first decided to use a Bootstrap template, but then I realized it was more confusing for me as I didn't understand half or more from the code, this is why I abandoned the idea of using Bootstrap. Other ways to create a website is using another language called MkDocs, let's say it is a simplfied version of html language.
COMMIT CHANGES AND PUSH TO YOUR REPO
Once you start building your site you will have to push the changes to your repository to upload them and refresh your site.
Every time you are about to push changes, you have to open GitBash and run the following commands on the same order:
First thing make sure your local copy is up to date with the online repository:
git status
git pull origin master
Then run the following:
git add -A
git commit -m "something explain what you commit"
git push (this will commit the changes and upload to your repository)
Error I had and how I solved it
Once I did the code of this website I commited the changes and pushed to my repo the new files, but... error! when I was trying to load my website it showed this error message:
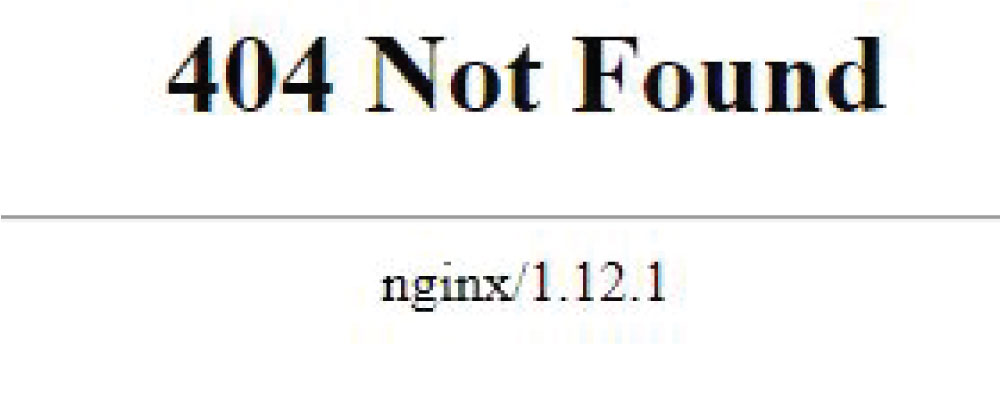
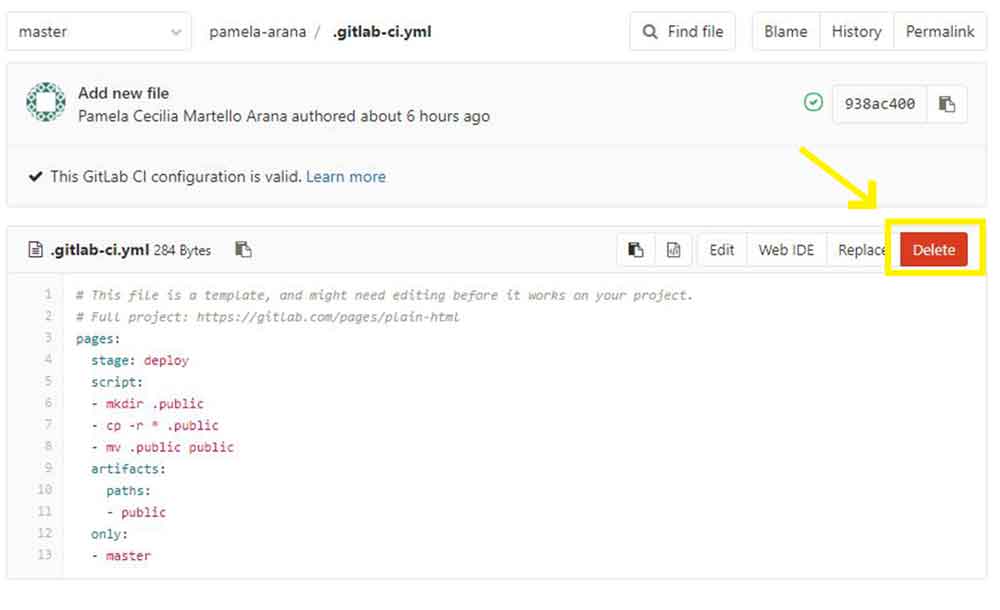
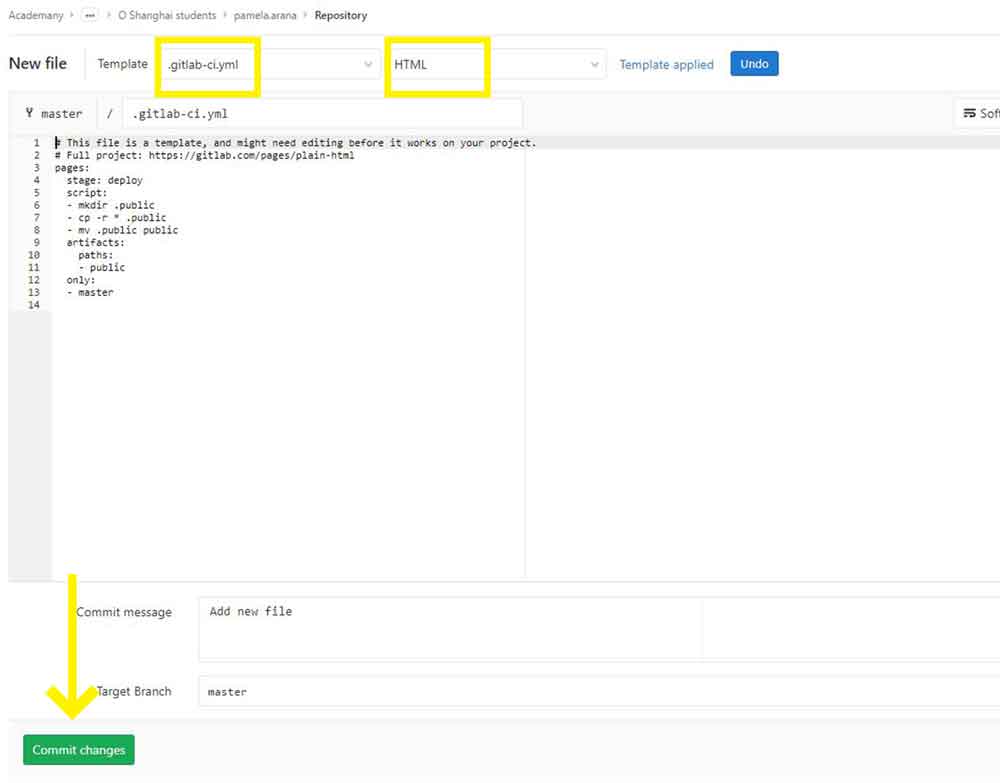
To solve it, you have to check your .gitlab-ci.ymlfile, which needs to have certain information to
be able to connect your url to your git.
What you need to do is go to your GitLab repo find the file .gitlab-ci.yml delete it, then create
a new one following the steps below:
1
2
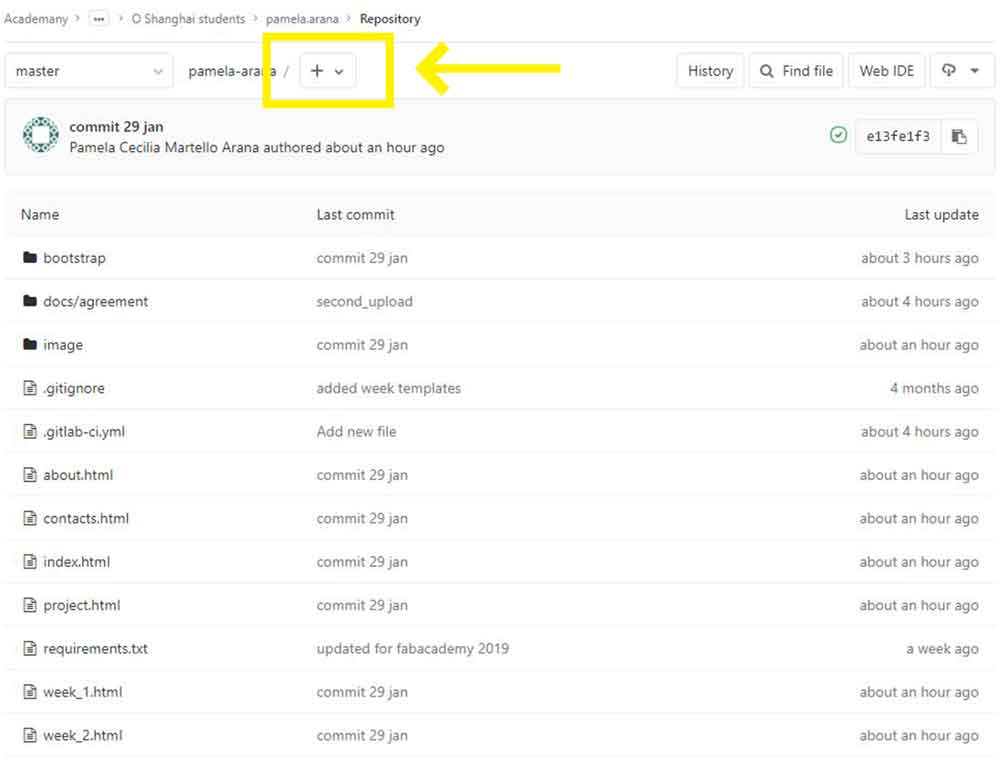
3
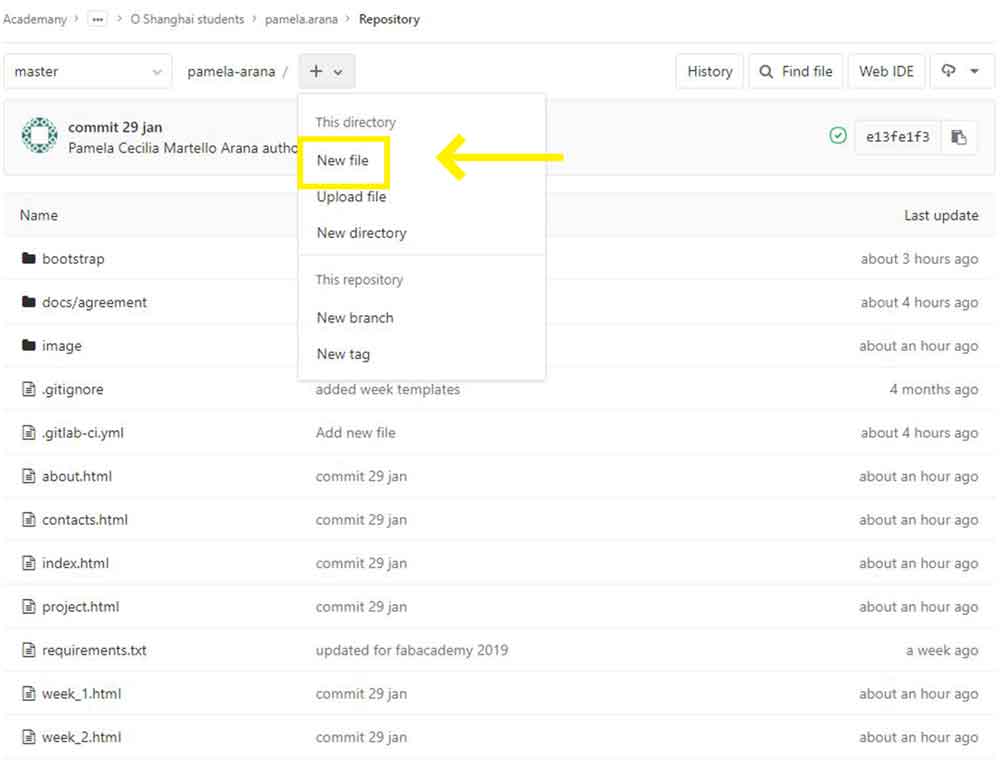
4
The code of my website will be changing and I will be updating it now and then.