Week assignments
- Introduce yourself
- Sign and upload Student Agreement
- Make a website and describe how you did it
- Document steps for uploading files to archive
- Push to the class archive
About me and my student agreement
You can find a short description of myself here
You can find a copy of the student agreement that every student has to sign here
My Jekyll-based website
Installation
Jekyll is written in Ruby sor I first installed ruby for windows
I then followed the "Quick-start Instructions" :
~ $ gem install bundler jekyll~/thibault-chevreteau $ bundle install
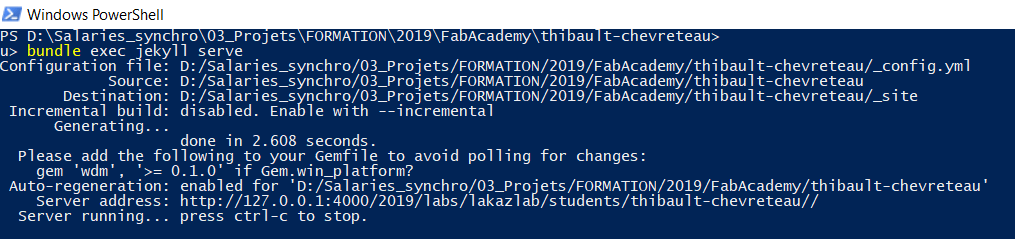
~/thibault-chevreteau $ bundle exec jekyll serve
Edition
I downloaded the text editor atom to add content to my website.
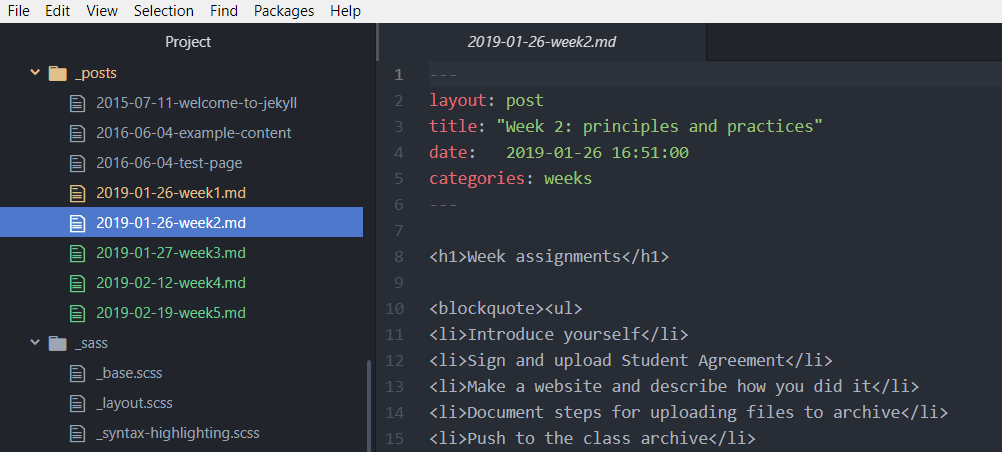
I mainly have to create/edit md files in which I write in HTML. The About and Final Project are root md files and weeks are md files in the _posts folder.
I can be led to do small changes in html, css and json files if I want to modify the theme.
My class archive
I am now able to edit and visit my website localy. To be able to commit and push my files to gitlab for my website to be online I proceed as follows.
Adding an SSH Key
To add an SSH key, I went to User Settings --> SSH Keys. I had to generate a new one and copied it :
ssh-keygen -t rsa -C "your.email@example.com" -b 4096
type %userprofile%\.ssh\id_rsa.pub | clip
Installing git and cloning my repository
I downloaded the git installer and followed the instructions.
I cloned my gitlab repository using the commands :
git clone my_gitlab_ssh.git thibault-chevreteau
Commiting and Pushing
Before commiting I had to modify the .gitlab-ci.yml file because I am using Jekyll. For that I used the gitlab repository of jekyll where I found an updated file.
I commited and pushed my files using the following commands :
git add .
git commit -m "My Message" -a
git push origin master