Computer-controlled cutting
So it's the 4th week since I begin my fab journey. In this week, I got following assignments,
- Cut something on the vinylcutter
- Design, lasercut, and document a parametric press-fit construction kit,accounting for the lasercutter kerf,which can be assembled in multiple ways
- Vinyl cutter
- Laser cutter
I have learnt and used two machines in the FABLAB
Vinyl cutter
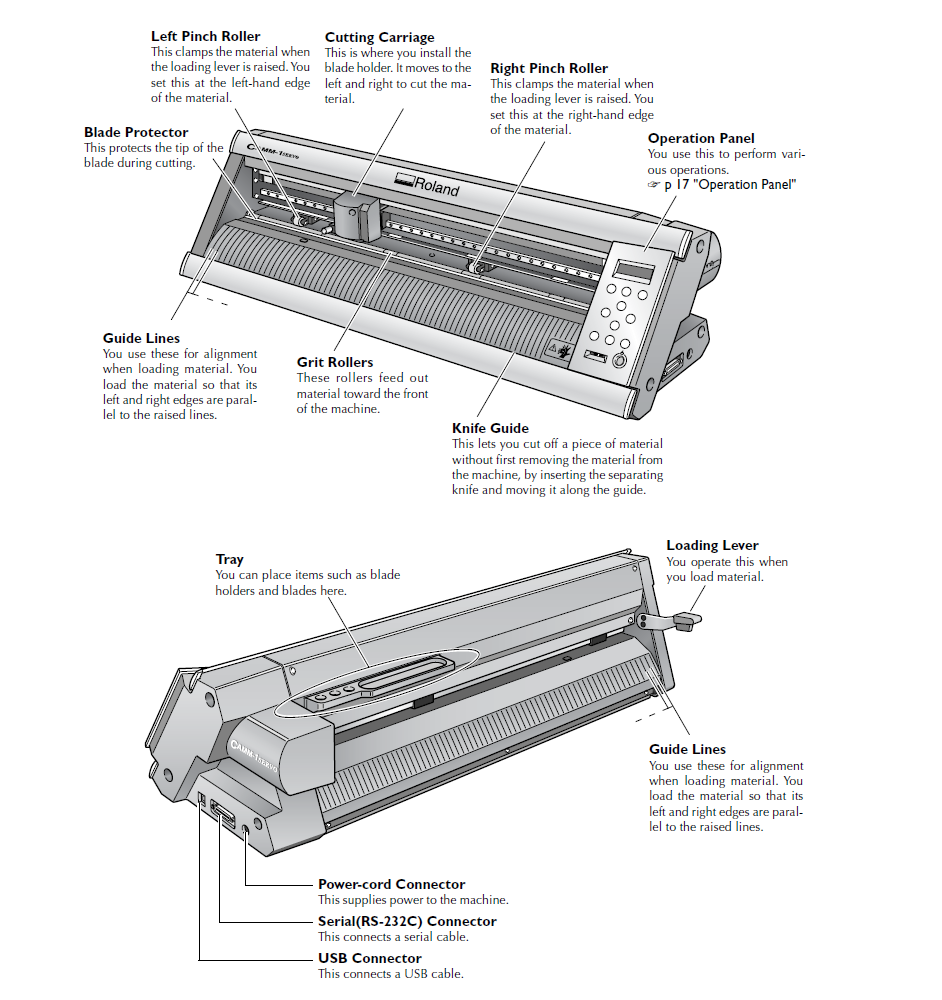
A vinyl cutter is a type of computer-controlled machine. Small vinyl cutters look like a desktop printer. Like a printer controls a nozzle, the computer controls the movement of a sharp blade over the surface of the material. This blade is used to cut out shapes and letters from sheets of thin self-adhesive plastic (vinyl). The vinyl can then be stuck to a variety of surfaces depending on the adhesive and type of material. The one major limitation with vinyl cutters is that they can only cut shapes from solid colours of vinyl. A design with multiple colours must have each colour cut separately and then layered on top of each other as it is applied to the substrate. Also, since the shapes are cut out of solid colours, photographs and gradients cannot be reproduced with a stand alone cutter. In our fab lab, we use Roland Camm-1 vinyl cutter.

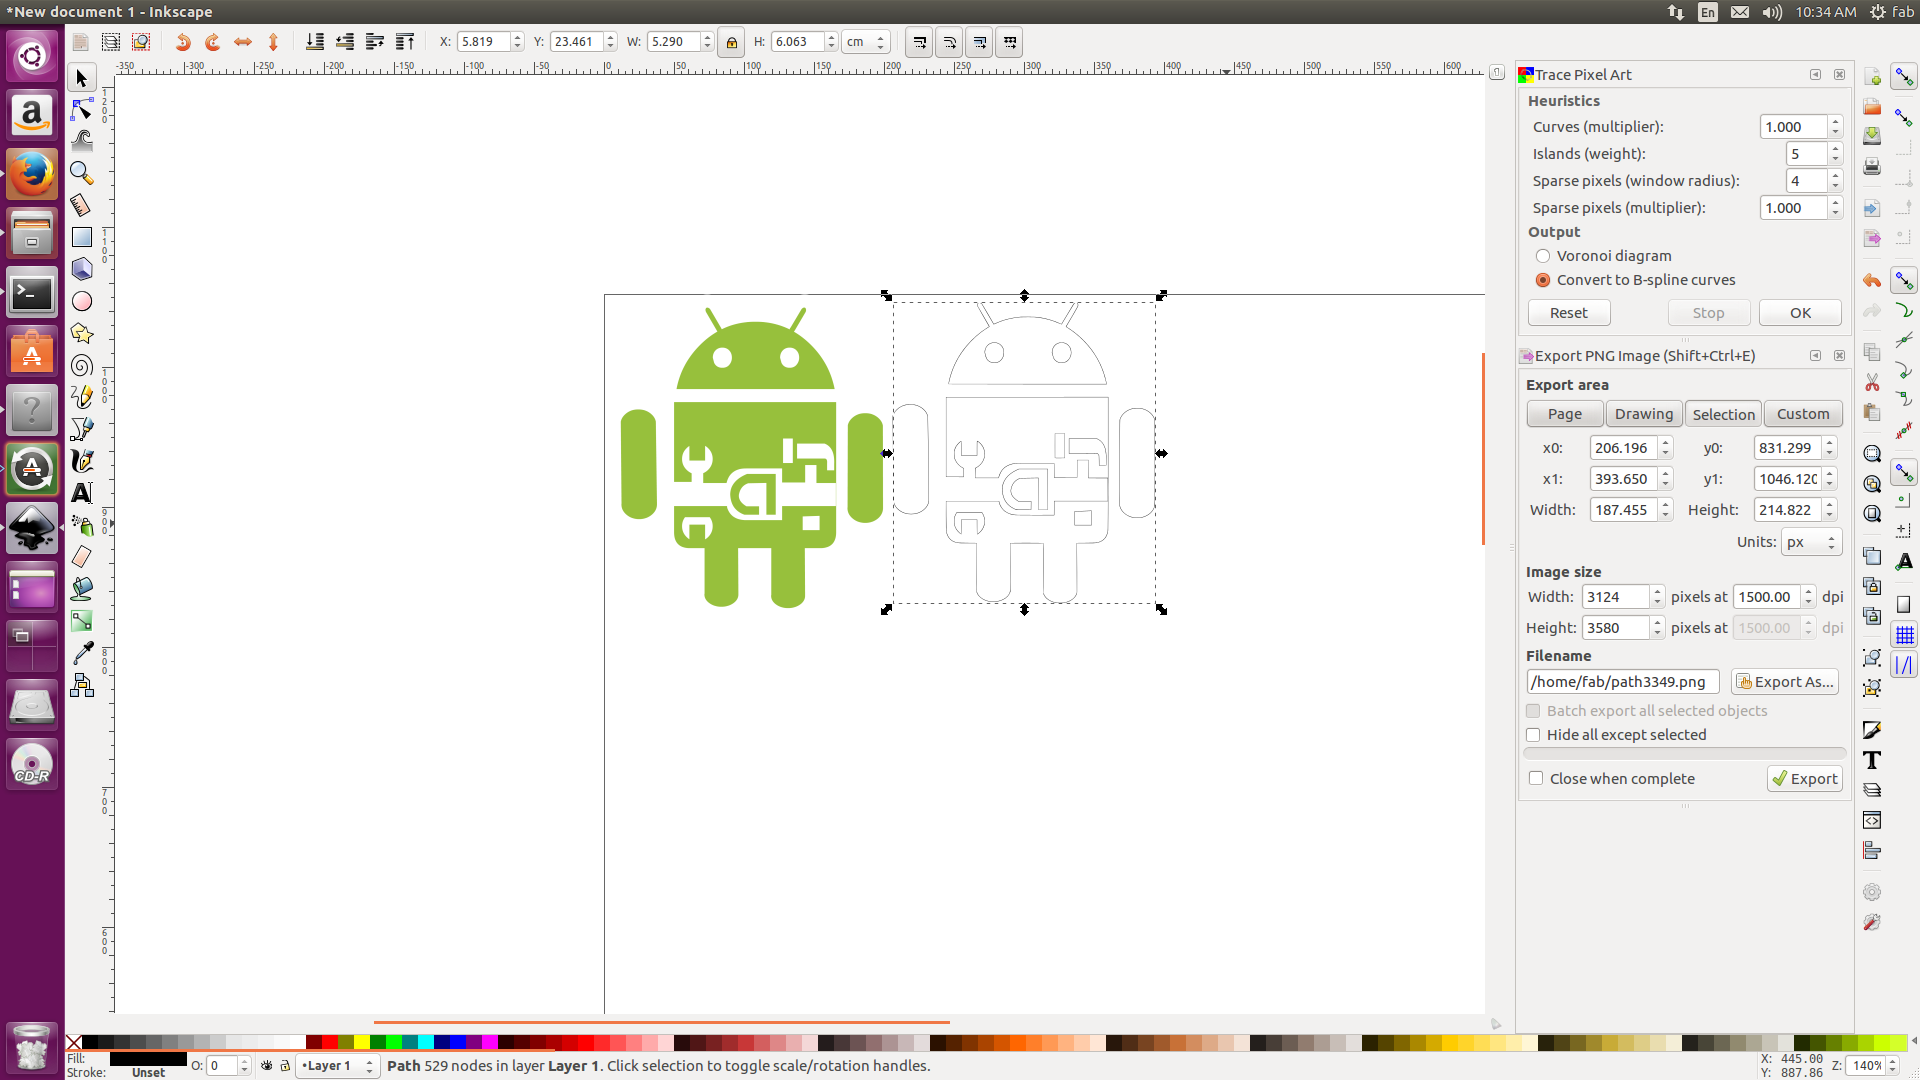
Our instructors showed us how to operate the vinyl cutter. Here is the user manual for the above machine So I have to make a design for cutting out from the vinyl cutter. I designed a logo in week 3 in inkscape. But vinyl cutter only recognize black colour. So I need to make the image black and white. For that I took it's bitmap using "trace bitmap" option.
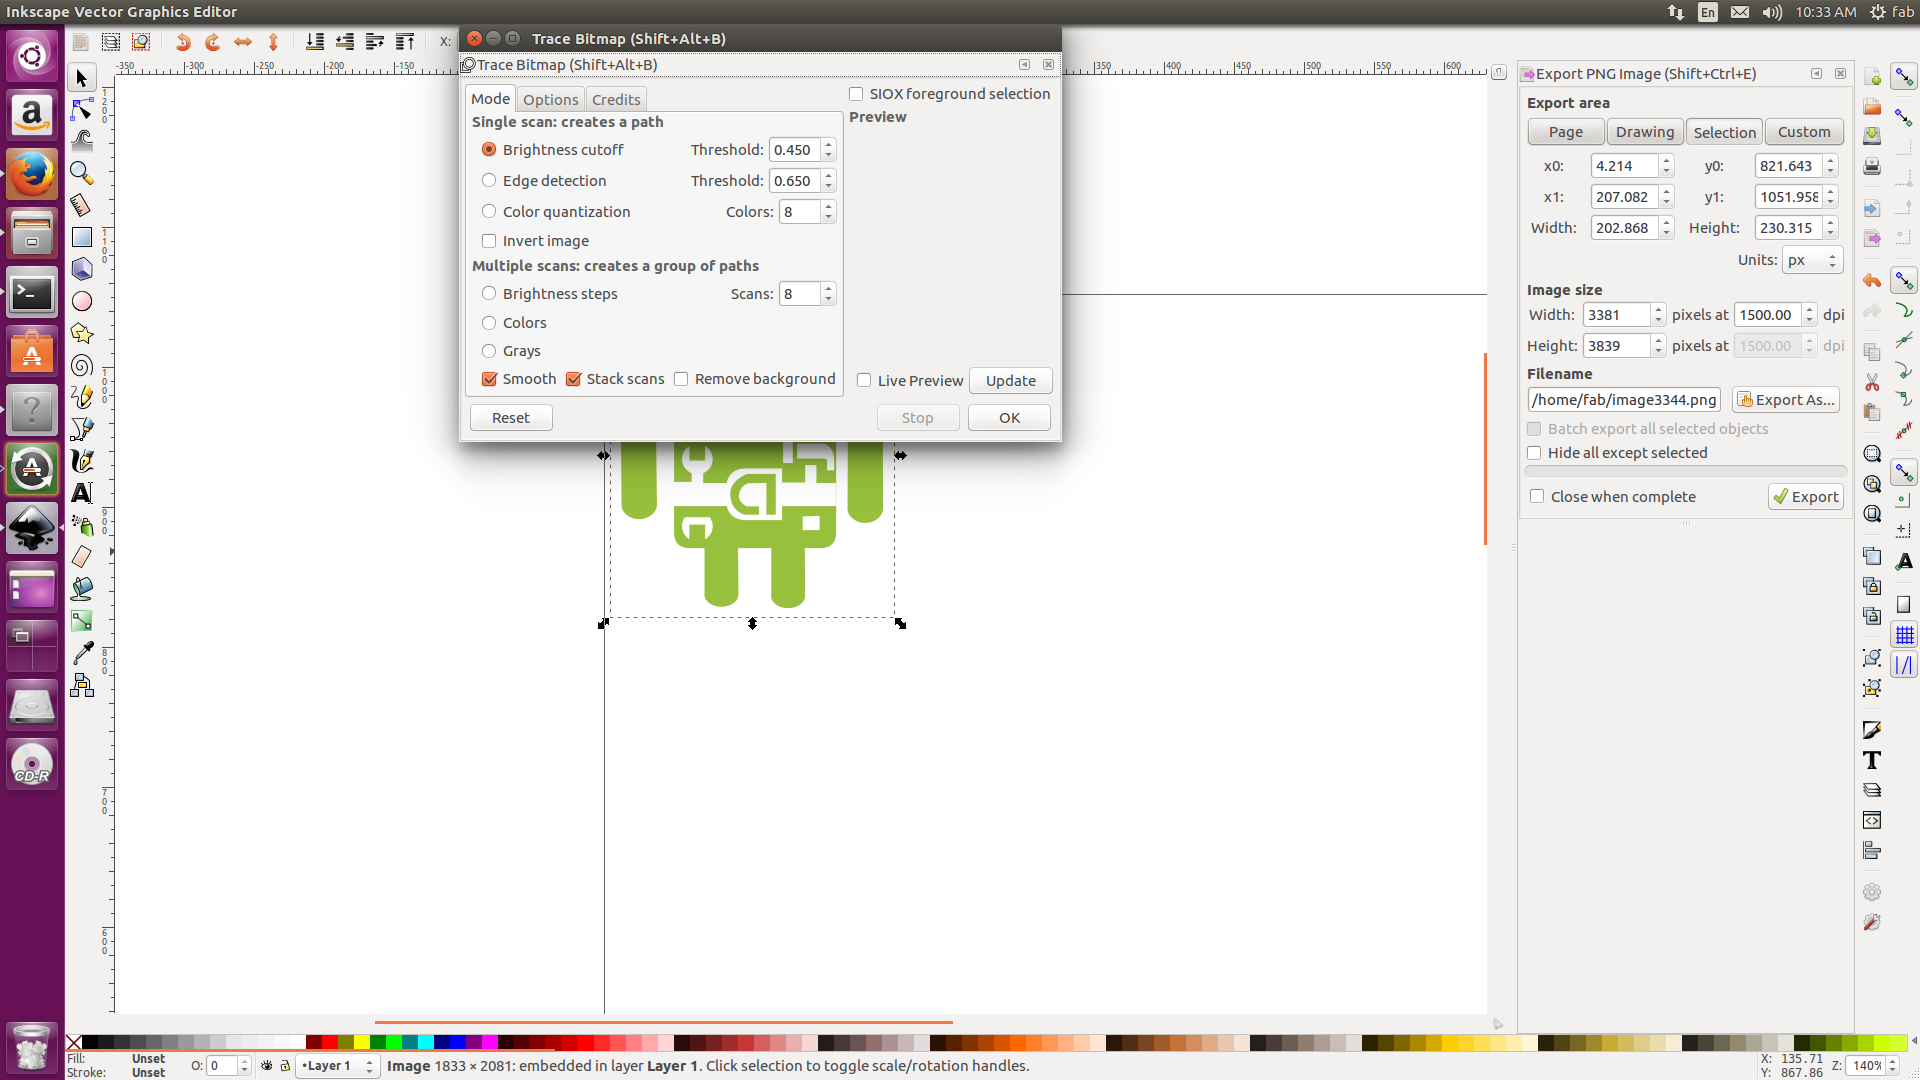
This will make the outlines seprated form
Download Inkscape files (SVG file)
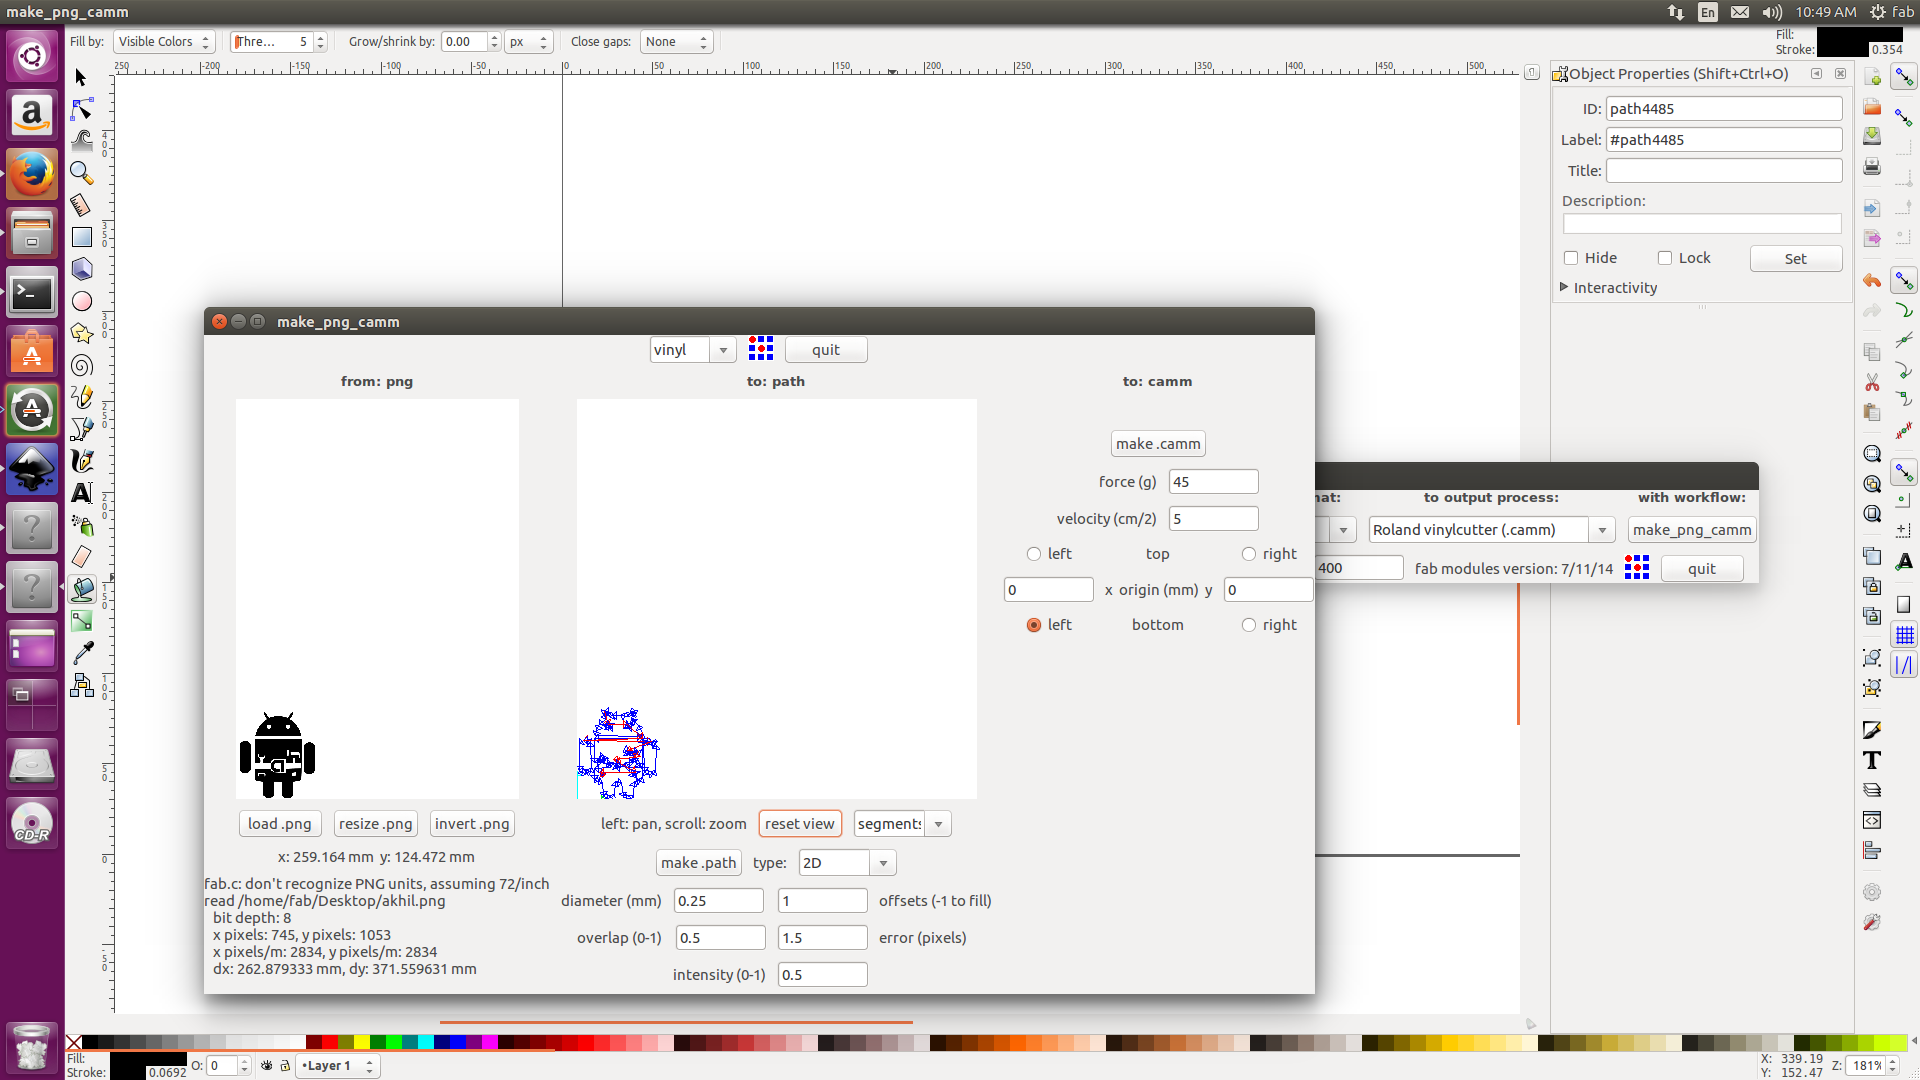
Then go to fab modules
- select image PNG
- select rolad vinilye cuttor
loading Viniyle to machine
- select roll or piece
- long press
originbutton
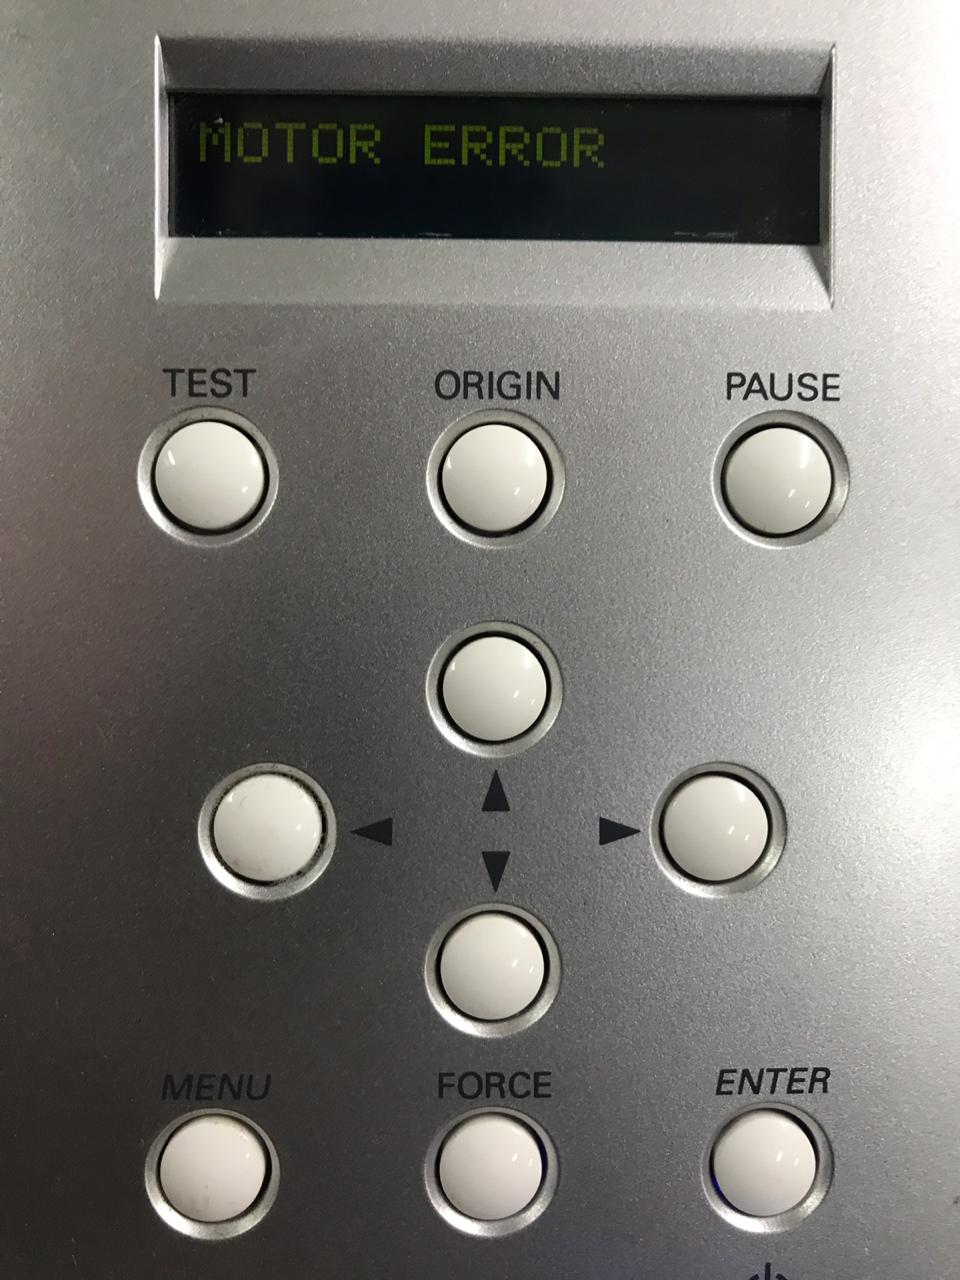
Here i face some errors in the working time, i forget to unroll the roll, which cause
overloading the feeder motor. The machine display shows MOTOR ERROR
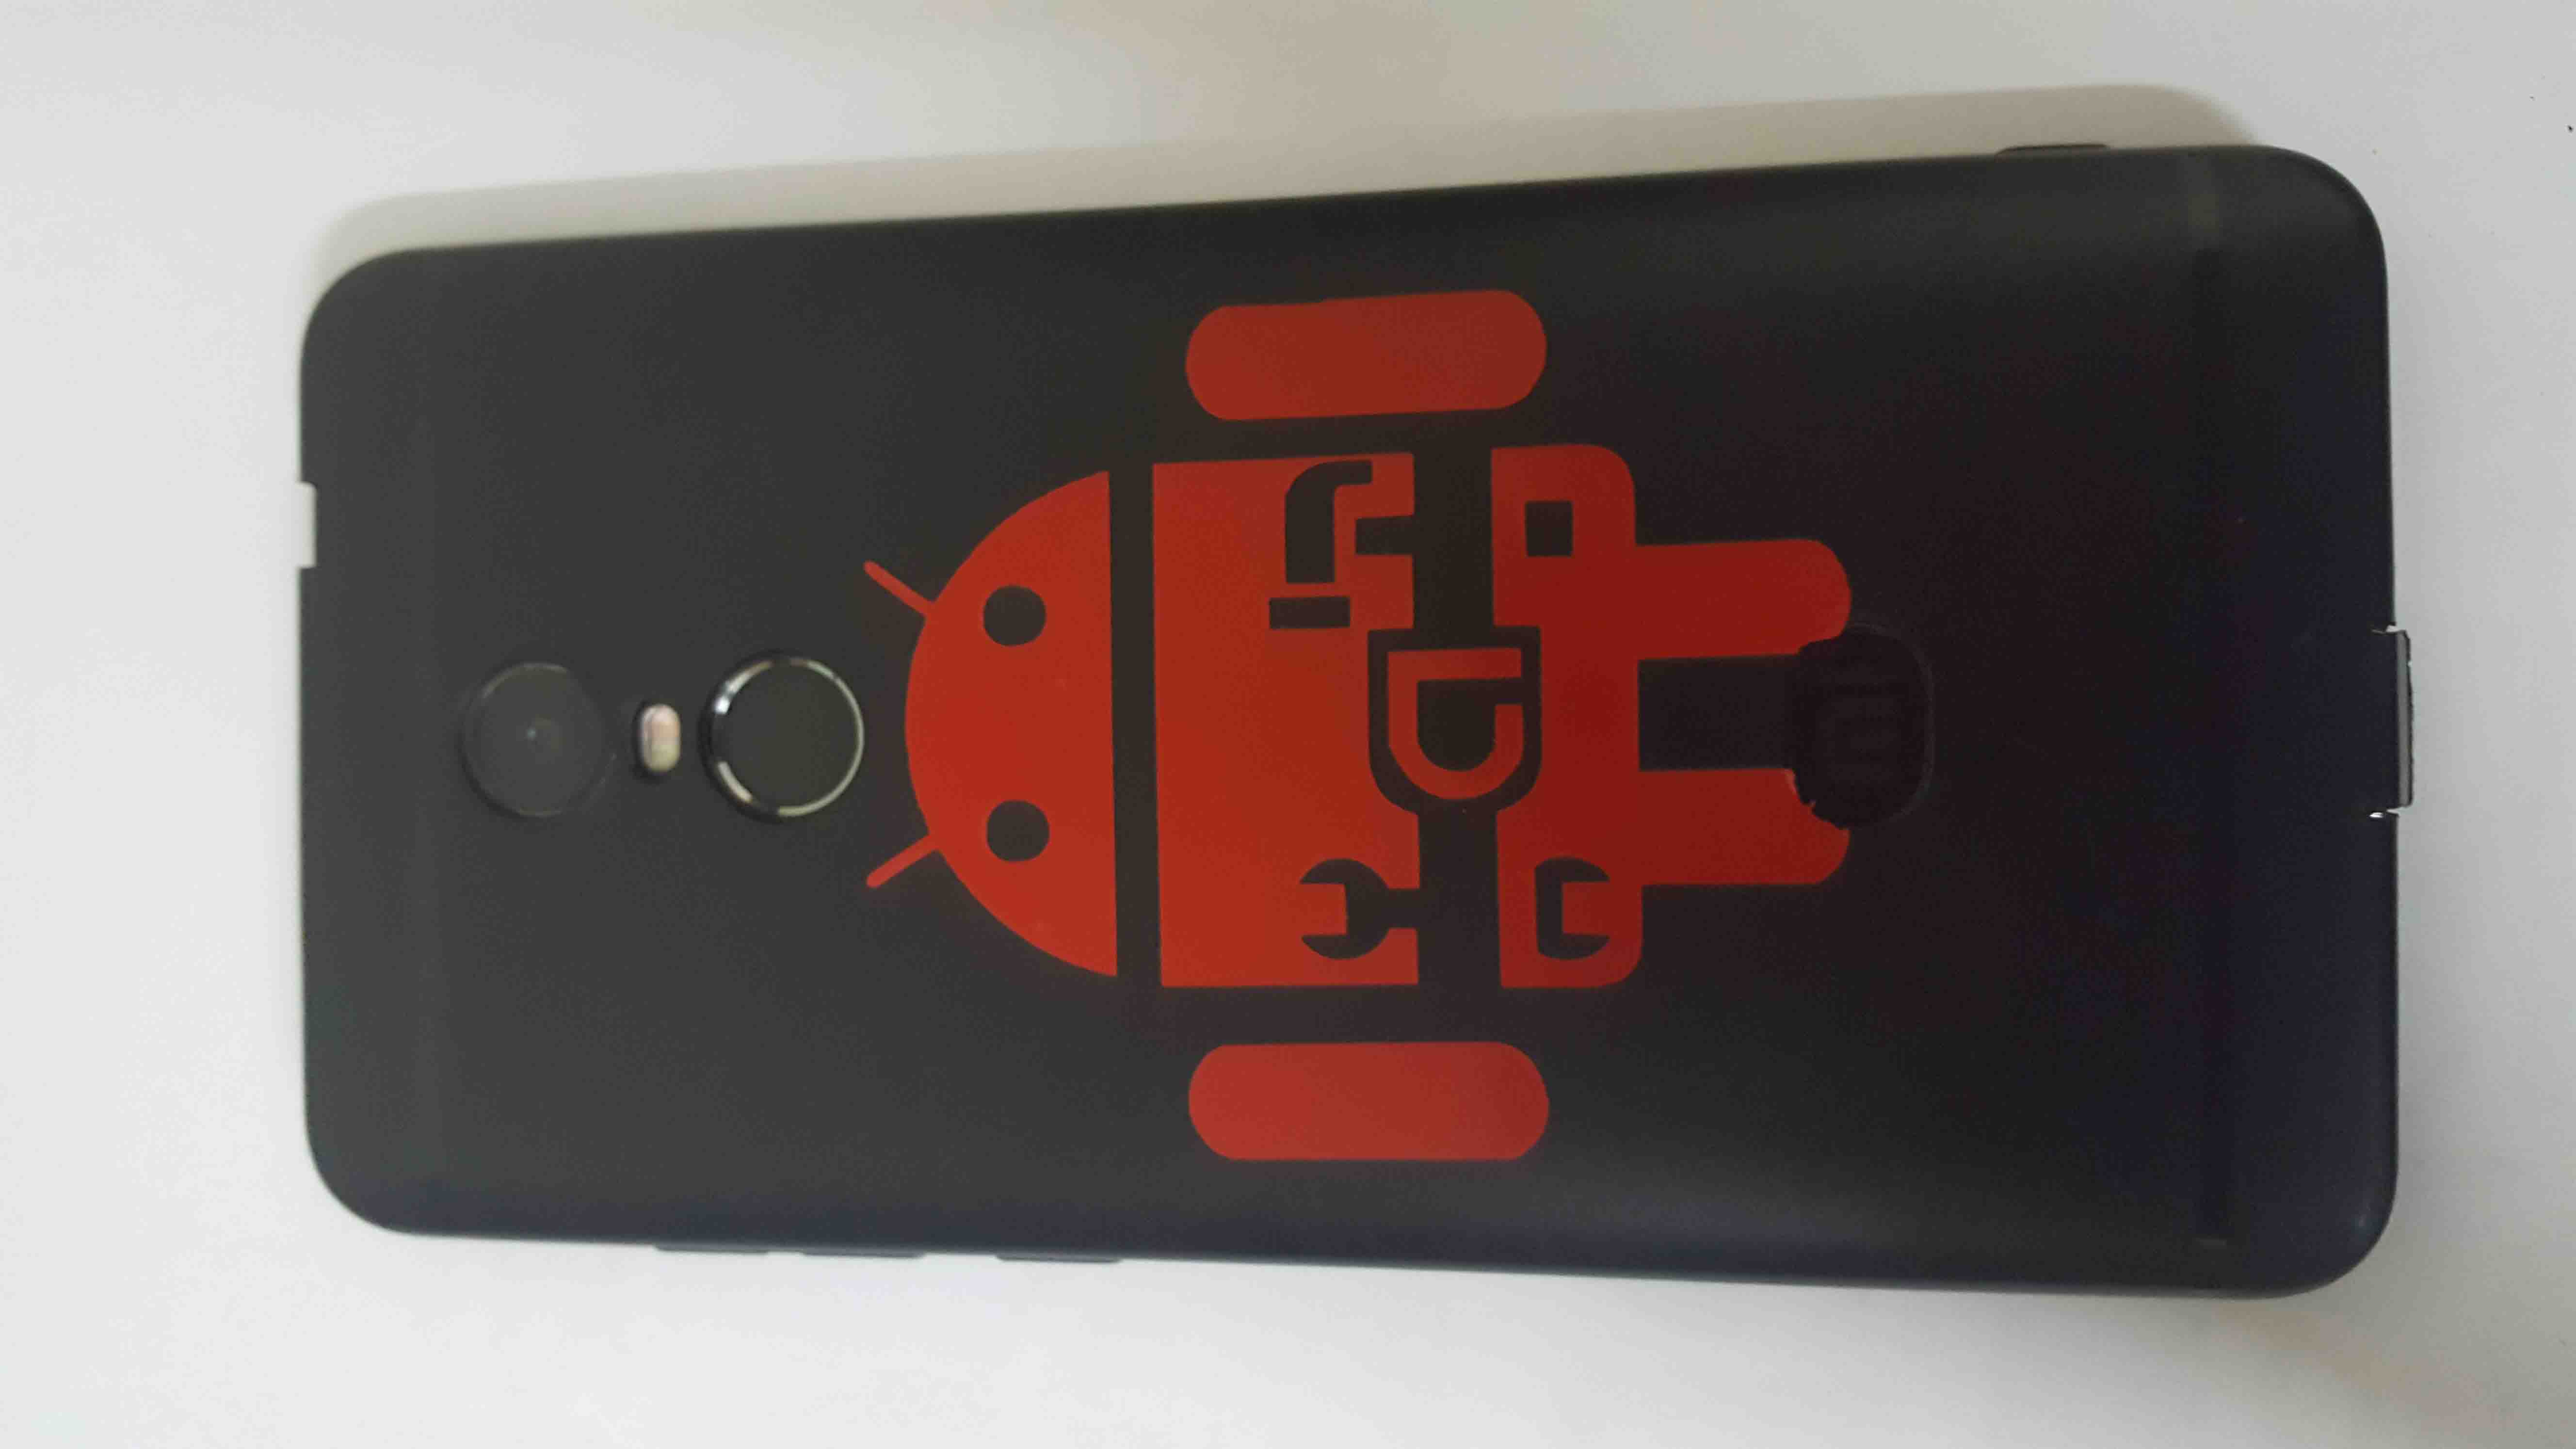
After cutting i peel excess parts and stick it on my phone
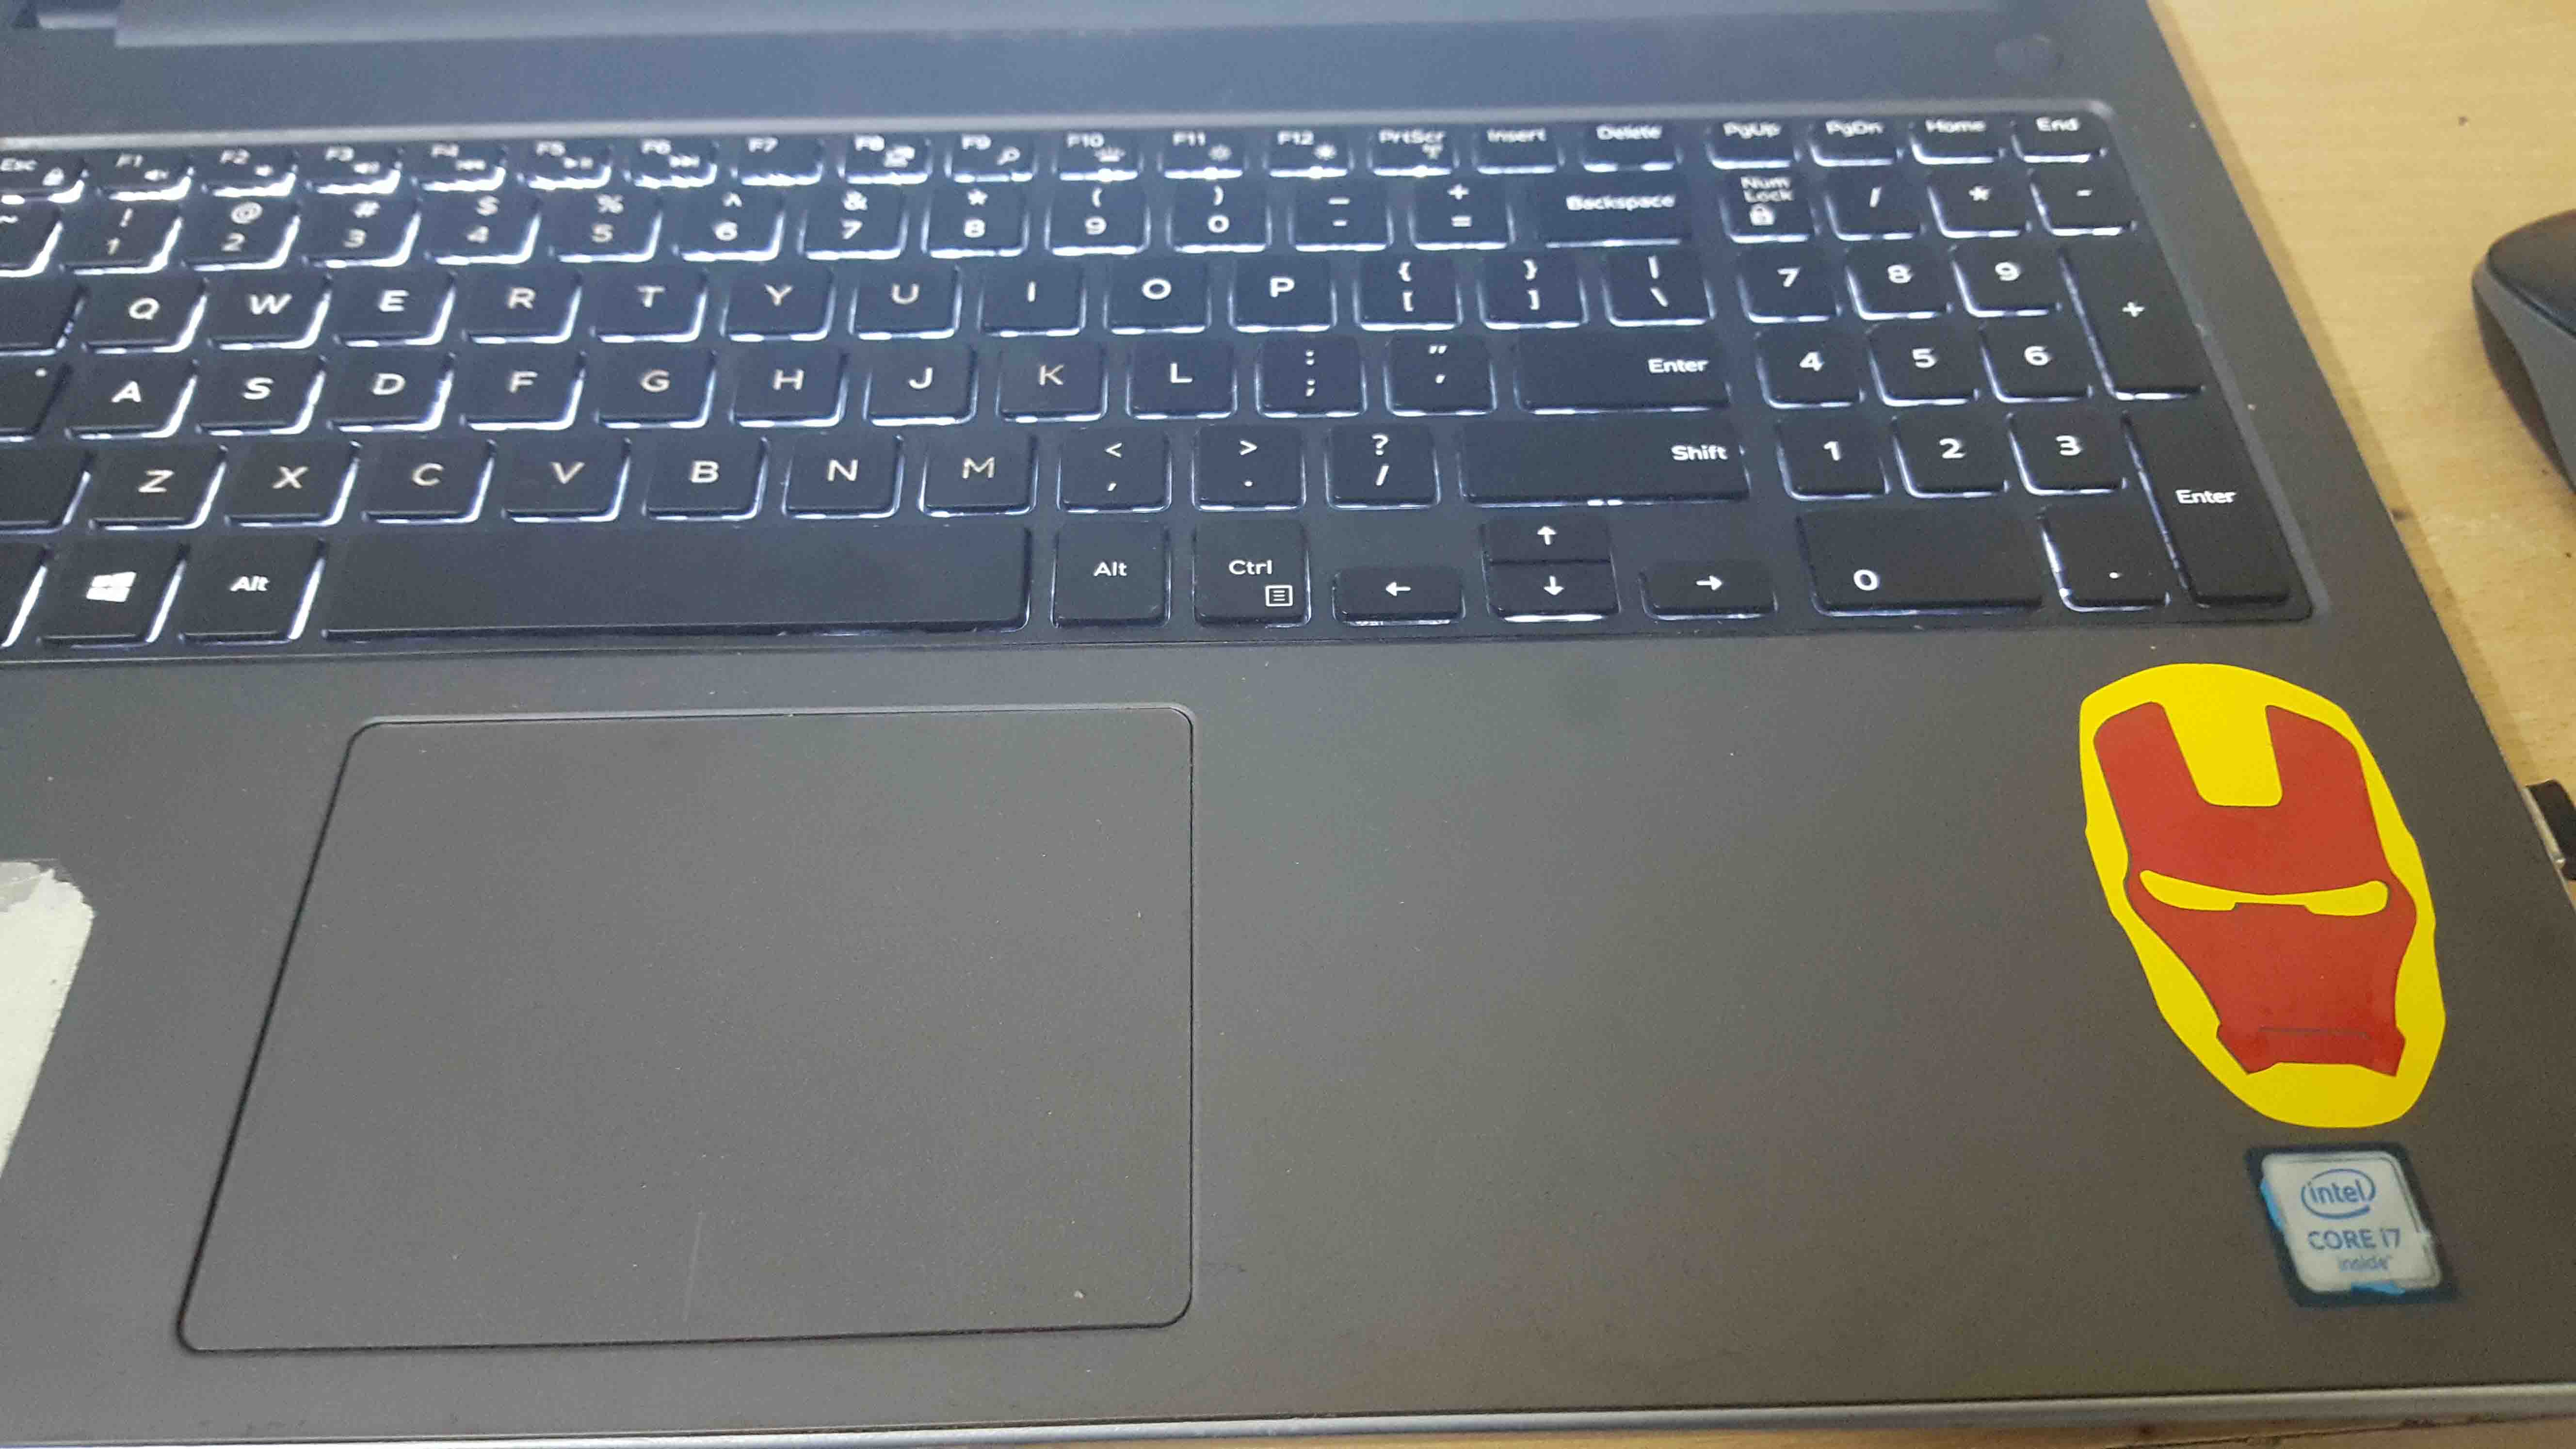
Multi color stiker
I also try to make multi color stiker on my LAPTOP. in this i repeat the above steps 2 times for each color.
LASER CUTTER
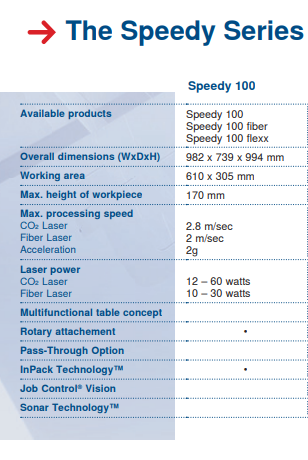
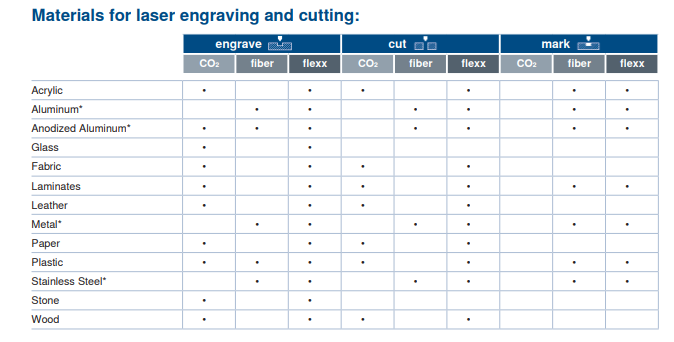
The Speedy laser engraving and cutting systems are the perfect choice both for entry level users as well as professional engravers. „Speedy“ – the fastest and most productive laser machines in the market: By processing at maximum speed of 3.55 m/sec and acceleration of 5g the Speedy is designed to increase your production efficiency. Thanks to the closed construction, essential components are protected from dirt and dust. This is why you can operate without virtually any maintenance and cleaning requirements. This results in higher up-time and lowest cost of ownership. All platform sizes from 610 x 305 mm up to 1000 x 610 mm are available with a CO₂, a fiber or even both laser sources in one laser system. The patented flexx function enables endless application possibilities. Use both laser sources in one job without having to change the laser source, the lenses or the focus manually (Source :- < a href="https://www.troteclaser.com/fileadmin/content/images/Laser_Machines/Speedy_Series/laser-engraver-speedy-brochure.pdf" )> https://www.troteclaser.com/fileadmin/content/images/Laser_Machines/Speedy_Series/laser-engraver-speedy-brochure.pdf
Laser cutting is a technology that uses a laser to cut materials, and is typically used for industrial manufacturing applications, but is also starting to be used by schools, small businesses, and hobbyists. Laser cutting works by directing the output of a high-power laser most commonly through optics. The laser optics and CNC (computer numerical control) are used to direct the material or the laser beam generated. A typical commercial laser for cutting materials involved a motion control system to follow a CNC or G-code of the pattern to be cut onto the material. The focused laser beam is directed at the material, which then either melts, burns, vaporizes away, or is blown away by a jet of gas, leaving an edge with a high-quality surface finish. Industrial laser cutters are used to cut flat-sheet material as well as structural and piping materials.
SETTING THE MACHINE
First we need to Focus the laser
We are using a prob to focus the laser
Setting Y Axis by using ControlPad

Once the Axis is set then it will start doing from there
Let's Laser
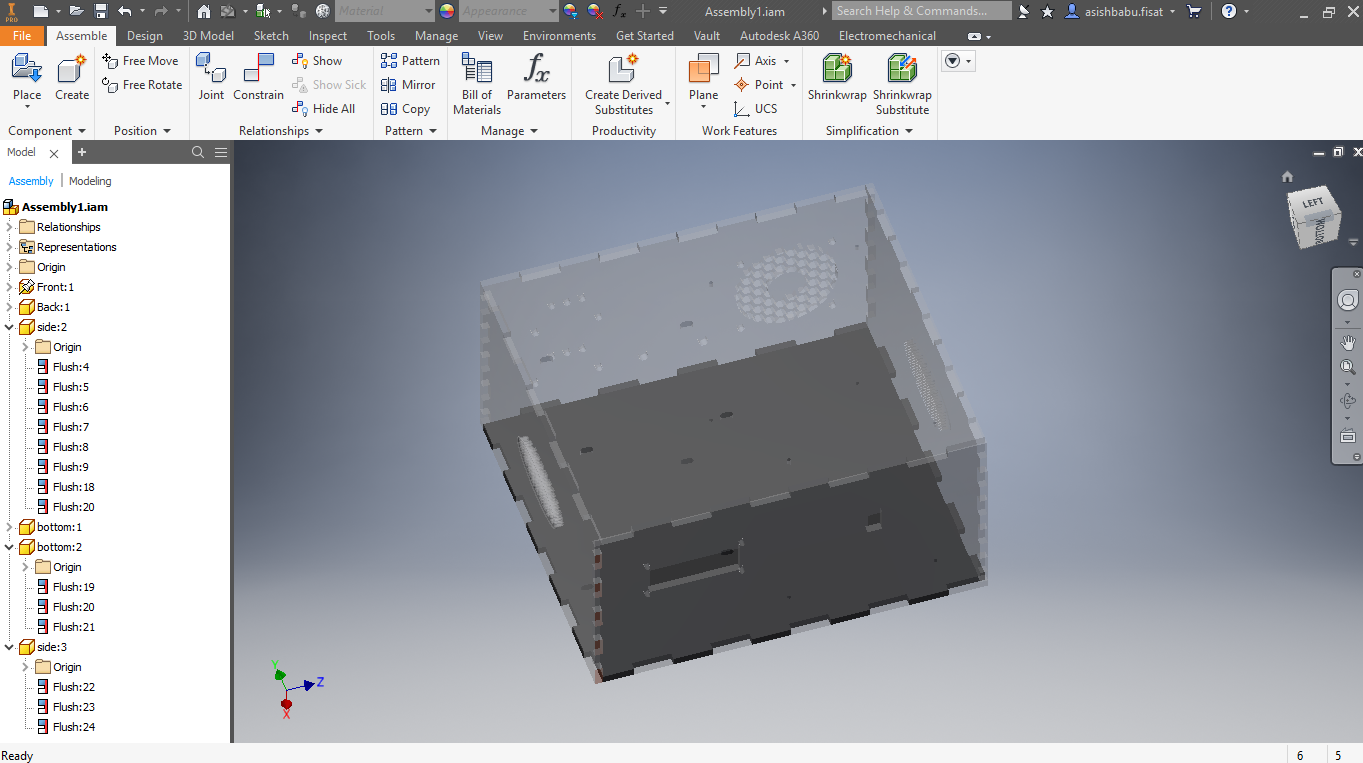
This week assignment is to make a press fit joints. I have a plan to make an inverter case with acrilic so in this week i plan to make a transparent case for my inverter. And i also need to complete the week so i design a simple press fit using cardboard. I need time to build my inverter Case. so i simply cut a cardboard and build a simple spheare shape to complete this week. i use inventor to design 3D-models.
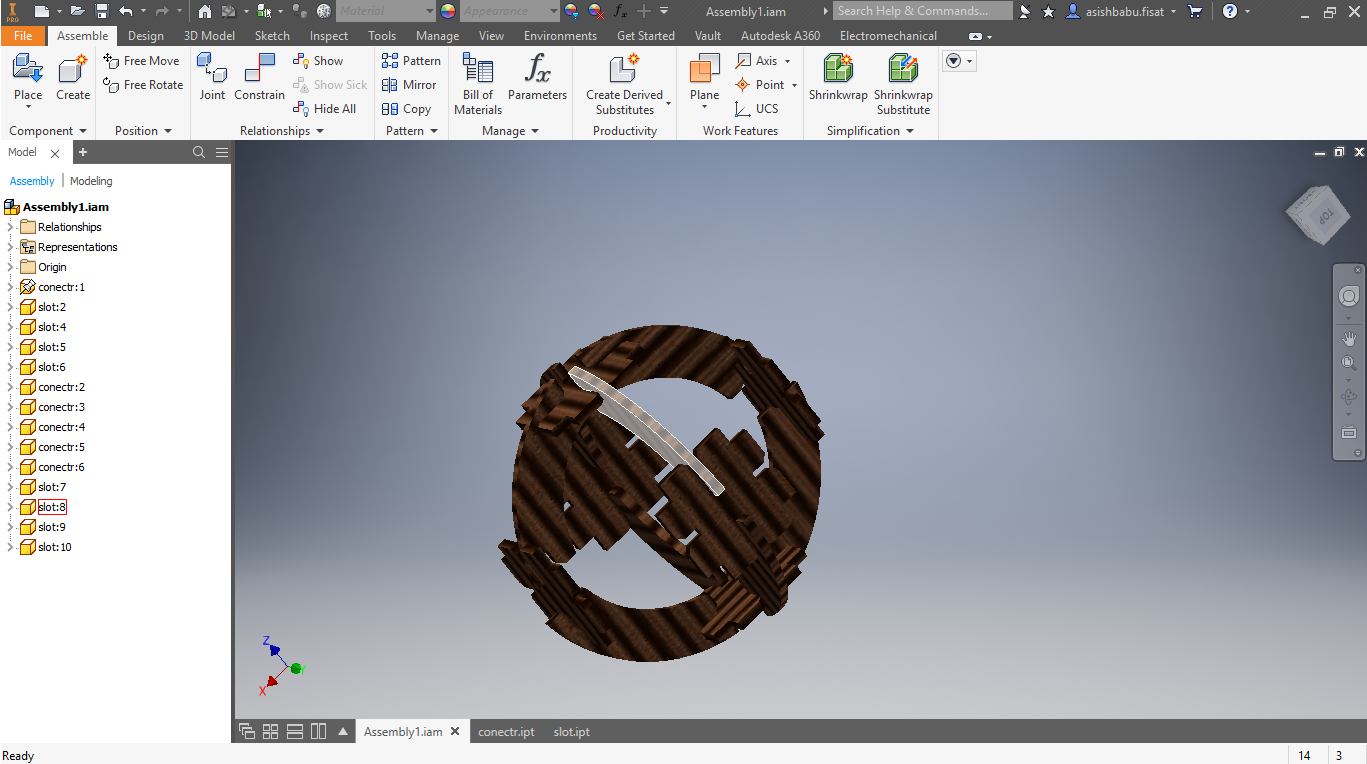
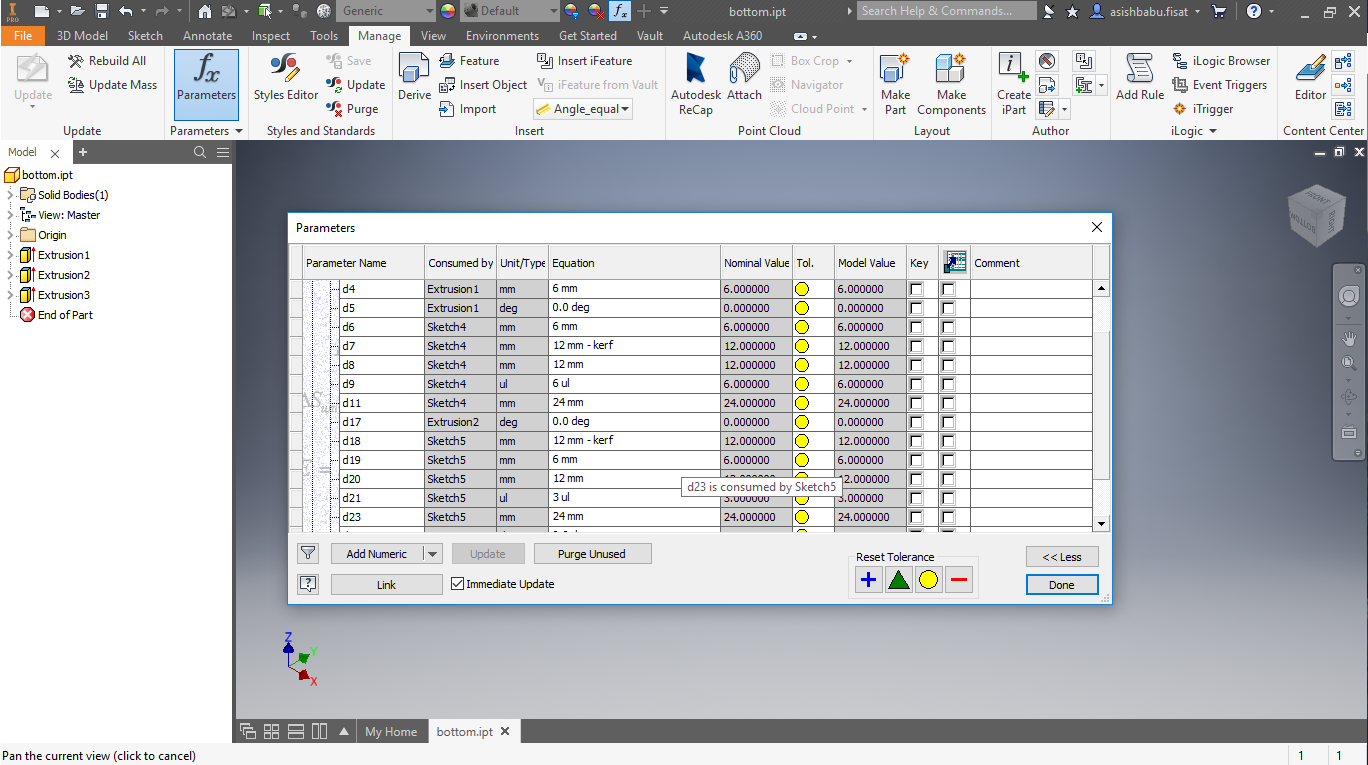
inventor have a option to parametric design. heare we can set veriables and can be reused for any values. The advandage is that we can edit this any time will show all places whwere we use that values.
Trotec JOB Control
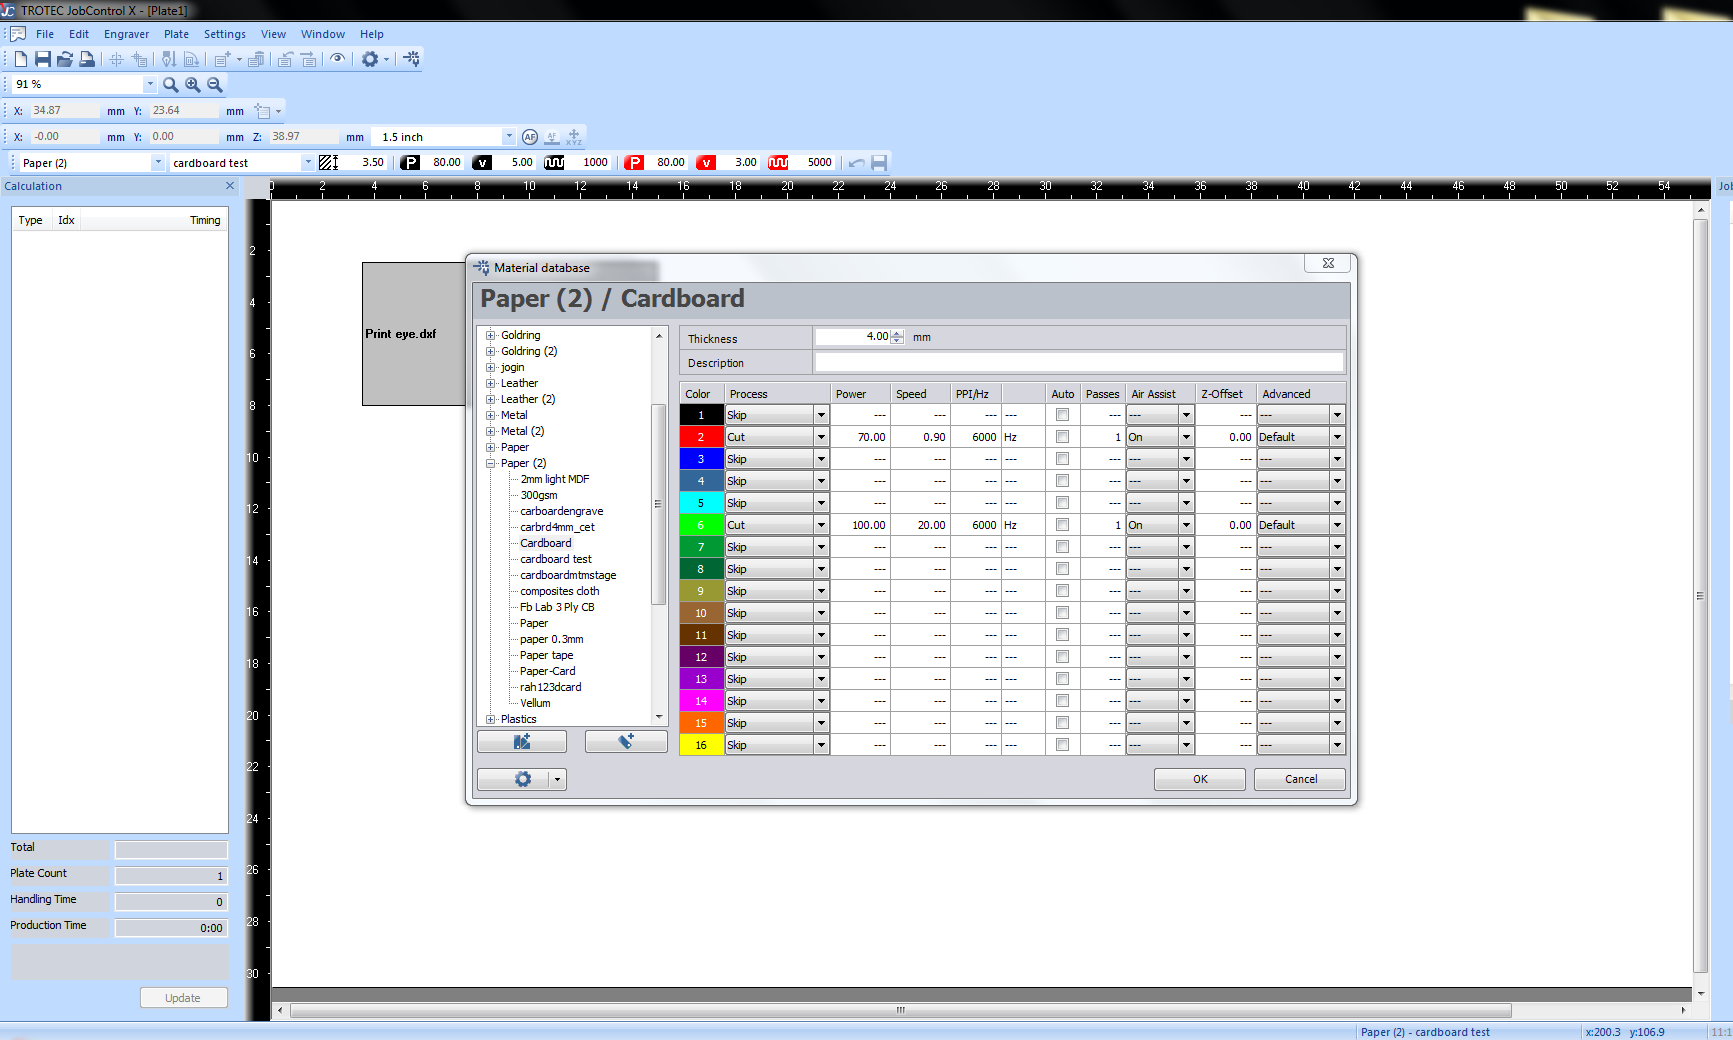
In this softwere we select proffile to cut or engrave. heare we can set property of the laser head for cardboard we use following values.
- Power:70
- Frequency:6000
- velocity:0.90
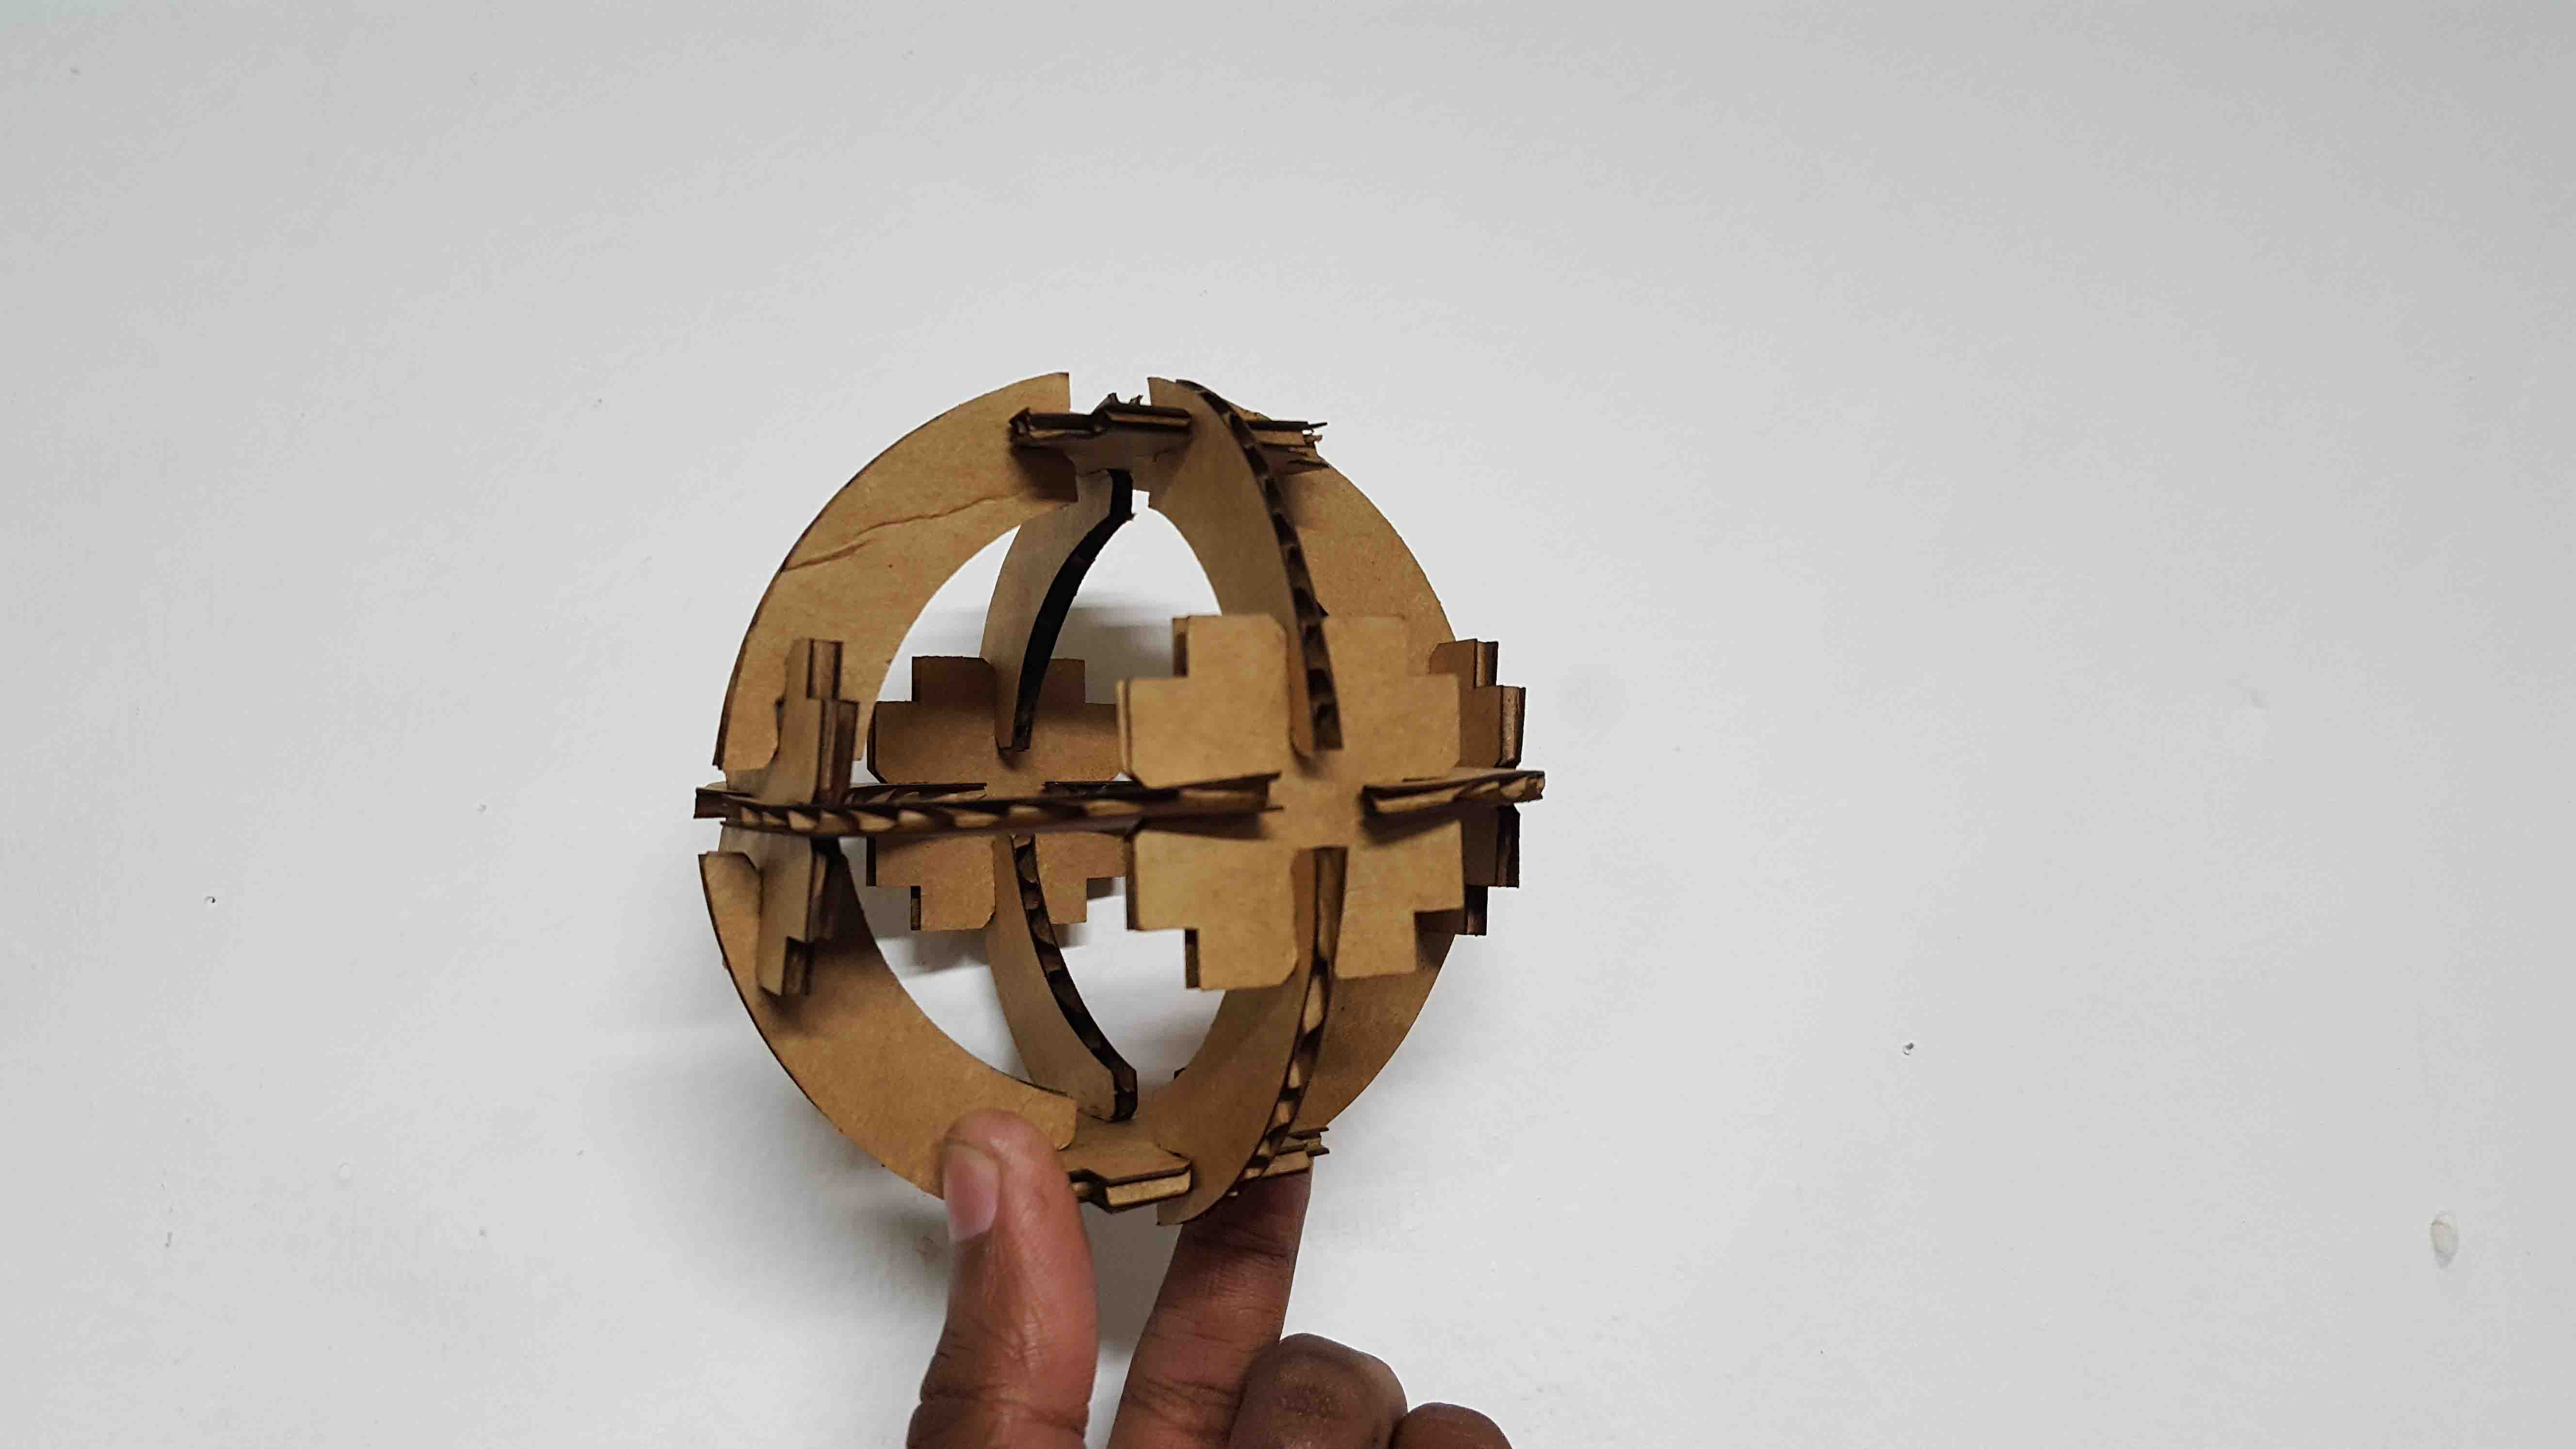
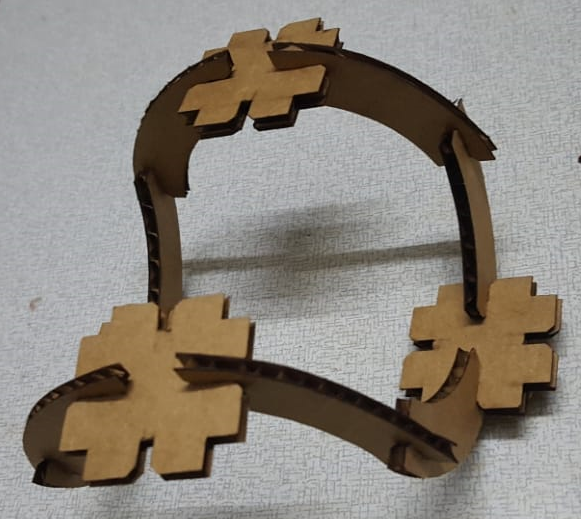
After cutting it i assembled it as a spheare
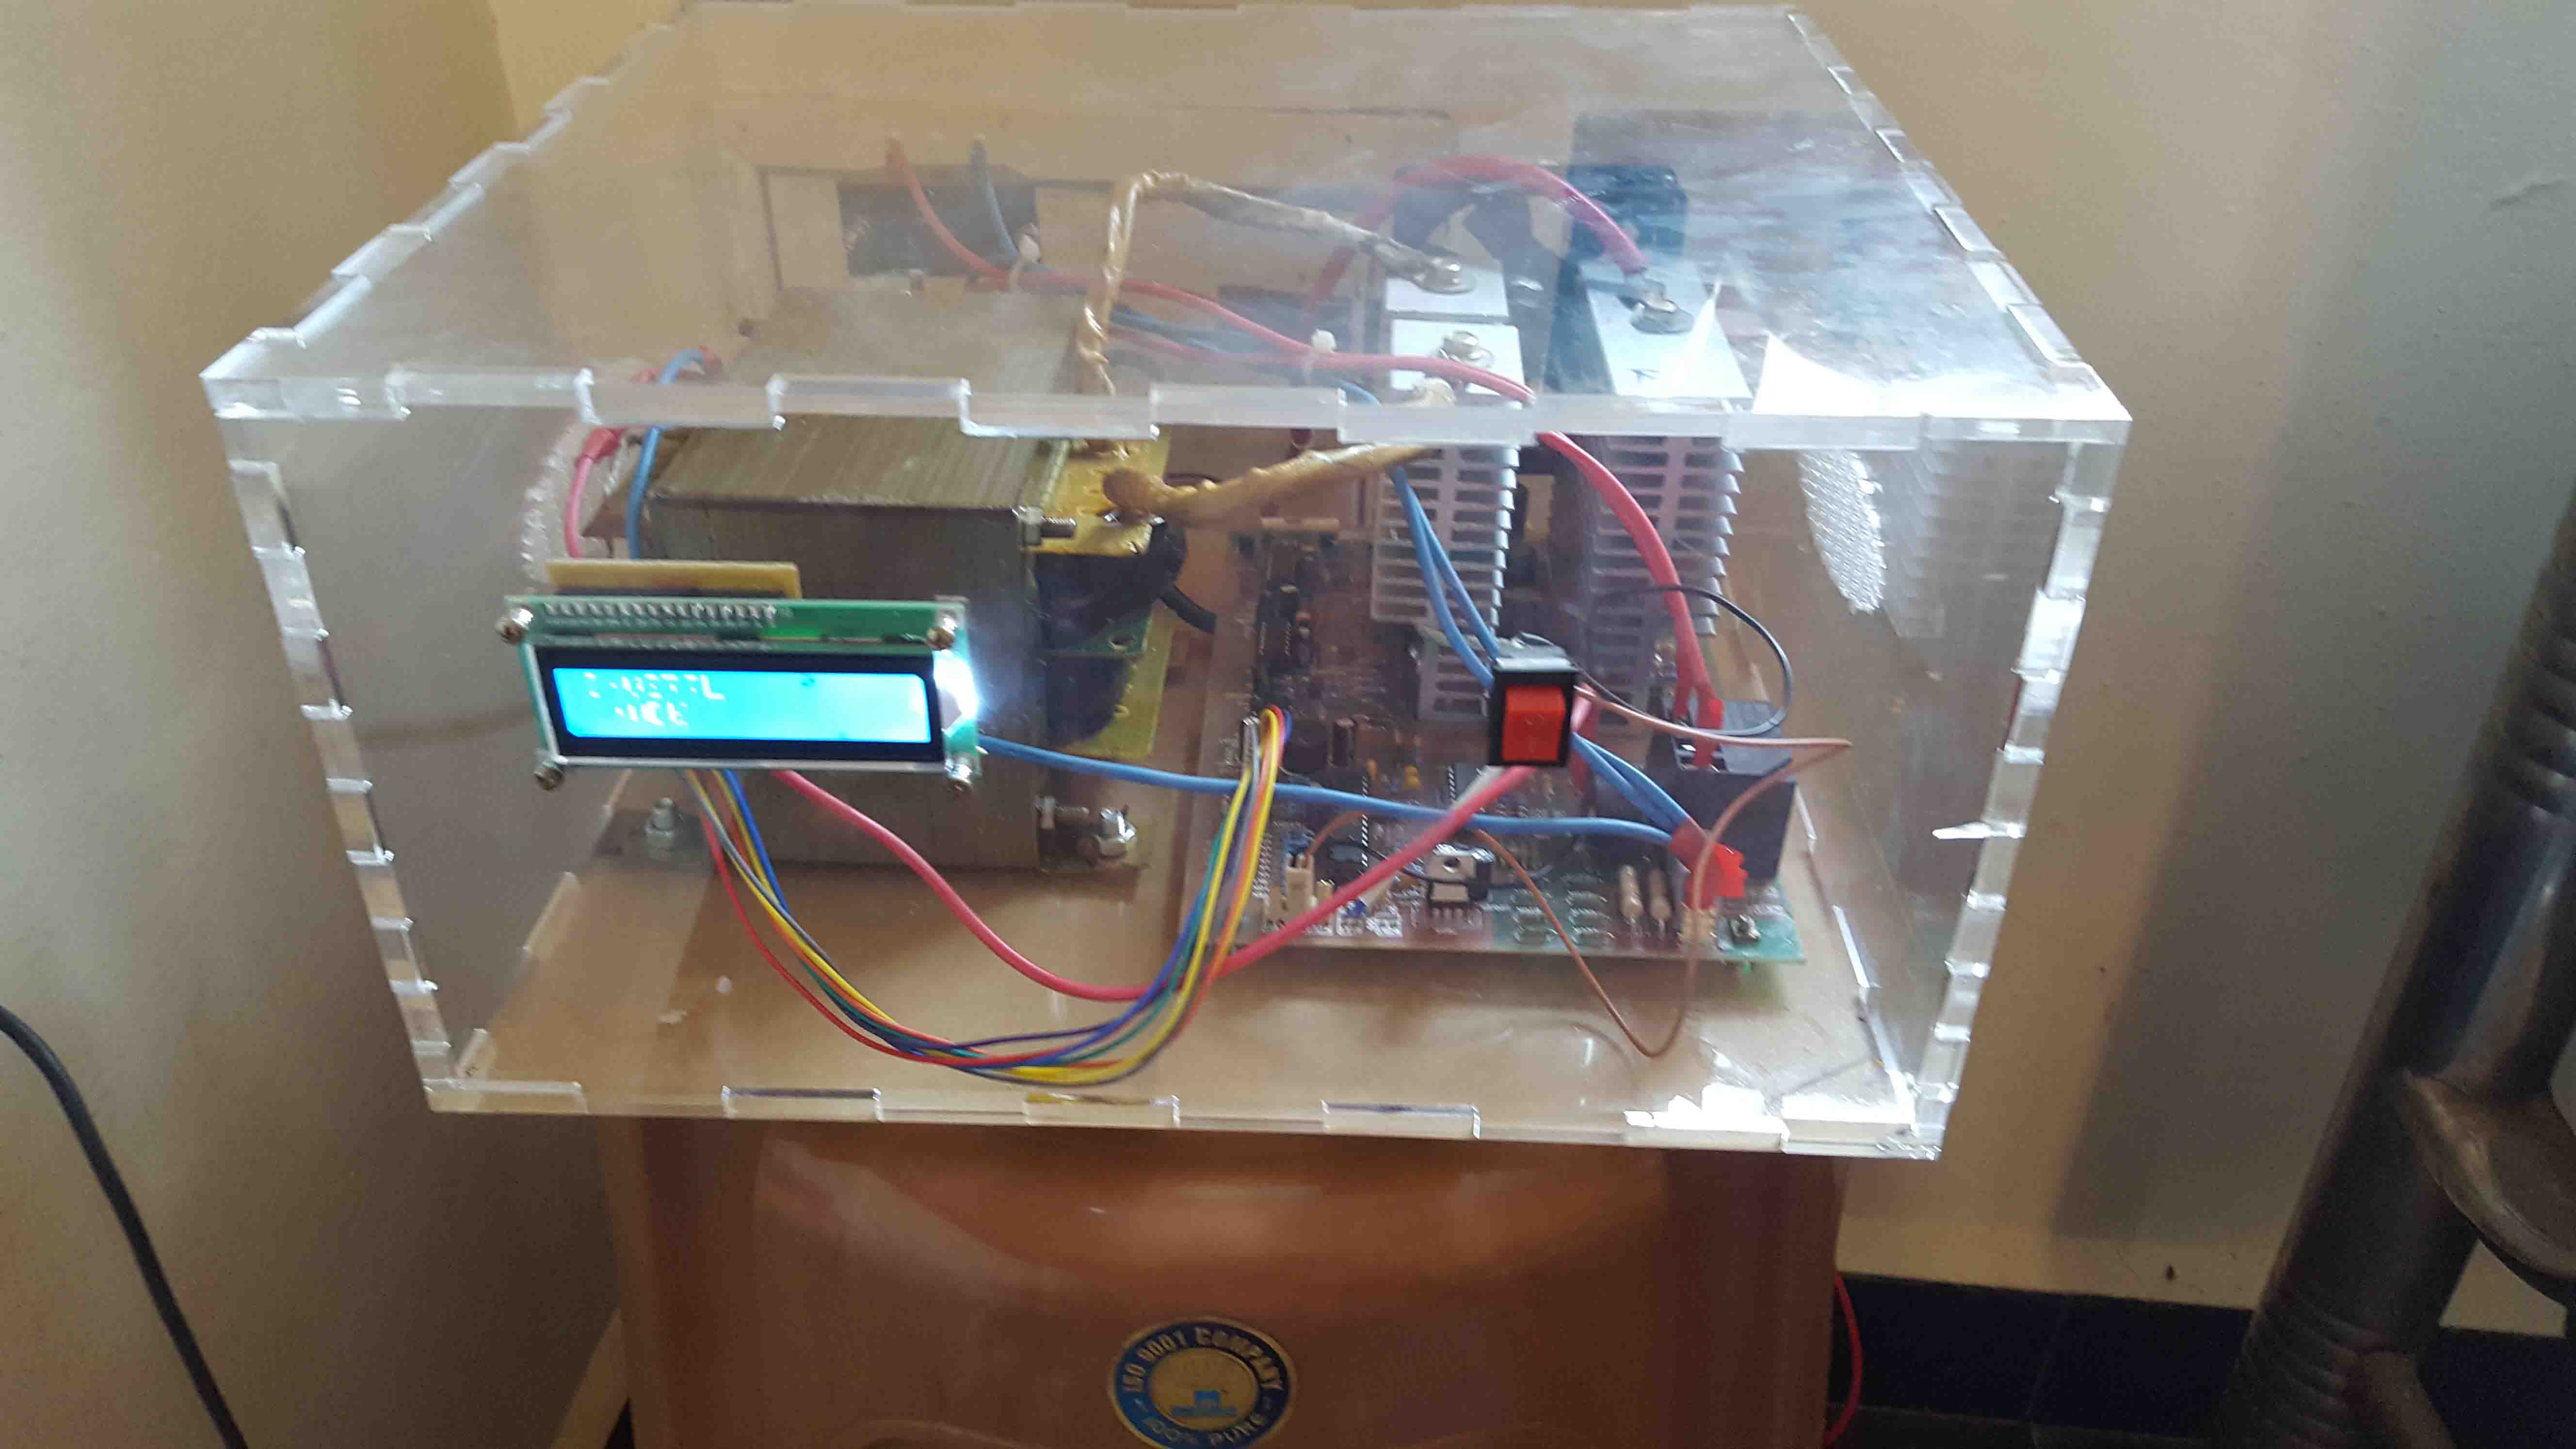
After week assignment i made an inverter case for my custom made inverter, Using 6mm clear acrilic. Kerf, pressfit ..etc which i learnt from previous class that helped me very much to make this.Which is a pure sine wave. I use Dspic30F2010 controler to build this inverter. It has a display, which shows voltage, load, Battery charge, Inverter status, Charger current ..etc
Download inventor files
I use Autodesk inventor to design the case, and fingerjoints to connect each acrylic pieces. There is no glue and no screws. Only friction holds the entire box.
Group Assignment
This week we got our first group assignment.
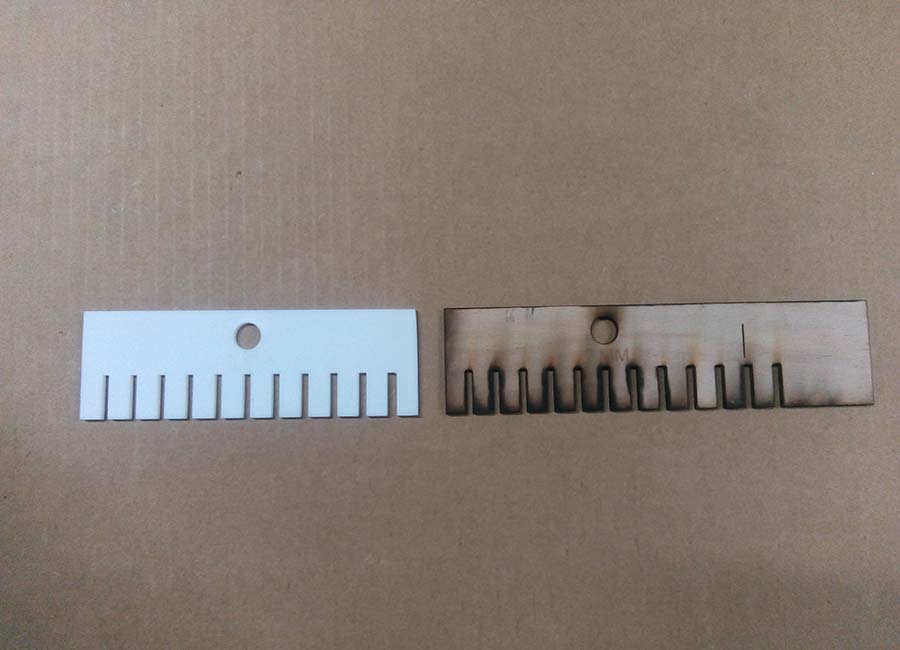
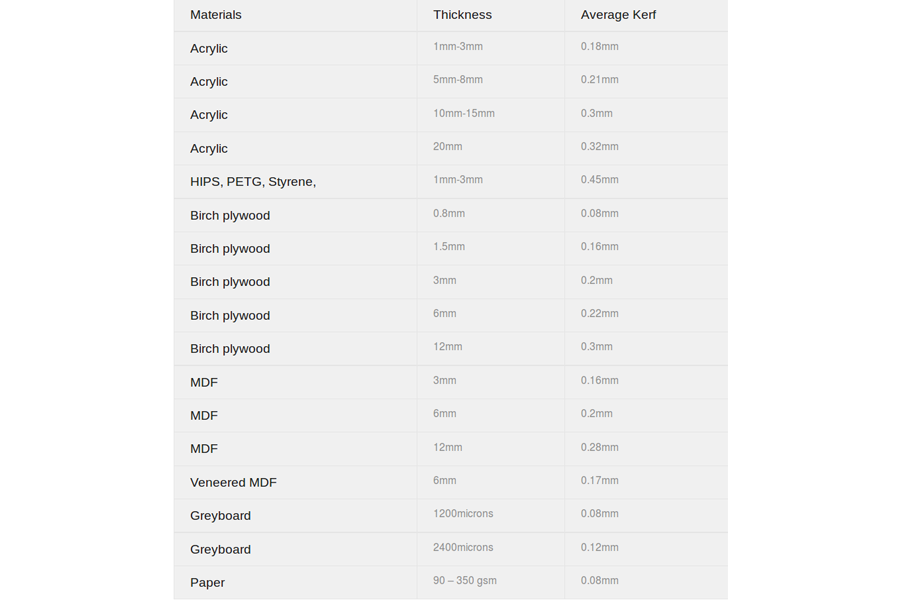
haracterize your lasercutter, making test part(s) that vary cutting settings and dimensions As part of testing out the laser cutter we had made a Kerf Scale. Kerf is simply the amount of materilal removed during the cutting process.The different kerf scales is as follows.
So we designed a scale and print it using laser cutter
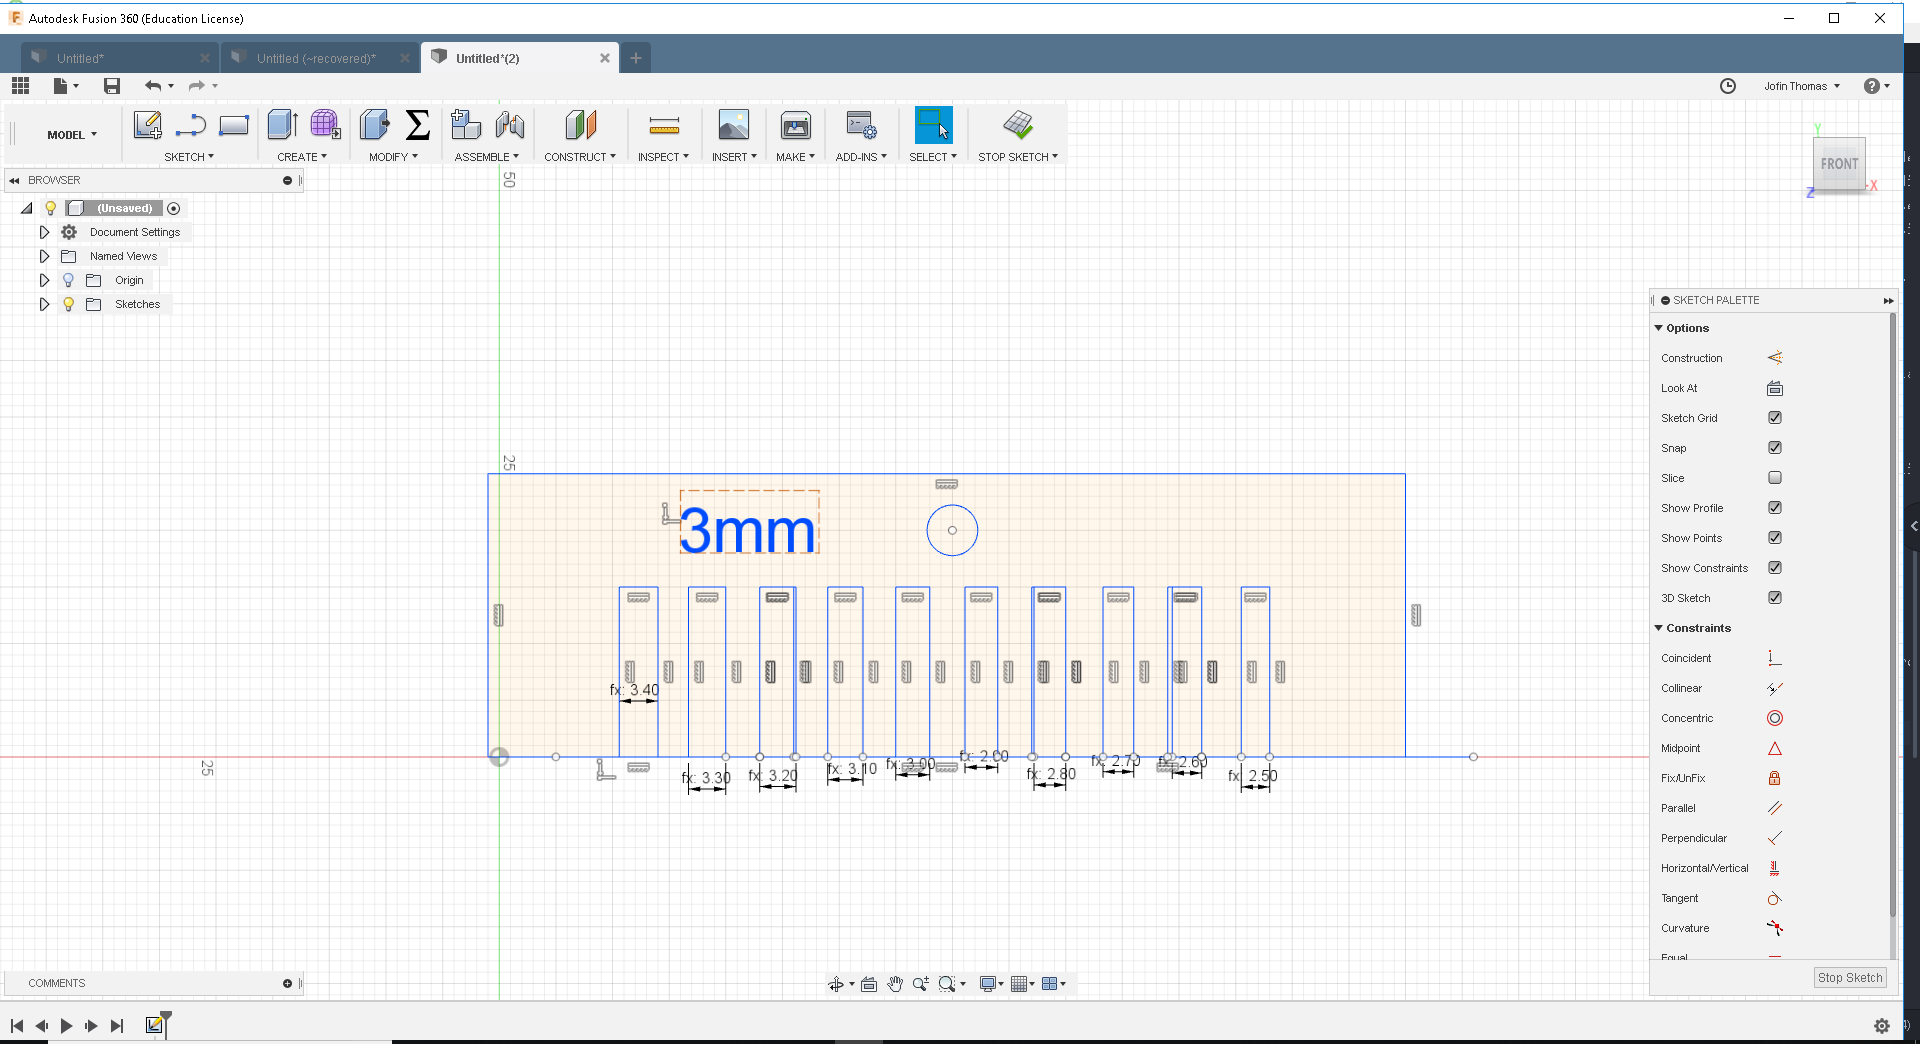
Parameters
- Power - 75
- Velocity - .90
- Freq - 7000
- Engraving Parameters
- Power - 75
- Velocity - 90
- Freq - 500
Kerf Scale