Design, make, and document a parametric press-fit construction kit using lasercutter.
accounting for the lasercutter kerf, which can be assembled in multiple ways.
Group Assignment
characterize your lasercutter, making test part(s) that vary cutting settings and dimensions
Group Assignment
Laser Cut Group Assignment
It is our first time to work on American brand laser cutting machine. This is 75 Watt CO2 laser cutting machine with a bed size of 32x20 inches. I am very much satisfied with the quality assurance and safety measures taken by Epilog (especially limit switches which prevent machine if someone opens the top cover while machine is in function). I already work on chineese brand 80 Watt 40x60 cm laser cutting machine. They are cheap in prices, work bit same but no safety measures.
For group assignment, we are using a material test card which we found from Material Test Card for Laser Cutting and Engraving. This card is helpful to document the machine performance on any material. We are using 4mm cardboard to test machine parameters. In this test we are checking its engraving power, engraving performance on different font sizes, cutting accuracy by cutting different size shapes and, parabolic and straight line flexes by varying line spacing.
Steps for Laser Cutting:
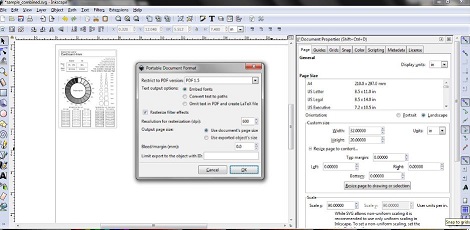
As per instructions we set cutting line strokes to 0.001 inches. Other vectors except 0.001 inches set to engrave with respect to their greyscale color. Then we convert our SVG file into PDF while setting page size to 32x20 inches from document properties and selecting 600 dpi as resolution for rasterization
setting up file in svg and convert into pdf
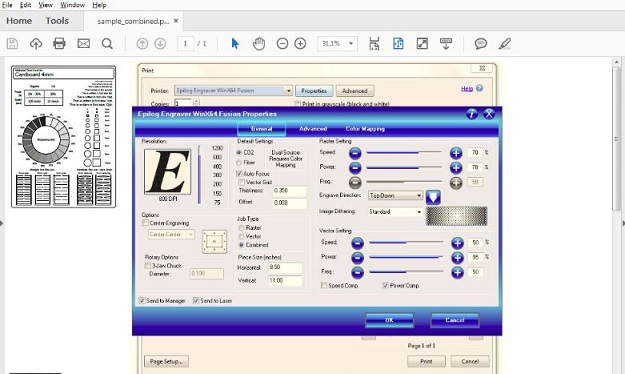
After that we open PDF file and press Ctrl+P to open printing properties, we select "Epilog Engraver WinX64 Fusion" in Printer box and click "Properties"
Epilog file properties menu to set Raster/Vector power and speed settings
We click on Combined in "Job Type" tab, then we set cutting power and speed to 30% and 10% respectively. We set raster power and speed both to 100% to judge full engraving power on engraving test. After setting up parameters for the job click "OK" and the job transfer to Epilog Job Manager.
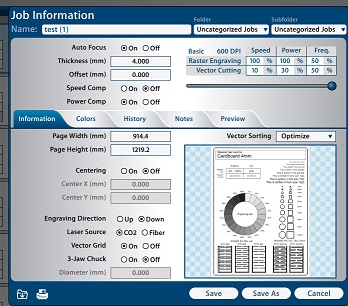
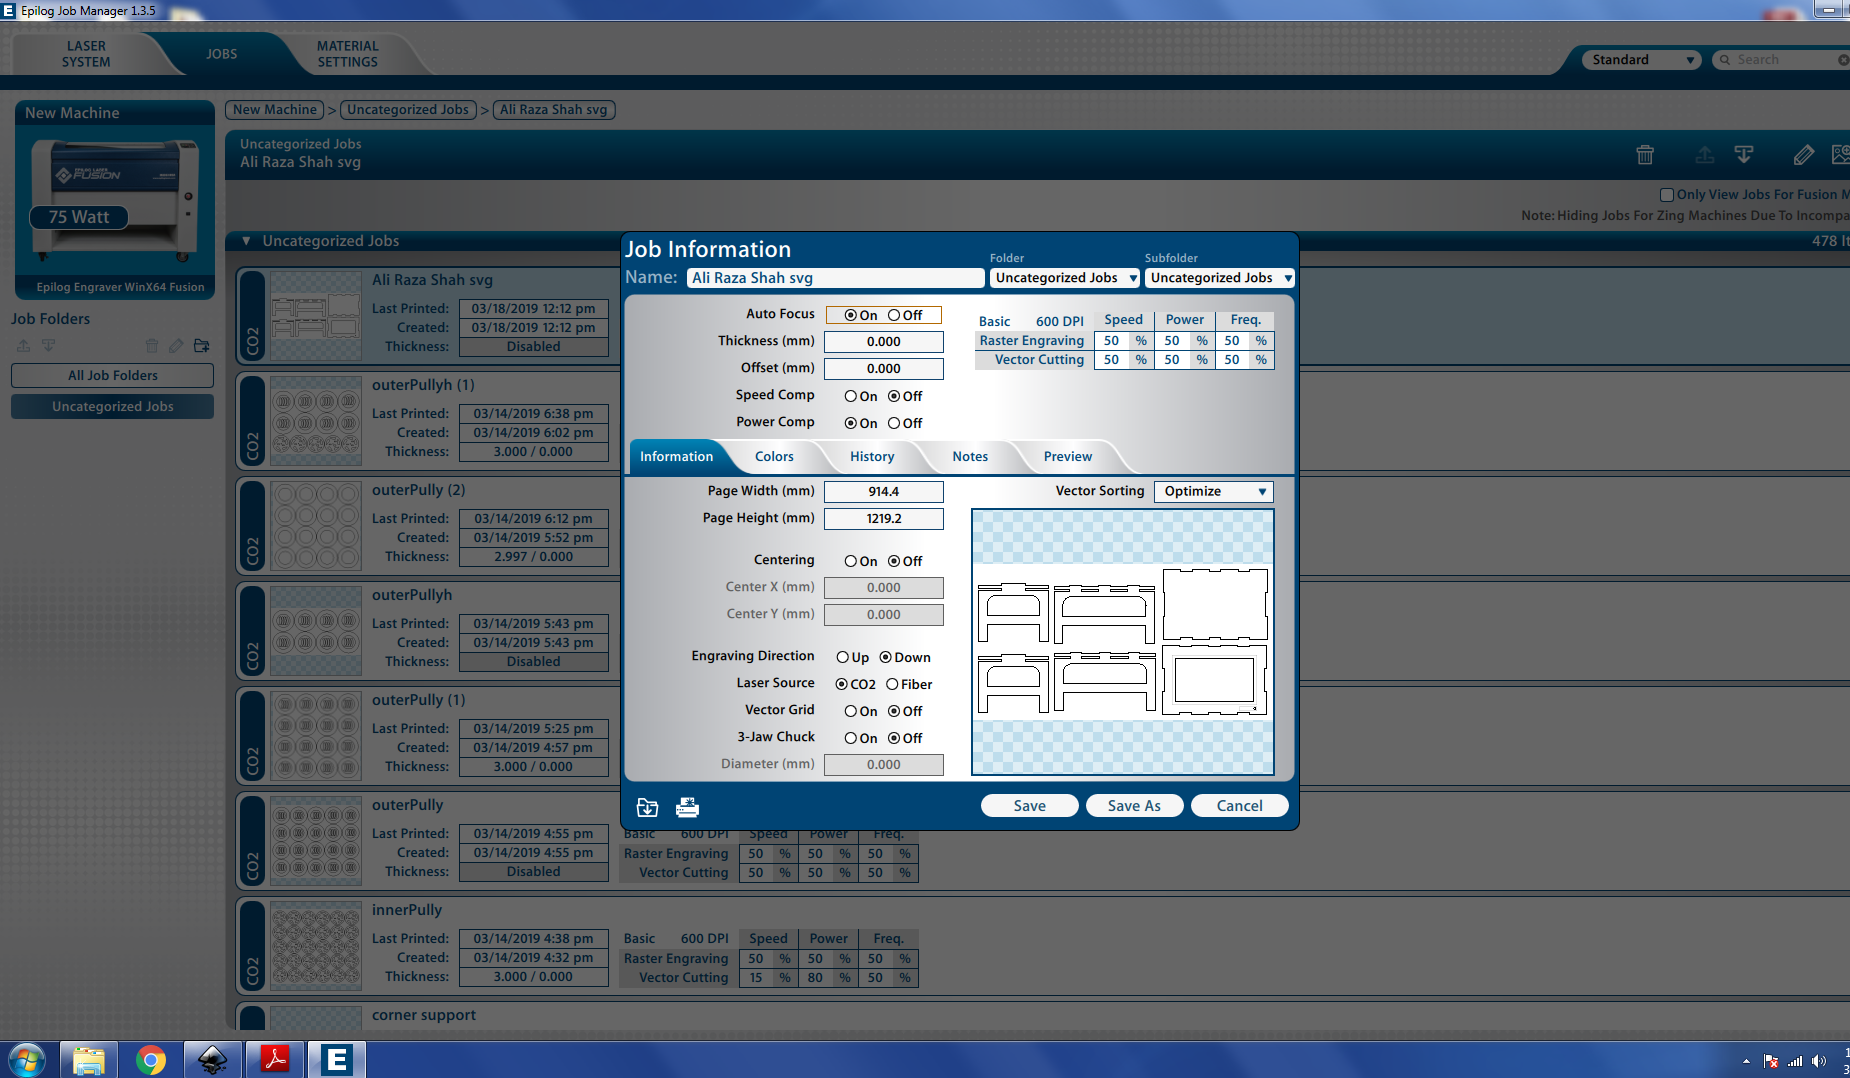
Job information in Epilog Job Manager
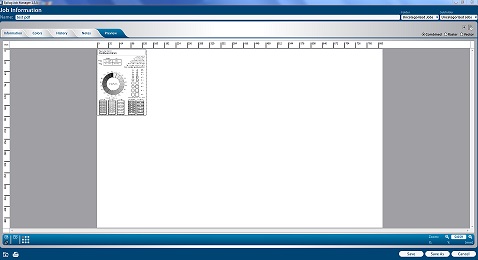
For setting up our given job on machine bed, we clicked on "preview" and change the location of the job by dragging the image in preview menu and set where we need it on Laser machine bed.
Job Preview Window
After selecting the location click "Save" the new information will save in job, click on "print" (top left corner in Epilog Job Manager) to transfer job to laser cutting machine.
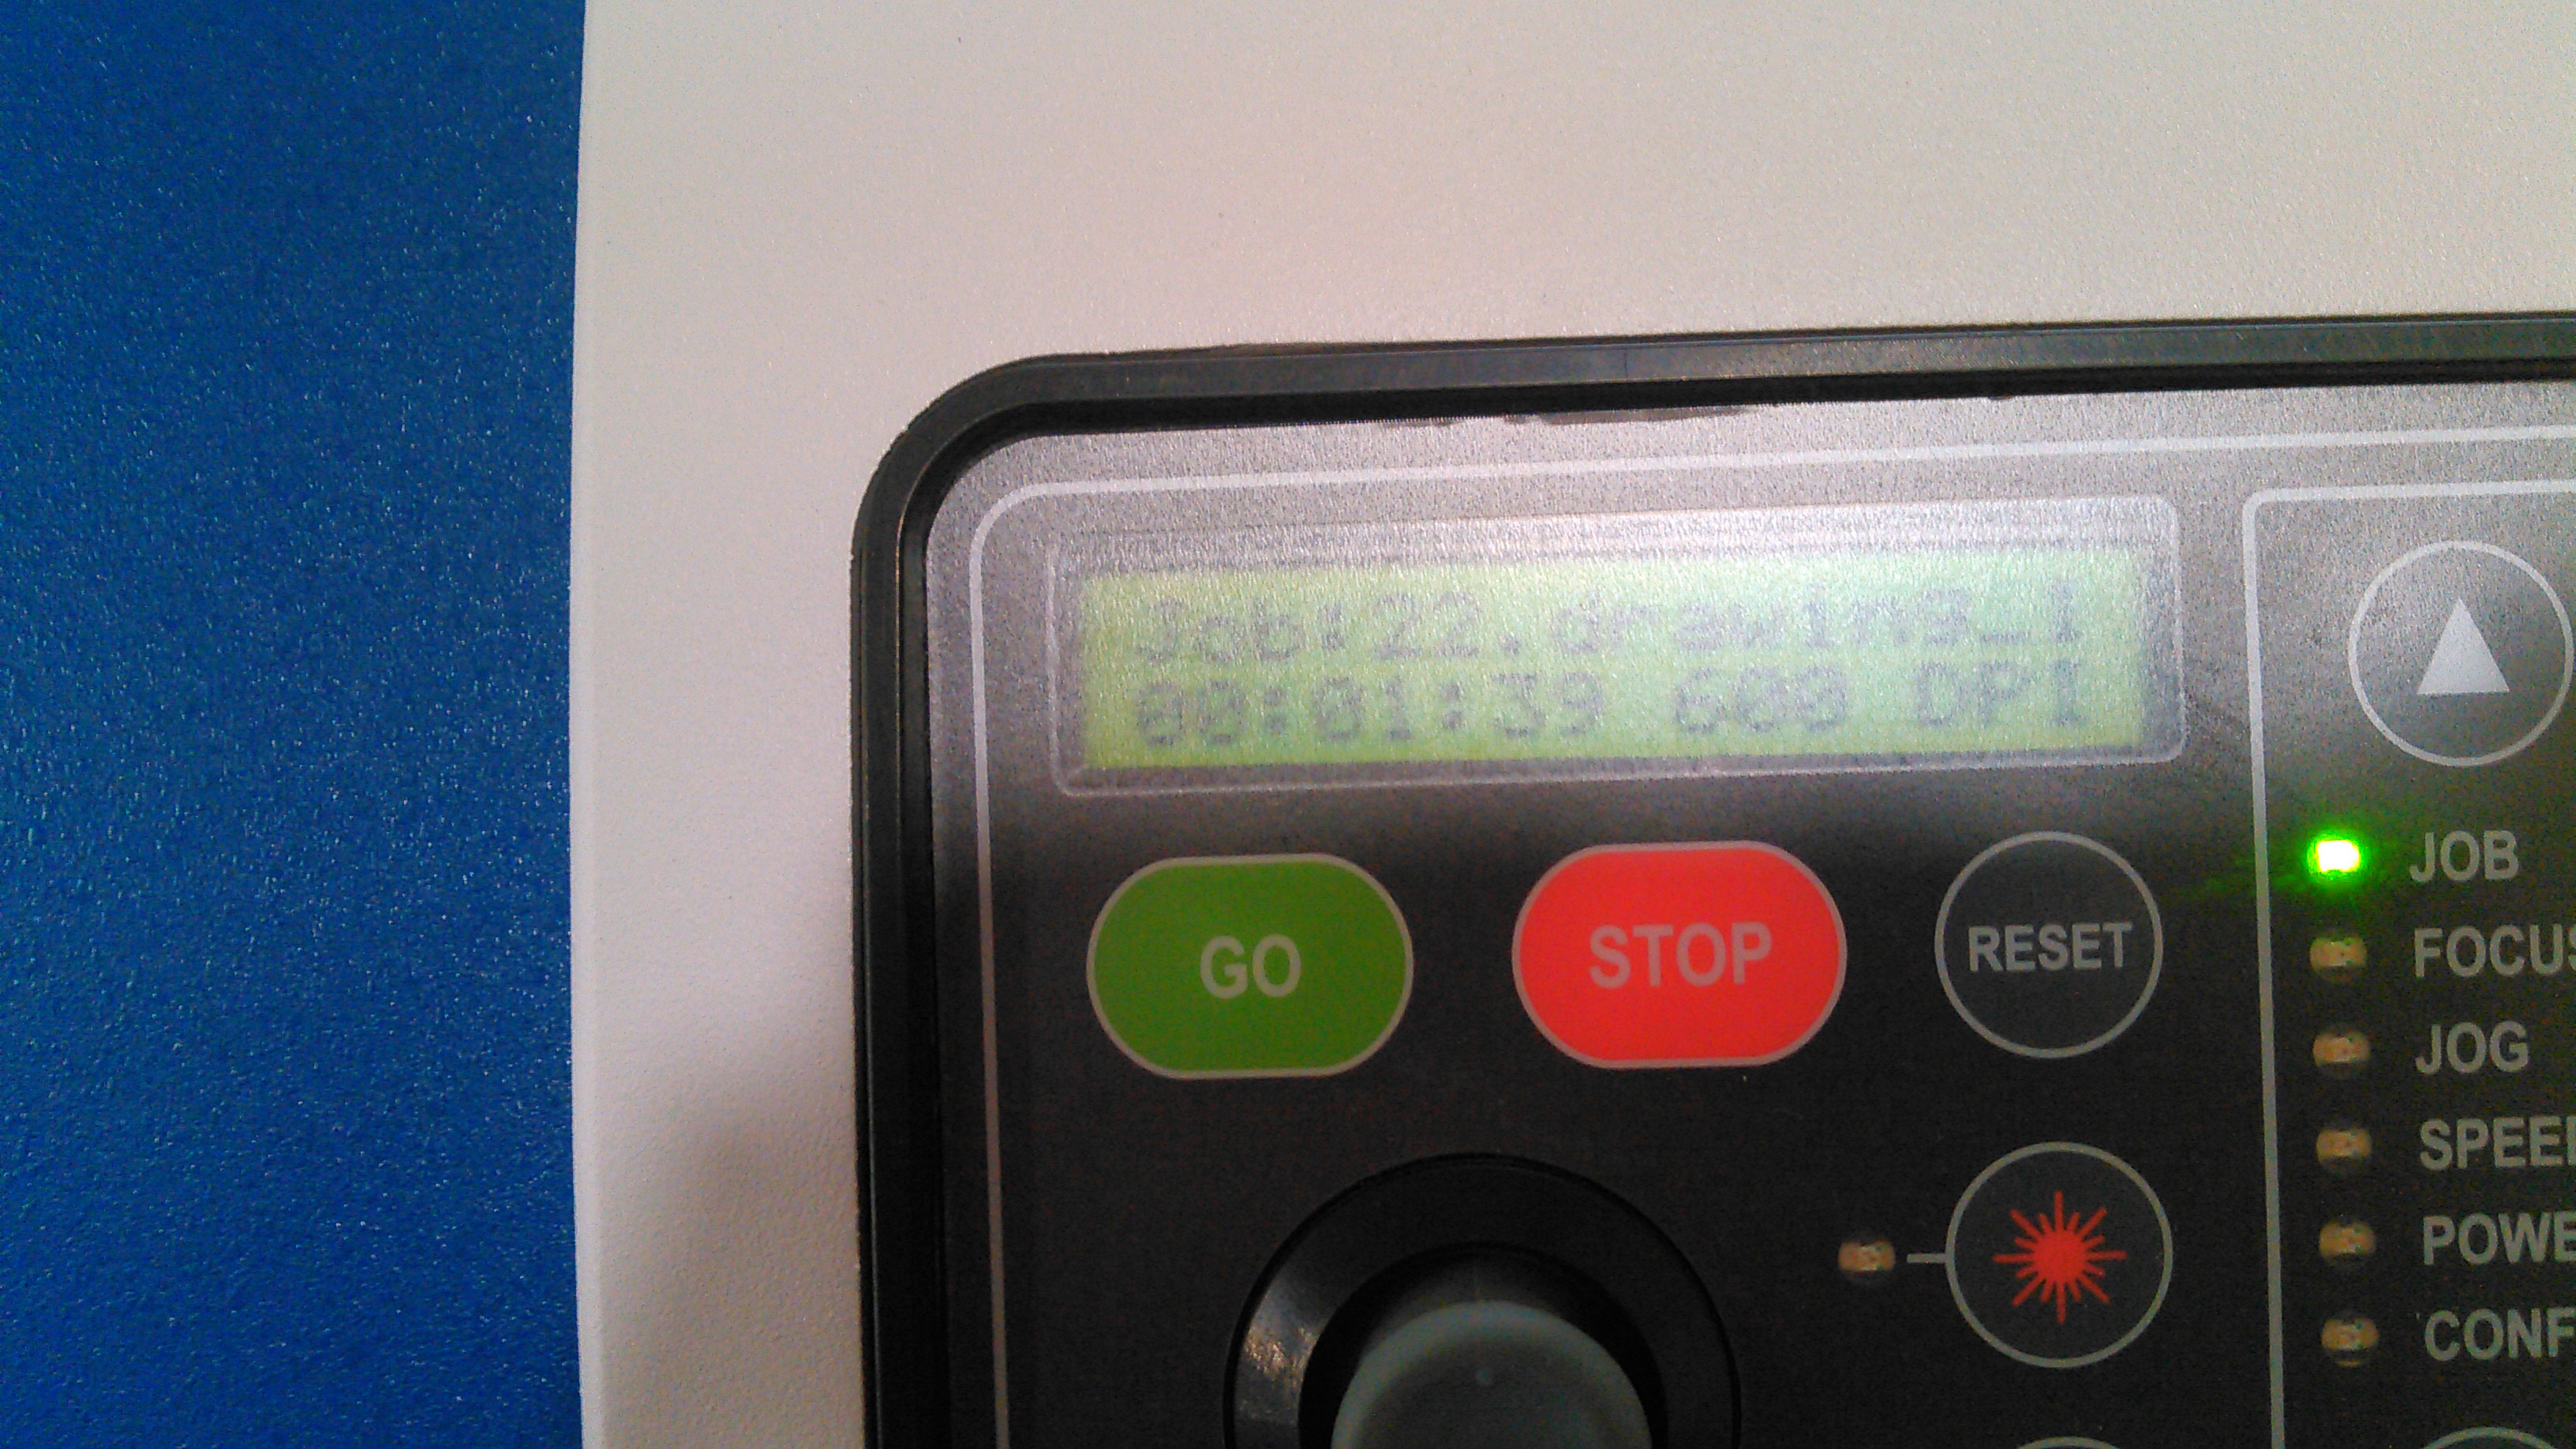
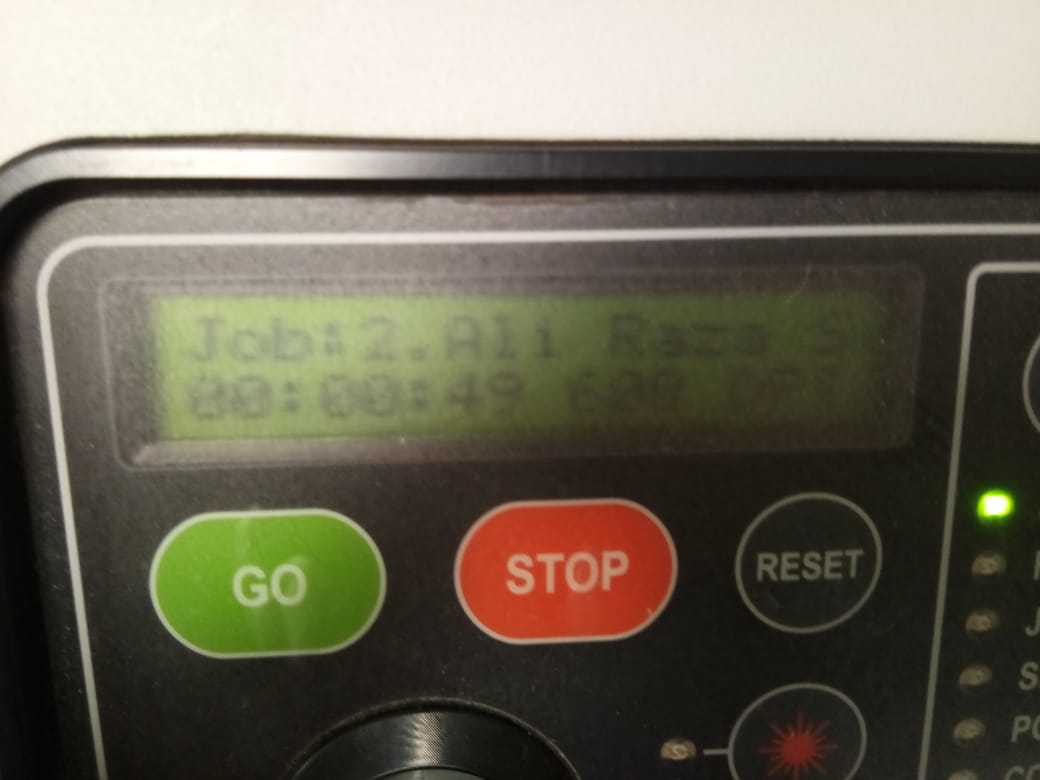
Display of job information on Laser Cutting Machine panel
Press "GO" on machine panel and leave rest of the work on machine.
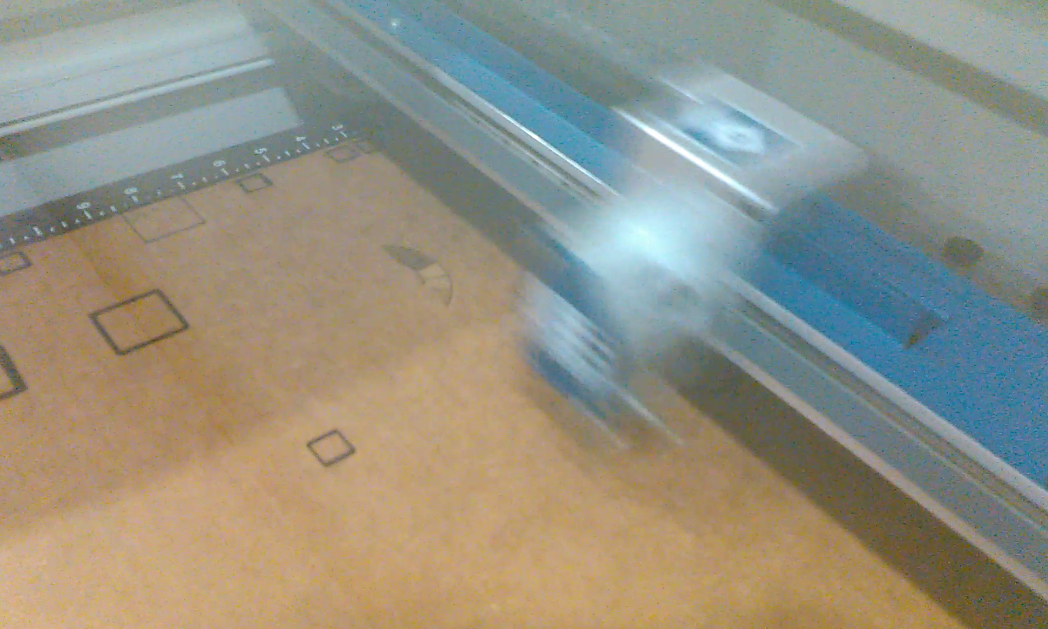
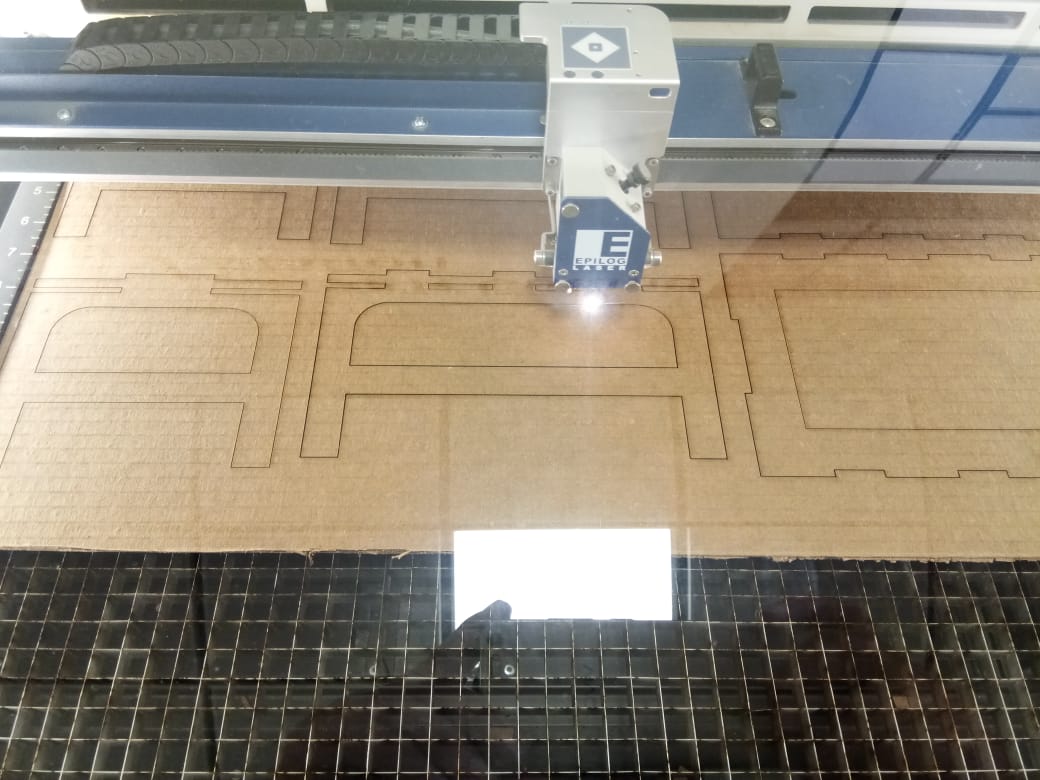
Laser Cutting Machine while working on Job
The perfect End Result.
Final product
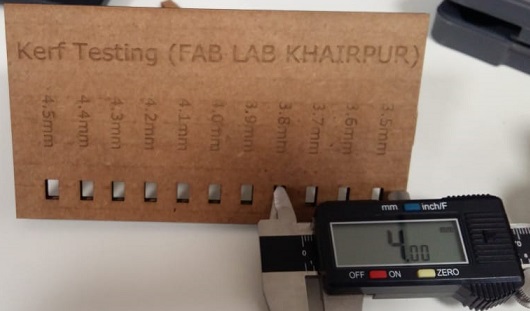
Kerf Measurment
From this group project we learn that after all process and operation laser cutting machine is based on 2 things laser power and speed. We have to set the exact ratio of power and speed for engrave and cut which is based on material thickness and material type. More power with slow speed can burn the material and fast speed with low power can engrave but it maybe lighter enough to do job again.
Individual Assignment
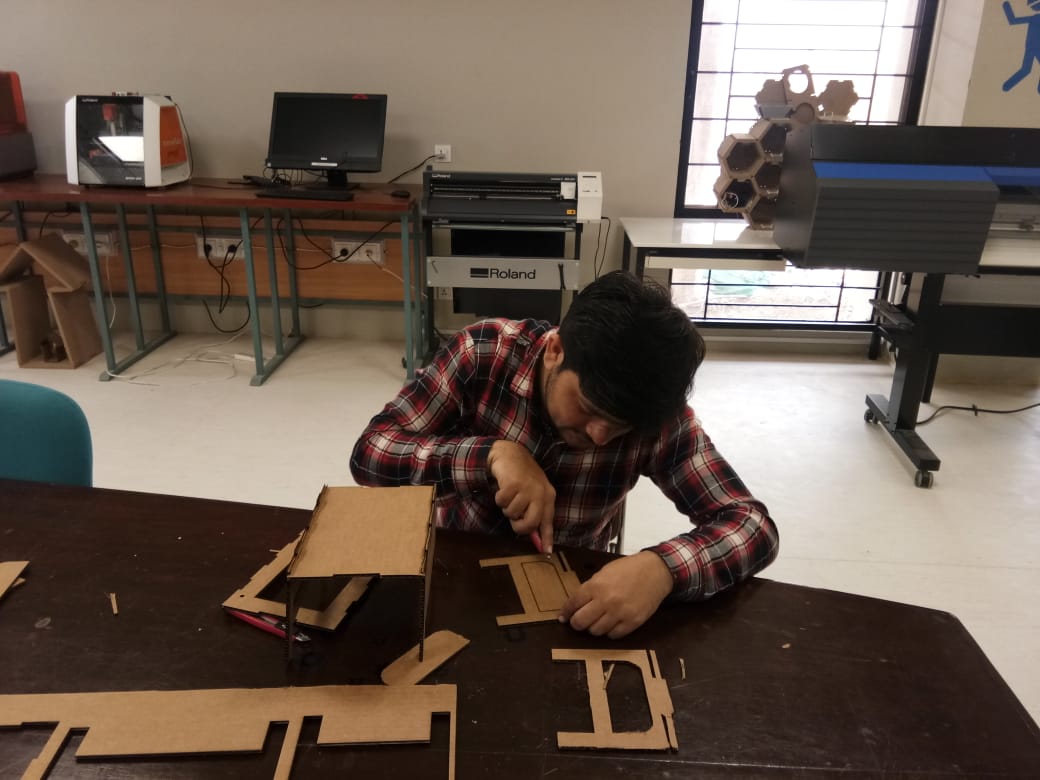
After Group Assignment now it's time for individual assignment. For individual assignment i decide to make tale that is one of requirement of my final project. I discuss with my local instructor for this idea and he suggest me to go through this idea and this idea will help you in upcoming week of Computer-Controlled Machining. The Design for this week is must be parametric and press fit . For desiging table I chose solidworks
Let’s Start
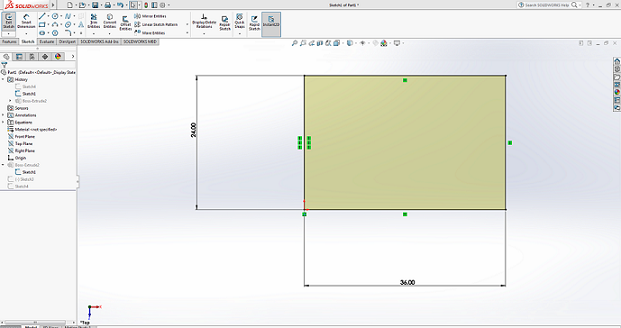
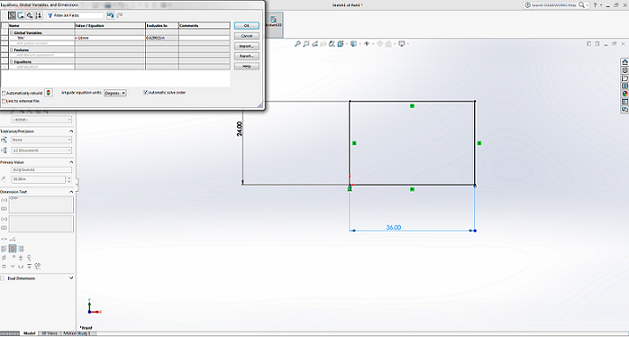
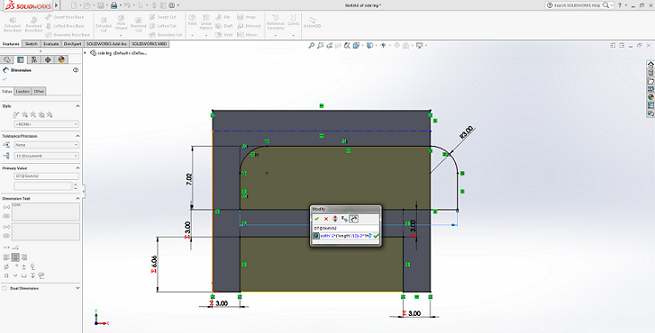
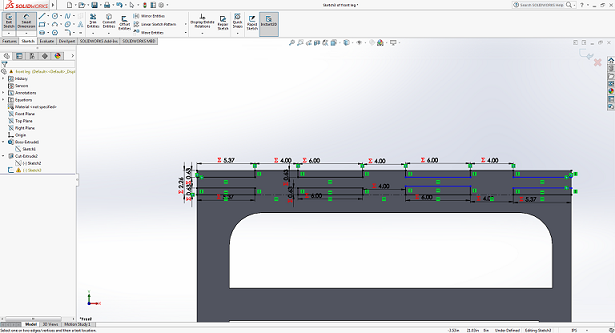
Defining Dimensions
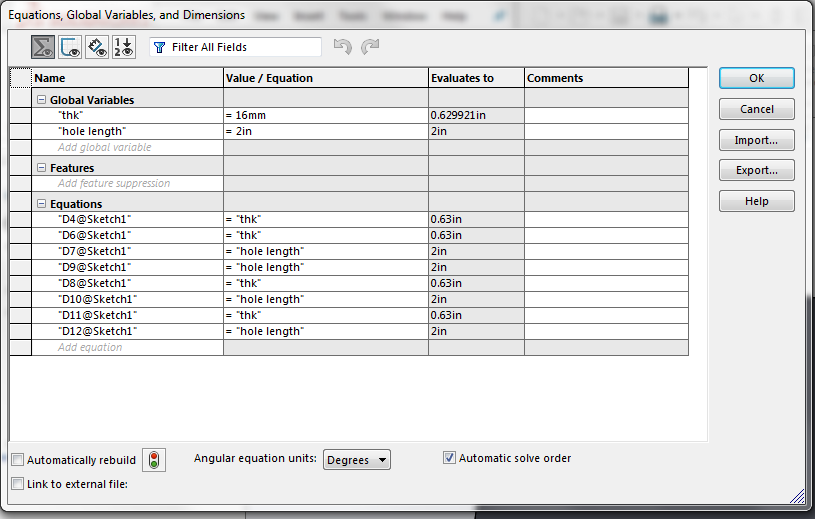
Defining parametric Equation
Definig the thickness parameter as variable. I defined global variable name "thk" value 16mm
Equation
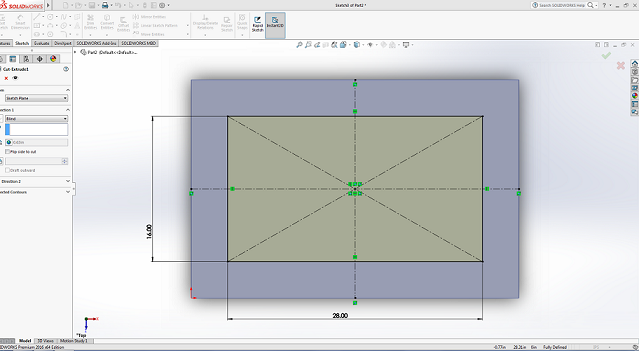
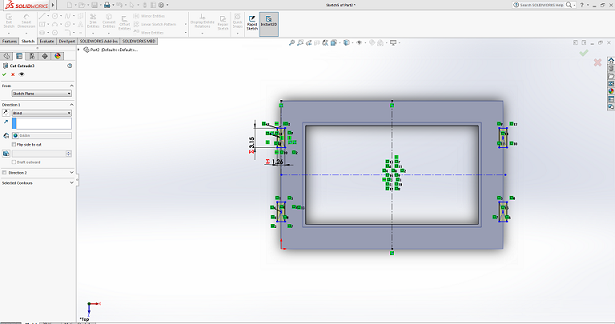
pocket
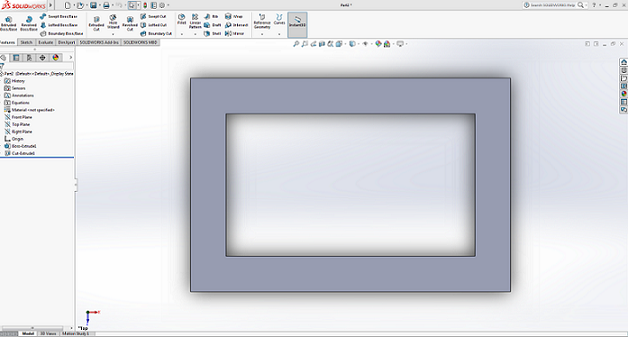
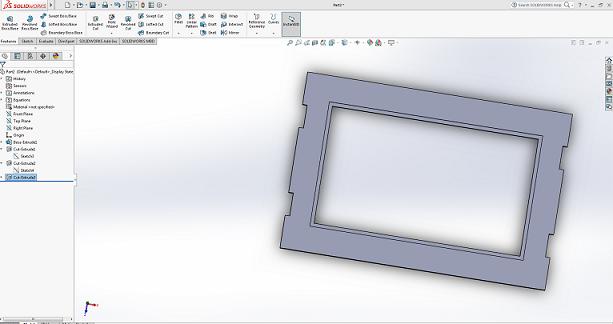
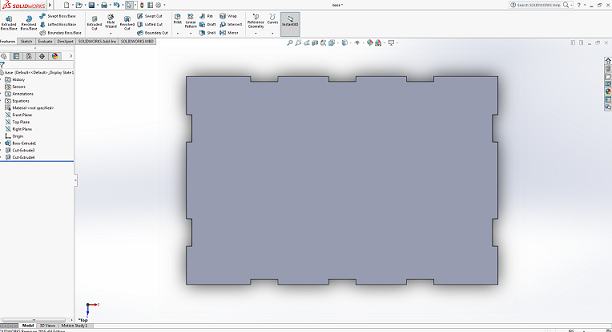
Outer Part
After Designing Outer part the next step is to design legs
Side Leg
After Extrude
Cut From Top
After Extrude
After Extrude
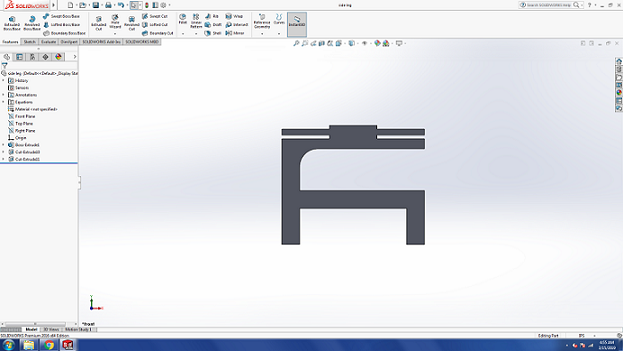
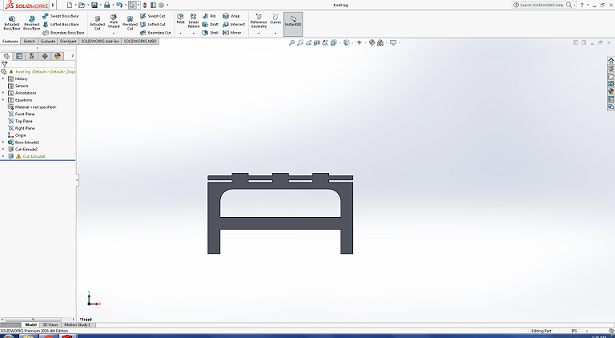
Legs
After Extrude
After Extrude
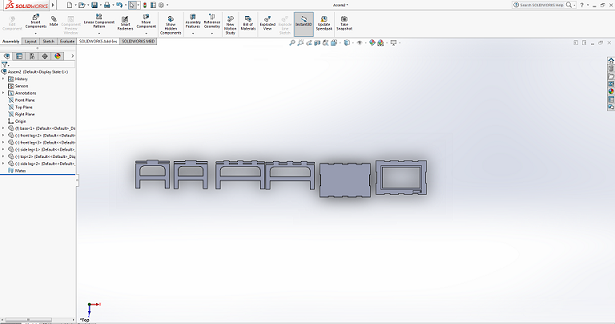
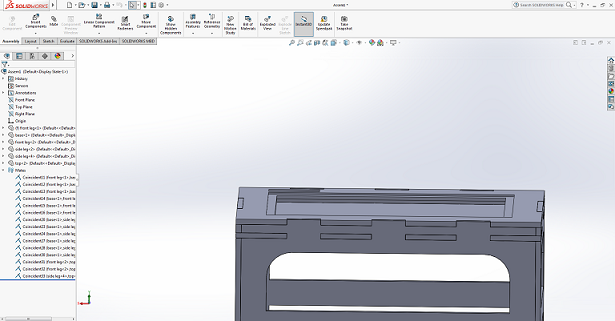
After Asembly
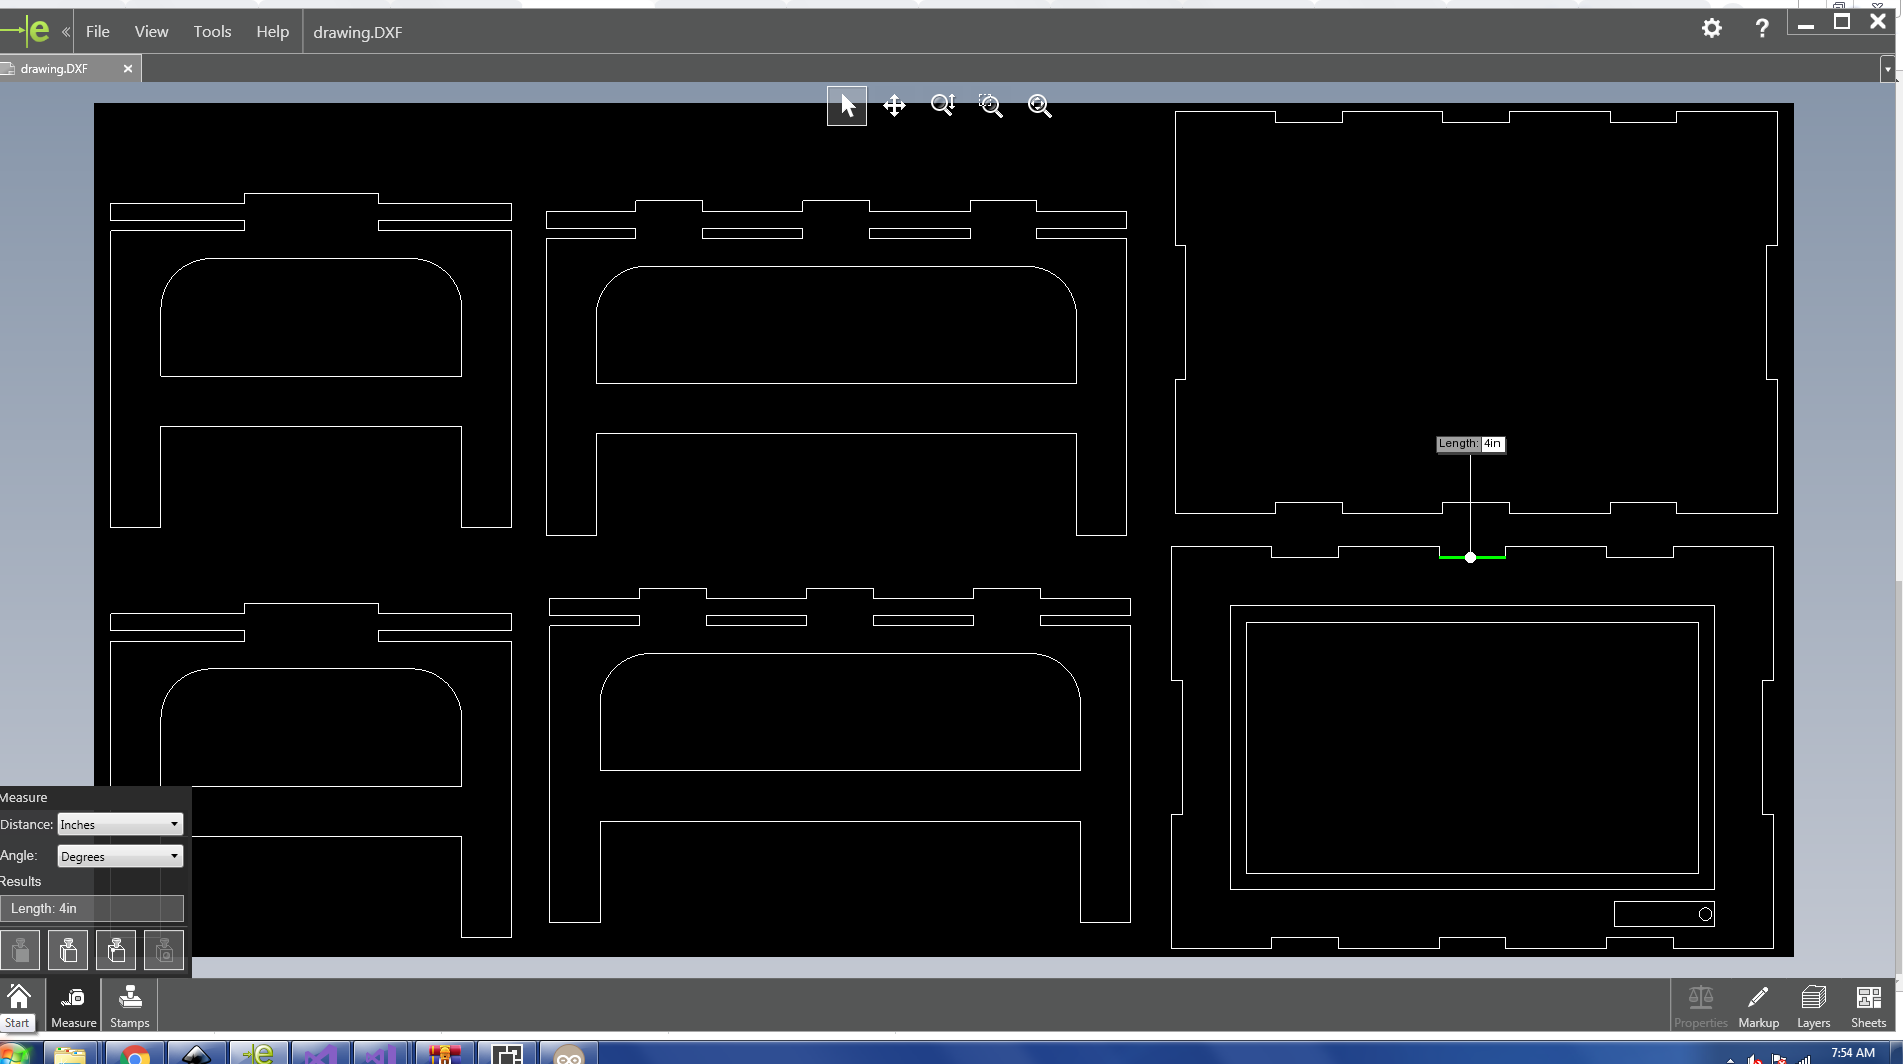
After Assembling the components the next step is to open in drwaing and measure the thickness that must be 4mm
Measuring
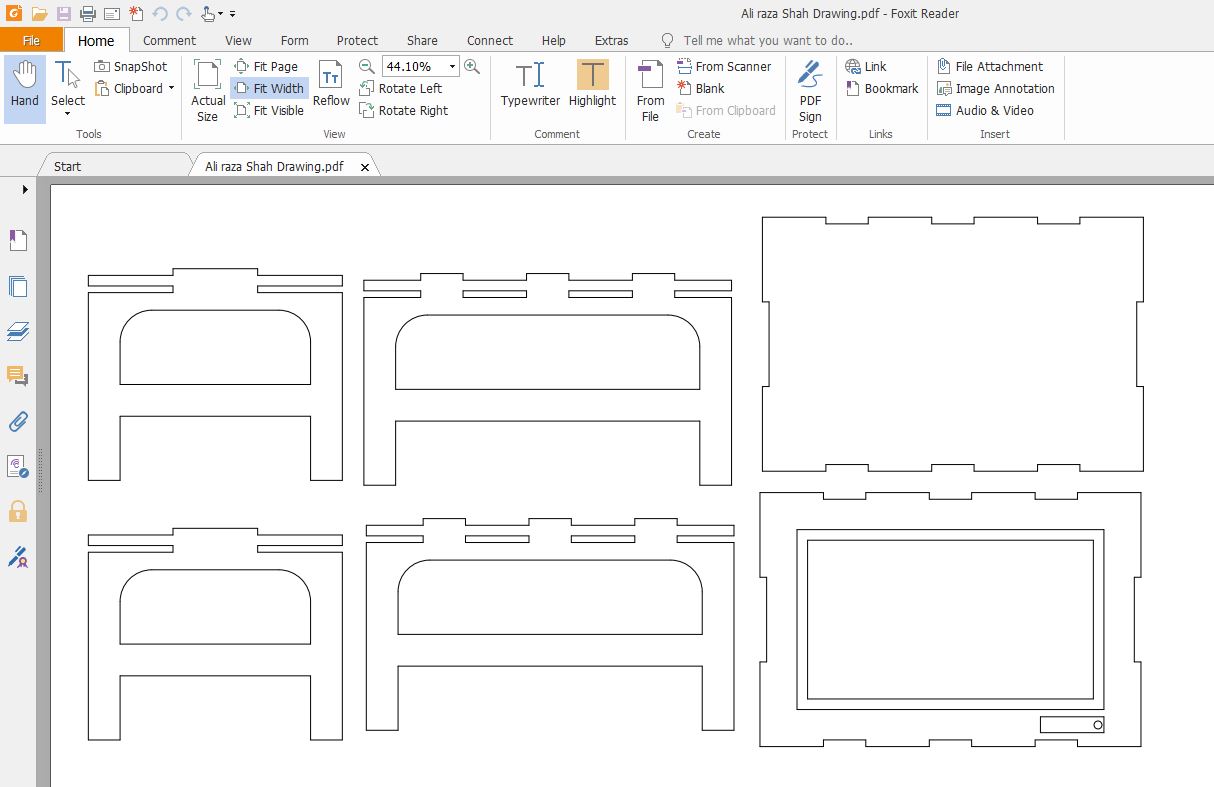
Now It's tim to convrt into pdf file and perpare file for laser cutting.
setting up file in svg and convert into pdf
Pdf File
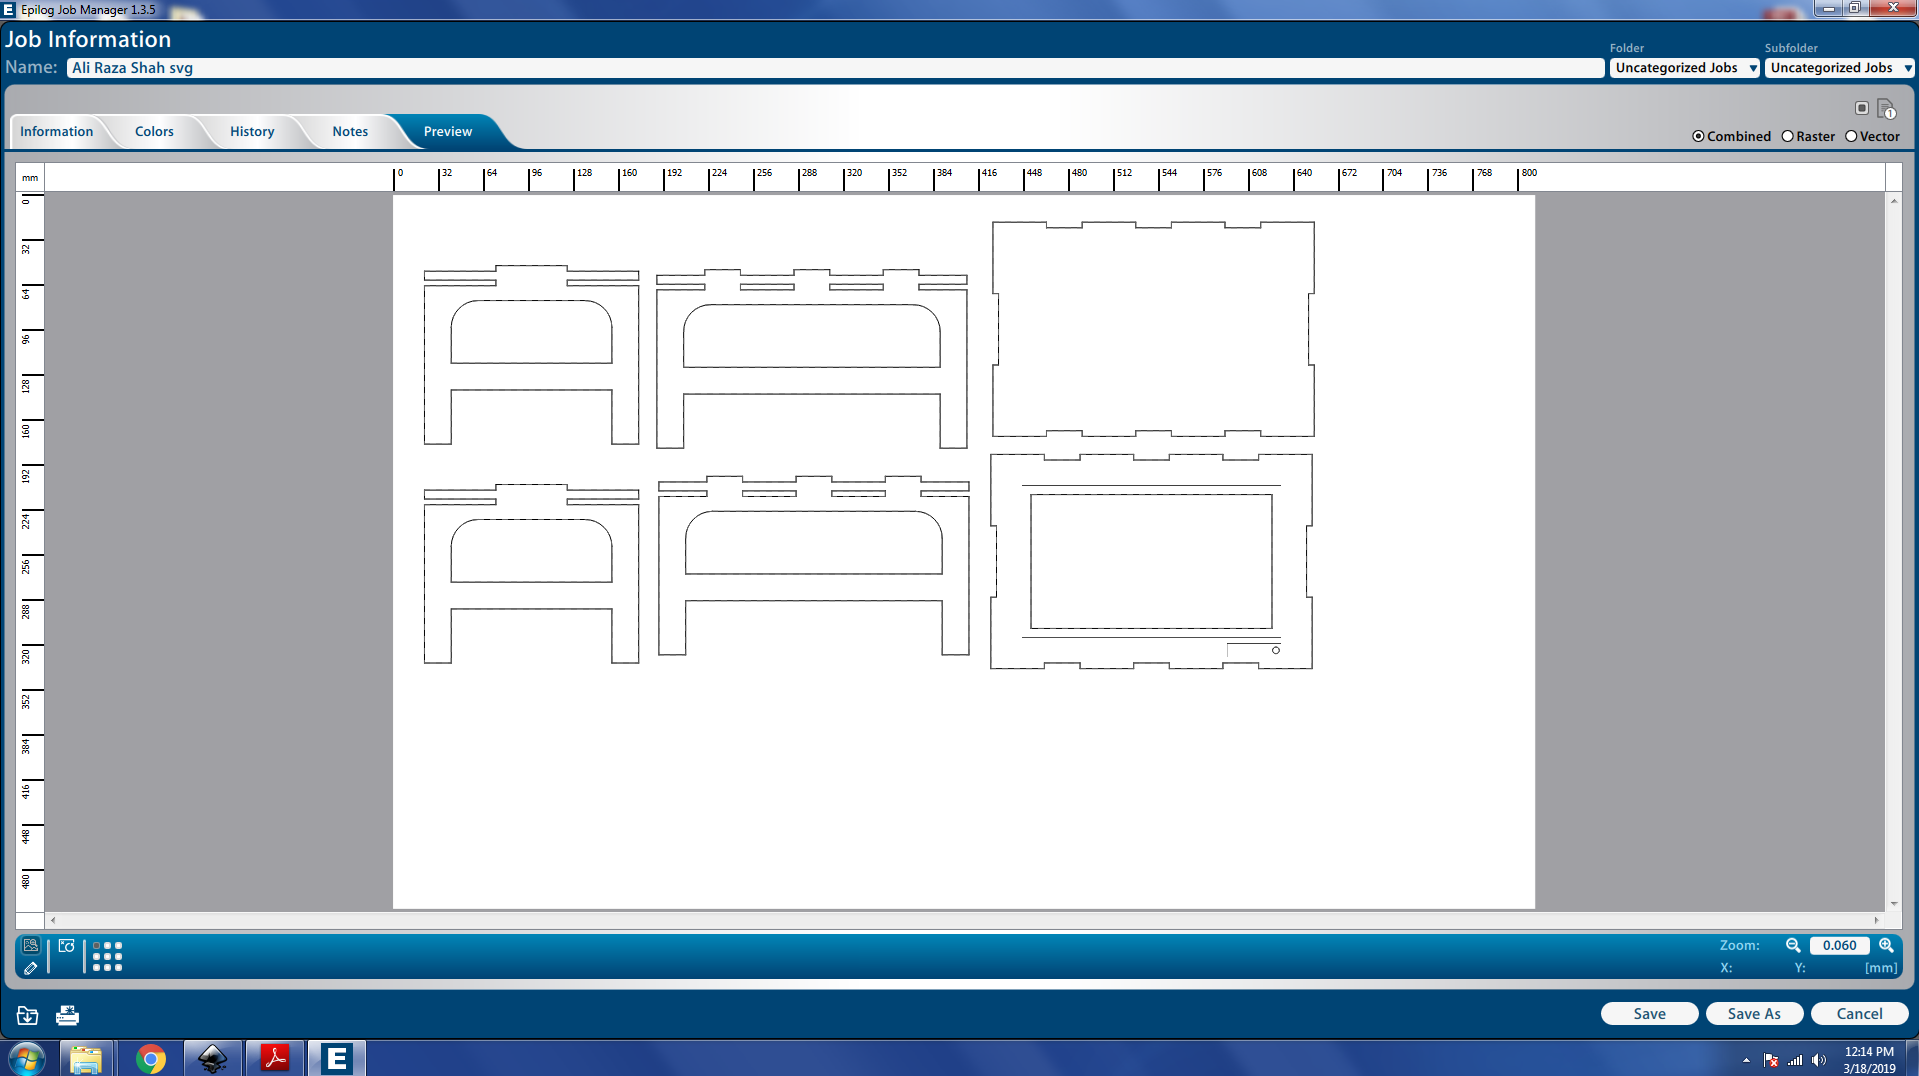
After Generating pdf file the next and final step is to laser cut.
File in Epilpg
Job In Job Manger
Ready
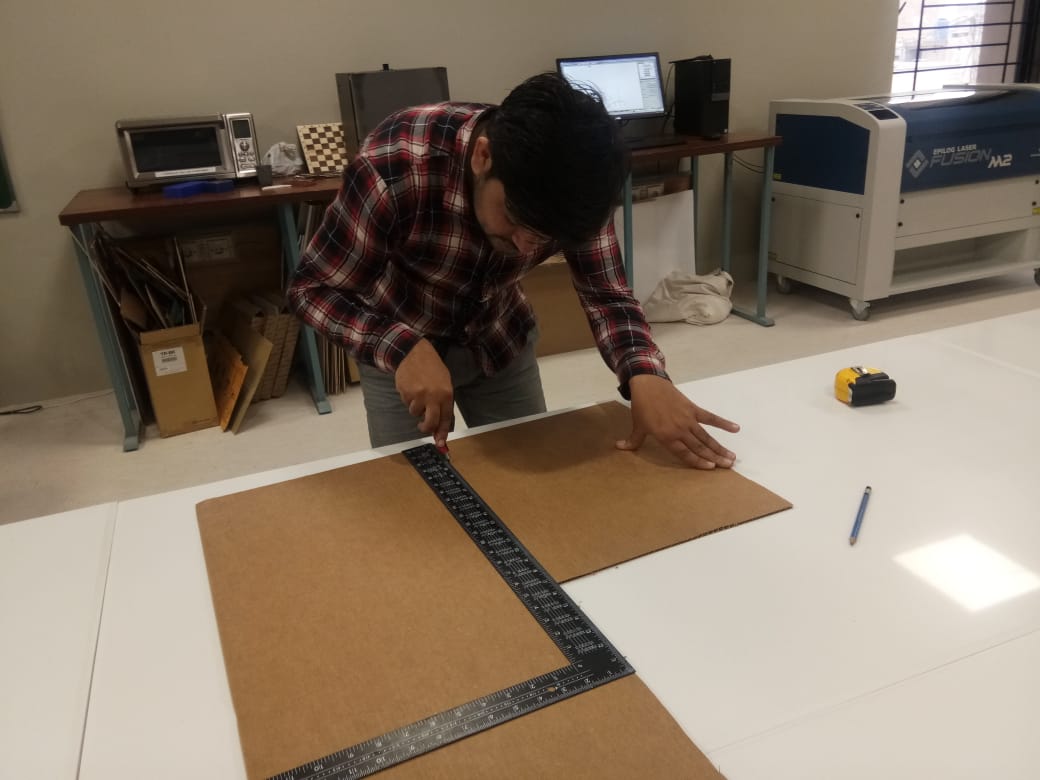
measuring and cutting the card according to the requirement
Screen
Machine while cutting the design
While cutting extra things
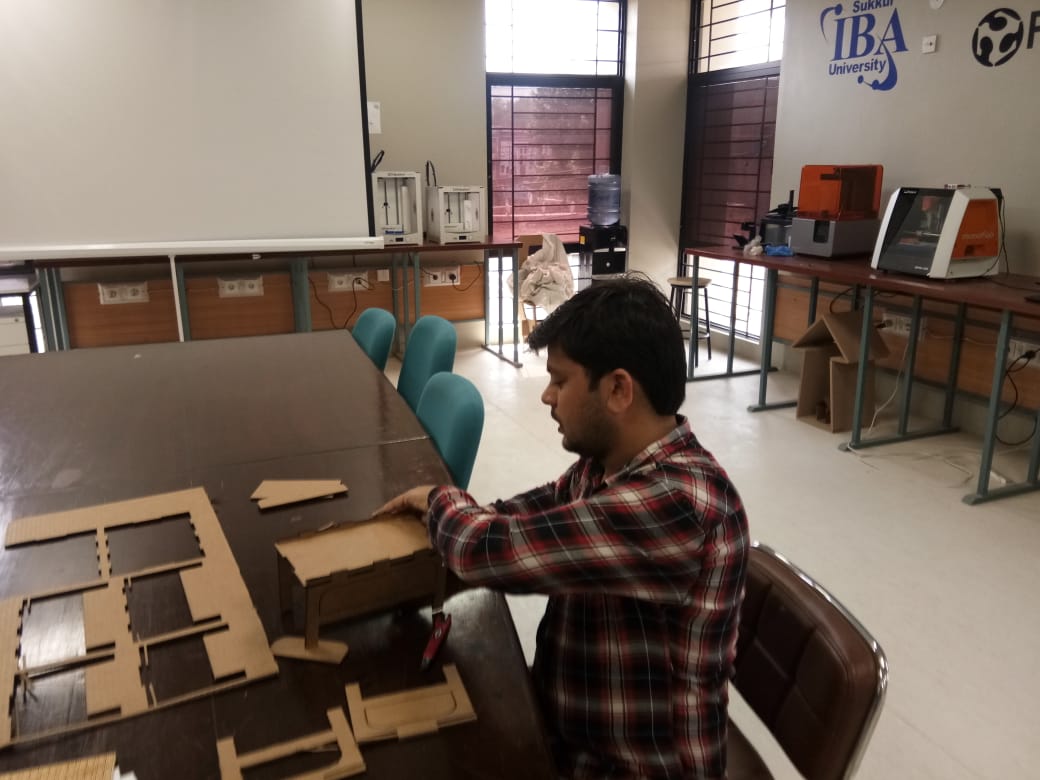
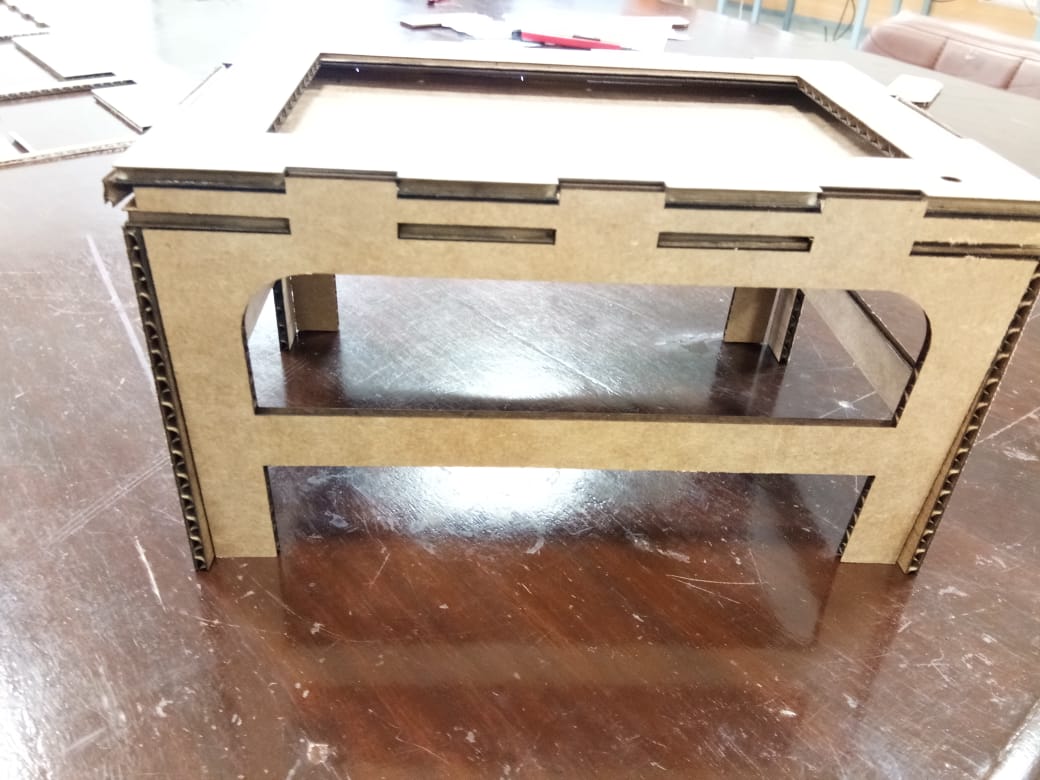
Assembling the Table
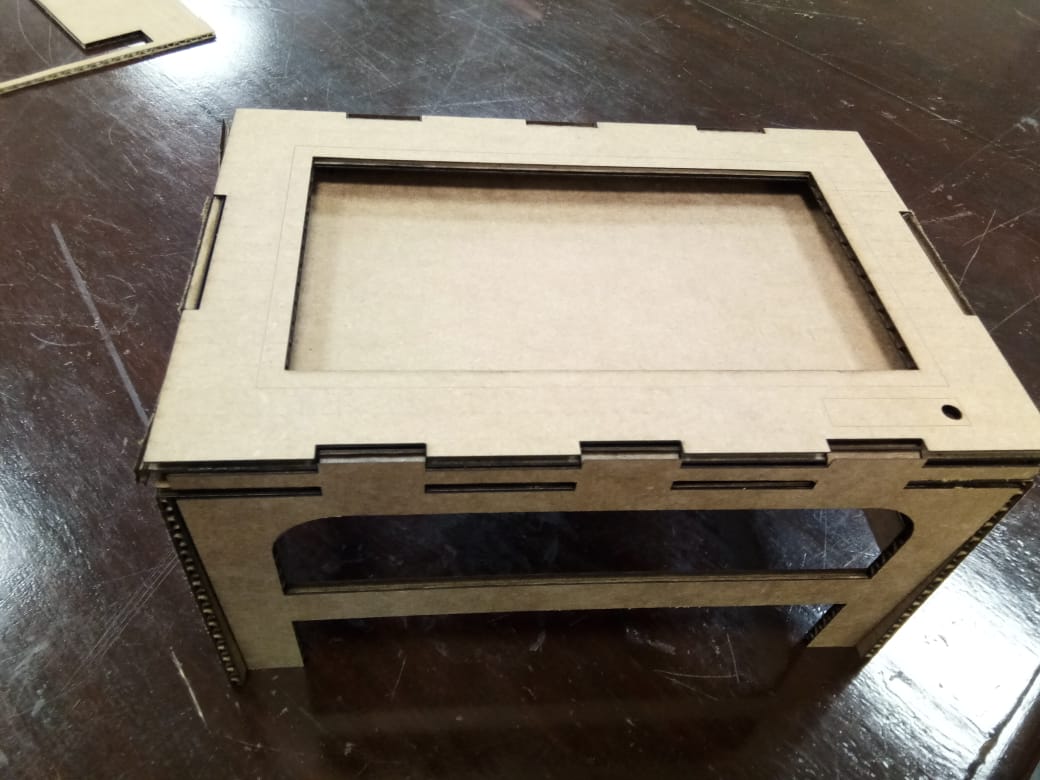
Final table
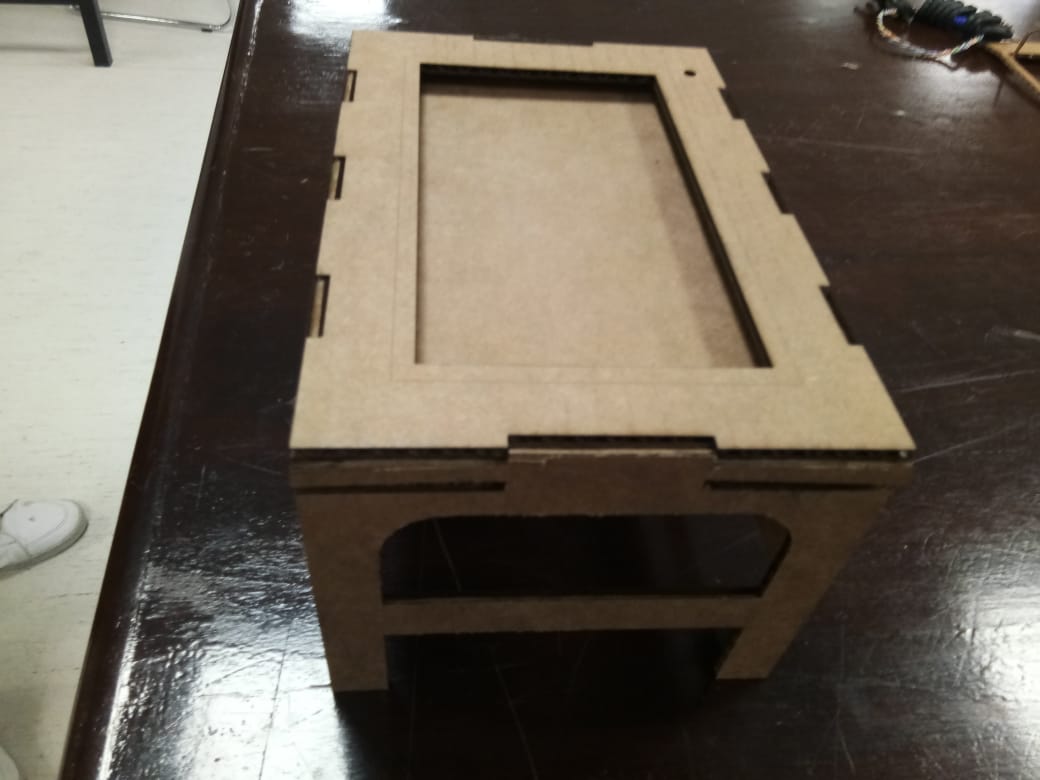
From Other view
Finally
Vinyl Cutting
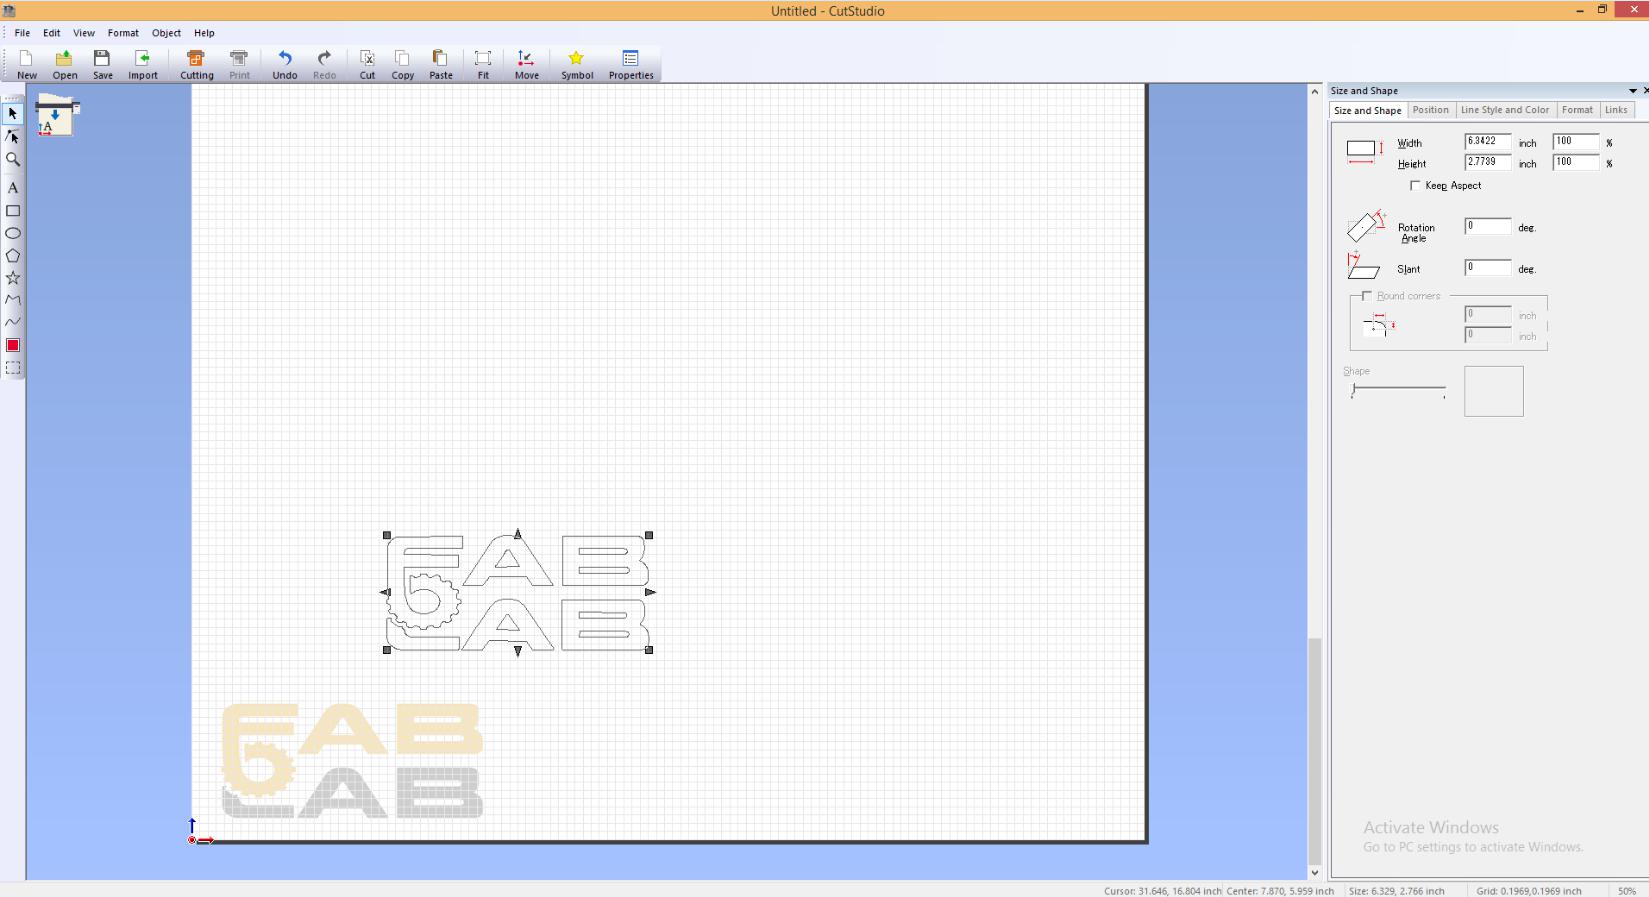
A vinyl cutter is a type of computer-controlled machine. Small vinyl cutters look like a desktop printer. Like a printer controls a nozzle, the computer controls the movement of a sharp blade over the surface of the material. This blade is used to cut out shapes and letters from sheets of thin self-adhesive plastic (vinyl). The vinyl can then be stuck to a variety of surfaces depending on the adhesive and type of materialWikipedia I used inkscape for the designs and sketches for vinyl cutting.
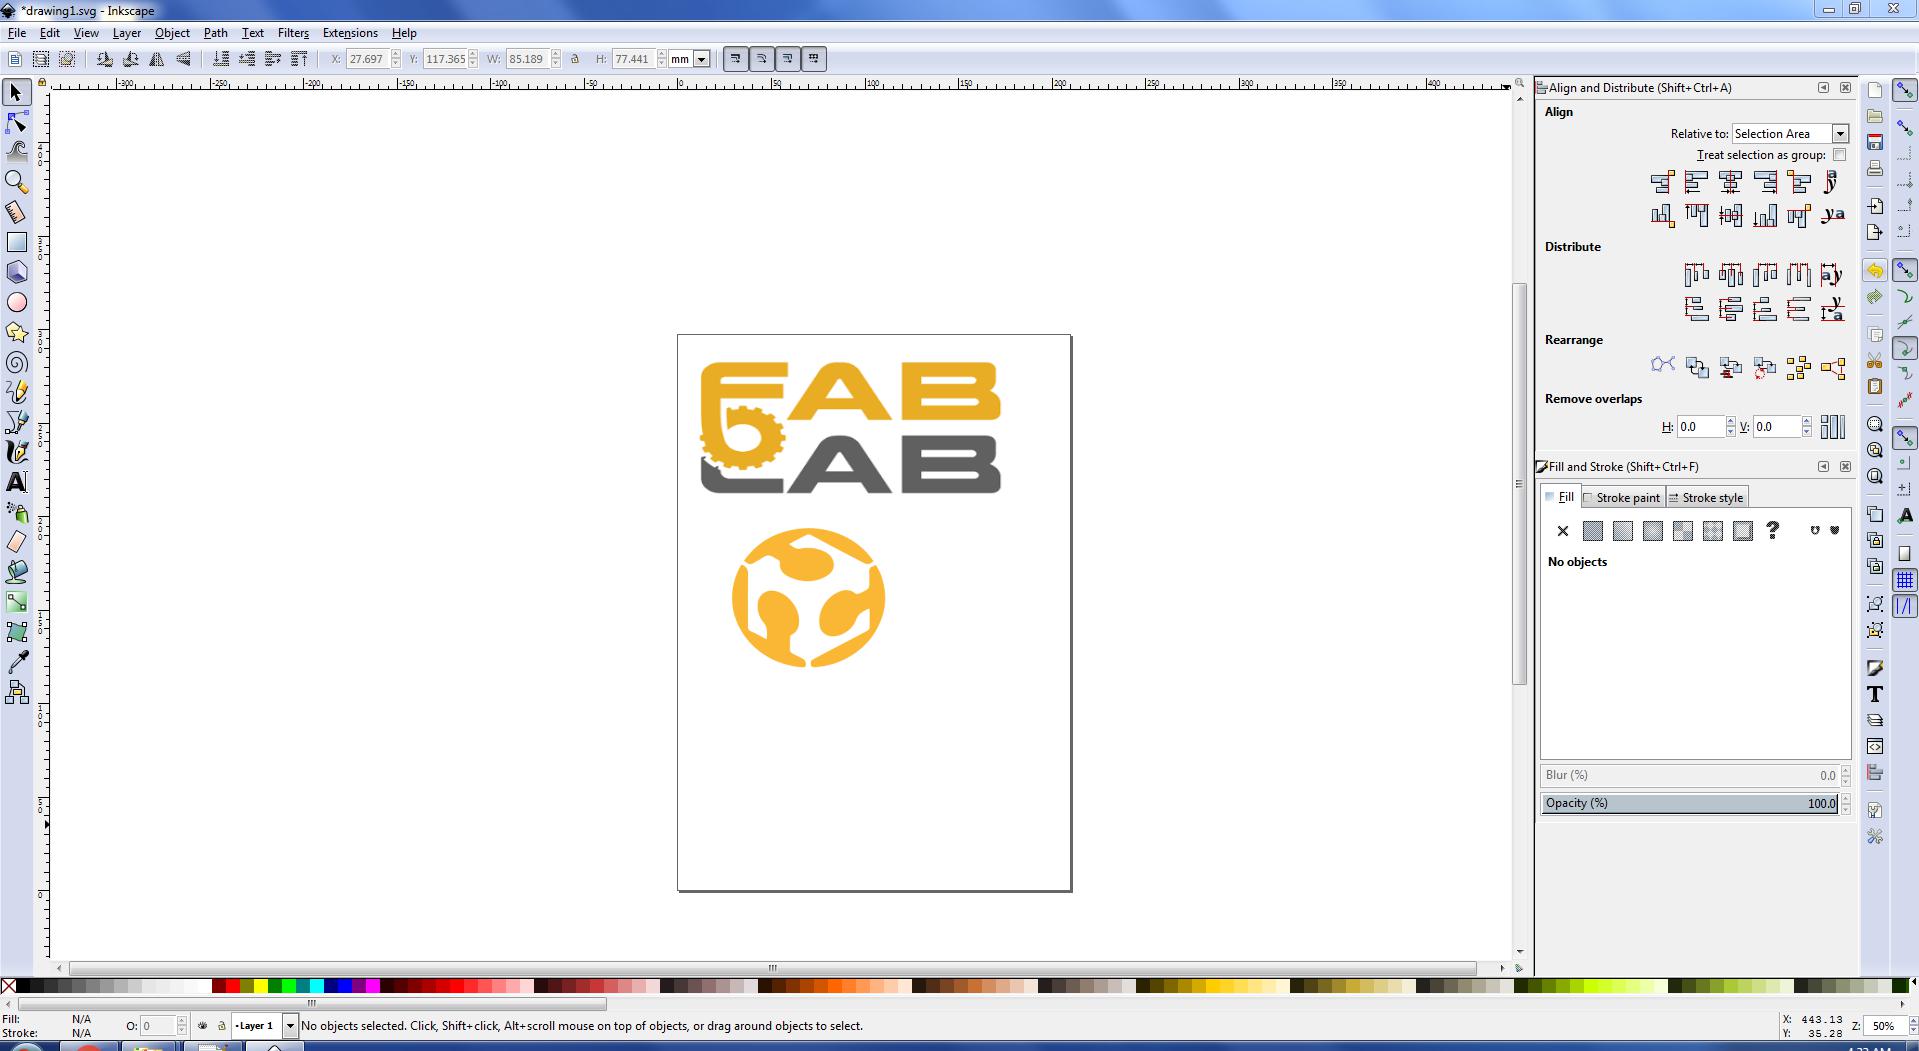
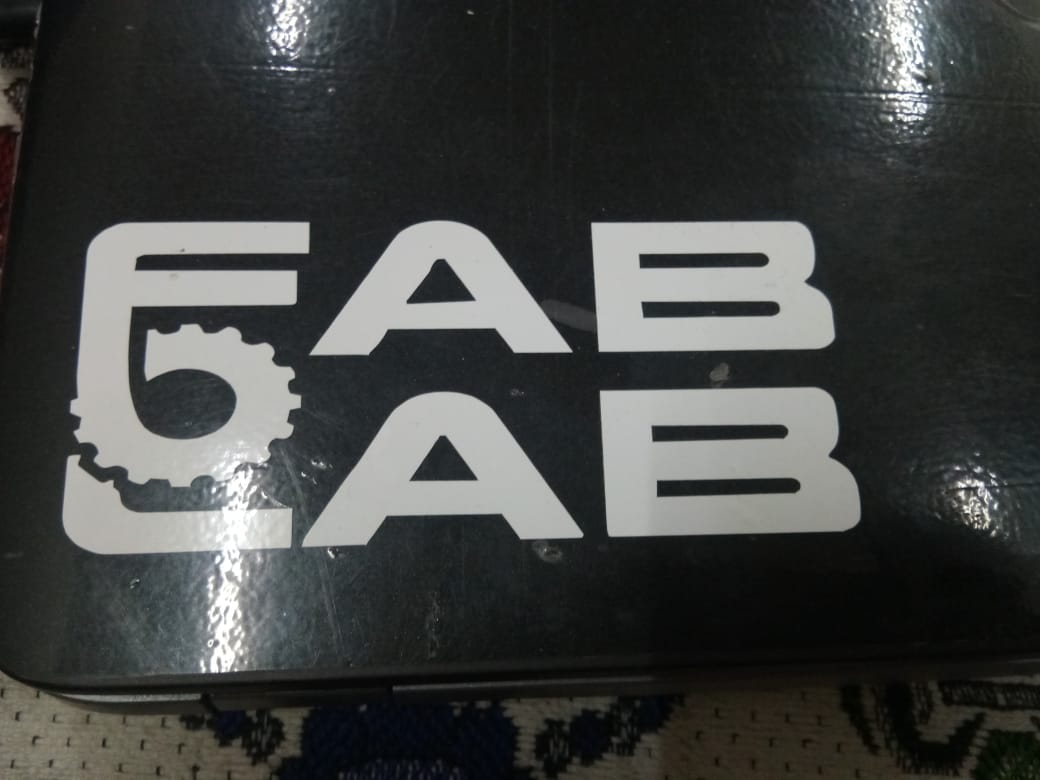
I start with the logo of fablab.
Fab Lab Logo
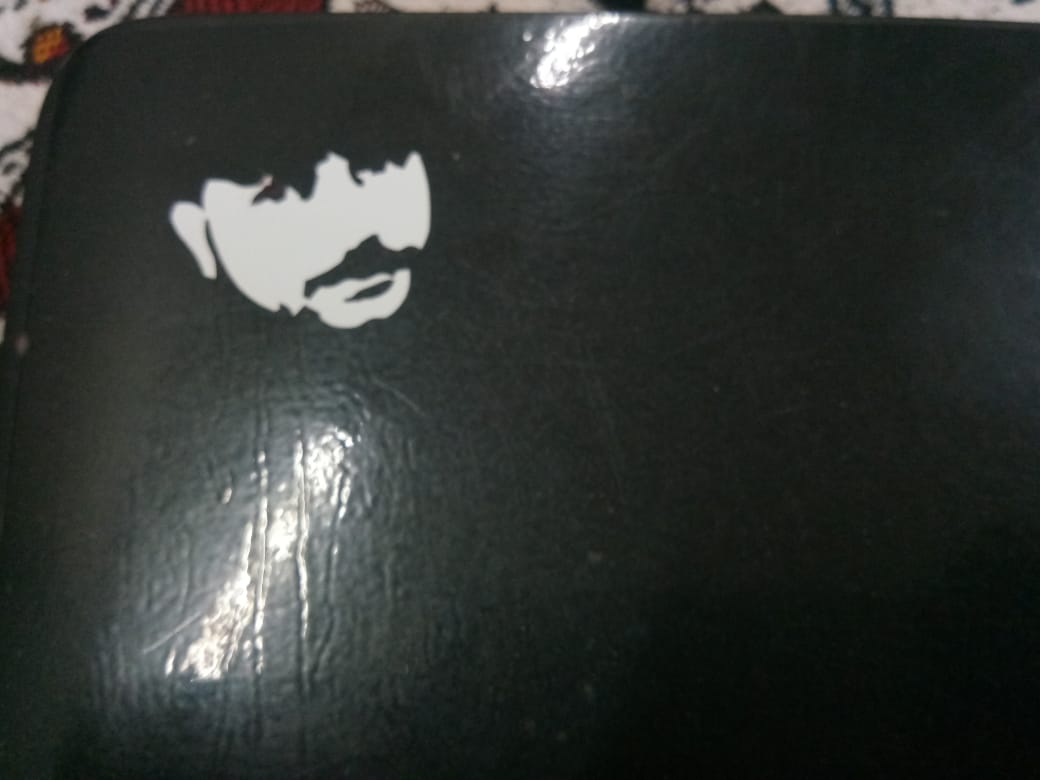
Tried my own sketch In InkScape.
After Sketching
Steps of inserting Vinyl Sheet in Vinyl Cutter.
Switch On the Vinyl Cutter machine.
Press back the lock handle.
Insert vinyl sheet in it, either in the form of piece or roll. I used a piece of vinyl sheet
Align the sheet through wheel holders and one can also set it using white marked lines.
Now, pull back the handle lock to lock the current position of the vinyl sheet.
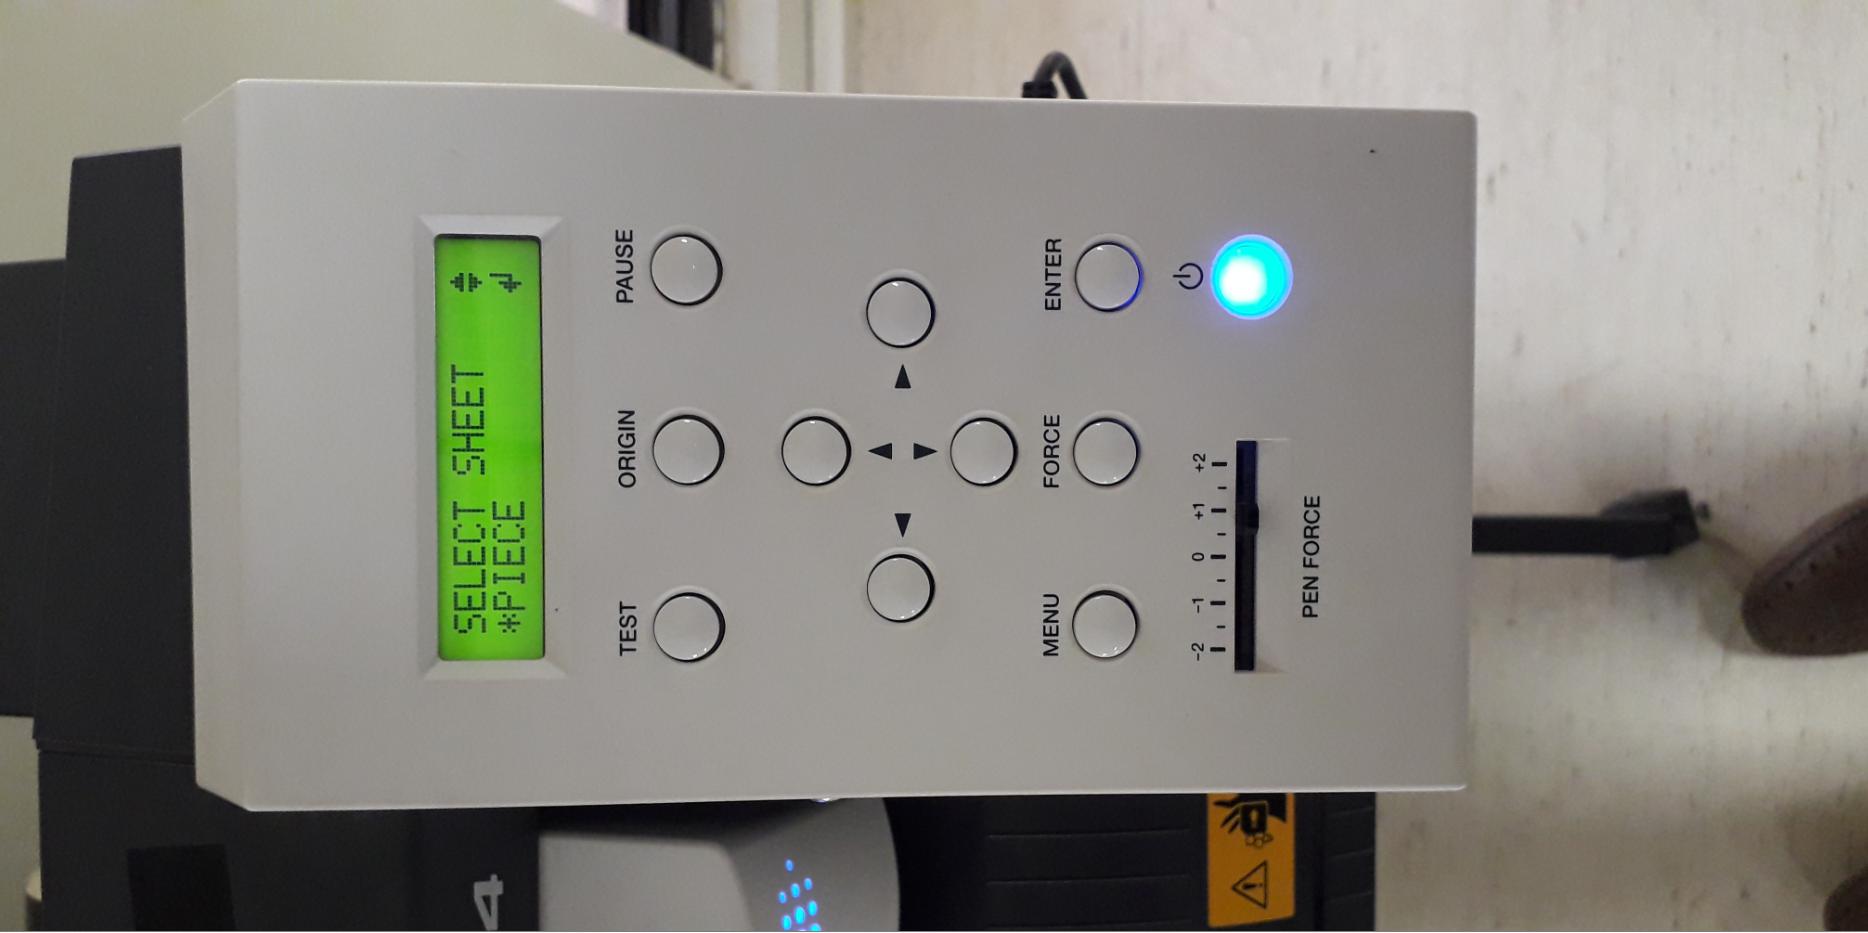
Now, using operating interface of the vinyl cutter machine, select the sheet type (sheet or piece) then press 'ENTER' button. I used piece, because I set and fix a piece of vinyl sheet in it.
Now, the cutting head moved and scanned the actual size and dimension of the inserted piece of vinyl sheet, and showed it on the screen of operating panel interface of the vinyl cutter machine
After all above steps, the machine is now drawing my design through its small pin
Machine
Ready Fo cutting
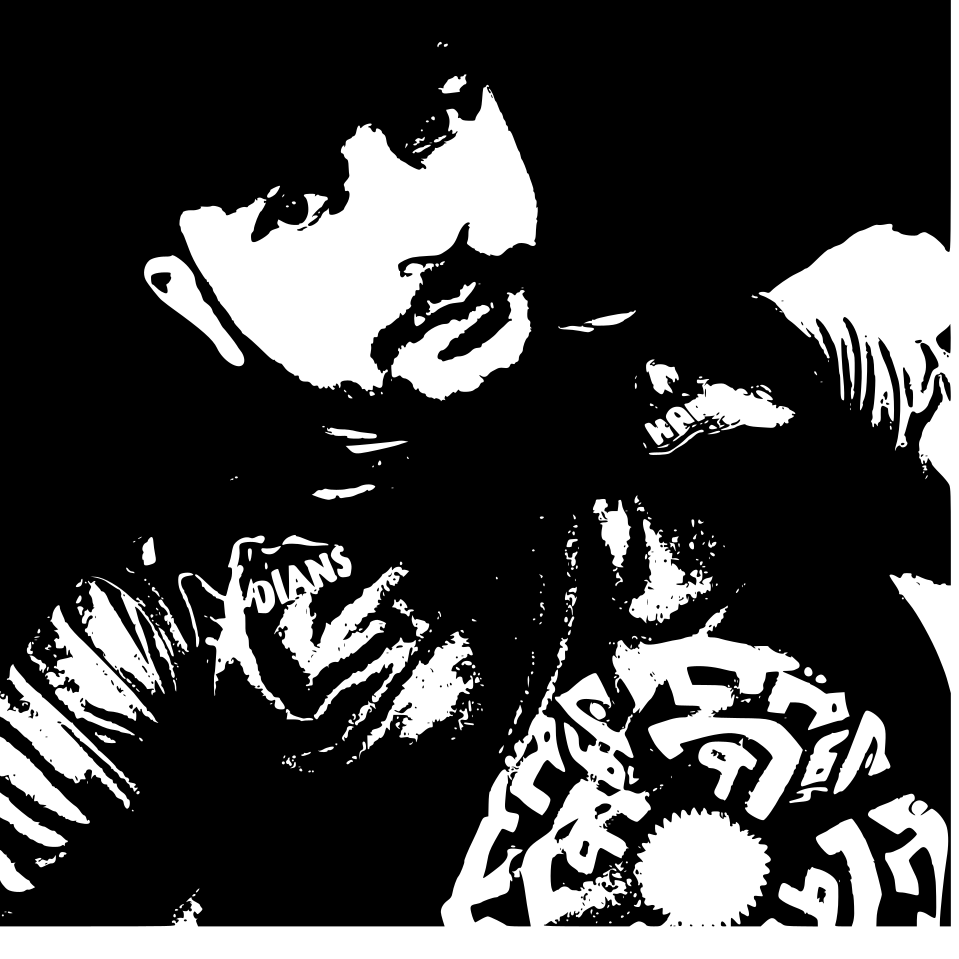
Logo In Laptop.
My Own Pic
It's All About this Week you may download file from here
.png)