Assignment: Design and produce something with a digital fabrication process (incorporating computer-aided design and manufacturing) not covered in another assignment, documenting the requirements that your assignment meets, and including everything necessary to reproduce it. Possibilities include (but are not limited to) composites, textiles, biotechnology, robotics, folding, and cooking
Group Assignment: Produce test coupons for your composite fabrication process(es)
As a group assignment this week we did mill a very simple test design, a curvy shape in solidworks. Saved it as an .stl to machine it and then we generated tool paths in vcarve as following..Initially, a new Vcarve file was opened and the dimensions were set according to the size of the model (222 x 101mm). Then by importing the Component/3D model(.sldprt file). Now cutomize your job as following.
In the next step we place the model at center so that the model comes inside the dimesnions we set.
The roughing is being done with the tool foam roughing 0.5 inch tool which is already added in the tool list
The next step was to cut the model on the 40mm foam, the toolpaths were generated and then used in cutting on shopbot.

The model was put for curing for the whole day and then the next day, we removed the mold and removed all the extra layers.
Individual Assignment: Read the safety data sheet (SDS) and technical data sheet (TDS) for the resins that you're using design and fabricate a 3D mold (~ft2) and produce a fiber composite part in it, with resin infusion and compaction
This week was very interesting yet chellanging. As we were not told what we should do and it was all open to us. Yet i decided to make a water tank of boat like shape for my final project. So i started with 3d designing. Before going any further let's explore some saftey measures.Safety Datasheet - A
- Causes serious eye irritation
- Causes skin irritation
- Toxic to aquatic life with long lasting effects
- Wear protective gloves
- Wear eye/face protection
- Wash thorougly after handling
- In case of SKIN: wash with enough soap and water. If skin irritation or rush occurs: Get medication
- In case of EYES: Rinse cautiously with water for some time. If eye irritatipon persist. Get medication
- Take off contaminated clothing and wash before reuse
Safety Datasheet - B
- Causes serious eye damage
- Causes severe burns and eye damages
- May cause an allergic skin reaction
- Harmful to aquatic life with long lasting effects
- Wear protective gloves/protective clothing
- Wear eye/face protection
- Wash thorougly after handling
- If SWALLOWED rinse mouth
- If IMNHALED Remove victim to fresh air and call a POISON Center or doctor/physician
- if ON SKIN: wash with plenty of soap and water. If skin irritation or rush occurs: Get medication
- if IN EYES: Rinse cautiously with water for several minutes. If eye irritatipon persist. Get medication
- Take off contaminated clothing and wash before reuse
Technical Datasheet
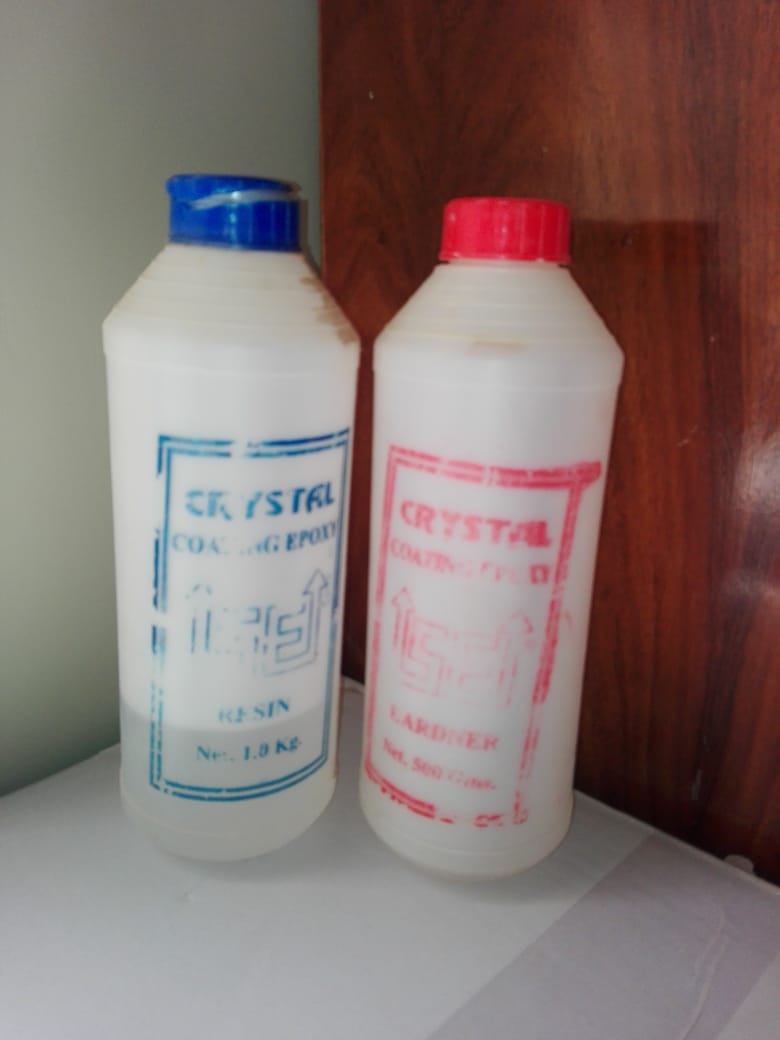
- The solution is mixed with 2:1 Ratio
- Mix components thorougly till 10 minutes when it starts heating it is good for nexgt process
- it takes 24 hours to dry
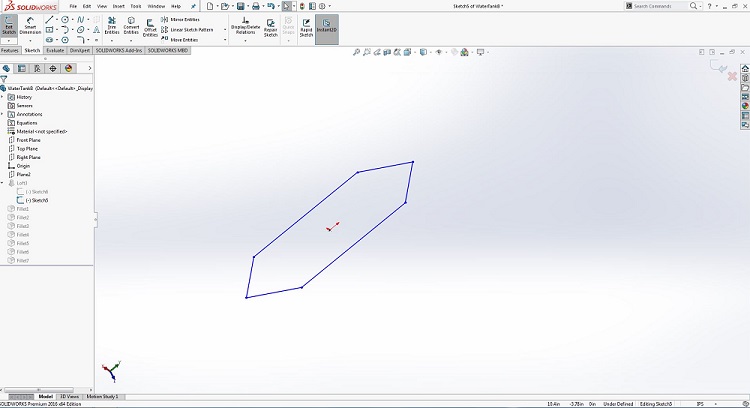
Moving on to 3d designing i strted with a simple sketch as following..
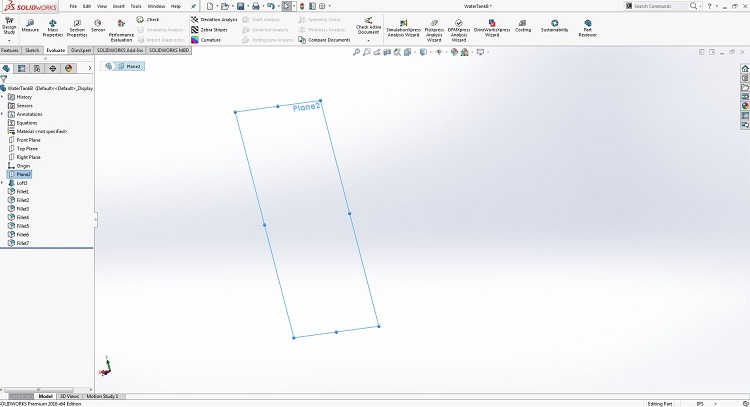
 Then made plane parallel to front plane to sketch the top..
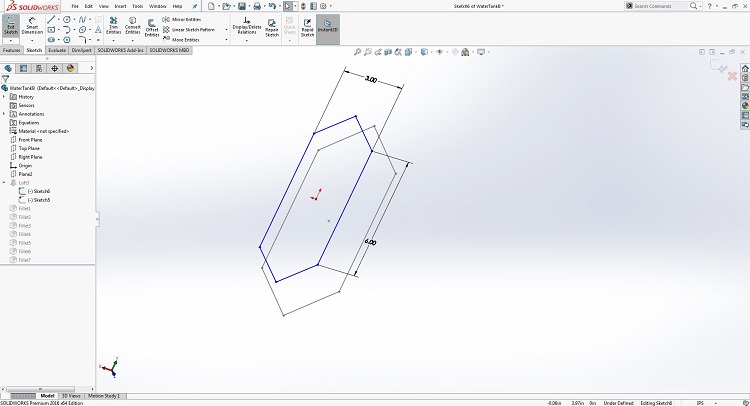
 Next sketched over plane 2, by now i have following sketch as final one for my design ready to be extruded.
 Next i simply extruded the sketch and gave it some fillet by selecting two top-bottom faces/sketches.
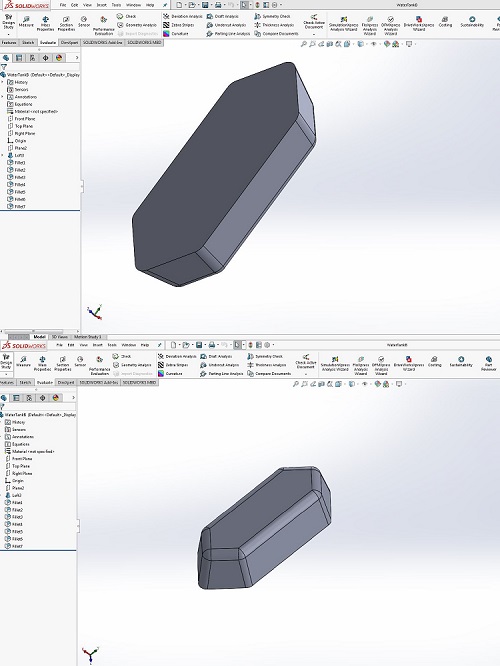
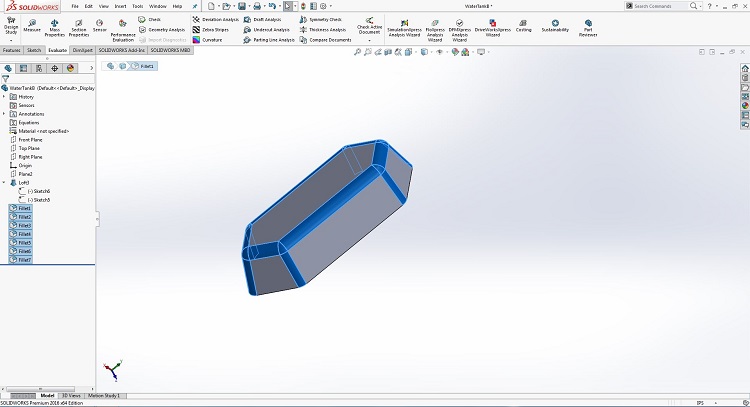 and following scenes show the final 3d model..
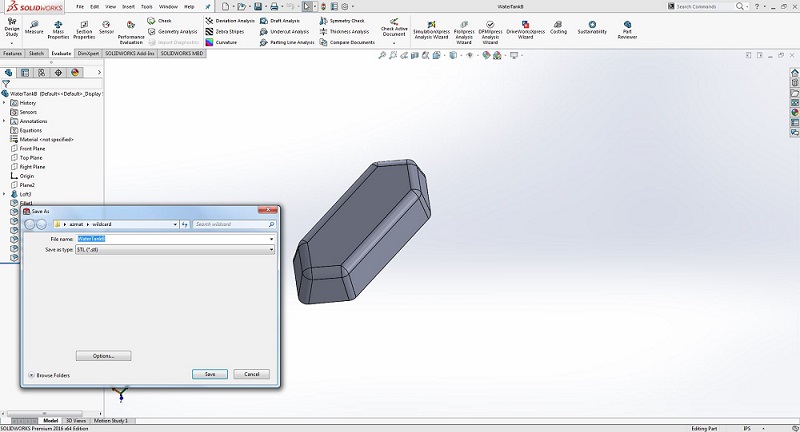
 Now save it as an stl file, and lets move to vcarve.
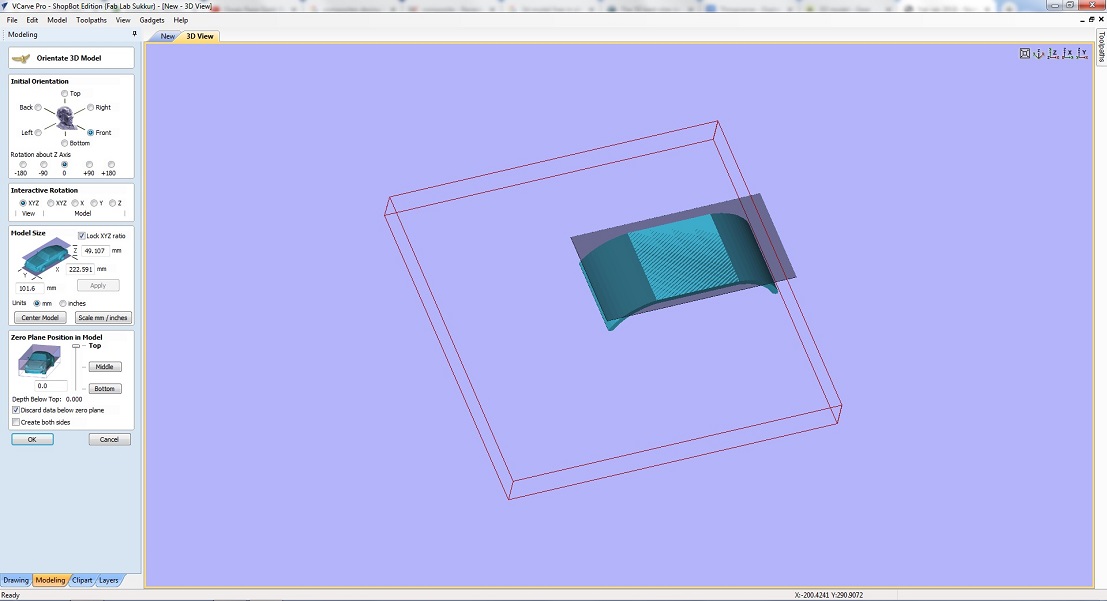
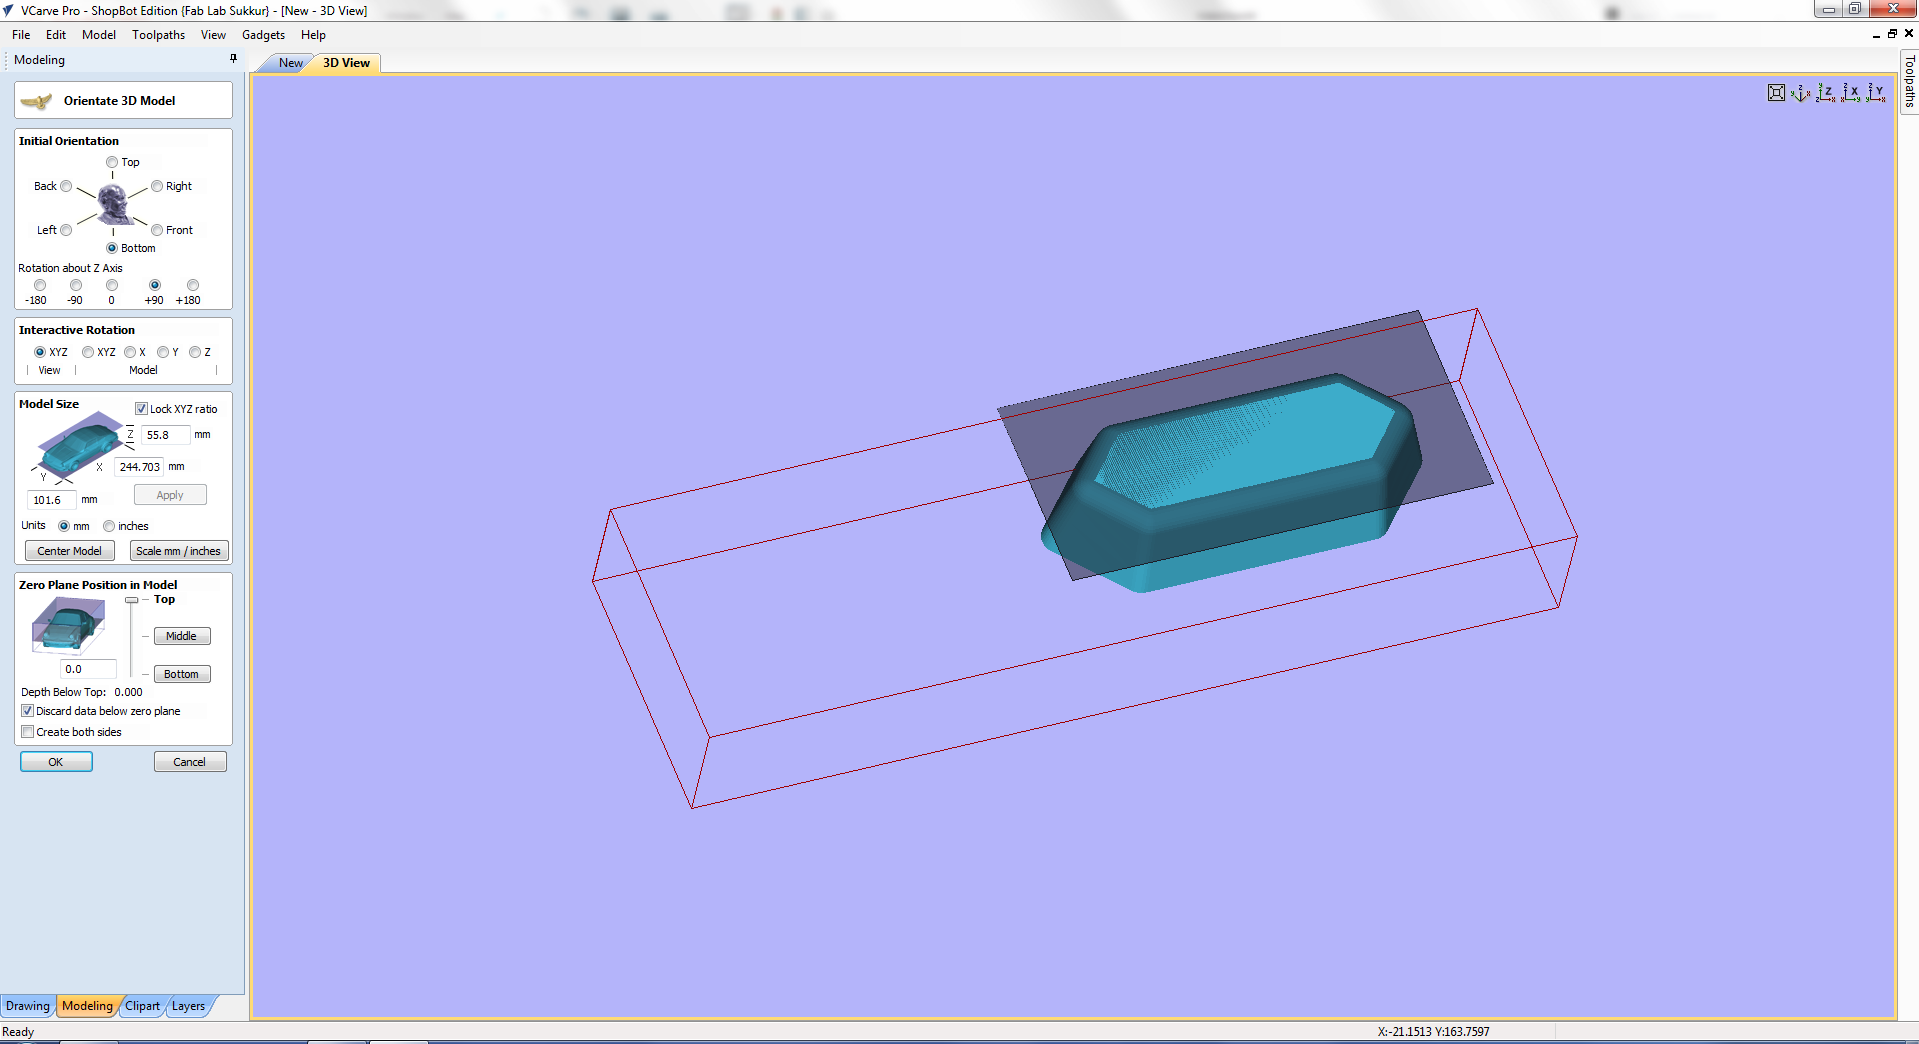
 Open Vcarve and import stl file we generated.
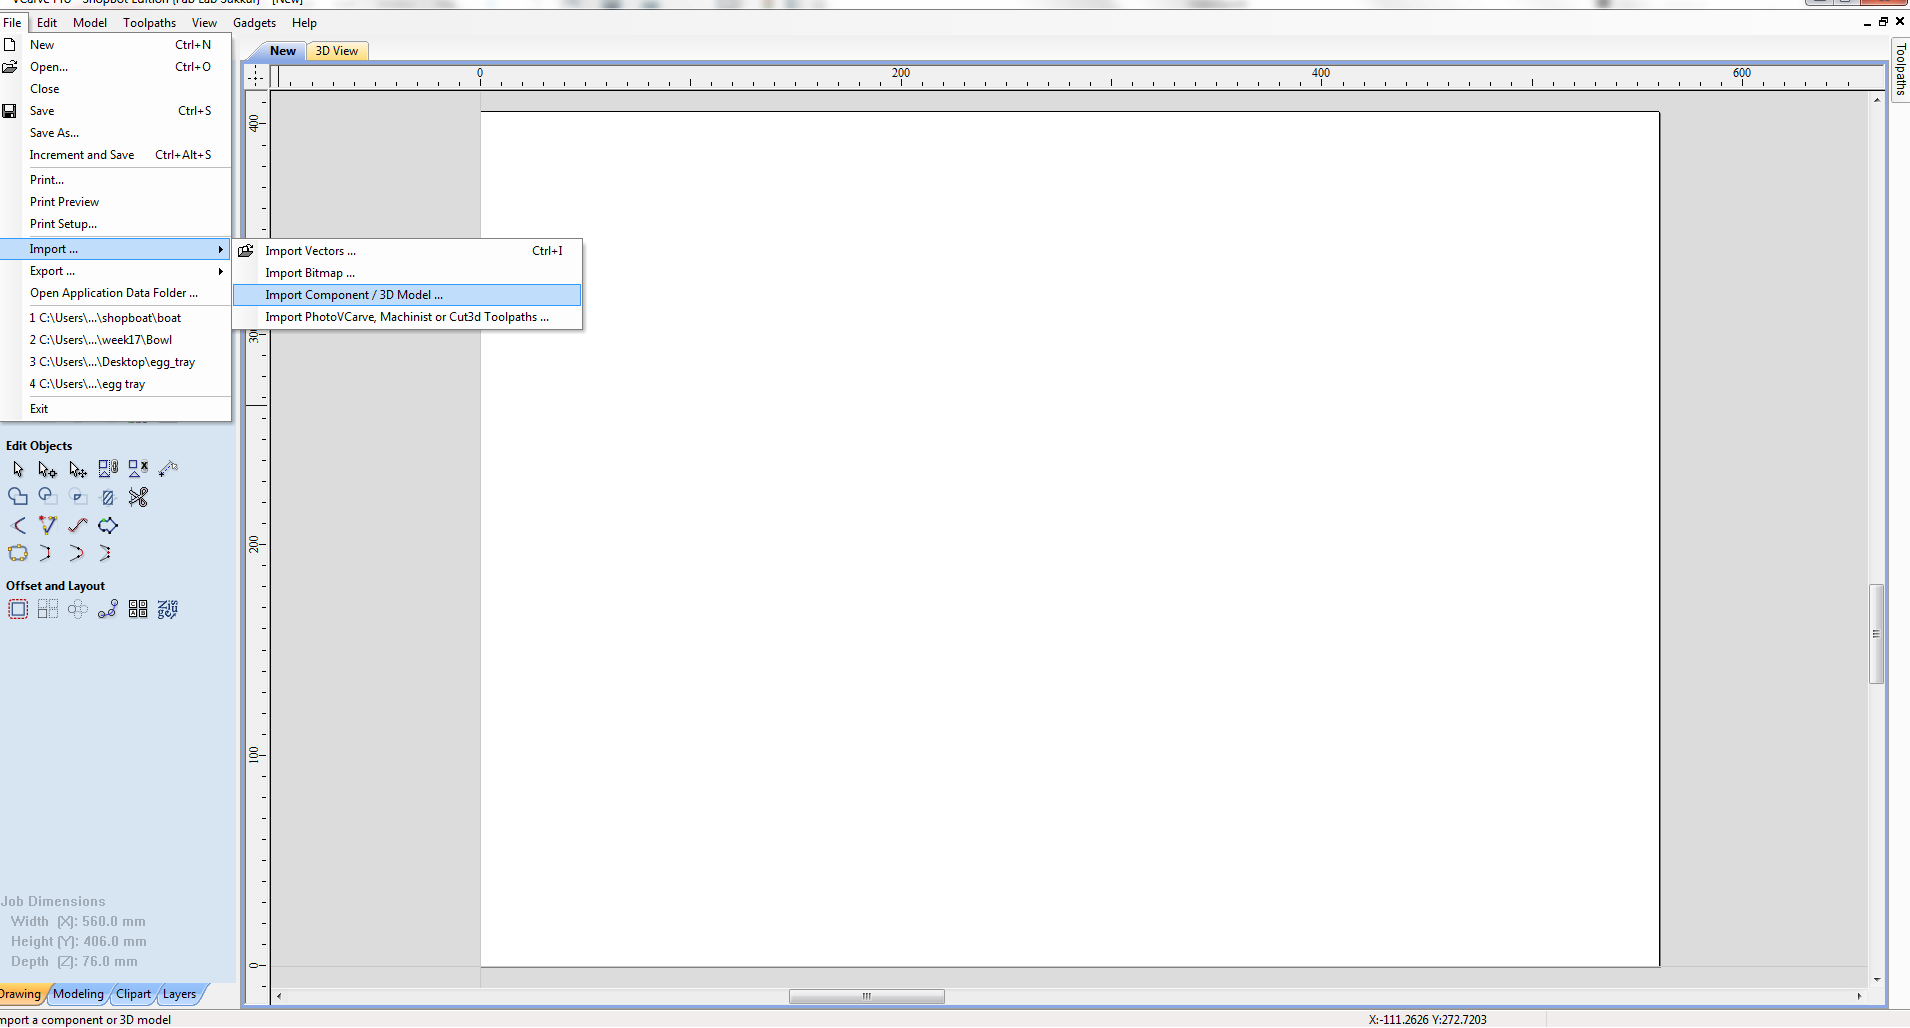 I had imported as following..
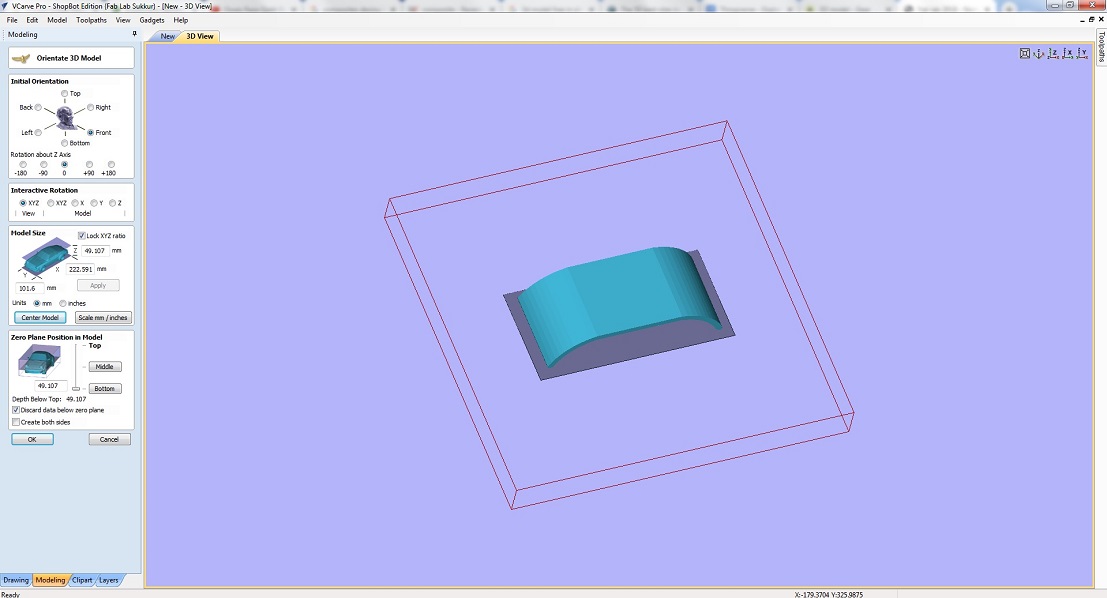
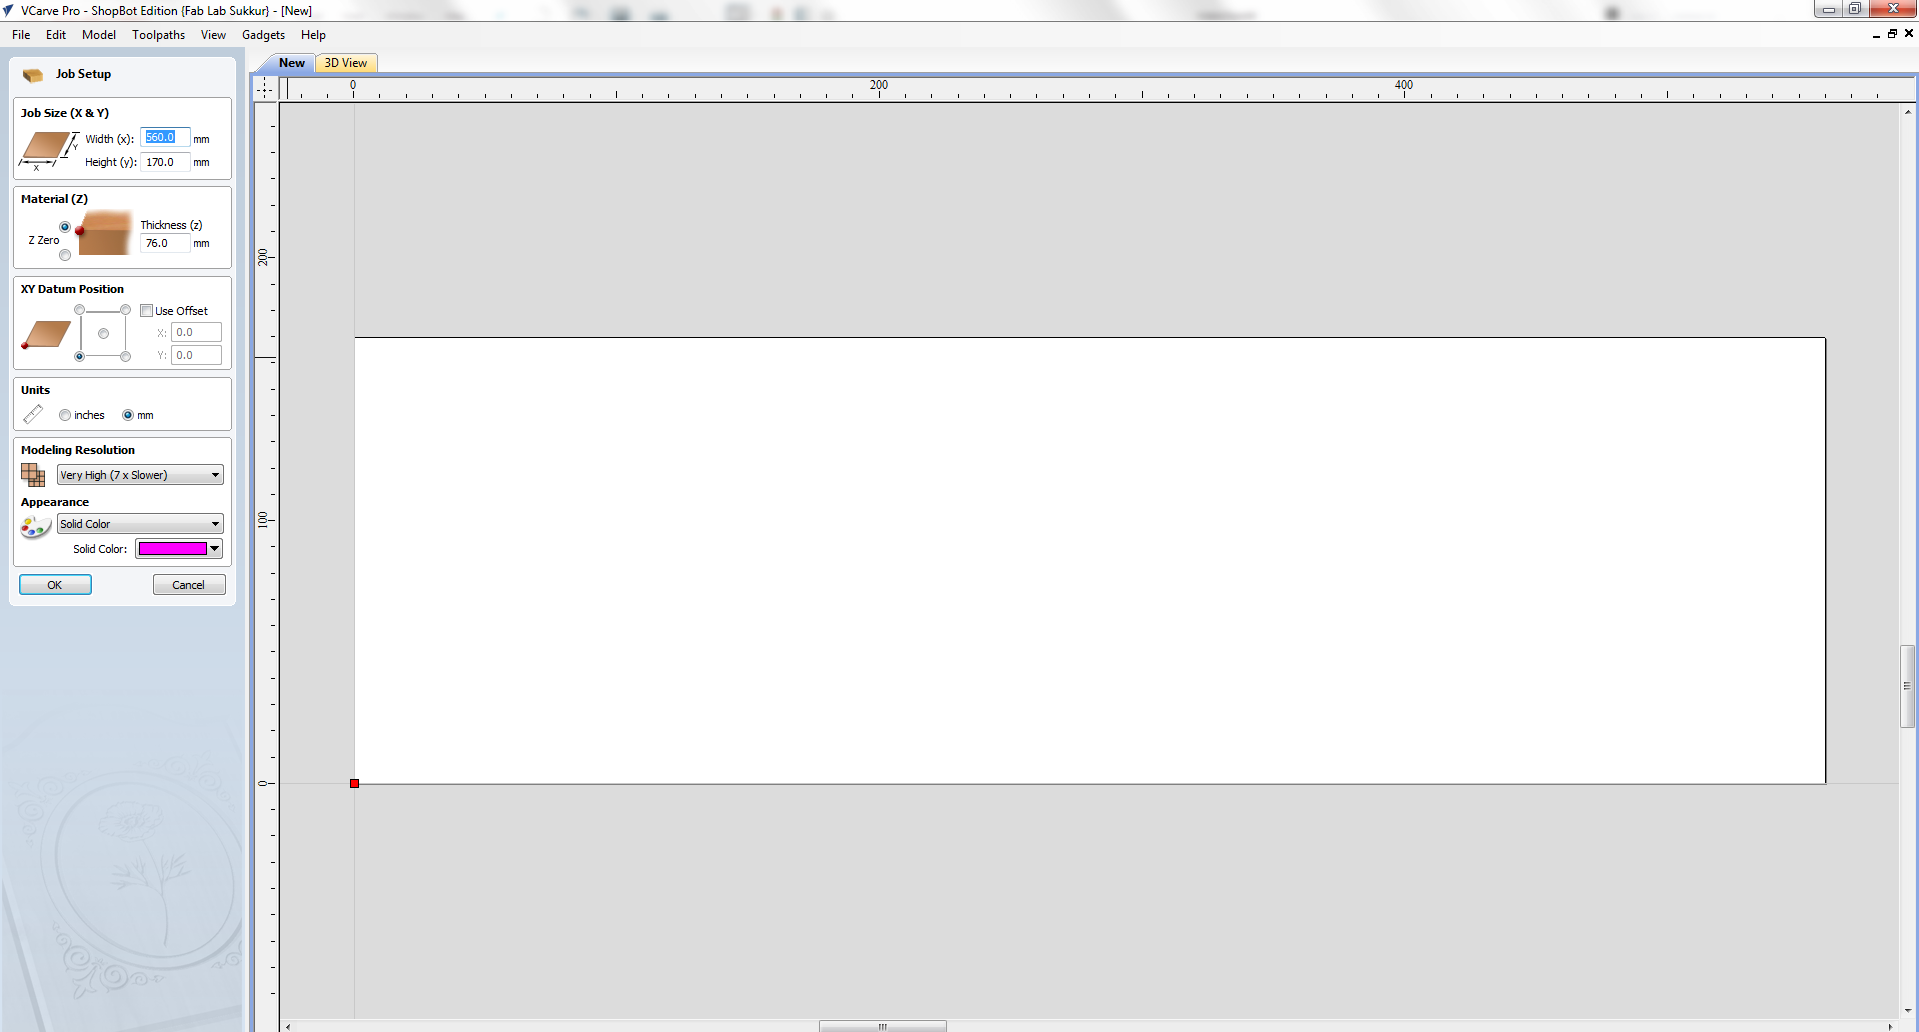
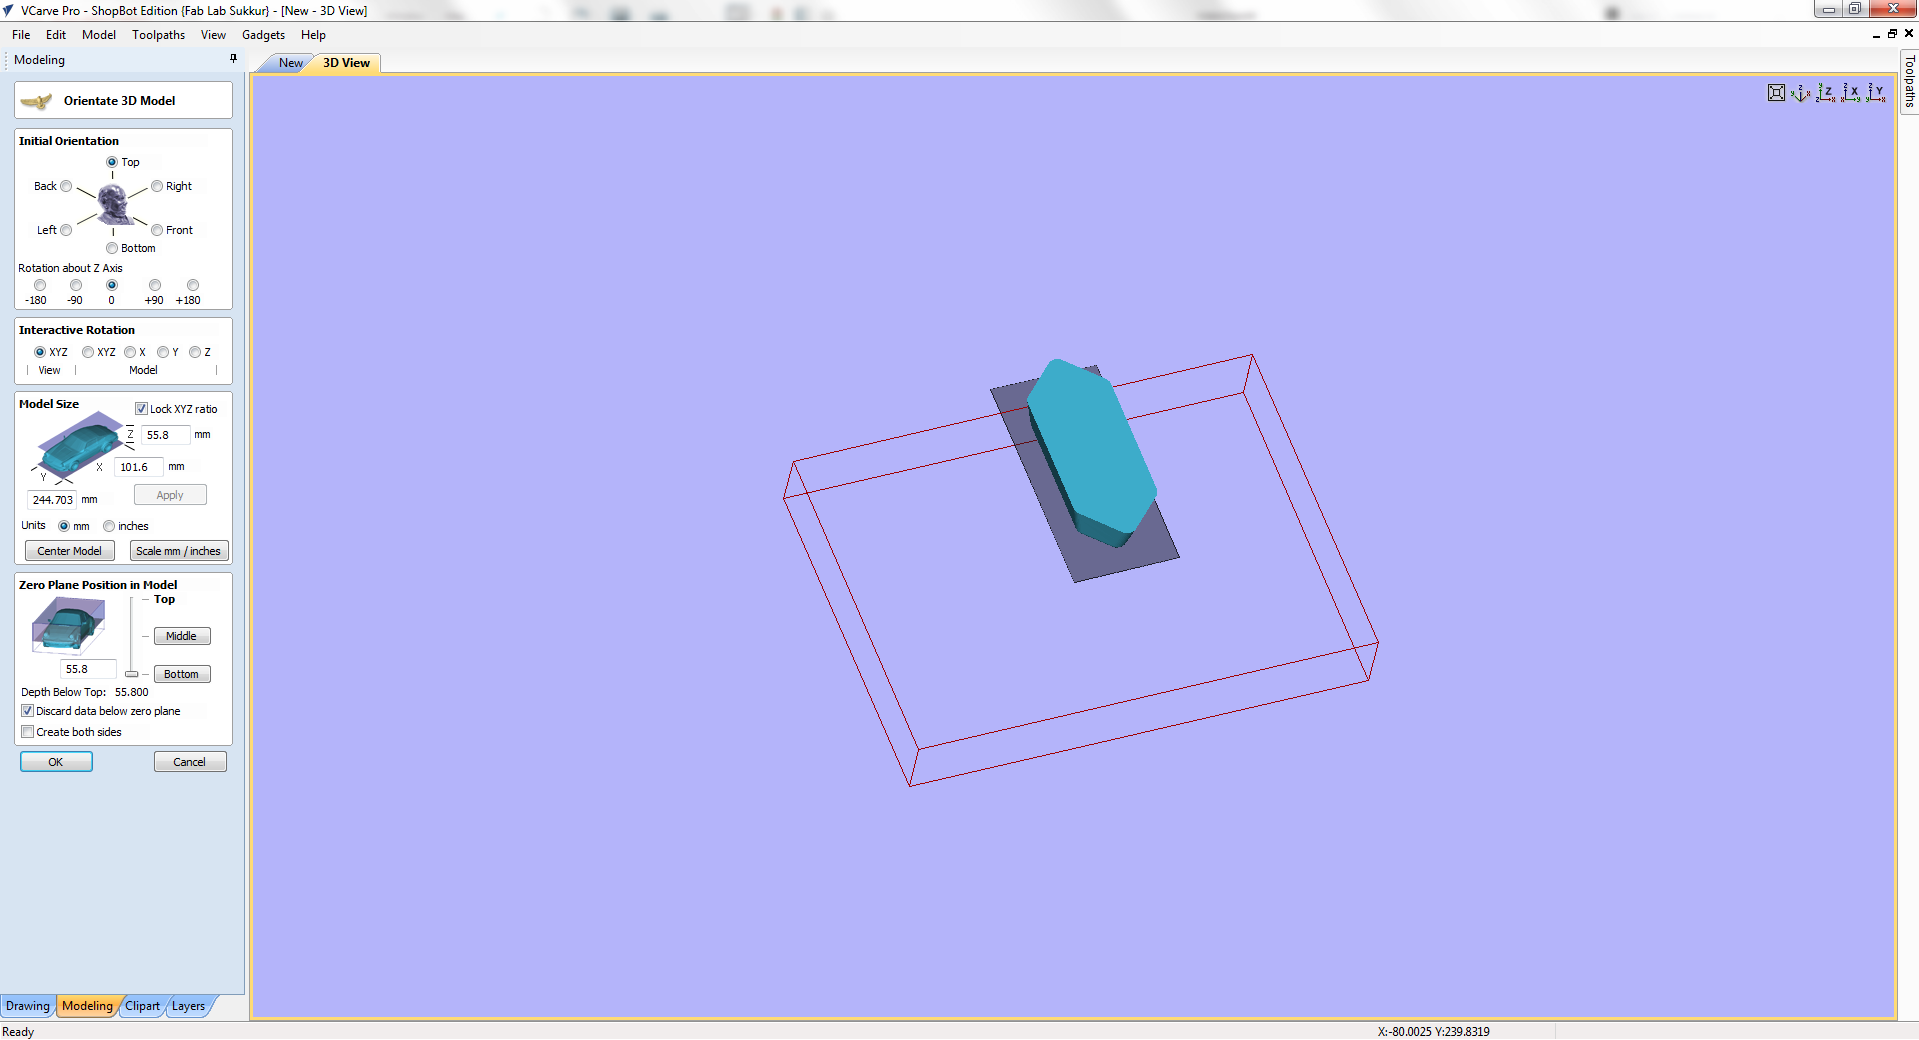 create an appropriate bed by specifying width and height.
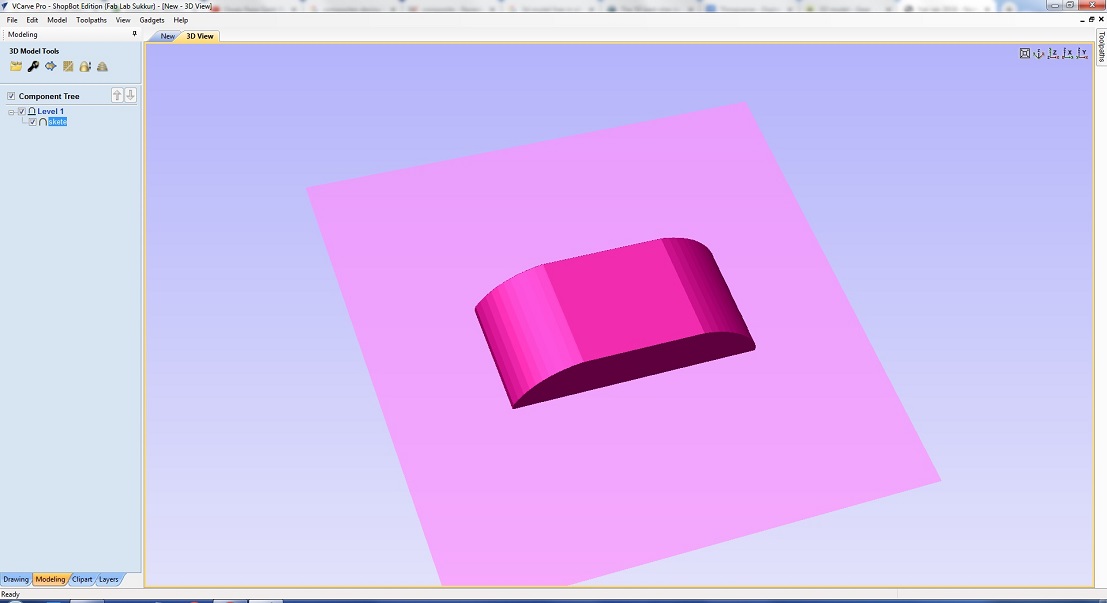
 Now move it to an appropriate position as to make it ready for cut..
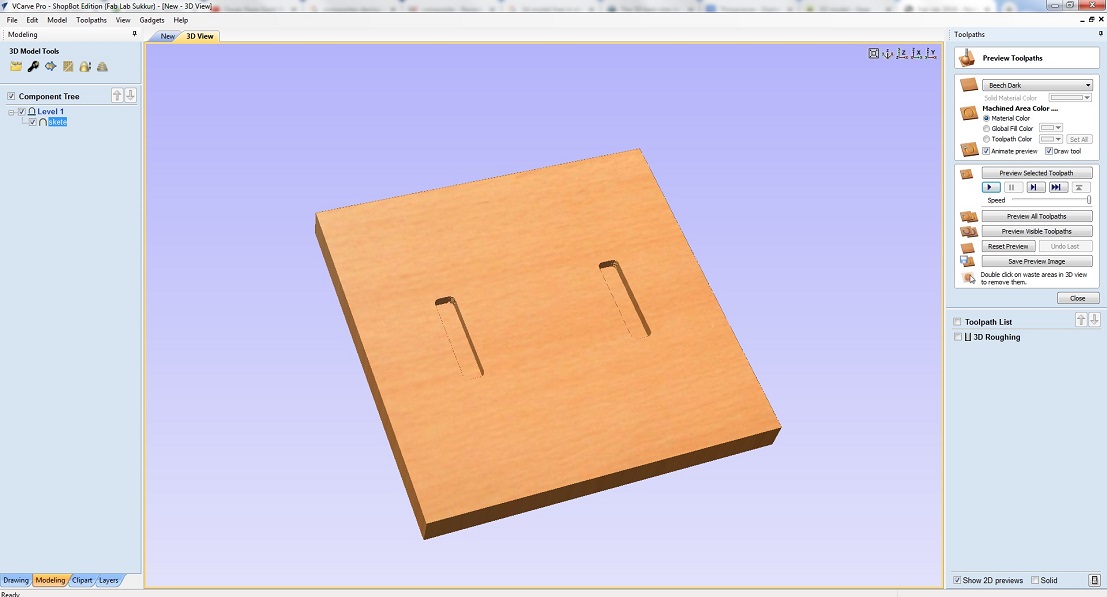
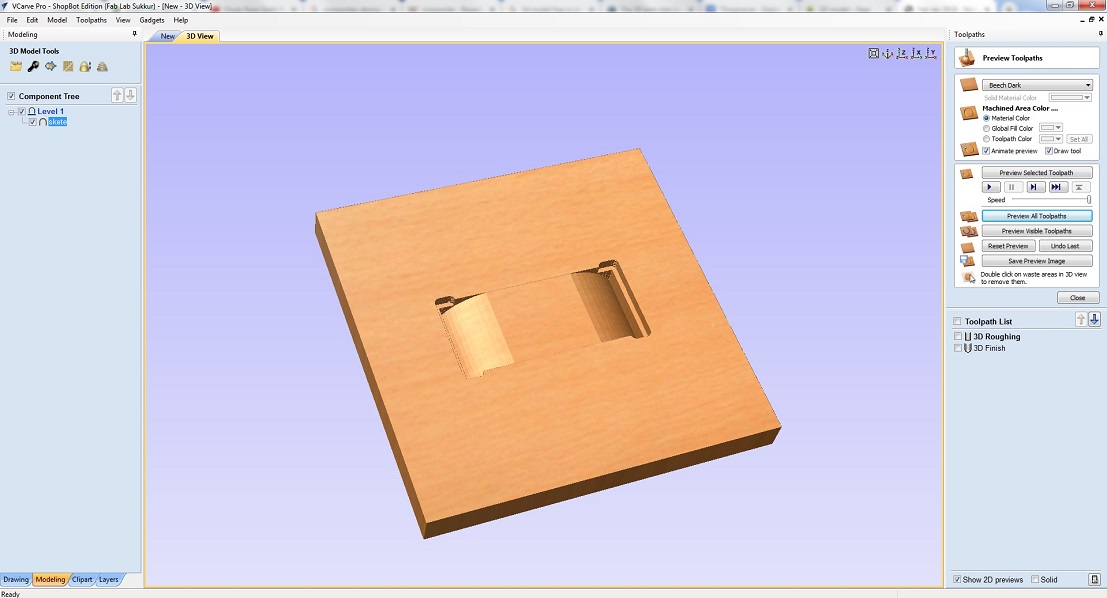
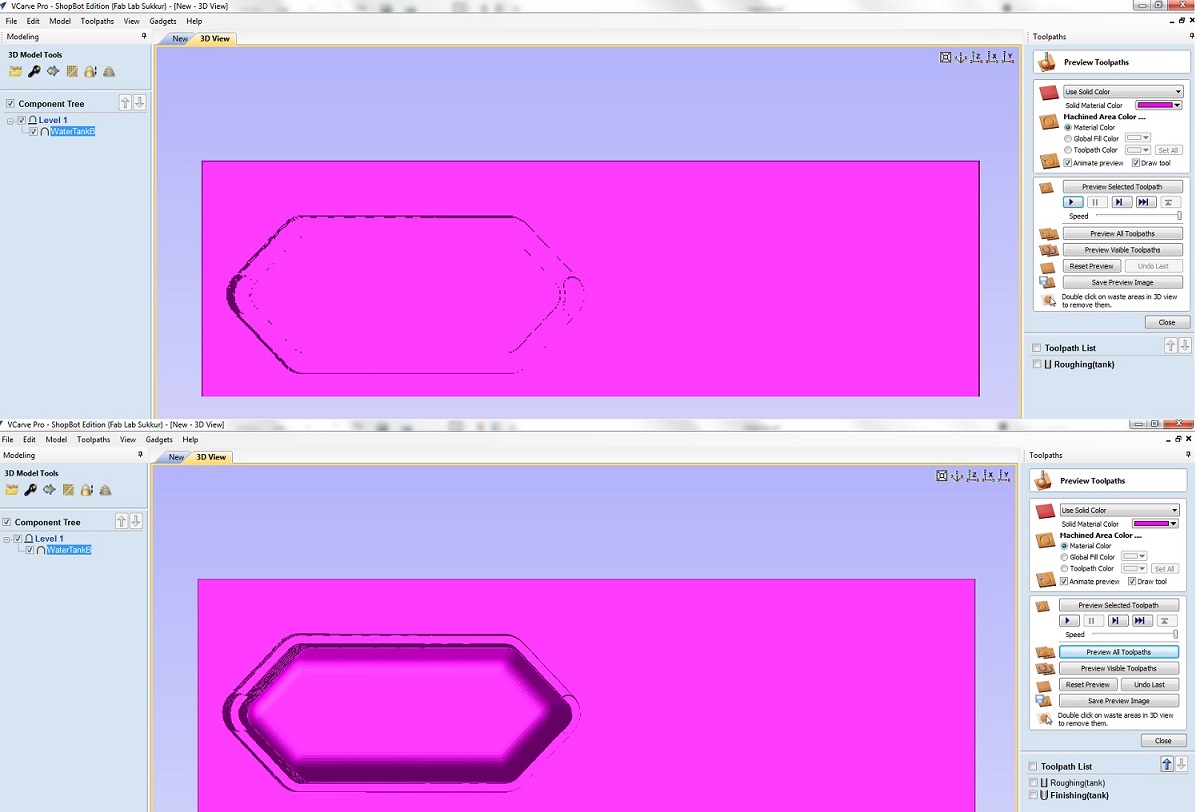
 Now generate and save toolpath files, preview looks as follwoing..
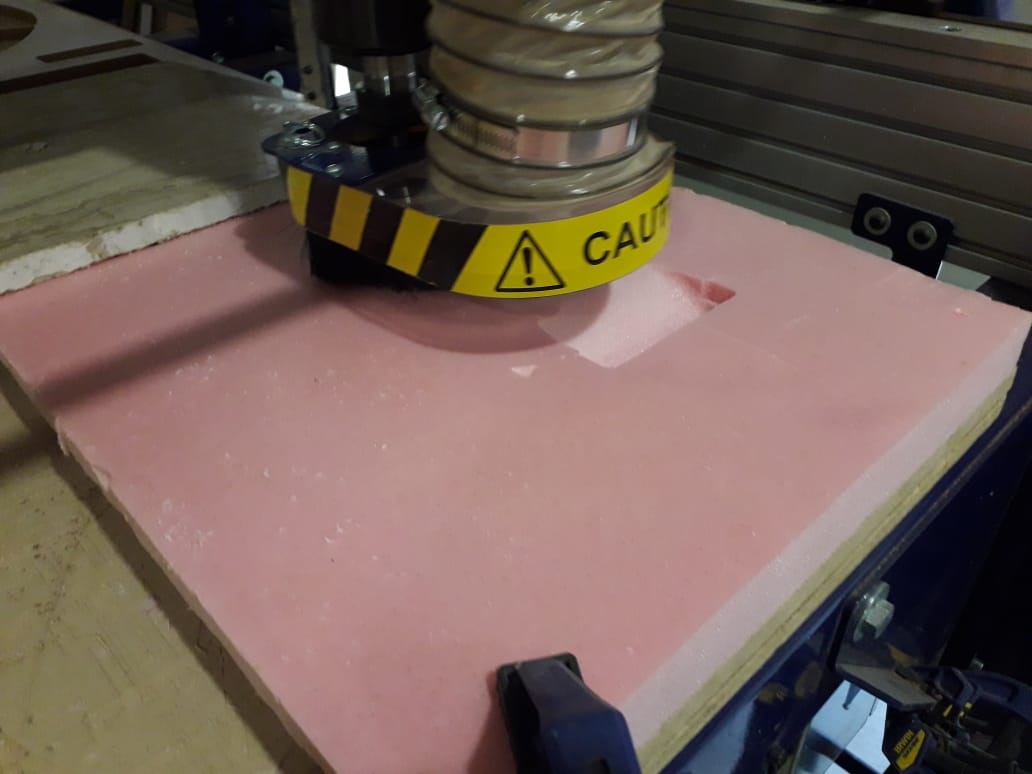
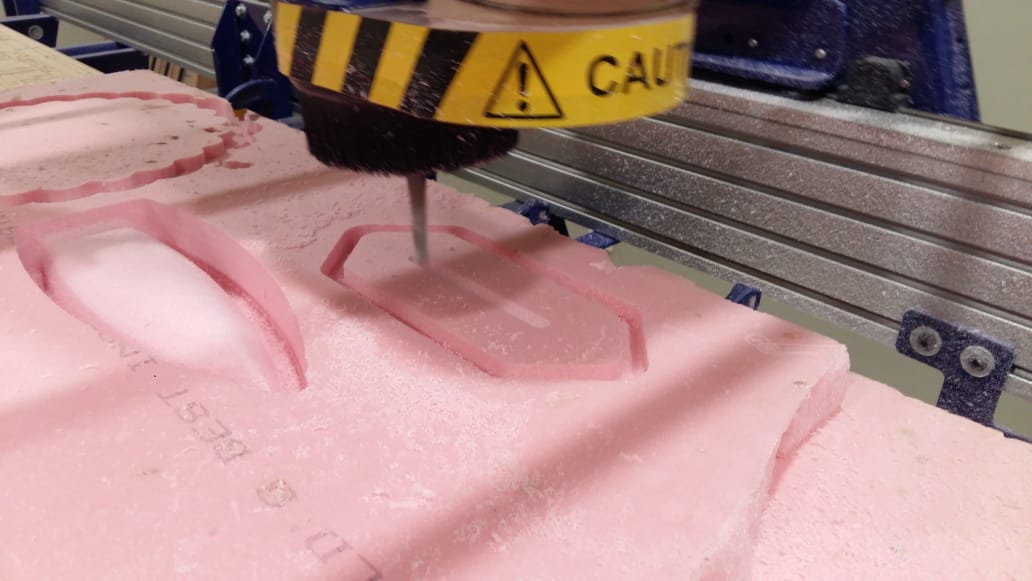
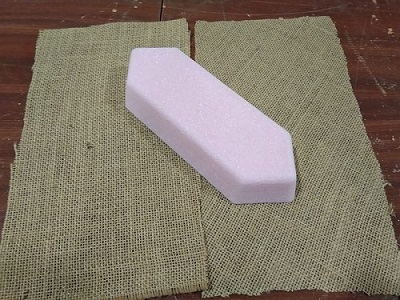
 Now lets make the mold.. Shopbot doing finishing job, as srm did in molding and casting week.
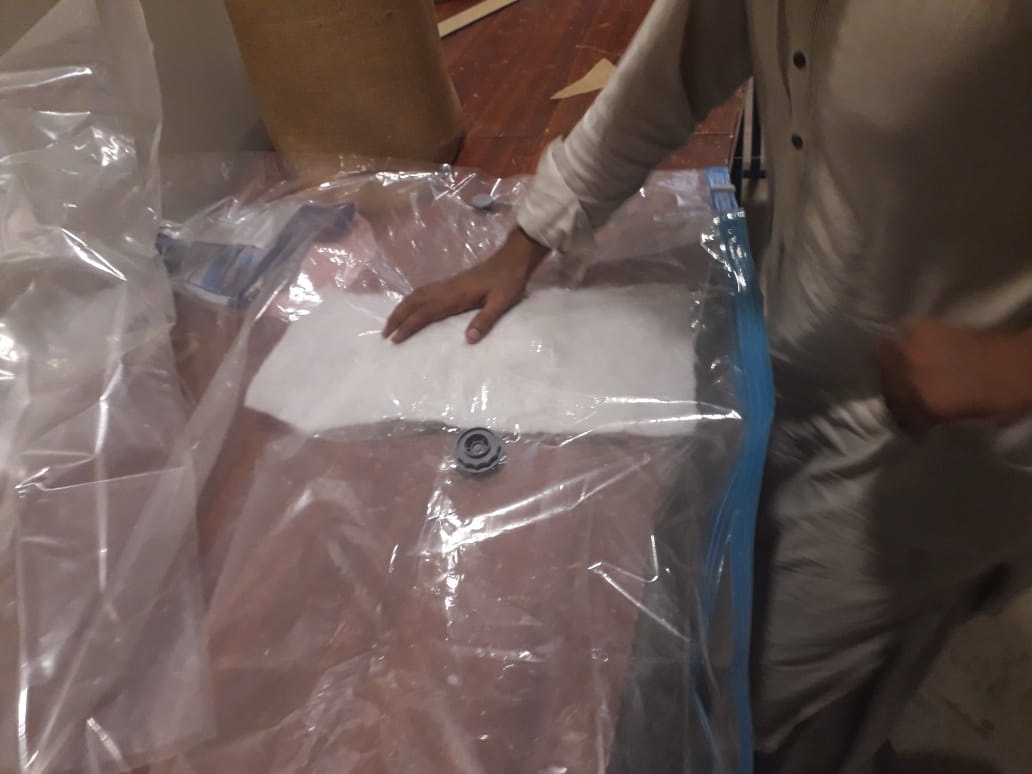
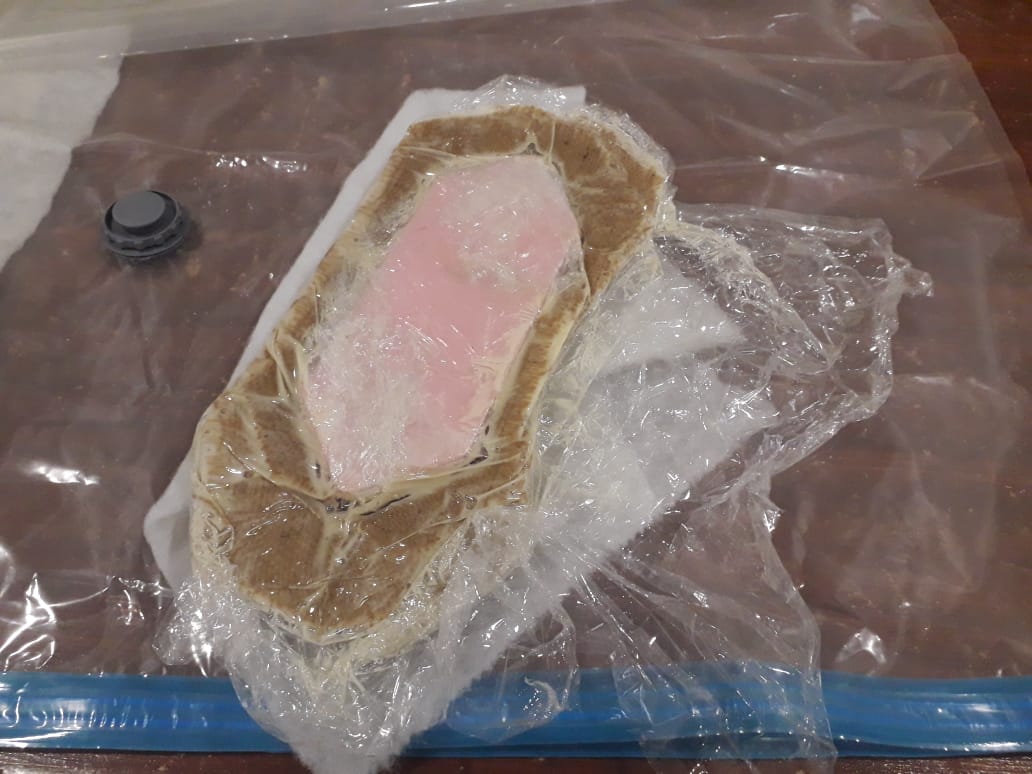
 Mold is ready and rapped in food raping shoper..
 Let's cast it. To do so lets first get the material we need.
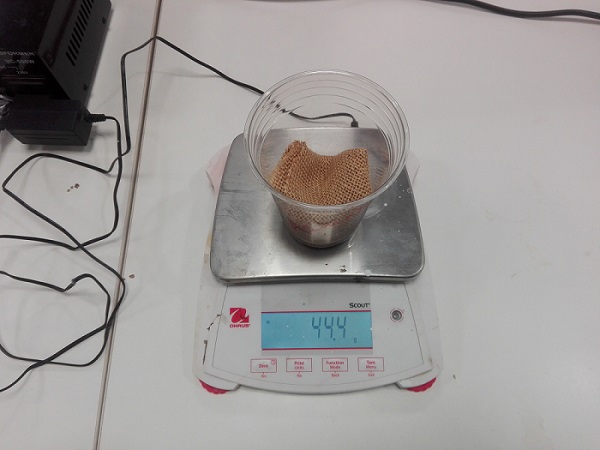
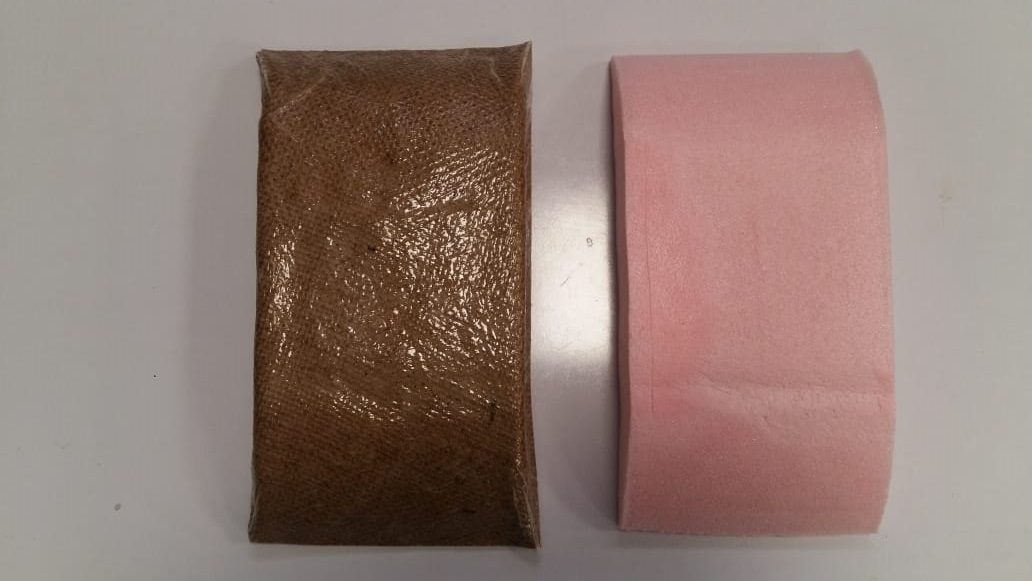
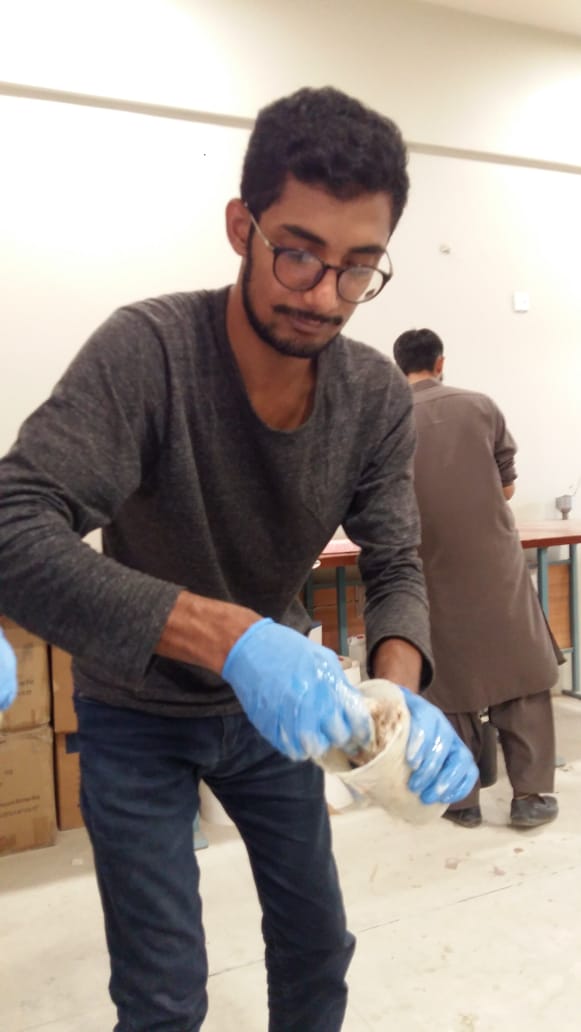
 Make solution by adding hardner to resin. Take, dip and mix jute into the solution properly untill it gets hot..
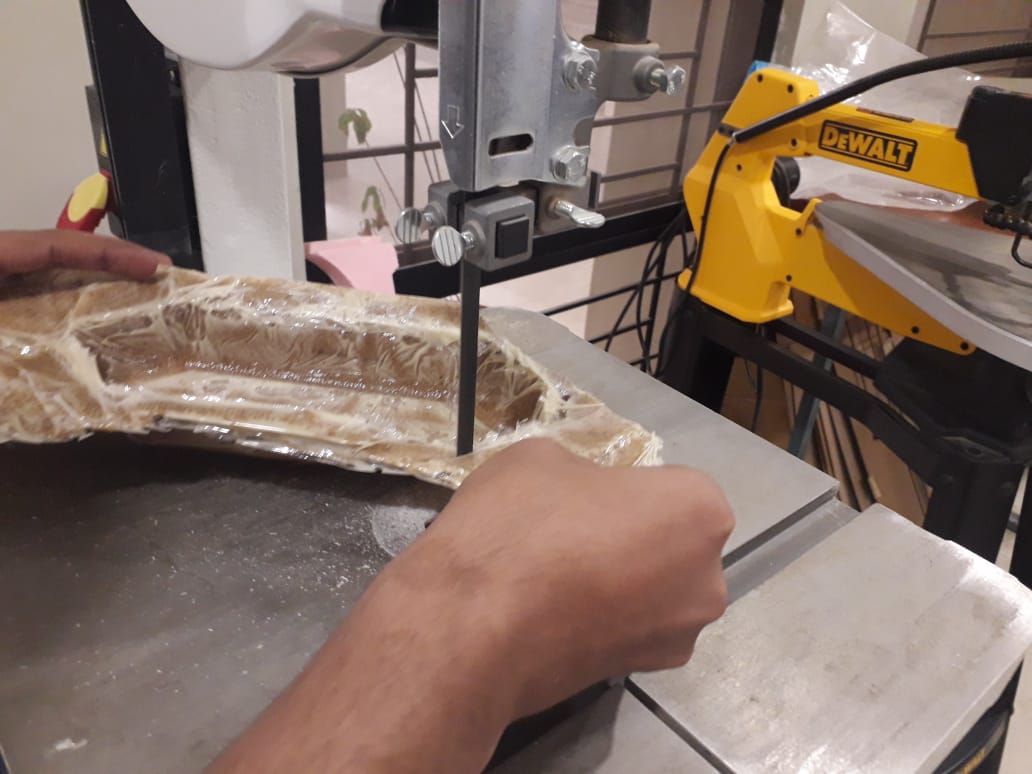
 Now just cut the uunwanted part.
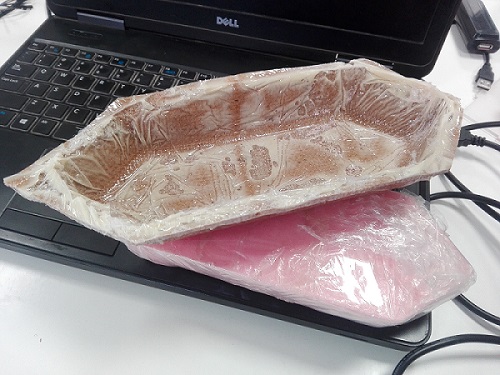
 That is it, we have it ready..
Note: As i made this composite design to be used in my final project, hence after casting i realized that dimensions doesn't suit my final project model so i modified it accordingly by making it more deep and relatively bigger to fit my final project. Depth was increased to 76mm and length was increased to 13in from 10in. Attached files are the improved once.. so don't get confused!
Click here to get design files.. Happy composites!

This work is licensed under a Creative Commons Attribution-ShareAlike 4.0 International License
Copyright © 2019 Azmat Hussain