

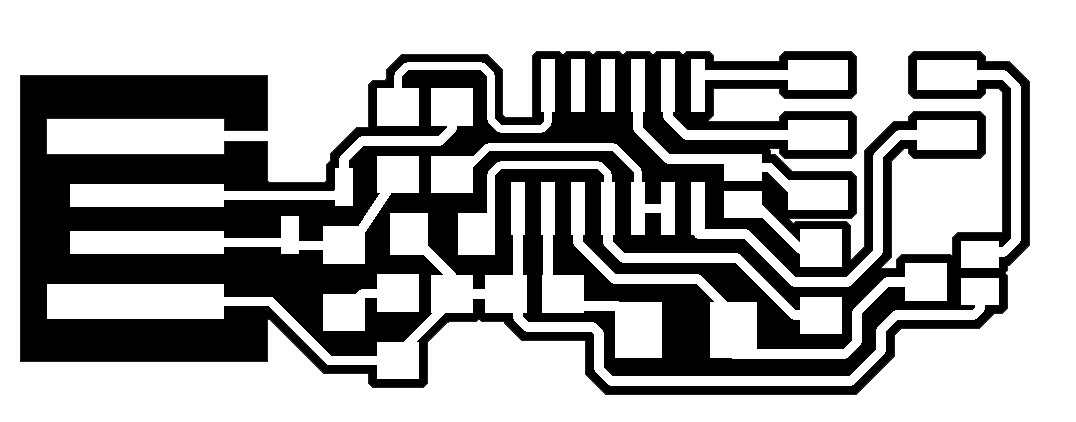
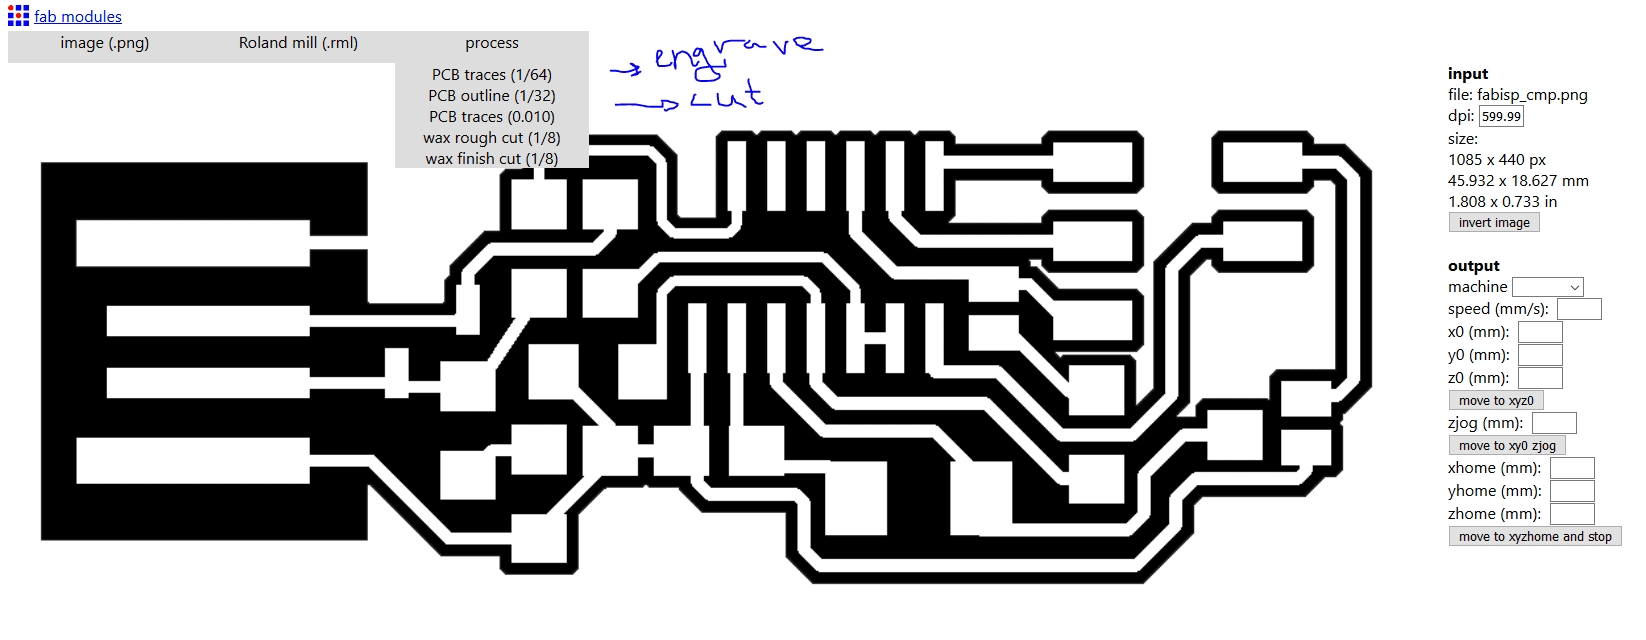
For this week, the design was given to us and we had to manufacture it using the milling machine. Two pictures were given, one for engraving the ISP lines, and the second one is for cutting the outline of the ISP.

First of all, to get started with the milling machine, we had to fix the work piece on the bed of the machine using double faced tape. Then using the machine's software (interface shown in the picture below) to select the refernce zero point.
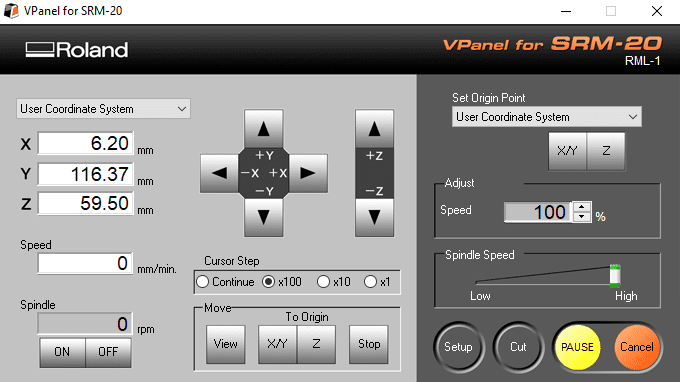
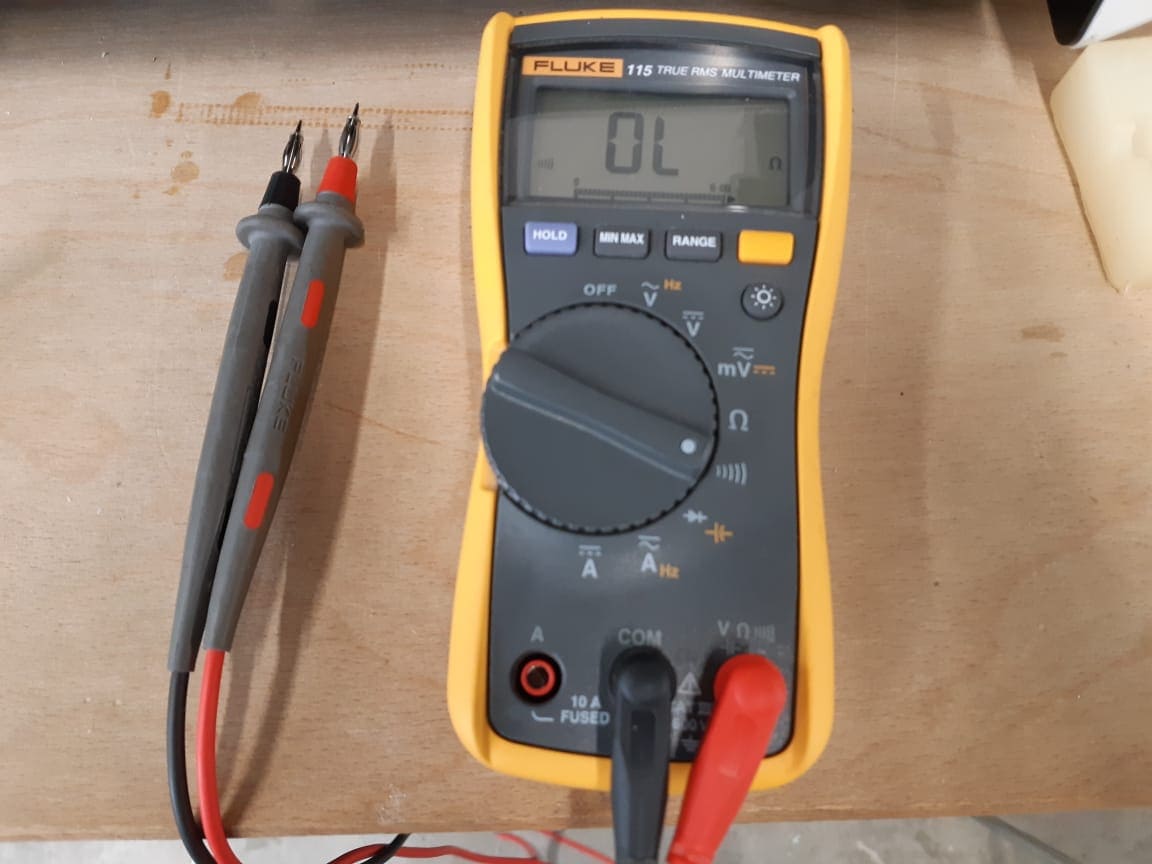
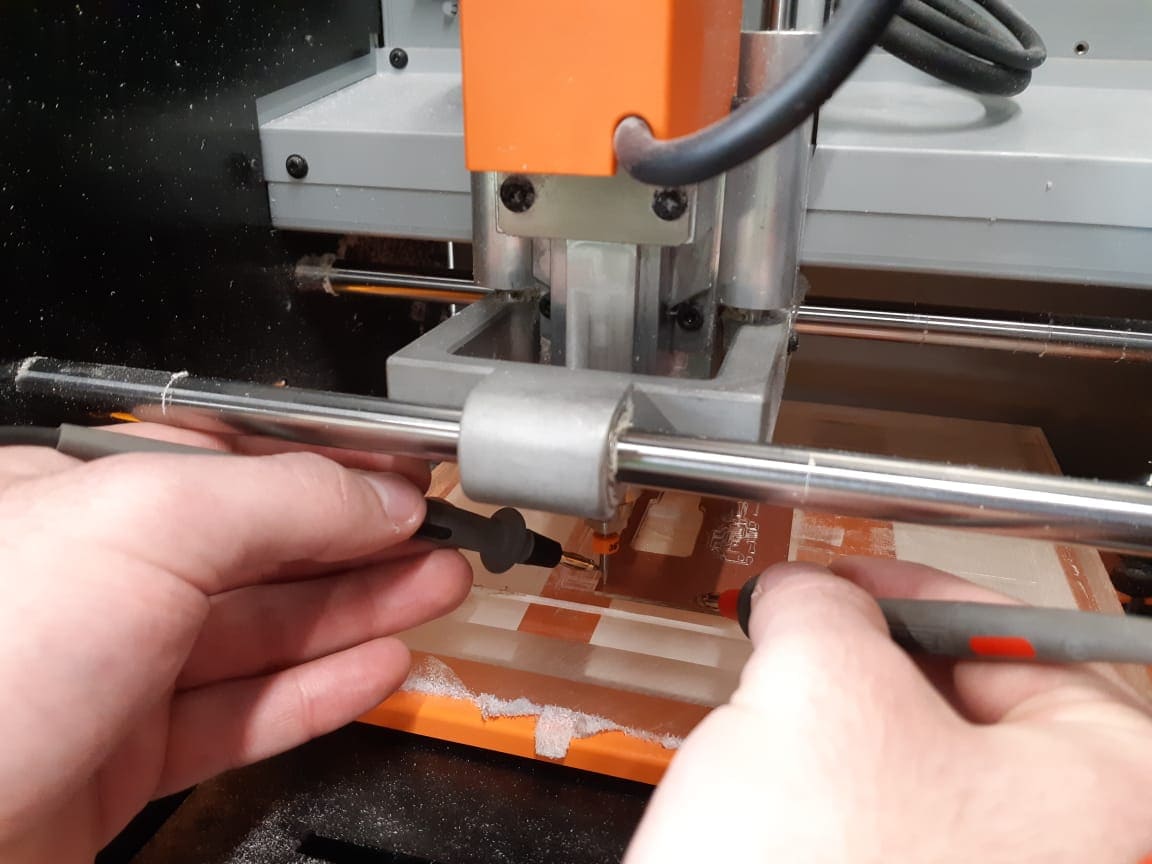
By moving the end mil to the refernce point using the arrrows, click the X,Y button to select as a zero point. Then move the mil slowly downward, and before it touches the bed, remove the screw that holds the mil, and gently let it rest on the surface of the bed, then reattach the screw. to make sure it is in contact with the surface, we use a multimeter to test for a short circuit.
Then after everything on the machine is set, we move to Fabmodule and add our design.
After that, on the right side bar, we select the settengs we want; the machine type, the cutting speed (the slower the better for the mill maintenance), the cutting depth, the tool diameter, the number of offsets and their overlapping.
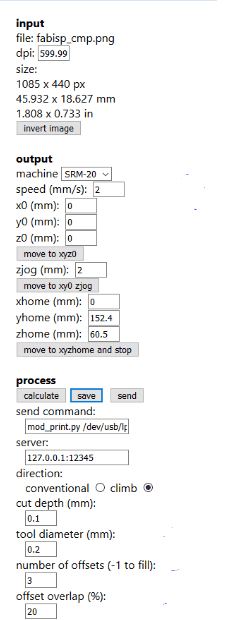
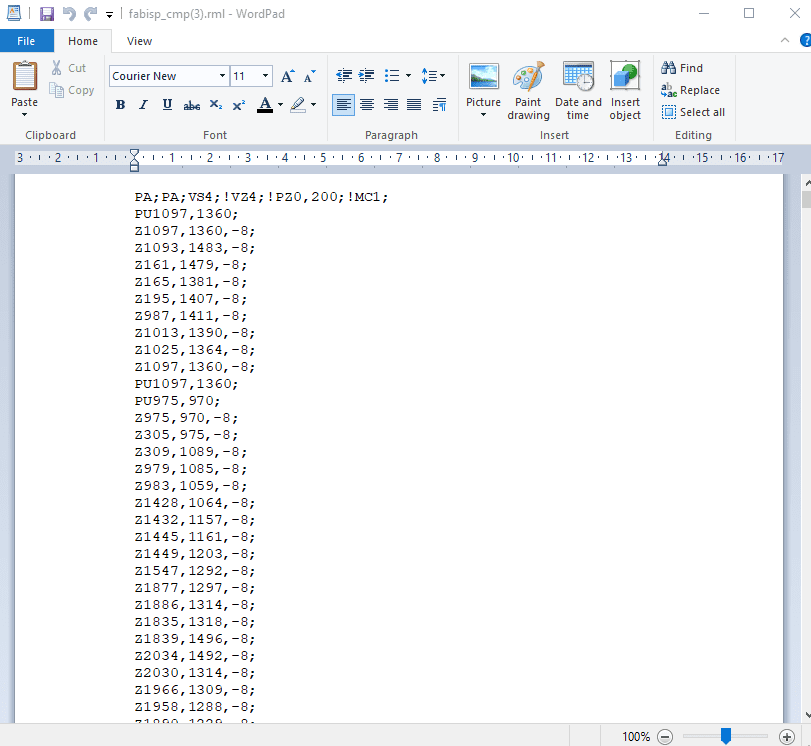
Finally, we click calculate to see how the path will be traced, and then save to generate the G-Code.
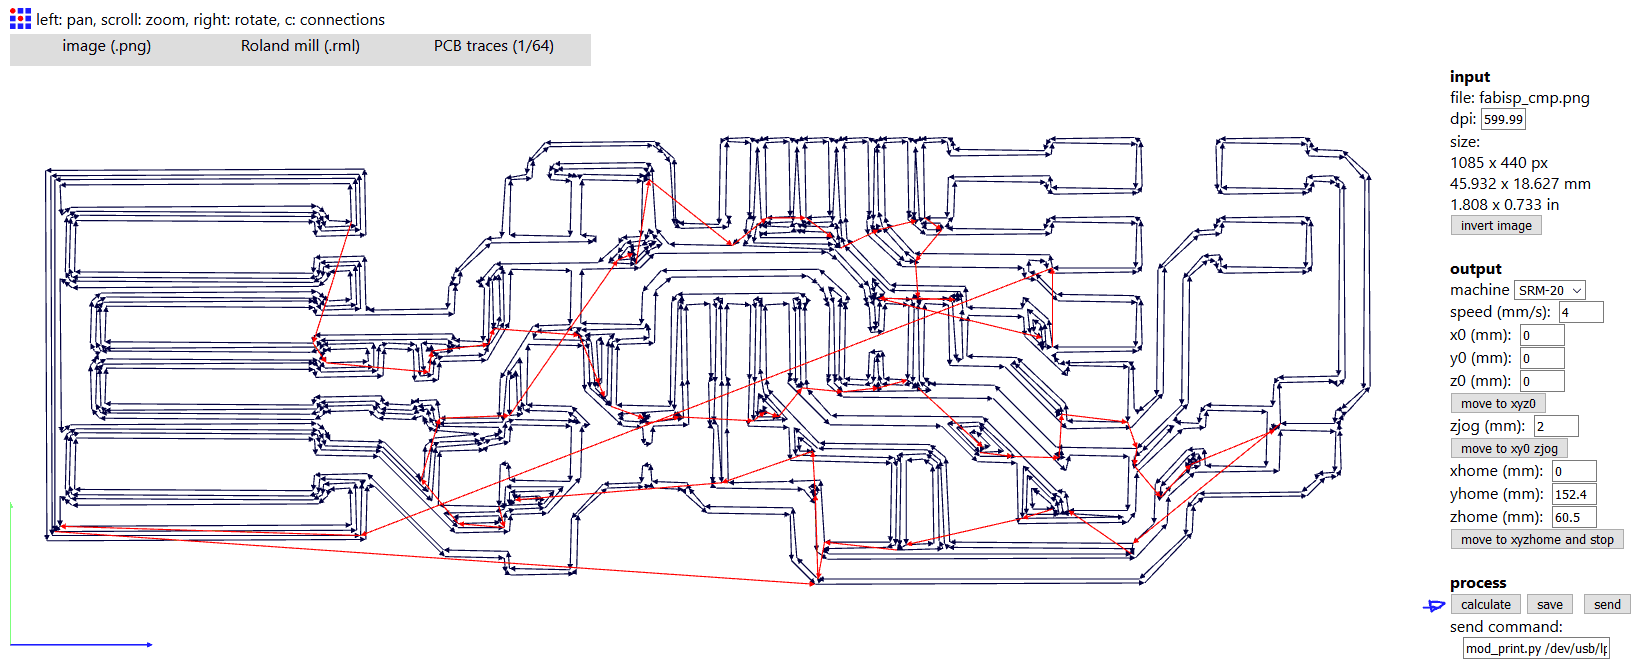
The G-Code is the instruction of movement that will be traced by the V Panel software.
To make sure that the job is being traced as required, we click View. That will pause the job and bring the piece closer to the observer without losing the reference point and with the ability to resume the job.
After the job is complete, we follow the same steps of on the Fabmodule to cut the outerline. But this time, when adding the file, the select out PCB outline (1/32) instead of PCB trace (1/64).
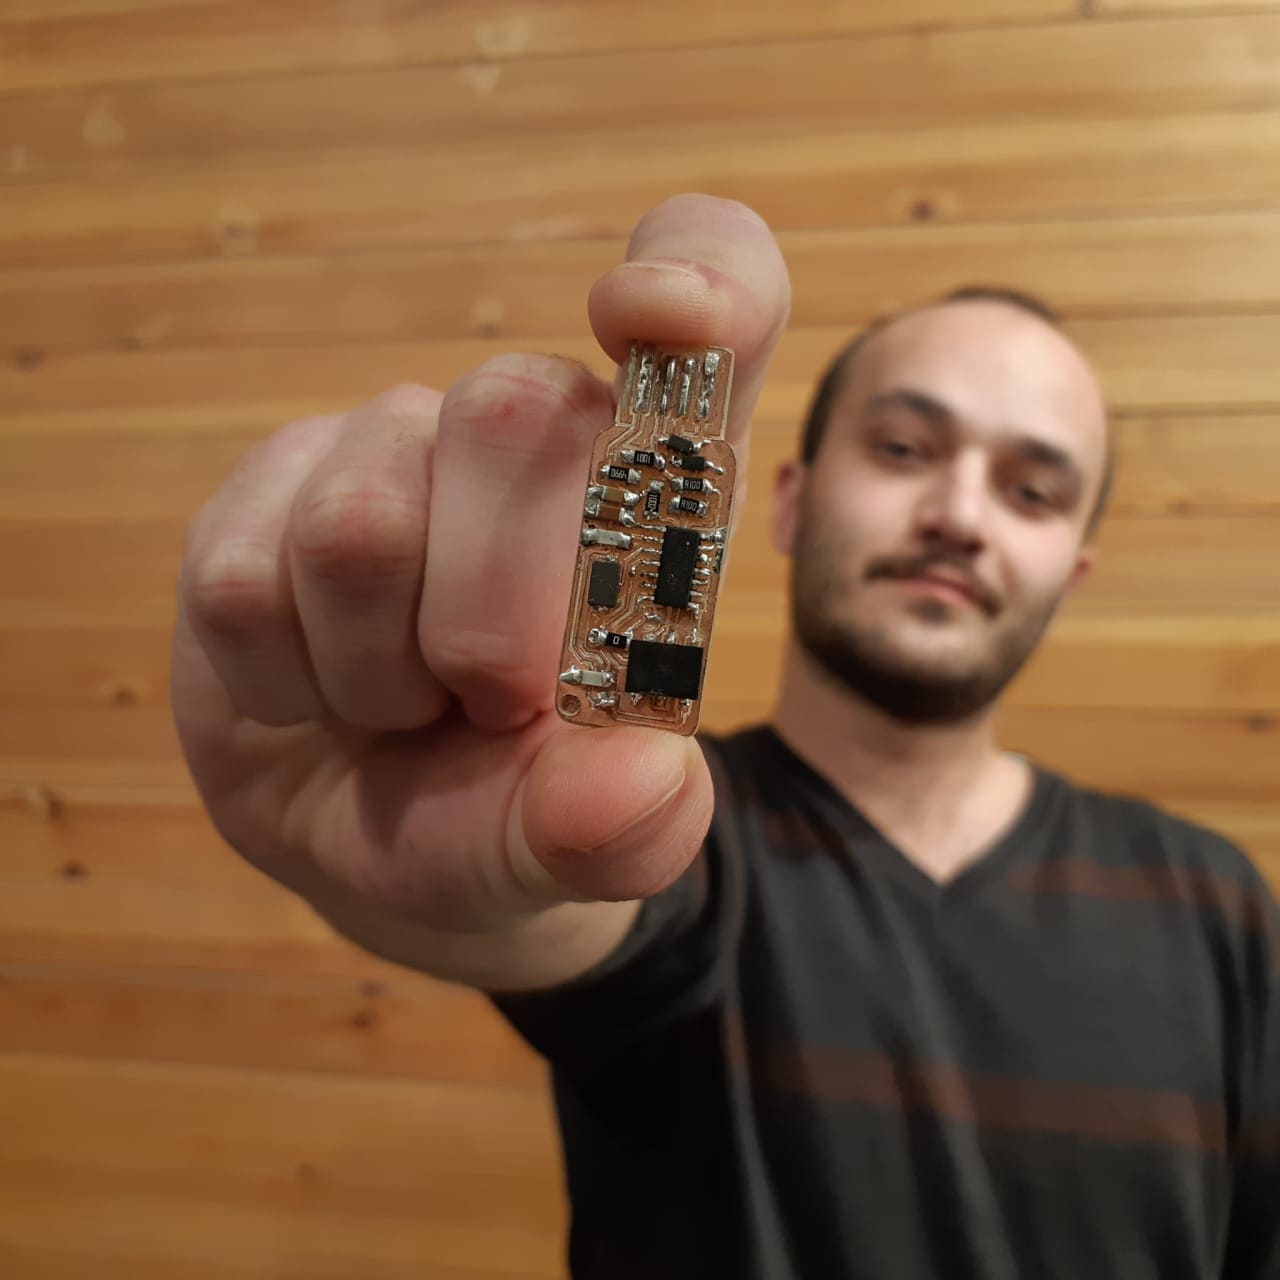
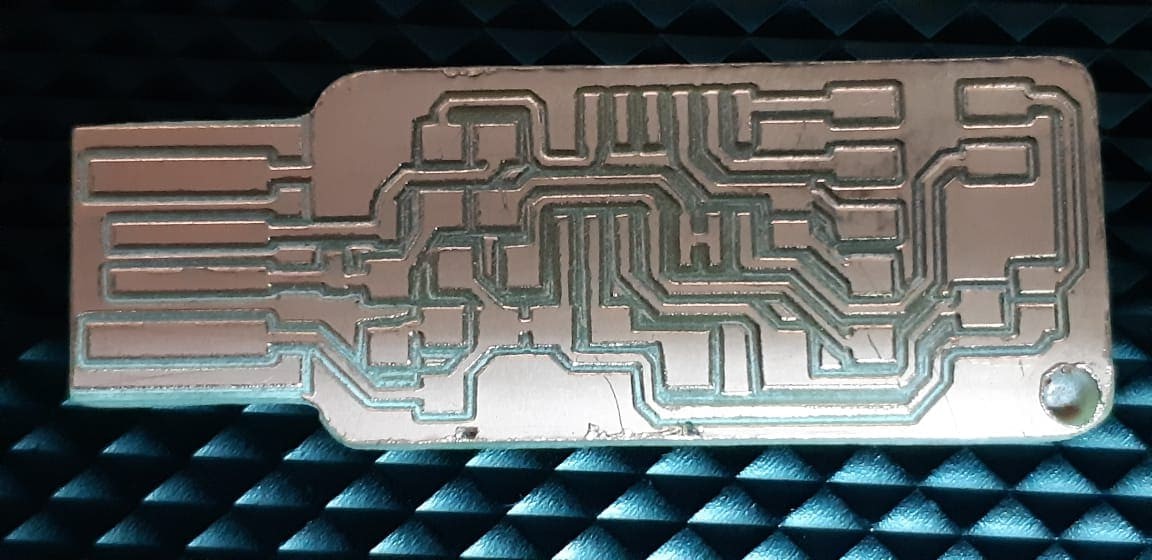
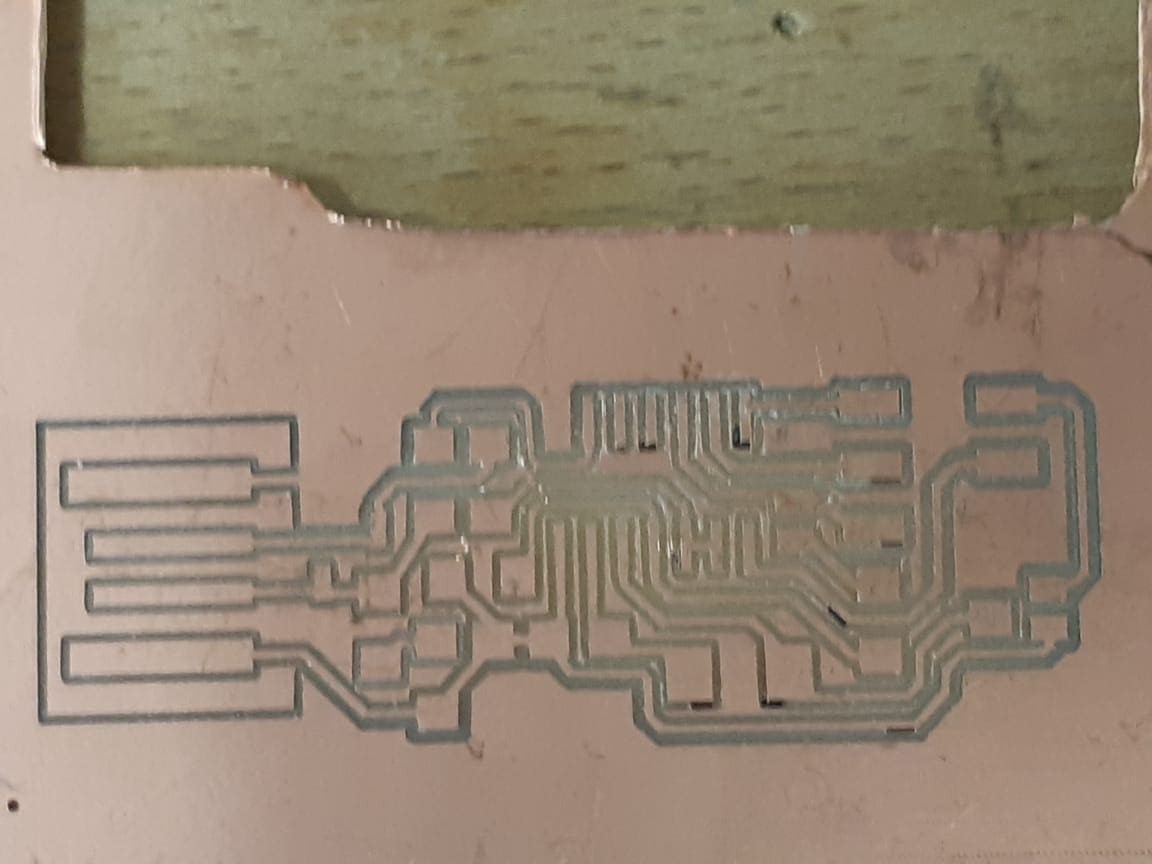
The milling result must look as follows:
It took me multiple trials to succesfully manufacture this step, here are the previous trials with the reason of their failure:
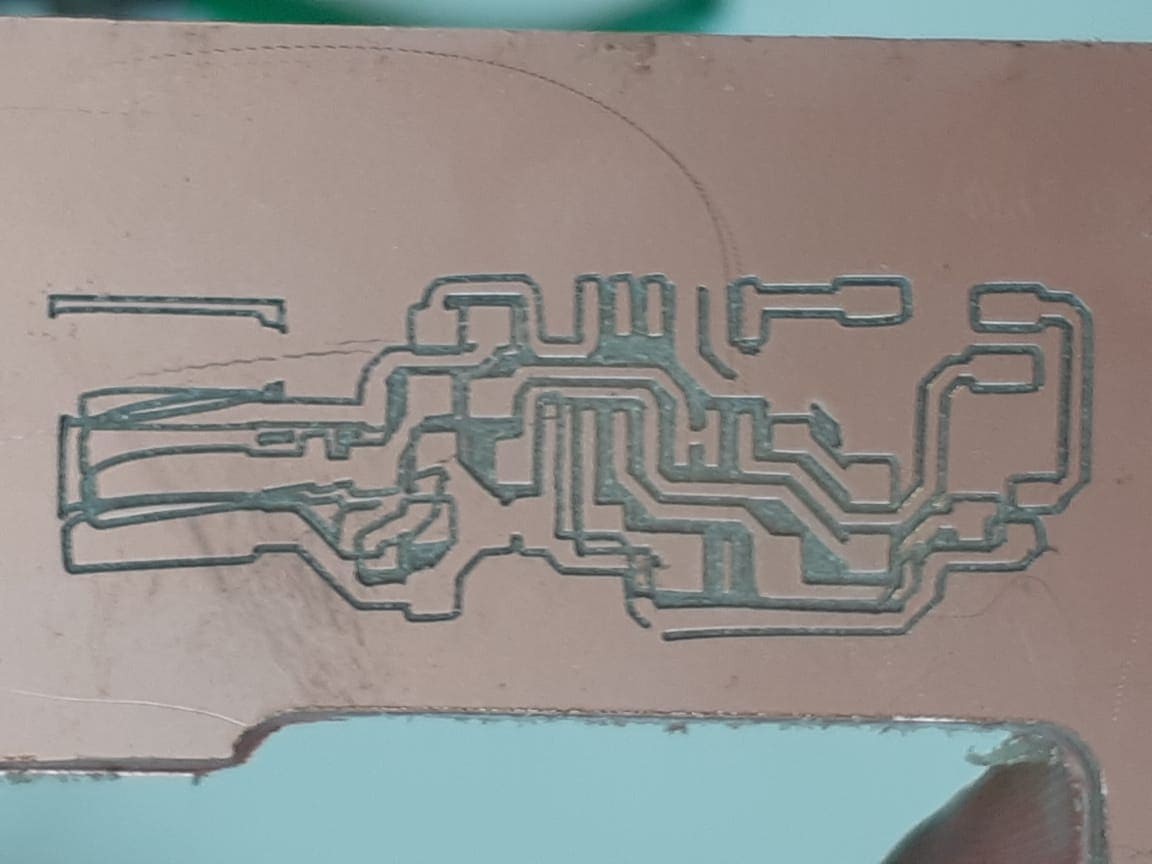
This first trial was perfect, except at some point, the tape failed to constraint the chip to the bed and it started moving under the end mil, which caused the tracing to corrupt.
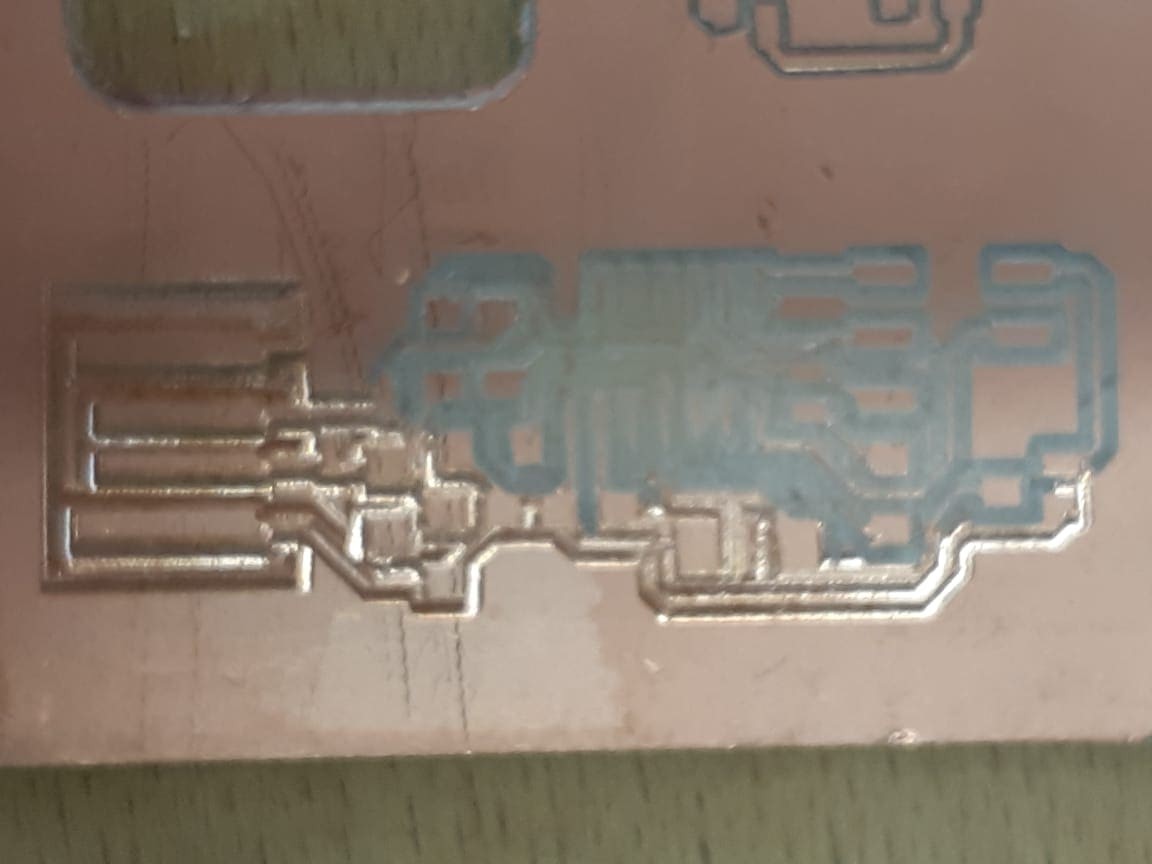
After the bed started moving, I guess the end mil broke, which caused the next job to be uneffeciently traced.
After changing the mil, I assigned the trace line to go on only one offset, inoreder to make the job quicker and the tracelines thinner. But that caused the lines to be not perfectly cut, leaving short circuits at some points.
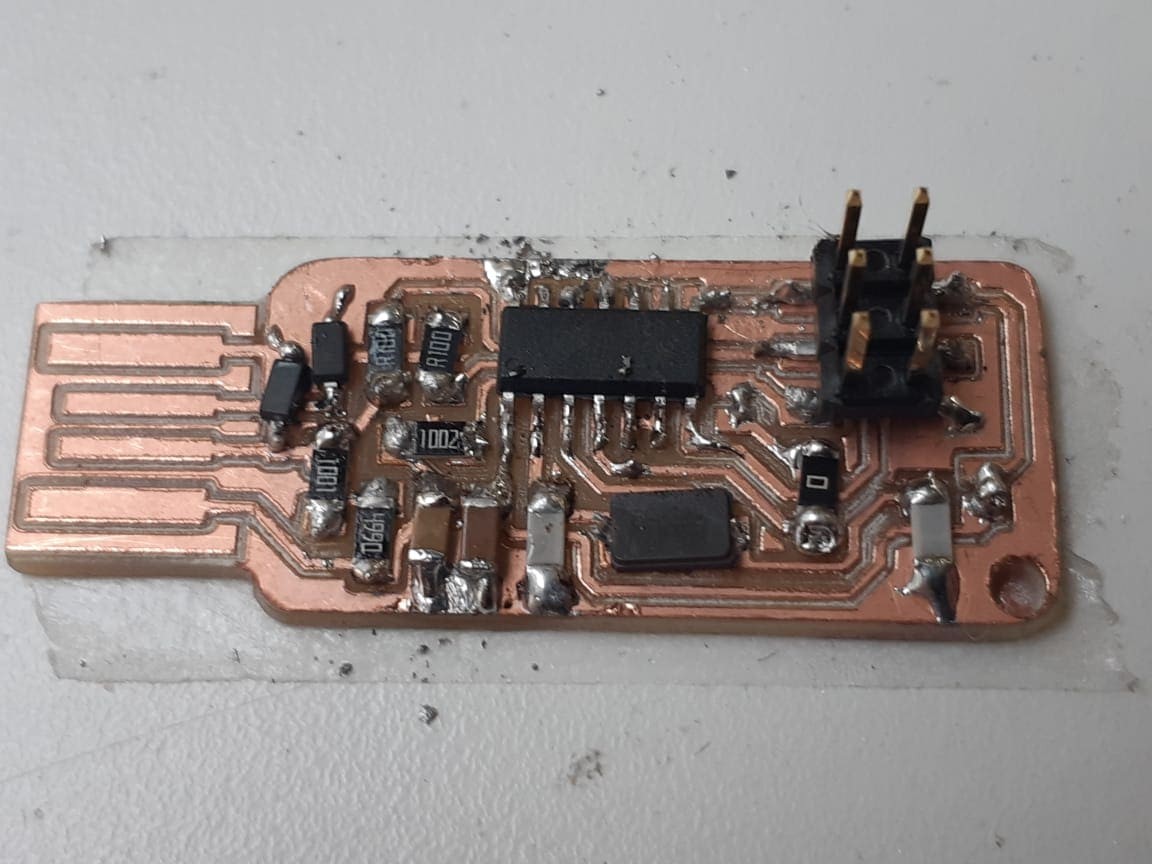
After the milling process, the chi needs some components to make it function.
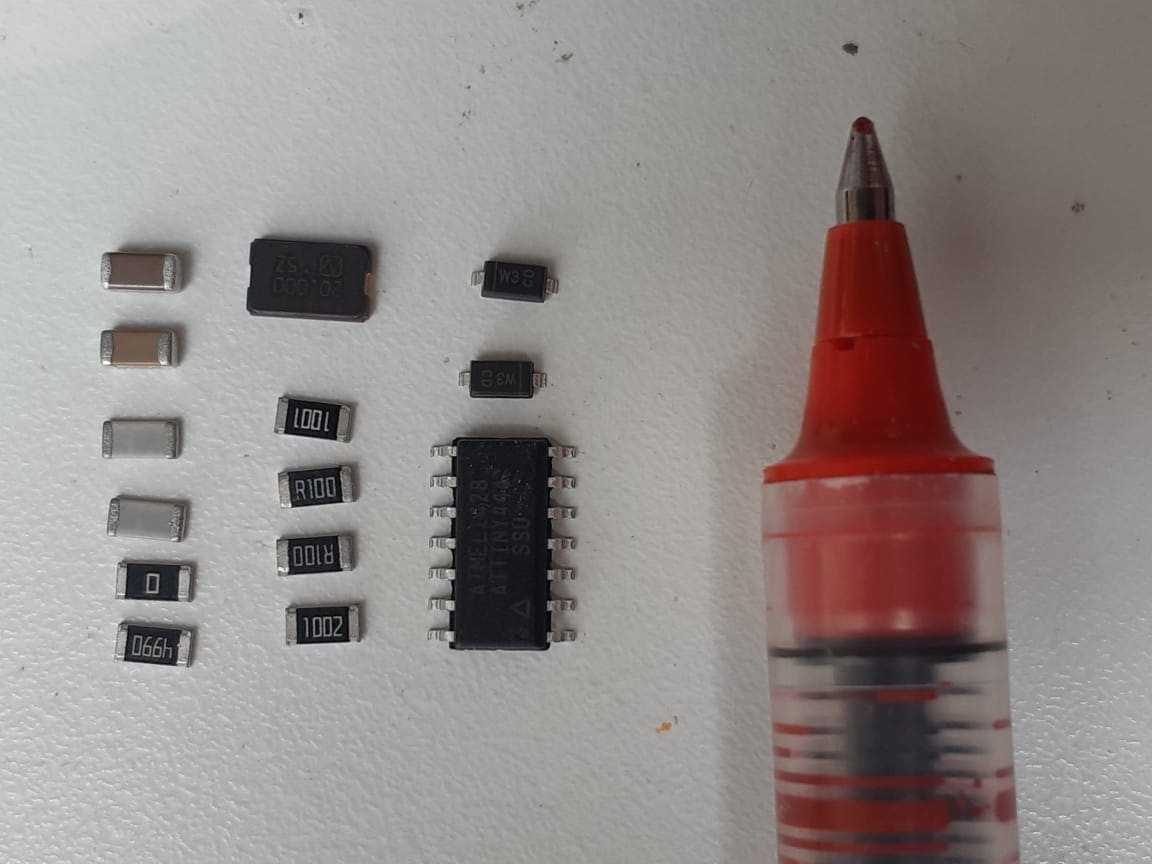
I gathered the components and followed this schematic for guidance:
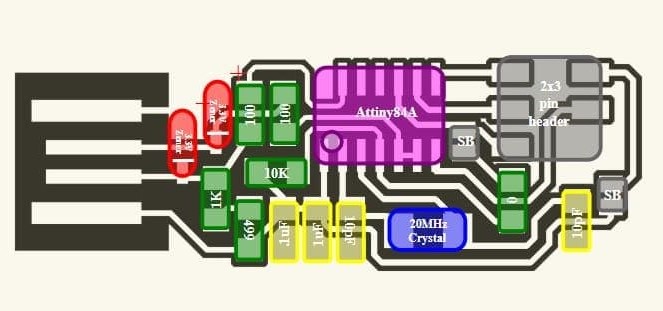
I soldered the components and used the gelvanometer to make sure that i did not leave any short circuit or open circuit.
---
Coding
I have used an Arduino board as an ISP to program my ISP, connecting them according to this figure:
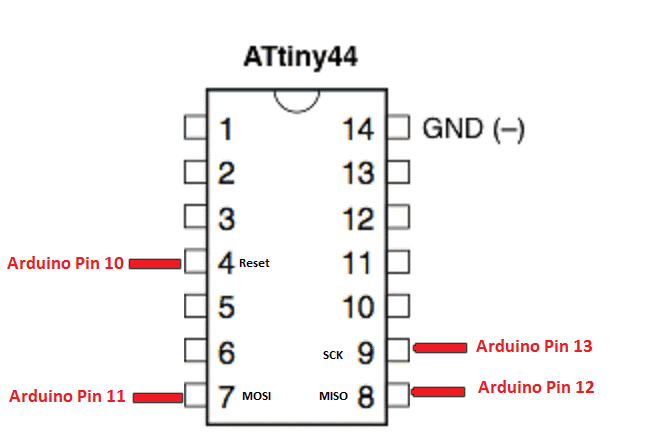
By connecting the Arduino with the ISP to my colleague's Macintosh, we programmed the ISP.
The Makefile was pre-prepared and then added to be uploaded to the permenant memory of the ISP. Only we had to change the line AVRDUDE = avrdude -c avrisp2 -P usb -p $(DEVICE) to AVRDUDE = avrdude -c stk500v1 -P /dev/ttyACM0 -b19200 -p $(DEVICE) (you can do that by adding a hashtag # before the the first line to turn it into a comment, then add the second statement in a new line.
Next to the makefile, we have to download the firm ware (files used to configure the attiny as a programmer). One way to do so is following these commands:
On the temrenial, we had to install the libraries for the makefile to be programmable, the libraries are:
Then to add the makefile, got to the directory where the makefile exists (follow the same steps as in Git Bash). Then use the following commands:
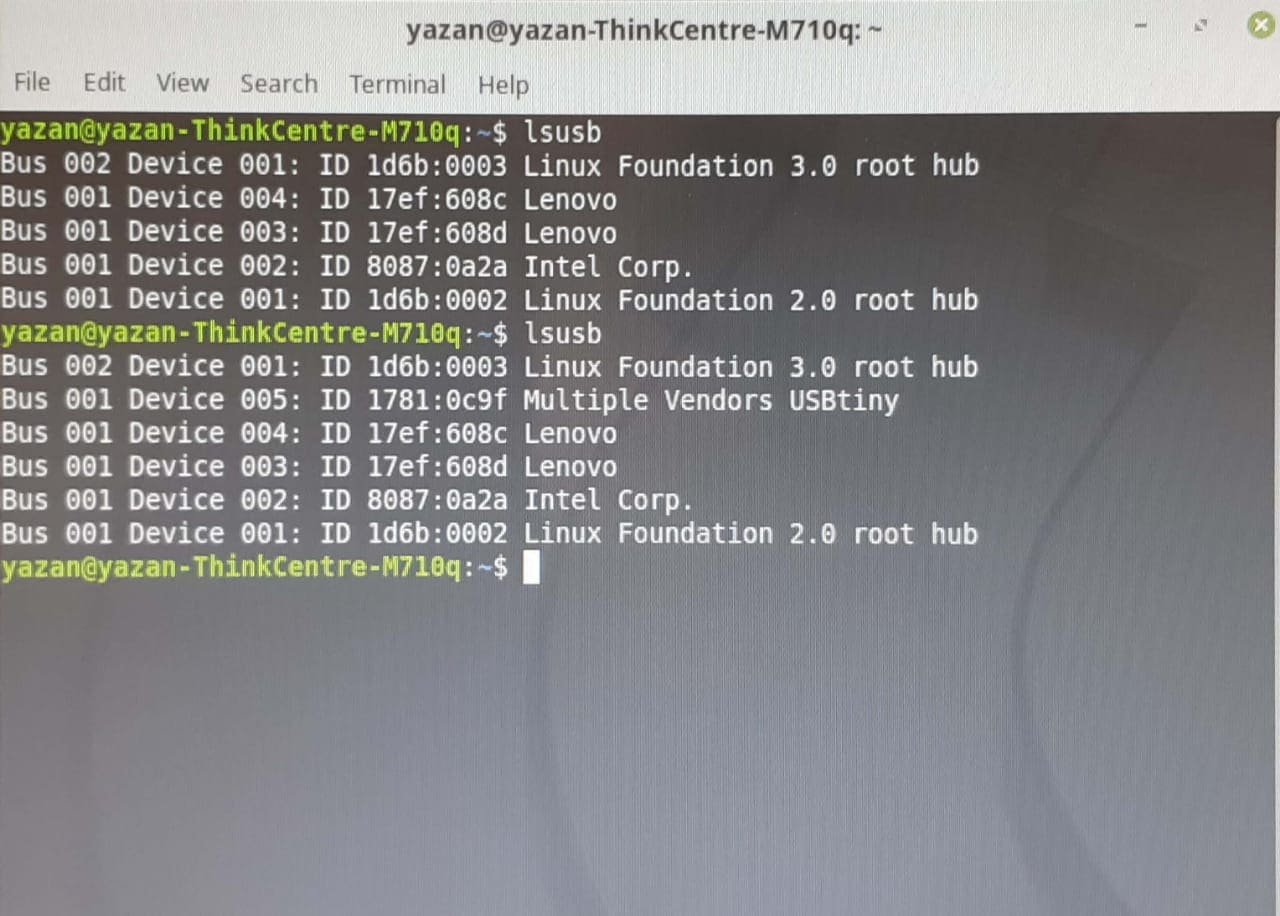
Finally, we used a different computer that runs on Linux to test if the ISP is working, using the command "lsusb" and it does!