"" -
Mechanical & Machine Design
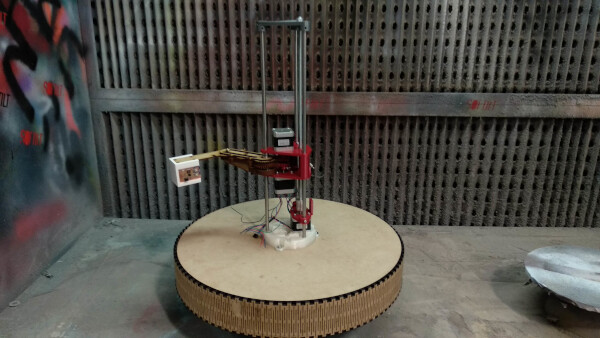
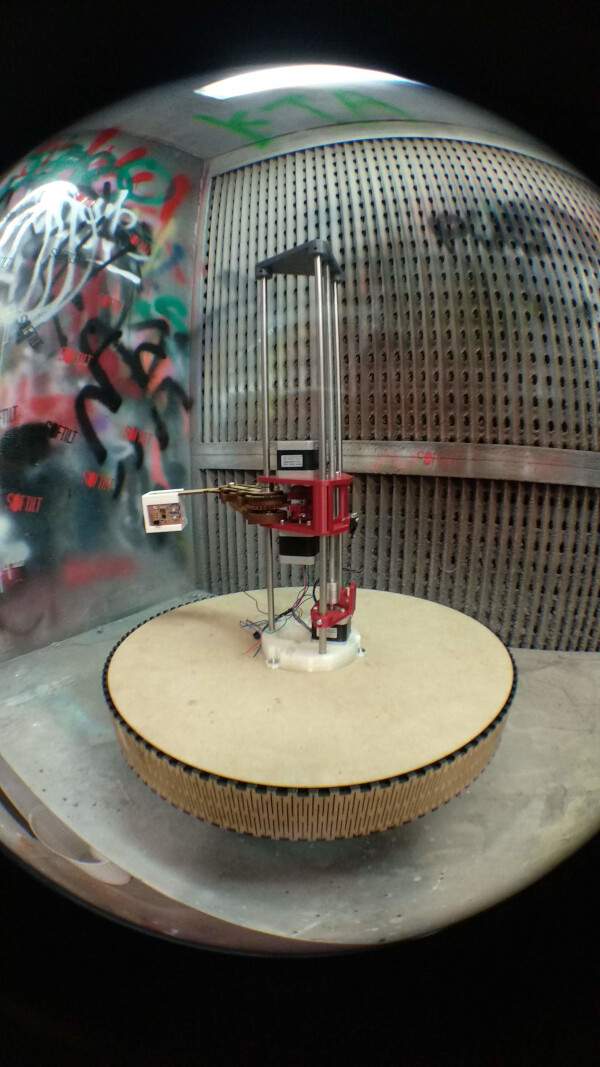
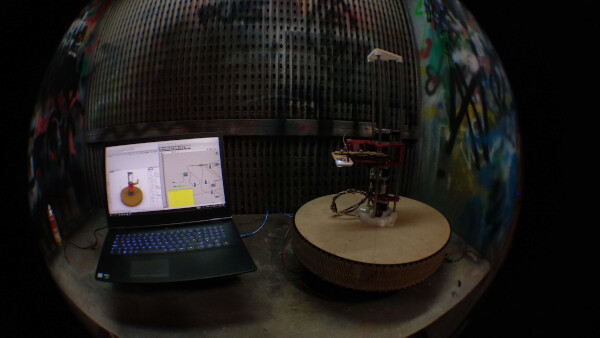
The Machine - SCARLIGHT
The SCARLIGHT is a light painting machine based in a SCARA robot arm. Click here to see the group project.

The actuator
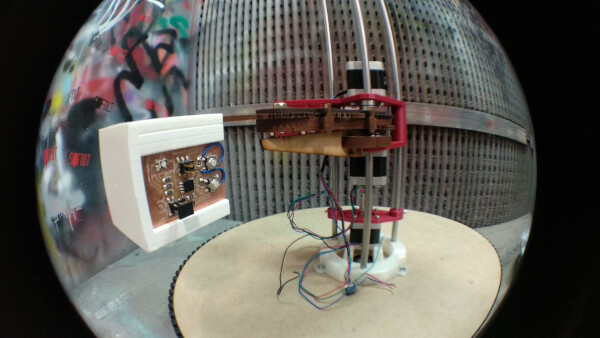
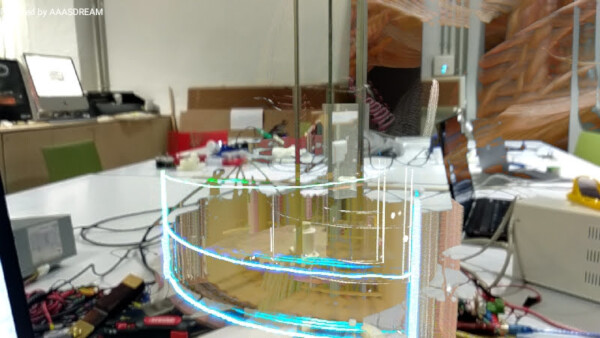
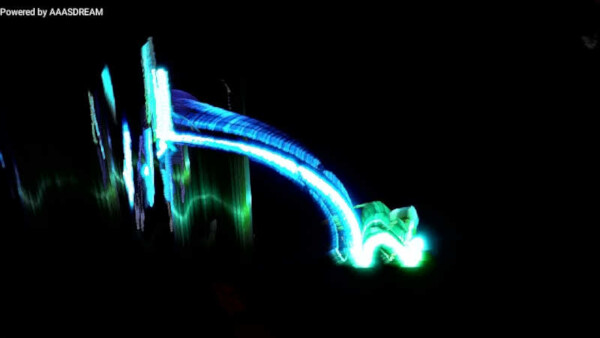
For this group assignment for the machine, I was responsible for the design of the actuator. The actuator in the machine should be a light source so the camera can trace the movements of the light in a long exposure photography.
For that I wanted to design something that can be modular, easily attachable and don't have a mess on the wiring system.
For this spiral development I wanted to design something simple, a block system where you can attach mulitple RGB led boards. If this works I will design a slim version of it, to reduce the weight of the actuator. For the process of fabrication I chose 3D printing with very low infill, so it can be light in weight.
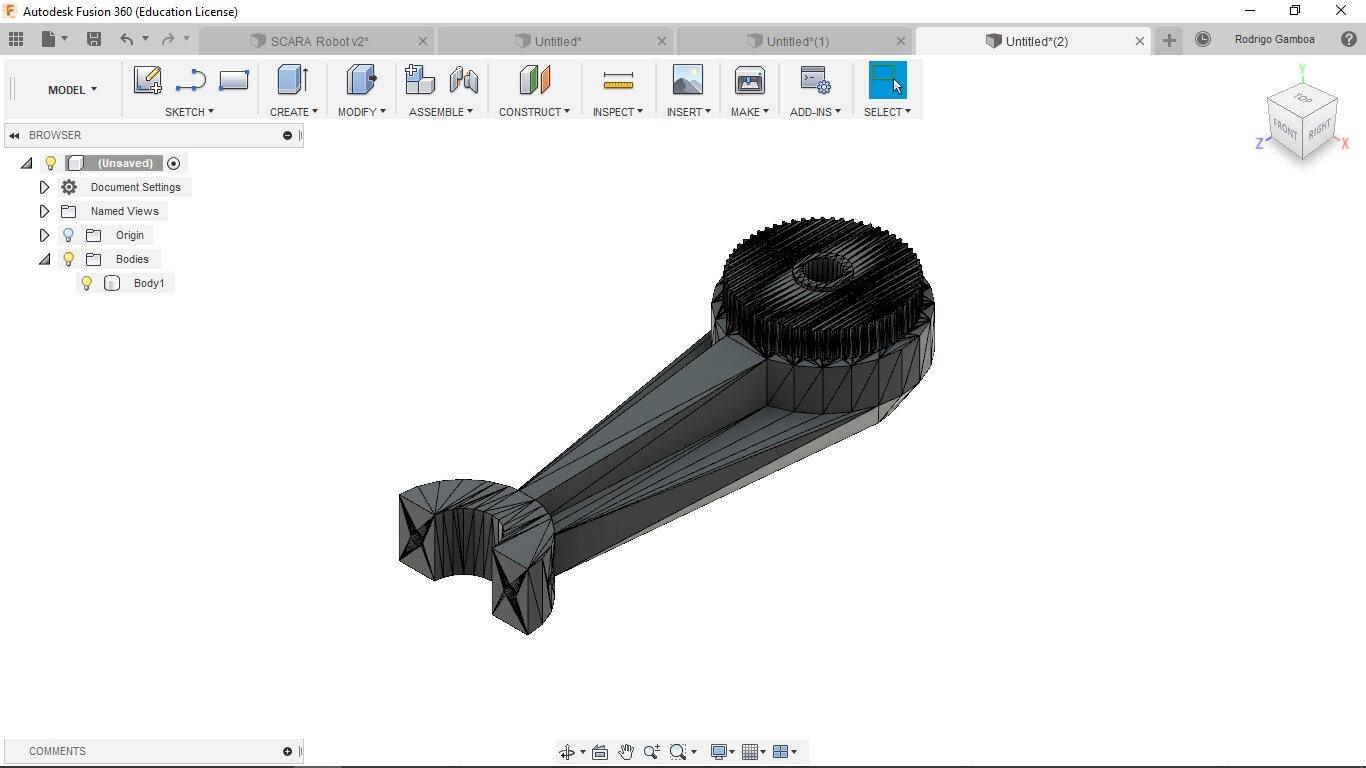
Designing in Fusion 360 from an imported mesh model
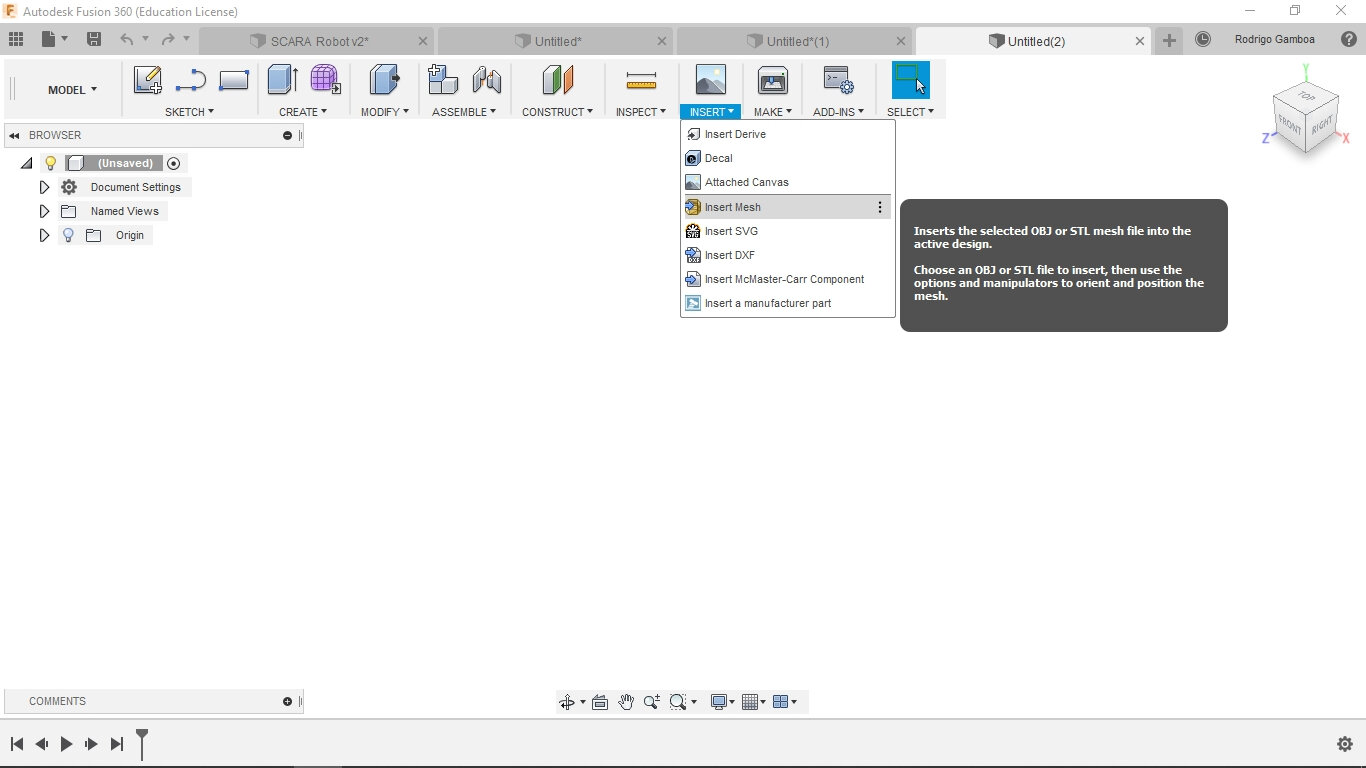
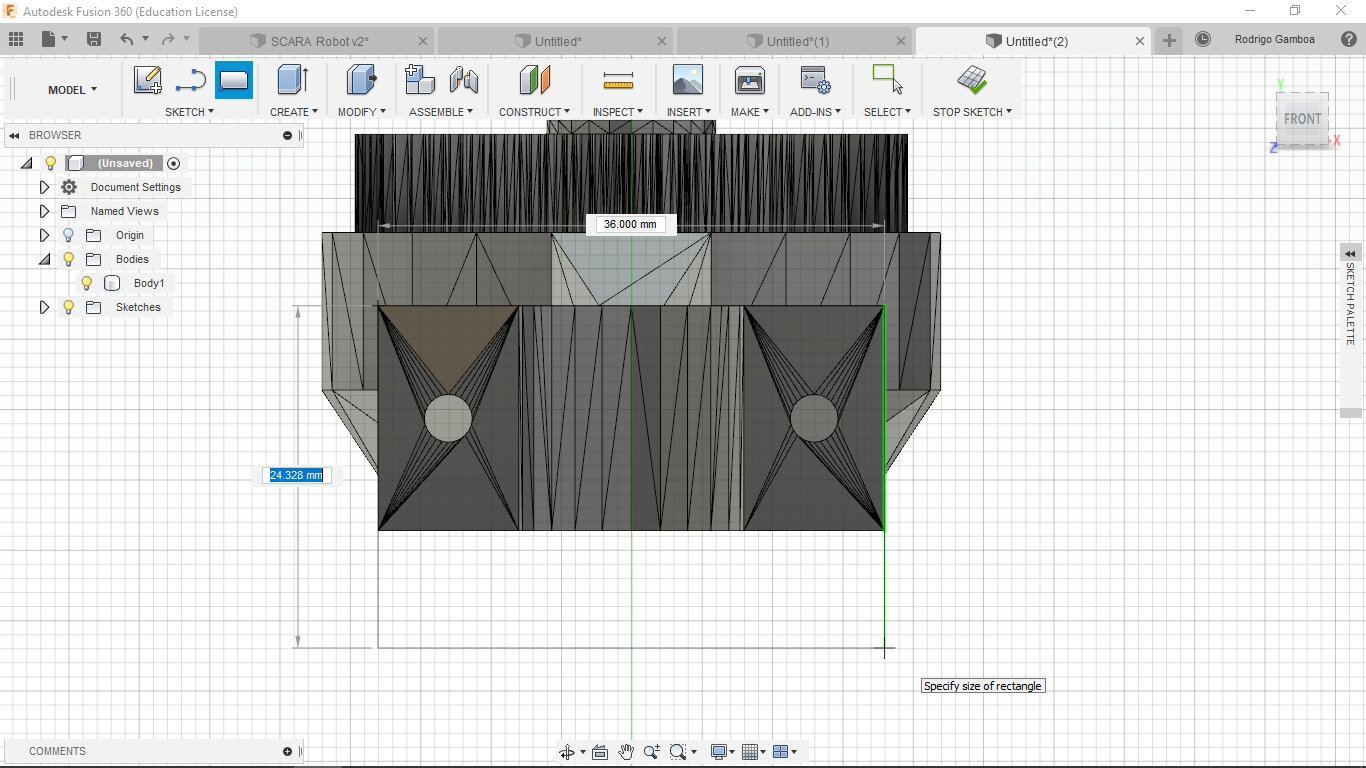
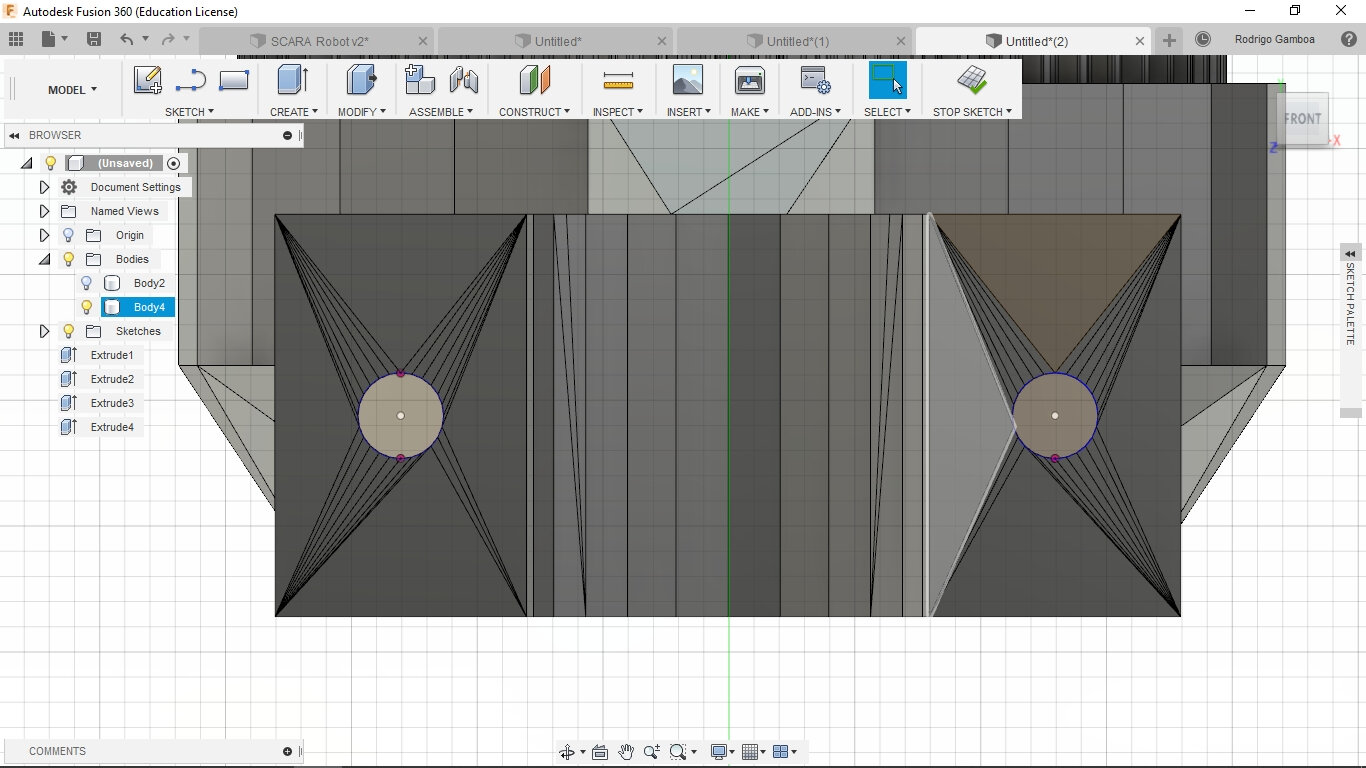
At first I had problems designing from the .STL files of the scara robotic arm. The problem seemed to be that is not that easy to work with meshes in Fusion 360 and designing from them. The solution I found to be able to use the faces of the model, was to convert the mesh into a B-rep (boundary representation). To do this you need first to import the Mesh from the INSERT menu.
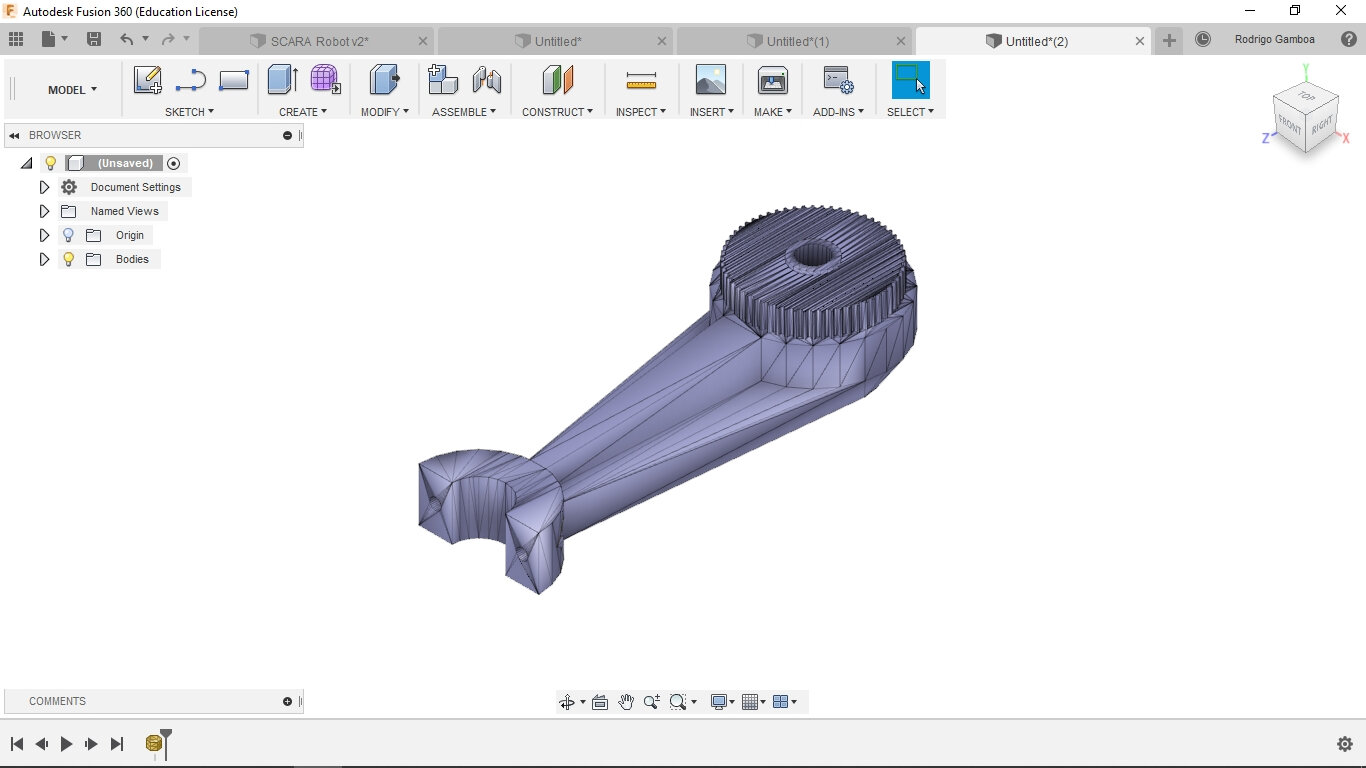
As you can see, the meshes are represented generally in a purple-ish color in Fusion 360, and has a lot of lines. These different lines creates faces, so even if one surface of the model is flat, it might have a lot of faces. In some cases, if the model imported is too complex, it would be necessary to reduce the number of faces in the surface. For this there is a function in Fusion 360, on the Mesh menu, called Reduce, but I have only saw it used on tutorials. There's also another option: using ReCap or MeshMixer to do the process of reducing the faces. The model I'm using is not too complex, so I don't need to reduce the faces.
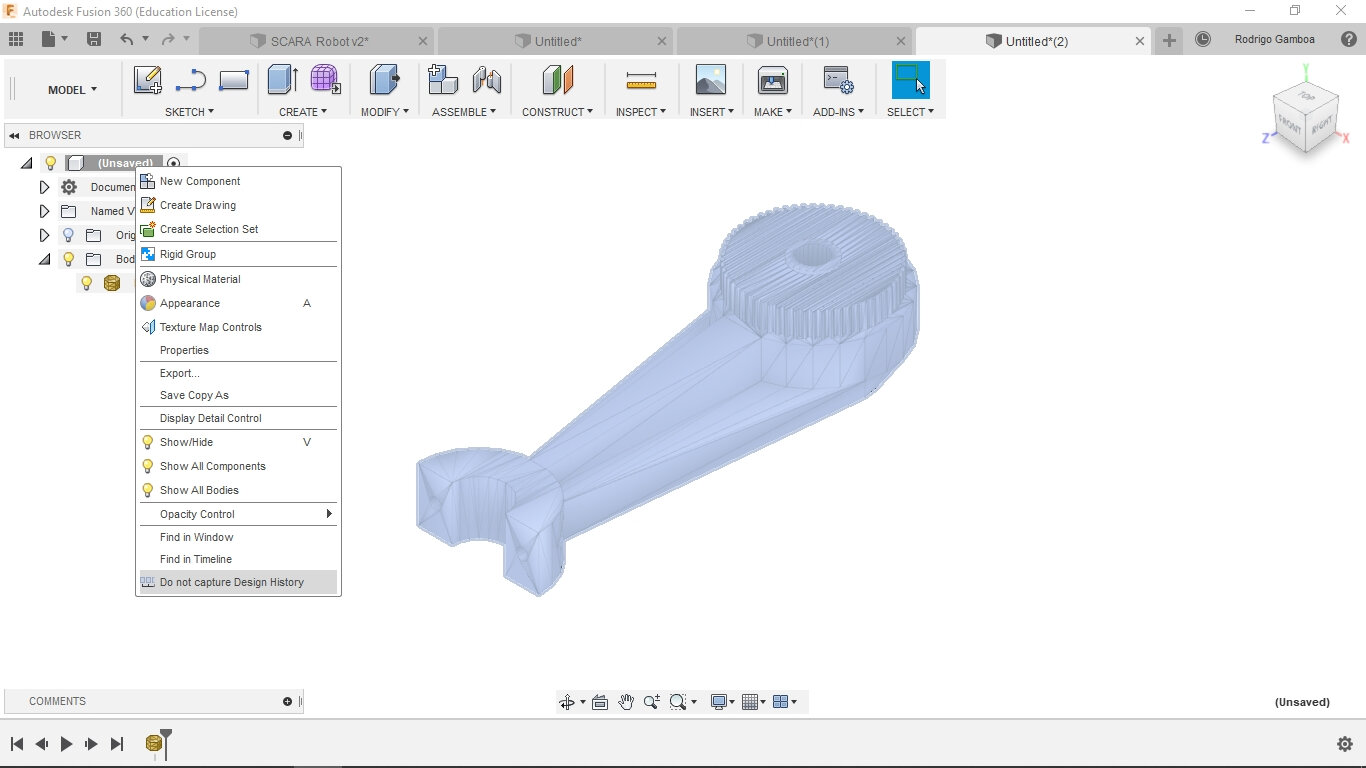
To be able to convert the mesh into a B-rep, first you need to disable the Design History. Right-click over the mesh on the left menu, and select the option: "Do not capture Design History".
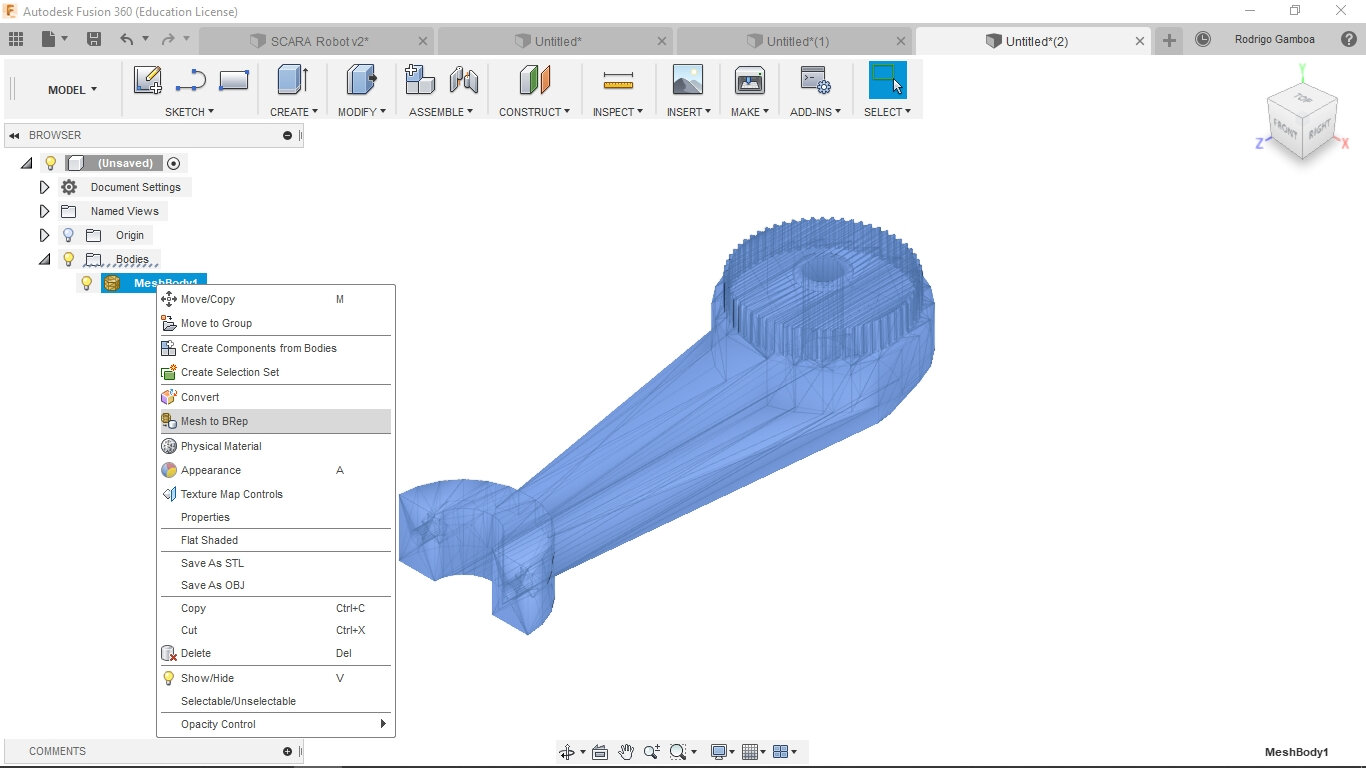
Then if you right-click on the mesh on th left menu again, you now can see the "Mesh to BRep" option.
After this, the mesh is now converted into a body, and I can now create sketches from the faces of the model, split the body, and combine it with other models.
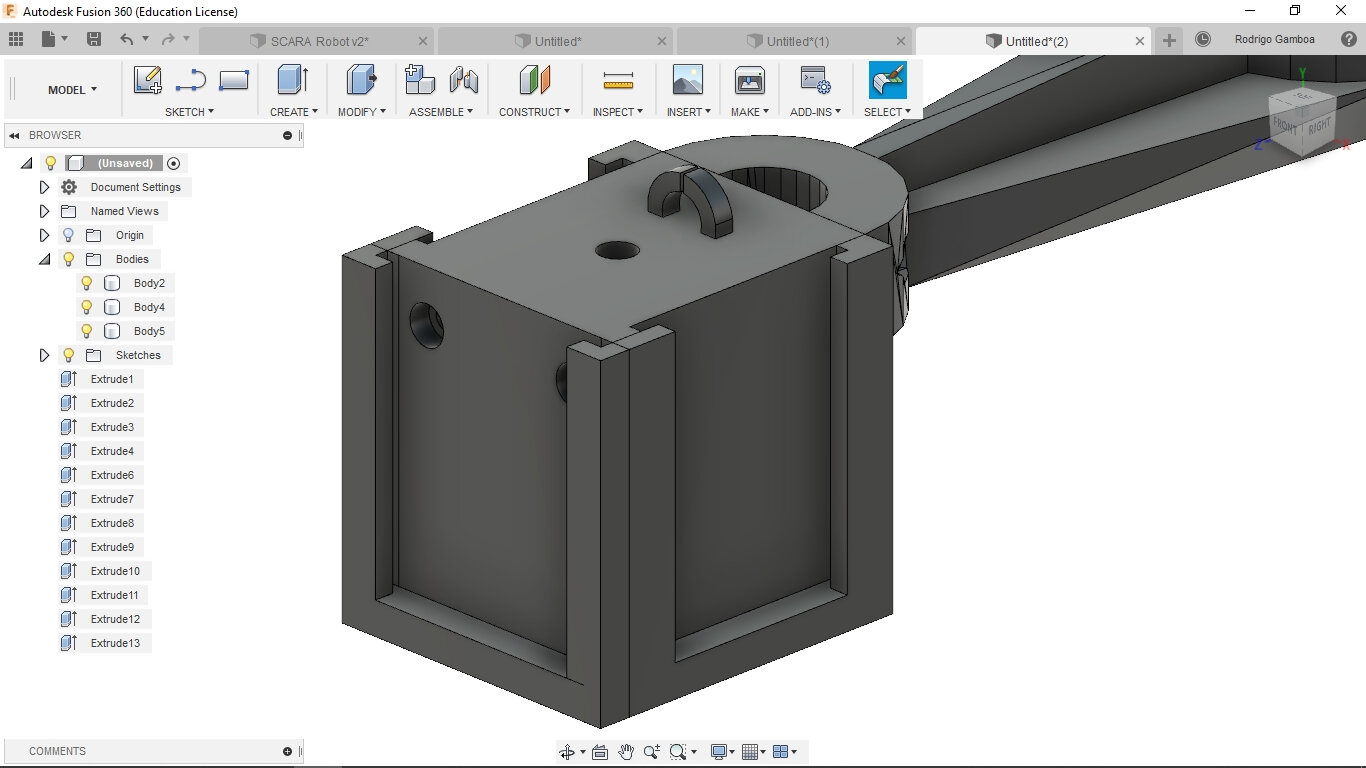
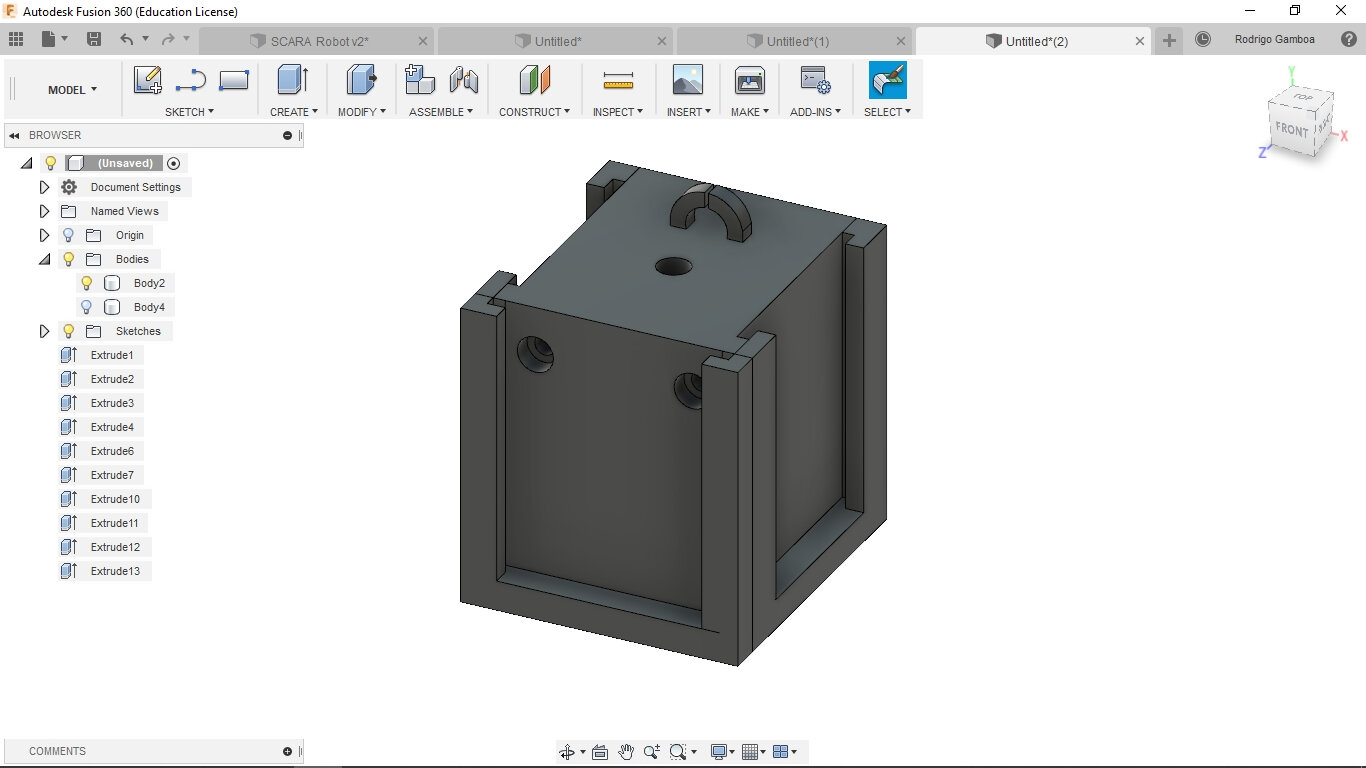
Designing the actuator of the machine
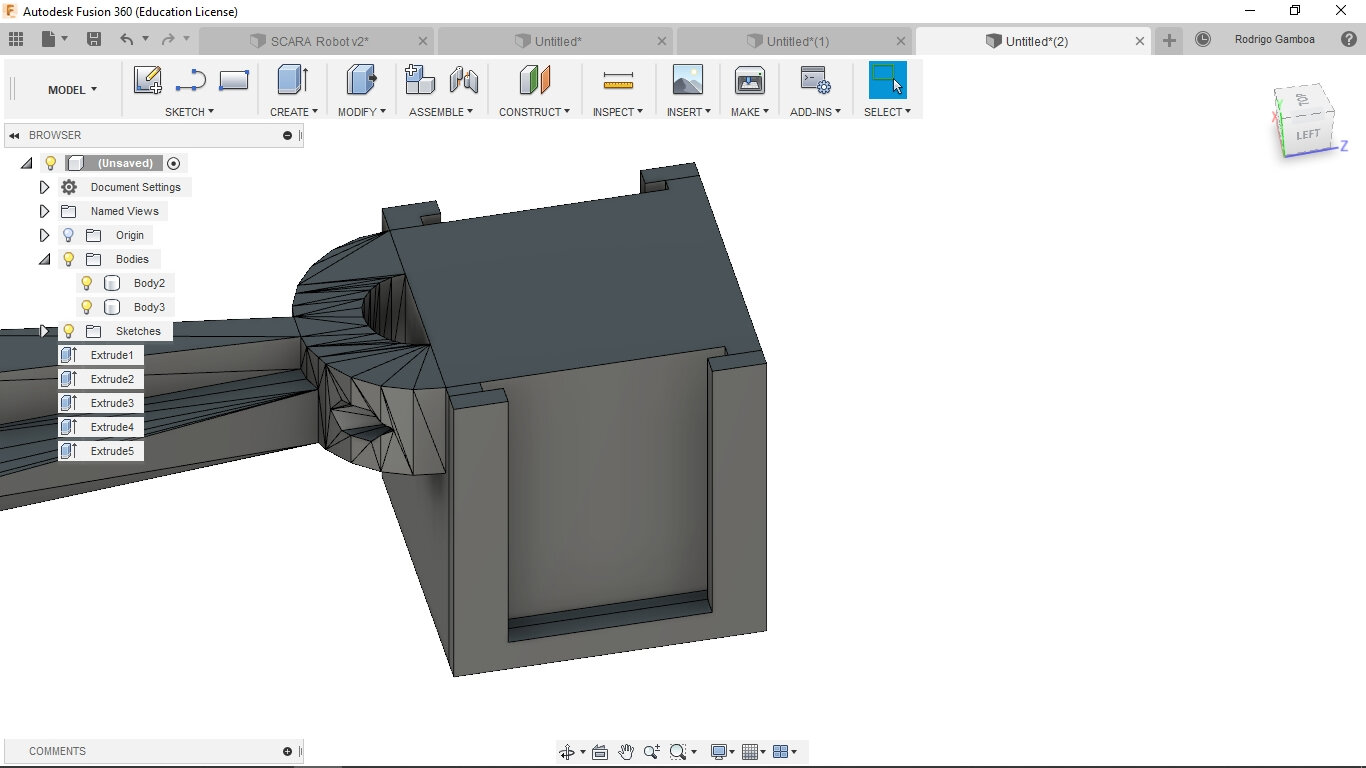
My idea is to have an actuator that you can attach multiple light-based circuit boards and expand it's functions, without changing the actual piece. So with a basic shape, I designed a holder for multiple board that you can easly slide-in and plug.
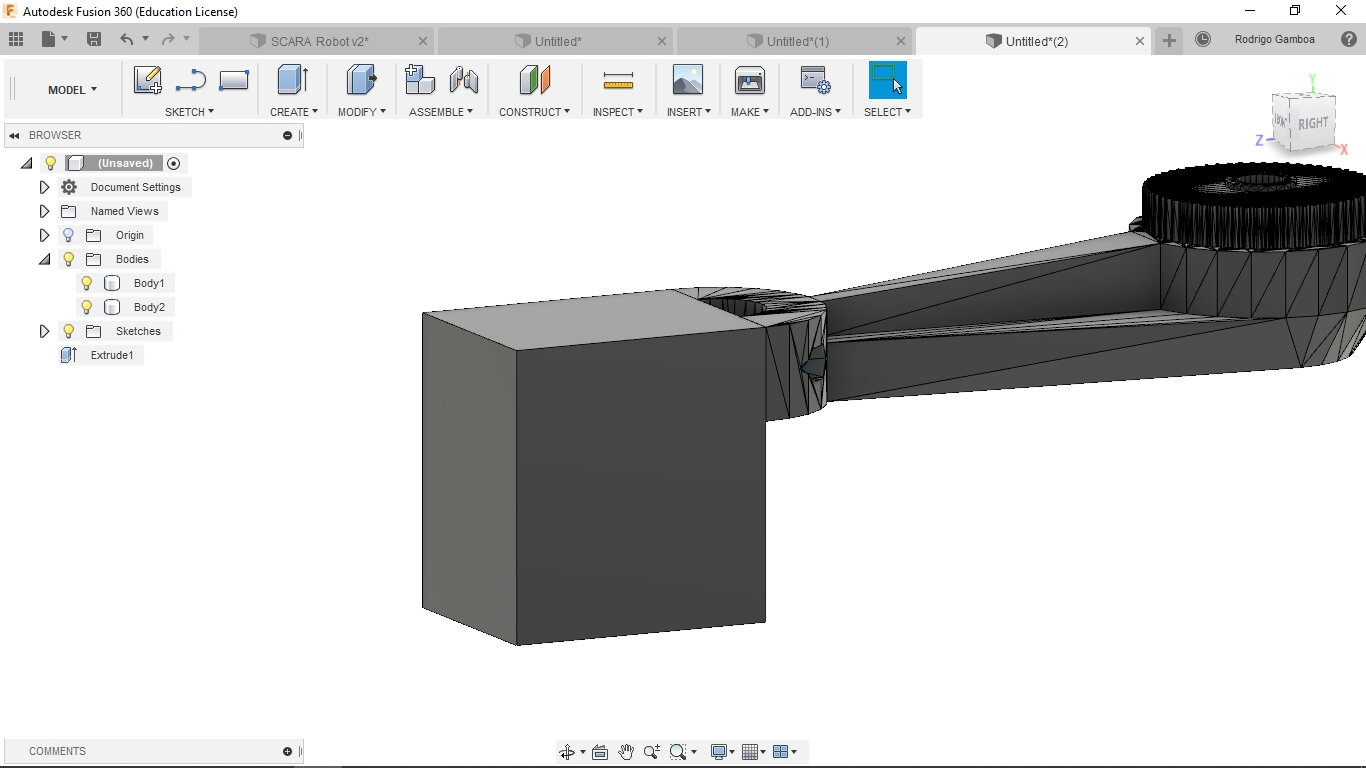
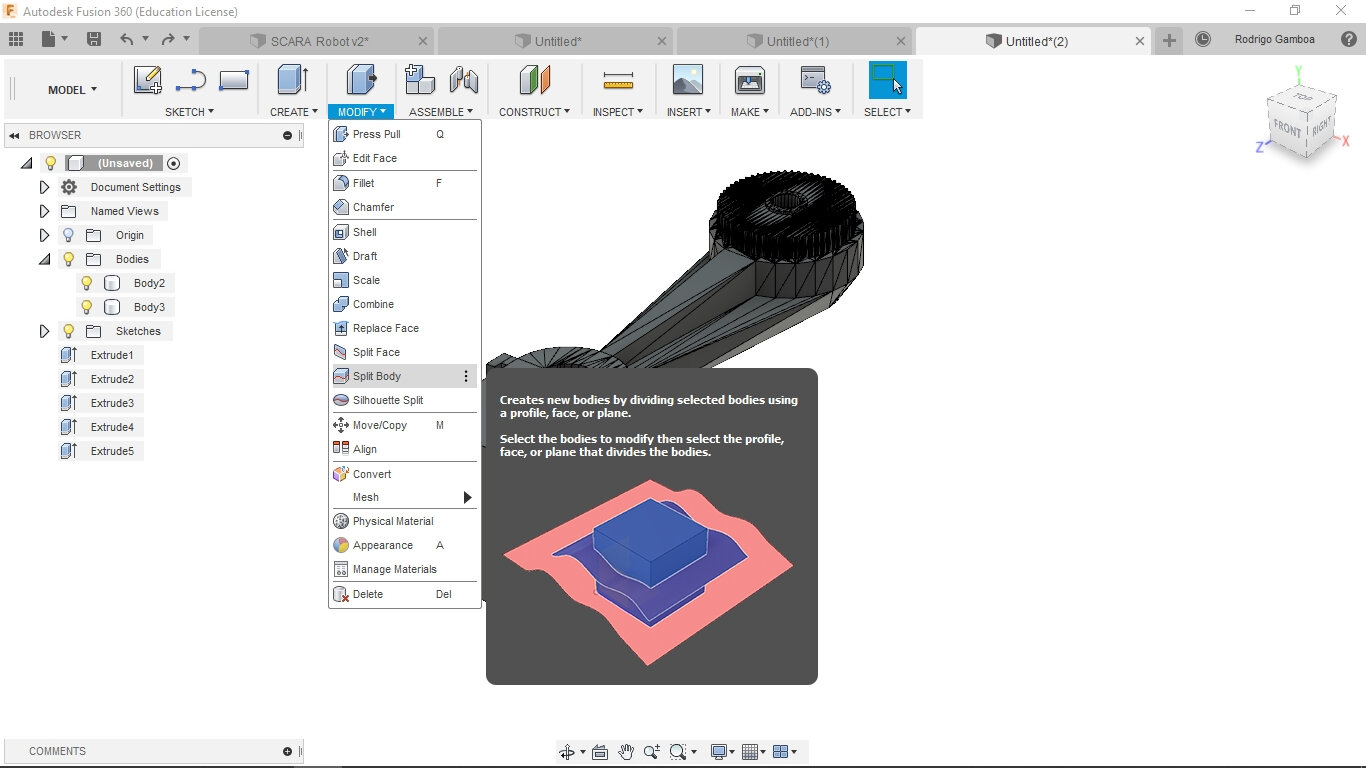
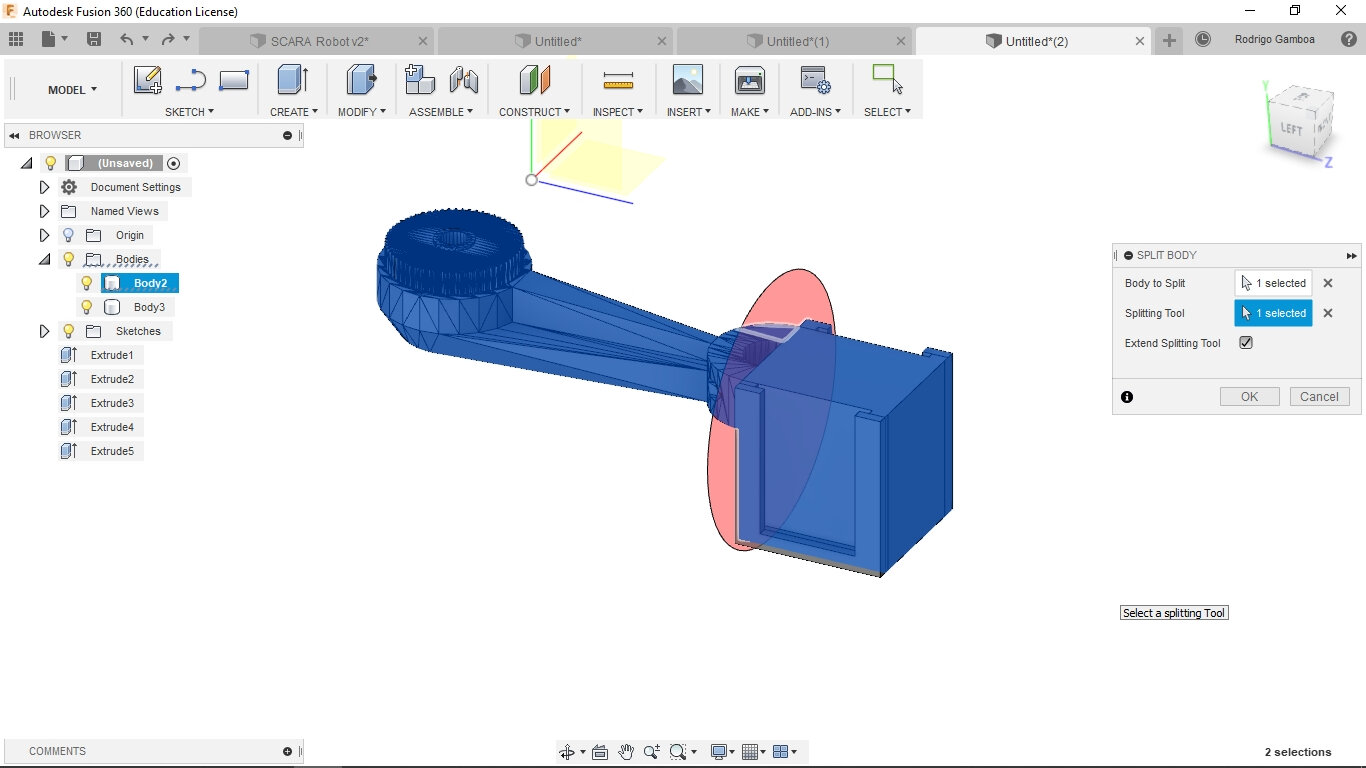
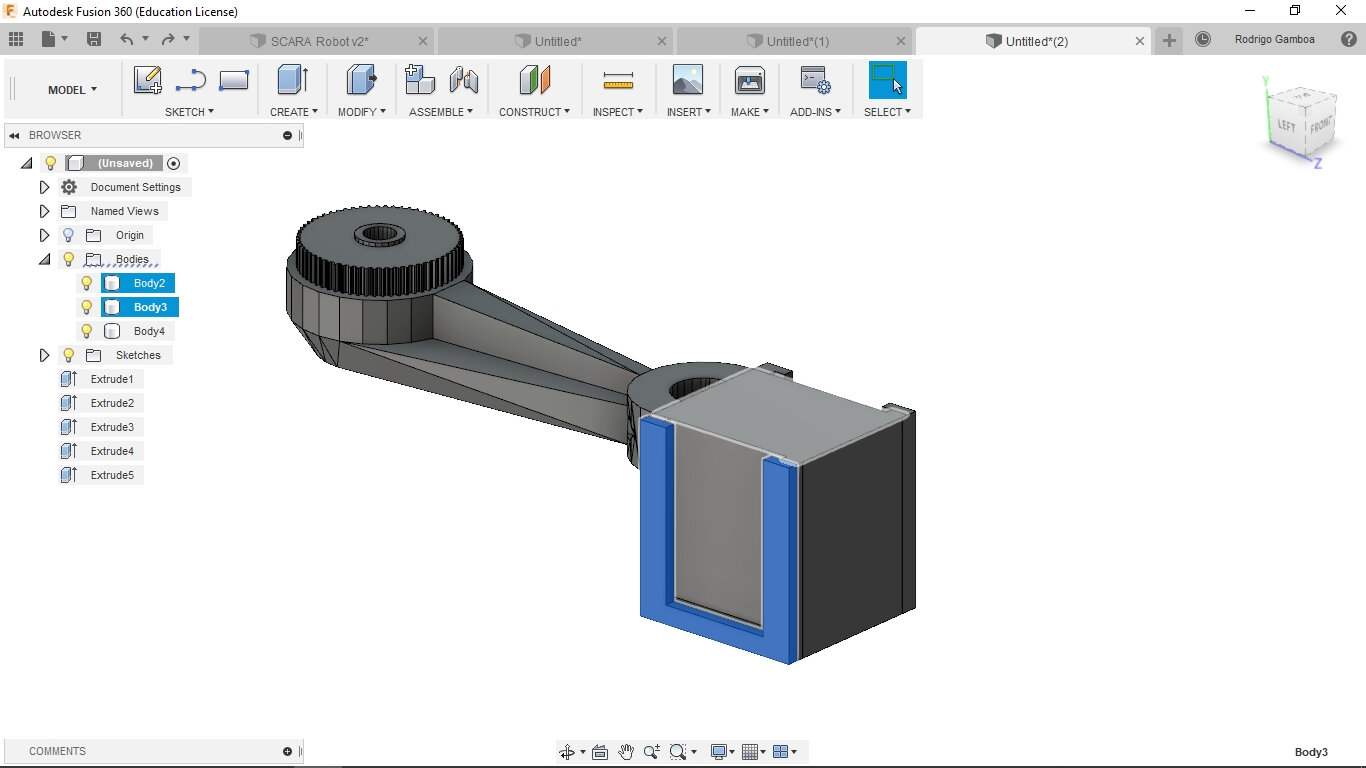
While designing the actuator, I made a mistake of creating it in the same body as the arm, so I used the function Split Body on the MODIFY menu to divide them.
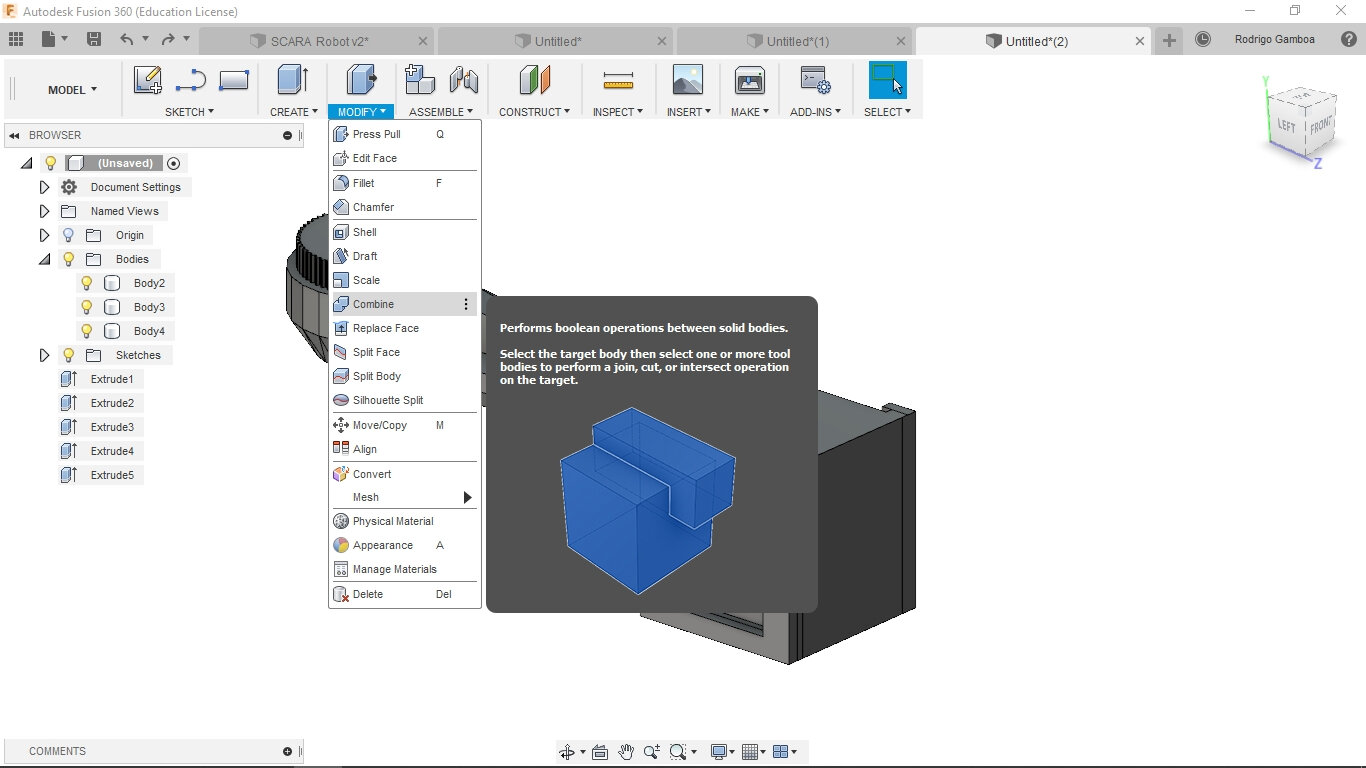
I also merged to bodies that needed to be the same using the Combine function on the MODIFY menu also.
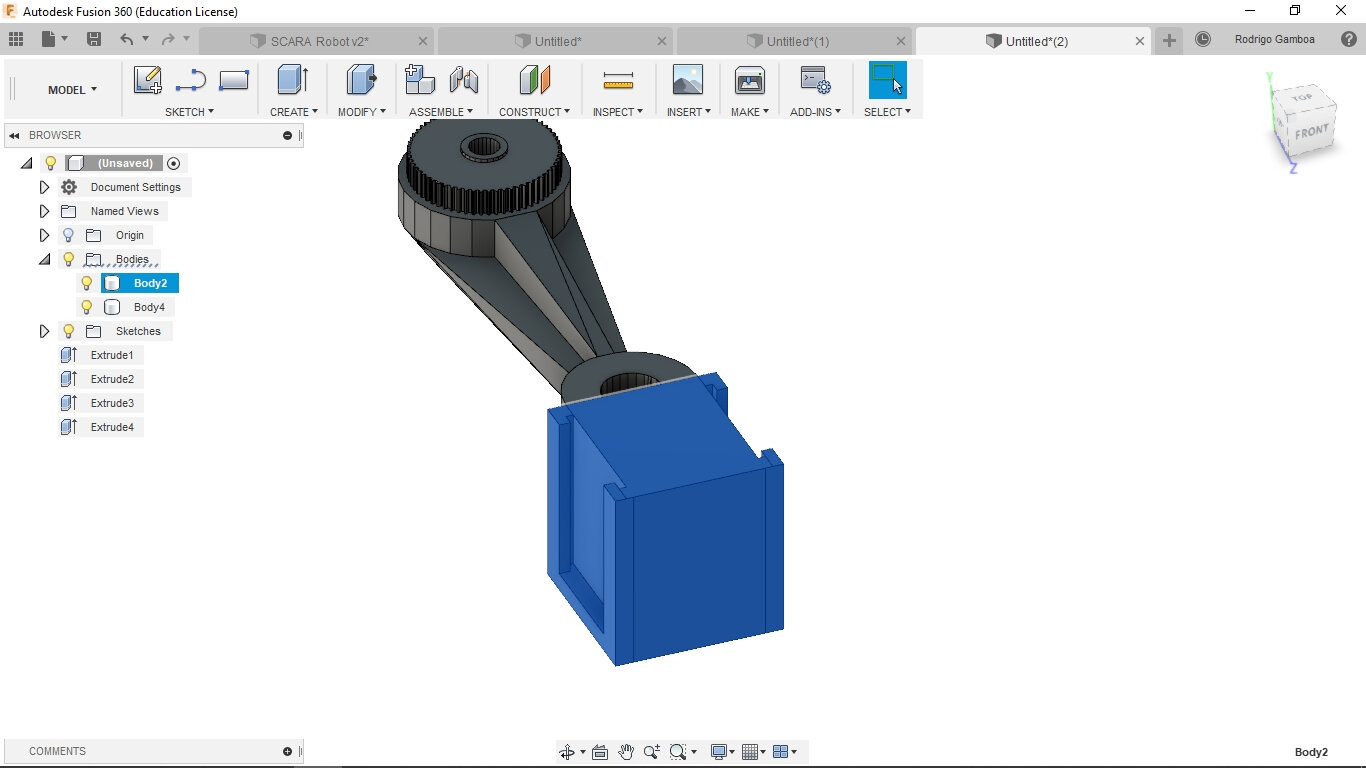
I then created two holes to hold the actuator to the arm with some M3 bolts. I created them by hiding the actuator body to make it easier. I added holes for the heads of the bolts to be able to use the front of the actuator as a slot for a third board.
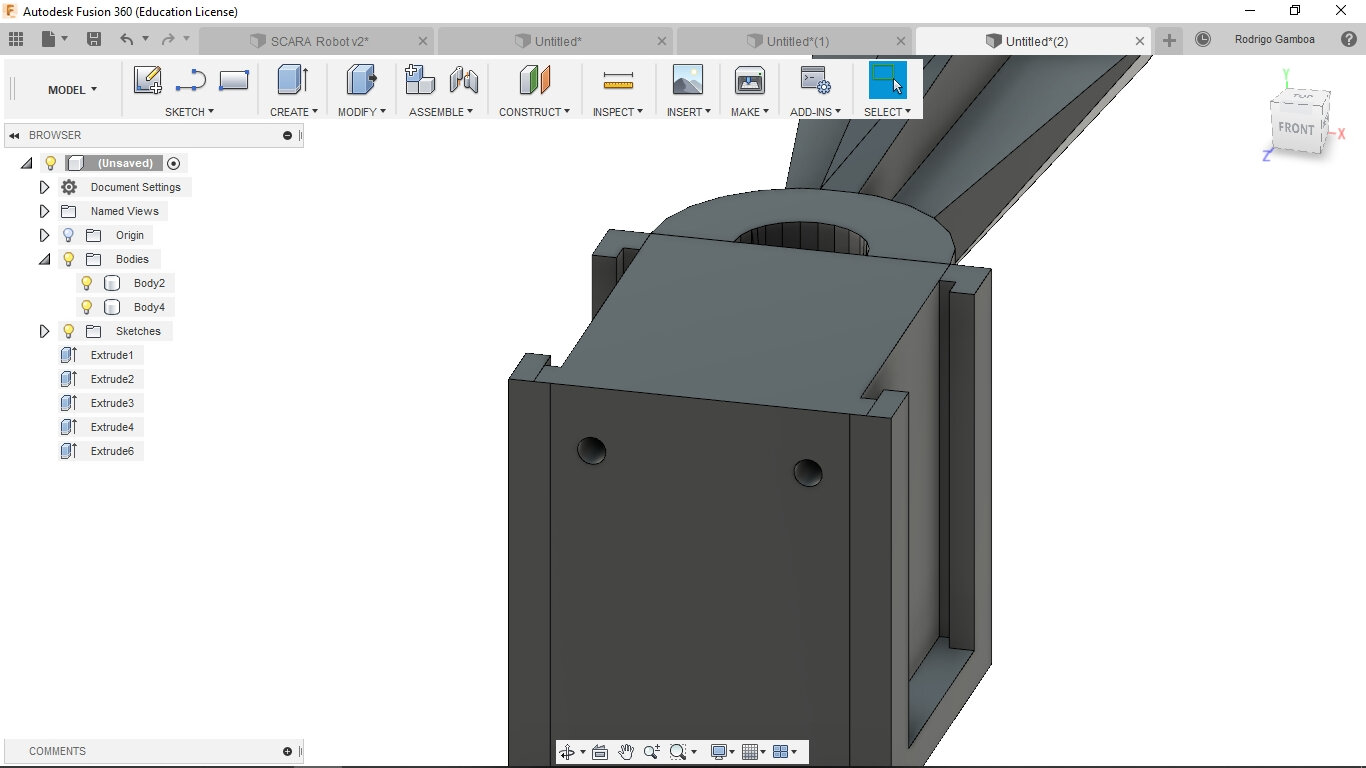
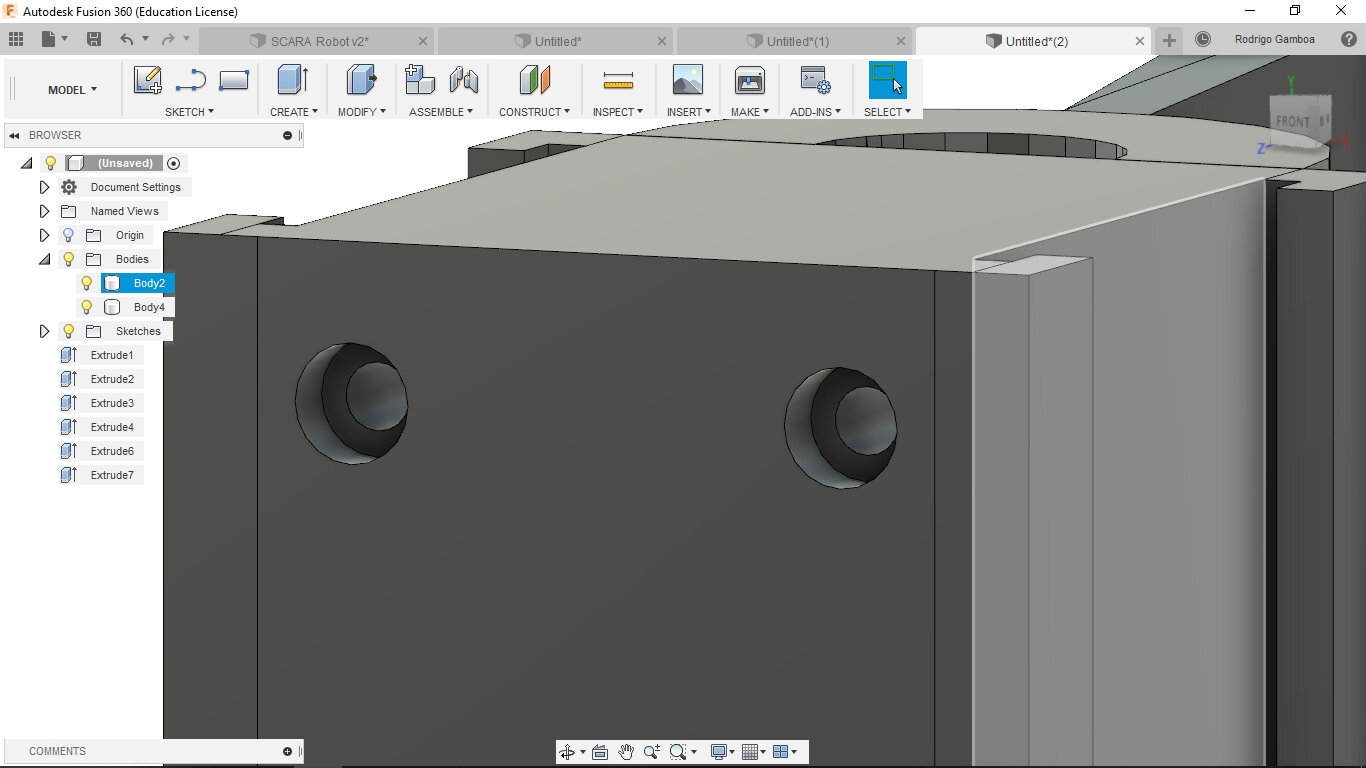
I added a hole that goes vertically on the actuator, to be able to insert an UV led pointing downwards that can be close to a fluorescent material.
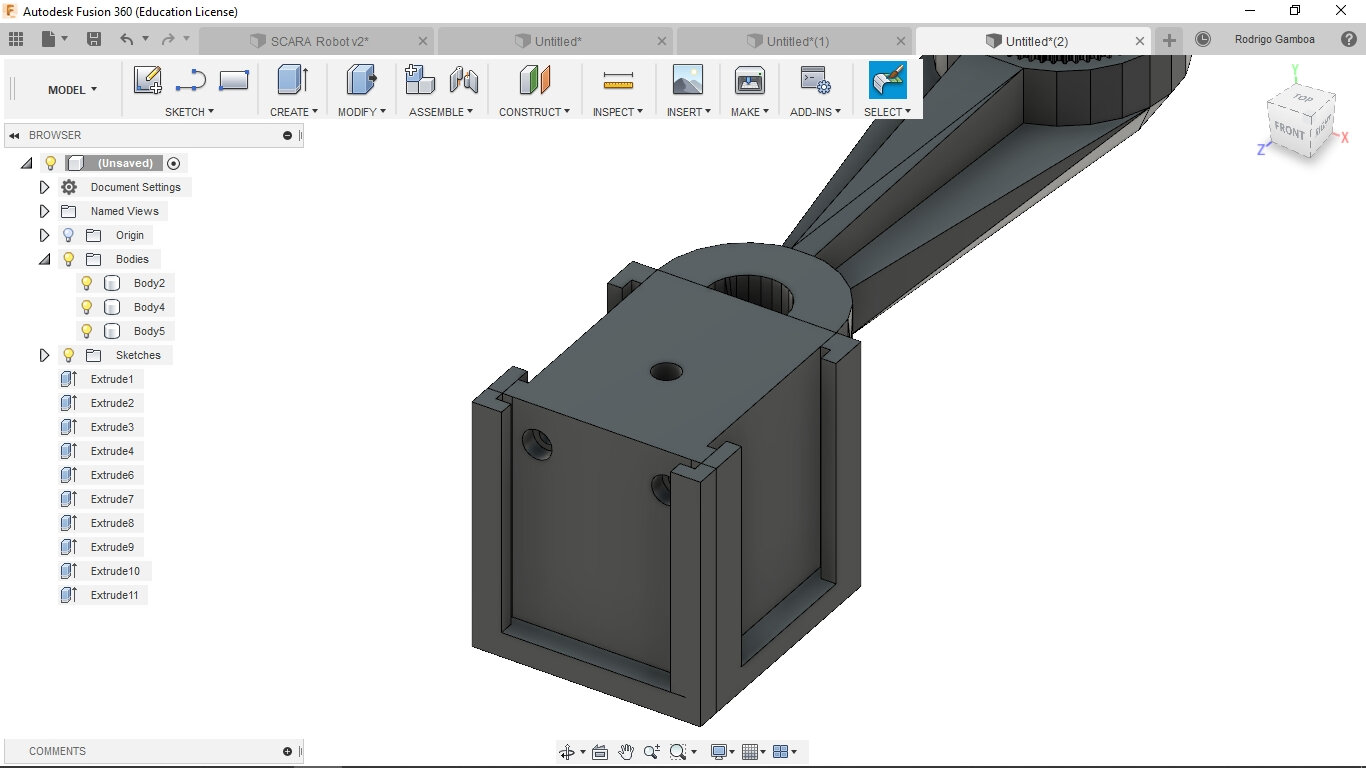
I also added a little arc at the top of the actuator to function as a holder for the wires of the boards.
Printing the model
To print the machine I used the Prusa i3 we have at the Fab Lab. With an infill of 10%, 0.3 profile and in PLA material.
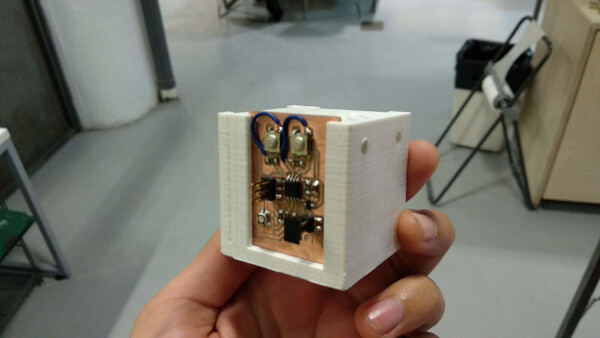
The final result was great, except for the little wire handler, that it was very fragile and it broke immediately. For next prints I'll make it stronger.
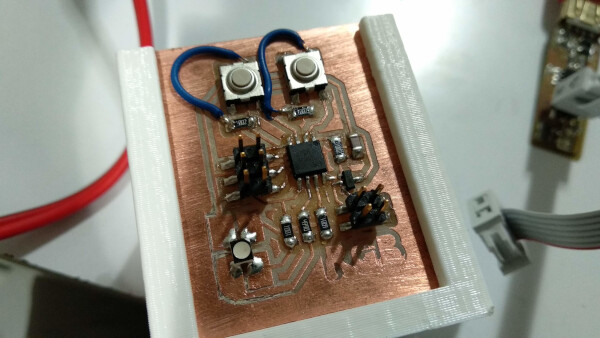
The slots to slide the boards worked fine, and I tested the board of the Output Device week.
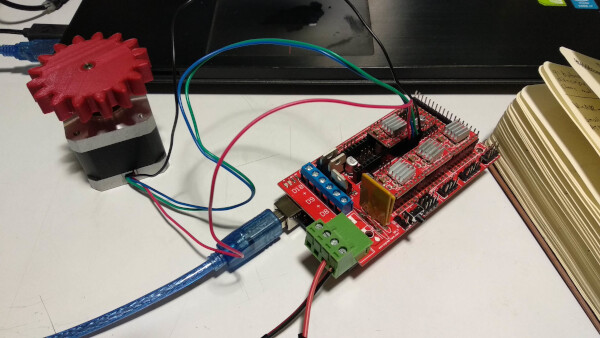
Testing the electronics
Programming
We downloaded a Marlin firmware for a SCARA configuration here, based on this tutorial.
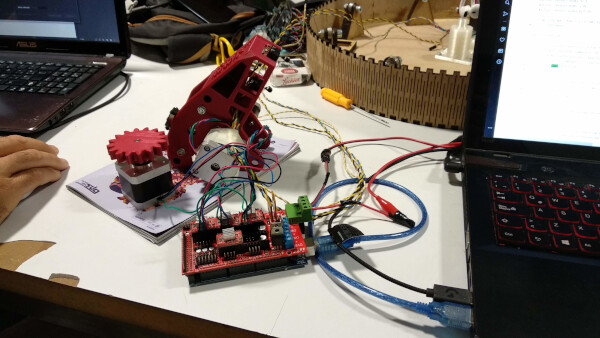
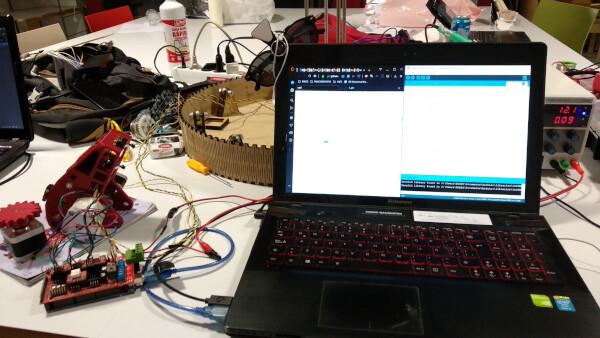
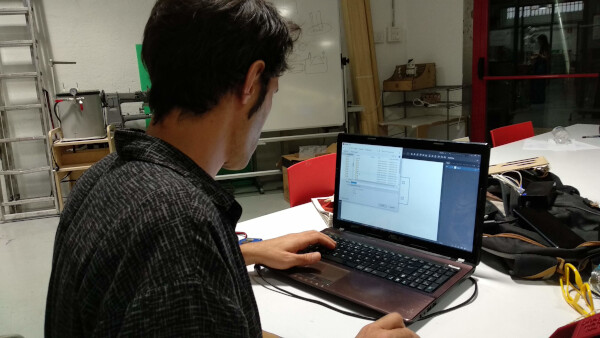
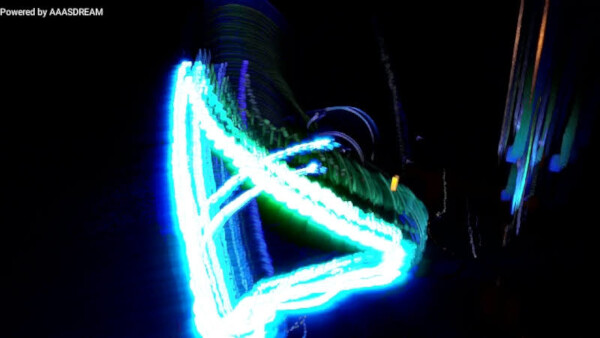
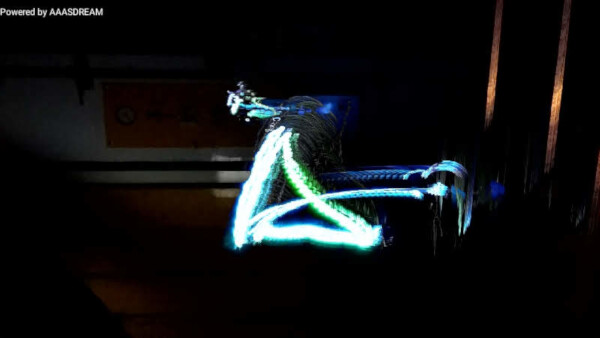
I helped writing some simple G-codes to make the machine move and paint something. In this case we made G-codes for the machine to make a triangle and an H shape.
Files
- Actuator .f3d (Fusion 360)
- RGB led actuator .stl
- Stepper motor test code .ino (Arduino)
- Test .g (G-Code)
- H Code .g (G-Code)
- Triangle Code .g (G-Code)
Group Assignment
To see this weeks group assignment click here.
This is the result of this weeks group assignment.