"Our technologies have outpaced our ability, as a society, to understand them. Now we need to catch up." - Joi Ito
Principles and Practices
This week I worked with Git, Gitlab, Markdown files (.md), HTML. You can follow this as a tutorial for learning how to get started in Git. At the end you'll know how to make something cool like this!
So first of all, what is Git? I have used GitHub for storing some codes and recently for developing my webpage following this awesome tutorial for creating a rapid portfolio using GitPages and Freenom to have a free domain. That's awesome! But for the most part, I didn't understand the full potential of GitHub. So, back to Git...
Inspirations && Aspirations
In no particular order:
The awesome Tim Rodenbröeker's website
The crazy !!! (chkchkchk) website
Gerard Patawaran's Fab Academy Site. Loved the style!
Tips on Web Images
Knowing about Image file formats will save you a lot of time if you are documentaing and don't want to waste a lot of effort going between formats constantly. Standardize as soon as possible which kind of file format is better for which type of image. I recommend this overview of the most known image file formats.
Preparing the ground... Installing Git
I'm using Windows 10 (machine: Lenovo y510p). First I followed this Fab Academy tutorial that helped me through the process of setting up Git. I downloaded Git (version 2.20.1-64-bit). When the installation ended I double-clicked the .exe. I basically pressed "Next" in all of the Windows as I didn't totally understand all of the concepts.
After installing Git, I didn't how to open it. I tried typing "Git" in the Windows Search Box as I would with any software, but it didn't appeared. The I remembered that I saw one can use the Windows Command Prompt. So I opened the terminal, searching "cmd" in the system. In the terminal I wrote "Git" and then a ton of info appeared on screen. I didn’t try to write git before installing it, but I’m assuming that it wouldn’t have showed something. So this info, even though I don’t understand it yet, appears to show that Git was installed properly.
Feeling like a hacker... Using Git
Following the tutorial, I typed the commands:
git config --global user.name "rodrigo_gamboa"
                git config --global user.email "rodrigogamboatorres@gmail.com"
I verified that everything worked when I typed
git config --global user.name
                git config --global user.email
And it returned the information I typed, so I figured everything was going great.
The problems begin... The SSH Key
The next instruction was to check if I had an SSH key, that according to the lecture and this useful GitHub, is a key to authenticate that lets you "pull" the repository from GitLab down to the local computer so you can manipulate the files without internet connection. Very useful info, everything is now making (a little bit) more sense. The command for checking the SSH key is:
cat ~/.ssh/id_rsa.pub
This showed the message "No such file or directory", so I have to generate the SSH key with the next command:
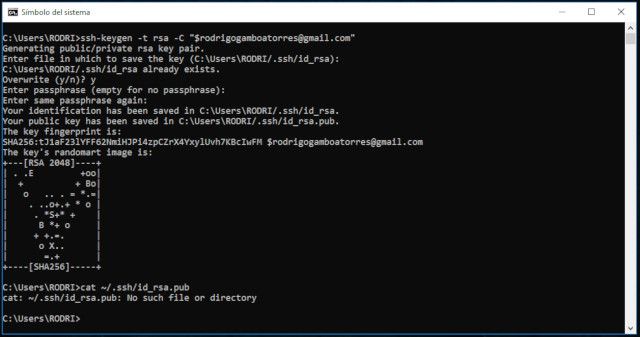
ssh-keygen -t rsa -C "$rodrigogamboatorres@gmail.com"
It asked me for some info, I just only replied pressing enter, because I saw in the tutorial that it wasn't necessary to fill that info. Somewhere in the info that appeared it says "Created directory 'C:\Users\RODRI/.ssh'". Then it showed the "key's randomart image" so I figured I succesfully generated the SSH Key.
The next step is to verify if the key was generated with the same command as before:
cat ~/.ssh/id_rsa.pub
Again, It showed the message "No such file or directory". So I ran the SSH Key generator command again thinking it could be an error. I generated it again. Last time, after this step, I pressed "cls" to clear the screen, I thought that maybe that caused the problem, so I won't do that this time. I ran the key verification command again, and the problem persisted.
At this point, I went full research online, reading about SSH to get e deeper knowledge of what it is and how does it work. After doing that and checking the commands I used, I noticed that maybe I should use an actual directory from my computer, so I typed modified the verification key command with the directory that was created a few steps behind.
cat C:\Users\RODRI/.ssh/id_rsa.pub
After this, some "random" text appeared on the screen. Is the SSH Key! YEY! I confirmed this have the format of a valid SSH Key by watching this GitLab video tutorial and this Git tutorial, although in both cases the command that didn't worked with me was used. I have yet to find out why that command doesn't work for me.
... Adding the SSH Key to GitLab
In my GitLab account it showed this message to add an SSH Key. Following the same GitLab video tutorial as before, I learned to add the key to my GitLab account: just copy the SSH Key from the Command Prompt and paste it in the key box. So now I have my SSH Key linked with my GitLab account!
Attack of the Clones... The Git Clones
First I trained a little bit and get used to the Windows Prompt commands to navigate through folders following this basic commands guide. After practicing a little bit moving through folders I decided to create the repo folder on the Desktop, as is something the tutorial encourages. Using the Prompt commands, I navigated to the desktop with:
cd desktop
Note: This could change in your computer depending where your desktop is. Then using the command "git clone" and adding the direction that appears on my Details setting of my GitLab, I typed:
git clone git@gitlab.fabcloud.org:academany/fabacademy/2019/labs/ied/students/rodrigo-torres.git
The git cloned into my desktop local computer!
Feeling like hacker 2.0... Pull over Push
So now that I have my repo cloned to my local computer, I want to edit some files. I have no idea where should I visualize the changes of the files so I’ll check some tutorials. I followed this video, and learned that if you open the folder of your local repo and you right-click the mouse you’ll see two options of git: "Git GUI Here" and "Git Bash Here". When I clicked on the GUI one, an Interface window opens. When I clicked on the Bash one, a prompt window opens. This is the window to directly work on the repository. Here are some basic Git commands I learned. I used the status command to see any changes on the repo:
git status
A message appeared saying that everything is up to date. Then I manually created a new Notepad fiel called "demoFile.txt" and added some text in it. After saving it and running the git status command, some text appeared in red, that means that there’s an untracked file. The file is now ready to add for commit:
git commit -m "My first commit"
When I ran the "git status" again, It showed that now my branch is 1 commit ahead of 'origin/master', that means that the repo on my local computer has files or changes that my GitLab don't. To public my local commits I used the "pull" command:
git pull origin master
After that I used the "push" command:
git push origin master
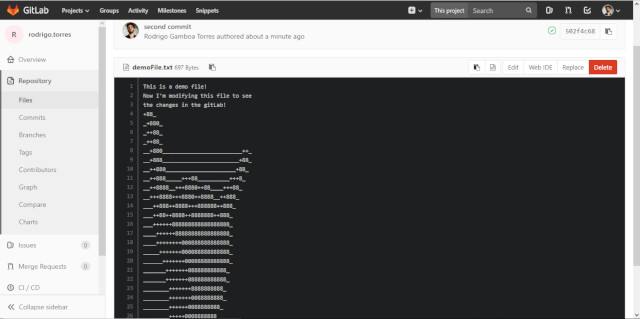
The file I created locally ("demoFile.txt") now appears in my GitLab! To summarize this tutorial, I added some new text to the local "demoFile.txt" as a second commit and see the changes in the GitLab File. After saving new text to the file, I used again this commands:
git status (not required, is just to verify that the file has been modified)
git add "demoFile.txt"
git commit -m "Second commit"
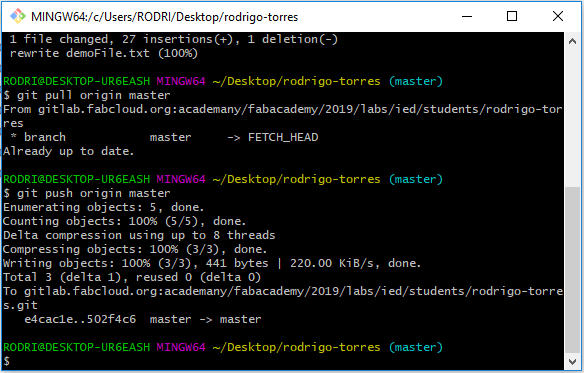
git pull origin master
git push origin master
Speaking languages... Learning Markdown & HTML
In the Fab Lab IED Madrid Fab Academy Website, where I’m taking the Fab Academy 2019, down is a section of “our students” where anyone can access the students websites. If I click in the the little lighting aside my name, it goes to my webpage. At first it didn't show anything. So the first thing I do is go to my GitLab and change the default template to show something. As long as you make a change in the mkdocs.yml, you will now see the built webpage. So I changed some parts of the code to have my name and my social media.
Now, the time it takes from changing the file to the webpage updating is approximately 20 seconds (I chronometre it ha!). It probably varies depending of the number of changes made and the speed of the internet connection, but anyway is a long time to wait to deploy the changes. That’s why I’m gonna learn to do this locally on my computer.
I started with this tutorial about web development. I installed Sublime Text to code locally. First, I created a new file, and saved it as "index.html". So after following the HTML tutorial I ended with this:
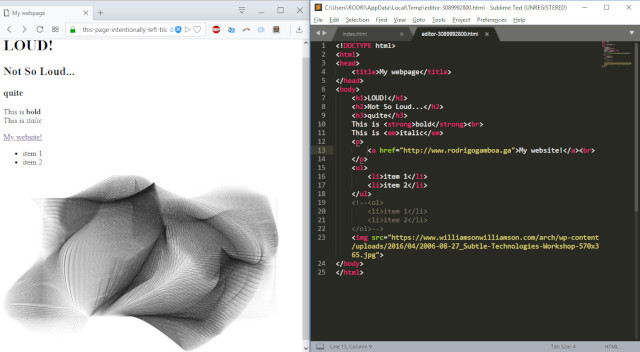
The result of all of this work is this website you're looking at, pushed through Git from my local computer. In the future I'll be learning CSS to build my own site!
Using Brackets - Update
I begin using Brackets as soon as I saw that you can see a live preview of HTML files without installing anything else. That's awesome! There's also this Bracket extension that provides a live preview of markdown documents. Installation is very quick, just follow the instructions on the link of GitHub. Santi, from Fab Lab Barcelona mentioned the tool HackMD in one of the Global Reviews.
Having another repo
Clone the repo to your local computer. Make a copy. Select the files and replace them with your previous. Open gitbash in the new folder.
git status
                git add . (to add everything)
                git commit -m "update"
                git pull origin master
                git push origin master
Now go to gitlab, Account, Change username. Done!
P5.js - Making the website interactive
I love Processing, that is a language to learn code in the context of visual arts. Is great to make interactive animations, artistic installations, and anything creative you can imagine. It's also a great companion to Arduino, so you can imagine that opens a world of possibilities. In fact, Processing is a main component in my final project.
P5.js, is an evolution of Processing to develop embed interactivity in the web. As you have probably noticed, the headers of the pages of my documentation are interactive: you can move your mouse to interact with the objects, and in some cases, even click on them to transform them, and changing color. To do this, I learned how to add p5.js into my website.
As I mentioned before, I use Brackets to design my web. There I can create "sketches" that have a .js extension (JavaScript). Then I can link those sketches into the HTML where I want my interactive section, in my case, the headers of each page of my FabAcademy website.
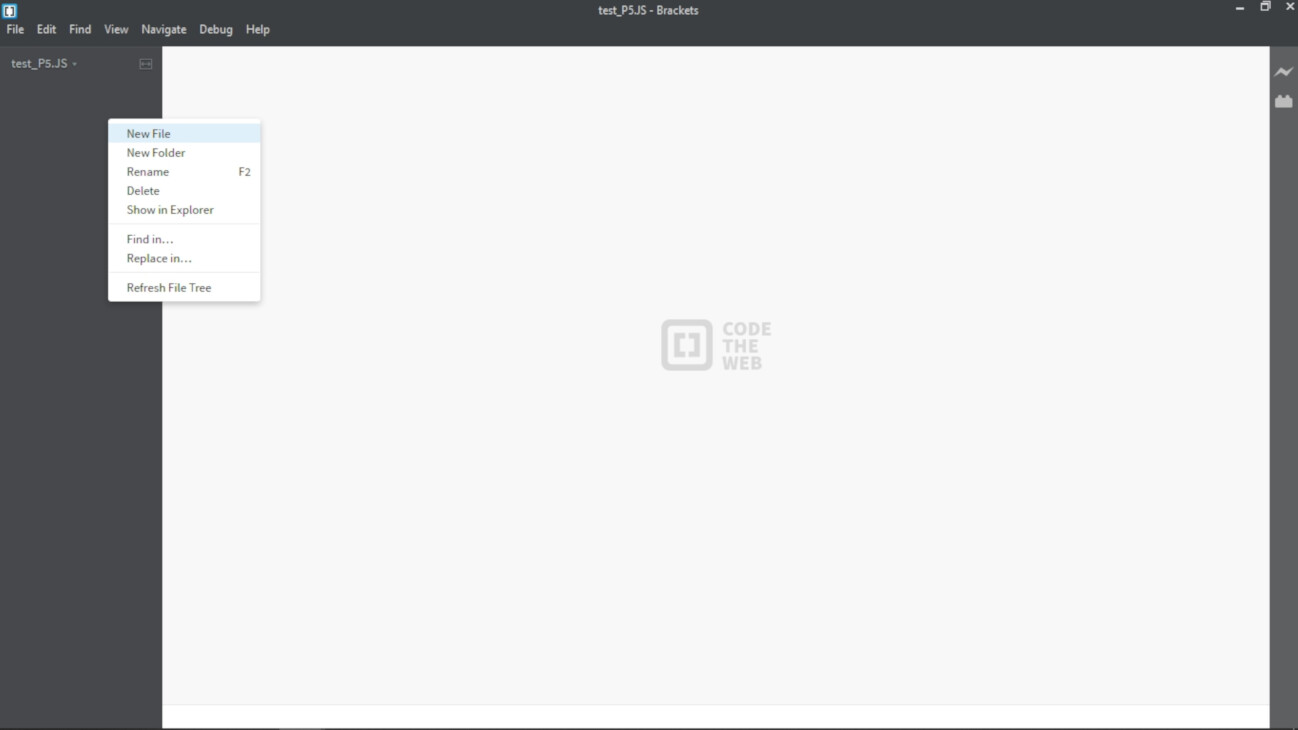
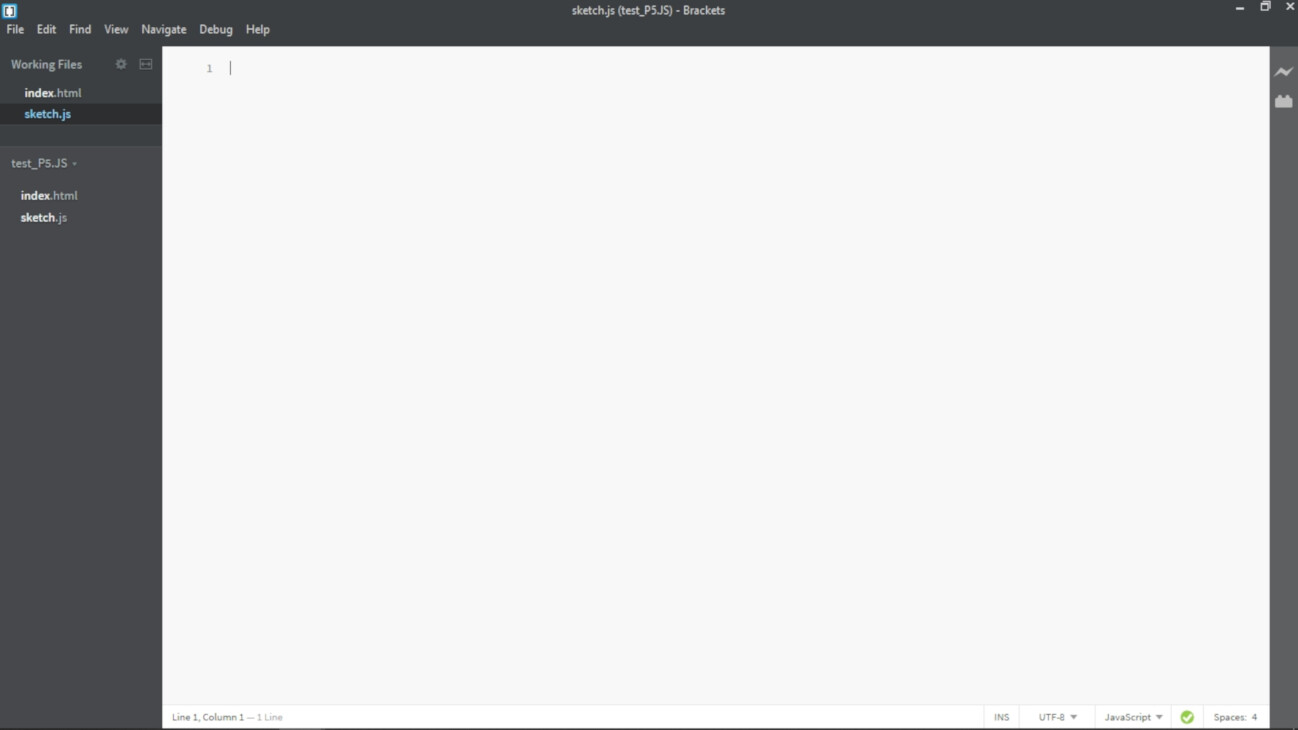
To learn about how to integrate p5.js into my website, I read their Get Started guide. The first thing I did to test it was to create a folder, open it in Brackets and create two files:
- index.html
- sketch.js
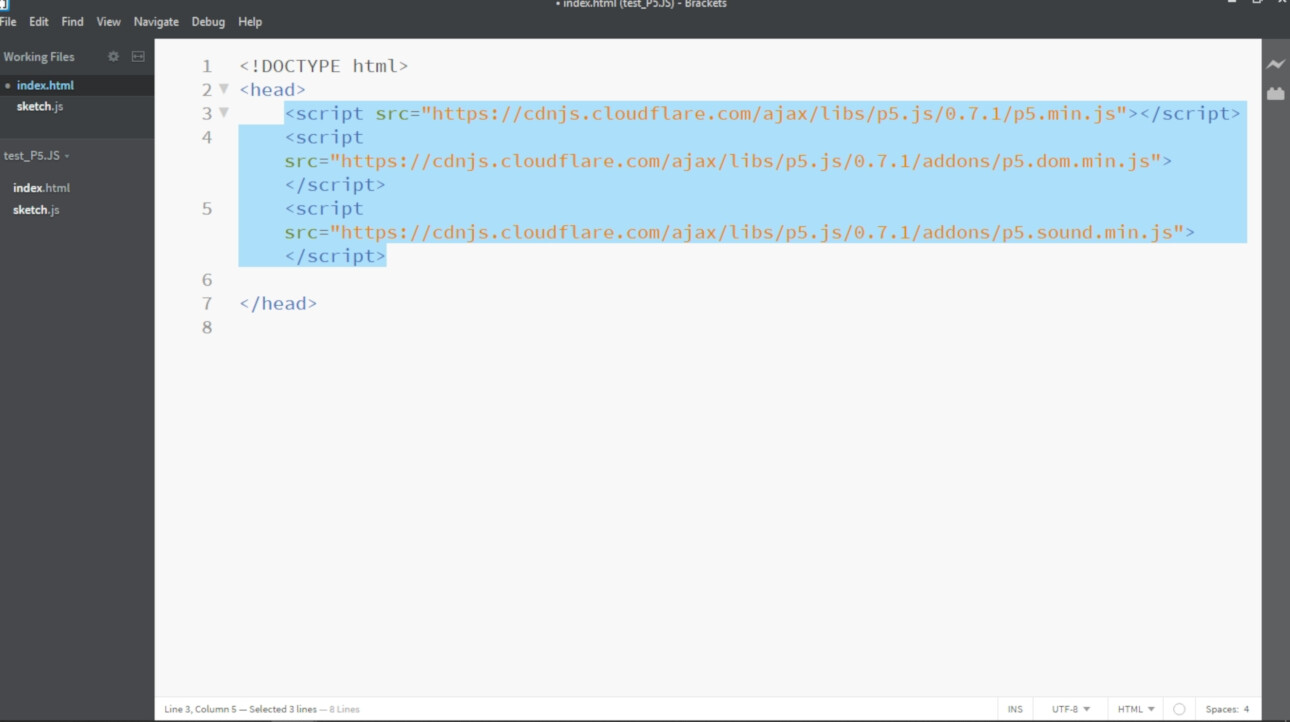
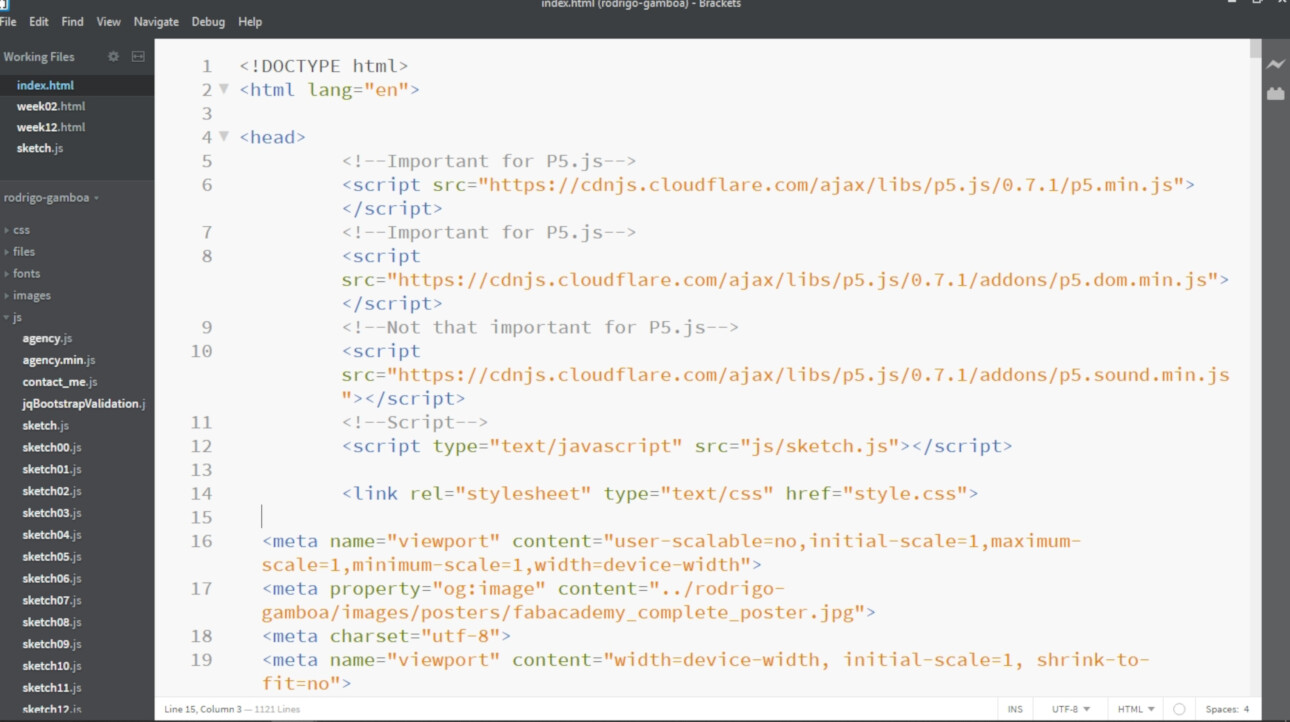
First, in the index.html file I created a head section. In there I pasted the requested p5.js file links. The first to are necessary, the third is for sound, that I won't use, but I still pasted the file link.
- <script src="https://cdnjs.cloudflare.com/ajax/libs/p5.js/0.7.1/p5.min.js"></script>
- <script src="https://cdnjs.cloudflare.com/ajax/libs/p5.js/0.7.1/addons/p5.dom.min.js"></script>
- <script src="https://cdnjs.cloudflare.com/ajax/libs/p5.js/0.7.1/addons/p5.sound.min.js"></script>
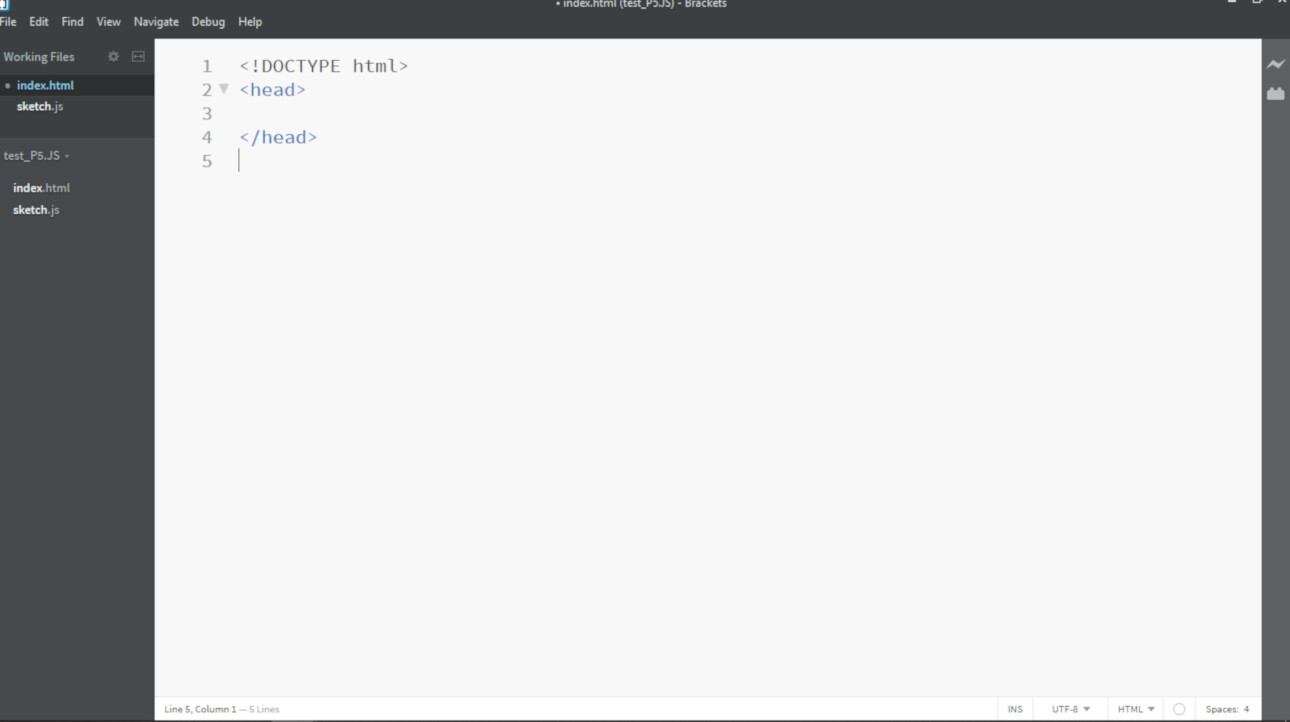
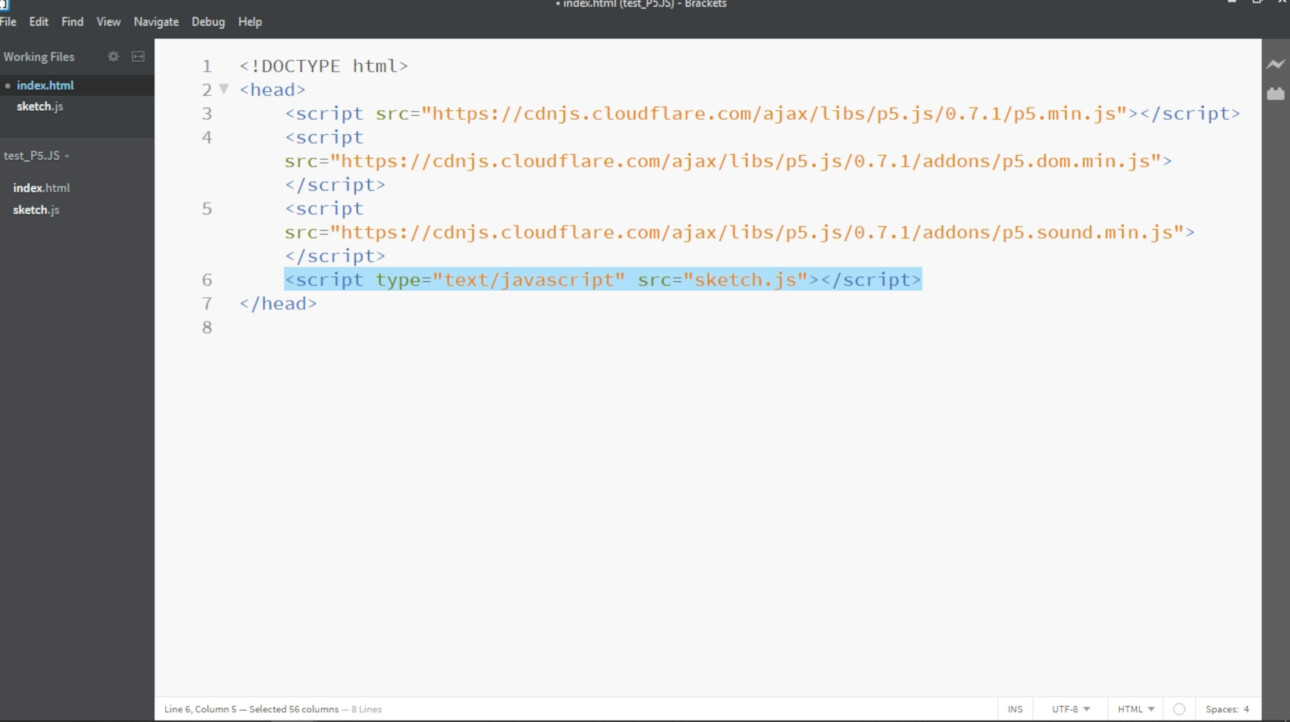
Then I created a link for the specific sketch I'll use.
- <script type="text/javascript" src="sketch.js"></script>
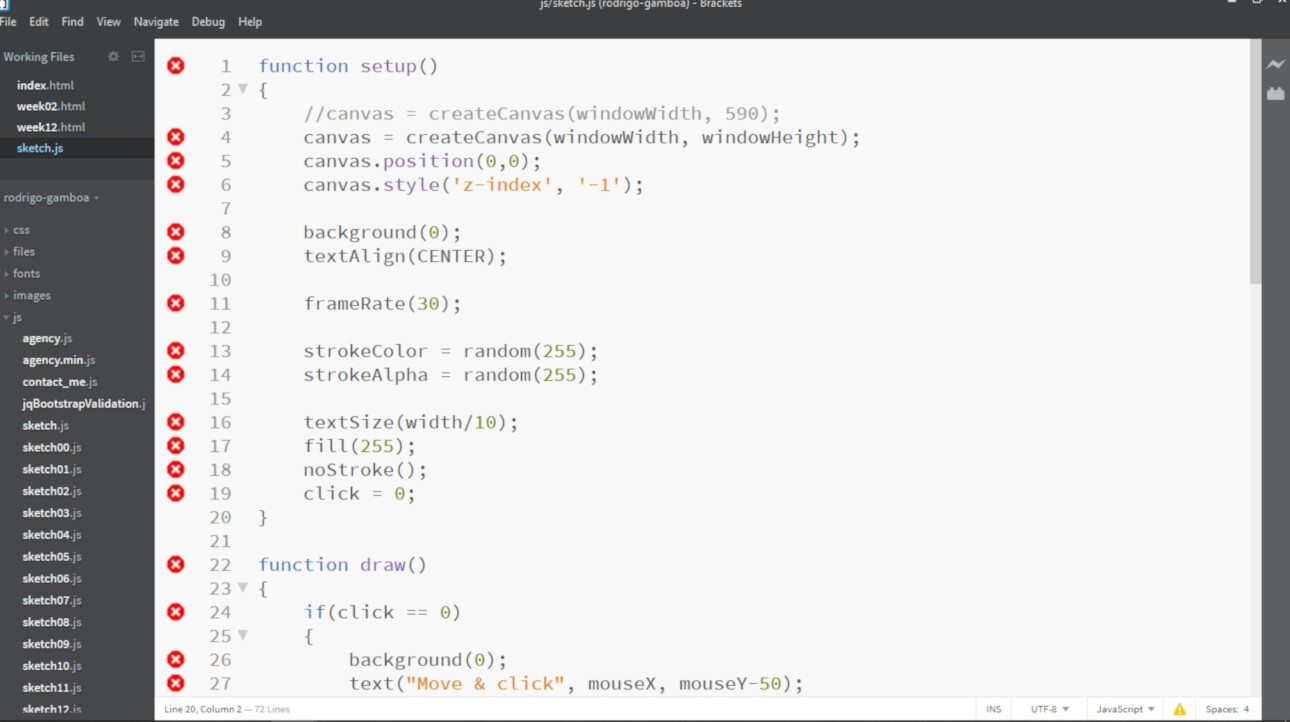
In the sketch I created a function setup() and a function draw(). In the setup I placed the canvas settings. These are three lines of code.
- canvas = createCanvas(windowWidth, windowHeight);
- canvas.position(0,0);
- canvas.style('z-index', '-1');
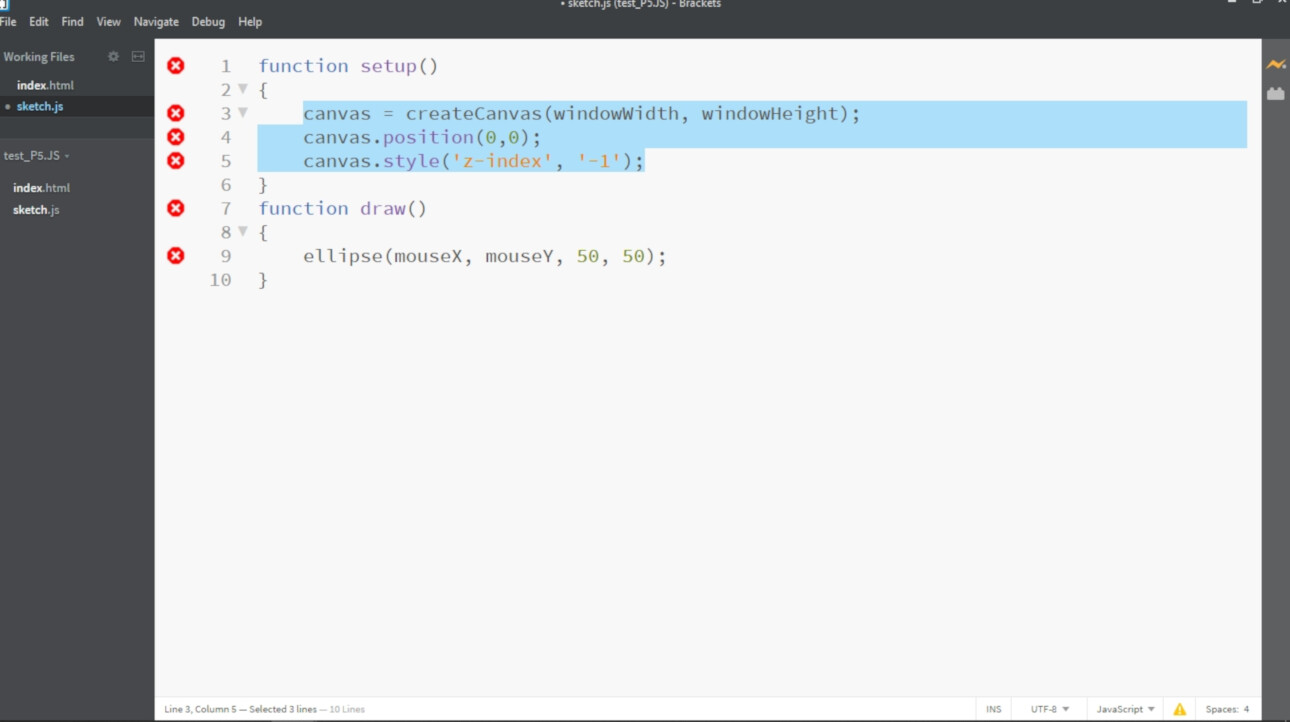
In the draw I can write the interactive code, as in this example, I created some circles with the mouse.
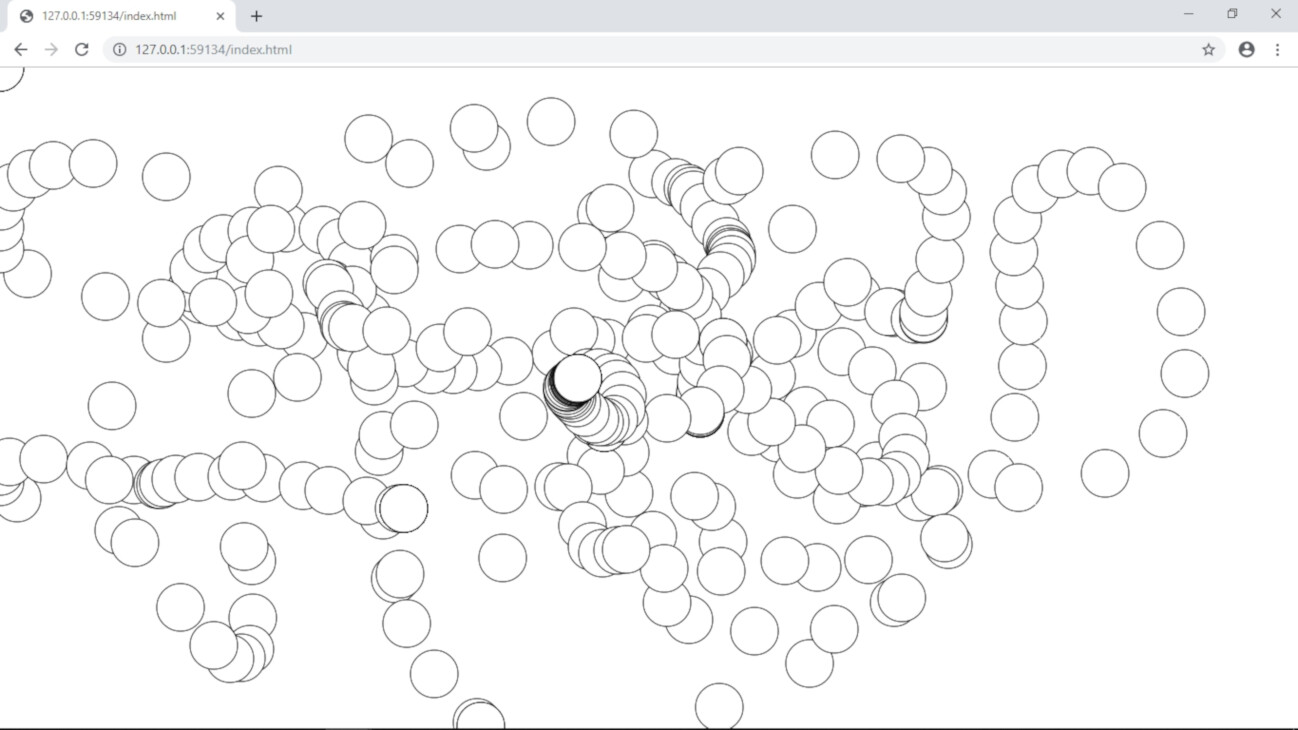
About the lines of code of the canvas settings I mentioned: The first one creates a canvas the size of width and height of the window. The second one positions it at the top left corner (0, 0). And the third one is kind of confusing, but what I understand is that sets the canvas at a layer of the website. This way I can have the interactive canvas as the background (at z -1), but still I can use buttons and texts at the top of the canvas, that are at a higher z value, so they are layers about the interactive canvas. That's why, in my website, I can interacte with the background, but still can press the buttons that are at the top (that are not created on the sketch.js) and comes from the bootstrap template I used.
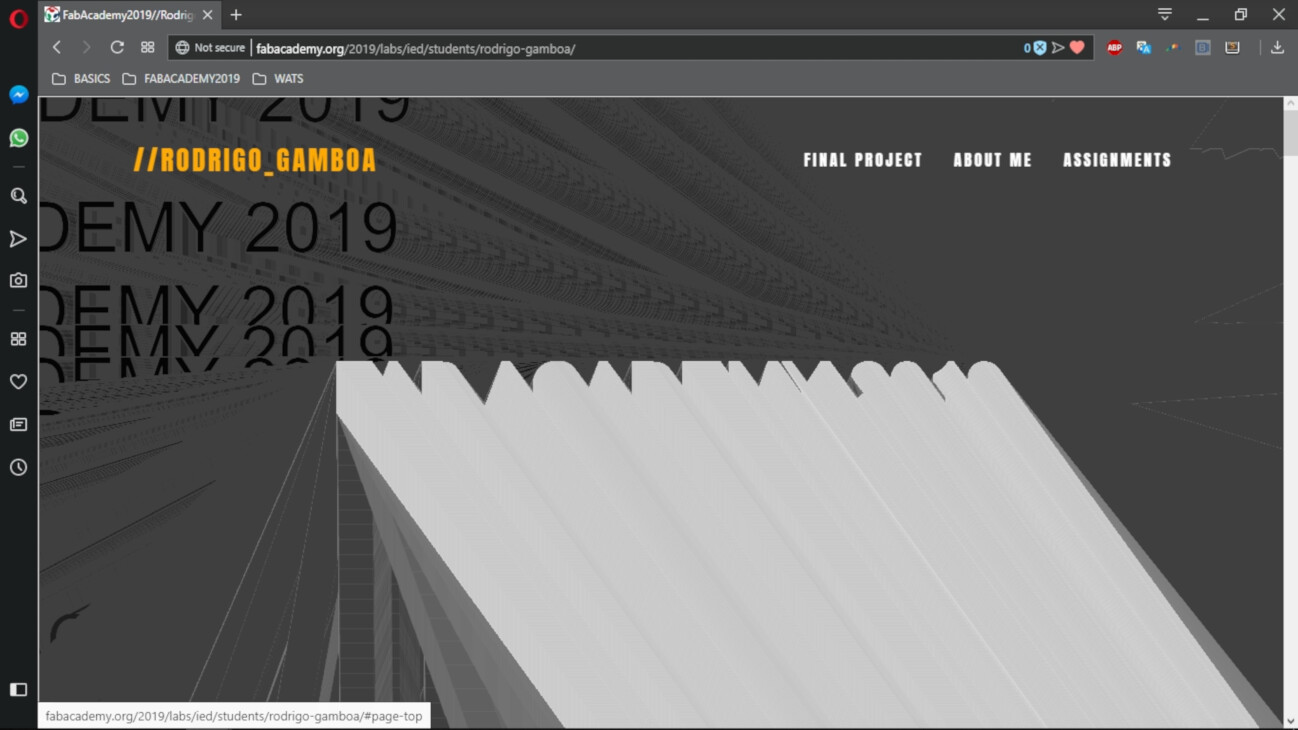
I used this Bootstrap template to create my website, adding p5.js to make the headers interactive.