4. Computer controlled cutting
Machines set up & Calibration
Group assignments
Vinyl Cutter
In order to use the vinyl cutter we had to understand the following settings:
Parameters
-
Type of vinyl media i.e. roll, sheet or piece.
-
Size of media: Once the media is loaded, the cutter measures the size and displays it on the screen.
-
Force of cut: This needs to be done so that the blade is barely visible and cuts the sample piece deep enough on the vinyl and not so deep that it cuts the backing sheet.
Process
The GS 24 we have at our Fab Lab at IED needed the following settings:
-
The vinyl cutter follows the path of the 2D vector in the file loaded. Hatches must not be present.
-
The part to be cut out and the part to be retained must be decided before commiting the file to the printer.
-
The size of the media must be matched from the cutter display to the printer driver on the computer. Max size of our printer is 800mm on a roll.
-
The cut media can be transferred to the sticking substrace by help of masking tape.
Laser Cutter
Parameters
We used a Trotec Speedy 300 for our cutting.
-
Type of media: This determines the number of runs necessary for cutting through the media and not burn it excessively.
-
Poistion of pointer on the media
-
Maximum size of media that can be used on the selected cutter. In our case 600x300mm.
Precautions
-
Exhaust to be running during entire process.
-
Bed to be clear of debris before placing media to avoid burns on material.
-
Watch the cutter during entire process
-
Ensure colour standards are matched correctly and look for repeated lines.
-
While using cardboard, ensure all edges are stuck to the bed so that the cuts are even since cardboard tends to be bent.
Process
-
Ensure engraver is connected to computer driver.
-
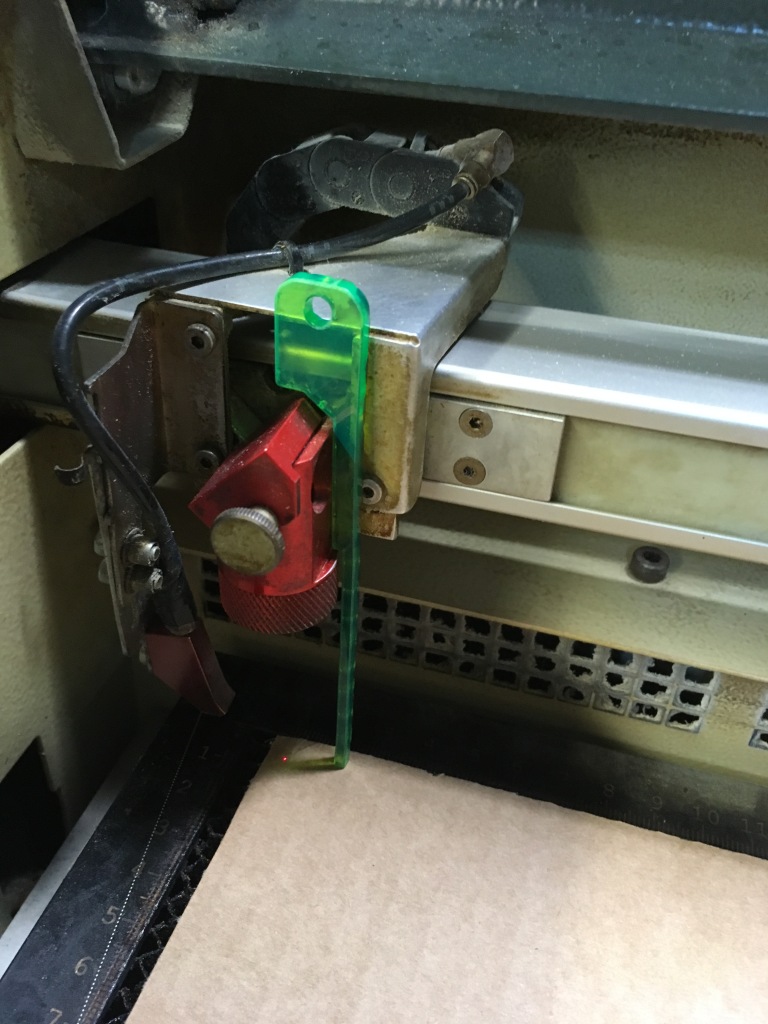
Focus the laser on the media using a preset tool.
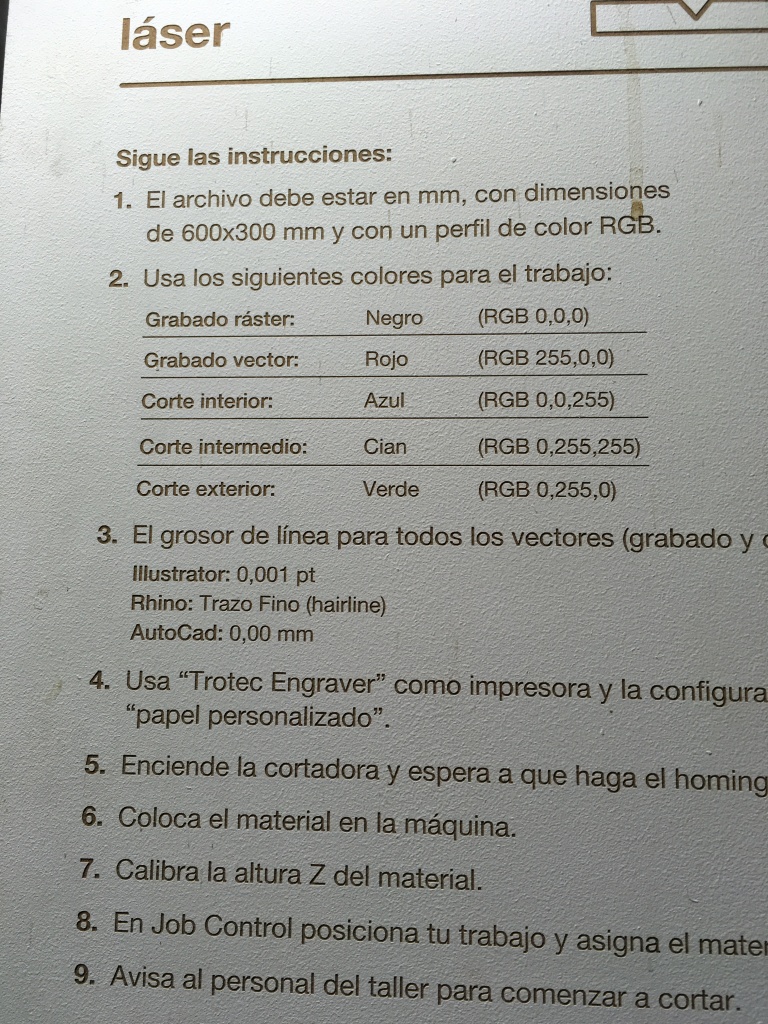
- Check your file according to driver colour standards.
-
Ensure correct material preset is selected on driver for cutting.
-
Position file on sheet in driver
-
Press play and watch till completion.
Additionally the driver would have an option to layer the vectors based on the file to look for the quickest path for cutting and to save time
Kerf test
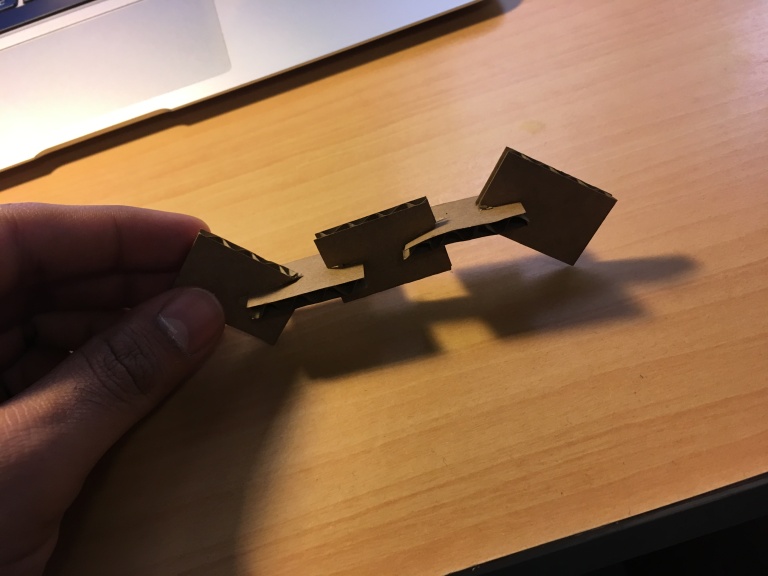
To test the kerf of the printer, I made a quick illustrator file with the pressfit joints as dynamic symbols on the modular pieces. The media we had available was cardboard 4mm.
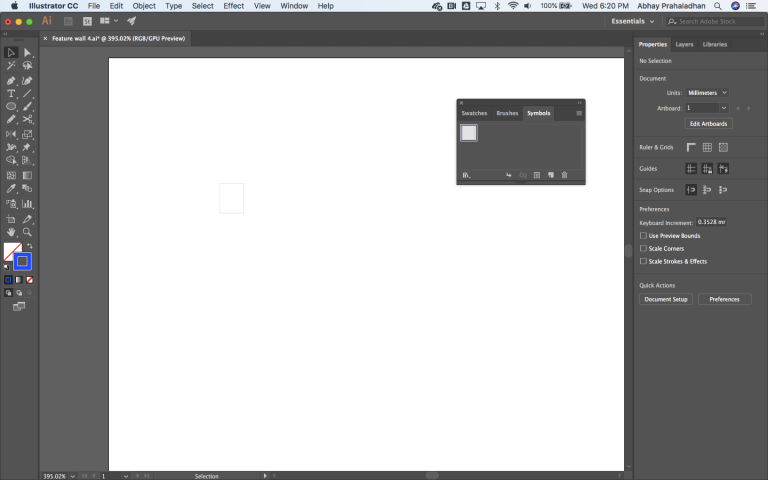
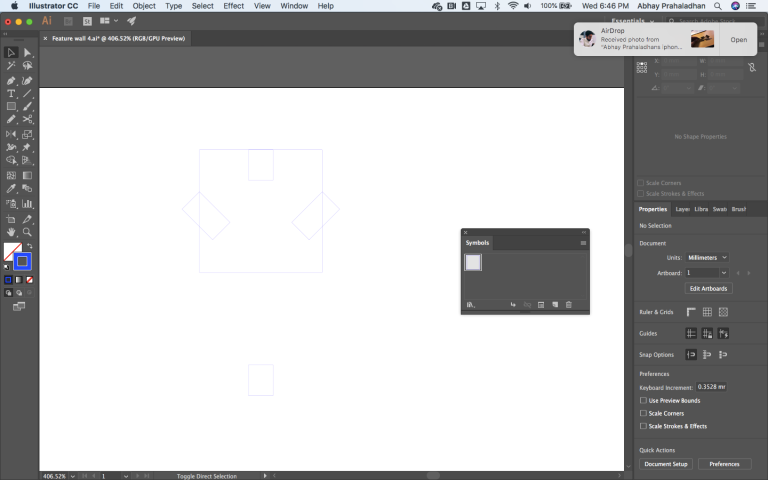
Some iterations enough to conclude that a 3mm cut was enough to provide snug joints between pieces.
Vinyl Cutting Assignment
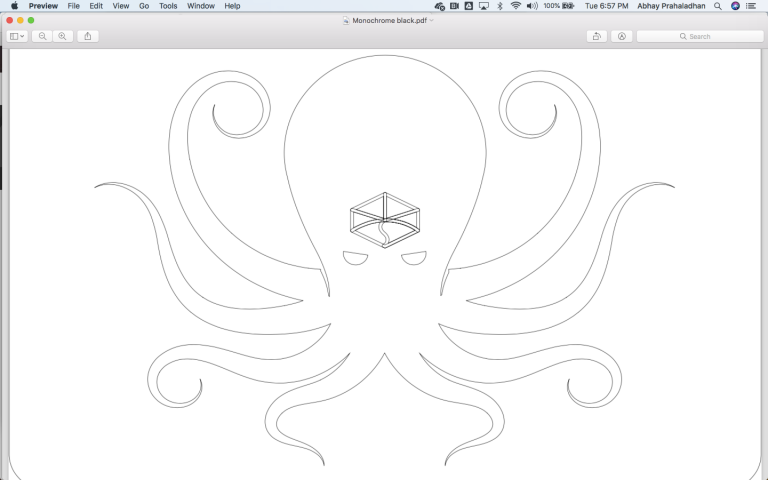
2D drawing
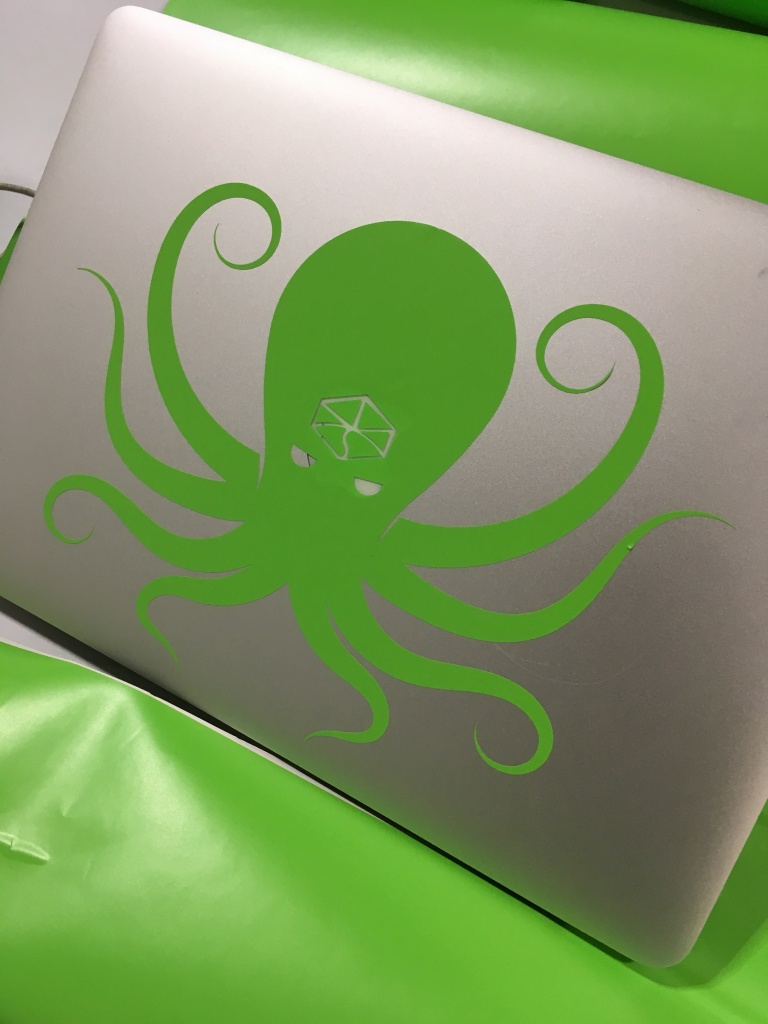
Since my laptop had seen better days, i thought i could give it a makeover!
File made on Illustrator.
Cutting
I used the Roland CAMM-1 GS-24 for cutting out the shape on a green vinyl sticker sheet roll. I followed this tutorial to get started

After a test cut, I determined the pen force (digitally and not on the physical knob) I needed for cutting the vinyl just enough to not cut through the backing.
Abhay Fabacademy 2019 Vinyl cutting Assignment from abhay prahaladhan on Vimeo.
Laser Cutting Assignment
Parametric press-fit kit
For the parametric press-fit, I decided to learn Rhino + Grasshopper to achieve what I was expected to do for this week’s assignment.
Grasshopper
I first started modeling the joints. Adjustable parameters being:
- Thickness of medium
- Length of joint needed
- Kerf adjustment % to make up for loss by the laser cut or to ensure tightness
- Number of sides
Here’s a gif showing how the number of sides parameter can be adjusted.

Here I’m subtracting the joint shapes from the structure of each module.
Finally, when I was happy with the shape, I created a rectangular array of the resulting shape and baked it into rhino with the settings shown previously.
Cutting


3D modeling
I decided to try and make a complex lattice pattern on sketchup that I wanted to execute on a larger scale later with stone or metal.
After setting up the kerf, I scaled the file to match the thickness of media and joints.
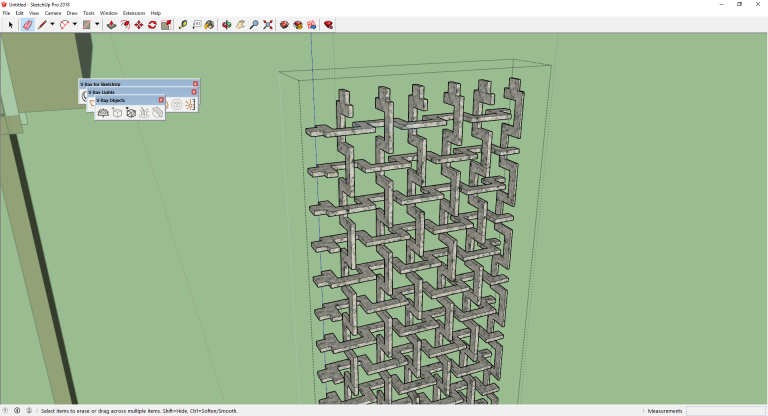
Exported the 2D to illustrator.
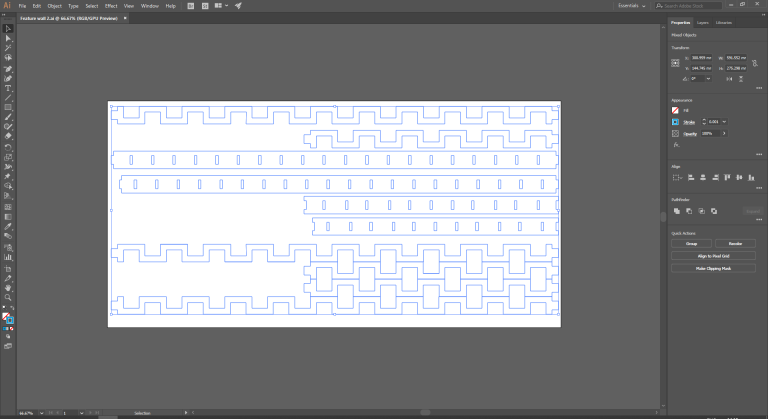
Matched settings as per test files.
Cutting
Abhay Fabacademy 2019 Laser cutting Assignment from abhay prahaladhan on Vimeo.
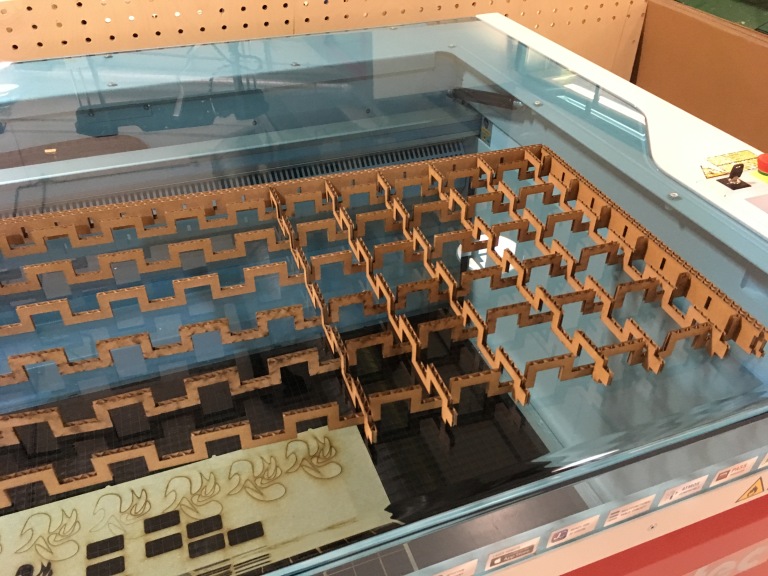
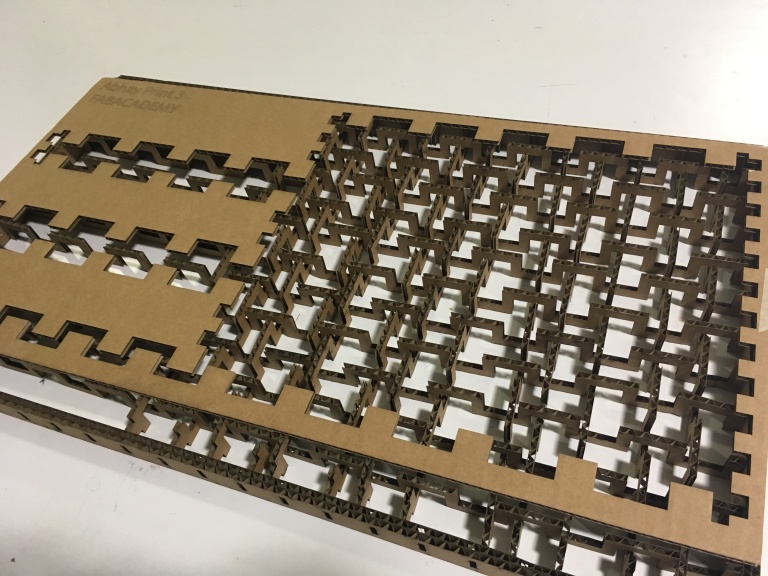
Completed
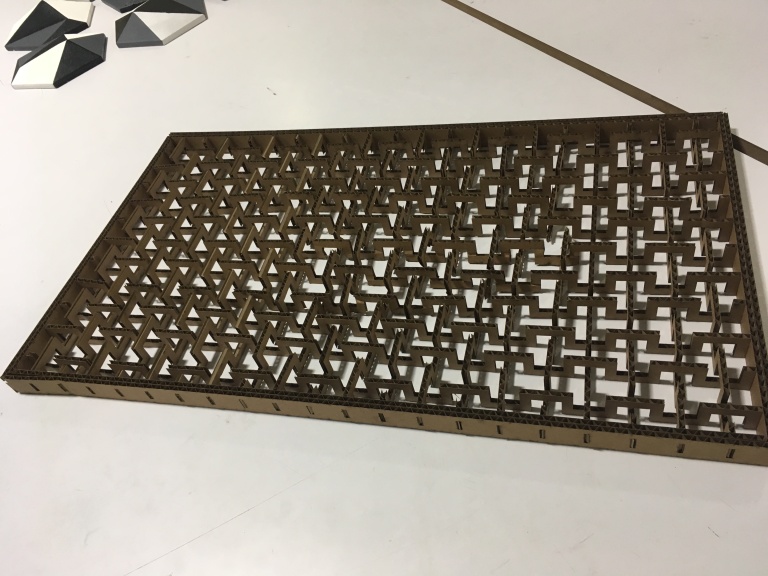
Completed Feature wall Mock up from abhay prahaladhan on Vimeo.
Original files
Original Rhino file here
Original Rhino file here
Original Grasshopper file here
Original vinyl eps file here
Original SketchUp file here
Original wall Illustrator file here
Original wall EPS file here


