-->
Computer-Aided Design (week 03)
This is the week I finally joined the Academy, having to catch up tedious assignments from the previous weeks, I focused most of my attention on previous tasks. Given that I am familiar, I teach many of the aforementioned software, I hope I can eventually catch up and complete this week tasks as well.
Group Assignment: (none)
Individual Assignment: model (raster, vector, 2D, 3D, render, animate, simulate, ...) a possible final project, and post it on your class page
In week 08 we were asked for the group assignment to test runout, alignment, speeds, feeds, and toolpaths for our machine. To do so I followed a step by step tutorial from Evan & Katelyn , I will cover in more details later the things I learned then. But for this week assignments, I will “quote” myself, for E&K tutorial focused on applying series of commands to create from a wooden block a figurine they named Kevin. There, they provide the trainees with a pre-design Kevin model. I resorted to design myself my own figurine from scratch naming it “Larry”.
Using Fusion 360, in 2D mode I sketched at first what Larry would look like in size and shape:
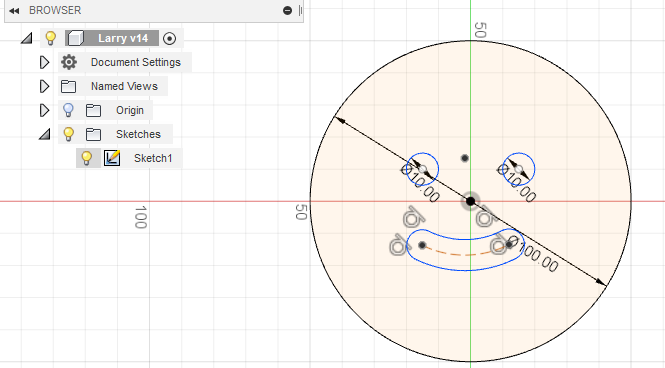
First in
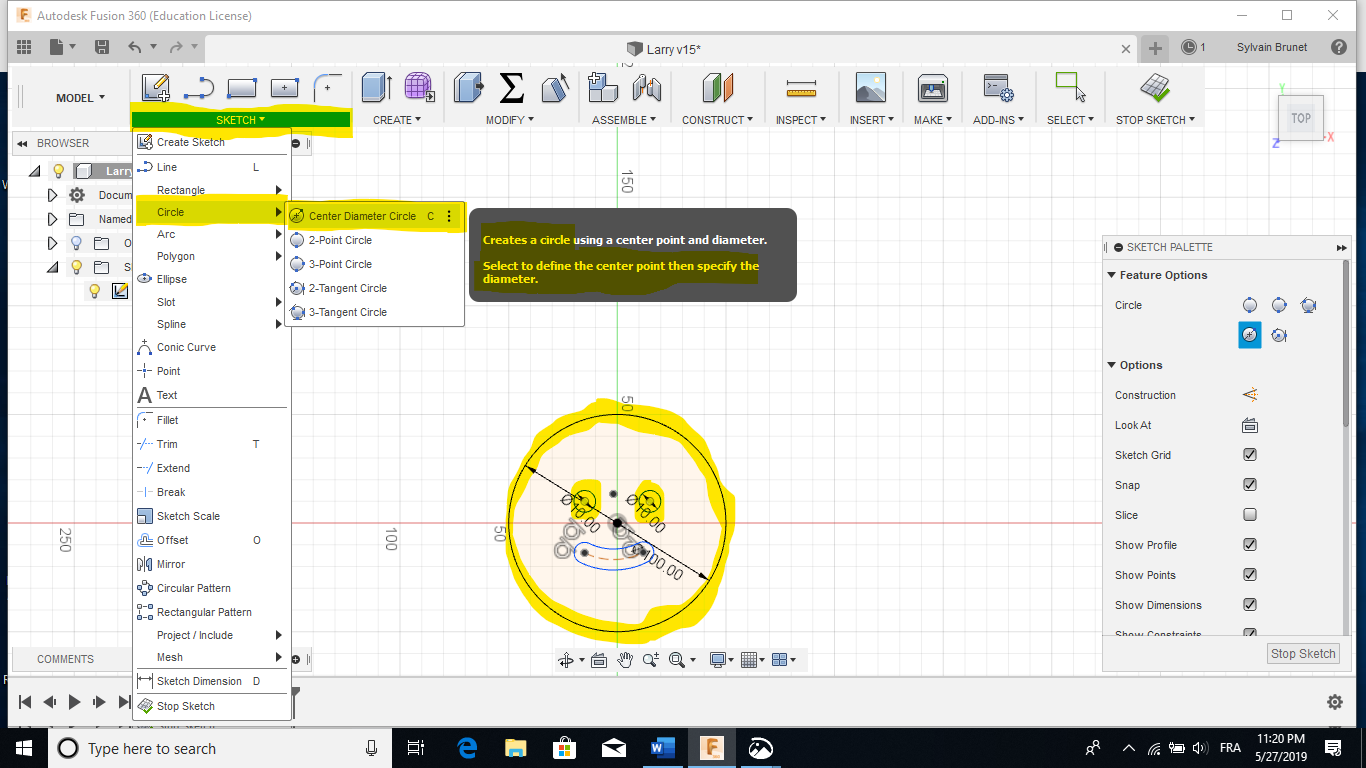
Fusion 360 Model view, one selects the sketch tab, the Circle option and the
Center diameter option. With this first perimeter circle is draw and value of
100 mm is set for diameter. Same is applied for the eyes with value of 10 mm.
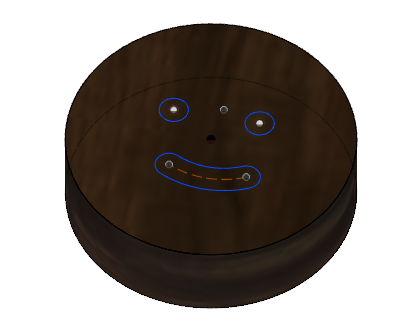
All are highlighted in yellow here. Now for Larry’s smile:
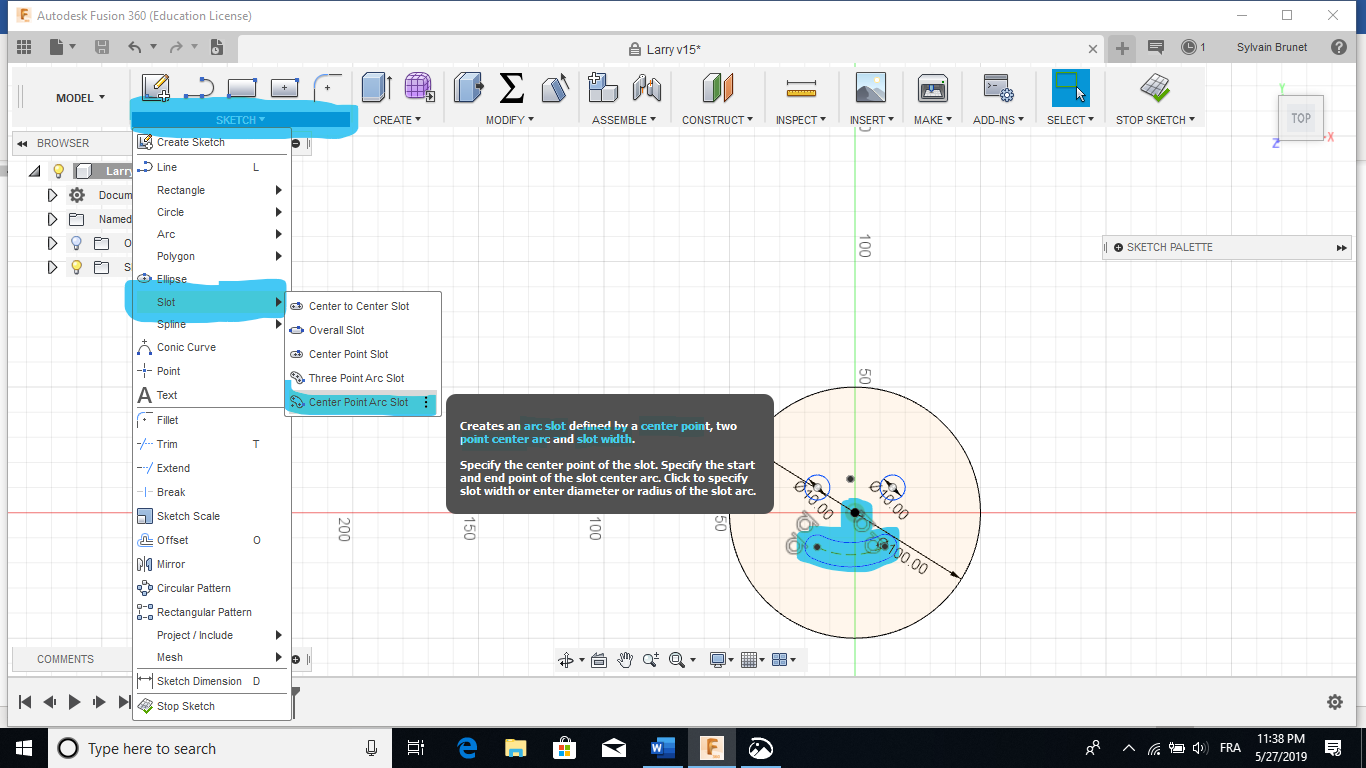
Again, now in
blue, Sketch, Slot and center Point Arc Slot are sequentially selected in this
order to created the smile portion of Larry (a very happy guy btw!!).
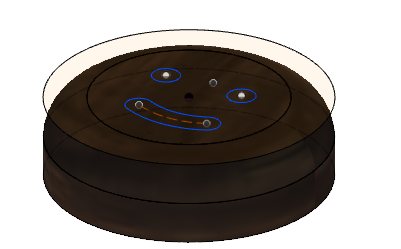
Then it’s literally a matter of applying the right sequence of command to give it 3D volume (extrude here)
To carve an angle I used the fillet command from the Modify menu:
To create pocket space for the eyes and mouth I turn again to extrude command:
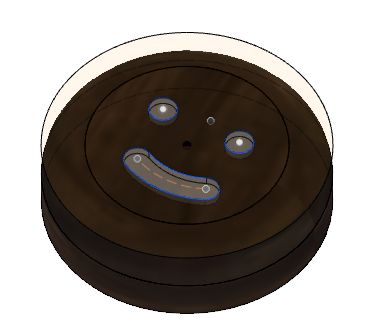
At last there emerged Larry !!! My own version of the CAD process covers most of the suggested approaches mentioned here before.
I will cover in greater details the CAM process leading to the physical appearing of Larry in week 08.
Nonetheless, I pushed further my exploration of the CAD phase trough rendering Larry. Using Fusion 360 I generated an STL mesh rendering model of Larry to ultimately 3D print it (detailed steps can be found in week 6). Yet, this is the first solid model of Larry:
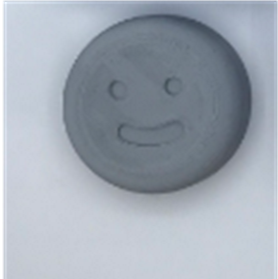
In the
upcoming weeks, more iterations of Larry will be used in completing
assessments: stay tuned!!!