#Week 06 / 3D Scanning and Printing
Step 1 ) Test parts
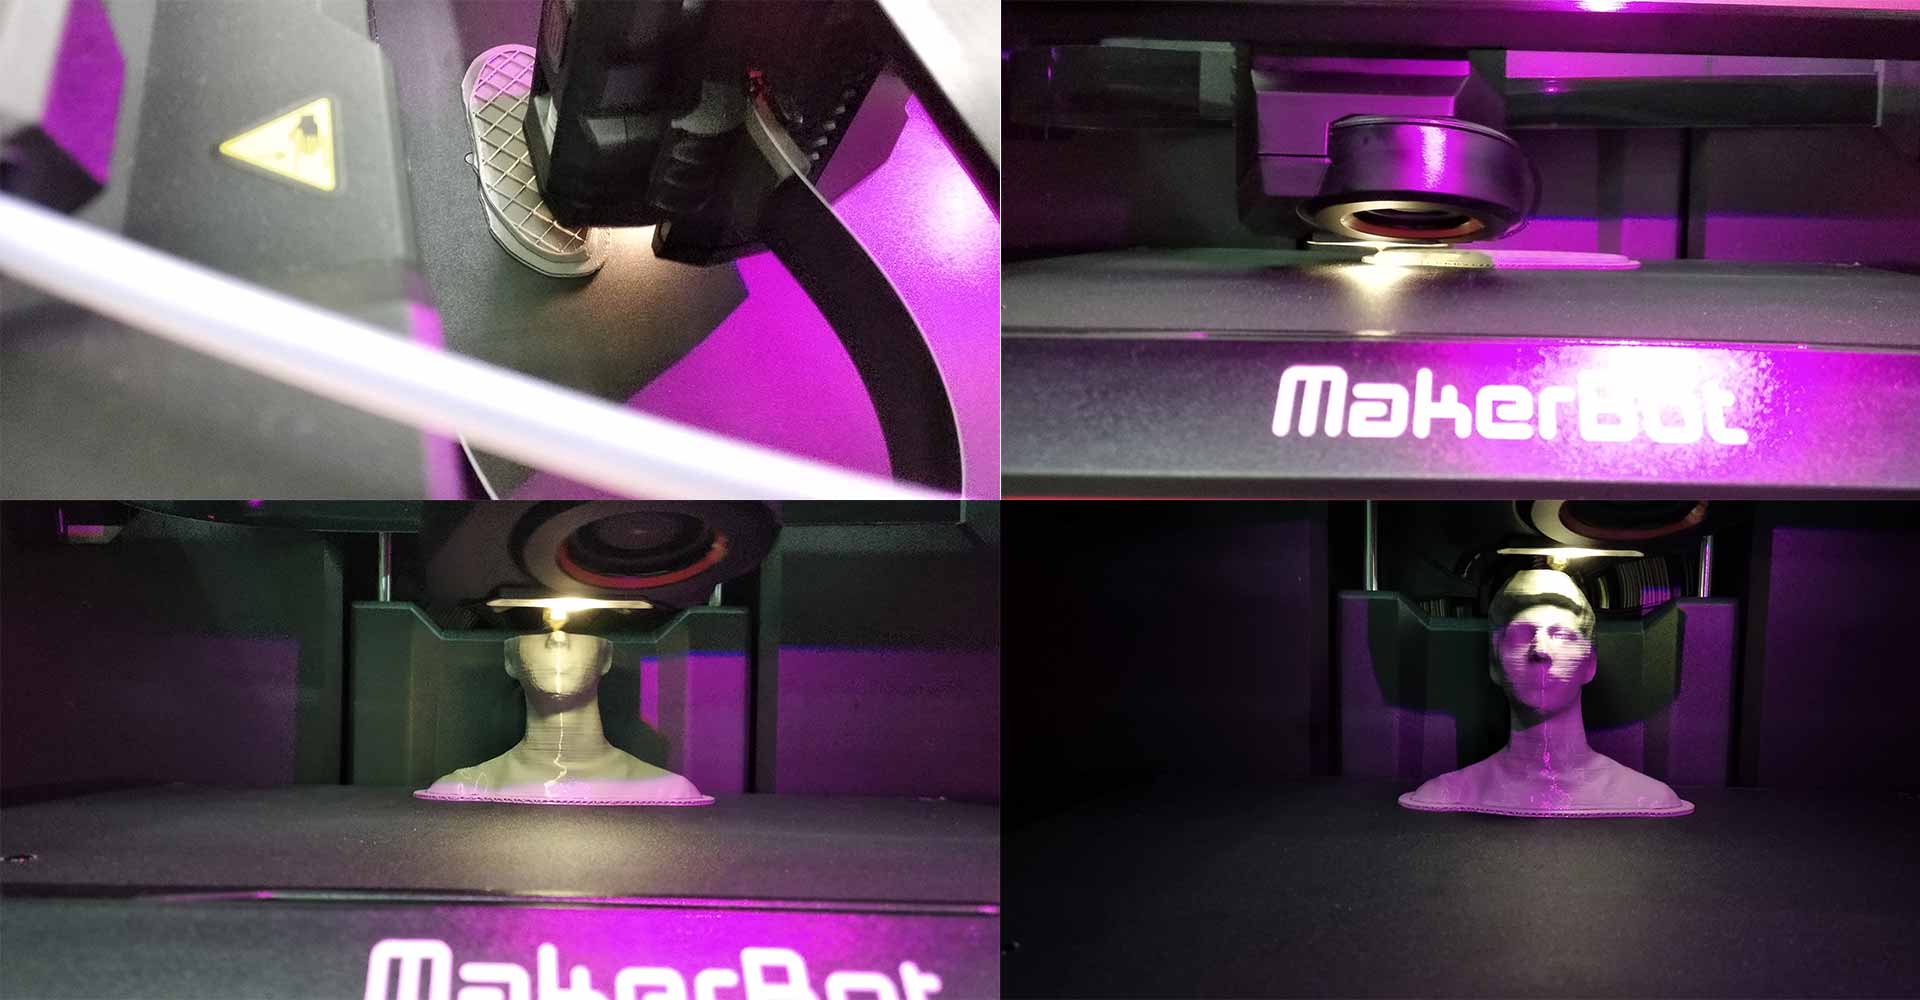
Step1.1) Turn on your 3D printer and wait it to warm up .In my case I used Makerbot replicator+ 3D printer .
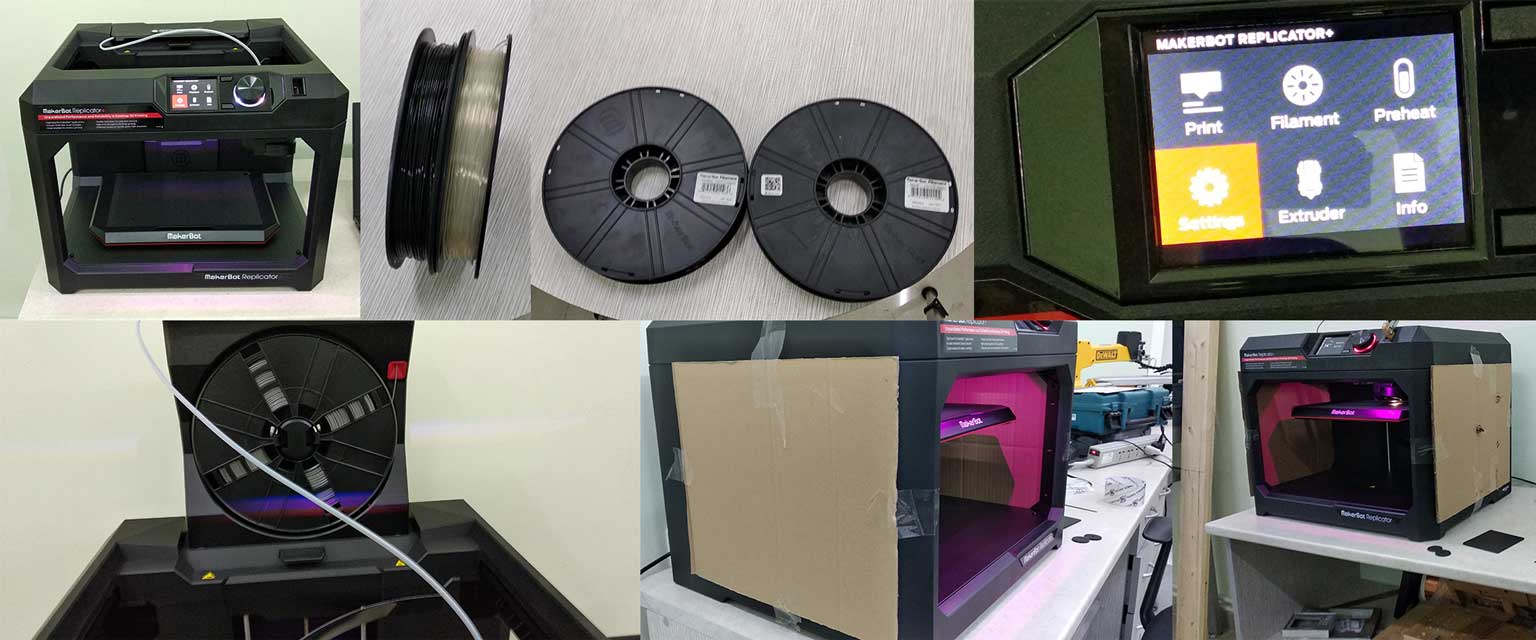
Step 1.2) Choose the filament . If you need to change your printer filament , first you need to unload the existing filament by going to “Filament” and choosing “Unload filament ” , after unloading the filament change the filament and press “Load filament” .
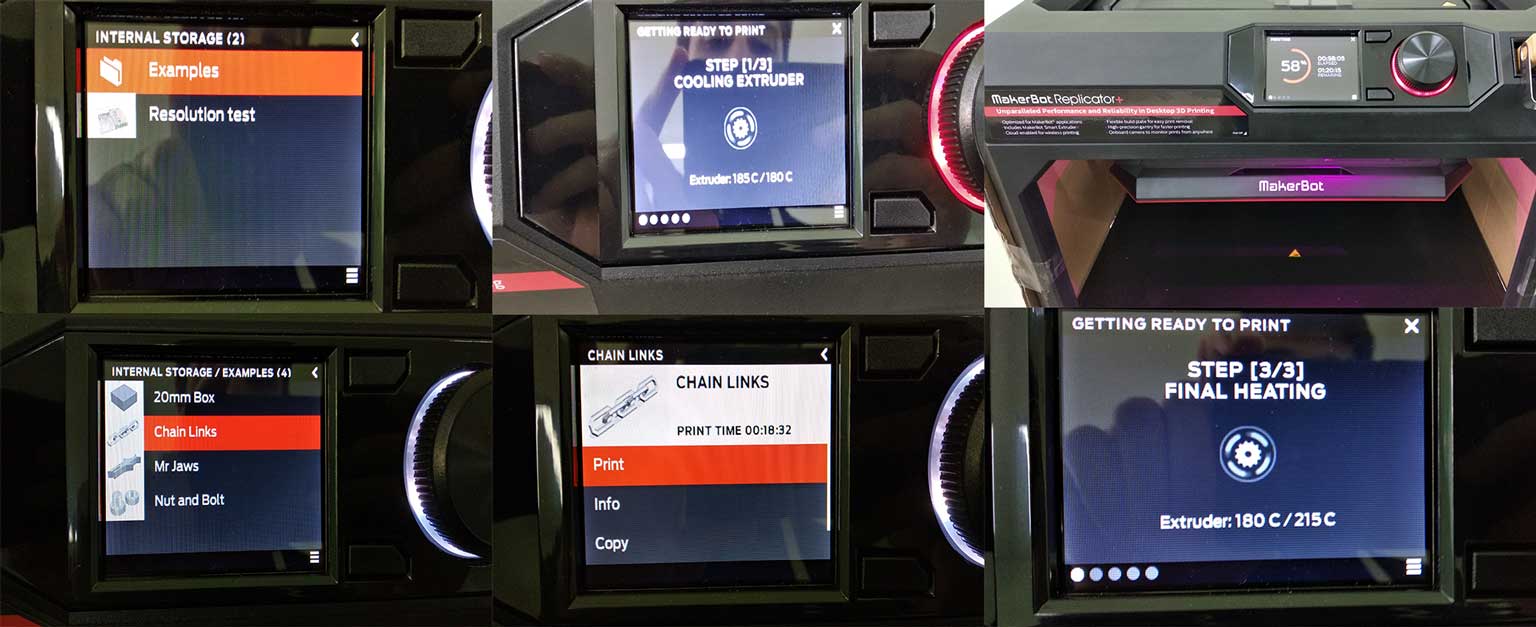
Step1.3) Print some 3D model which is already exist on your printer , for testing your printer . On Makerbot there are several of examples . You can choose them by going in “Print” , “Internal storage” , “Examples” .Also we downloaded some models from thinkivers and printed it for understanding our 3d printers limits .
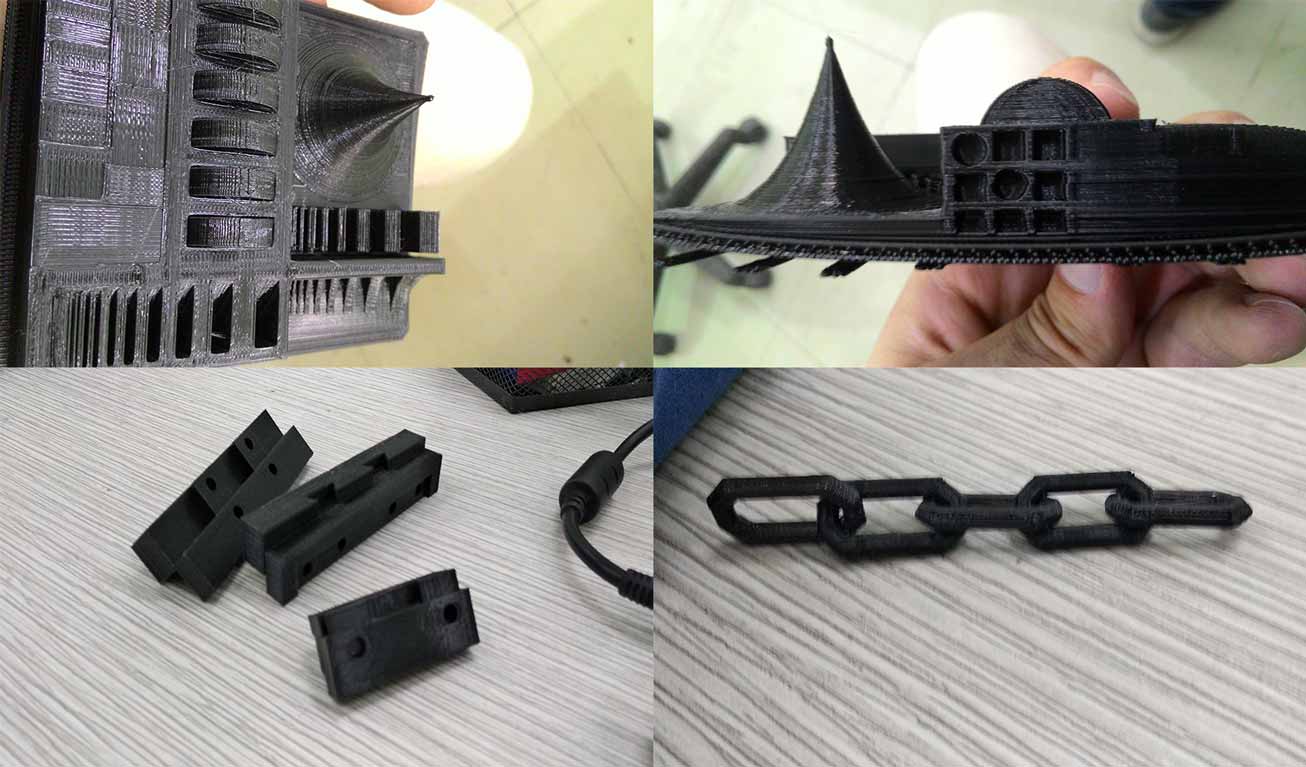
Step 1.4) Remove your 3D model from build plate after it’s finish . Remove it carefully , in my case the Makerbot Replicator has flexible build plate , so it is very easy to remove . If your printer prints in high quality, the support material will be very easy to remove .
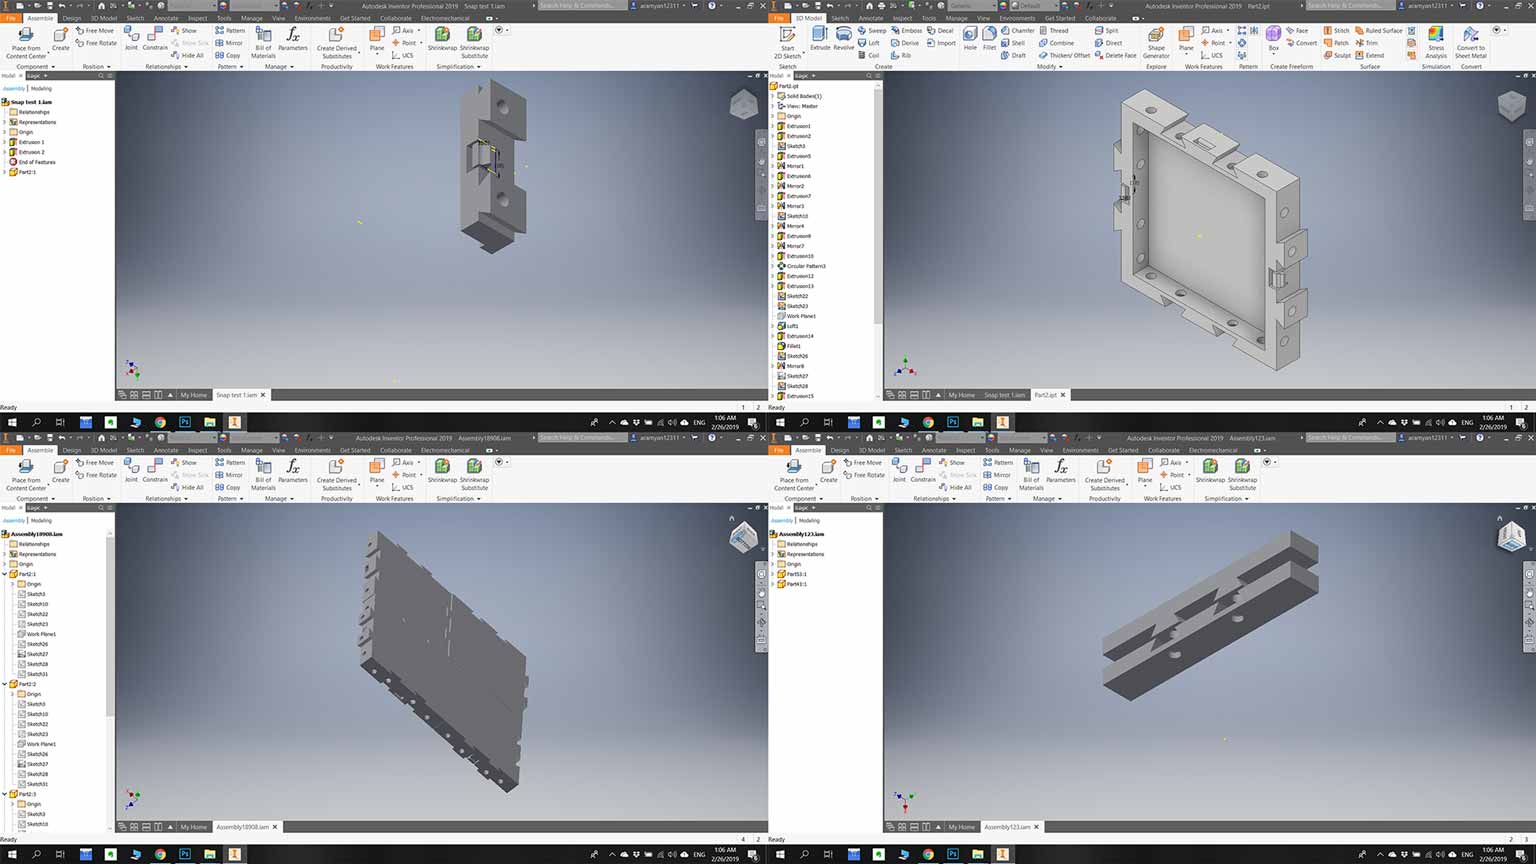
Step 2) Designing 3D models
Step 2.1) Choose the tool for 3D modeling . In my case I have chosen the Autodesk Inventor Pro 2019 . In the process of designing my models I have used
- 2D Sketch
- Line ,Arc Circle
- Fillet in 2D sketch
- Trim
- Rotate
- Rectangular in 2D sketch
- Circular in 2D sketch
- Mirror in 2D sketch
- Dimension
- Extrude in 3D model
- Fillet in 3D model
- Plane
- Rectangular in 3D model
- Circular in 3D model
- Mirror in 3D model
tools

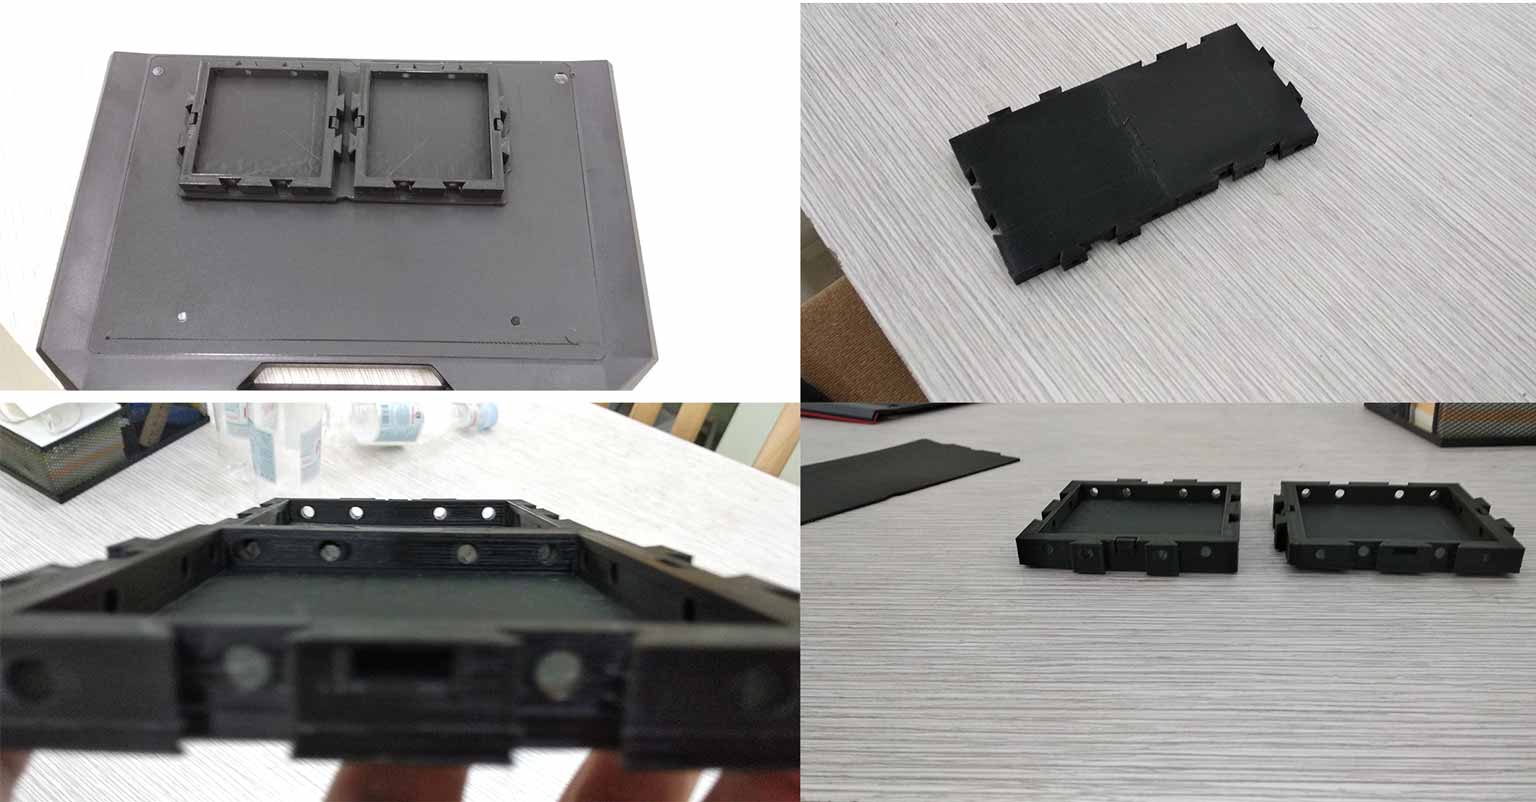
Step 2.2) Model the actual 3D models . I have designed
- Snap kit for my wireless charging desk (Final project ). If you want to know more about this 3D model , and why I created for my desk you can go to my Final project page .
- non-substantive 3D model example .
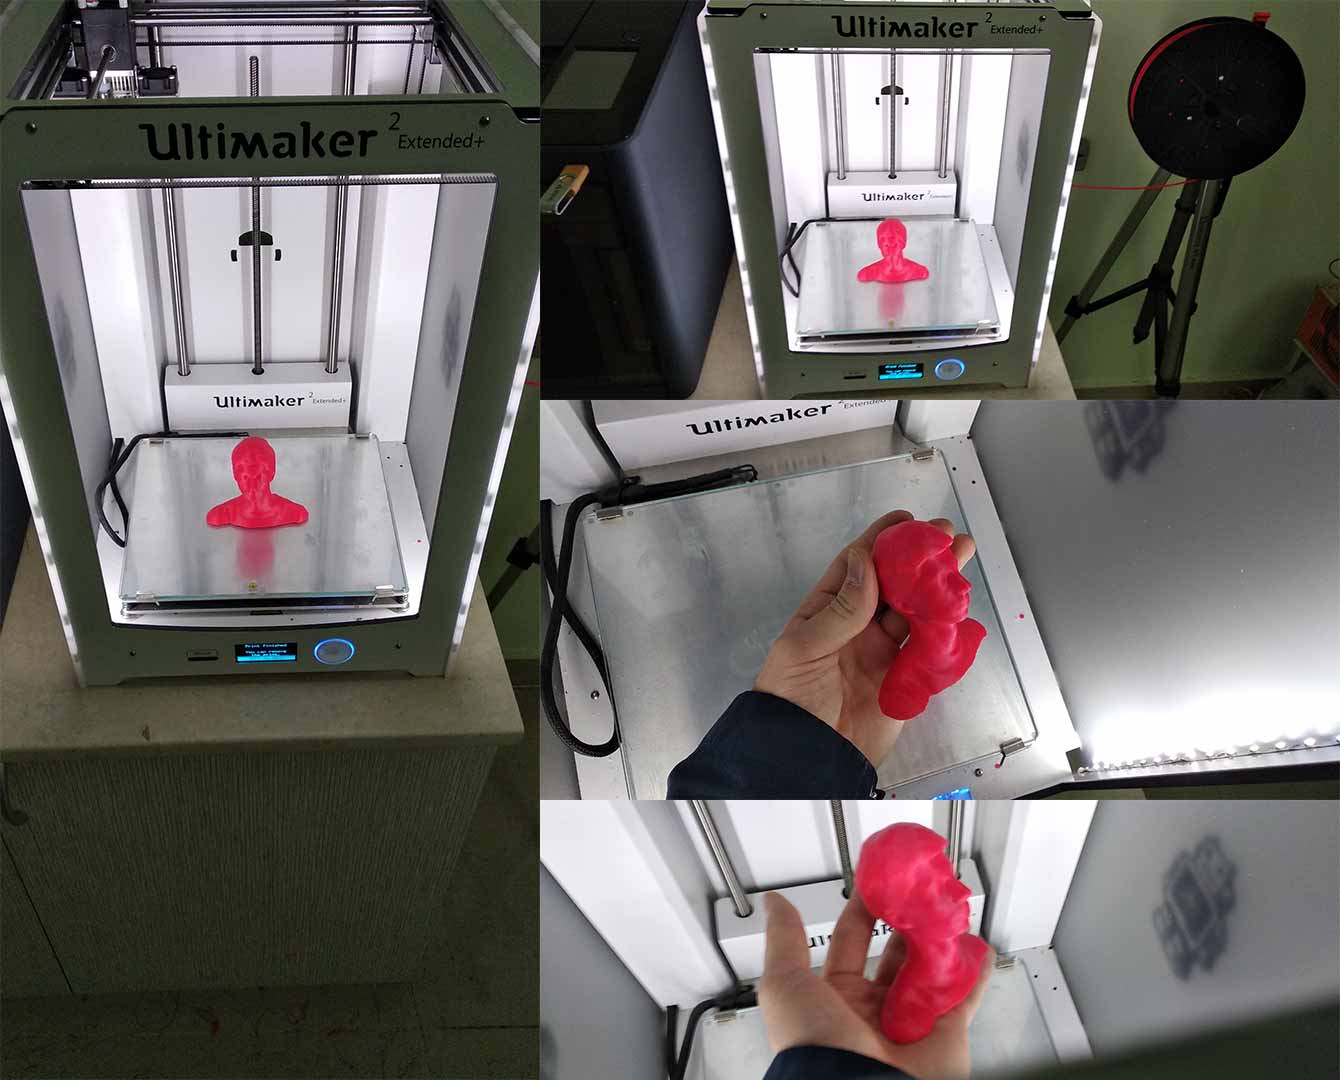
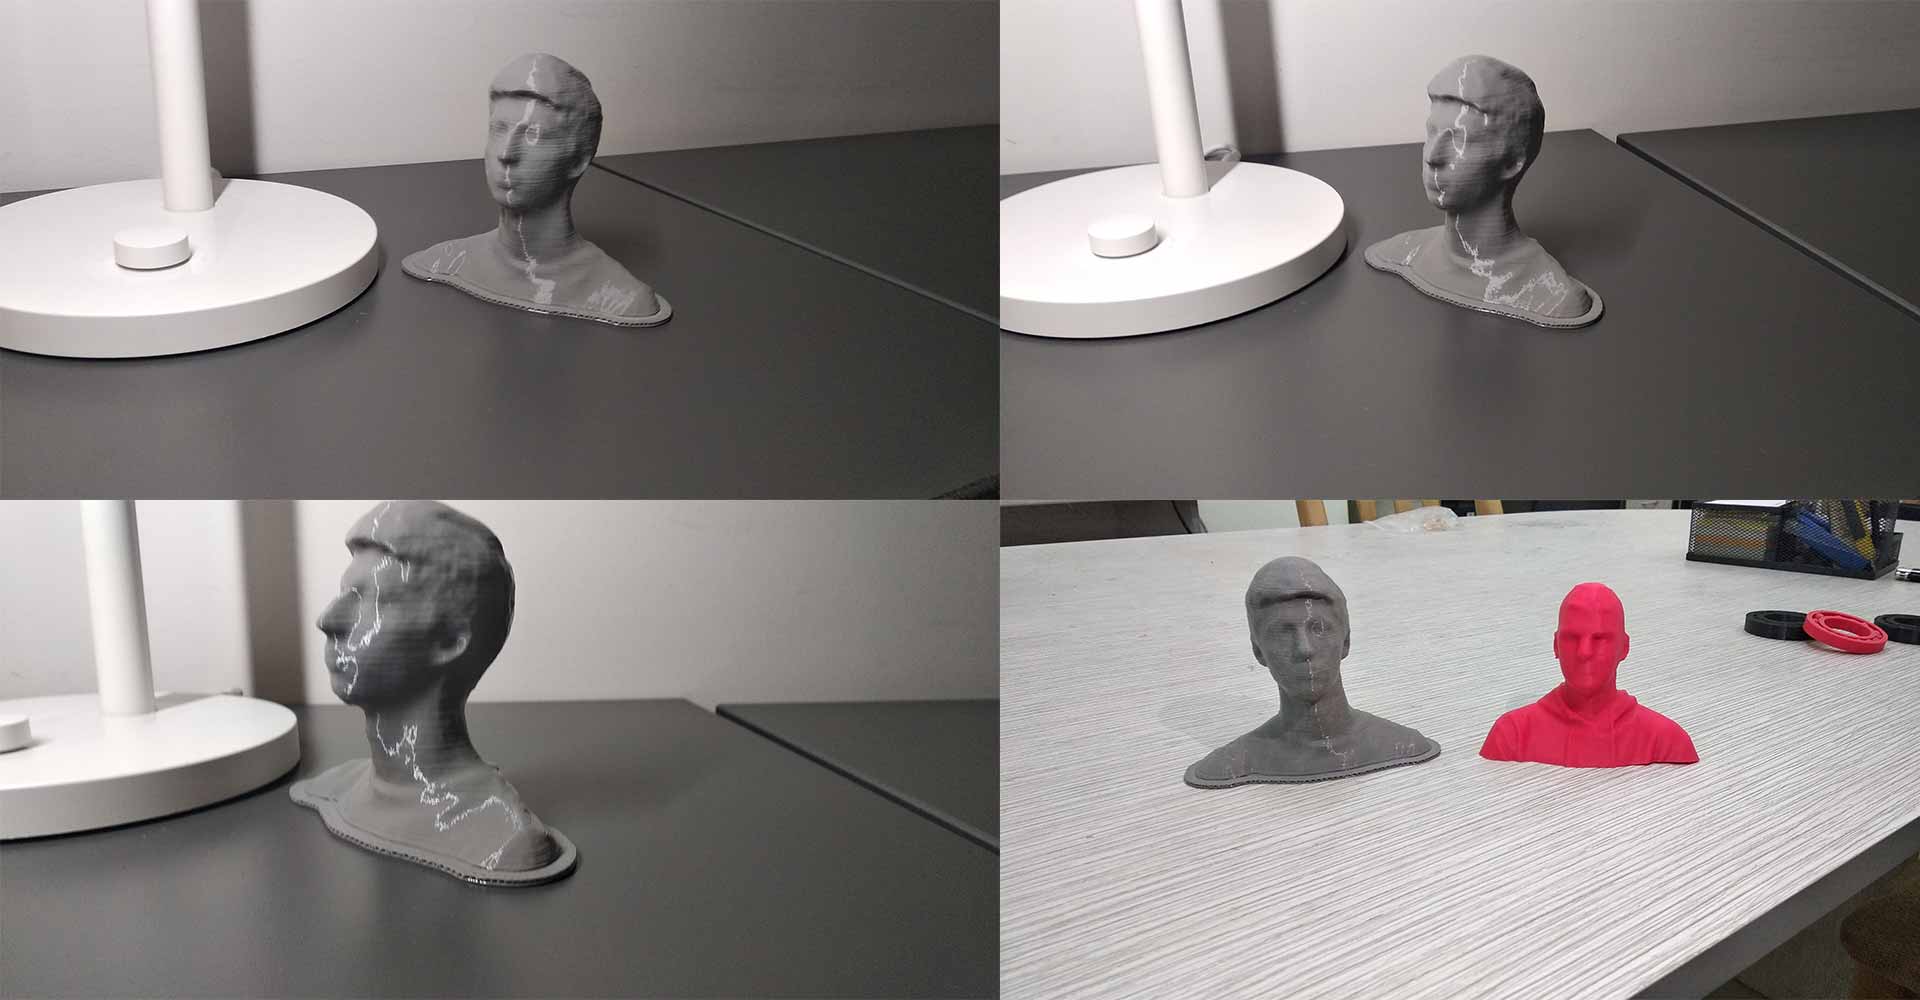
Step 3) 3D scanning
For 3D scanning we chose to scan ourselves and print on 3D printer .
Step 3.1) Make sure you got everything for 3D scanning .- Camera for 3d scanning . In our case we got Kinect Xbox 360 a.
- Good lighting . In our case we used LEDs connected to power Supply .
- Rotating chair .
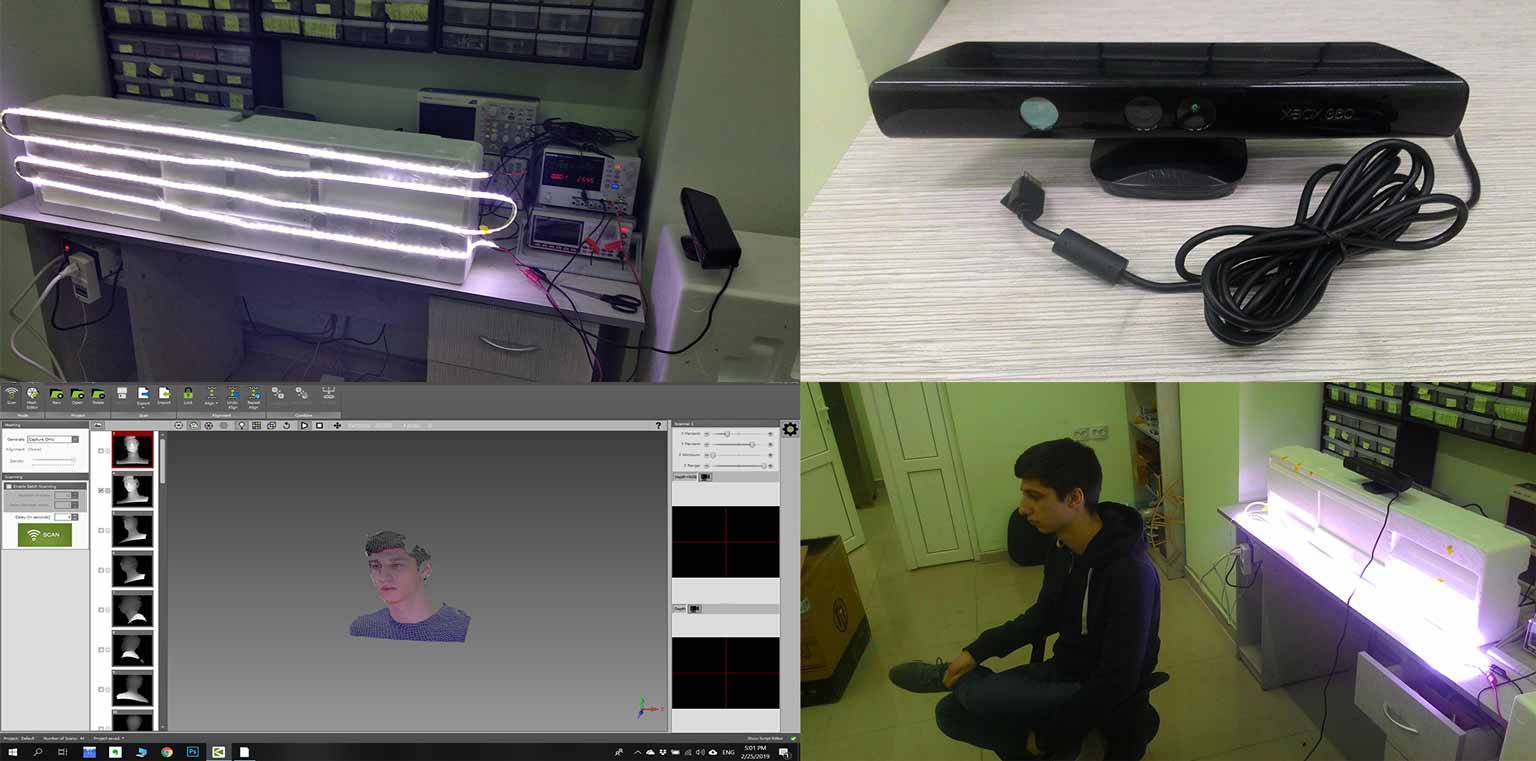
Step 3.2) Choose the programs for 3D Scanning . We have used “KScan3d 3D 1.2” 3D Scanning program used , and also we downloaded the “SDK Kinect 1.8” which is connects camera to the program , also you will need sculpting program (in Step 3.5) .
Step 3.3) Take pictures . Take about 45-75 photos in one rotation (one rotation is enough ). Make sure
- Your camera focus is ok (you can play with camera settings)
- The Rotation axis is straight
- Light is evenly distributed
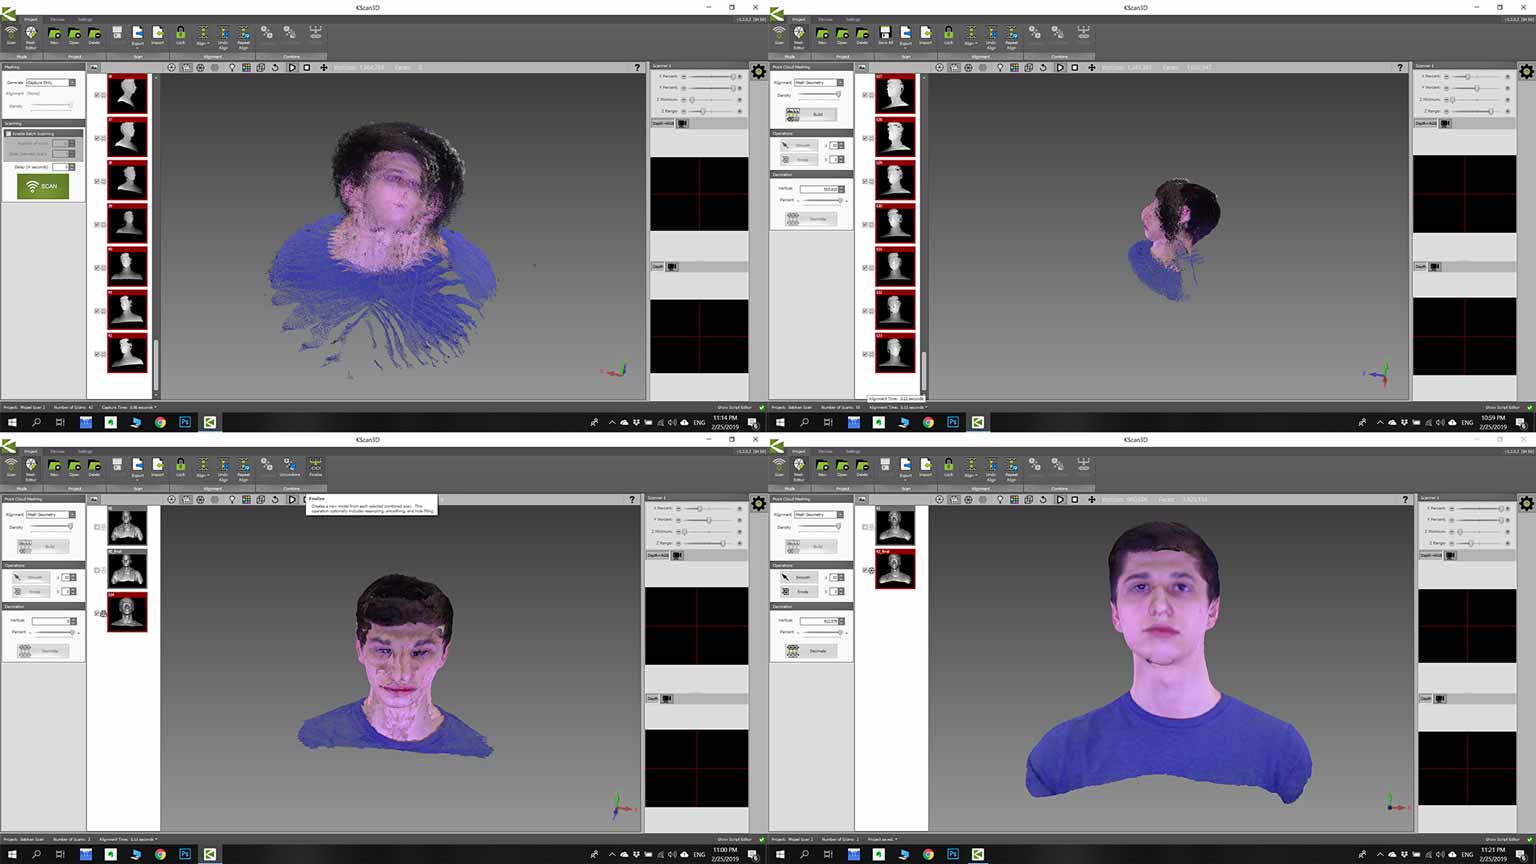
Step 3.4) Snap pictures to create 3D model by following this steps
- Ctrl A - it will choose all pictures
- Go to “Mesh editor” and press “Build”
- After press “combine”
- And finally press “Finalize”
After doing all this steps export to “.stl” or “.obj” file format
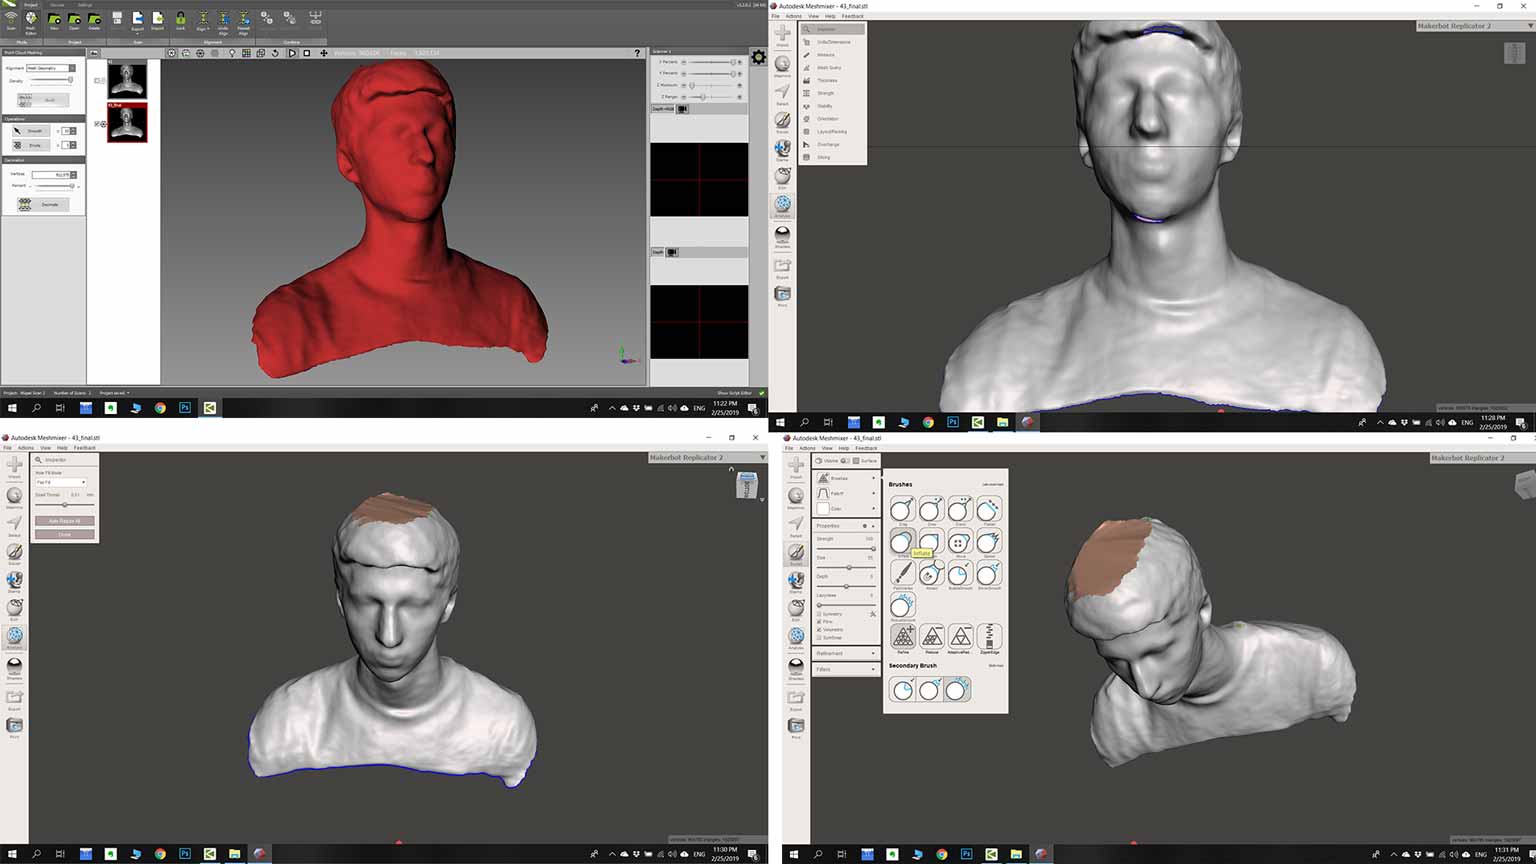
Step 3.5) Sculpt your 3D model . For Sculpting we used Autodesk Meshmixer . Open you exported file (Step 3.4) and give it final shape . The most used tools are
- Choose your 3D printer in right side .
- Minimize your 3D model and drag it in platform
- First you need close all holes by going in to “Analysis > Inspector ” and press “Auto Repair All”
- “Flatten” in “Sculpt > Brushes ”
- “Inflate” in “Sculpt > Brushes ”
- “Bubble smooth” in “Sculpt > Brushes ”
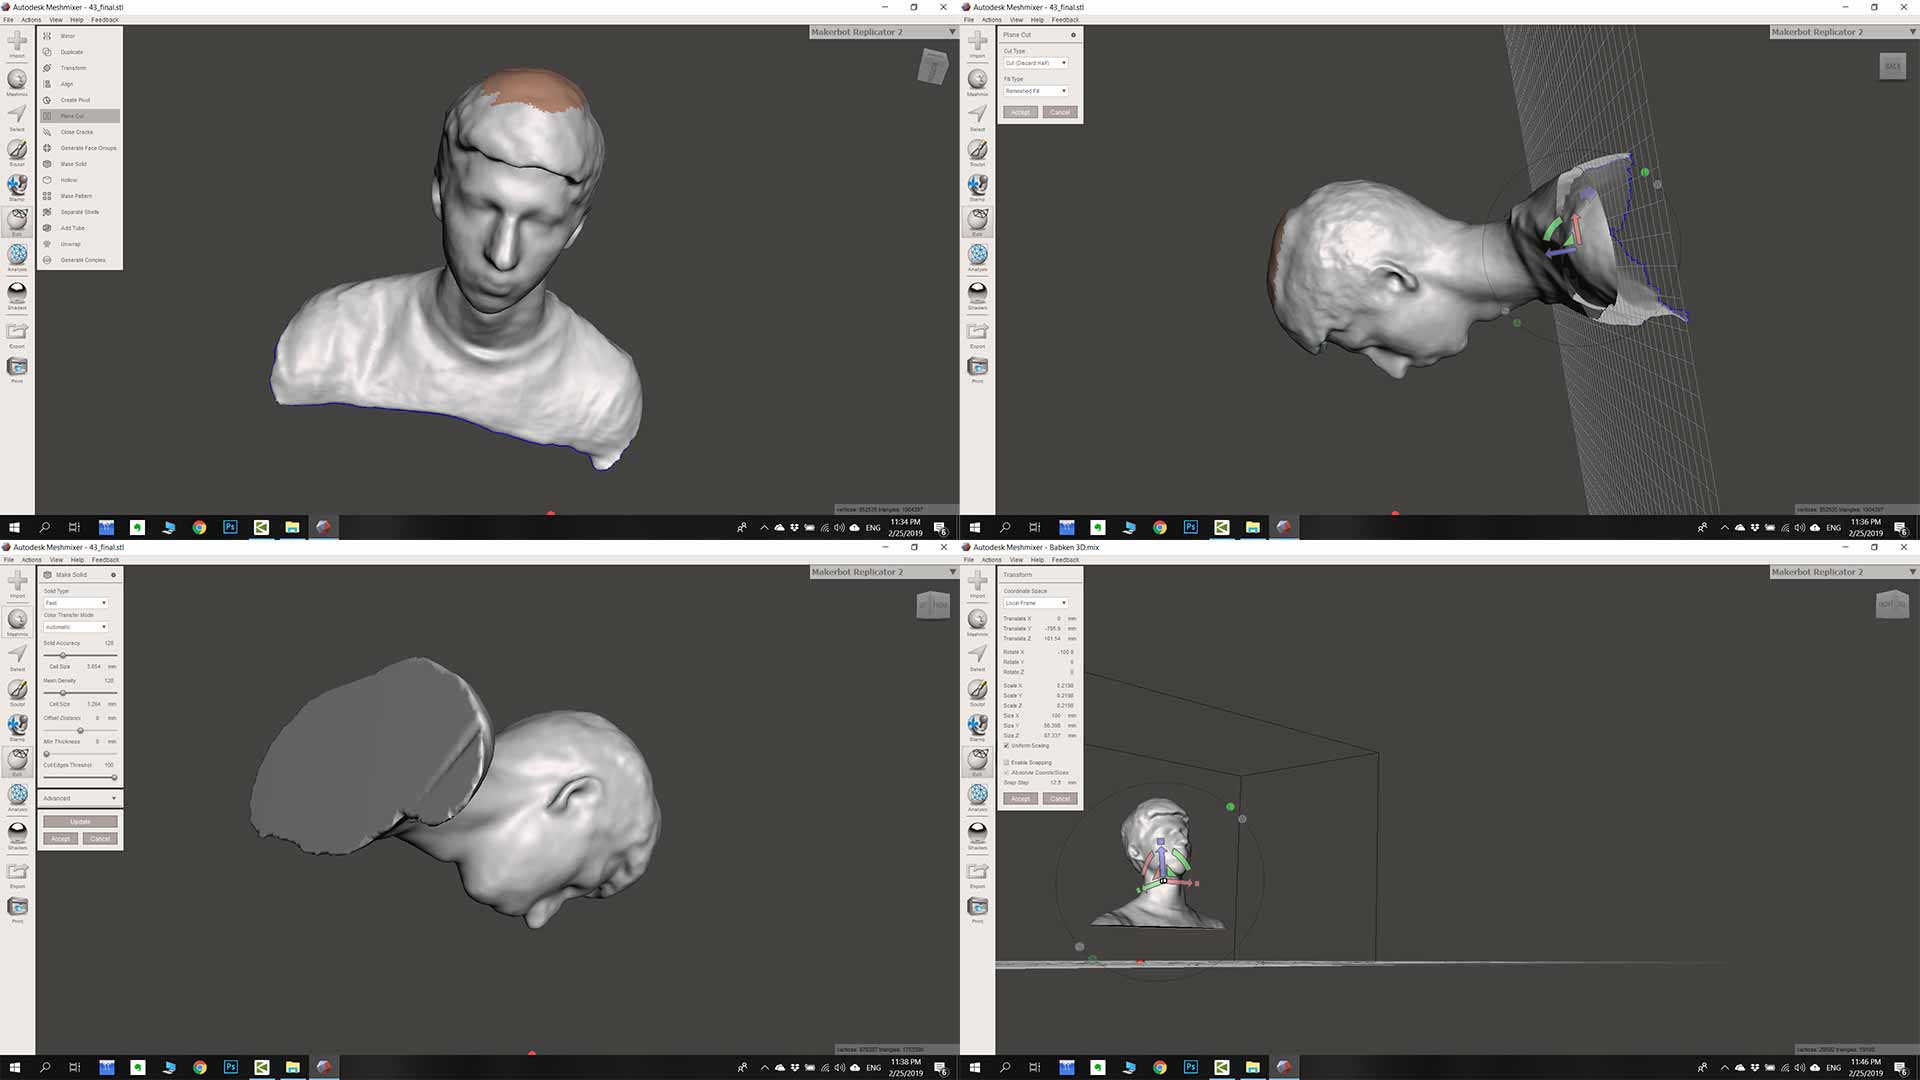
Step 3.6) Export the final model in to .stl or .obj file format (we used .stl file format ).
Step 4 ) 3D Printing
Step 4.1) Open the 3d model in printing software in my case it is “Makerbot Print” because Makerbot printers only supports Makerbot printers file format .
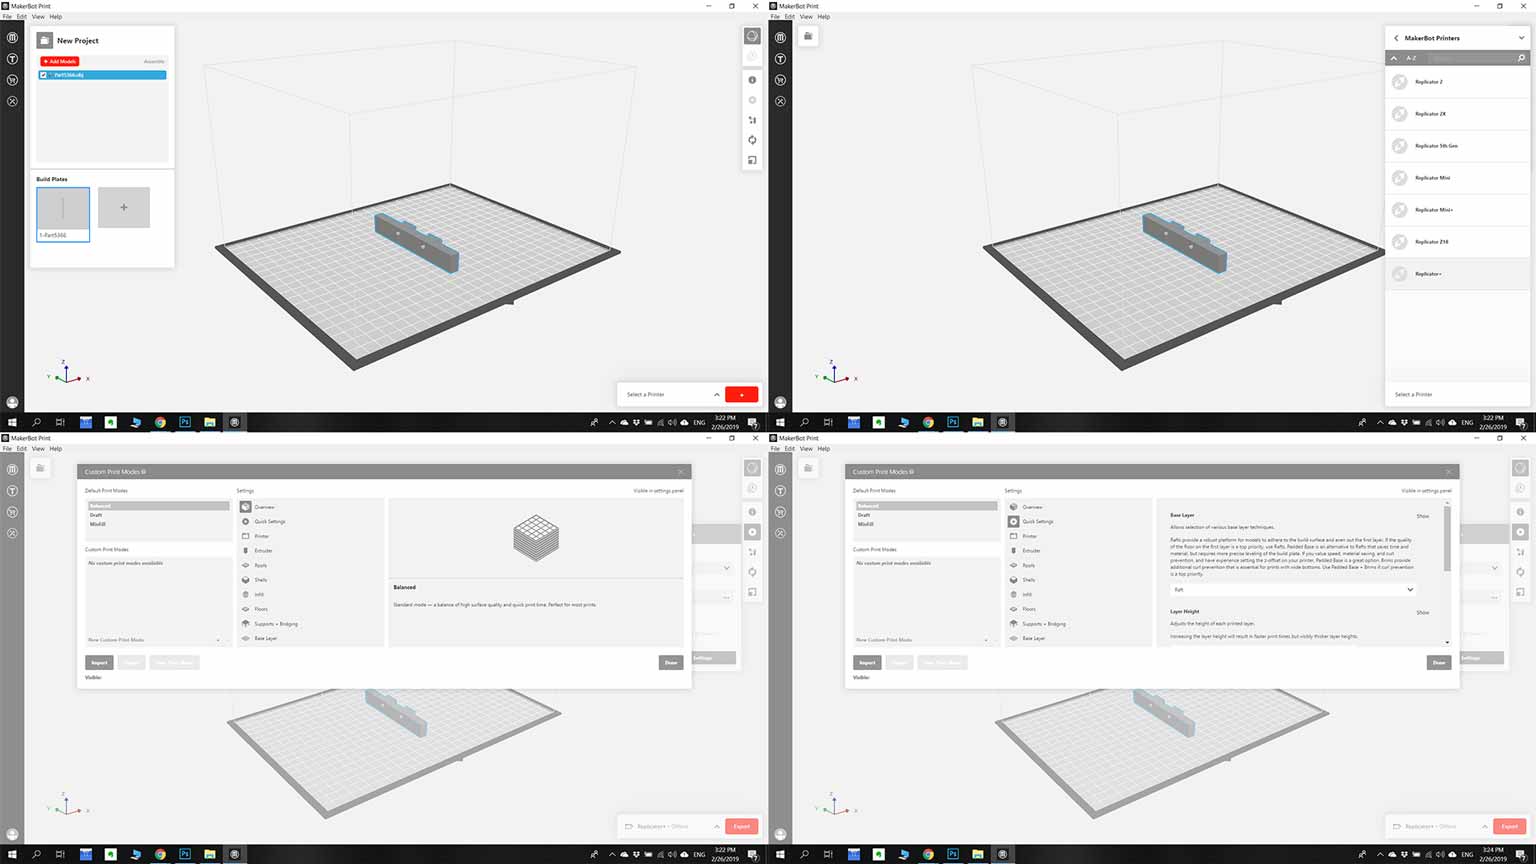
Step 4.2) Adjust the parameters like
- Base Layer (recommended Raft)
- Layer Height (0.1 or 0.2 mm)
- Infill Density(10 -30%)
- Number of Shells(2 shells recommended)

Step 4.3) Generate the code and make sure everything is ok with your model .
Step 4.4) Export .
Step 4.5) Save it on USB , or connect printer to your computer and save the model in internal storage of your printer(if your printer has , if it doesn’t have , leave USB or computer until it finish ) and press print .
Step 4.6) Remove your model , (look at Step 1.4) .