#Week 03 / Computer-Aided Design
Assignment and learning outcomes.
What is this week assignment?
For this week we must model a possible final project, and post it on our class page using
Tools. Mostly we must try to make a 3D model of our final project using 3D modeling tools. Model experimental objects/part of a possible project in 2D and 3D software and show how I did it with words/images/screenshots, also included my original design files.
What I gonna do this week?
As my final project is Wireless charging desk, I will try to model every part of my wireless charging desk and after assembling it as one part.
How I gonna do this week assignment?
First of all, understand the size of my wireless charging desk, and which parts it is consist off. Create the parts as separate 3D models using AutoDesk Inventor Pro - Standart millimeter .ipt.
What is the learning outcomes for this week?
Learning outcomes for this week are to evaluate and select 2D and 3D software. Also, demonstrate and describe processes used in modeling with 2D and 3D software.
Which tools and materials I will use for this week?
First, of all I what to try out different tools and choose 2D raster tool, 2D raster tool, and 3D modeling tool. I what to try out GIMP, Photoshop, Adobe Illustrator, Coral Drow, Fusion 360, Autodesk Inventor Pro 2019.
Which step am I gonna follow?
Setp1)Trying out different programs.
Step2)Model my possible final project.
Trying out different programs
Step 1) Choosing 2D raster design tool .
GIMP
GIMP is a GNU image manipulation program .It is very easy to use , and also it has a lot of tools that might be useful for creating logos ,changing images and other .You can download it on any OS, also it's available on Linux store .This program allows to create different layers of the picture and work on it . For studying I whatched some tutorials .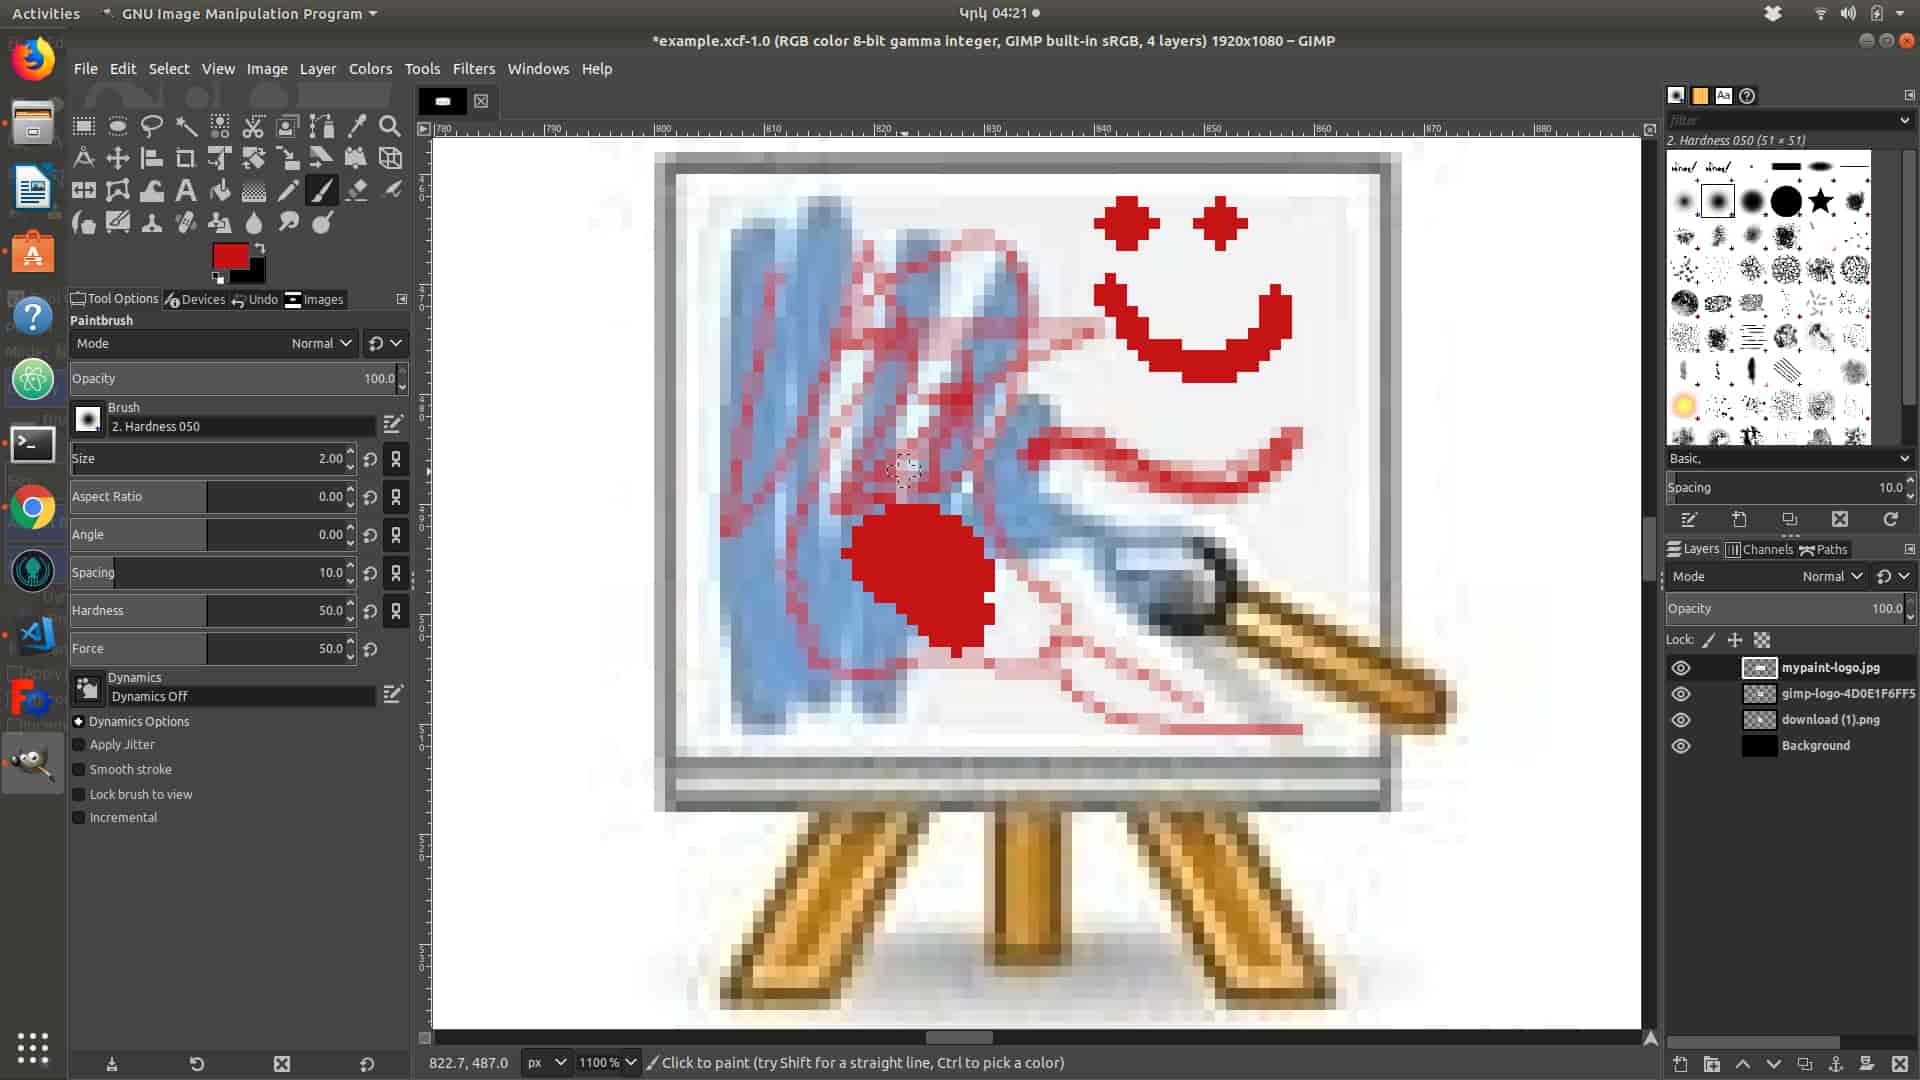
Most used Commands .
Ctrl + NorFile -> New- for creating new image.File -> Save as -> .xcf- save your document as .xcf format , it allows to make changes on picture .File -> export -> .Png ,.jpg ,.gifyou can export in any format .Drag-and-drop-import image .Ctrl + L-it shows layers.image-> canvas size-> change your ...it allows to change size of a layers.Ctrl+Z-Cut out .
Most used Tools .
Bucket Fill tool-You can fill any color ,on any layer .Pencil tool-You can Paint your picture pixel by pixel , useing any color.Paint brush tool-The same as Pencil tool , but you can adjust hardness of paint .Text tool-For writing some text .Filters -> light and Shadow ->-Drop Shadow-It creates Shadow .Scale tool-You can change image size .Rotate tool-You can Rotate , change angle of the image .Rectangle scale tool-Creates rectangle .Ellipse scale tool-Creates ellipse .Move tool-For moveing layers .Gradient tool-You can fill the layer with different colors (background layer).Free scale tool-For cuting parts .Scissors select tool-For cuting parts(by pointing) .For more infoClick here .
Photoshop
Adobe Photoshop is a raster graphics editor developed and published by Adobe Inc. for macOS and Windows.Photoshop can edit and compose raster images in multiple layers and supports masks, alpha compositing and several color models including RGB, CMYK, CIELAB, spot color and duotone. Photoshop uses its own PSD and PSB file formats to support these features.To learn Adobe Photoshop you can watch some tutorials .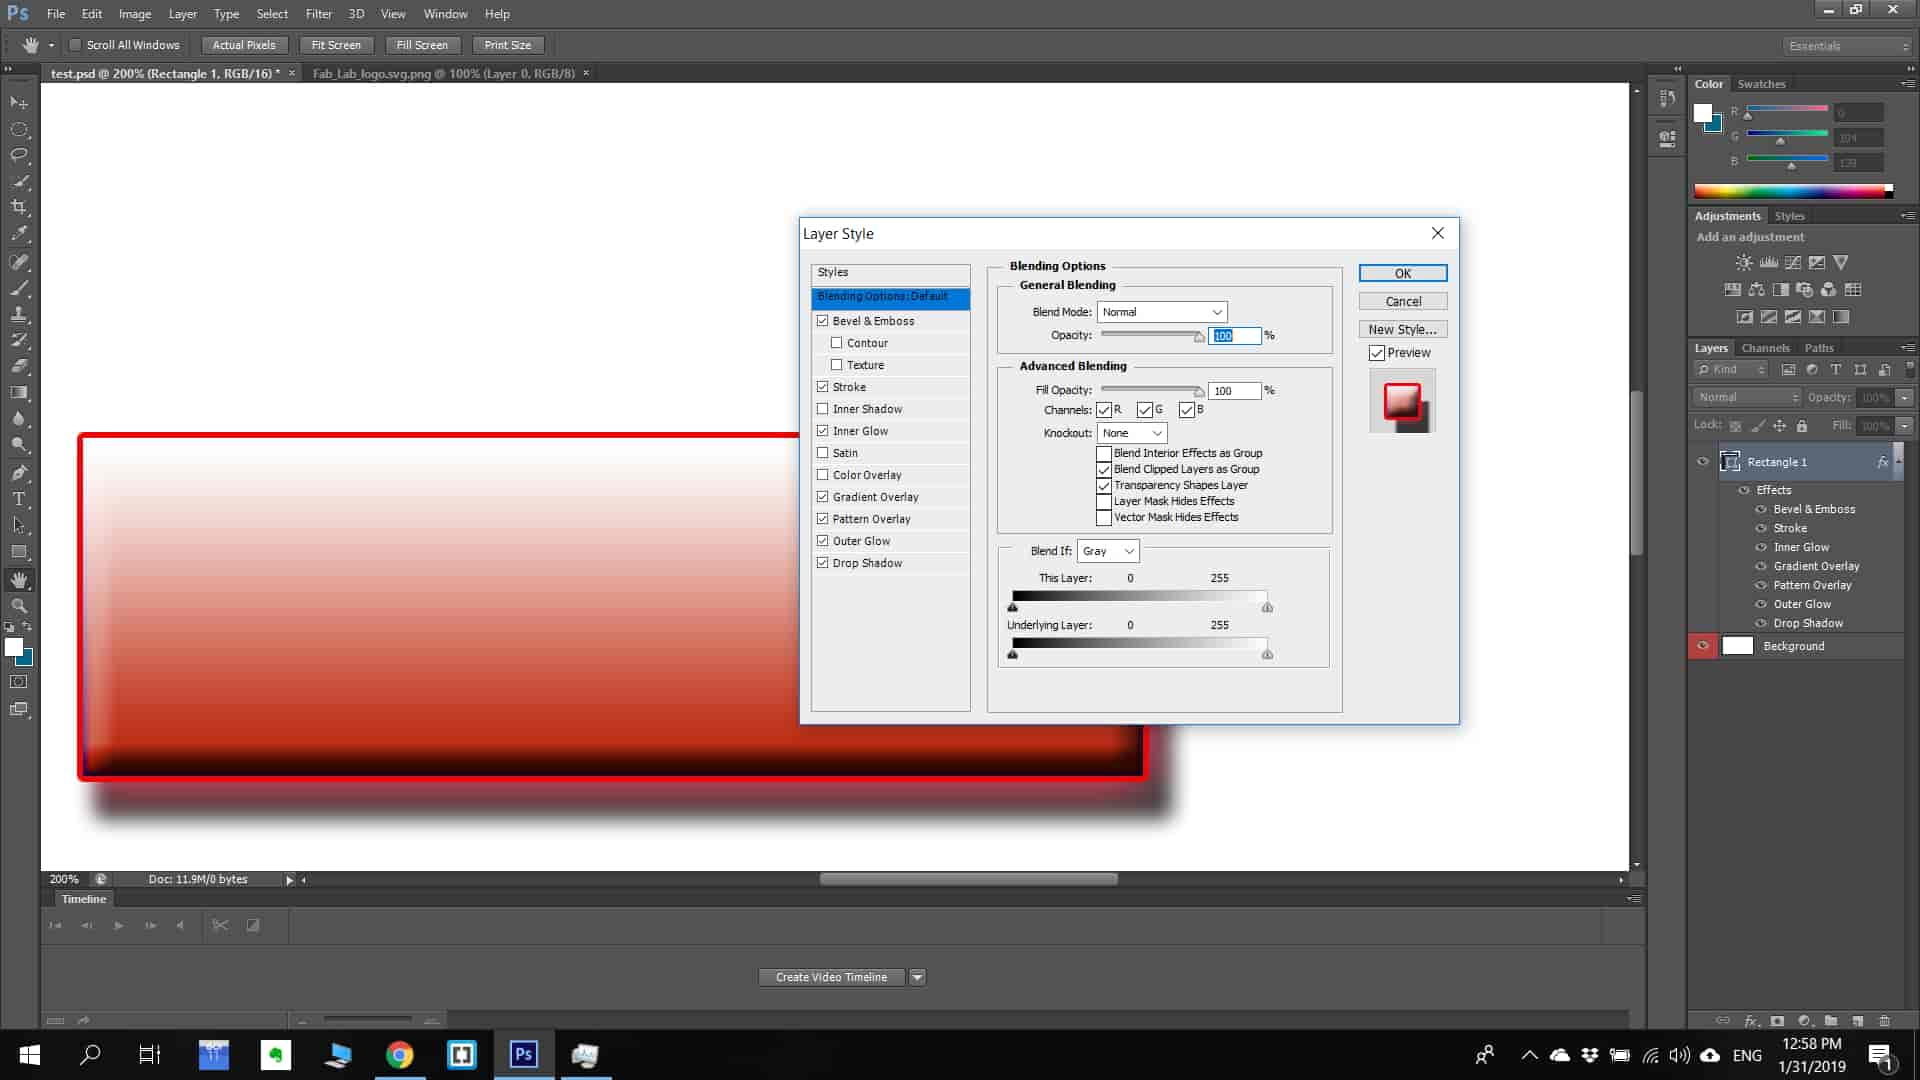
Most used Commands .
ShiftAdd to a selection.Ctrl–Shift–DReselect last selection.TabHide/Show all tools and panels.Ctrl–Shift–NCreate new layer.Alt–click layer mask iconView contents of layer mask.Ctrl–TabSwitch between open documents.For more infoClick here .
Most used Tools .
Pen tool-The pen tool creates precise paths that can be manipulated using anchor points.Clone Stamp Tool-The Clone Stamp tool duplicates one part of an image to another part of the same image by way of a brush.Shape toolsPhotoshop provides an array of shape tools including rectangles, rounded rectangles, ellipses, polygons and lines.Measuring and navigationThe eyedropper tool selects a color from an area of the image that is clicked, and samples it for future use. The hand tool navigates an image by moving it in any direction, and the zoom tool enlarges the part of an image that is clicked on, allowing for a closer view.Selection toolsSelection tools are used to select all or any part of a picture to perform cut, copy, edit, or retouching operations.CroppingThe crop tool can be used to select a particular area of an image and discard the portions outside the chosen section.MarqueeThe marquee is a tool that can make selections that are single row, single column, rectangular and elliptical.LassoThe lasso tool is similar to the "marquee" tool, however, the user can make a custom selection by drawing it freehand.Magic wandThe magic wand tool selects areas based on pixels of similar values.For more infoClick here .
Conclusion.
Both programs are very good. Photoshop has more advanced and professional tools so mostly I will use Photoshop, but sometimes i will use GIMP because it is very easy to use . Why Photoshop ? because I want to learn more advanced tools for further applications .
Step 2) Choosing 2D vector design tool .
Adobe illustrator
Adobe Illustrator is a vector graphics editor .illustrator is a grate tool for designing 2D parts . You can download crack version by looking these tutorial .
Most used Tools .
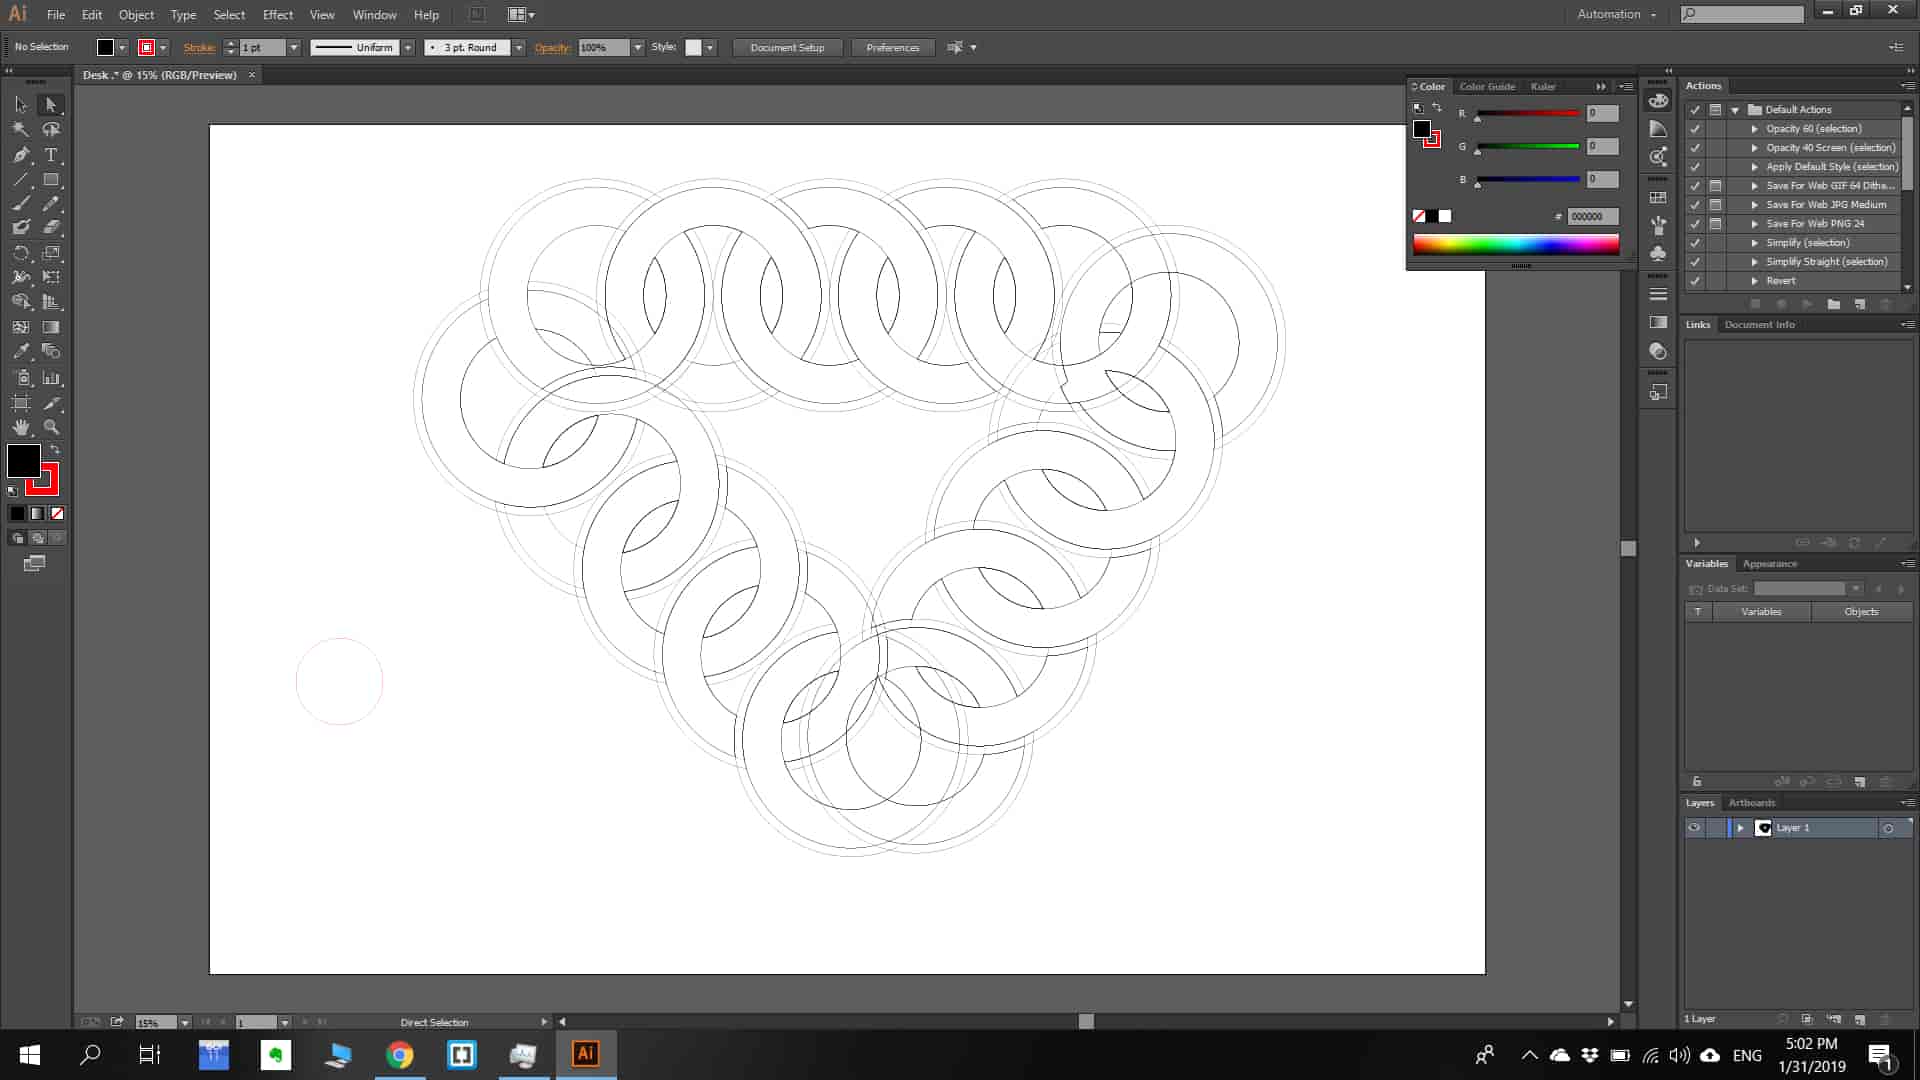
- A sidebar that appears at the left of the screen with a variety of tools to select, create, and manipulate objects or artworks in Illustrator. These tools can be selected as following: drawing, typing, painting, reshaping, slicing and cutting, symbolism, moving and zooming, and graph. Some tools have a small triangle at the bottom right of the toolbox icon. A small triangle has the option to view or expand some hidden tools by hold down the mouse button on the triangle. Some examples of basic tools in illustrator are selection tools, paintbrush tools, pen tools, pencil tools e.g. Selection tools are used to the layout, adjust, and organize the artwork by selecting, positioning, and stacking object accurately. Moreover, selection tools can group, lock or hide, and measure objects.Paintbrush tools can be used to modify the appearance of the artwork. There are different types of brushes: calligraphic, scatter, art, pattern, and bristle. Pen tools create straight and curved lines for the artwork and they can add anchor points to paths and delete from paths. Pencil tools allow the user to draw and edit freehand lines.
Most used Commands .
Ctrl + NCreate a document.Shift + Ctrl + NCreate a document from a template.Ctrl + SSave changes made to the document .Ctrl + ASelect all .Ctrl + =Zoom inCtrl + -Zoom outFor more infoClick here .
Differences
Compatibility with Inkscape: Inkscape's native format is SVG (Scalable Vector Graphics), which is supported by Adobe Illustrator, but the two implementations are not 100% compatible. Inkscape also exports to PS, EPS and PDF, formats which Illustrator can recognize.
Corel draw
CorelDraw is a vector graphics editor .CorelDraw is designed to edit two-dimensional images such as logos and posters. CorelDraw is very good tool for beginners , it is very easy to use and learn .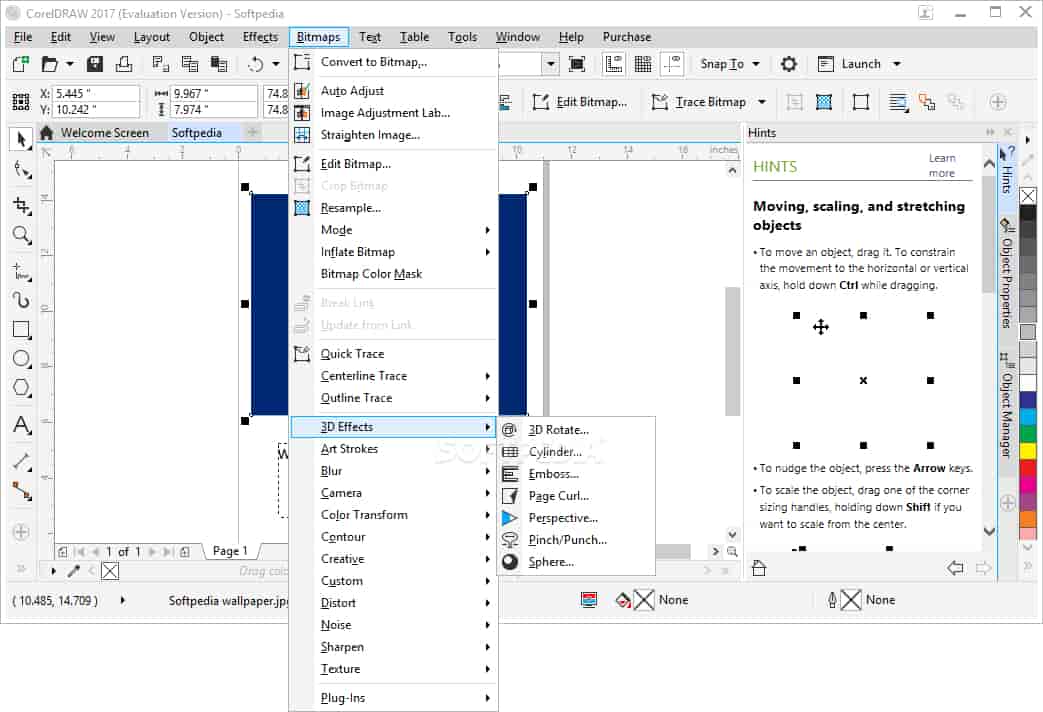
Conclusion
After using both programs I decided to use Coral draw as a main 2D vector design tool , with Coral draw you can sketch 2D details much faster . The reason of that is much easy understandable interface ,but illustrator is more advanced tool it could be helpful in further applications (so main is coral draw , but sometimes I will use illustrator ).
Step 3) Choosing 3D design tool .
Fusion 360
Autodesk Inventor is a computer-aided design application for 3D mechanical design, simulation, visualization, and documentation developed by Autodesk.Inventor allows 2D and 3D data integration in a single environment, creating a virtual representation of the final product that enables users to validate the form, fit, and function of the product before it is ever built. Autodesk Inventor includes powerful parametric, direct edit and freeform modeling tools as well as multi-CAD translation capabilities and in their standard DWG drawings. Inventor uses ShapeManager, Autodesk's proprietary geometric modeling kernel. Autodesk Inventor competes directly with SolidWorks, Solid Edge, and Creo.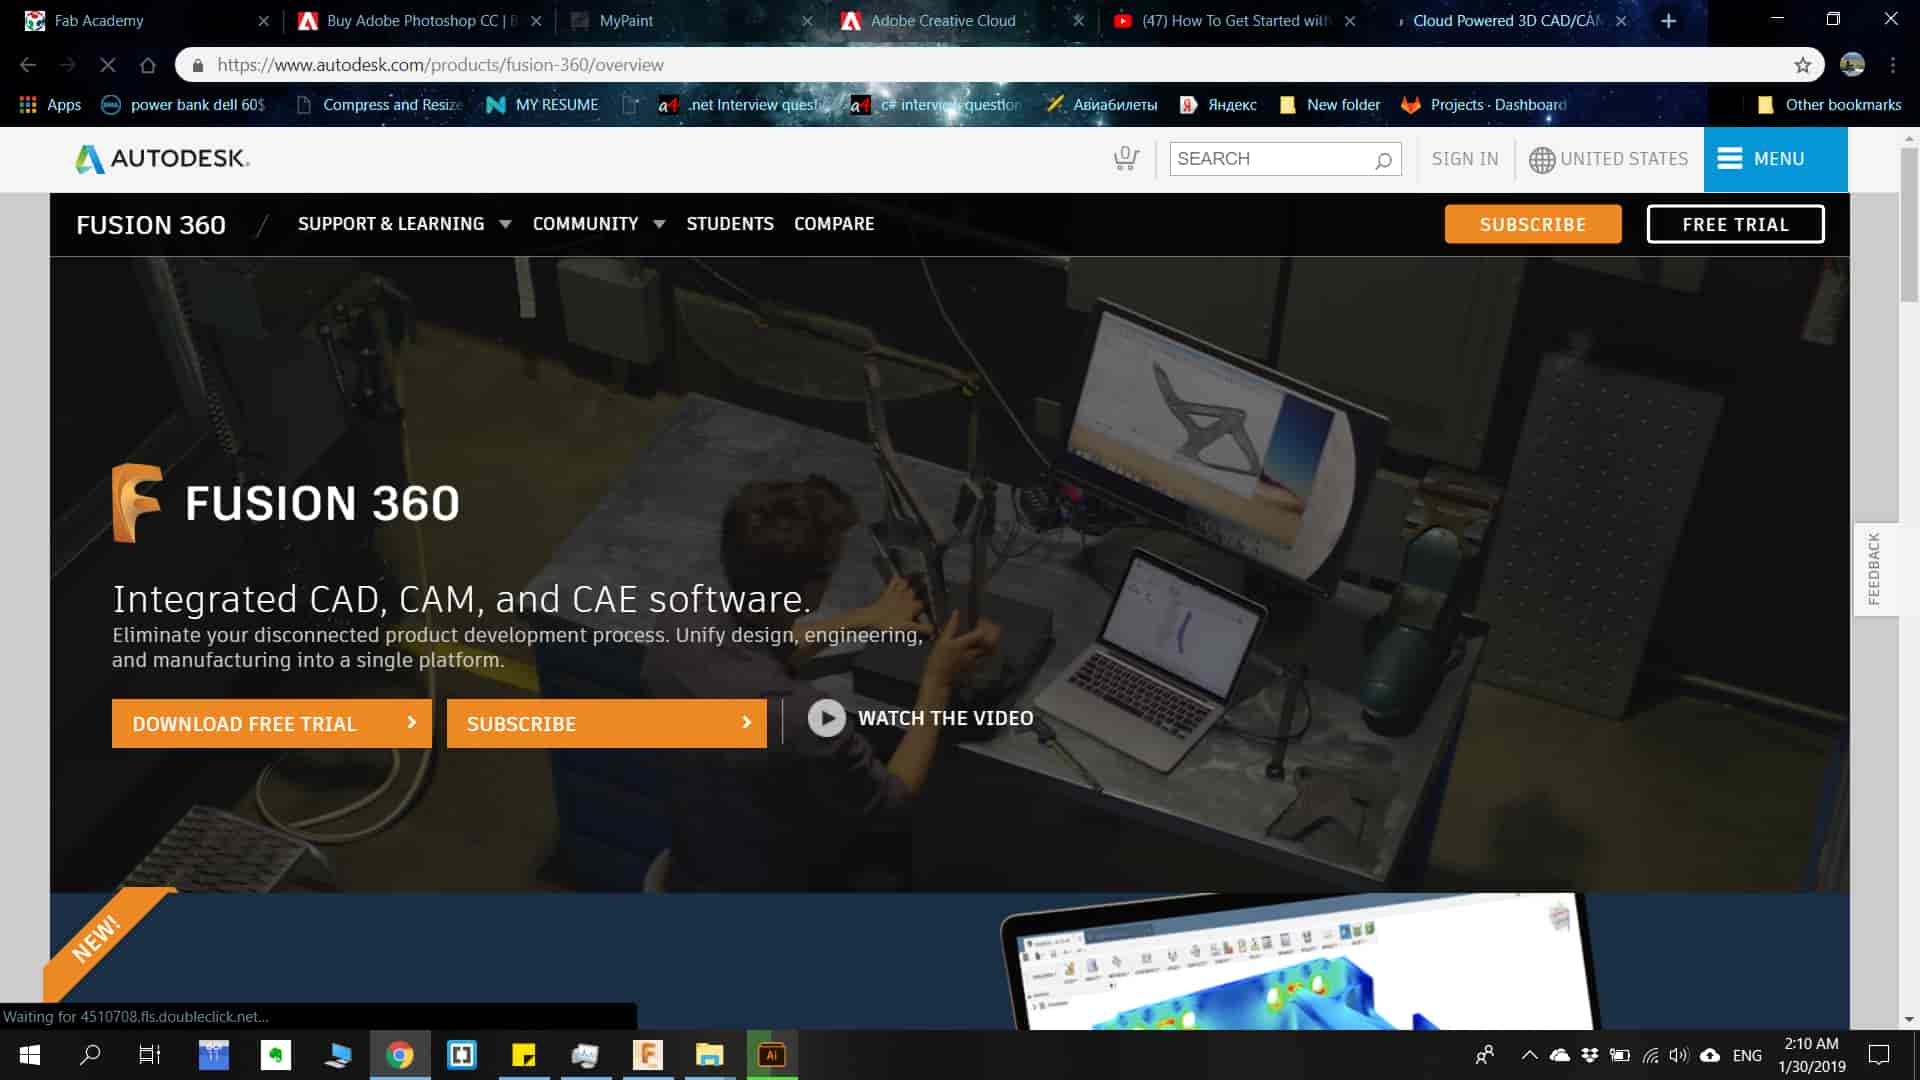
Fusion 360 is very easy to use , but at the same time it has everything to make things done . You can make your 3D models , sketches , animations on it . It is free to download for educational purposes .
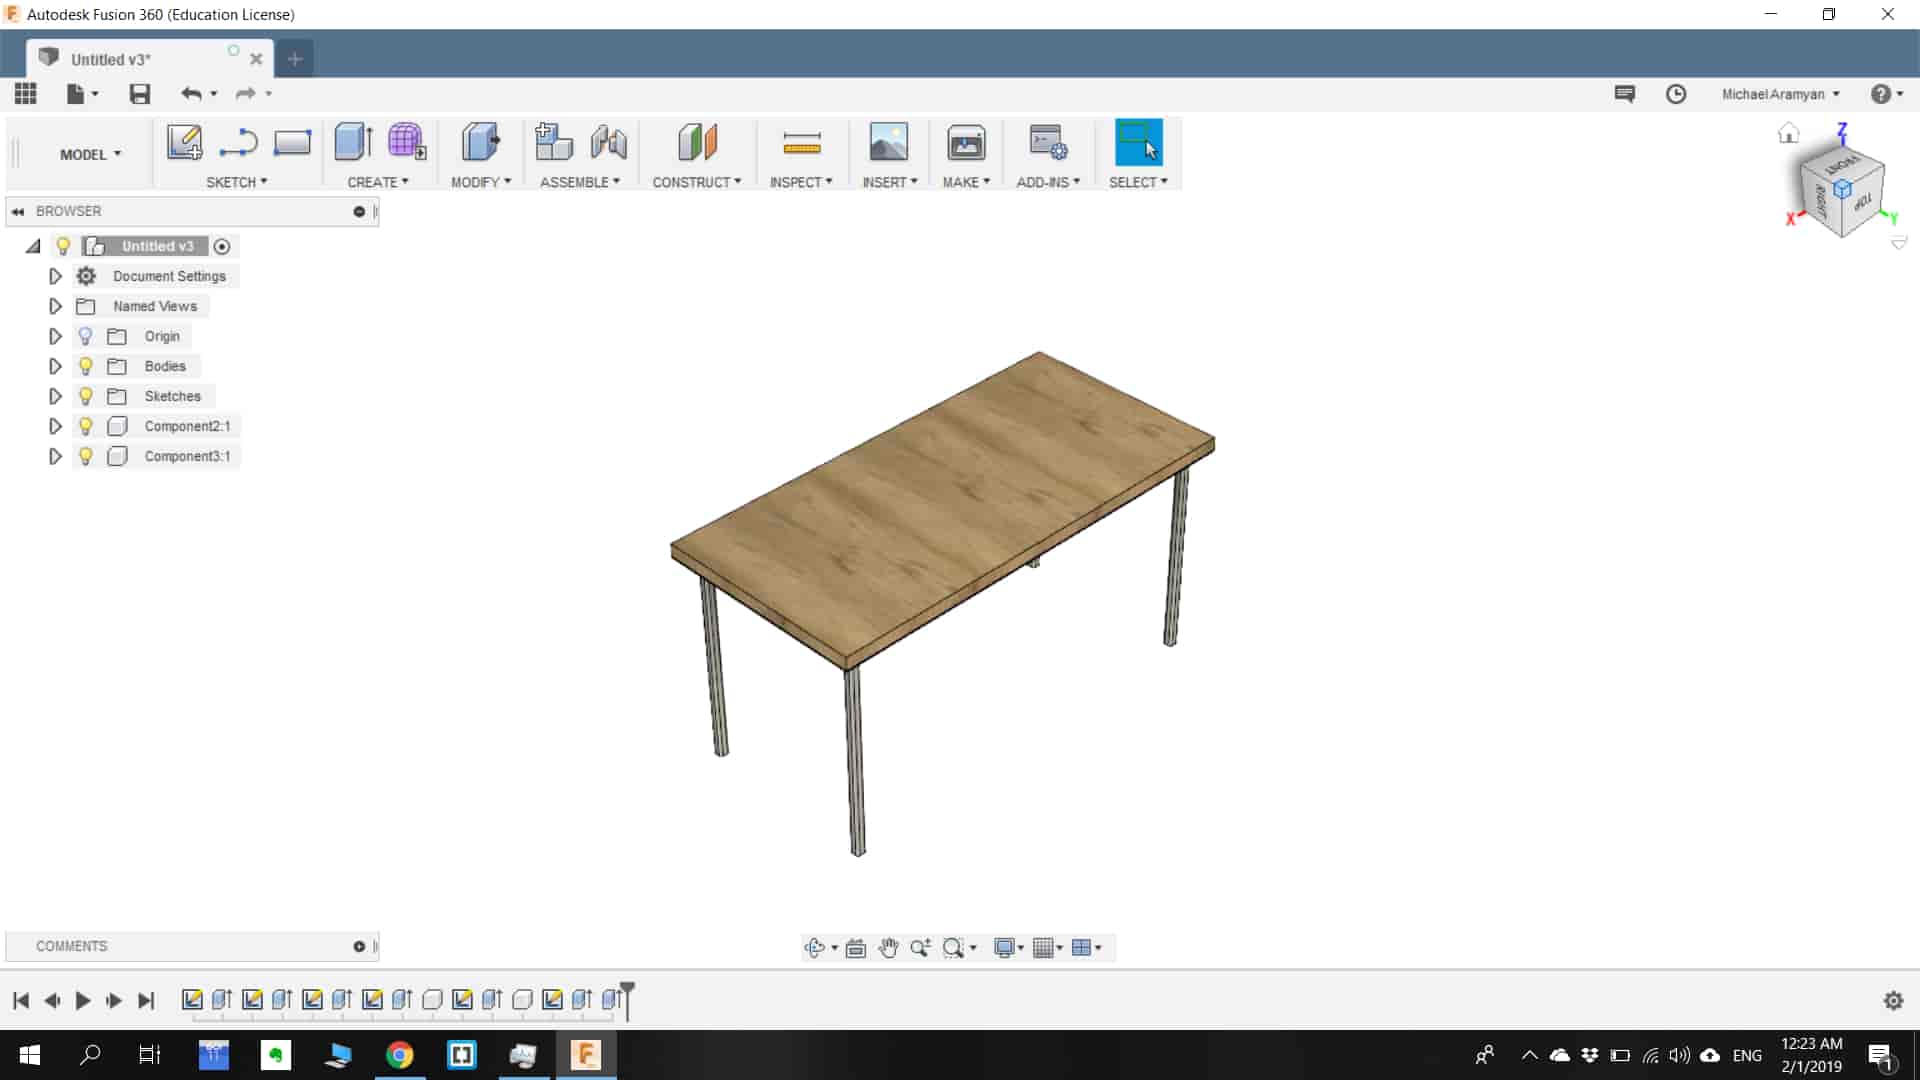
Here I tried to represent 3D model of the desk on Fusion 360 .
Difference between Fusion 360 and Autodesk Inventor Pro 2019 .
Fusion is based on the cloud. Connected with your Autodesk account, all files, models, and projects are stored and saved online. That means you can easily share a model or folder with others, much like with Google Drive. This also means you can work on files on your desktop at home as well as with your laptop on the go. With Inventor, there are definitely some options to export projects, but in a less automatic way. Files are stored on your hard disk, but the advantage here is that you don’t have to rely on an internet connection.
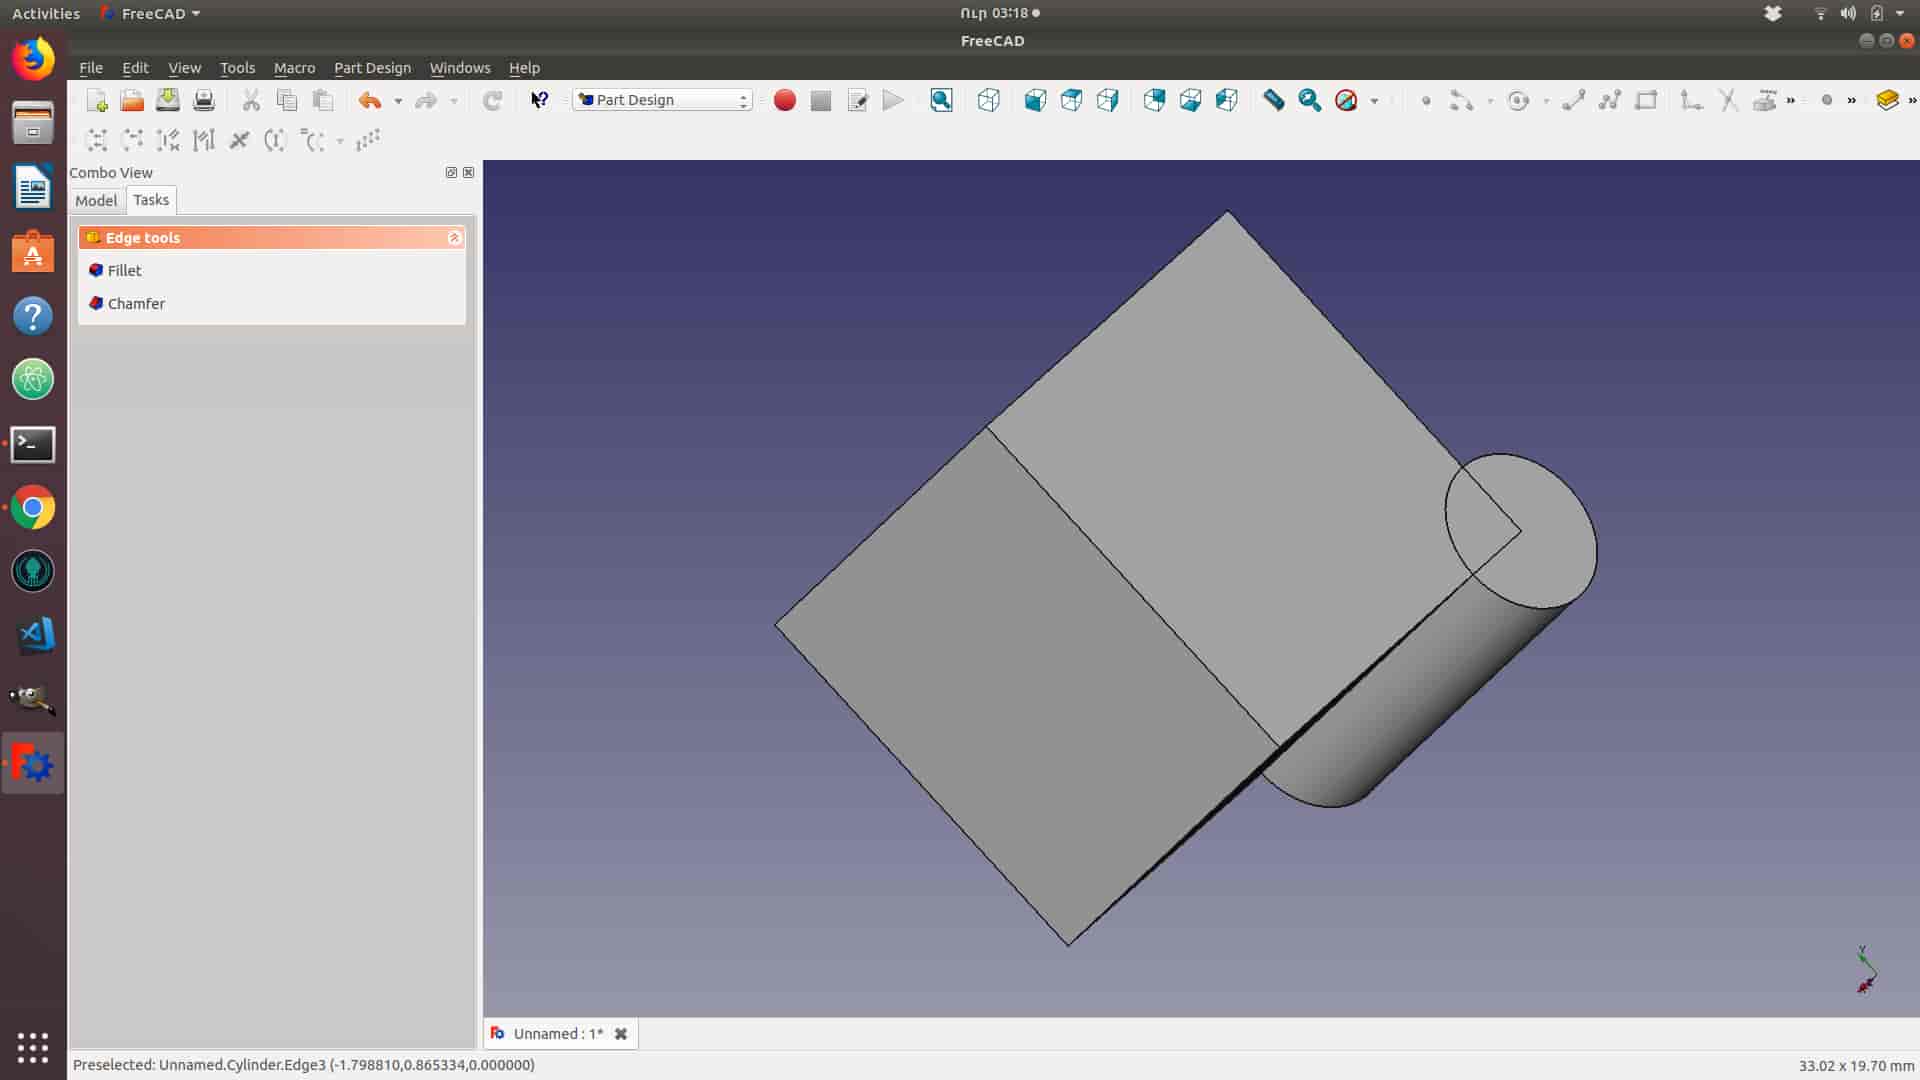
FreeCAD
FreeCAD is an open-source parametric 3D modeler made primarily to design real-life objects of any size. Parametric modeling allows you to easily modify your design by going back into your model history and changing its parameters.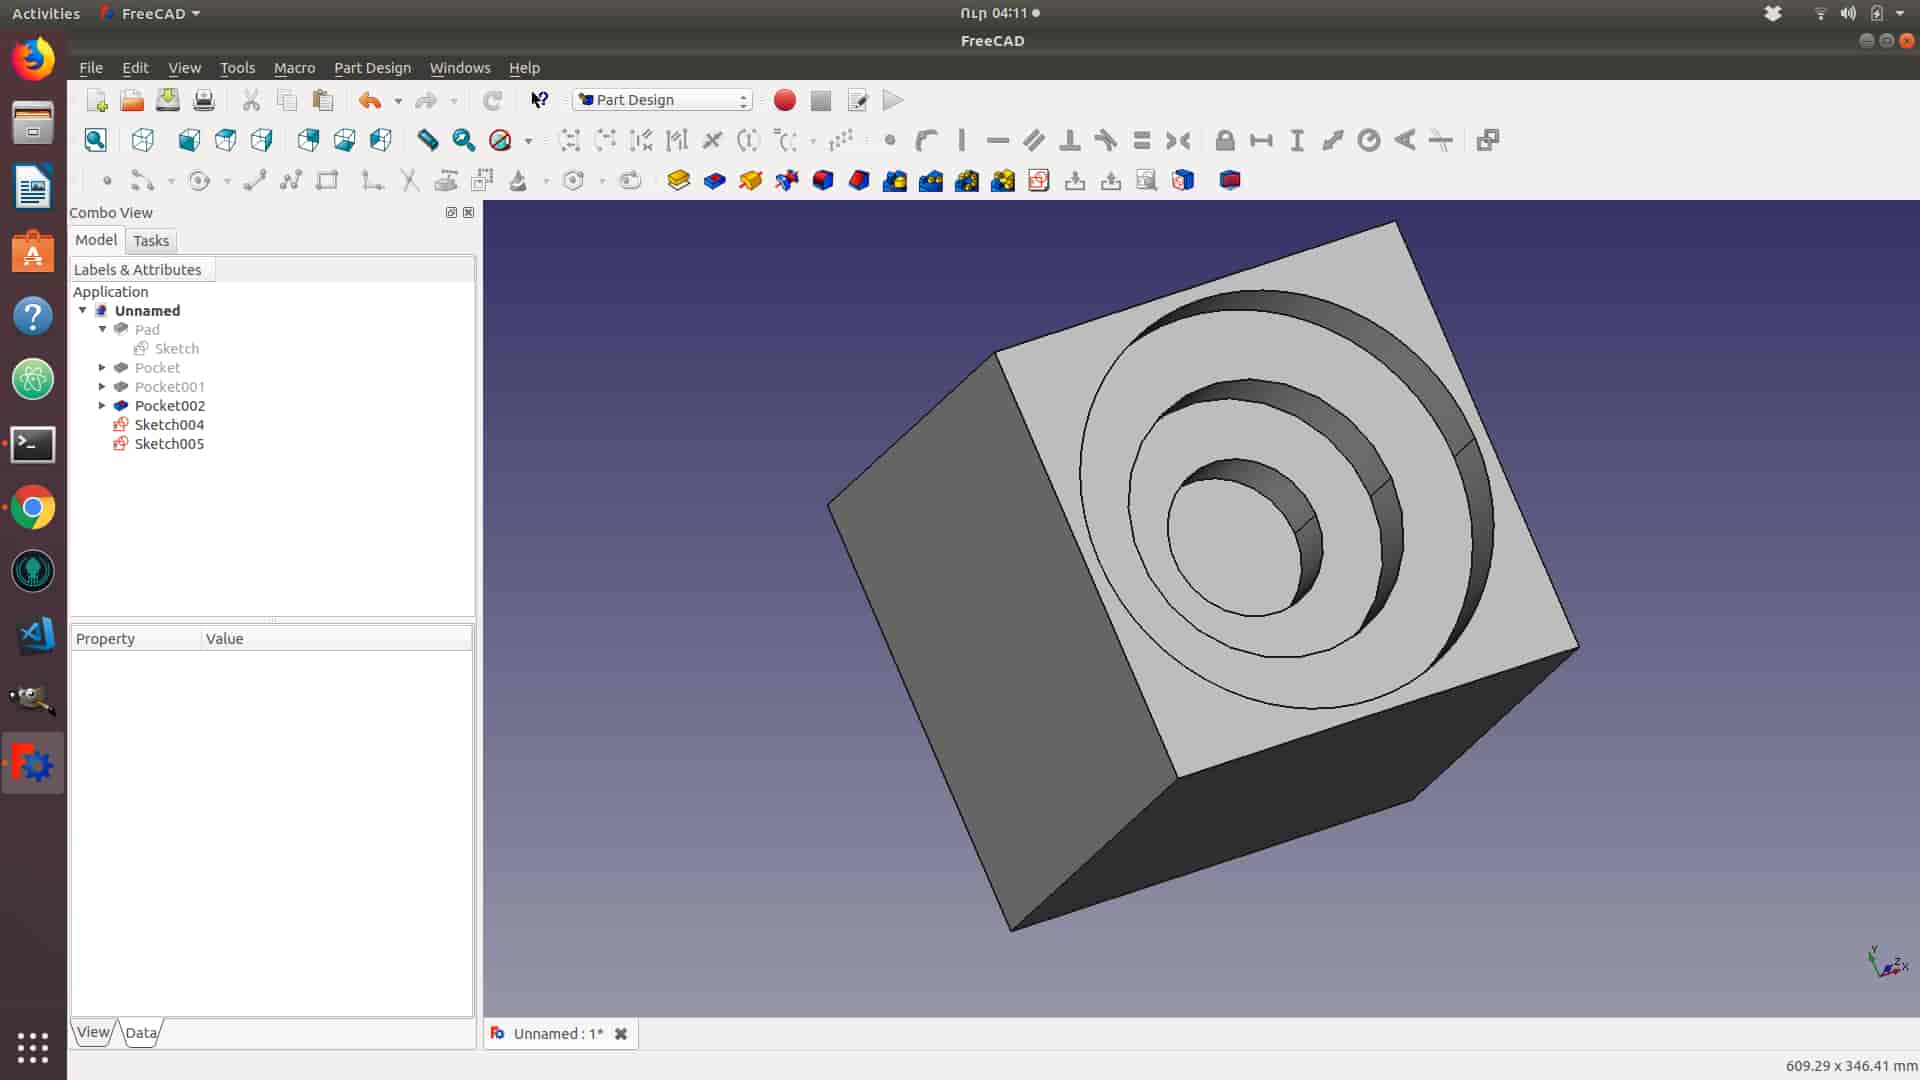
Most used Tools .
Fill the frameDialog to create over multiple edges selected in the viewport the beams of the type of that previously chosen among those present in the model.Reverse orientationool to spin one object around the "X" axis of its shape by 180 degrees.Insert a curveBeside the common widgets with other "Insert..." dialogs, the Trim/Extend button allow to adjust the length of selected pipes to the selected edge of the curve.Insert a pathool to create a continuous DWire over the path defined by the edges selected in the viewport, even if these are not touching or are intersecting in the middle or belongs to different objects.Quick move objectsTo move quickly any part, to access the underlying objects for instance, this tool provides a graphic handle (green arrow) by clicking on which it's possible to displace and rotate the selected objects.Rotate workplaneRotates the WP around one of its axis. Also in this case a green arrow is displayed in the viewport to identify the present orientation of the WP: the arrow is pointed in the Z direction and the long base of the arrow is layed over the X direction.For more infoClick here .
FreeCAD allows you to sketch geometry constrained 2D shapes and use them as a base to build other objects. It contains many components to adjust dimensions or extract design details from 3D models to create high quality production ready drawings.
Autodesk Inventor pro 2019
Inventor is the best option for serious professionals. It’s well-backed by years of experience and use, familiar to the manufacturing world, and a beast by many standards. You really get what you pay for – it can handle complicated and specific details as well as any number of parts you throw at it.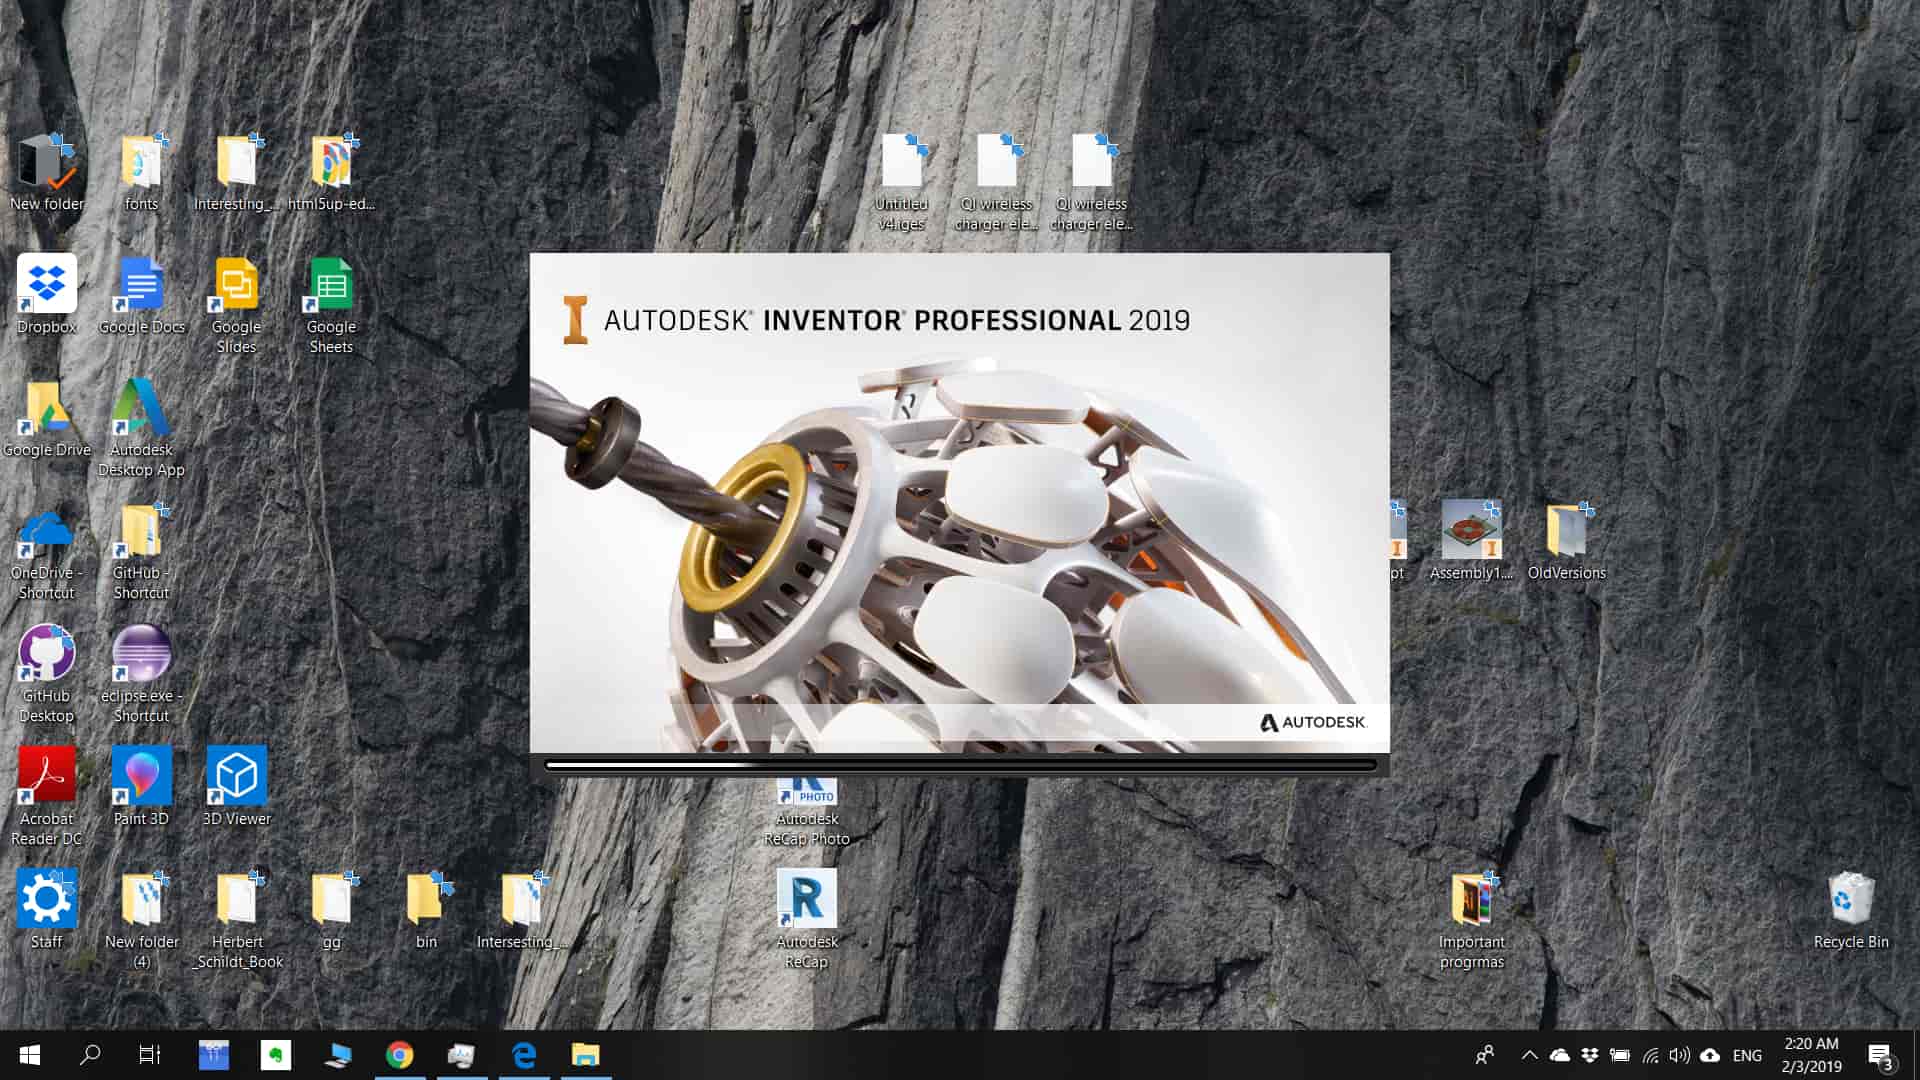
Difference between Fusion 360 and Autodesk Inventor Pro 2019 .
Memory-wise, Inventor soaks up more RAM, recommending 20GB and requiring a minimum of 8GB. Fusion, on the other hand, recommends 4GB. This is mostly because Inventor is built for projects with hundreds or even thousands of parts (for example, a car), which definitely needs a beefier computer.
Conclusion
For 3D modeling I will use Autodesk Inventor Pro 2019 , because it has everything that Fusion 360 has , plus more features .
Modeling
Description of step )
What I have done in this step?
In this step I have created an actual model of my final project “The Wireless Charging desk”.In this step I show how I have created my model in details , how I have created a 3D file , how I created sketch and 3D model using different tools, how I have assembled them together, which problems I got, how I overcame them, and also what I like about my model what I don't like.

How I have done it?
I have used a 3D modeling tool to achieve this, I used Autodesk Inventor pro which is 3D CAD for product design engineering. I used Autodesk tutorial to learn. I have made test parts, only after that, I start to model my object.
How to crate project ?
First of all, you need to create a 3D file, in Autodesk Inventor the 3D model file format is .ipt but you can export it in any file format you what after you finish working on it, in .ipt file format. I am using Standart millimeter .ipt cause I am working in the metric system(but you can choose in inches ). So go to “File >New> Standart Millimeter .ipt”

How to crate 2D skech?
Creatign 3D model starts from 2D skech. Chlick to “Start 2d skech” and choos platform , after chooseing paltoform you can skech using this tools.

Try to sketch symmetrical to an axis, it will help you in future. There are also different types of sub tool for each tool in this list, sometimes it helps you to make it done much faster.
How to Create 3D model?
In Create section you have different kinds of tool to create 3D model form 2D sketch. In general, I use “Extrude” for all parts I used this tool.
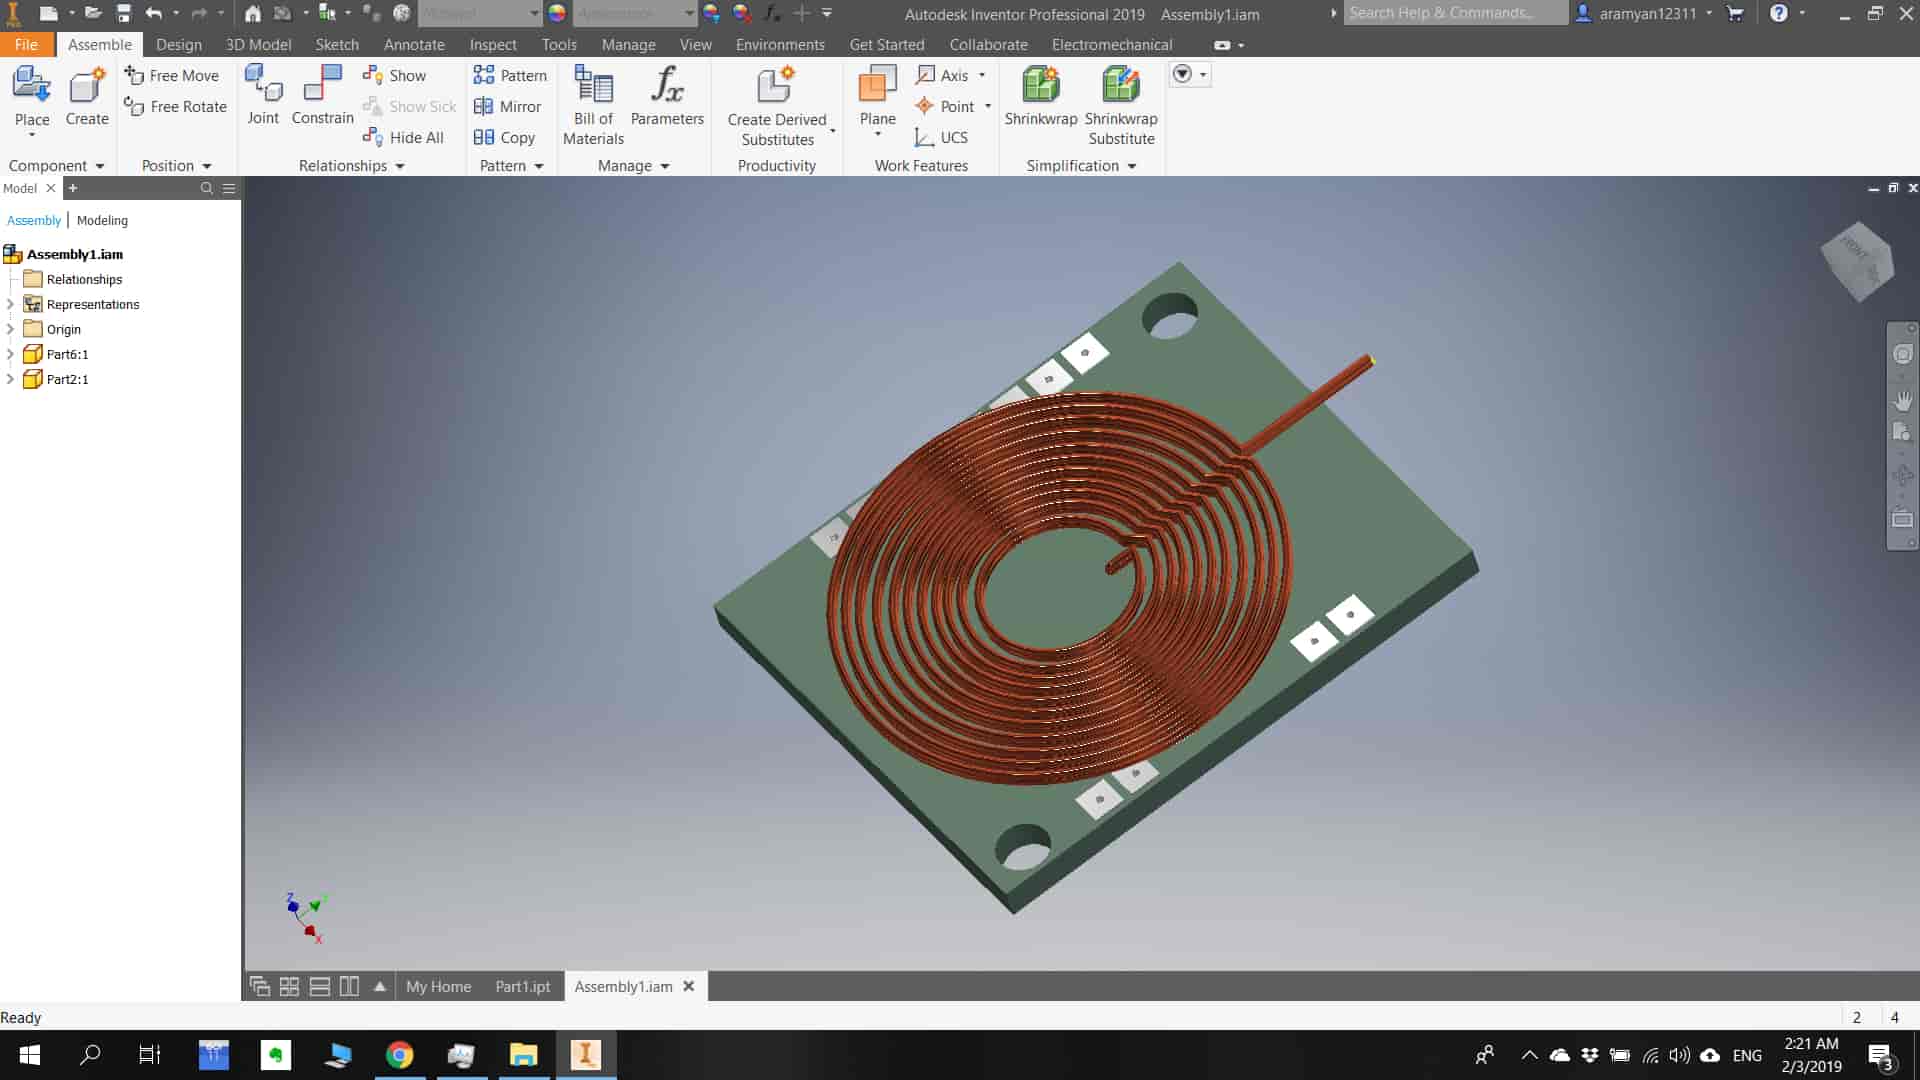
As you can see I have created 4 parts and assembles them together.

How to assemble all parts?
For creating assembly part you need to crate assembly file (go to “File > New > Standart Milimetr .iam ”) .use place function to insert your part. And you and assemble them using “navigation tool “. For Exporting your model go to “File > Export >CAD Format ” choose format and export somewere.

