3d scanning & 3d printing
For this week task, I am going to try photogrammetry and the Matter and Form scanner for scanning. This week example will not be focused on my project because it will not be related.
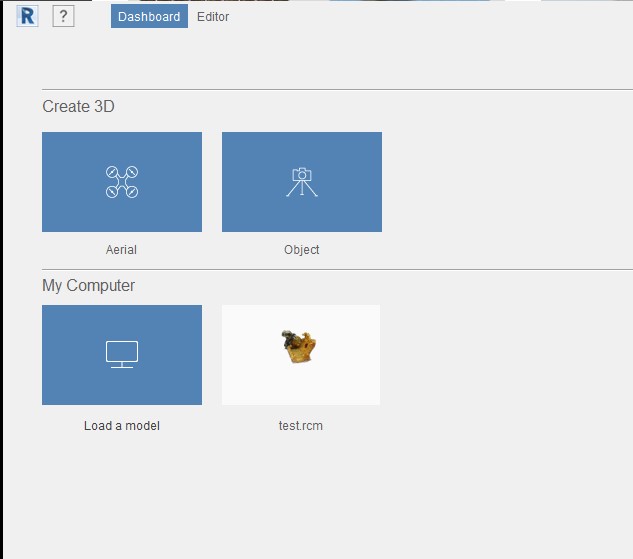
First, the software to be used will be the ReCap Professional from Autodesk, which can be downloaded for with the academic license for 3 years from https://www.autodesk.com/education/free-software/recap-pro
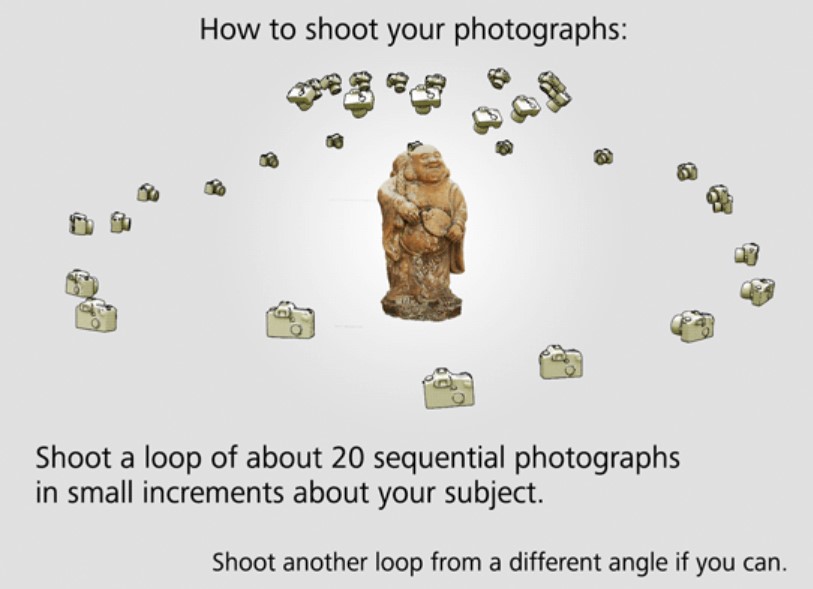
As an example, I will try using a simple object. The idea is to take many pictures from different angles, and the software will create a 3d mesh from this.
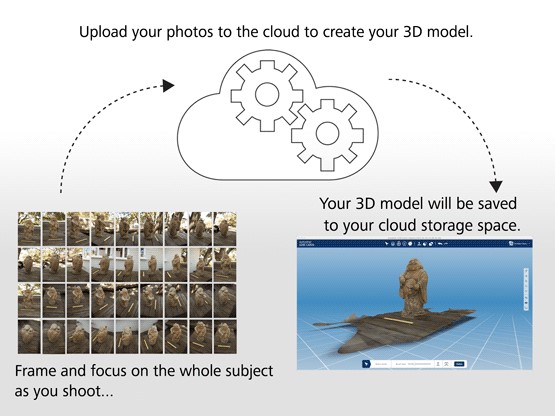
Onces installed, you must sign in to your account and upload all the pictures and wait for the processing to be made in the Cloud.
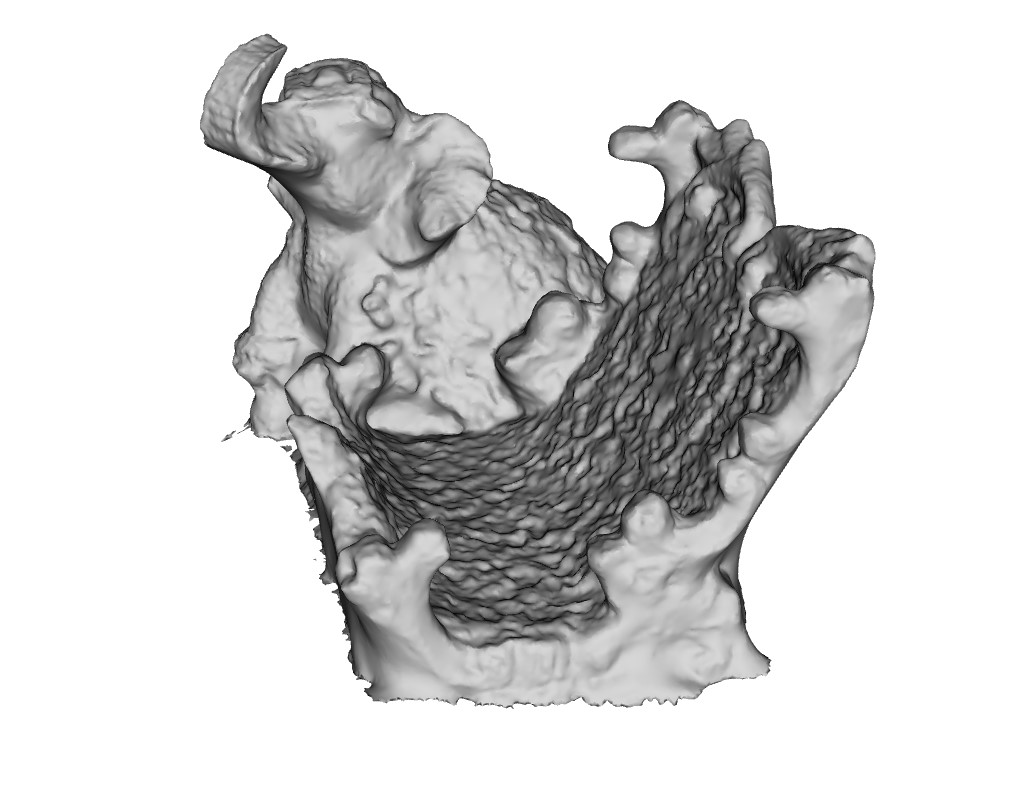
Onces ready, you will be able to visualize the result of your scan.
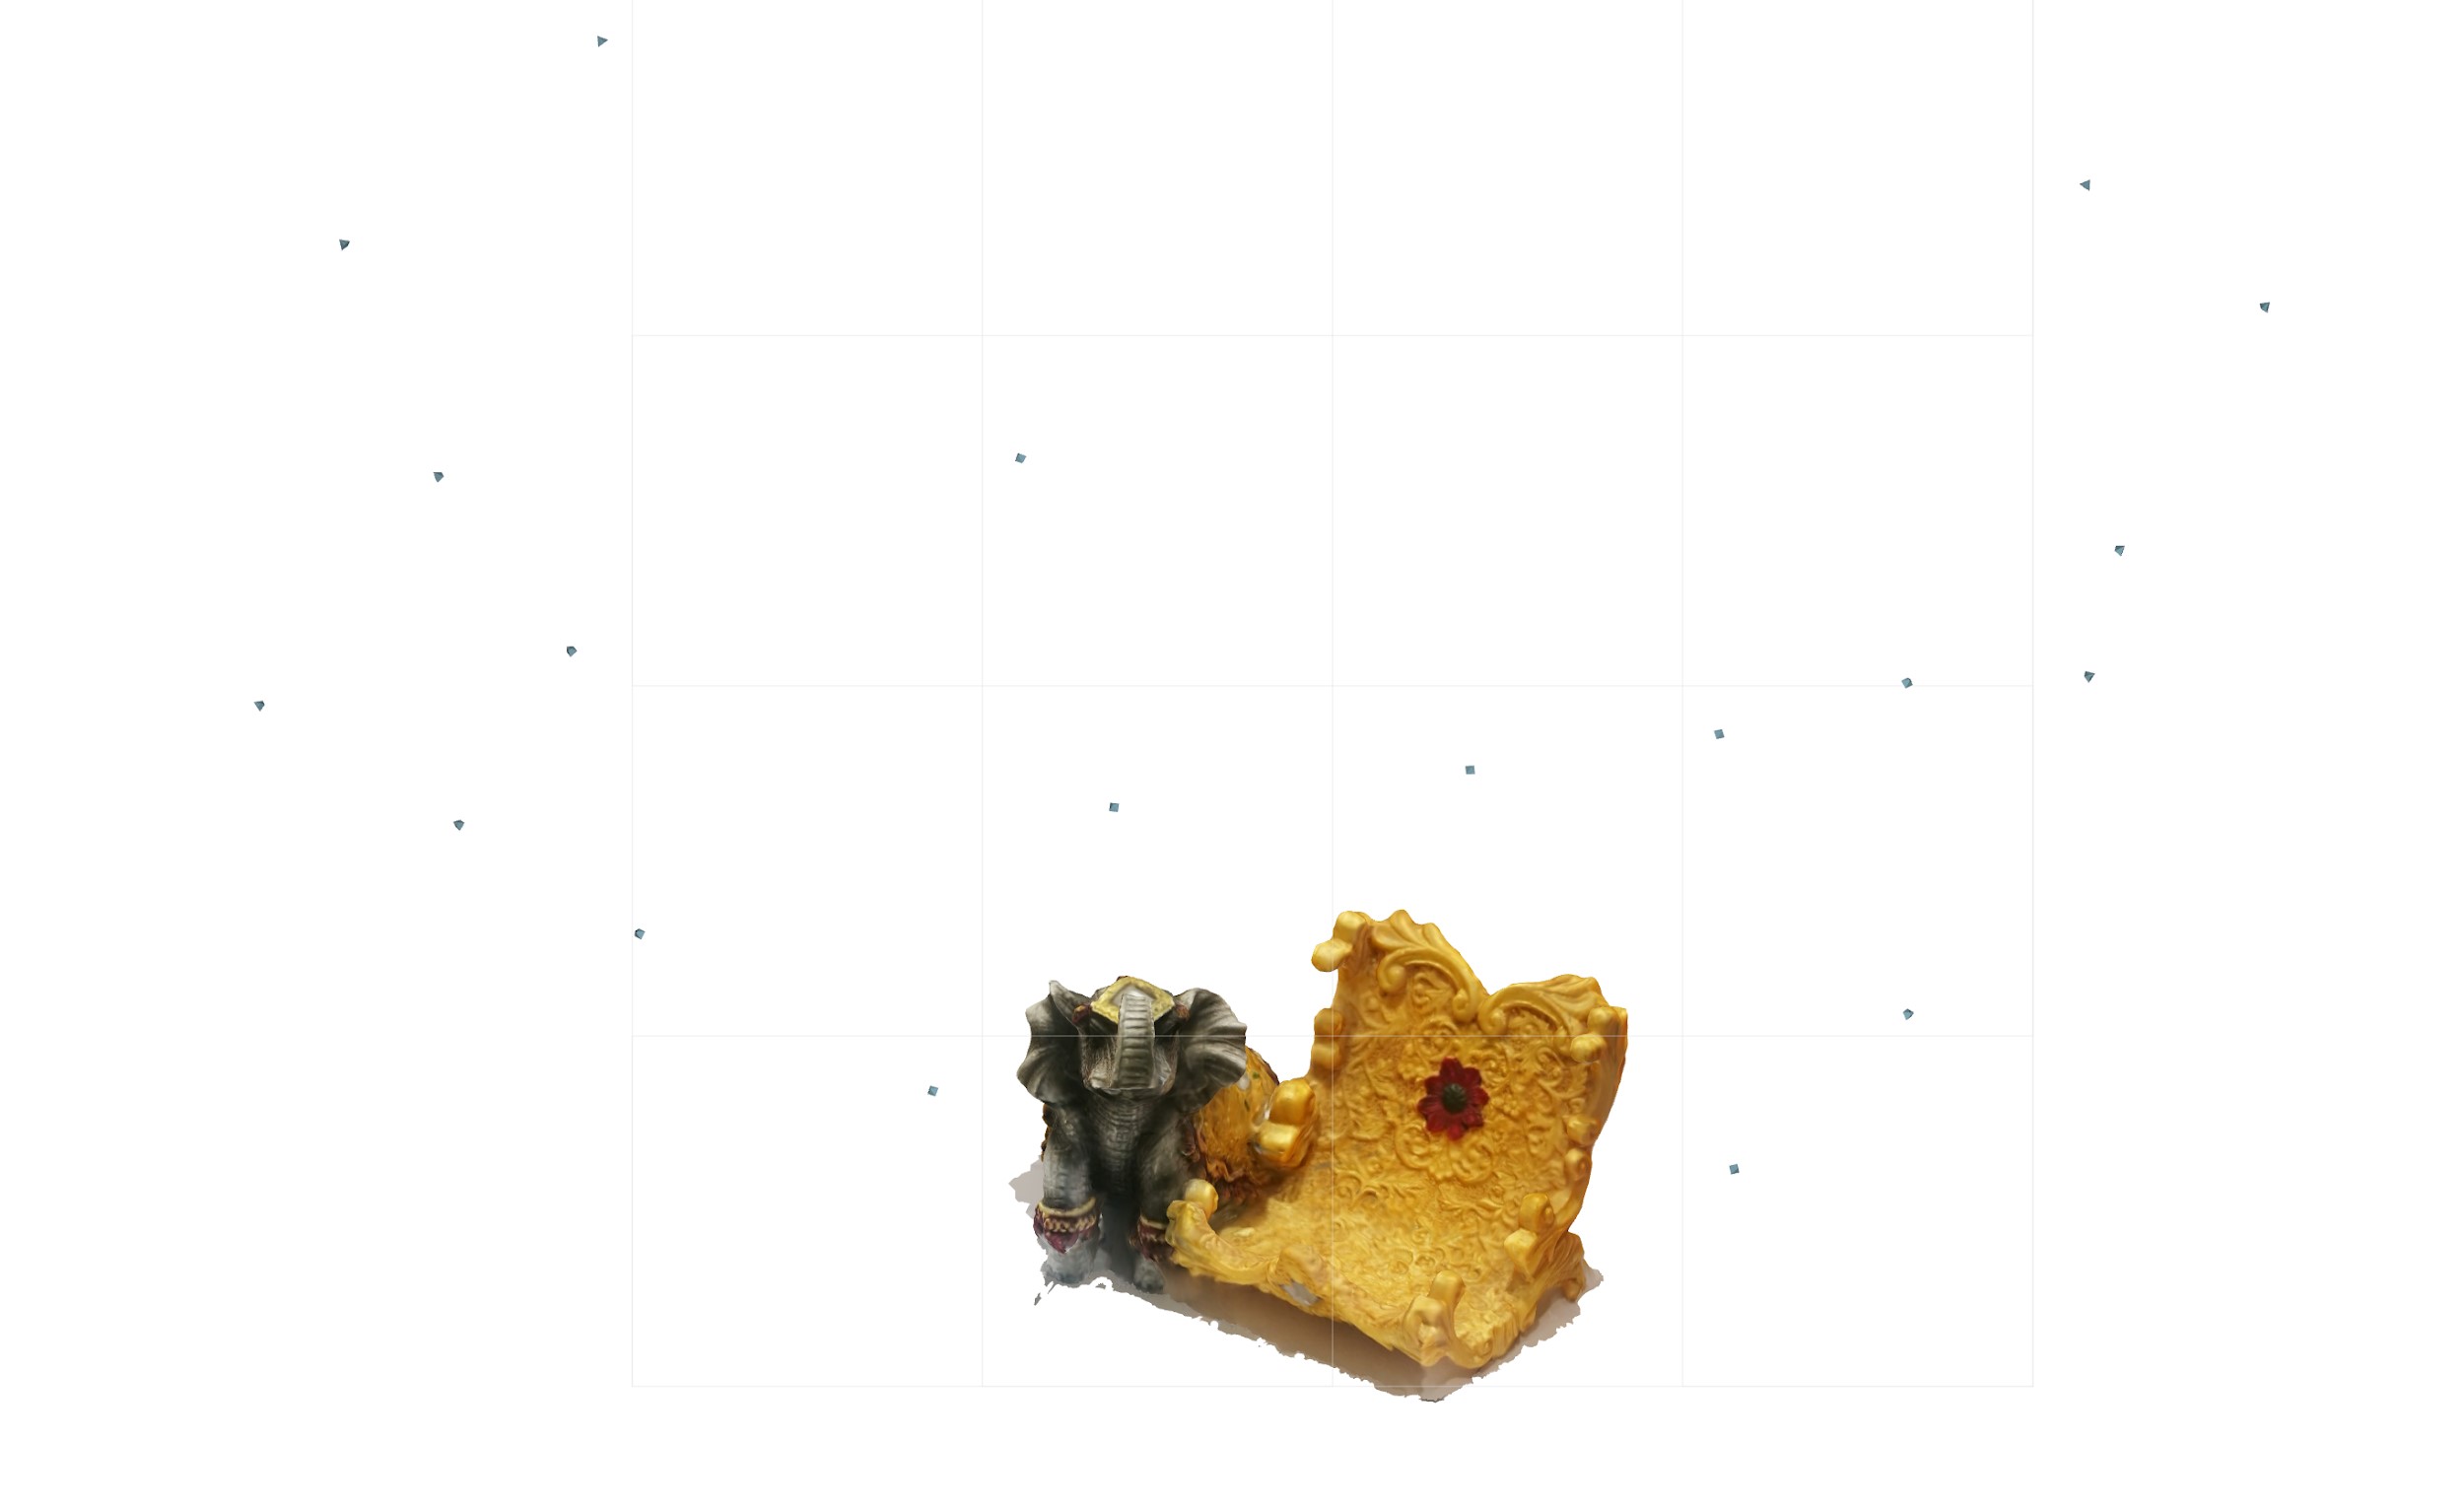
All the small dots represent each of the indivual photos, and how they were organized in space. From here, you can actually edit the result, deleting the extra parts and filling up holes and defects of the scan, and once ready, you can export the stl and try to print.
After exporting the STL, you can open it in any slicer and prepare for 3d printing.
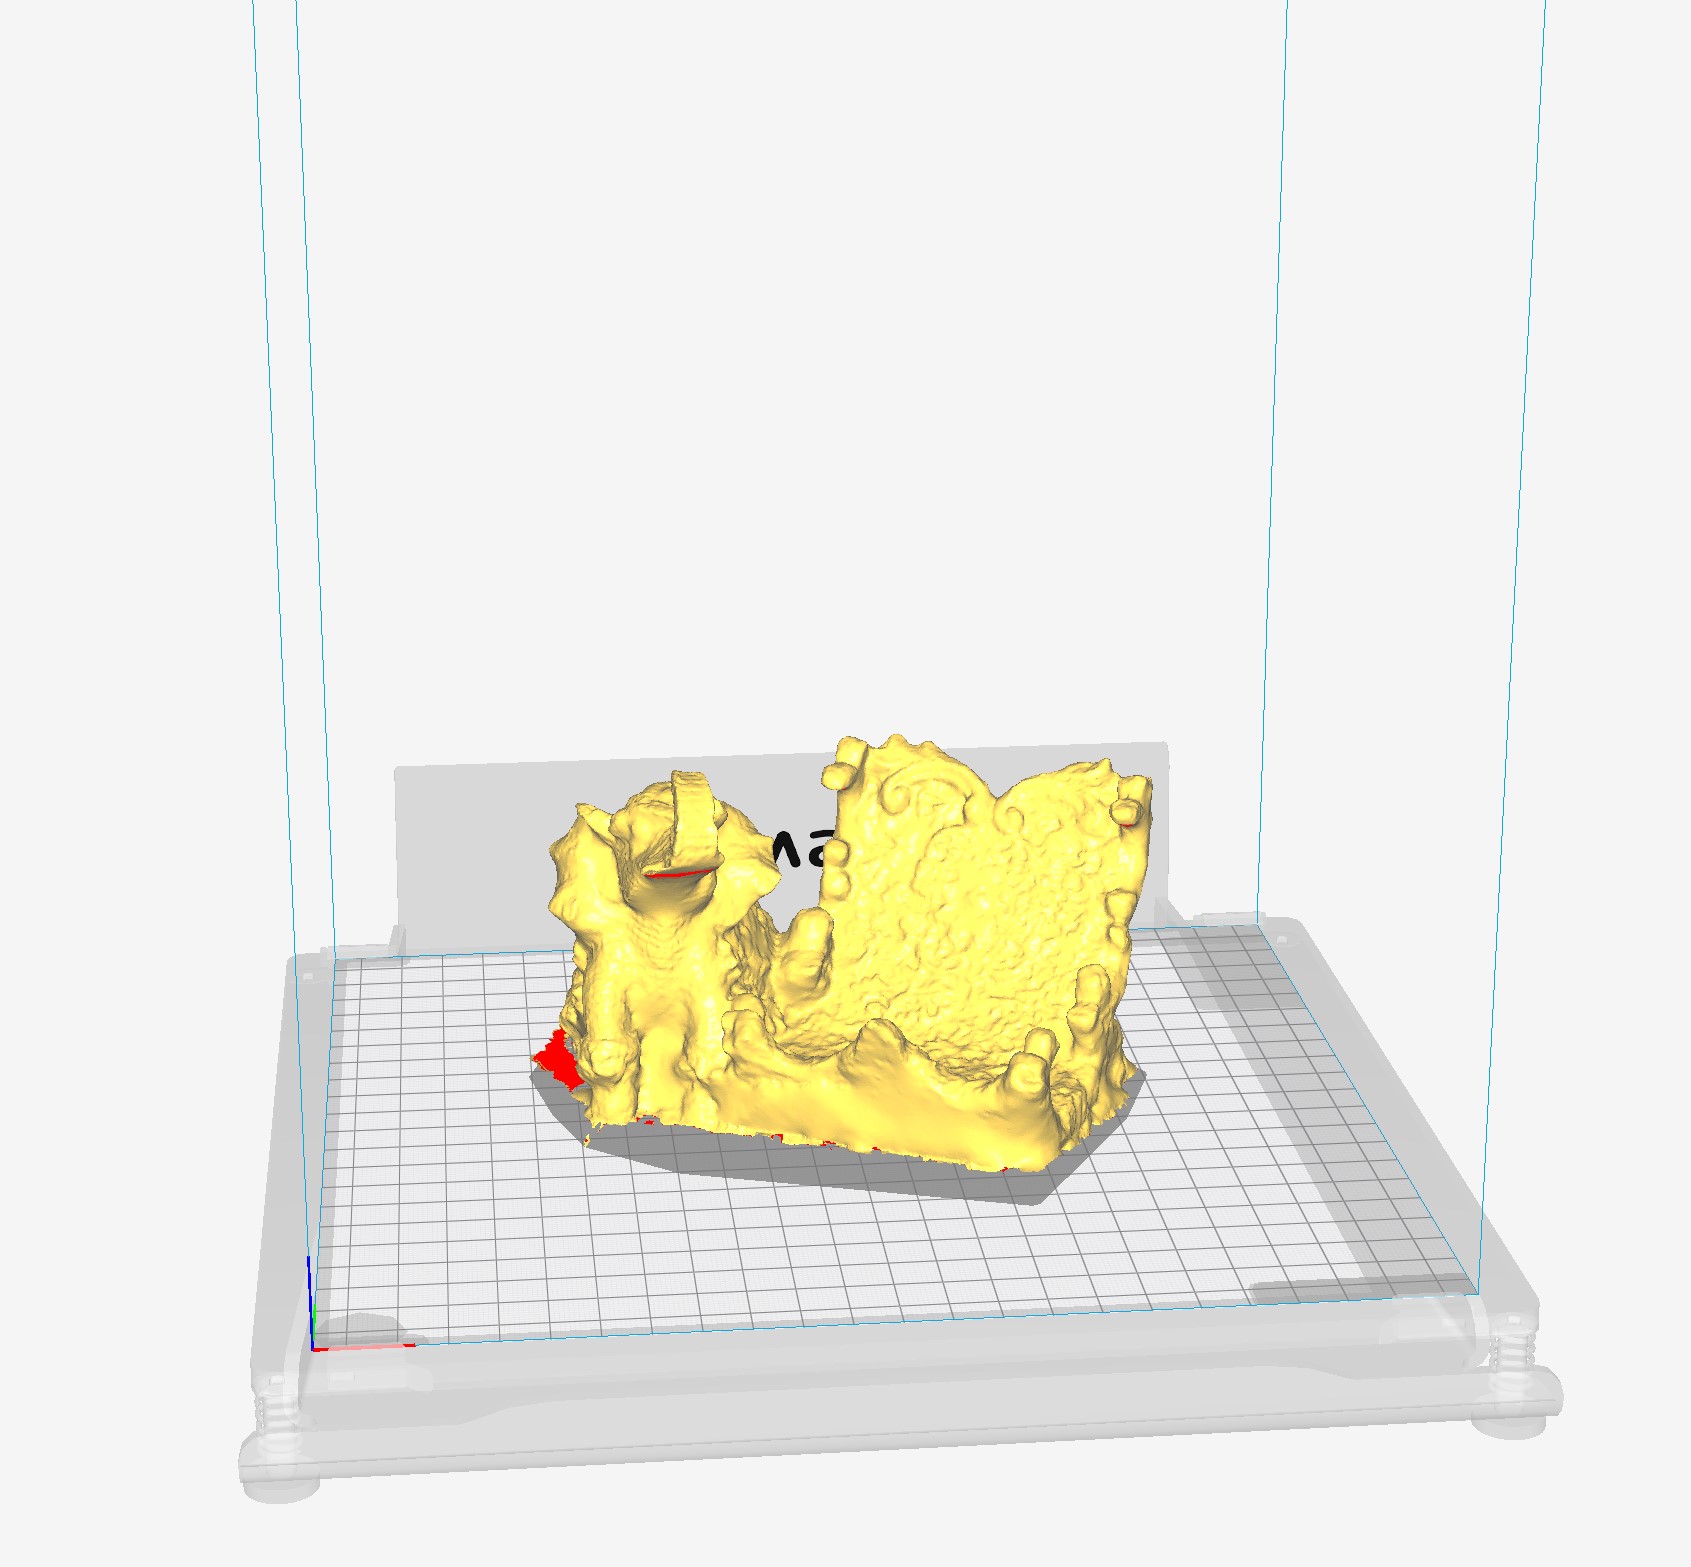
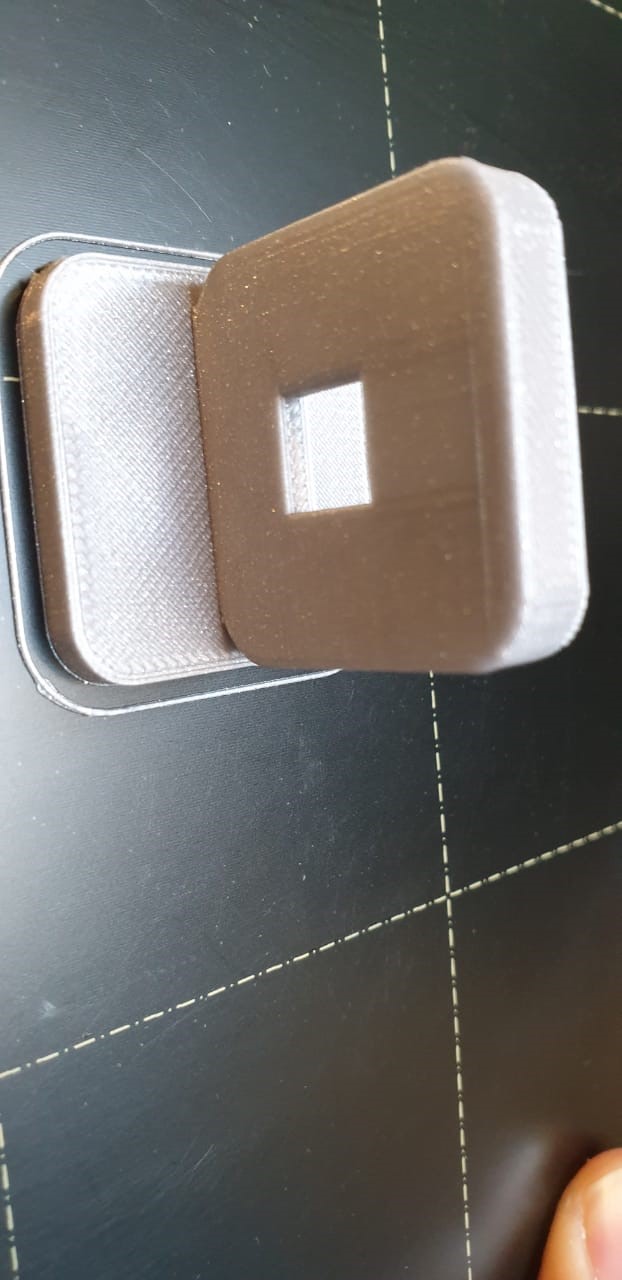
And after a few hours, you will have the 3d printed object.
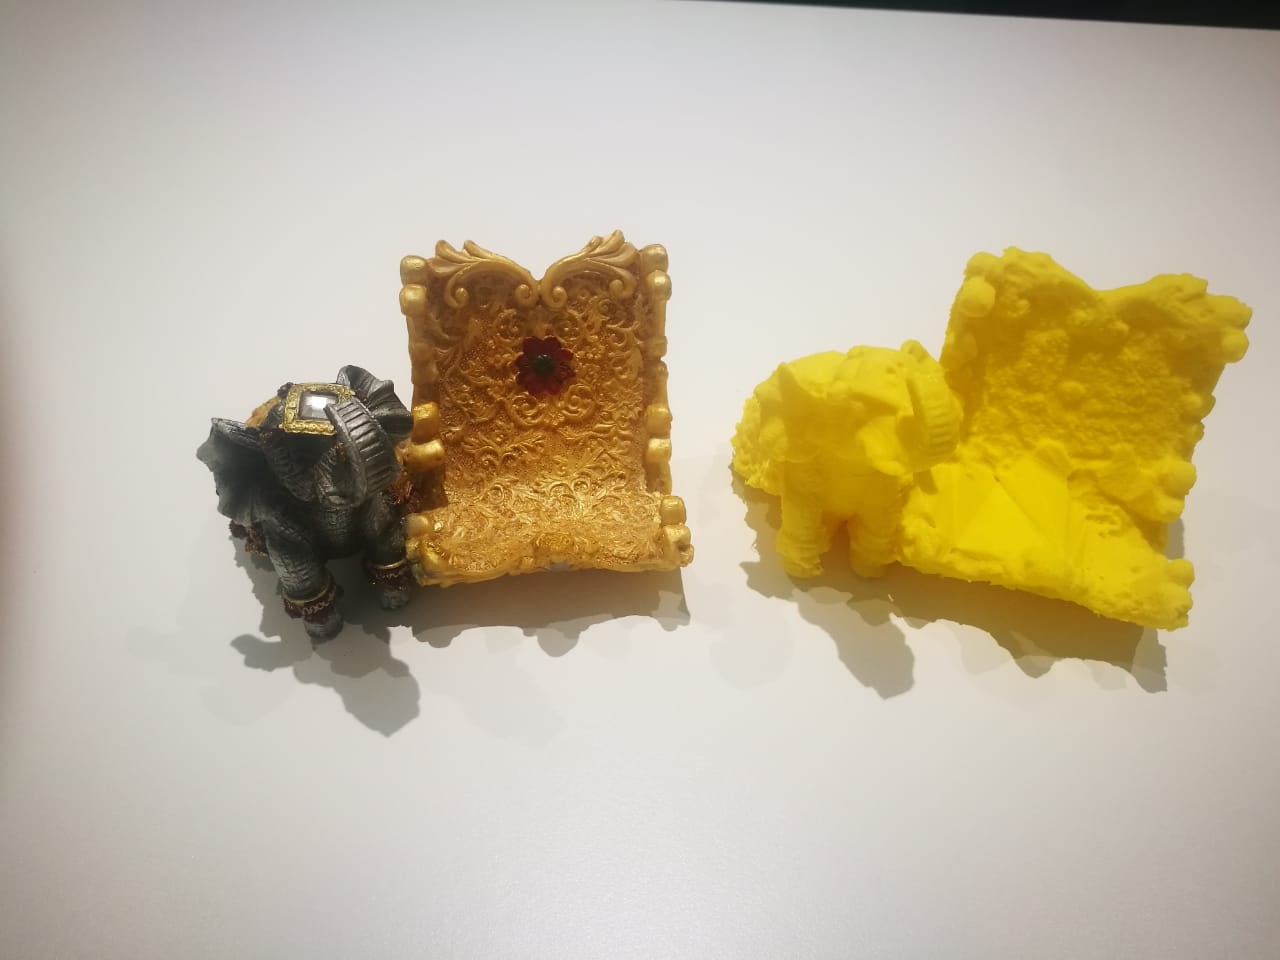
As you can see, not all details are present, but overall, the scanning from pictures works very nice. Now, lets try to test it with the a laser scanner.
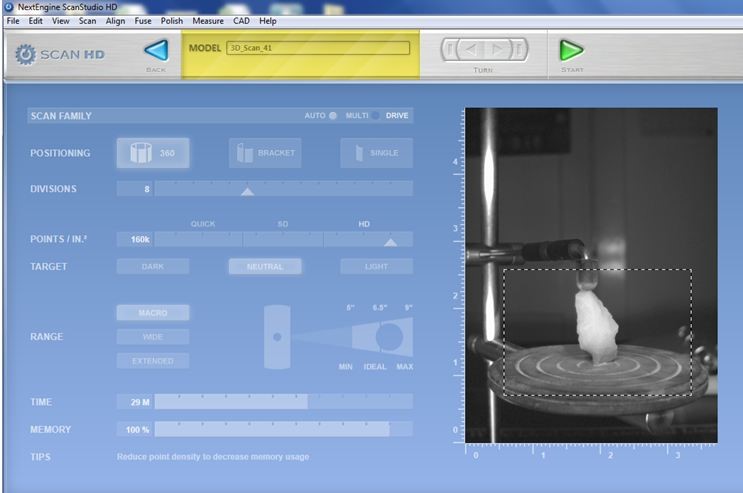
For this, I will use the next engine scanner. This scanner comes with a rotating base for capturing the object from all angles.

Once conected and powered up, you need to set up the scan. For this, you can say how many divisions or positions you wan the 360 object to be divided into, and how many points you want to scan on each position. You can select to focus only on some area of the scan to optimize the device performance, and it gives you an estimate of the time.
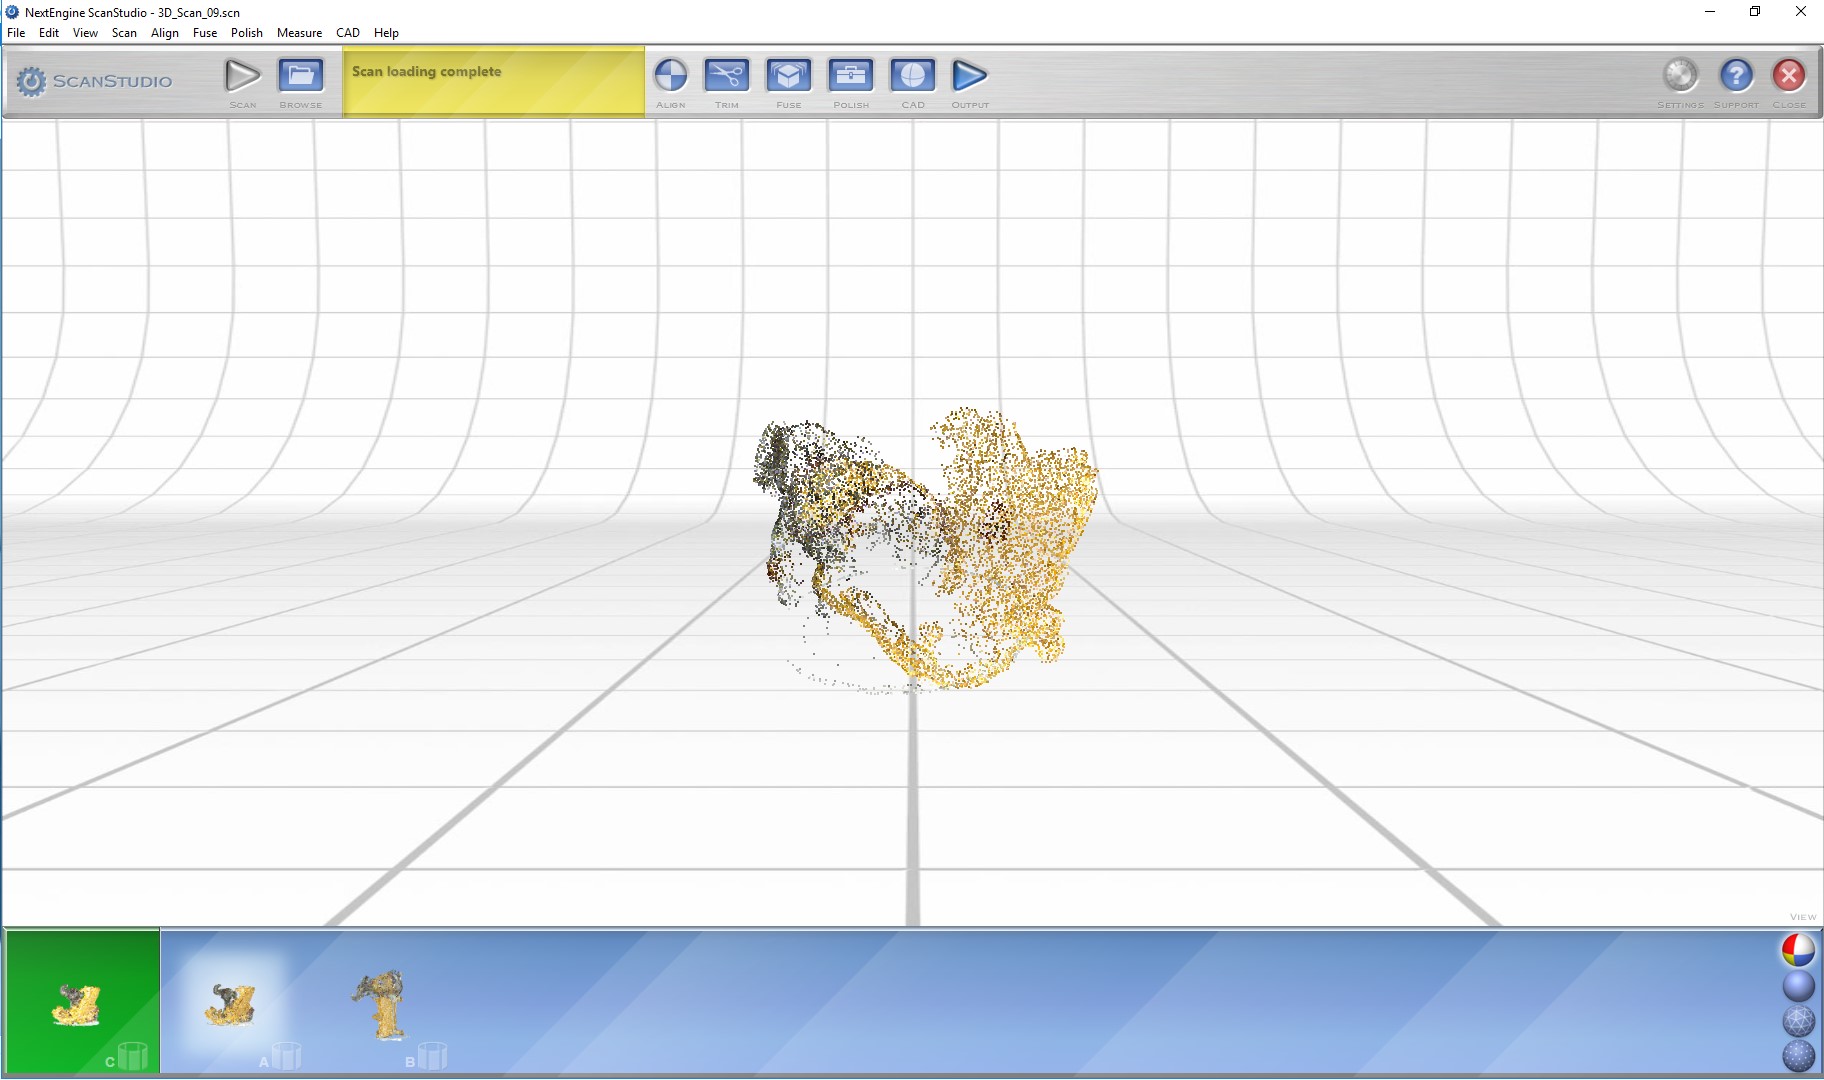
Once scanned, you get a cloud point preview of the object.
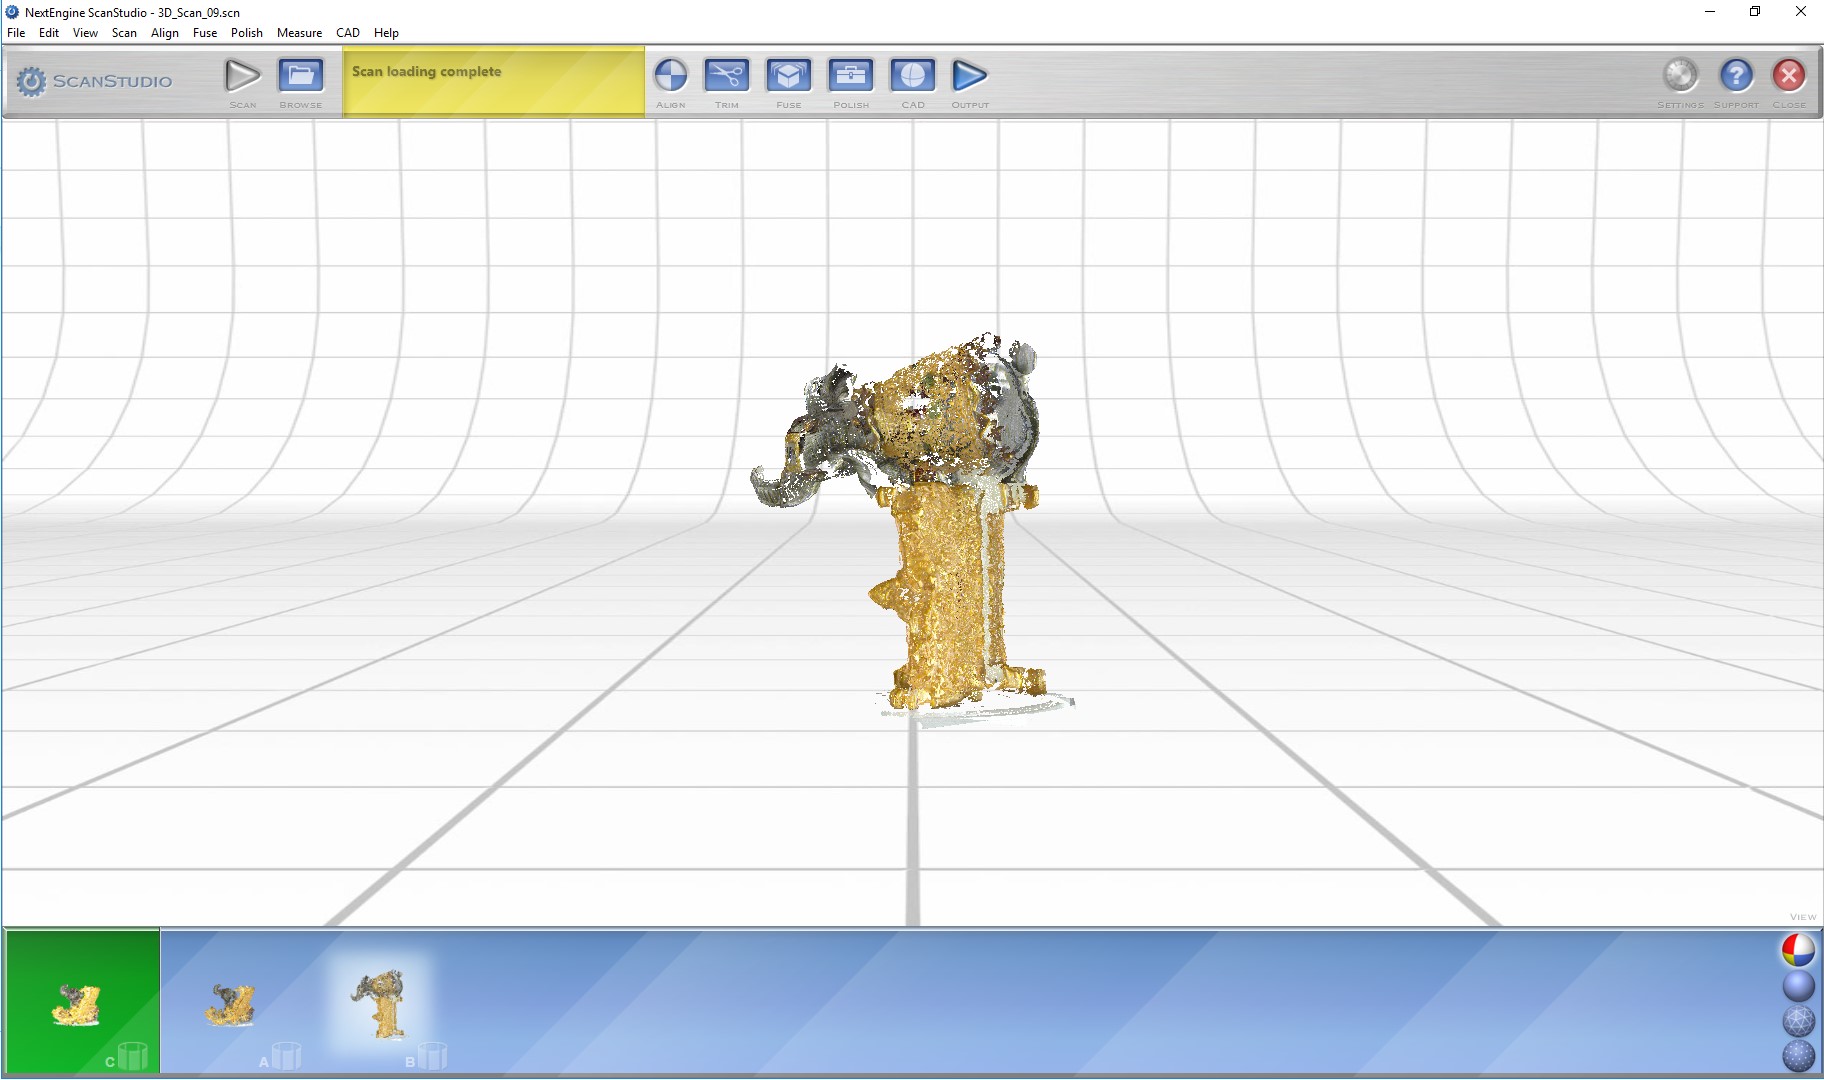
You can then scan the object from another position, and then fuse the result, for this, I rotated the object as shown below, and scanned again.
And finally, you can fuse the results and export the stl.
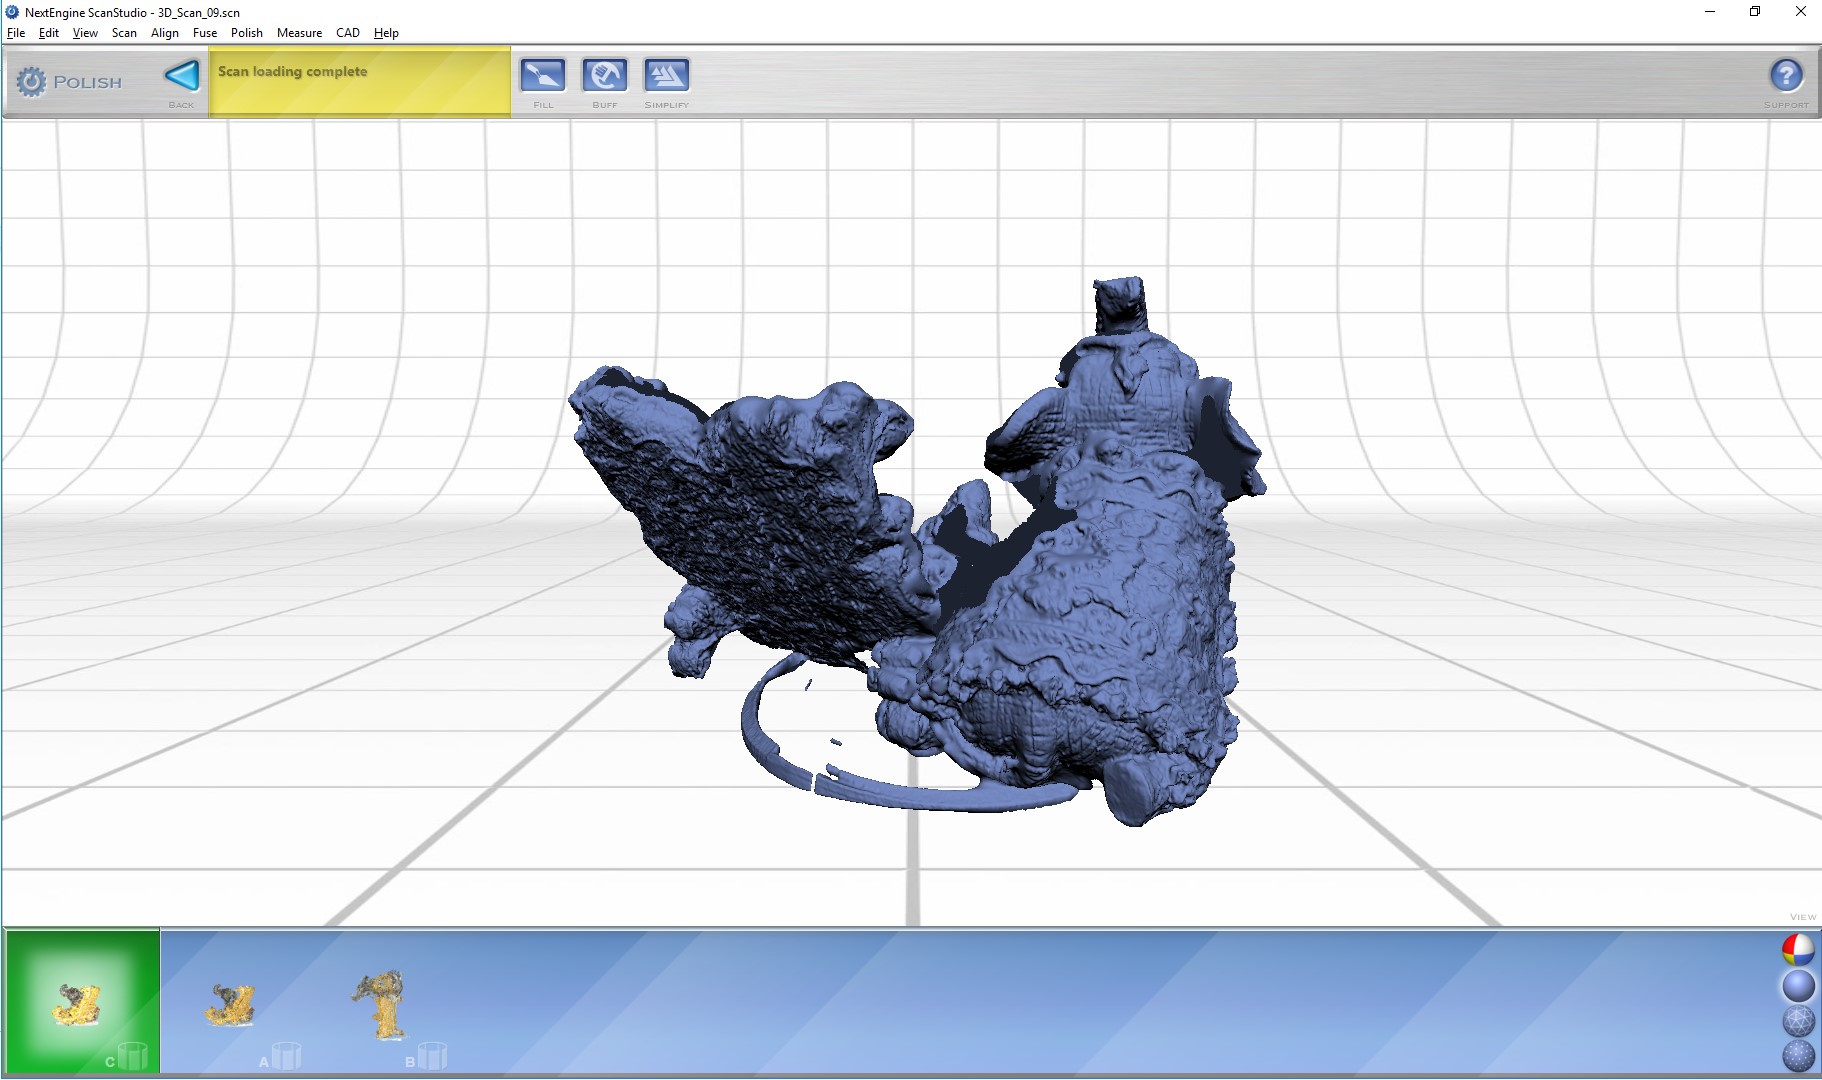
Some details showed up much better from the laser scanner, but the general shape and inside of the chair was much better in the photogrammetry. Testing both models was a very good experience to see the results, but for the scanner you need to have the scanner itself and a very strong computer to process all the points, while for the photogrammetry, all the processing is done online and you just need a good internet connection, so I consider this to be more accessible for everyone. Attached, you can see the both stl for you to compare.
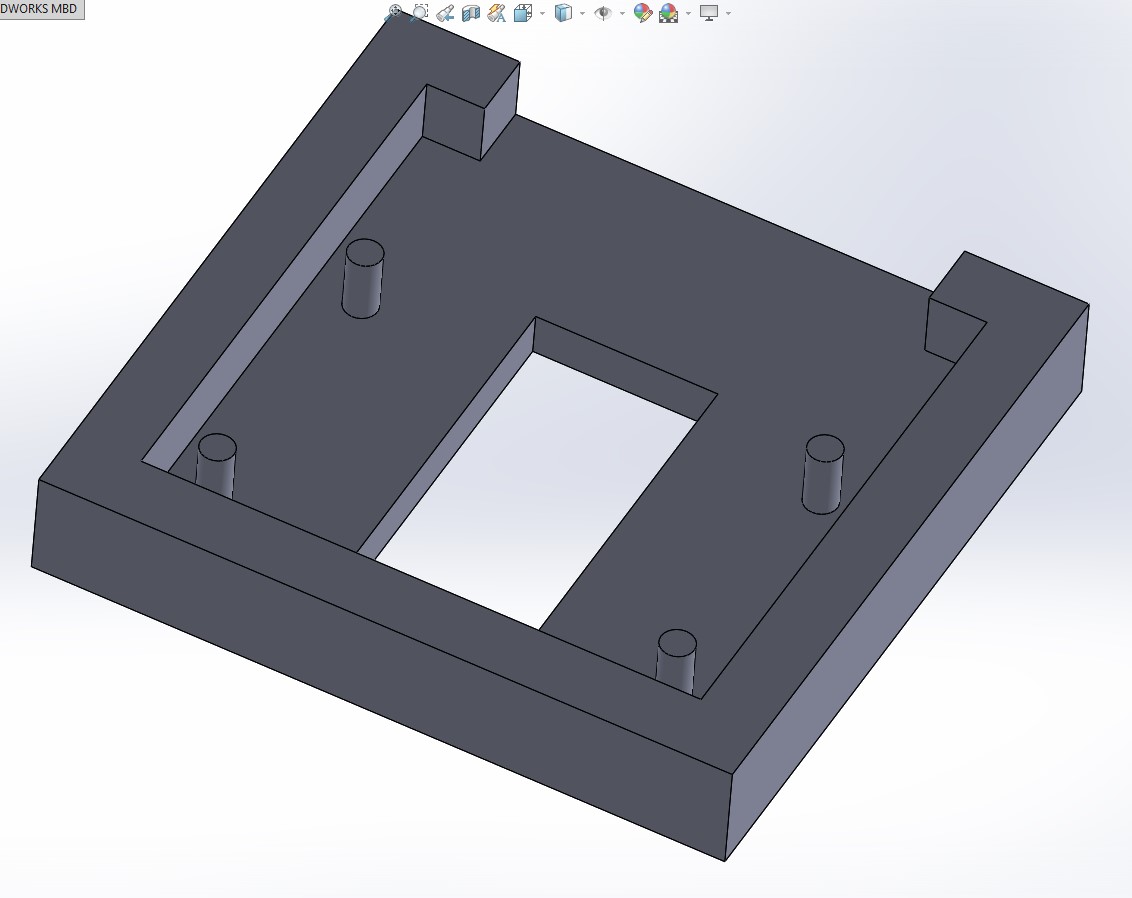
For 3d printing and design, I will make a support for the pi camera to attach to the desk
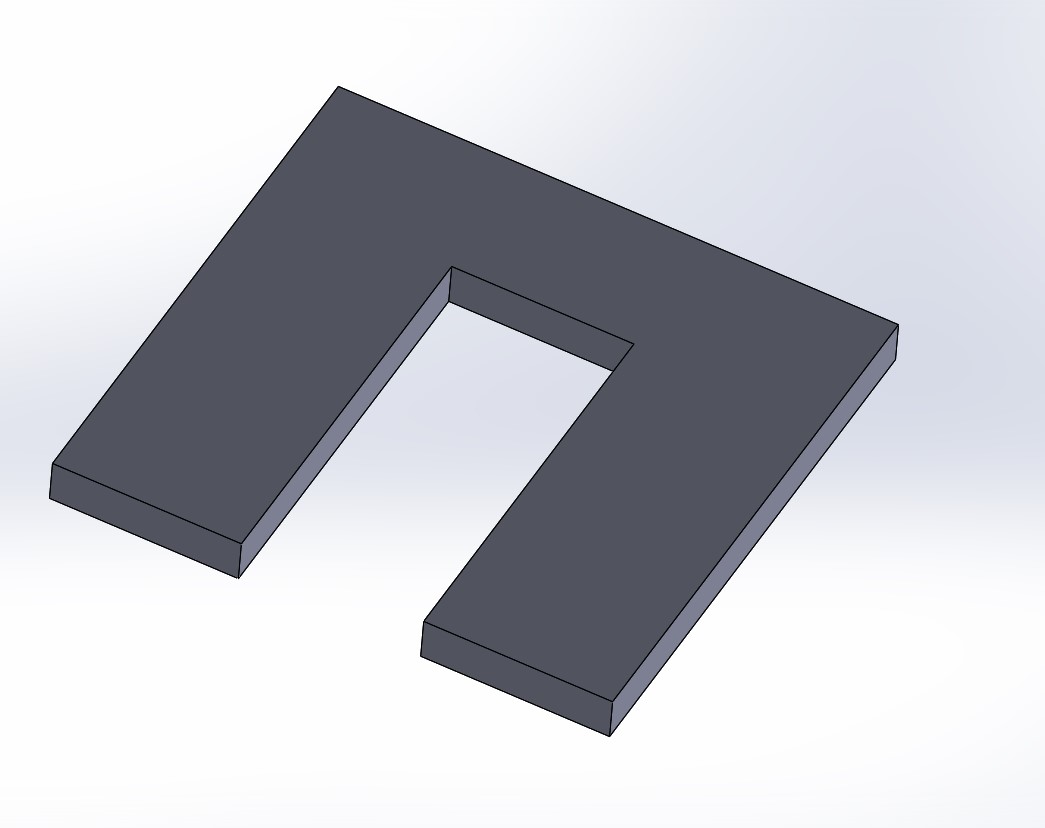
I begin with the basic shape, and then design the holes to hold the printer.
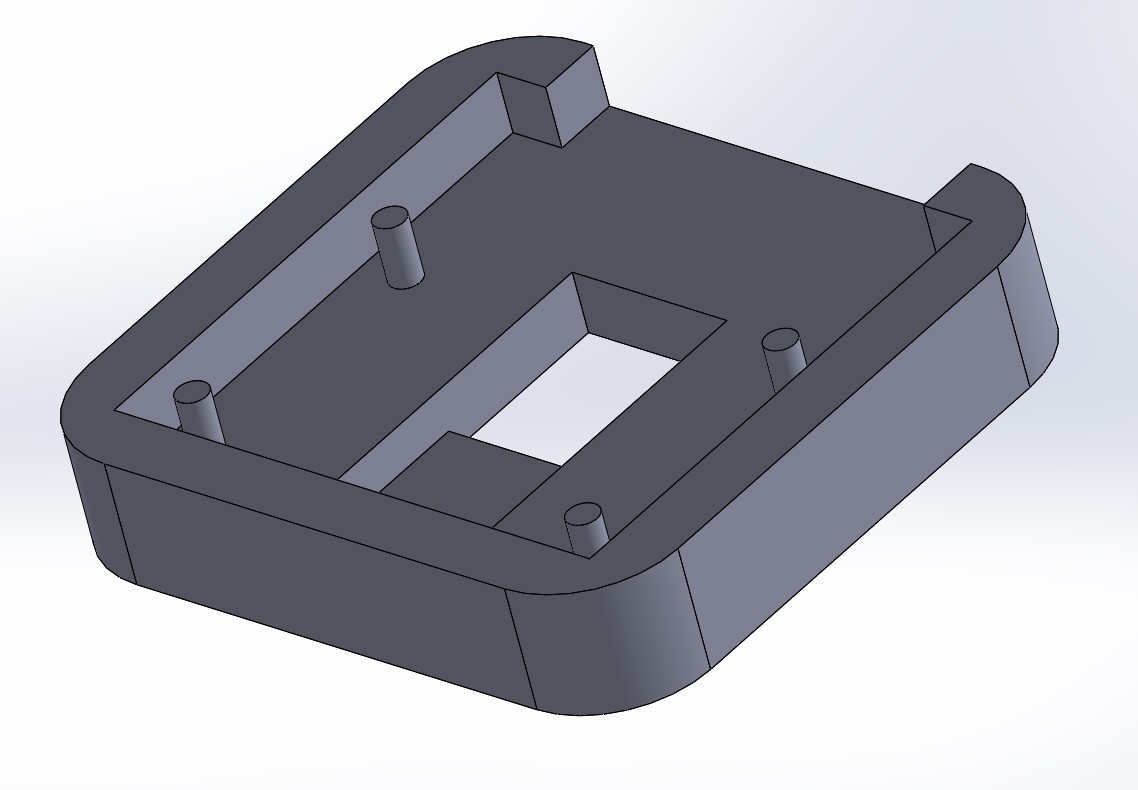
Now, the support for only the lens to come out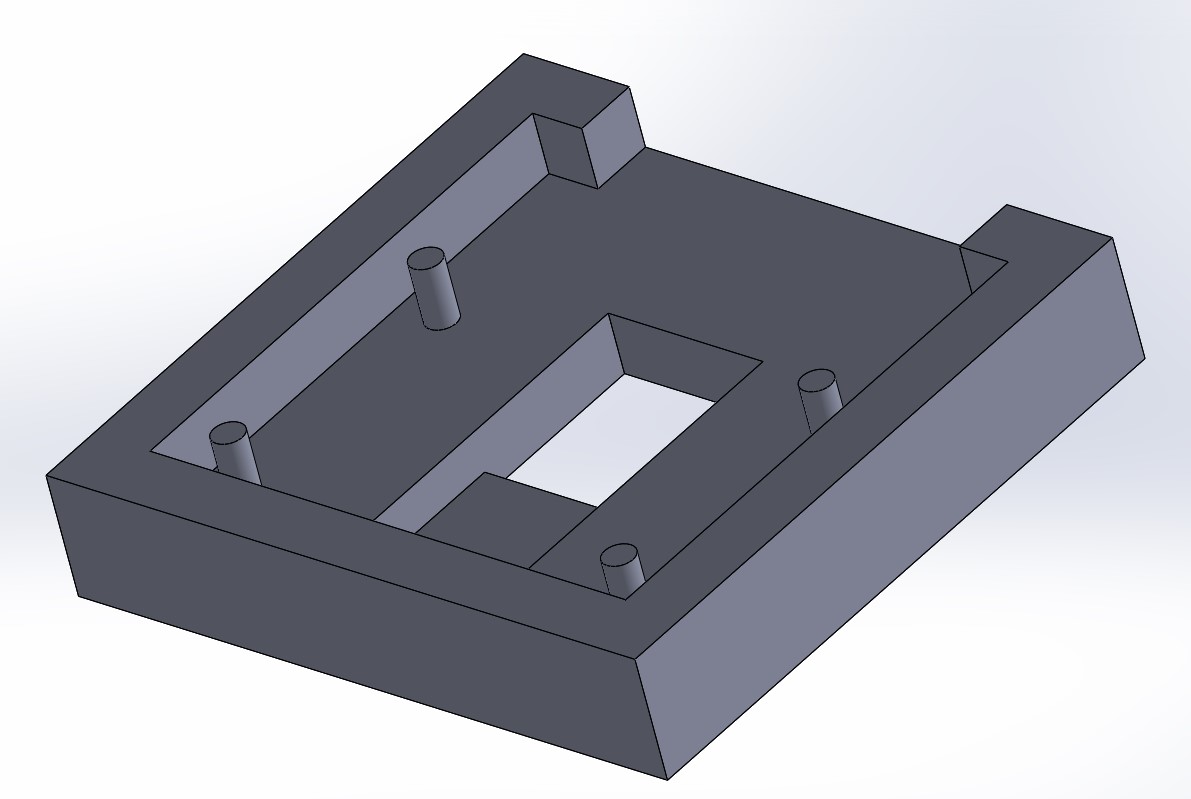
And apply some fillets to prevent sharp edges and make it look better
.
Now, I will make the perpendicular support to attach to base of my support and then add
the fillets. 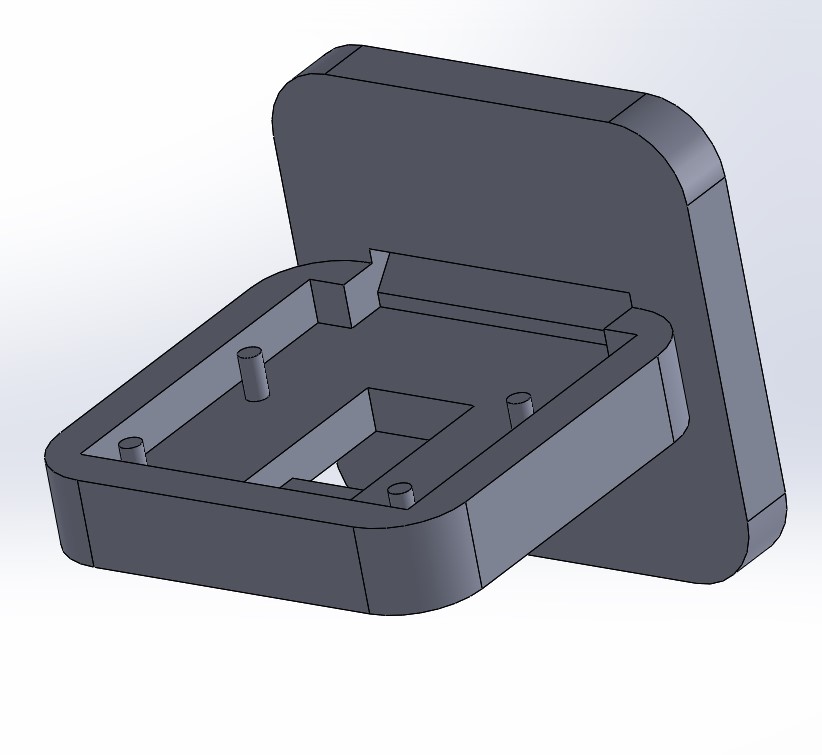
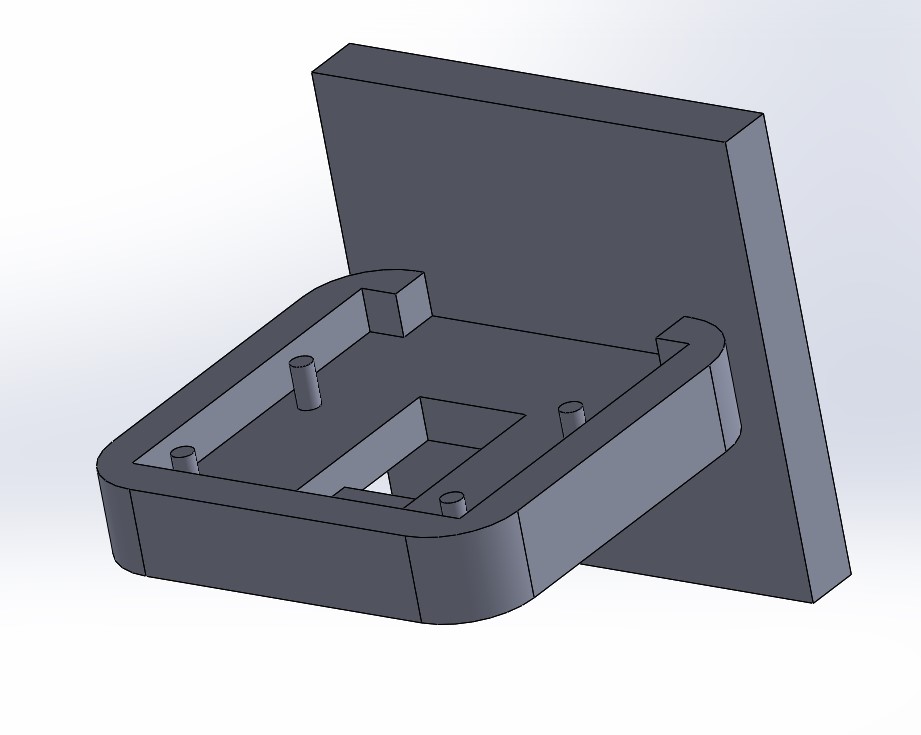
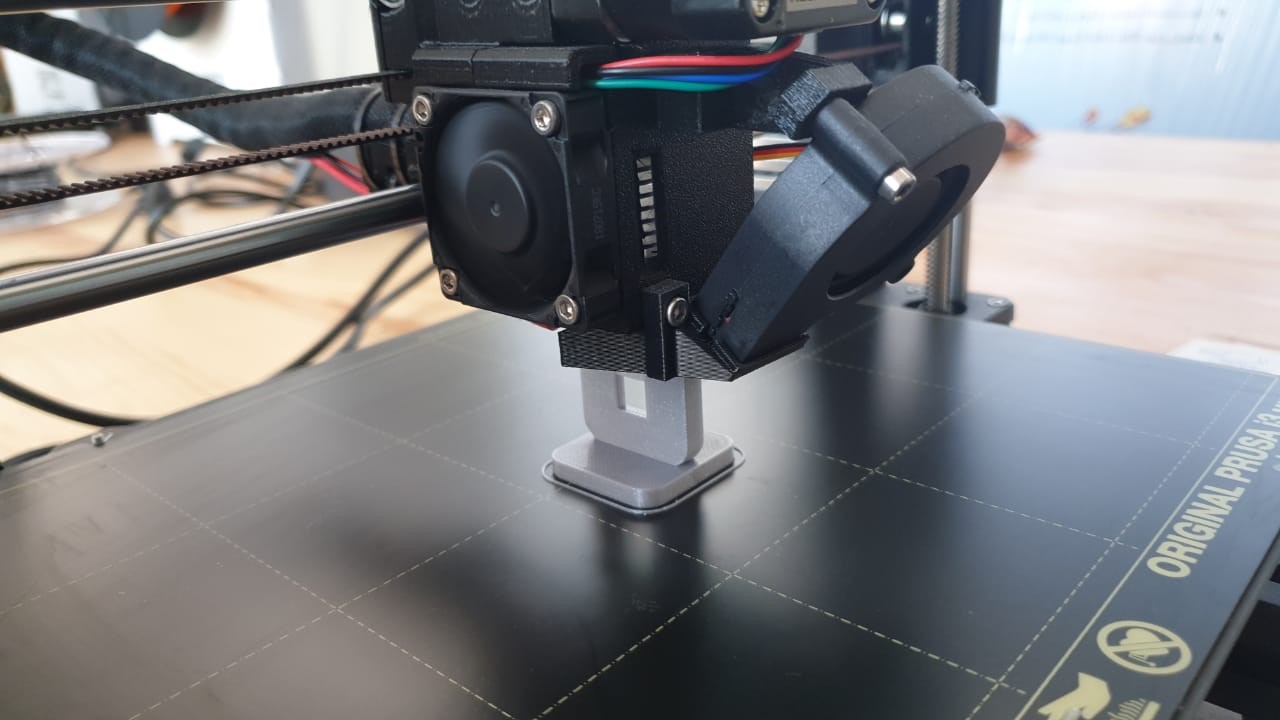
And now the part is ready to print.
I used slicer to make the printing as the followings:
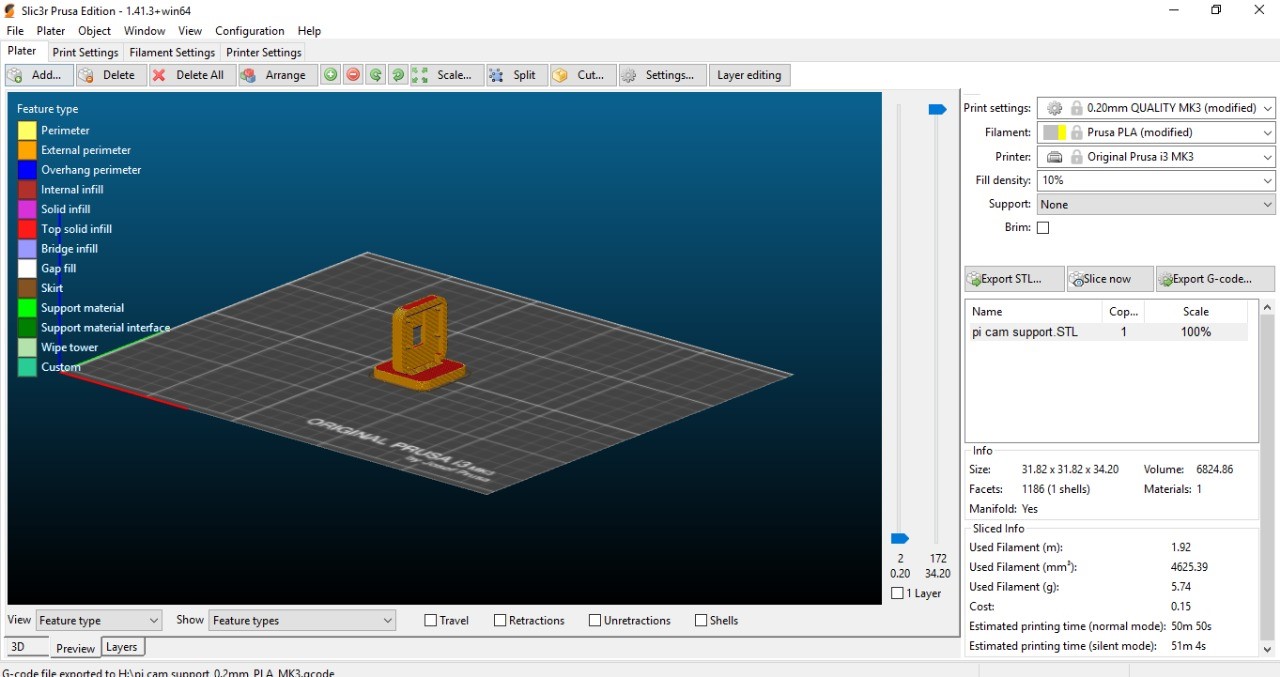
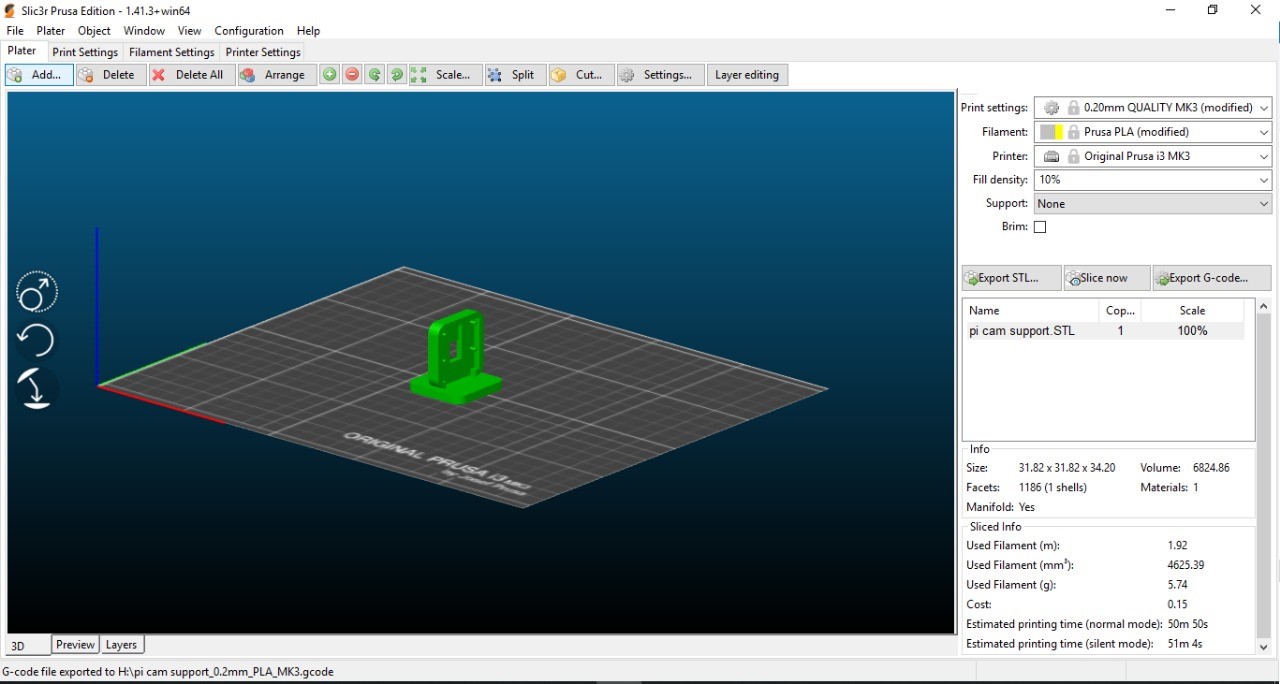

Now, I just get the slt and open it in my slicer, to configure how to print it. To get this part manufactured as a single piece, using traditional manufacturing would be very difficult, if not impossible, as you will need a 5 axis machine with very long flutes with small diameters to be able to create the small details, but using 3d printing is very easy to do, as you create layer by layer, with a 0.4mm nozzle.
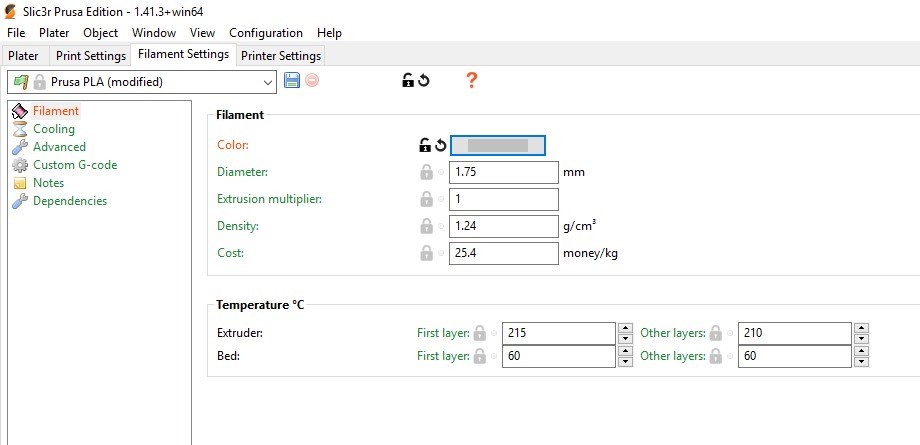
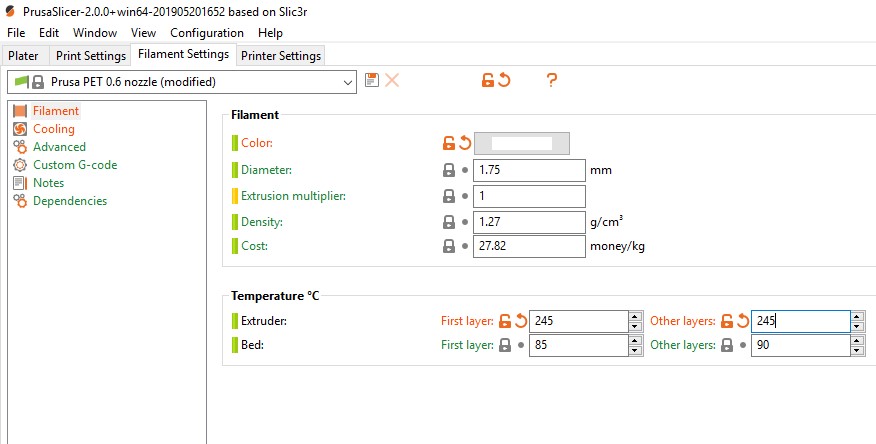
As material, I will use 1.75 mm diameter ABS material, and because in my lab I have a very strong AC, I will print at 245 degrees C. To make sure the ABS sticks to the bed, I will set the temperature to 85 degress C.
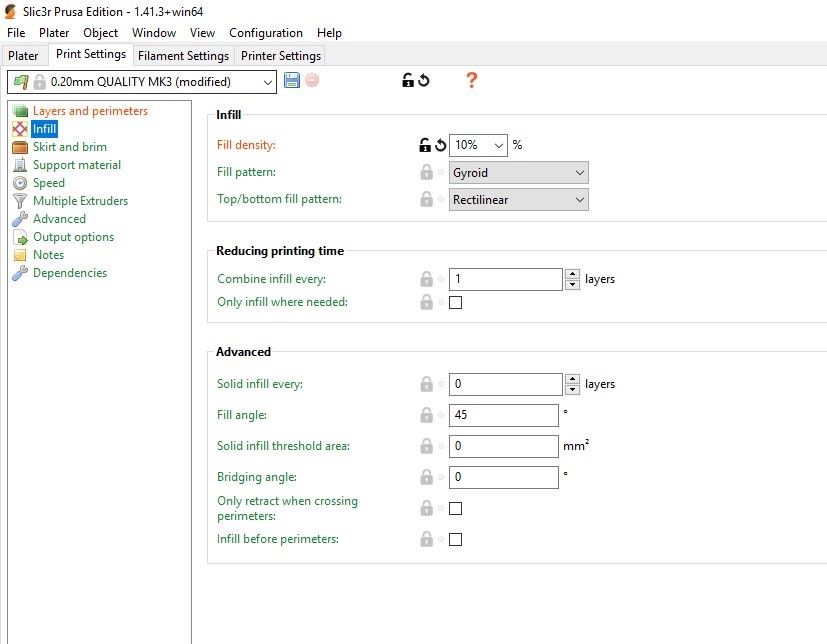
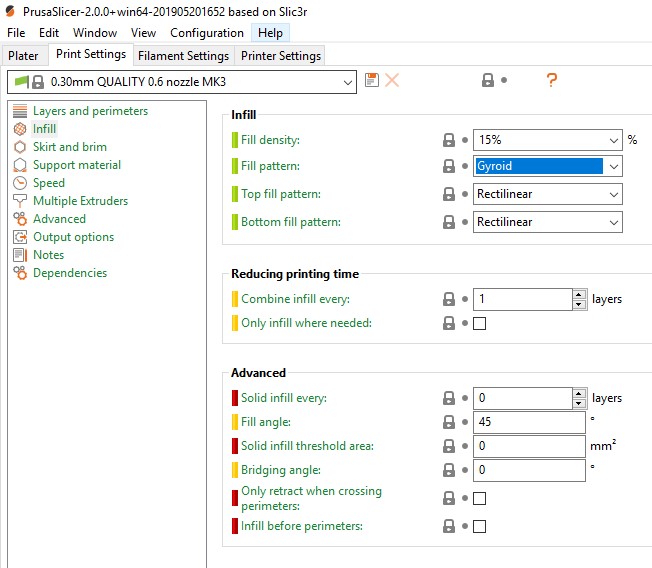
As for the Infill, I will print in 15%, which means that only 15% of the inside of the part will have material, the rest will be empty. This makes the print faster.
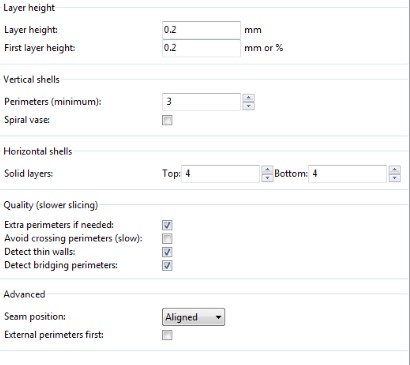
As for the layer height, I will print at 0.2mm, which is a medium quality setting, and will use 3 shells, or perimeters, so that the walls of the outside perimeter of my parts are strong enough. In Horizontal shells, I will use 4 top and bottom layers, to make the top and bottom of my print strong enough.
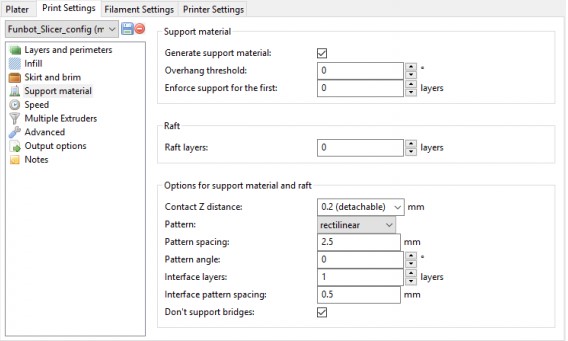
For support Material, I will use support and have a 0.2mm contact z for it to be easily detachable from my part.
Download File: 3dDesignSLDPRT
Download File: Elephant Photo
Download File: Elephant laser scanner
Download File: pi cam support