Input
Assignment
Measure something: add a sensor to a microcontroller board that you have designed and read it
Work
For this assignment I decided to create a board to test the features of the proximity sensor Hc SR 04 that I used for my "Hempbot" project. I created a constantly updated repository on github, and I hope one day to make 100% fabbable.
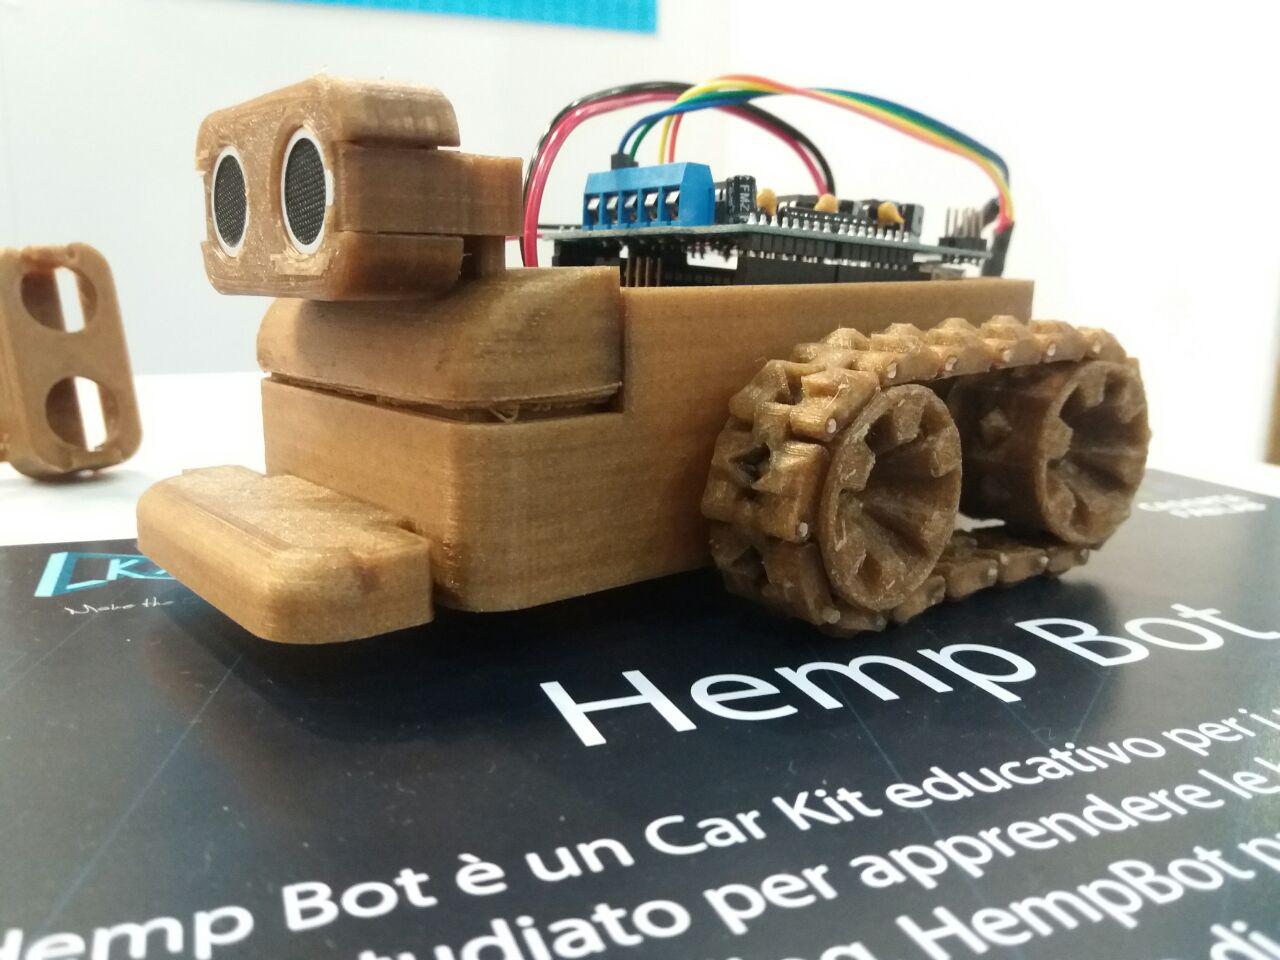
HempBot is an educational car kit for kids from 8 to 16, designed to learn the basics electronics and coding.
Preparation
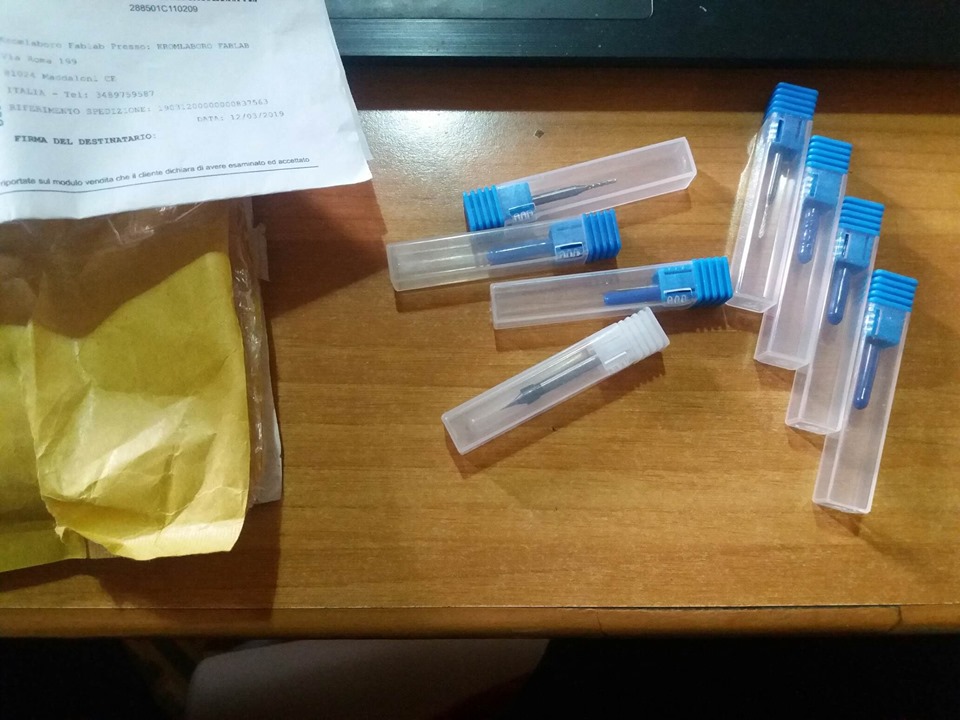
For this assignment Sebastiano Mestre from Crunchlab gave me a great help to find the tips for milling machines. Crunchlab is in connection with Makerdreams srl so in a few days he sent me a box with all the necessary and useful tips for the future.
Schematic
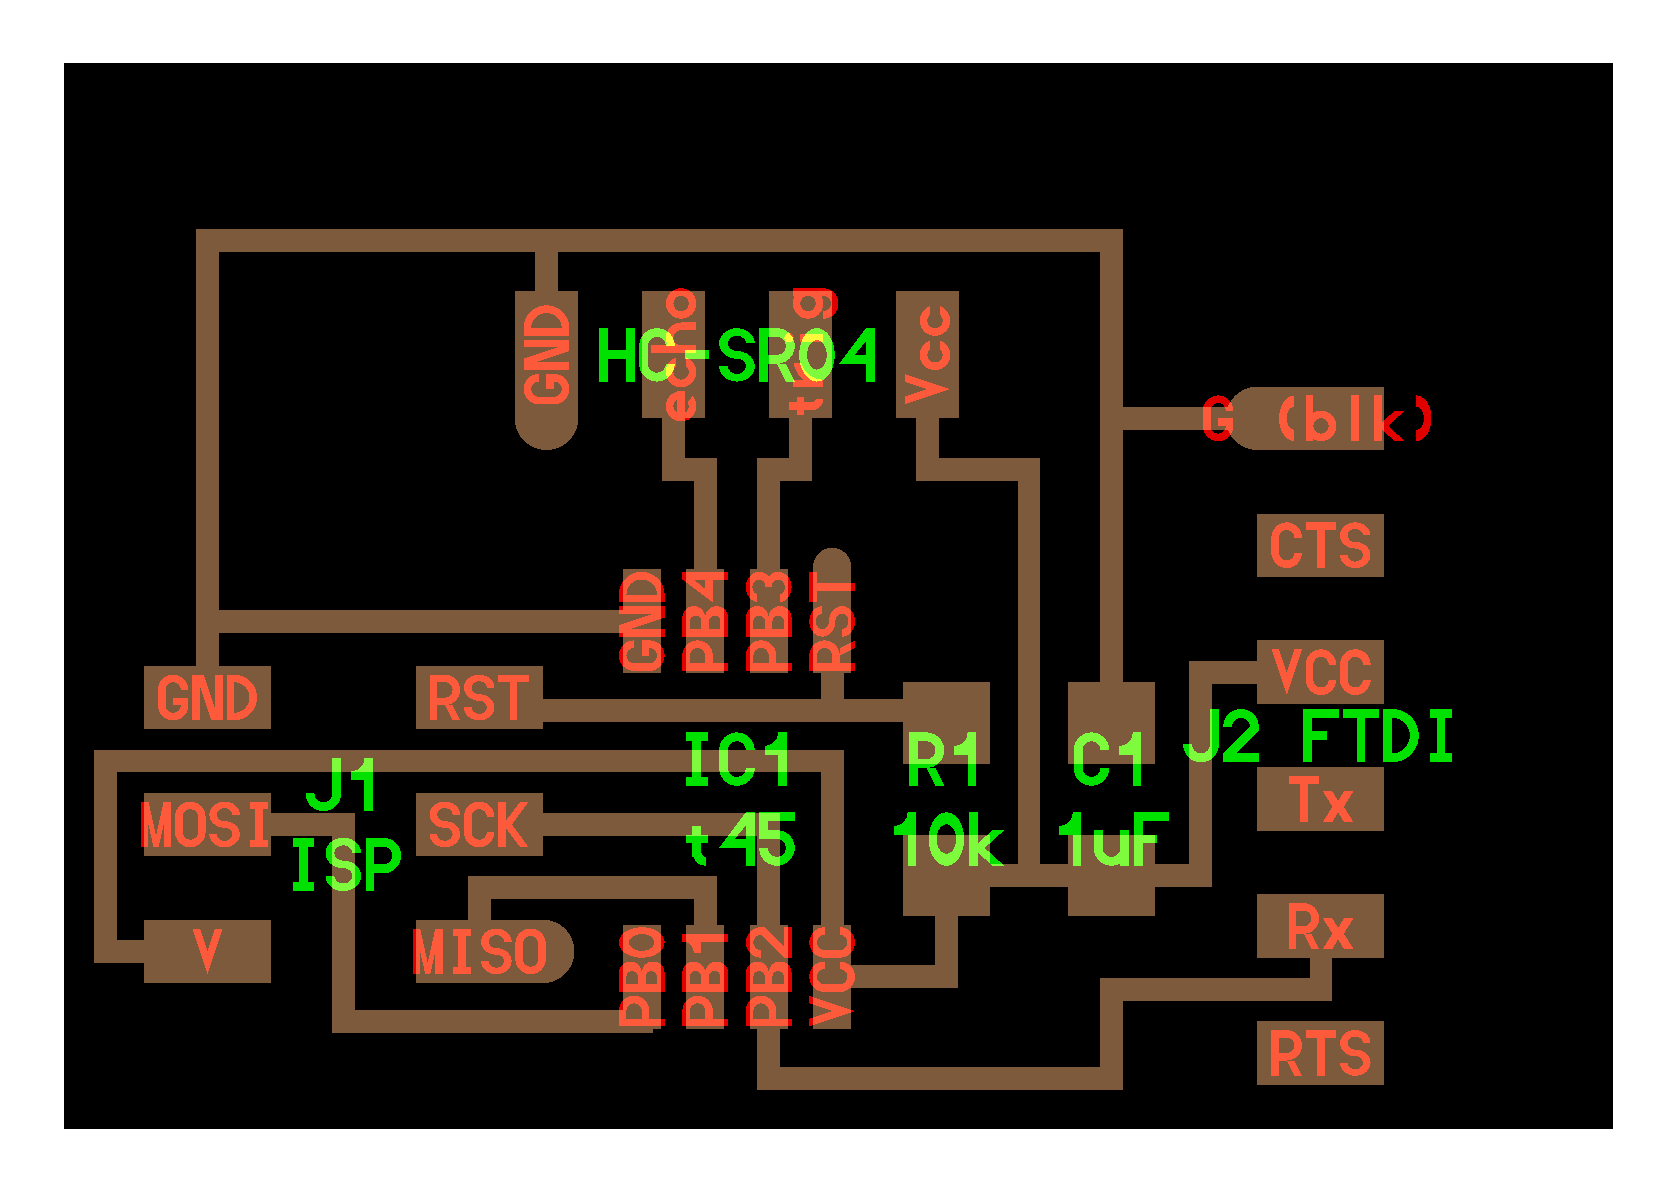
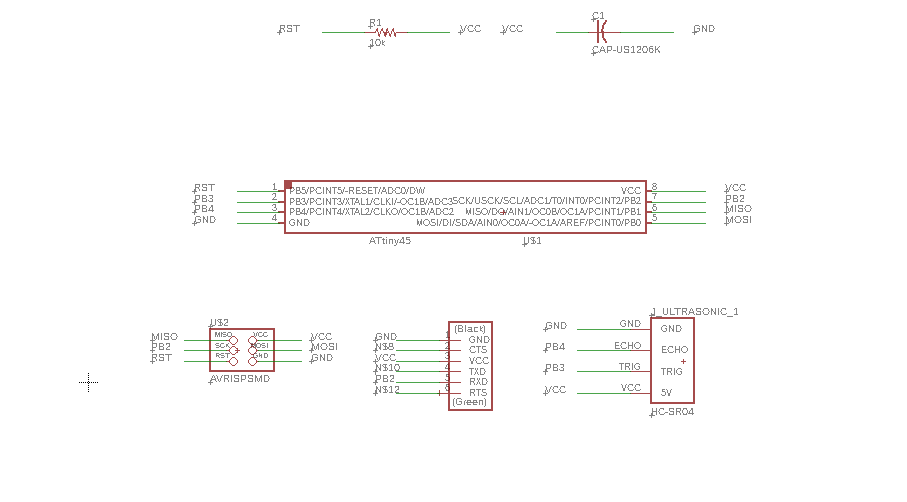
Having already had a bit of experience with the Hc sr04 and Arduino sensor, I switched to creating the circuit, helping myself with the scheme made available by Neil and which can be found at this link: http://academy.cba.mit.edu/classes/input_devices/index.html.
I found Anna Kaziunas' tutorial for programming Attiny microcontrollers with Arduino IDE very useful
I found Anna Kaziunas' tutorial for programming Attiny microcontrollers with Arduino IDE very useful. To design my board I used Eagle by Autodesk. and I used the following components:
| Component | Value/Model |
|---|---|
| Resistor | 10K |
| Capacitor | 1uF |
| Header Pin | 2x3 |
| Ftdi HeaderPin | 1x6 |
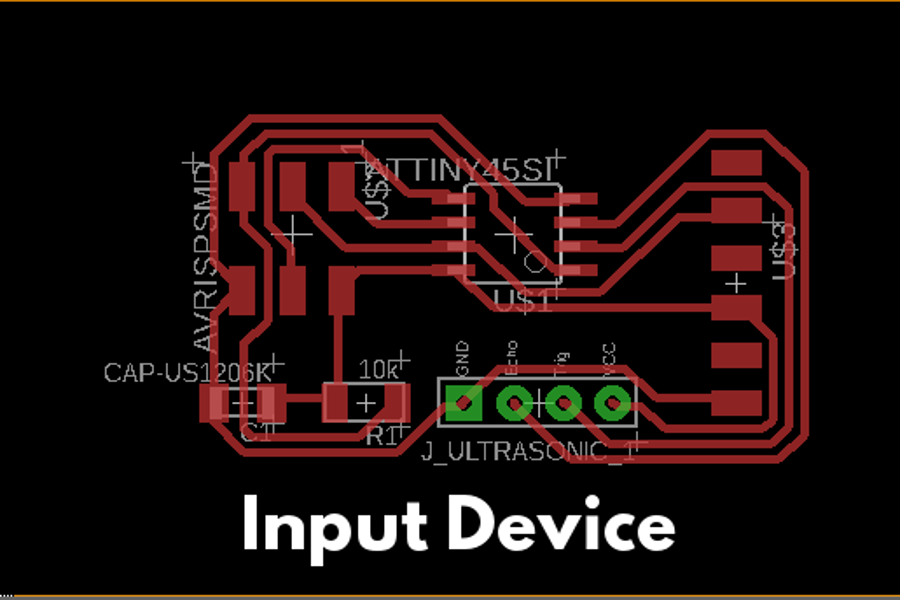
here an image of the schematic I designed
I have routed the connection between the components and then got my board. When I created the connections I turned the pins of the Hc Sr04 sensor 180 ° and I thought I had enough space to position the sensor and weld it; unfortunately it was not so, but I knew I was risking it because it would have been a solvable mistake, as indeed it was.
Production
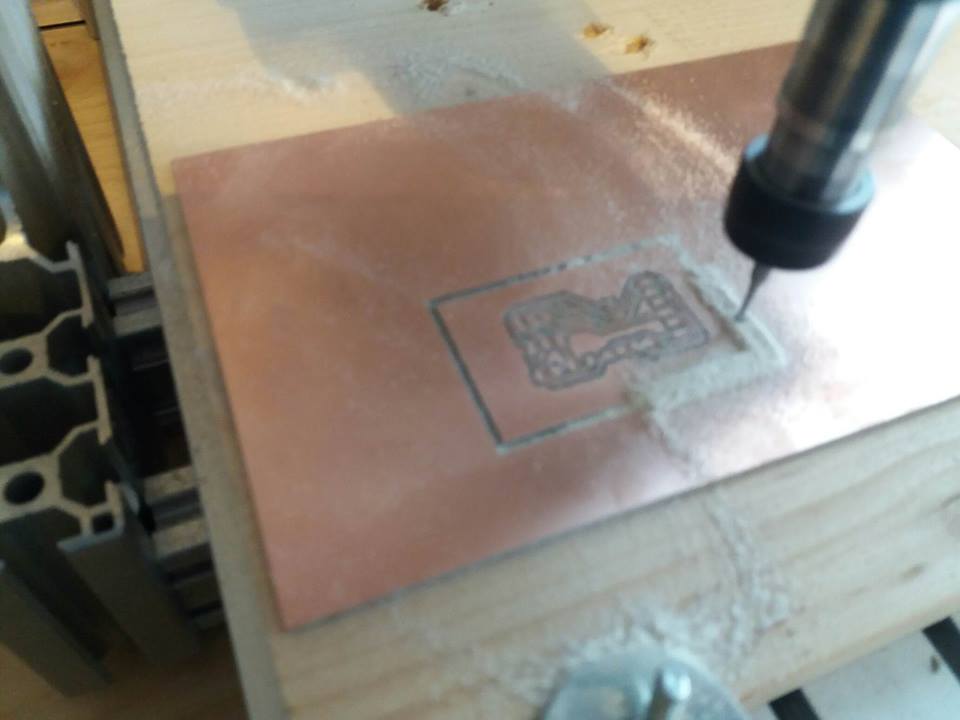
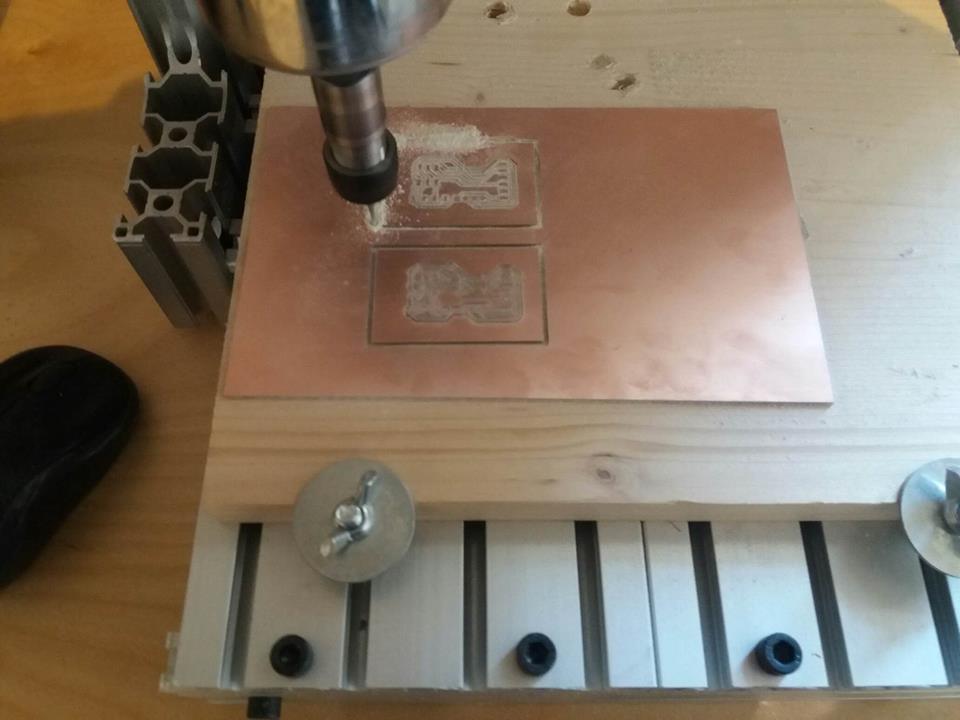
At the moment in my laboratory we don't have a milling machine, fortunately I found support from HubMakerspace SPA and the coordinator Antonio Mele. He made his lab available to me to milling my board, the rest of the soldering and assembly operations were done at my lab
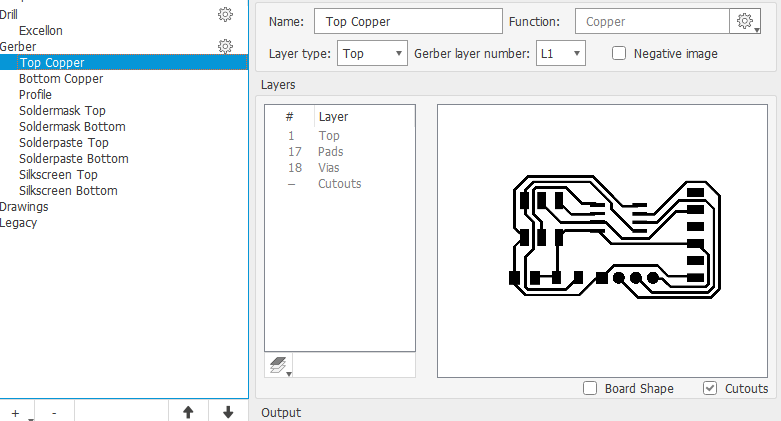
In this case I used Flatcam to prepare the file for processing and I used Mach3Mill as software to perform the milling.Flatcam is a very intuitive software and it is mainly aimed at pcb production, since in the past I used the FabModules several times, I wanted to try this software.
To be able to use it we need to create Gerber files for traces and cutout using eagles; while for drill we will create an excellon file
flat cam can be downloaded at the following link : http://flatcam.org/download; while Here you can find a good tutorial for pcb prototyping with the use of flatcam

Once the files have been imported, in sequence The trace file, the file for the holes, and finally the one for cutting the profile
Machine settings: 0.4mm milling machine tip; 3 offset; cutting depth 0.6mm; feed rate xy 25mm / min; z (plunge) 15mm / min; travel Z 2mm

Important notes:
1)Flat Cam calculates the feed rate in mm per minute, not in mm per second.
2) The Default settings use inches as the unit of measurement, but it is possible to change the unit of measurement within the "preferences" section.
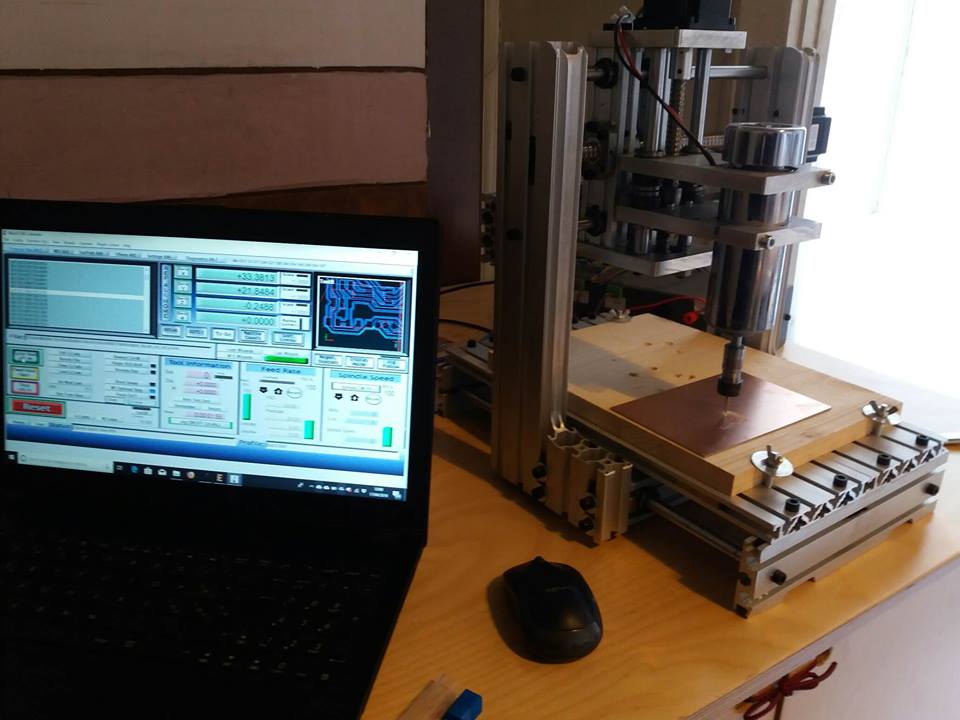
I generated my gcode files for traces, holes and profile, and I imported them one at a time inside Mach 3 Mill (which I had never used before). This is a commercial software and was supplied together with the machine I used at HubMakerspace.
Mach3Mill is a less intuitive software and I've seen several tutorials before trying to produce a pcb.
MachSupport official website and a interesting Tutorial Tutorial
here some photos during processing
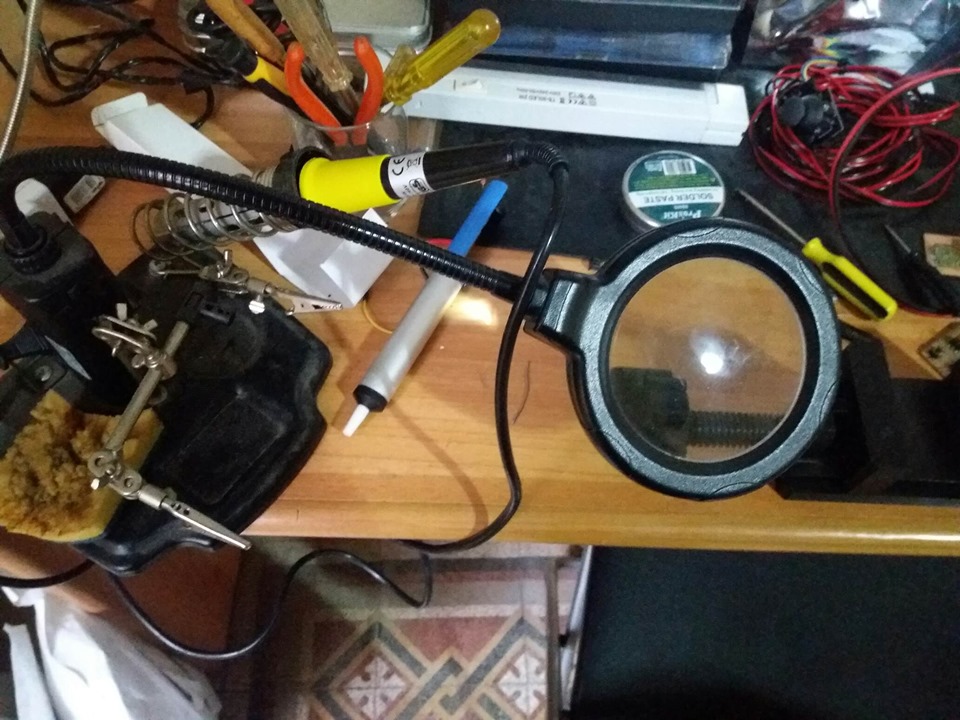
This is my soldering station where I have a magnifying glass to see better and a third hand
below a handy vice for pcb, very useful during soldering operations
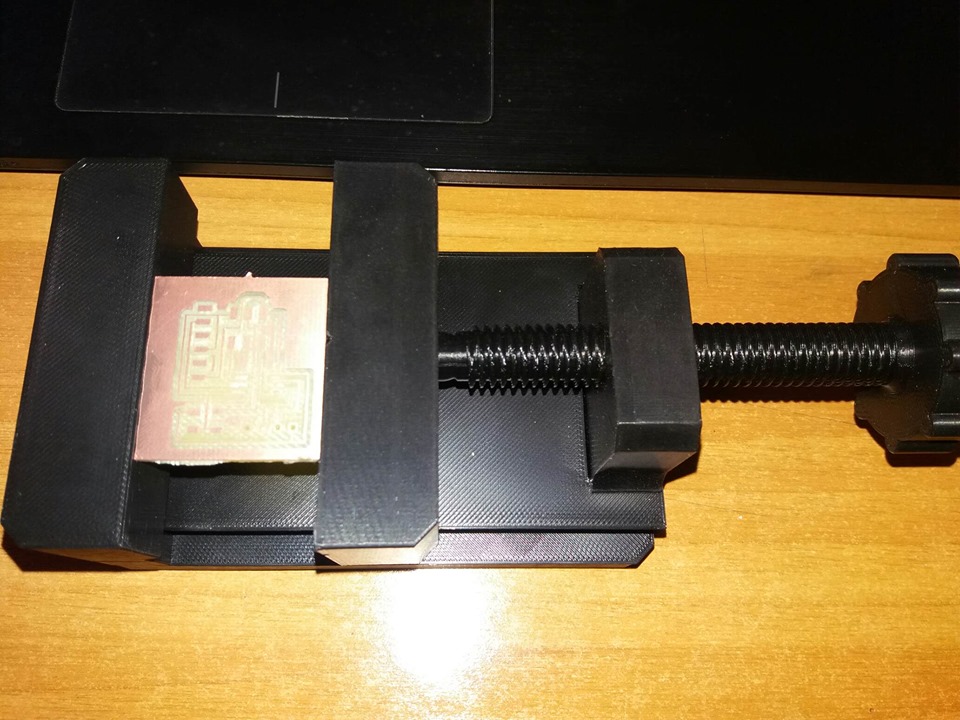
Here the link where you can download it:https://www.thingiverse.com/thing:1532740
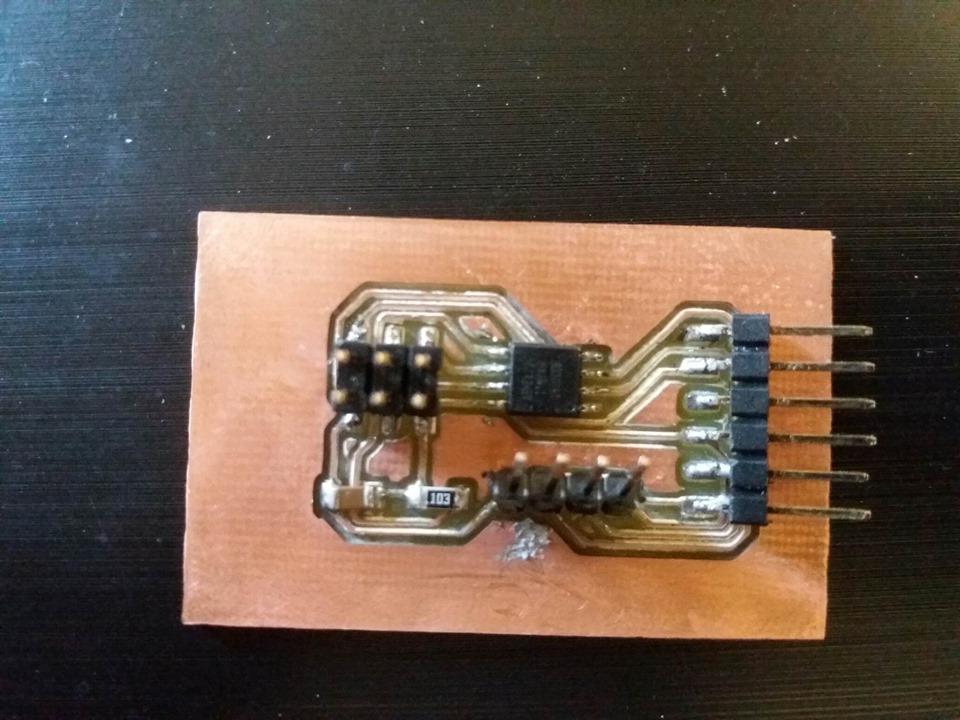
This is my assembled board
Programming the board
To program the board I used Arduino IDE and wrote a short schetch that allows to measure the distance of an object from the sensor hcsr04. here a tutorial on using the softwareserial library https://www.arduino.cc/en/Reference/SoftwareSerial

After checking that everything worked on the Arduino IDE serial monitor, I moved on to creating an app using Processing, which consists of reading the data from the serial port where my board is connected
Download ZONE
- Eagle Board file
- Eagle Shematic
- Sketch Arduino - Monitor Arduino Ide
- Sketch Arduino - Processing
- Processing App