experimentation
My final project is not decided yet so I tried to install and try out various 2D and 3D design programs and do one simple file with it. From my previous background I already have experience with some 2D and 3D softwares, but the goal for now was to test the SW recommended by our instructors. So challenge was to test different open-source softwares_ list. The introduction to the open source 2D and 3D modeling started with Ferdi´s workshop on 2D Gimp (raster), Inkscape (vector), 3D OpenScad and Blender (3D Modeling and animations, blender has embeded some sort of a game engine - The Blender Game Engine is a component of Blender, a free and open-source 3D production suite, used for making real-time interactive content. I would like to explore that SW better, it seems like a very powerful solution to many issues not just during the design process.)
Here you can find the full lecture given by Ferdi on the open source sw following this link.
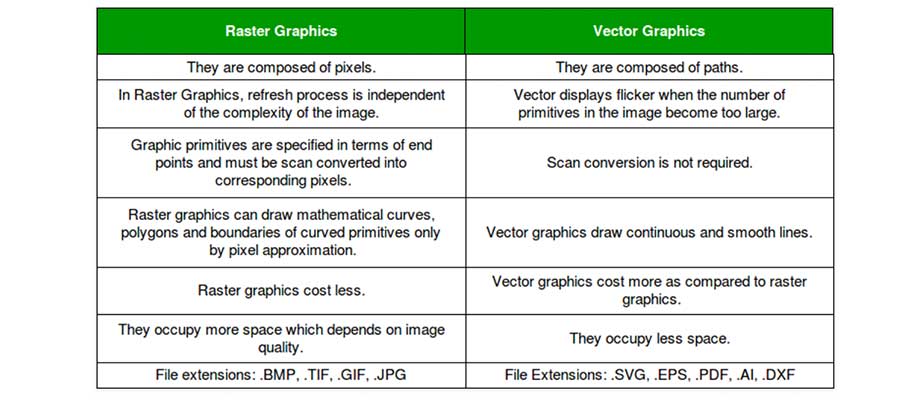
Fisrt of all is is important to understand what are the visuals based on and what we see on the screen. When working in any 2D/3D SW, we manipulate rasters and vector graphics. Raster graphics, also known as bitmap graphics, are digital images which can be displayed on a screen. Vector graphics are used to create shapes, lines, polygons, in fact any shape imaginable. The main difference between vector and raster graphics is that raster graphics are composed of pixels, while vector graphics are composed of paths. A raster graphic, such as a gif or jpeg, is an array of pixels of various colors, which together form an image.
This Videoexplains the main difference between Raster and Vector very good.

First SW that we experiment with was Gimp. GIMP is a free and open-source raster graphics editor used for image retouching and editing, free-form drawing, converting between different image formats, and more specialized tasks.
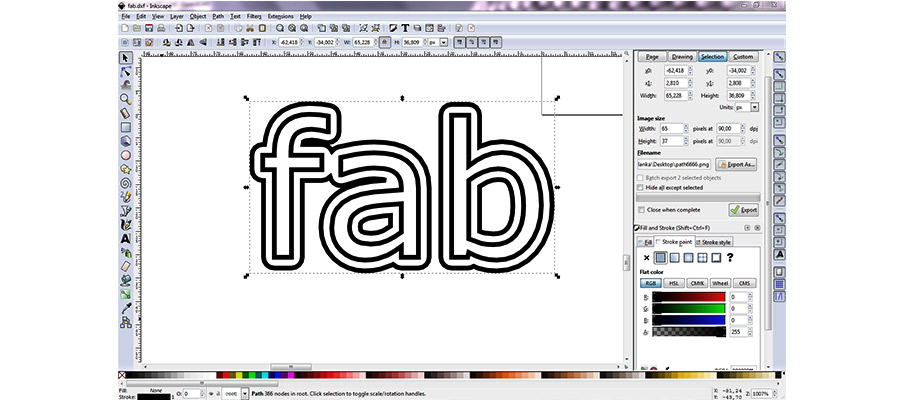
As you can see on the image, next OpenSource SW that we explored was Inkscape - it is something like an Adobe Illustrator that I am more used to work with. Inkscape is a free and open-source vector graphics editor. This software can be used to create or edit vector graphics such as illustrations, diagrams, line arts, charts, logos and complex paintings.
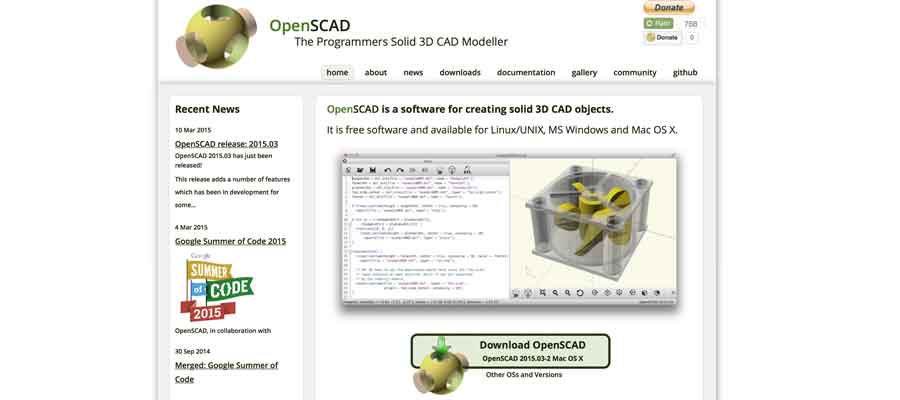
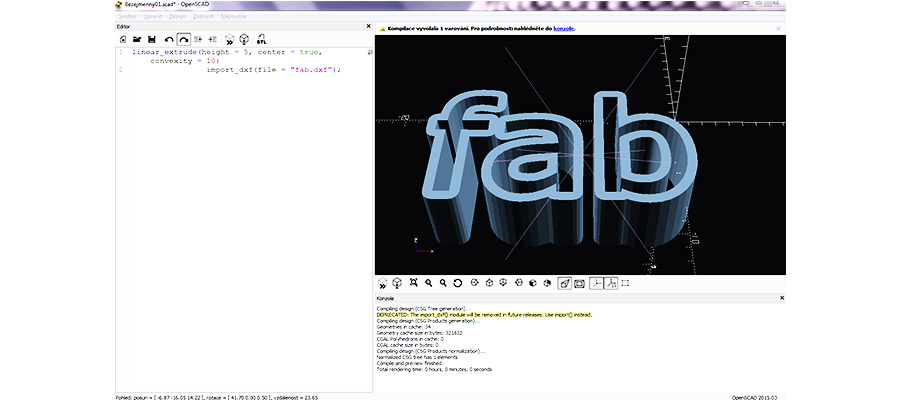
For exploration of 3D design environment we dived into OpenSCAD - a free software application for creating solid 3D CAD objects. It is a script-only based modeller that uses its own description language; parts can be previewed, but it cannot be interactively selected or modified by mouse in the 3D view.
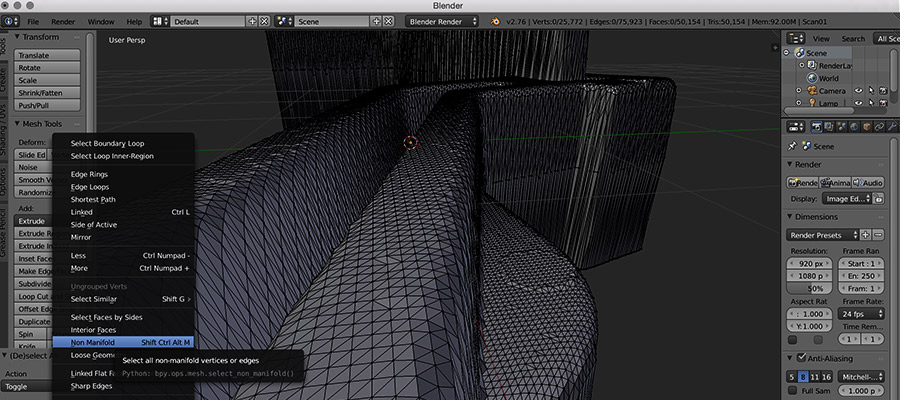
Fine-tuning the model in Blender 3D scan mesh repair before 3D printing. Ferdi introduced us to the mesh repairing tools using the open source SW Blender where we checked the printability of the mesh, repaired it, exported .stl and just than loaded the exported file to slicing SW Cura to generate gCode and print it.

blender_I tried to import the geometry that I previously created in Rhino+Grasshopper and was playing around with the different options for the mesh modification and exploring the working environment of this amazing and powerful 3D SW.
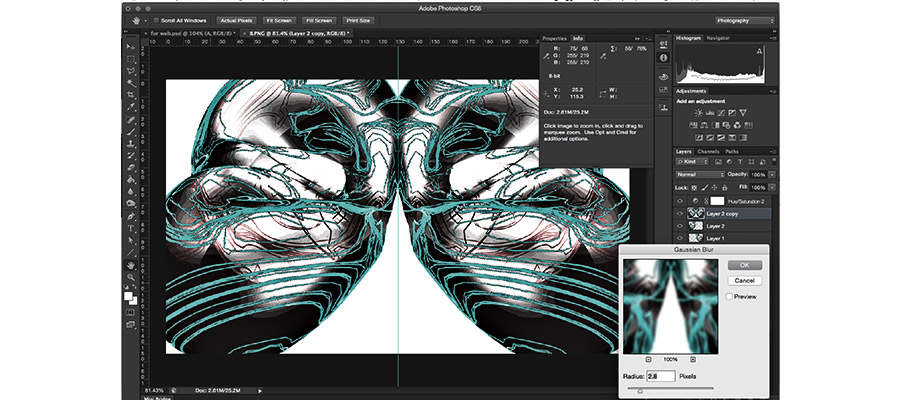
Going back to the tools what I already know I created a 2D graphic using Adobe Photoshop.
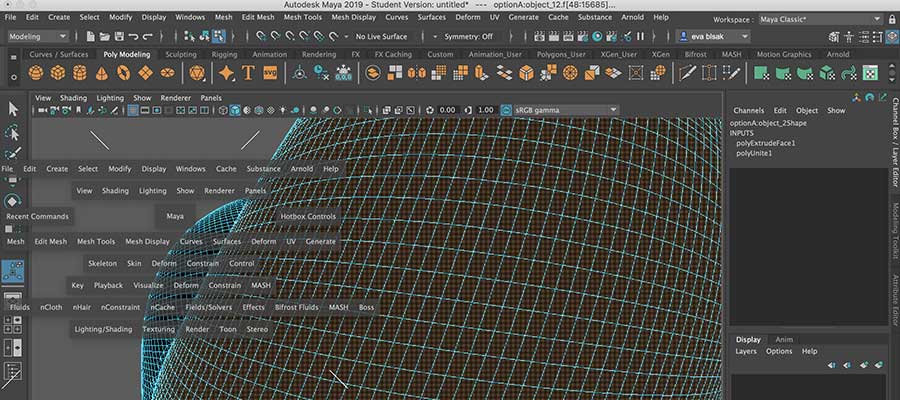
Autodesk Maya is a very good tool not just for polygonal modelling. It is a 3D application, being used to create interactive 3D scenarios, including video games, animated films, or visual effects. We used it a lot back in the studio/university times, its a great tool, people commonly love it thanks to the smoothing option by pressing key 3 :) you get immediate preview of fluid ,hadid, shapes. I was happy to download and to introduce to myself the latest release, Maya 2019. Its worth to try it, even if this SW is payed, there is a free trial version too.
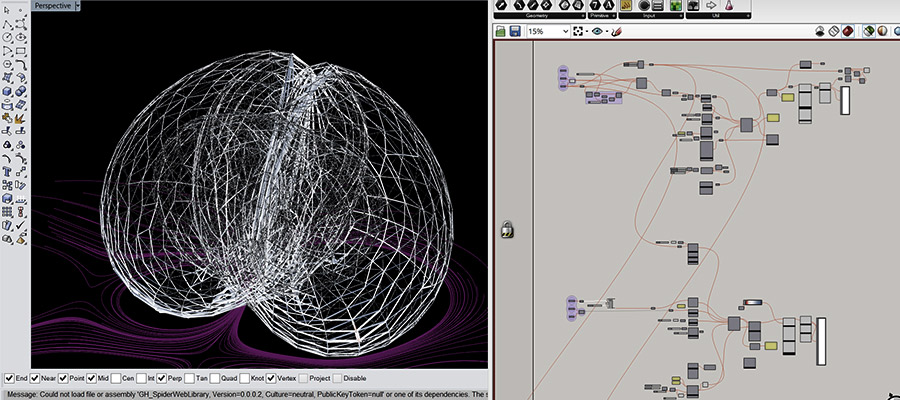
Rhino environment with the wingow of plug-in Grasshopper with some components from Karamba3D where I generated the line patterns on the surface of the geometries. Rhino and GH environment gives a designer a wide range of possibilities to design and create. the more advanced you get, the more critical it is to understand continuity, as errors propagate as functions become more sophisticated it takes some experience to work precisely with this SW, you just have to take the time to look at things and improve your skills, practice makes it better! it is easier to generate sophisticated biological-looking shapes, just give it a try! there are many tutorials online that you can follow. Also, you can join many webinars and workshops to improve your skills
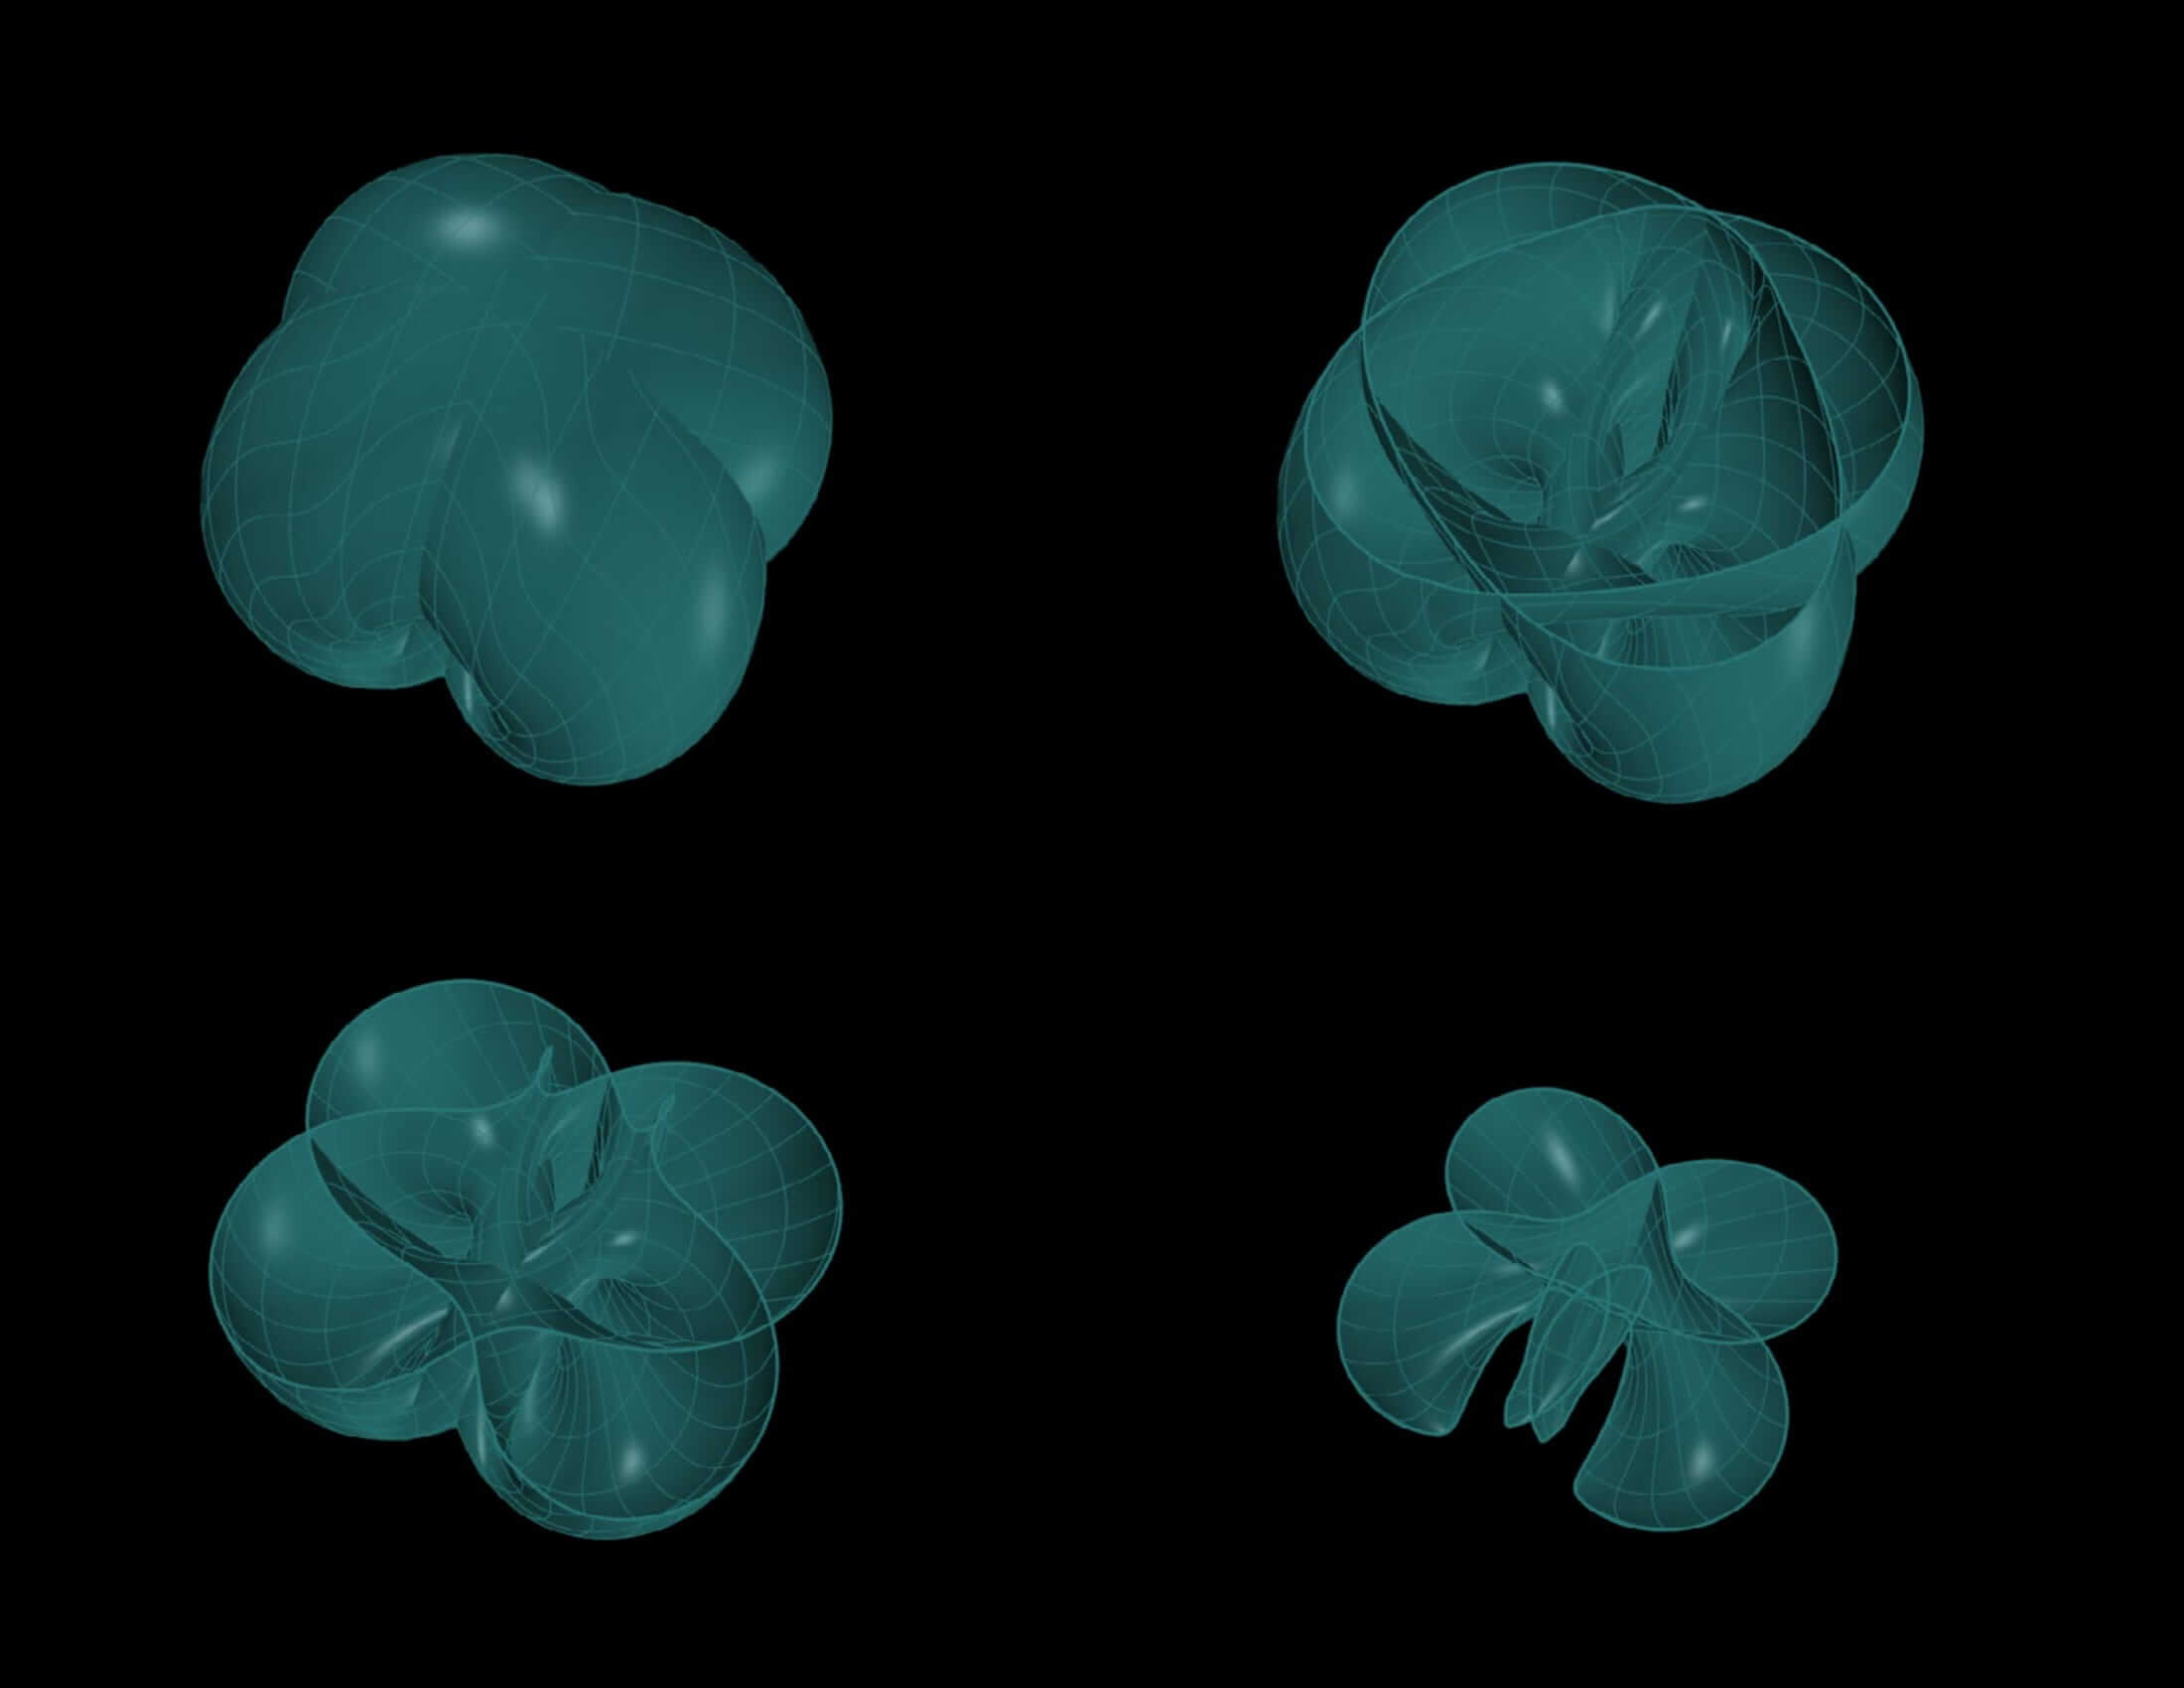
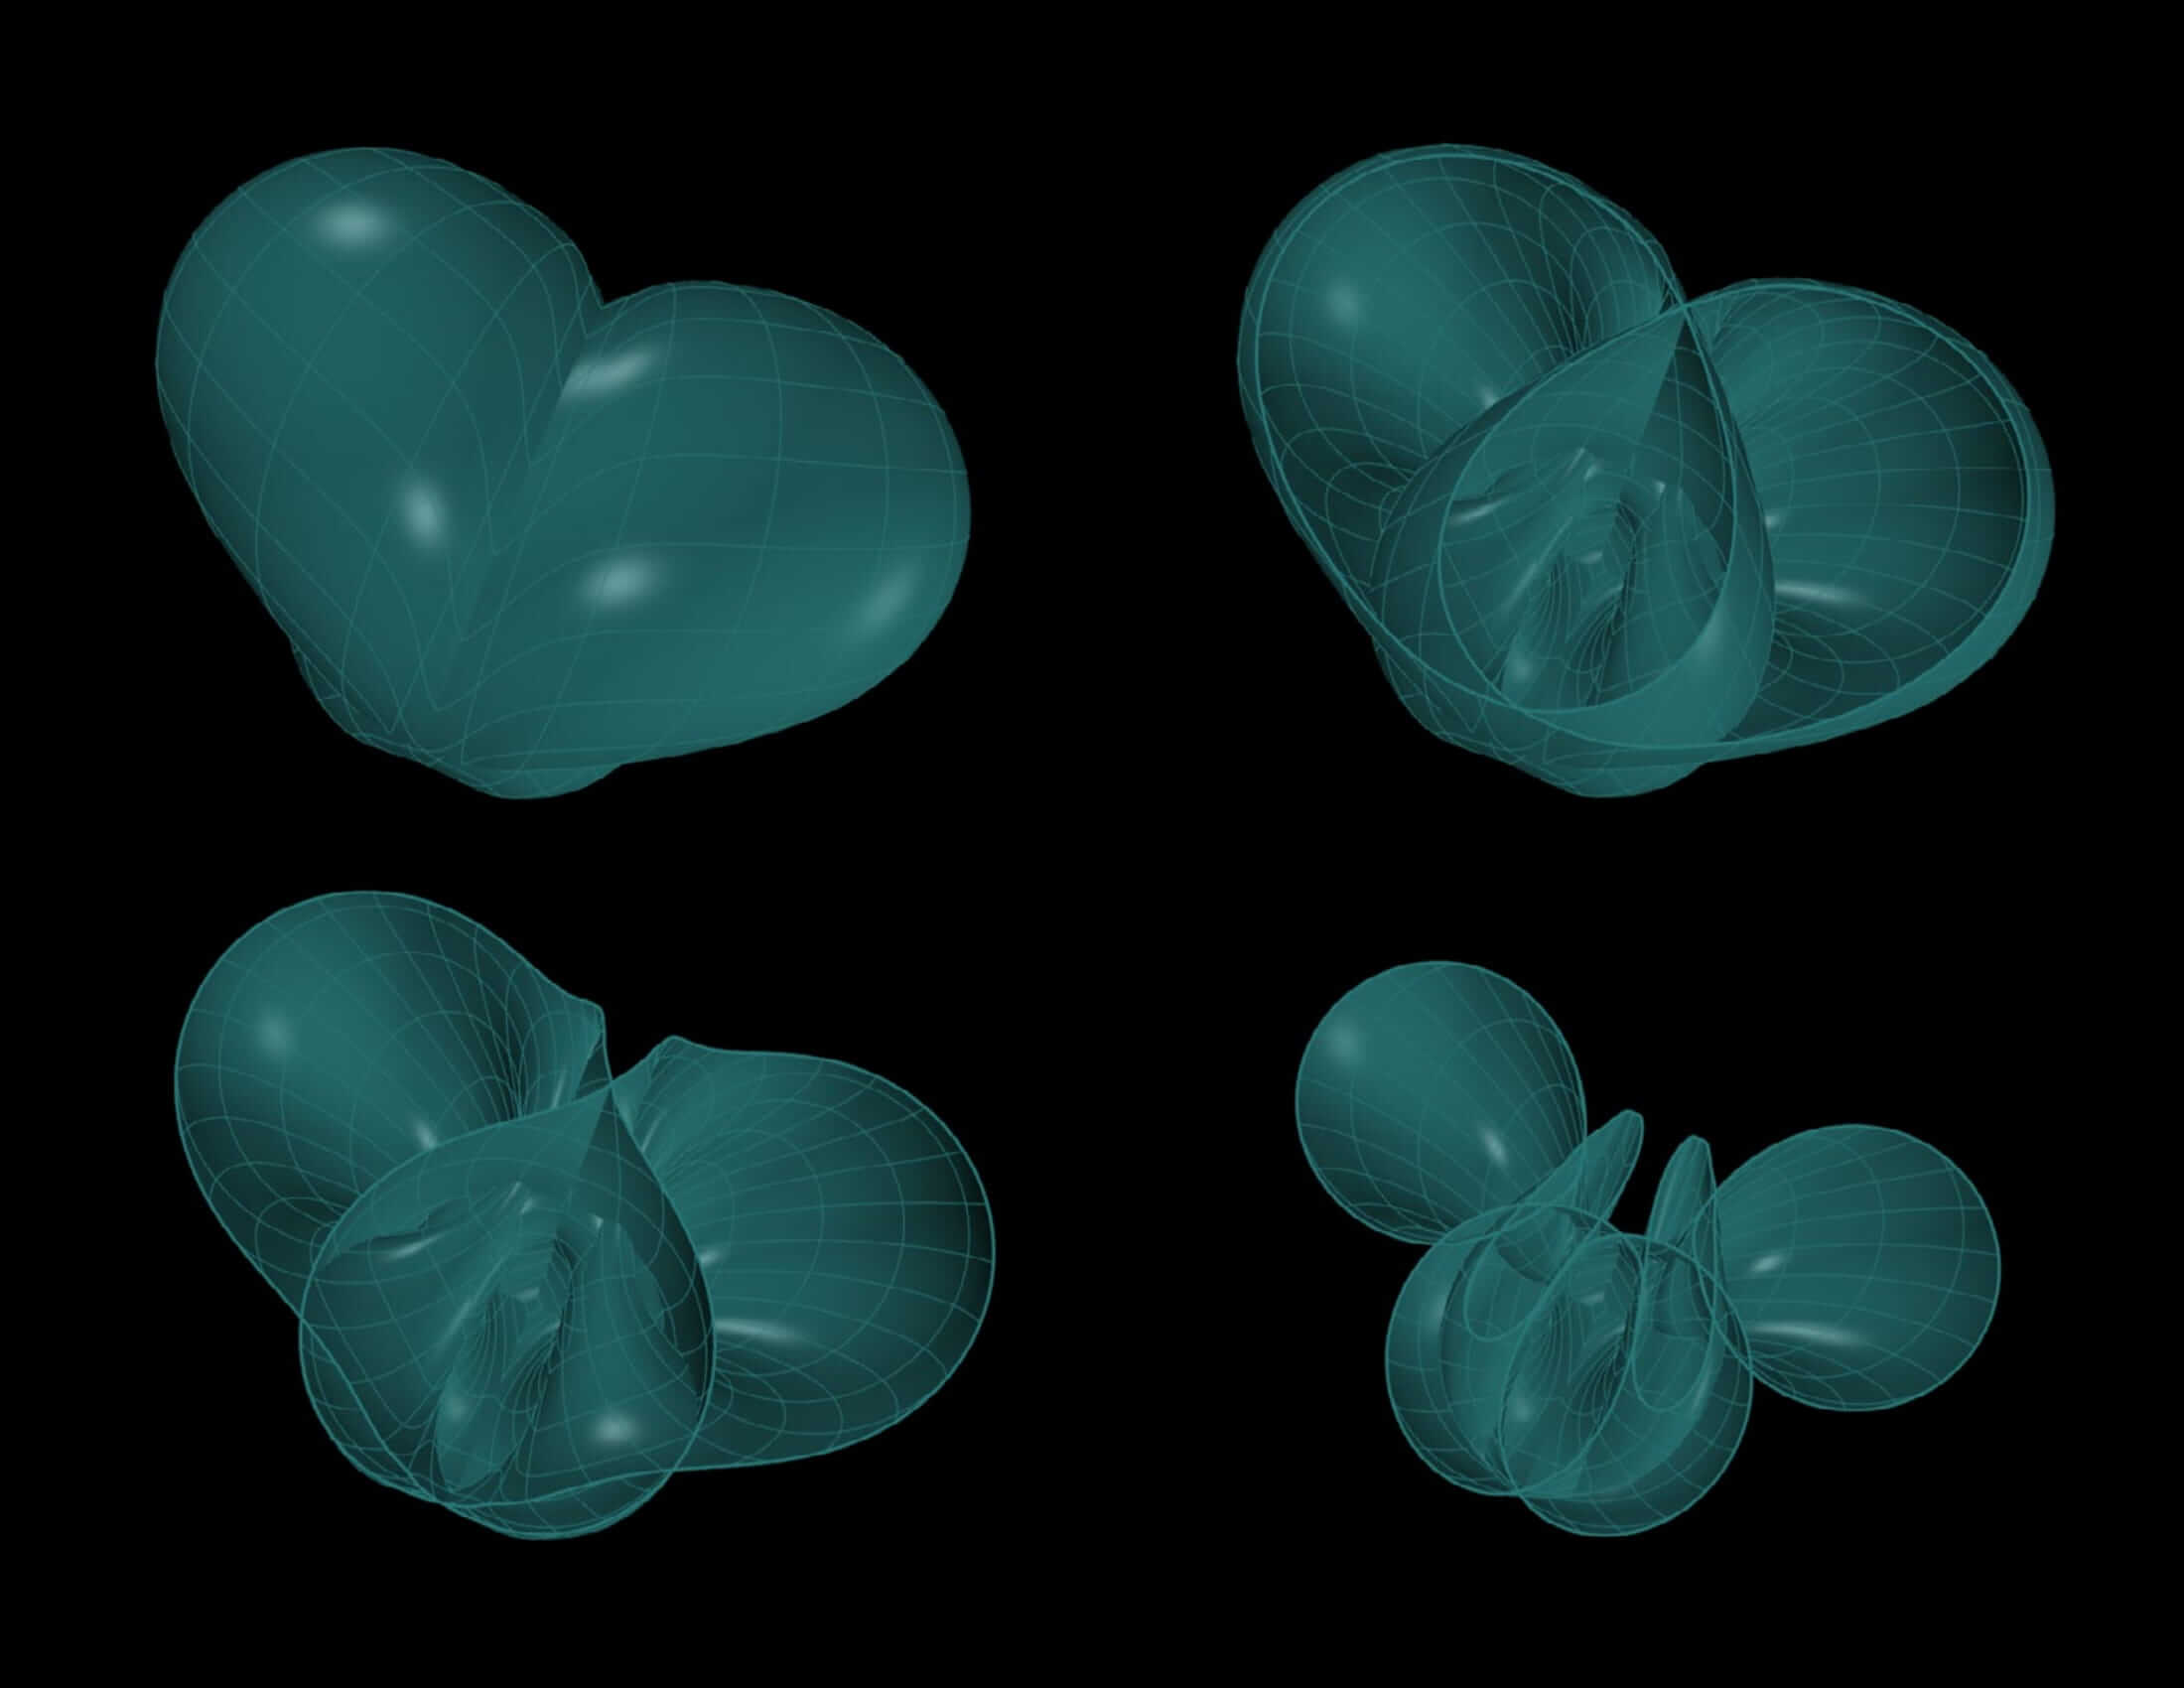
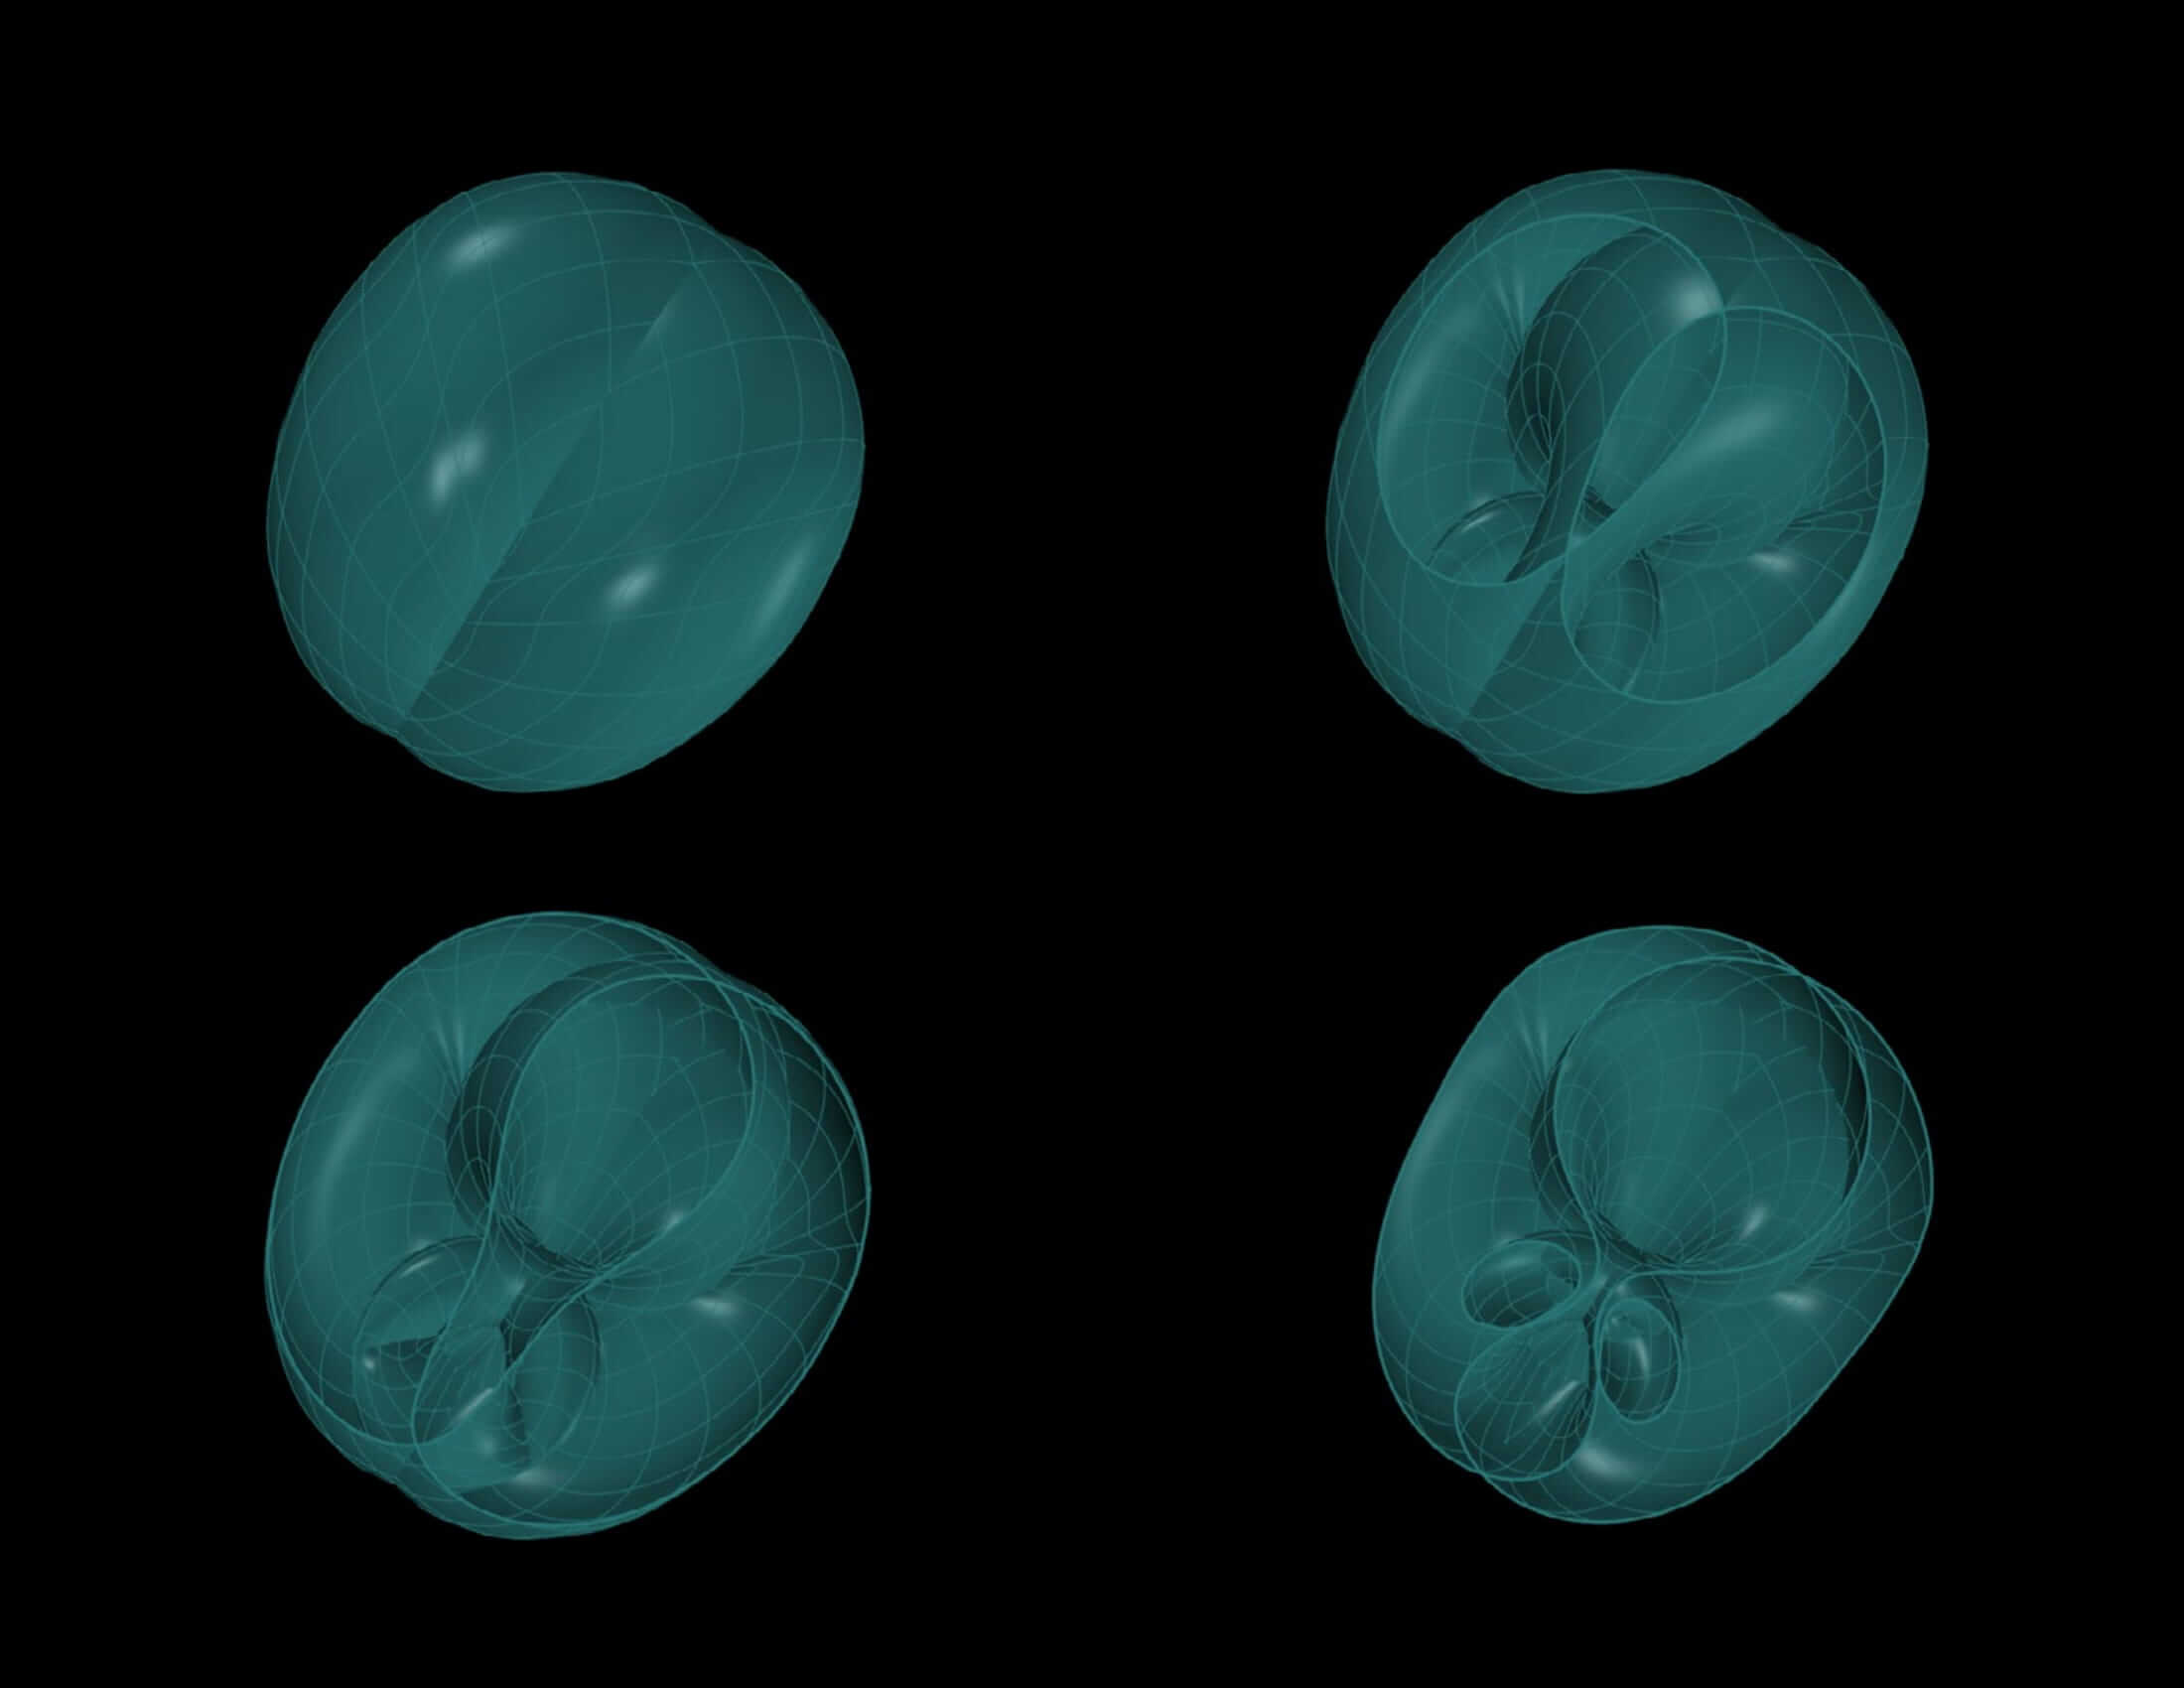
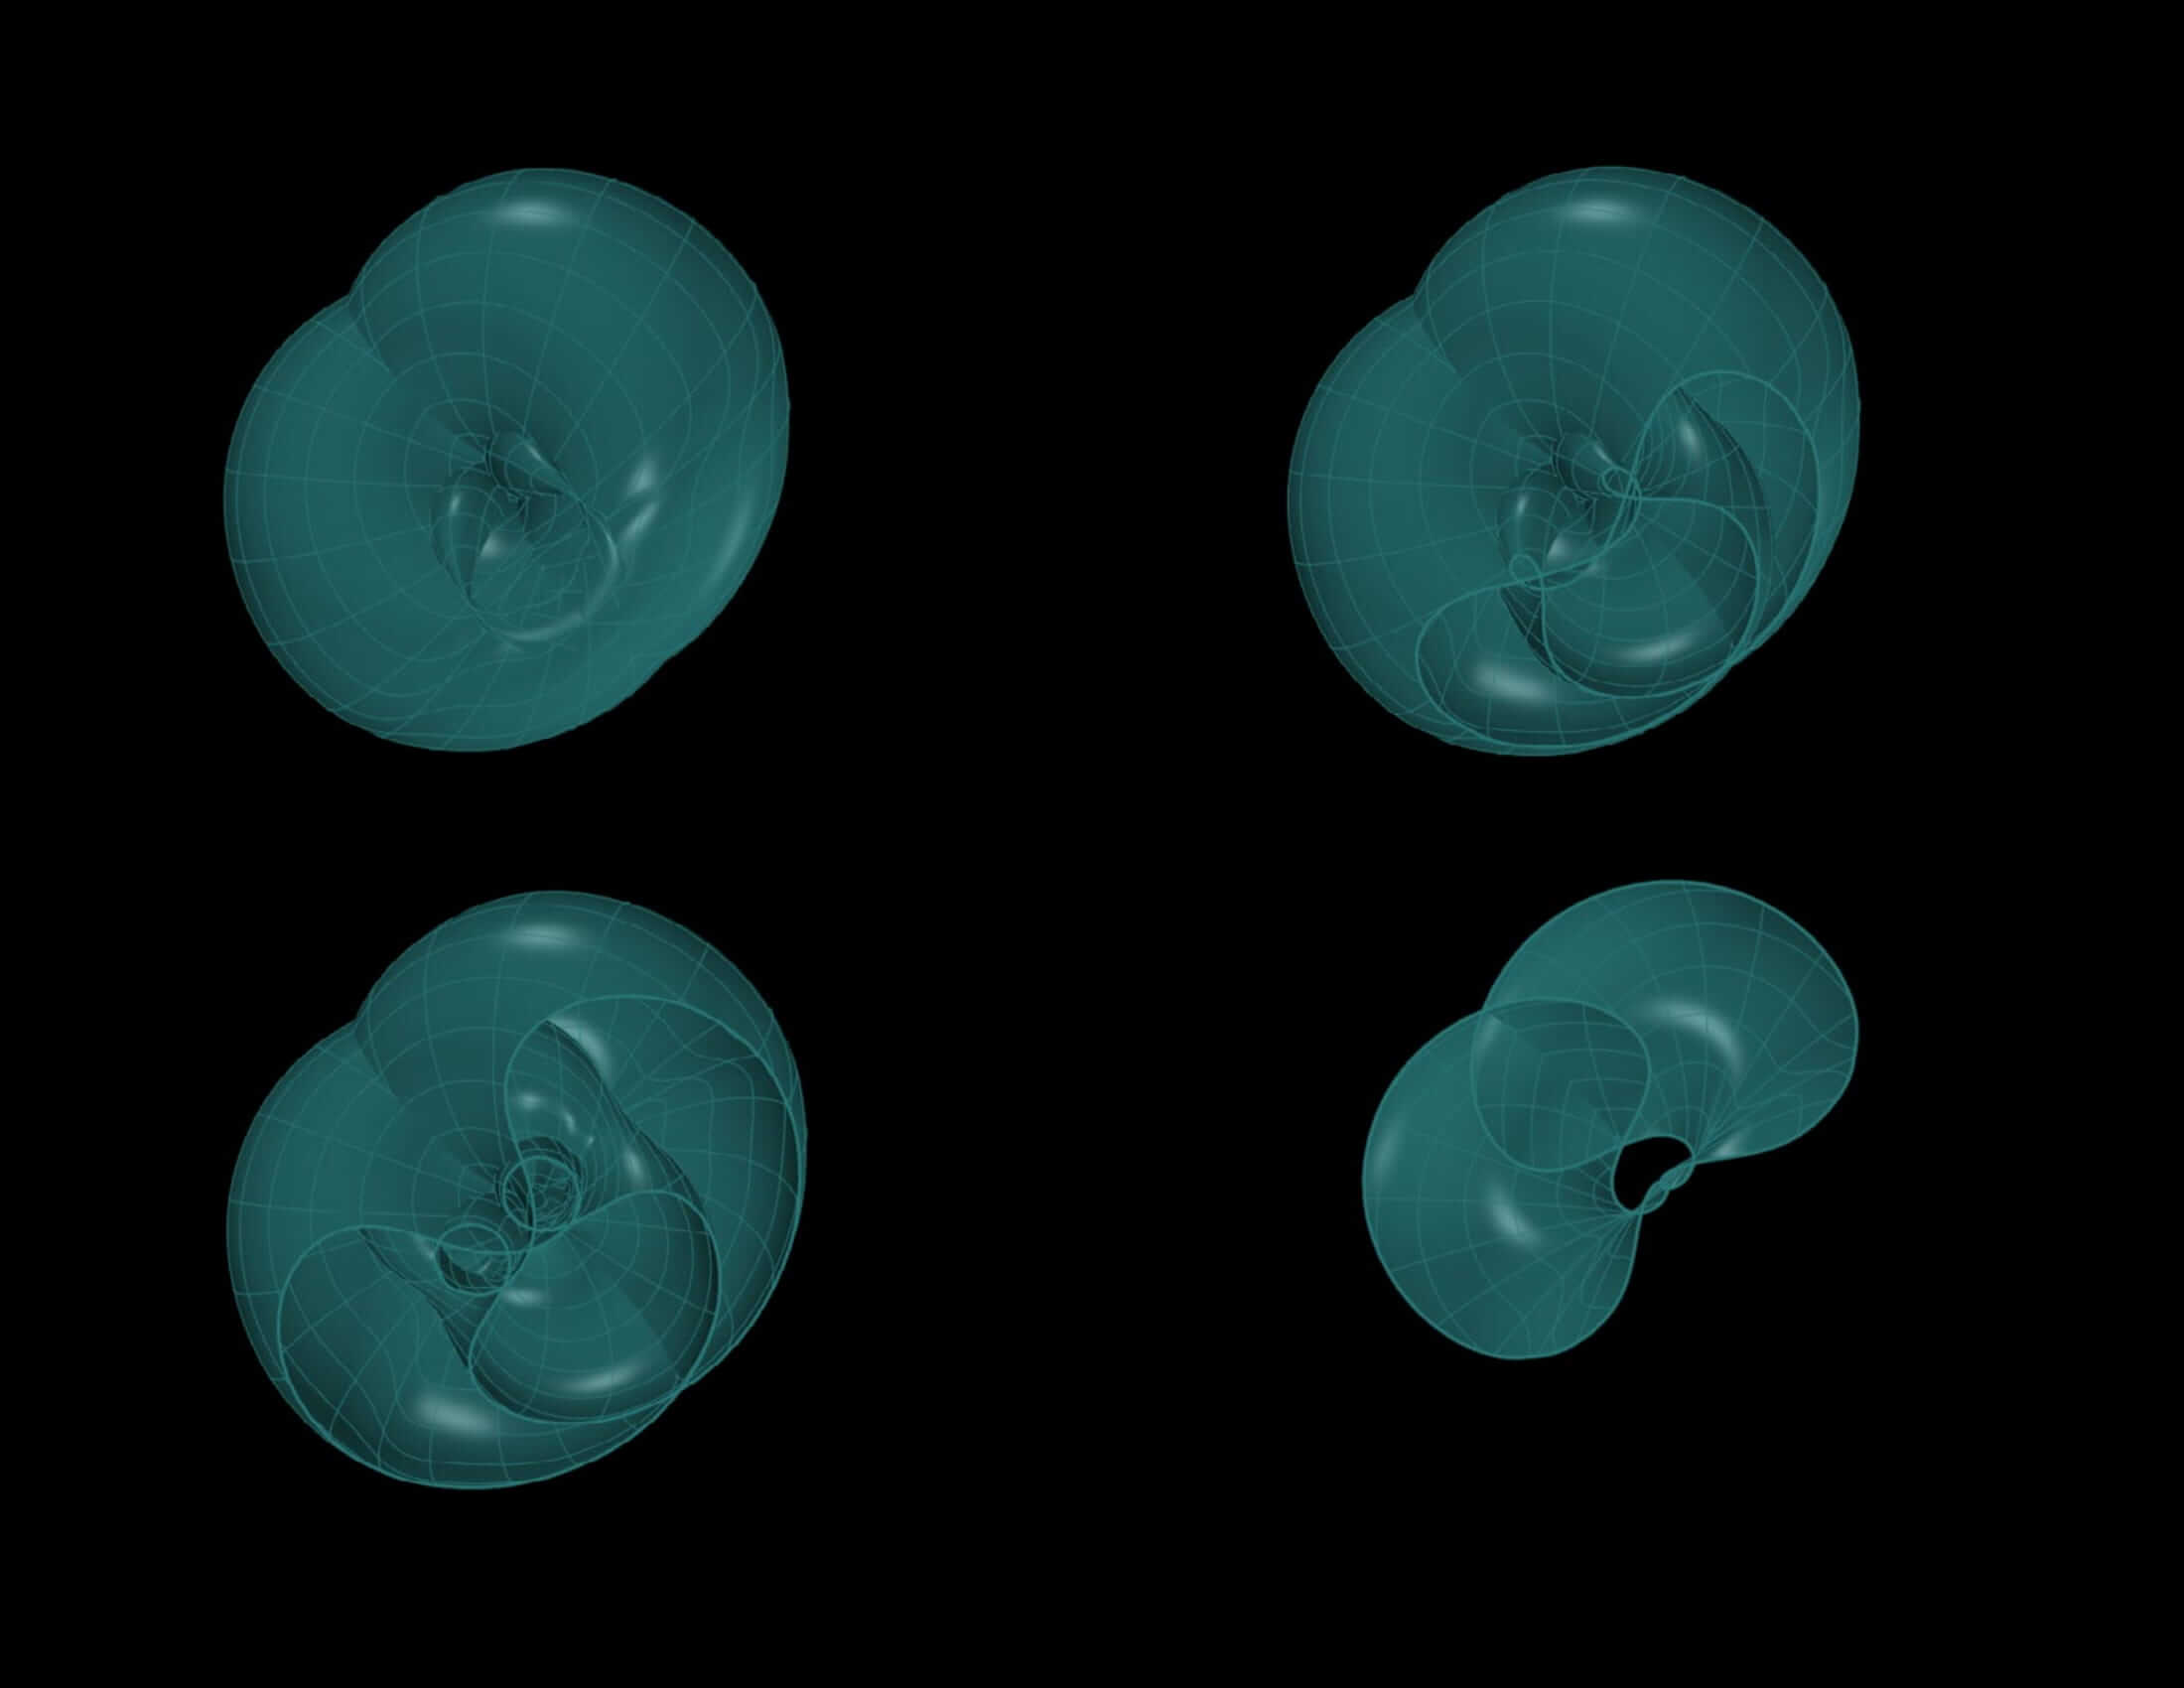
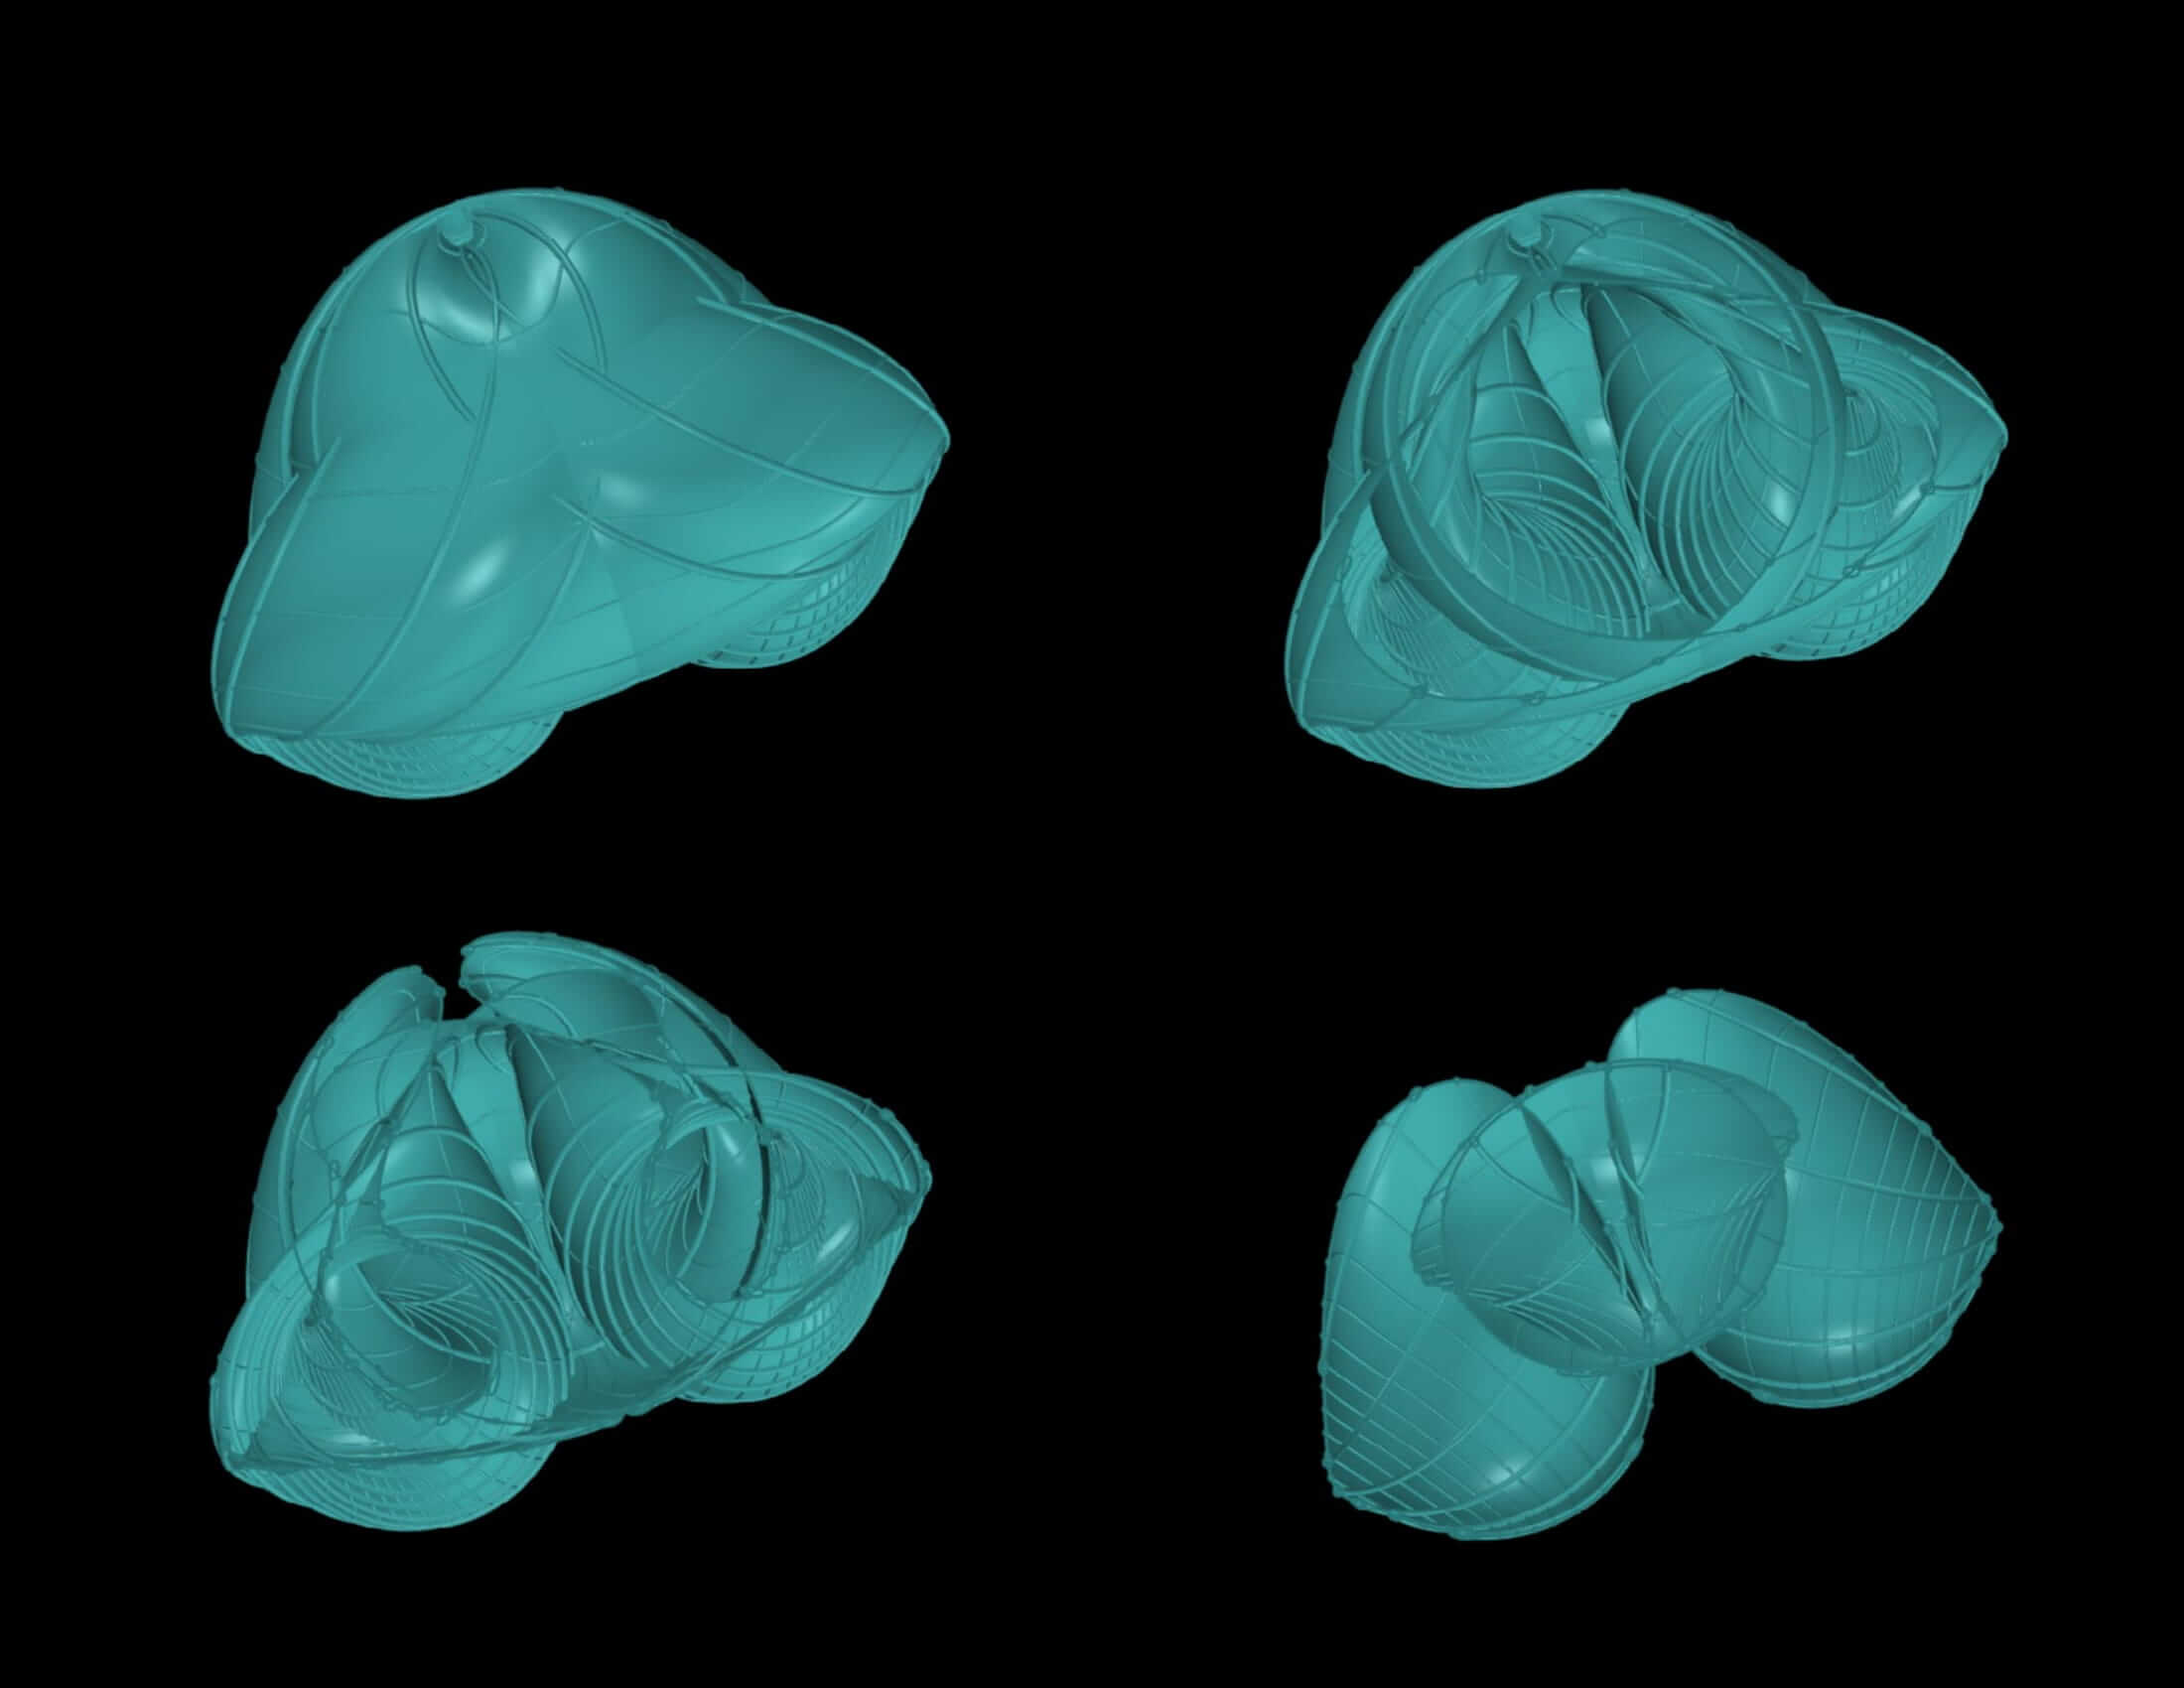
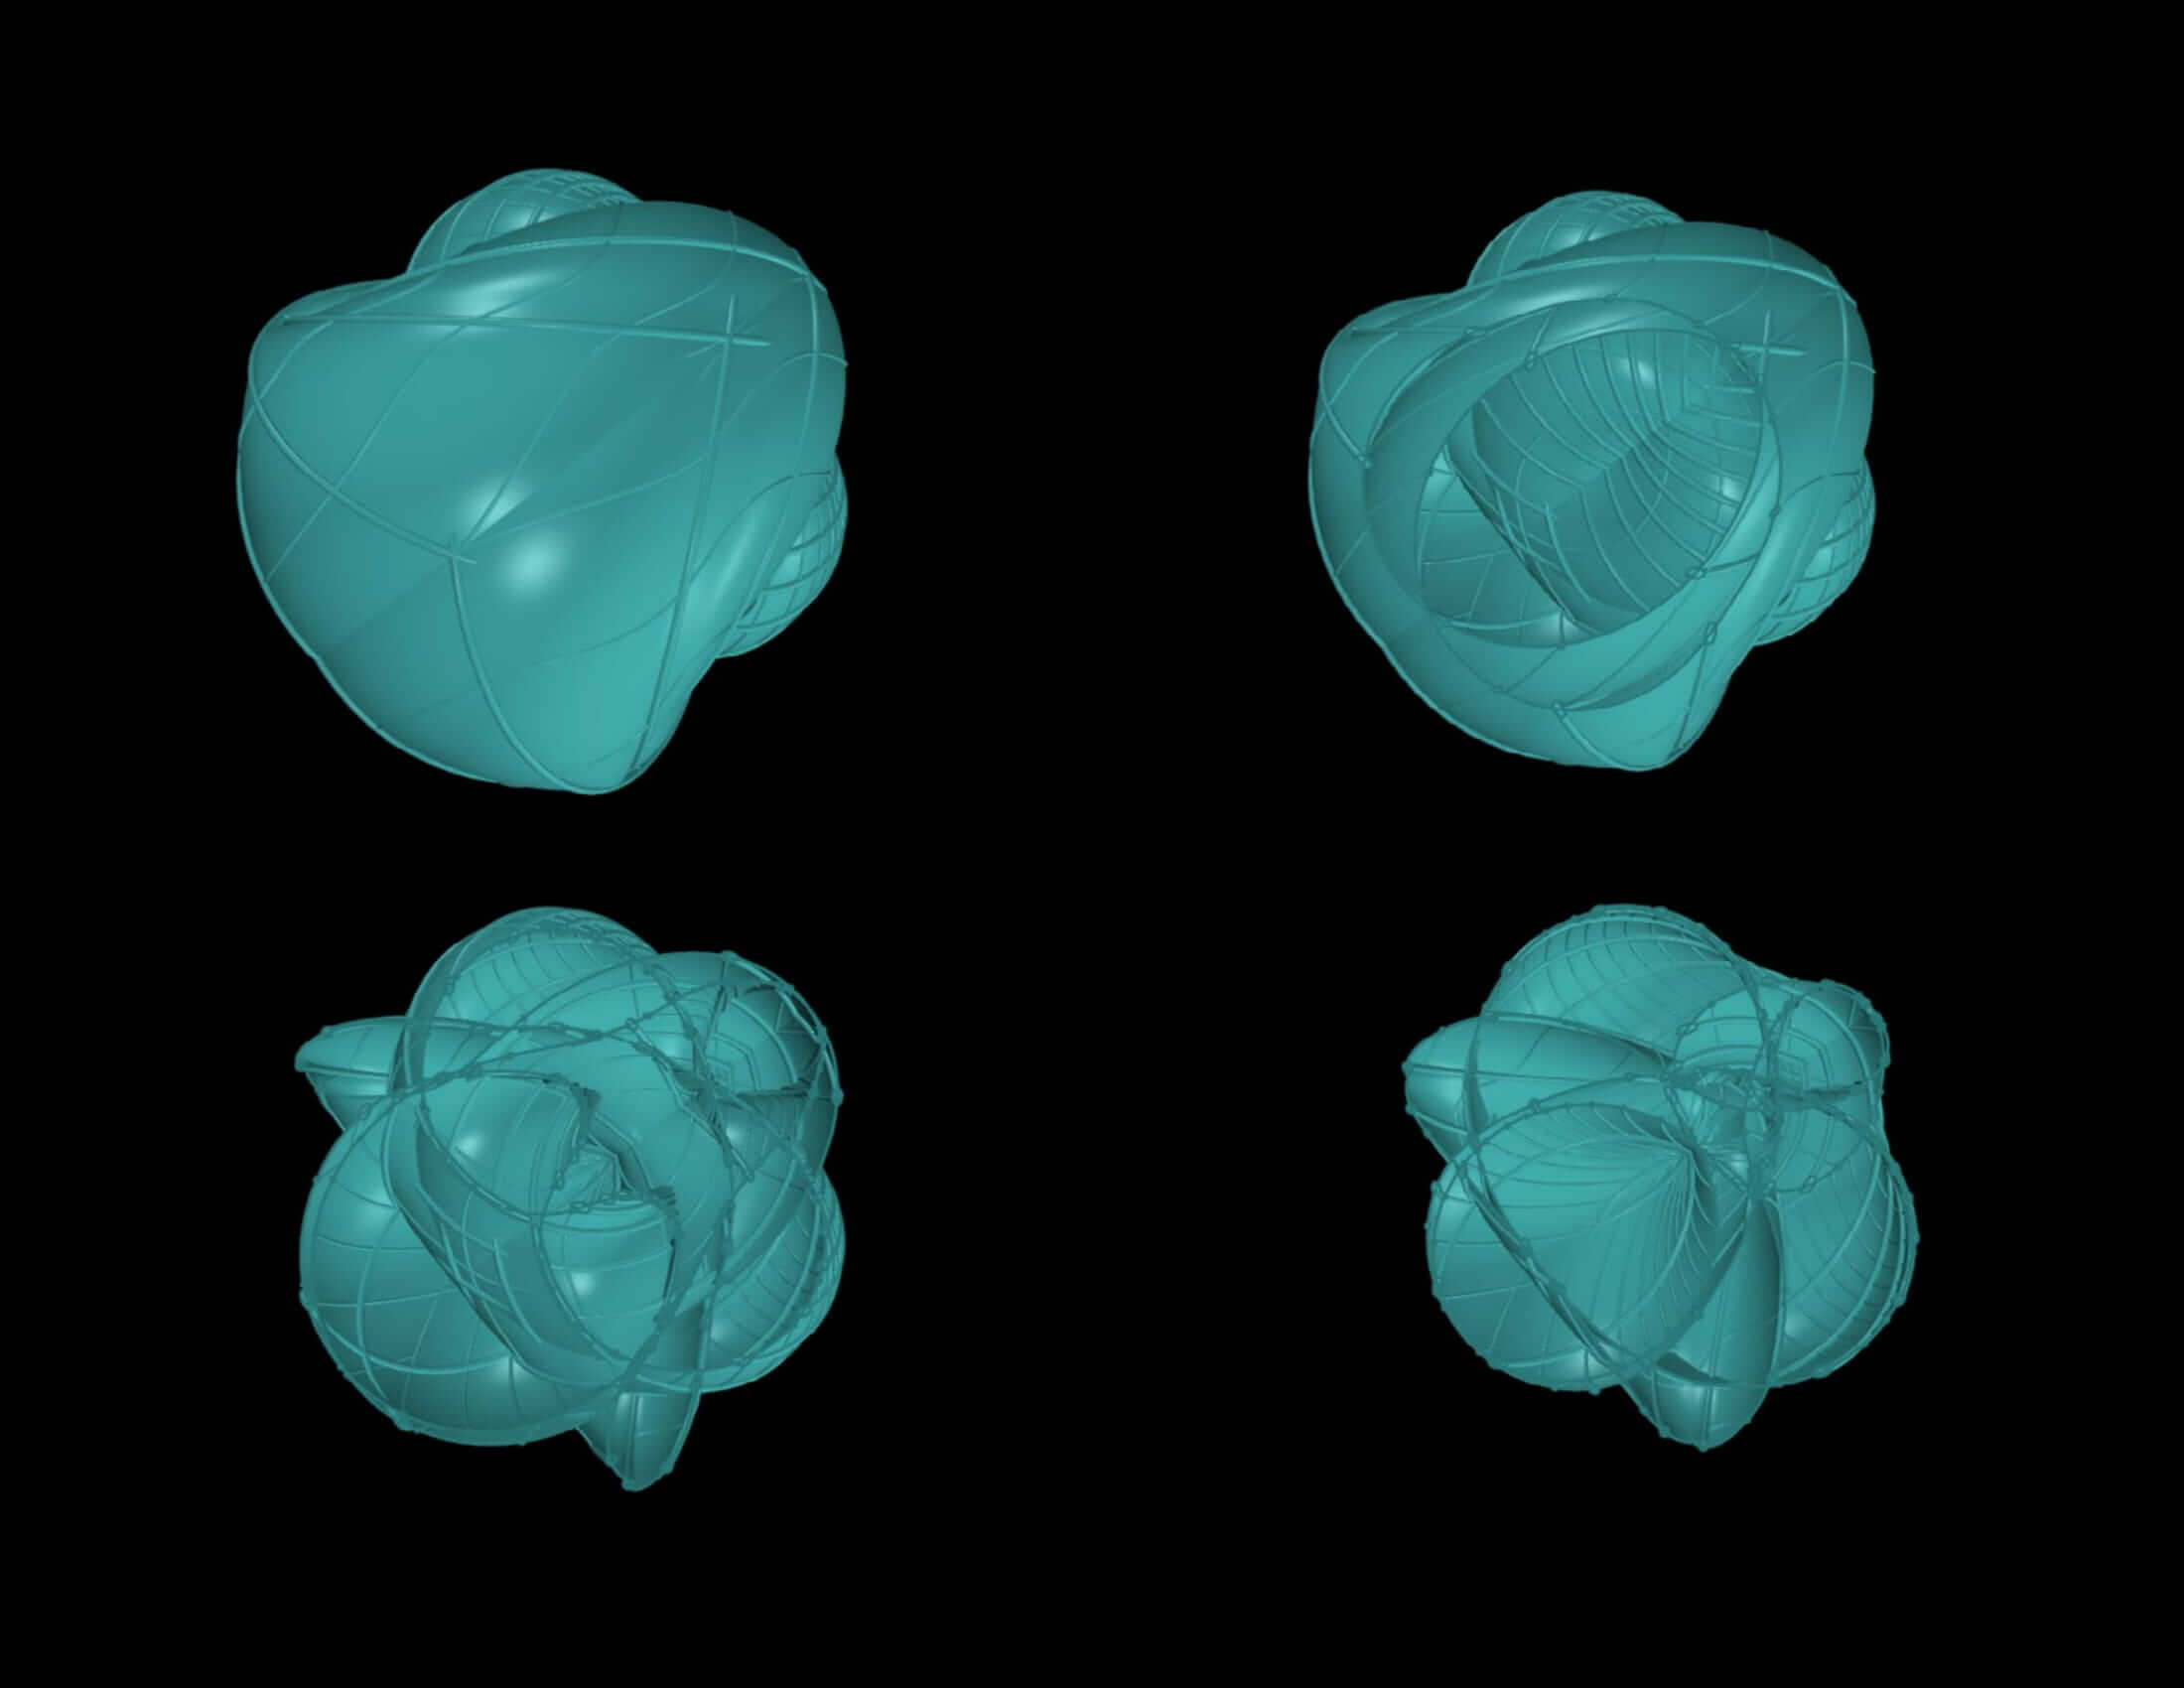
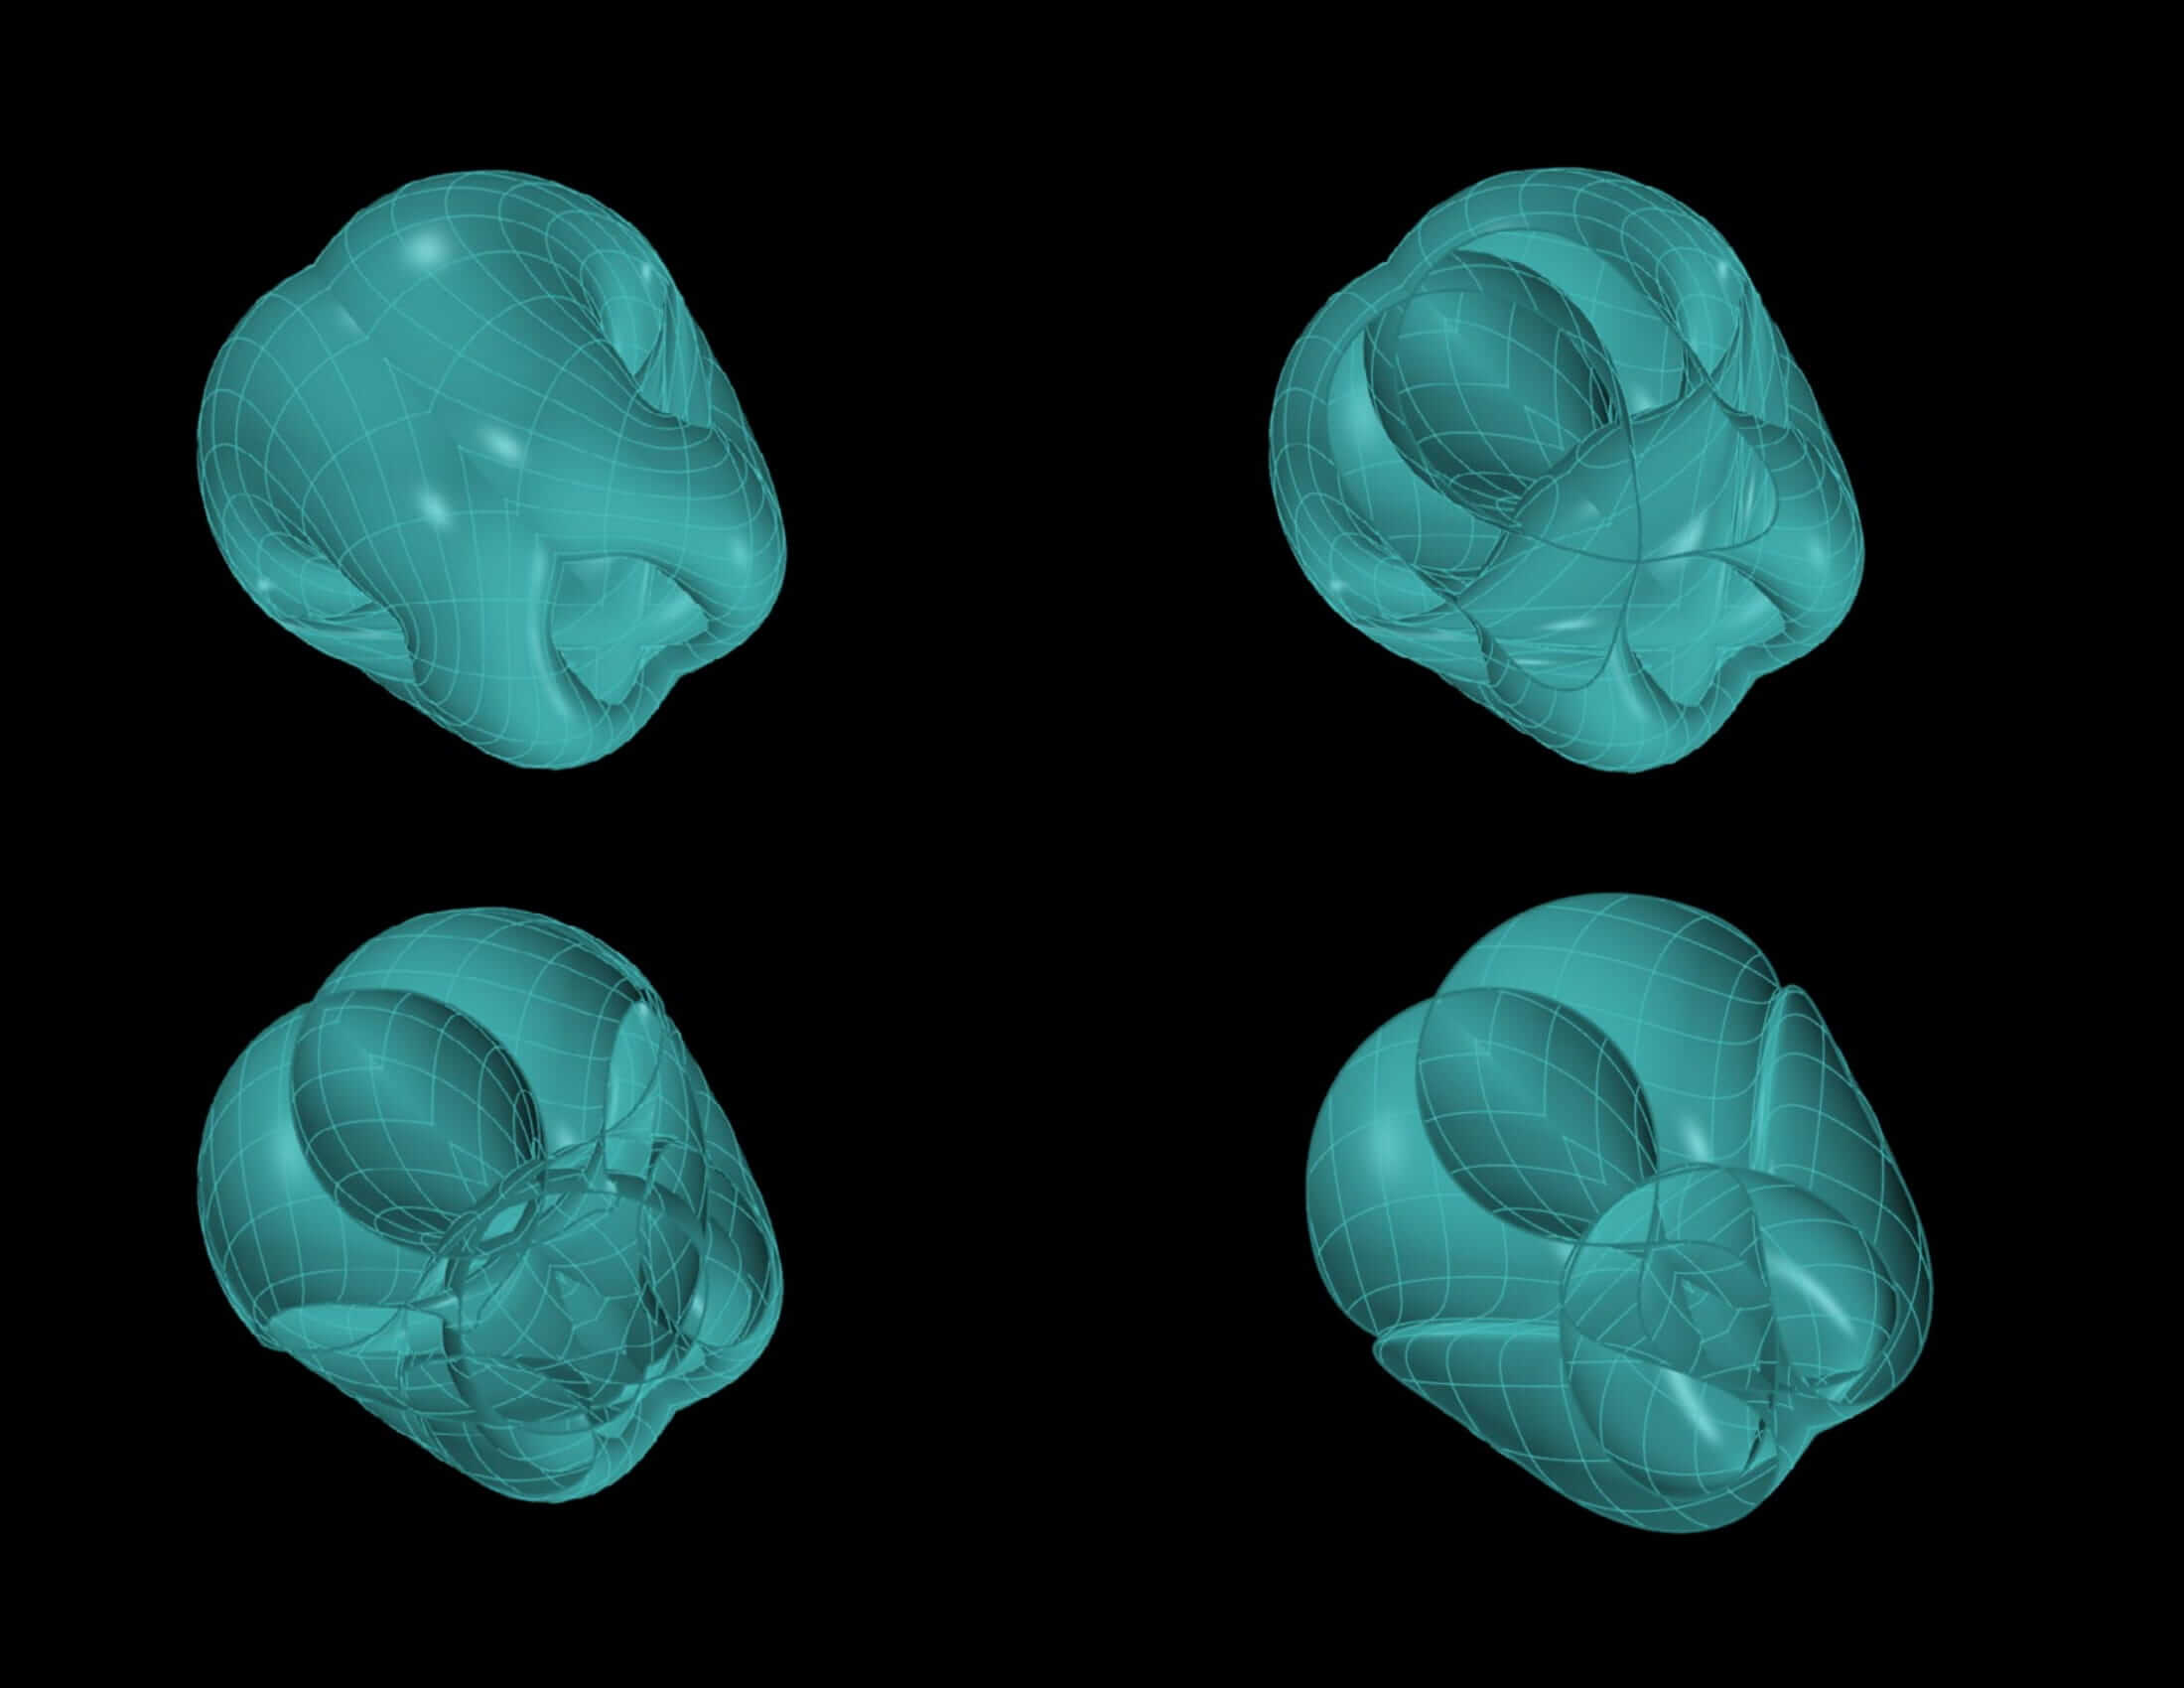
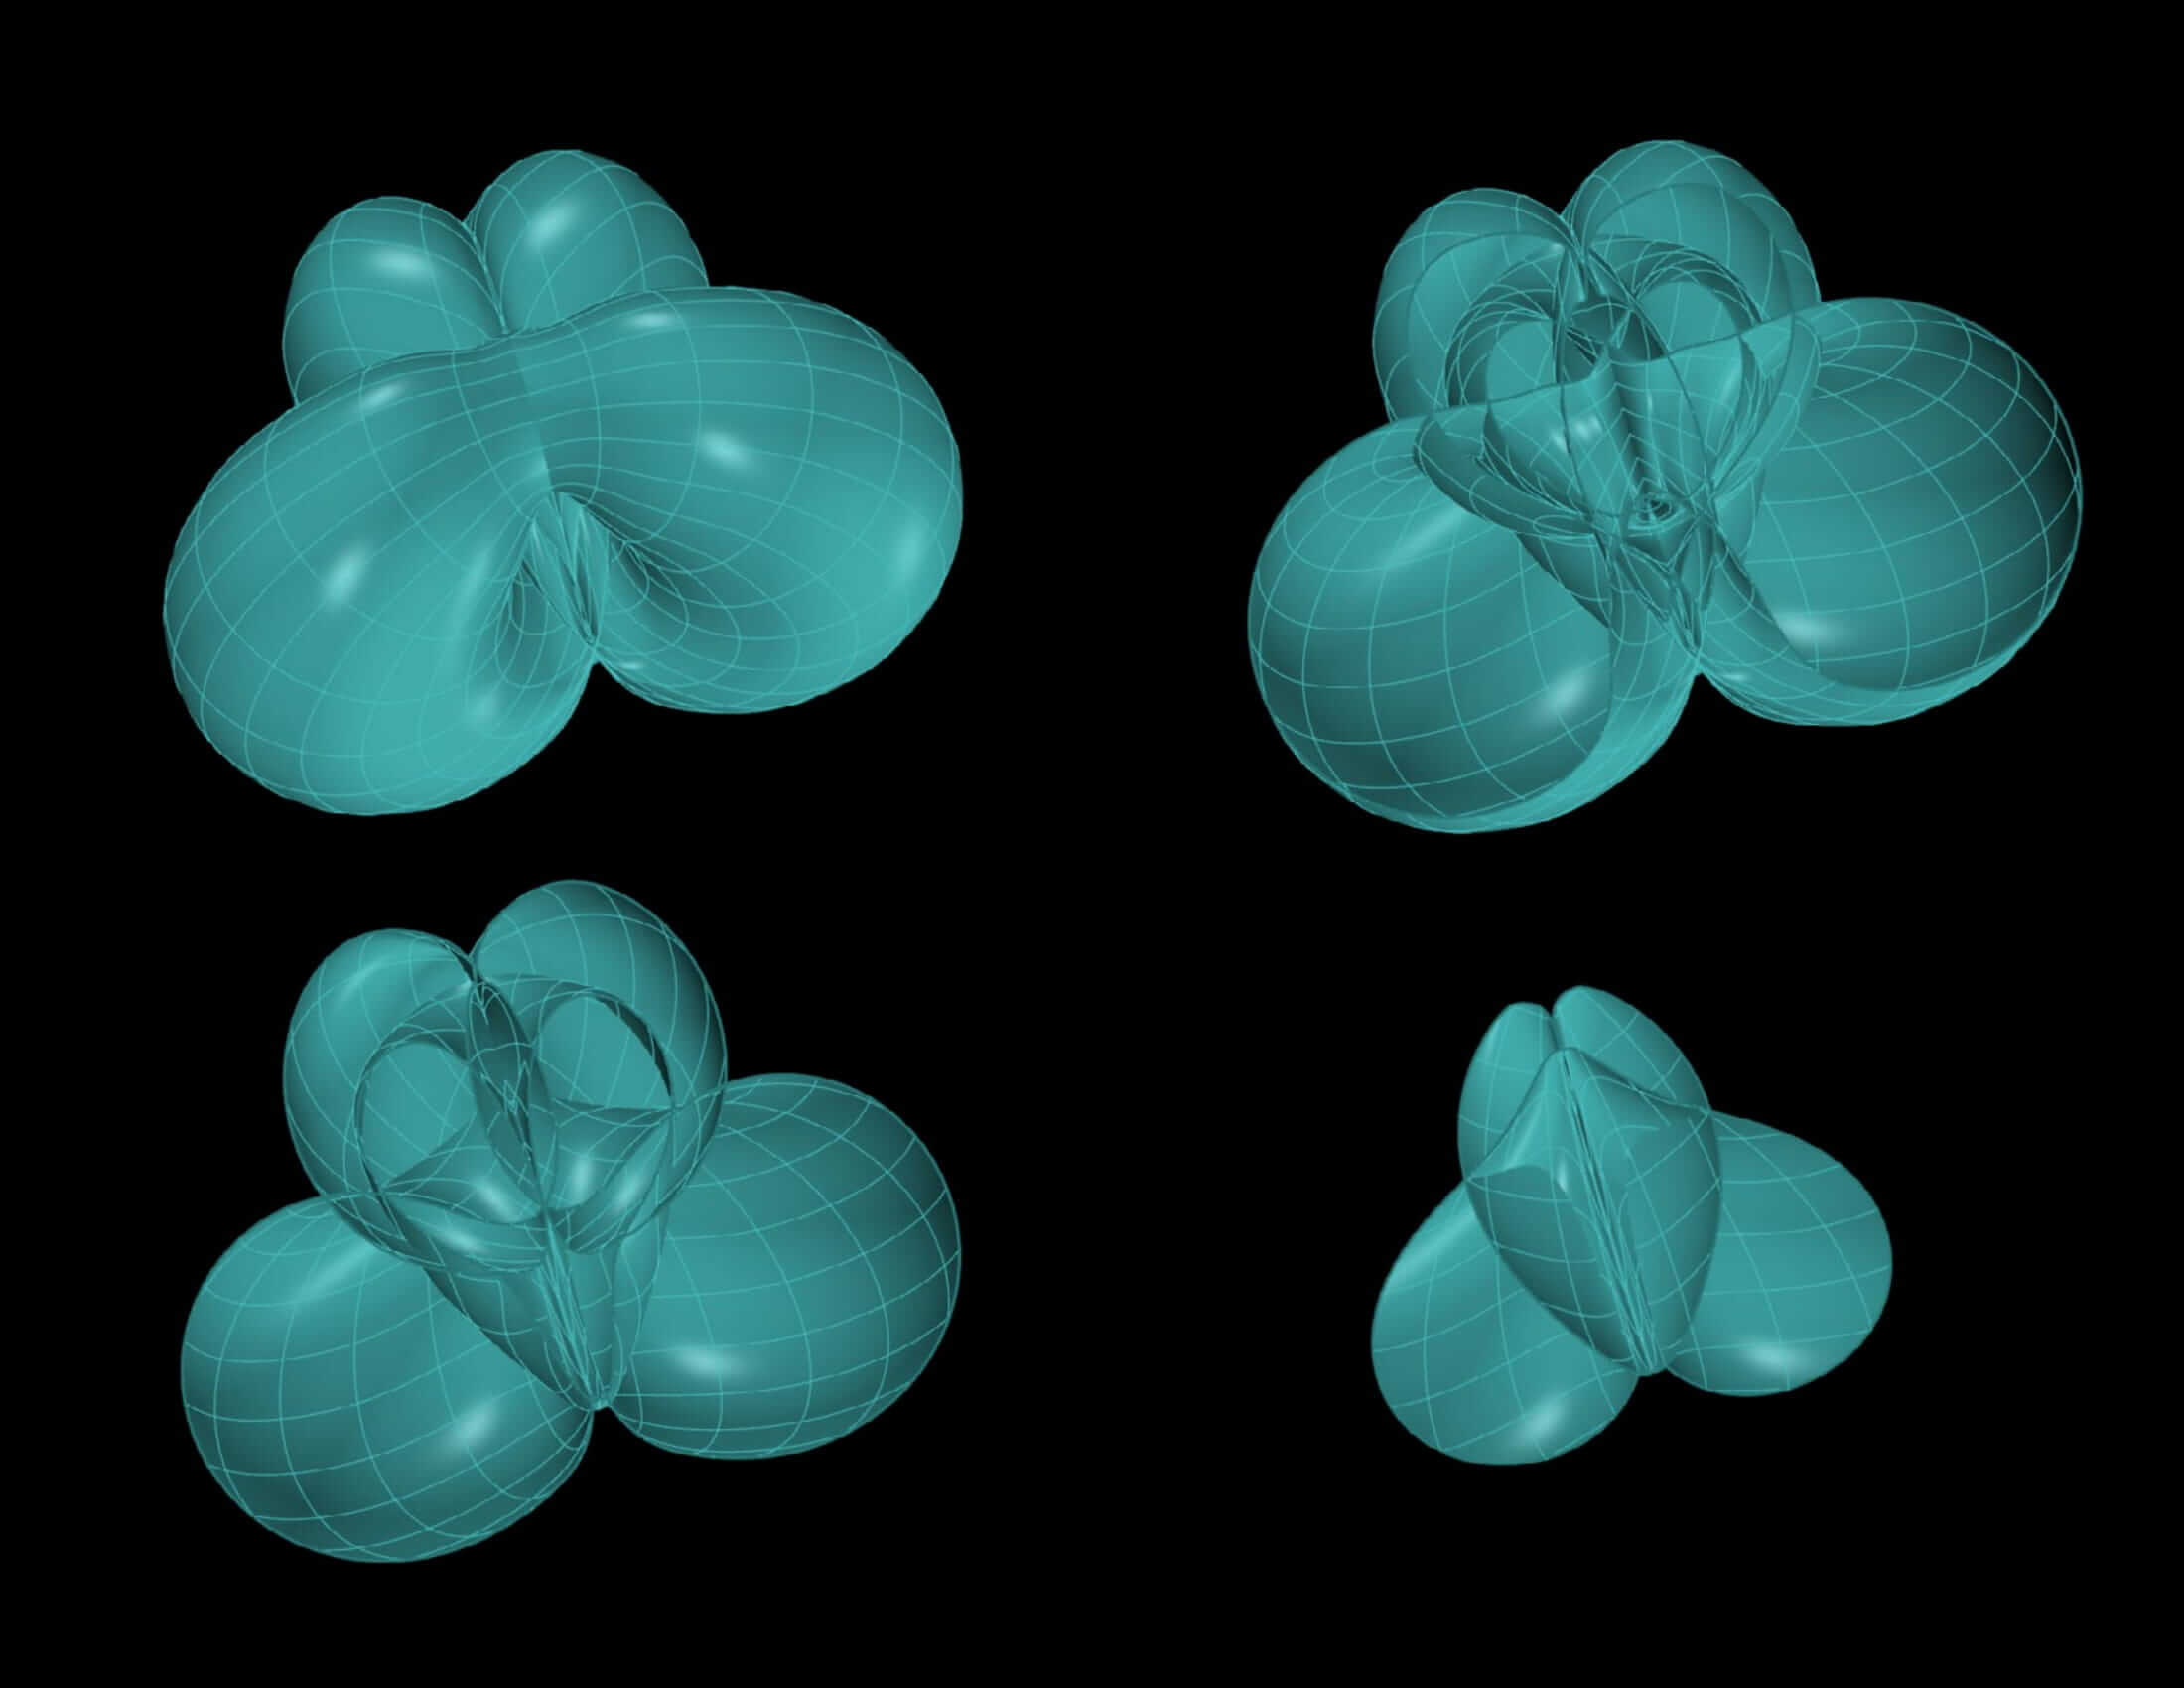
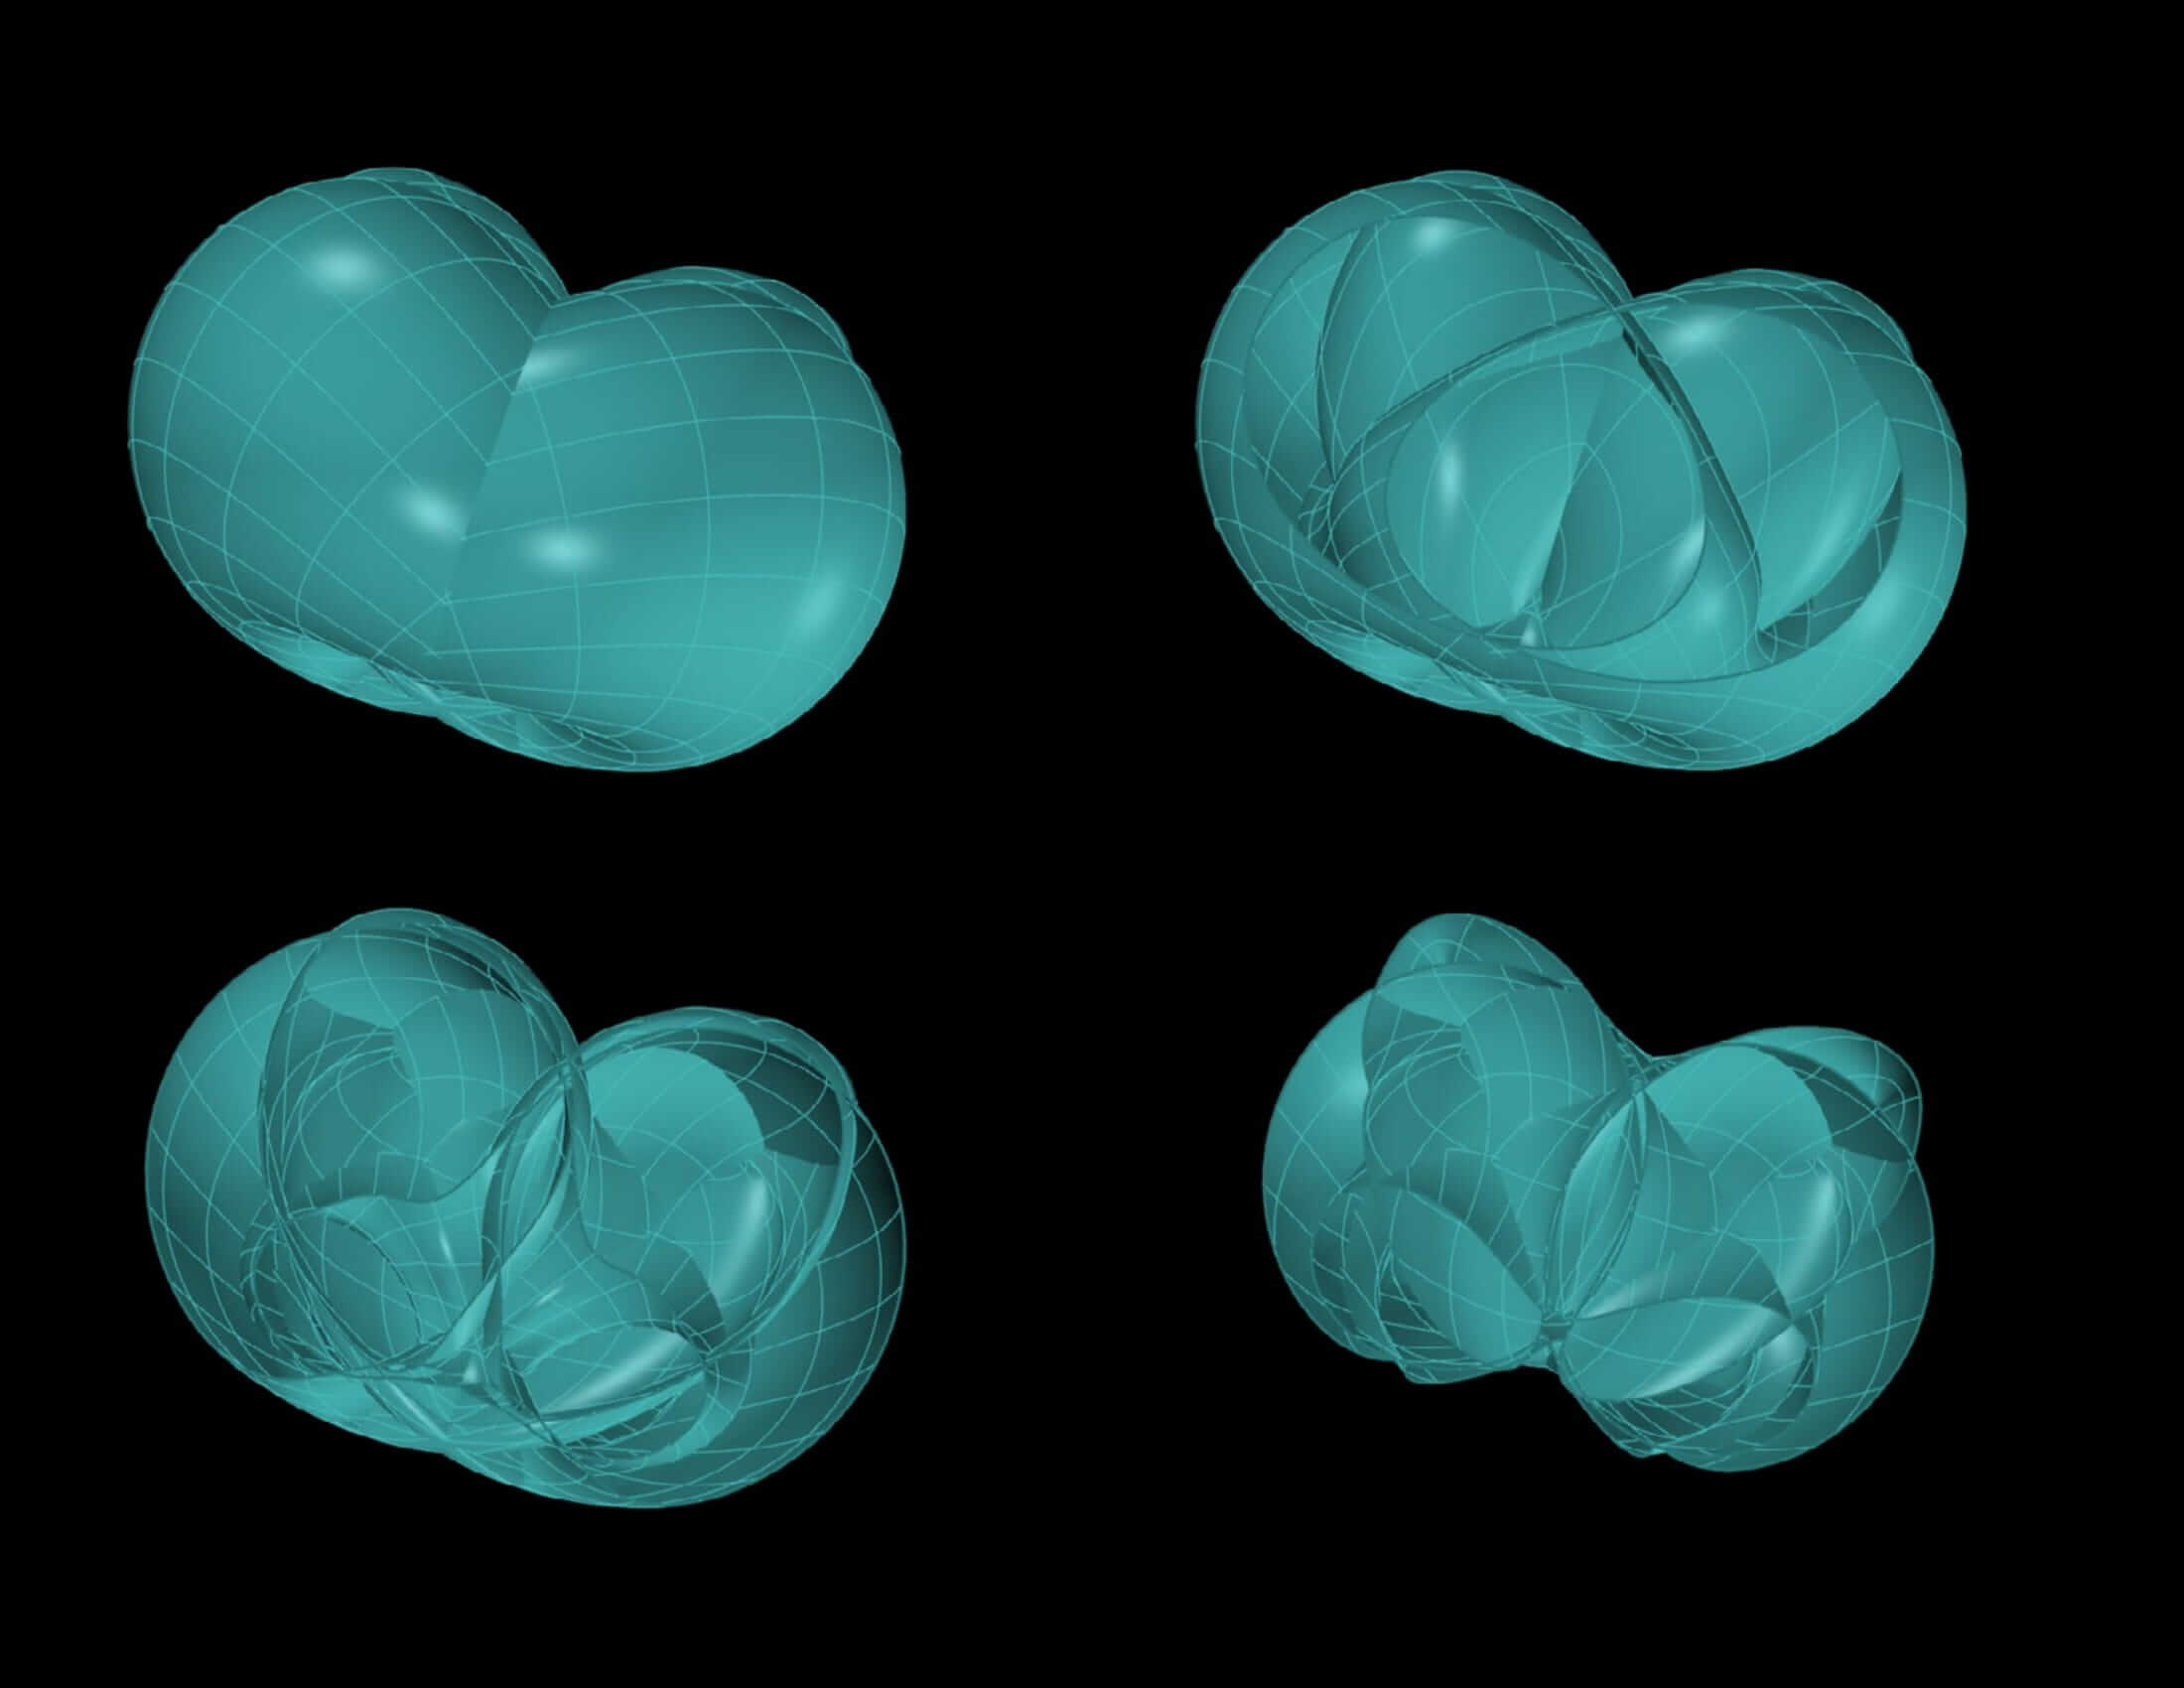
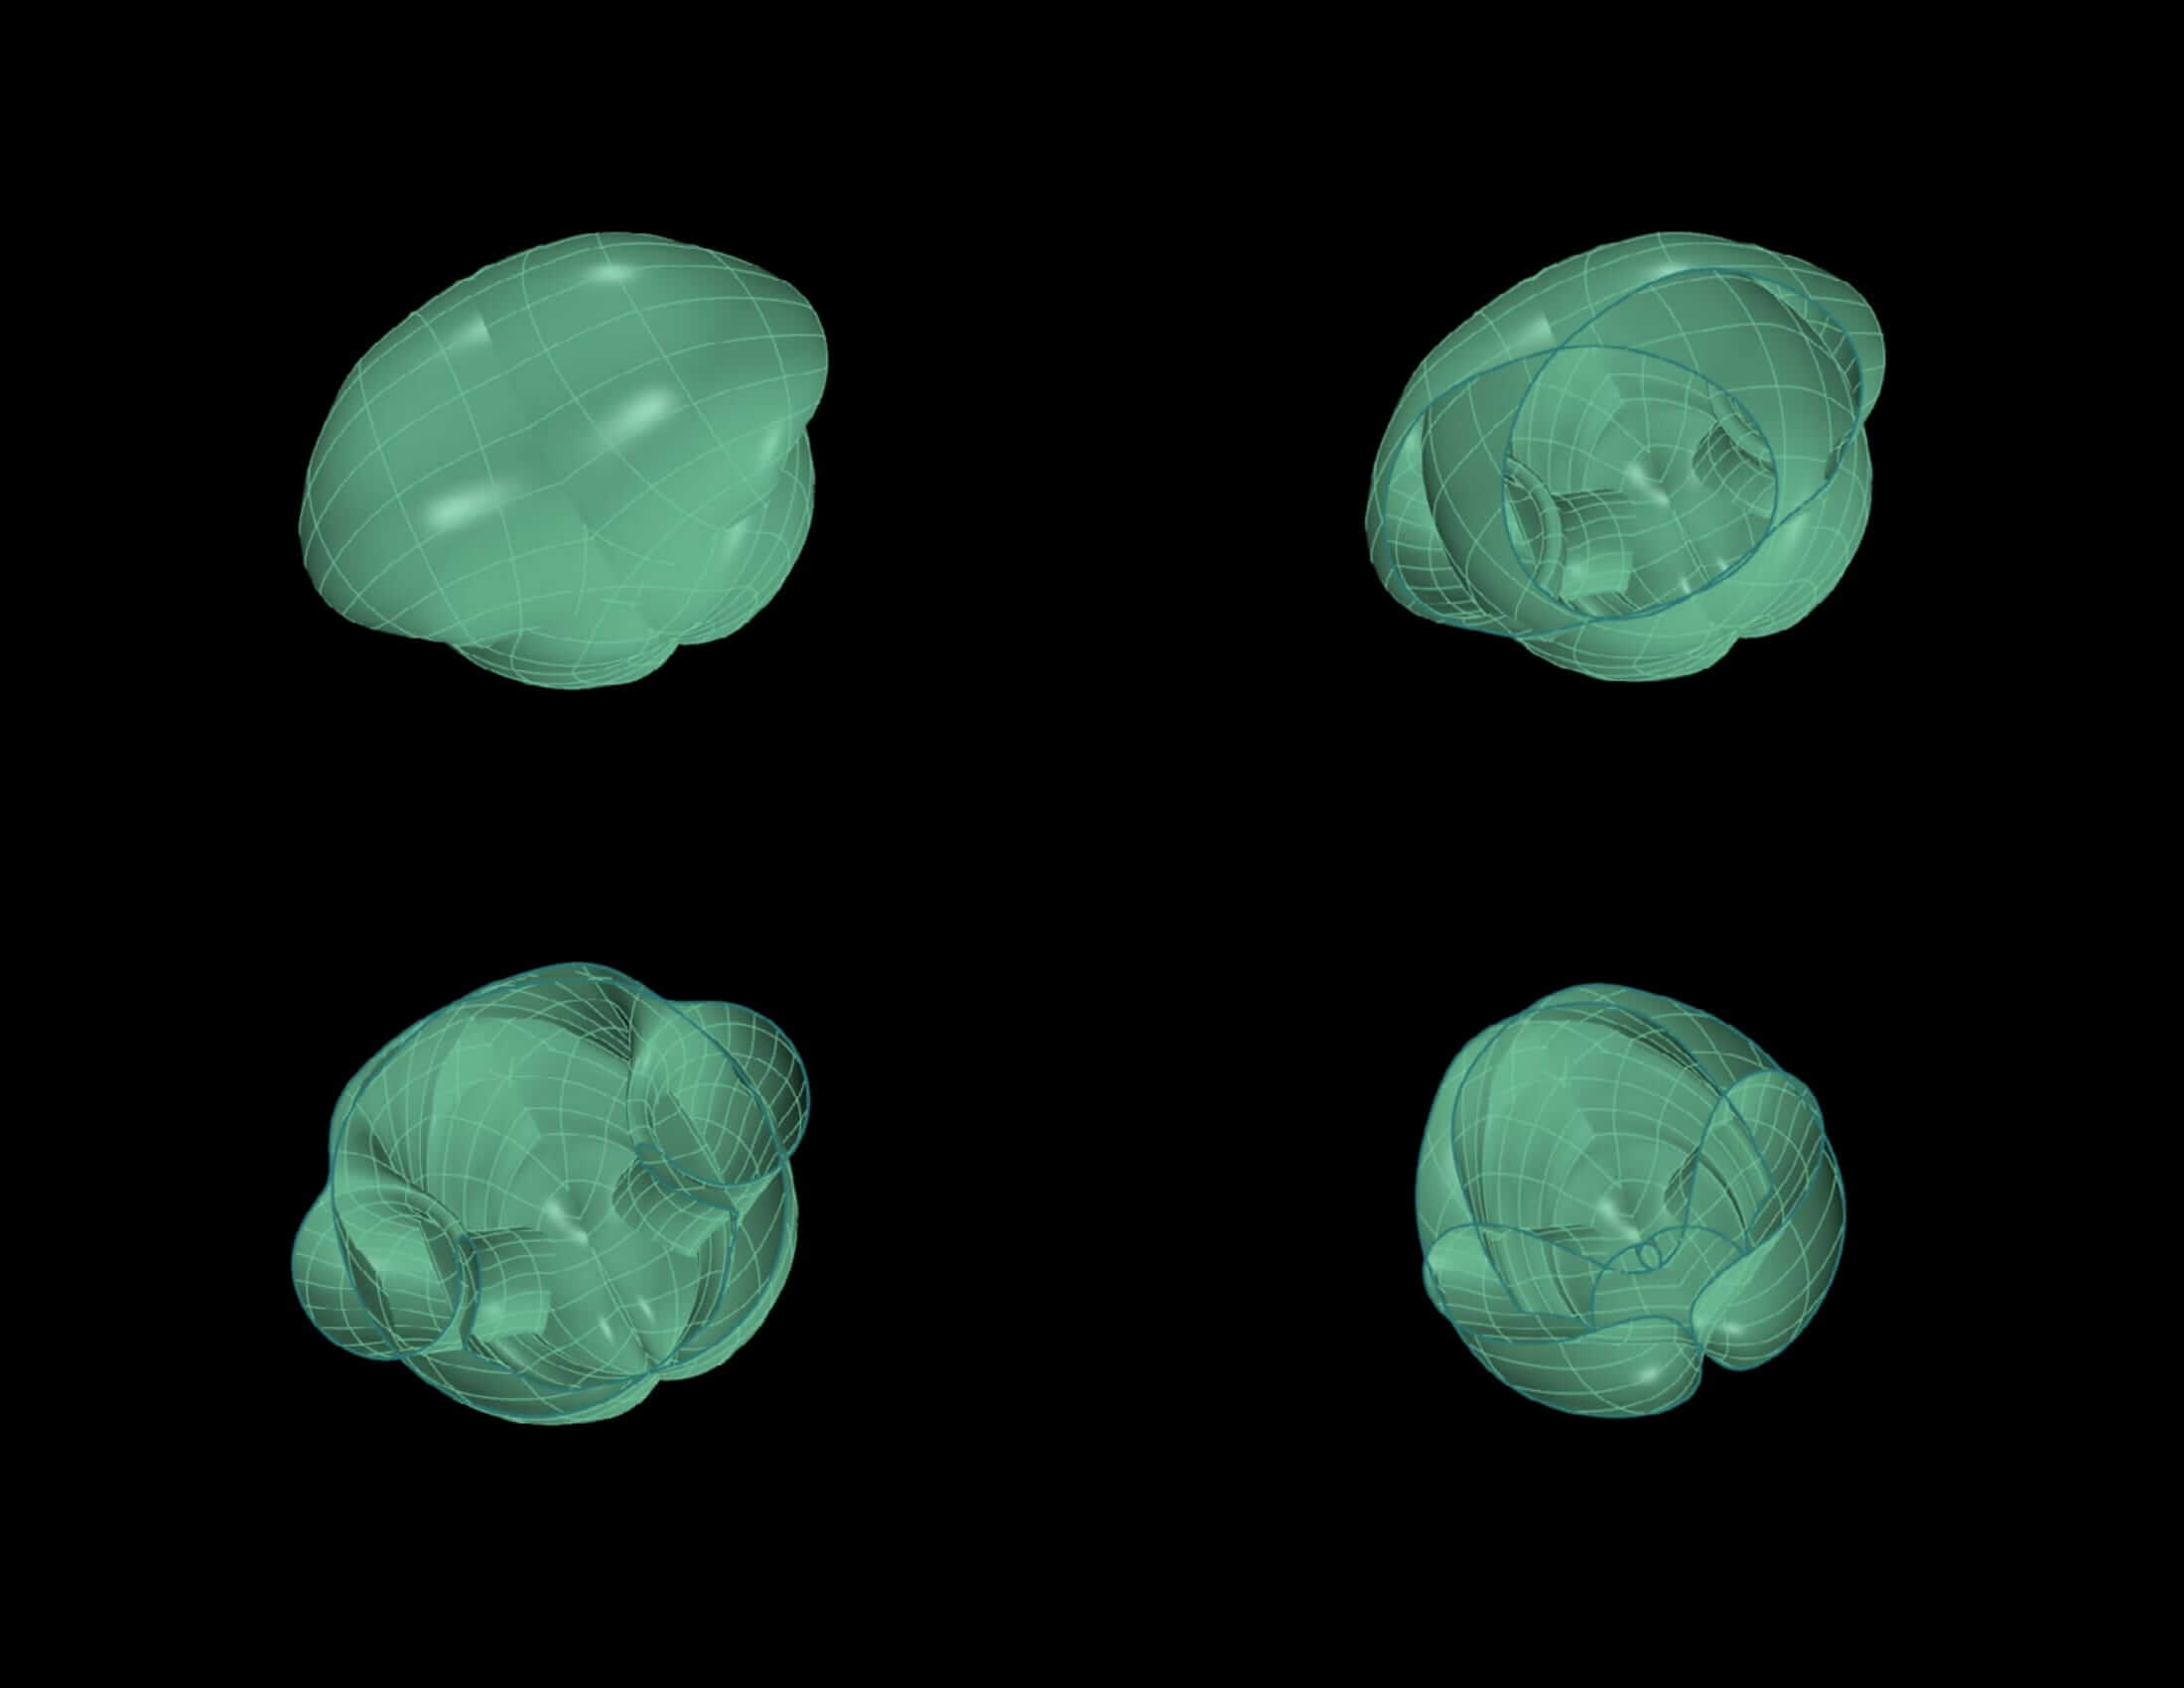
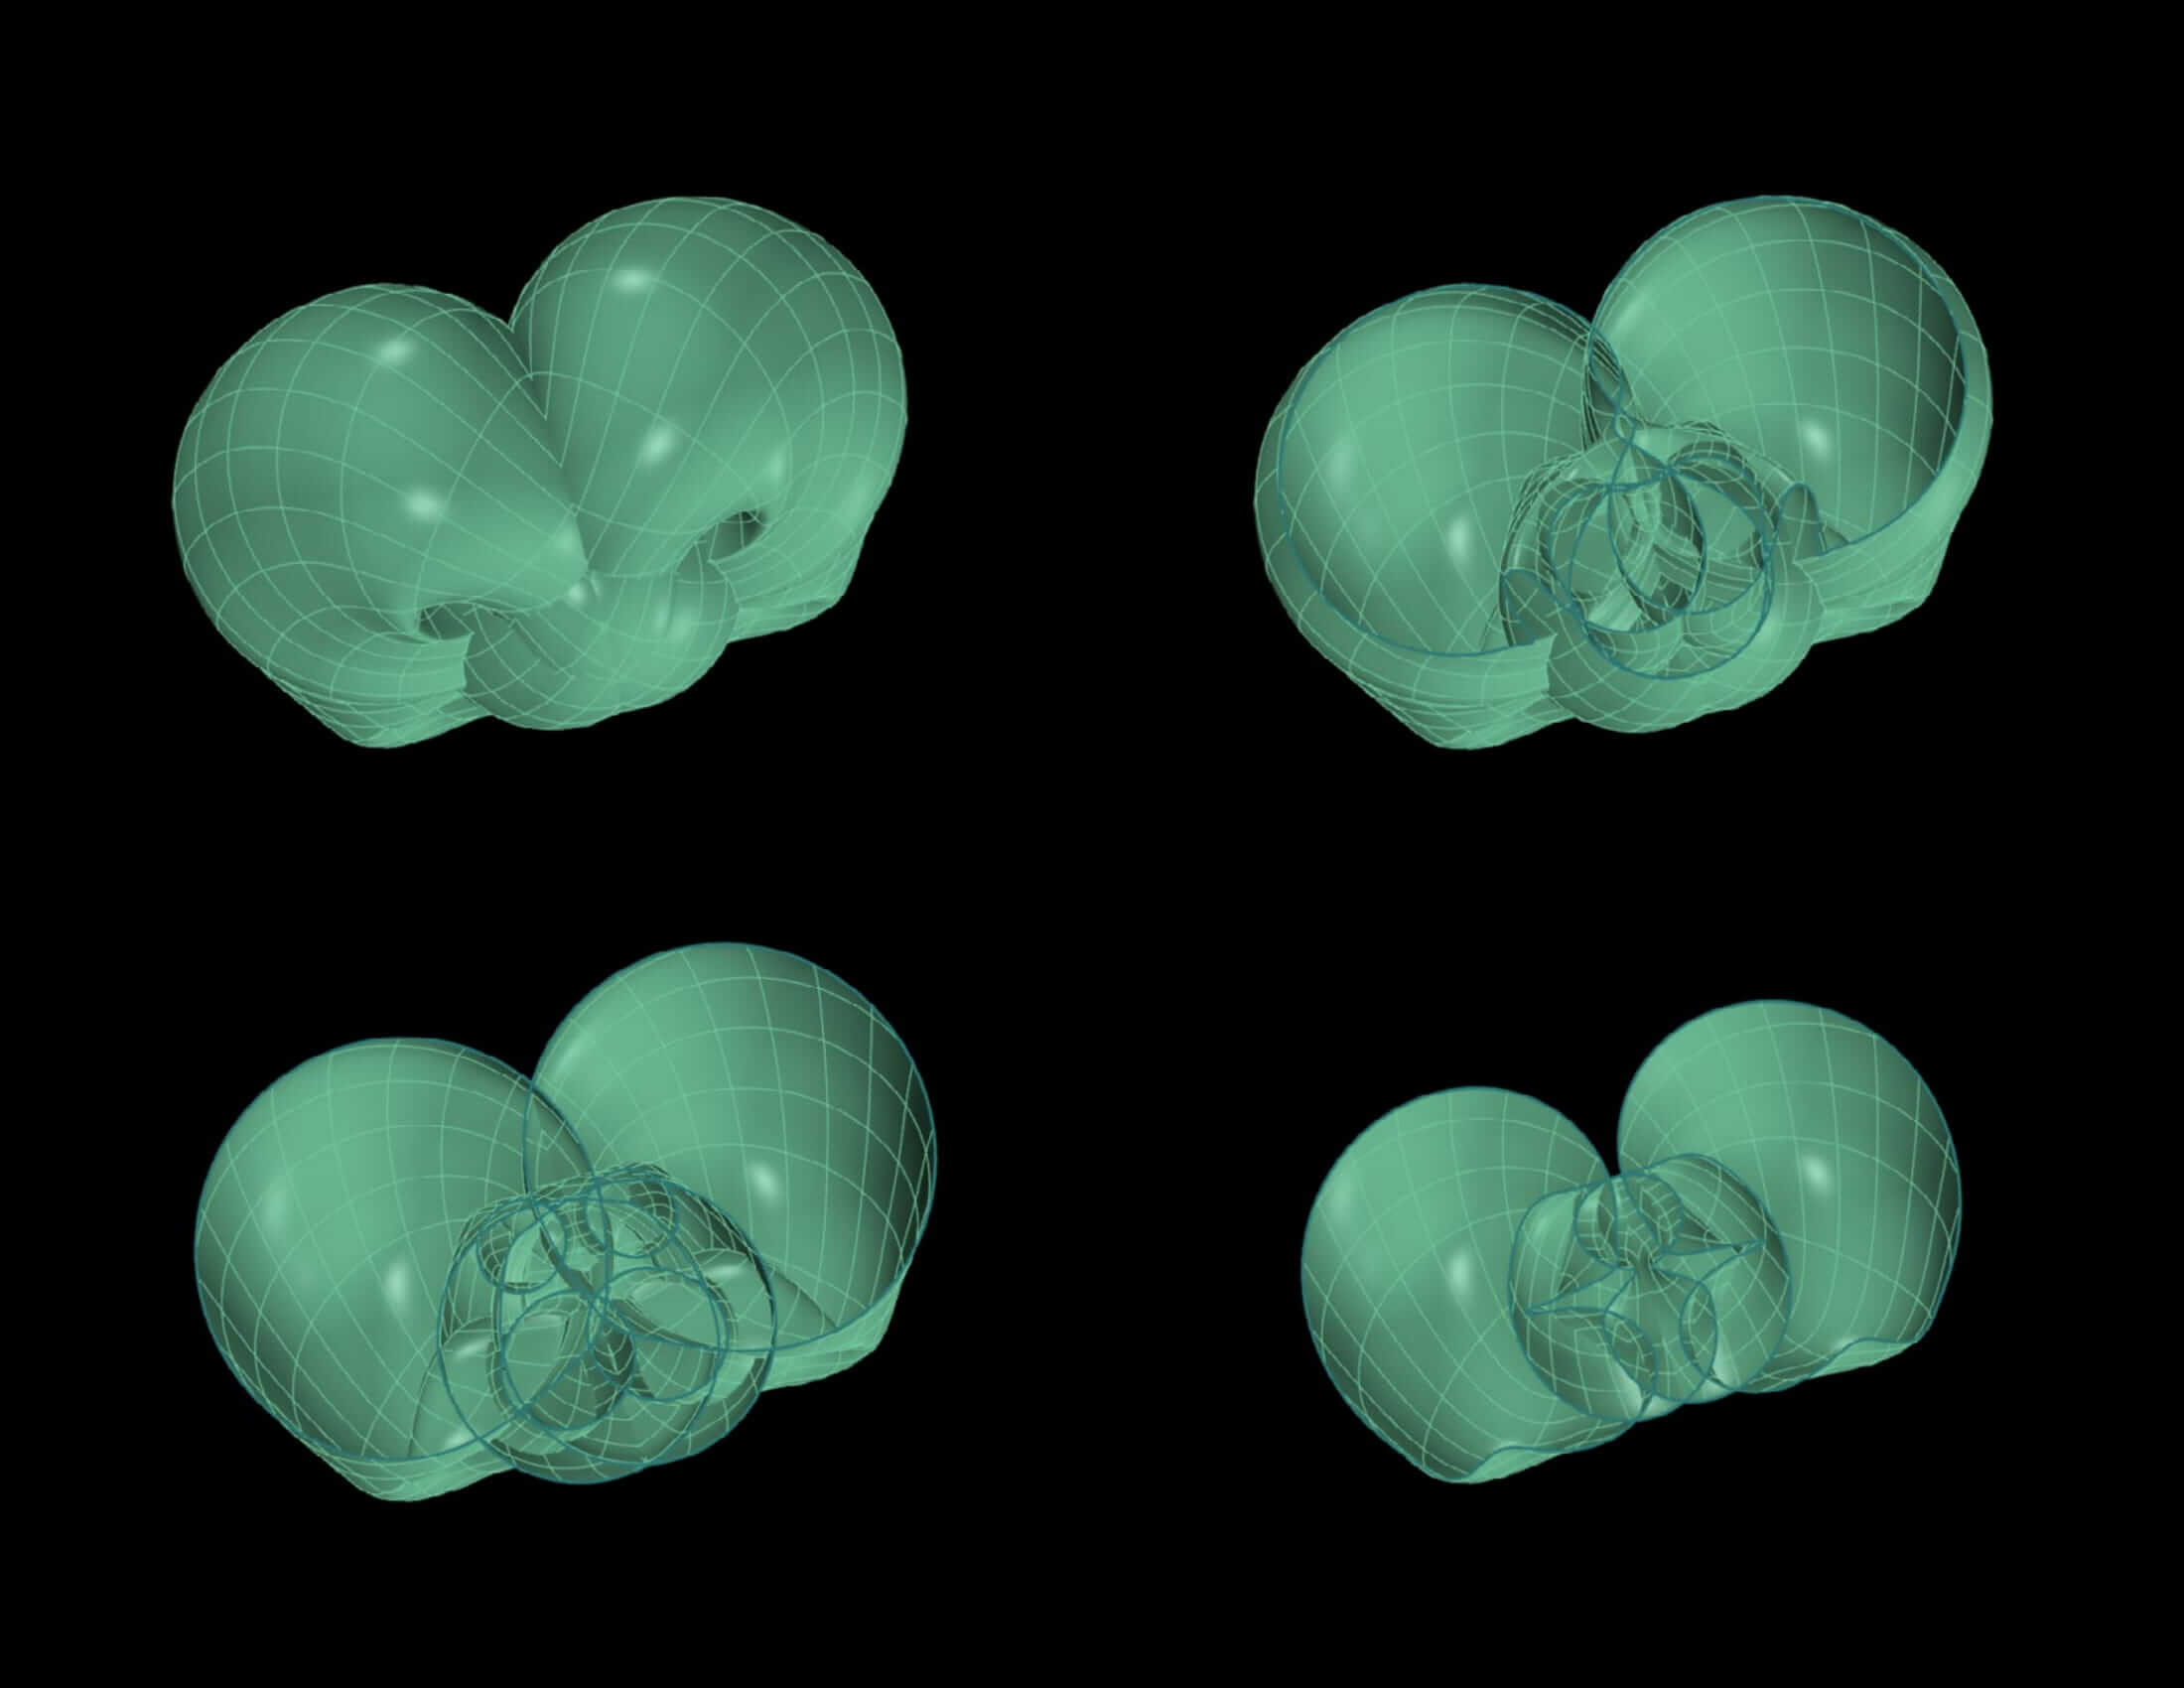
...and this is how I got it...Video of the process of creating the shell for my potentional final project. This process was created in Rhino/gh, video was done by animating slider in gh that generates specific number of frames and than taking those to movie maker component embeded within the Processing environment. the geometry of basic circular shape - a torus - a surface of revolution generated by revolving a circle in three-dimensional space about an axis coplanar with the circle. Torus turnes itself inside out. Its selfintersection explores a wide variations of possible geometrical forms that can be further developed as a shelter for hosting a light source.
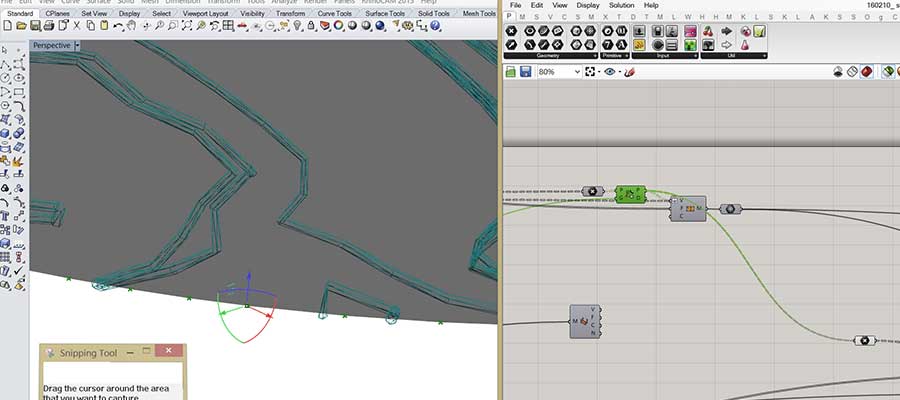
screenshot showing the experimentation with pattern creation. the idea was to populate the surface of created geometry with some pattern according to specific logic based on the output from structural optimization made by using Karamba. from there we got several line patterns, we pipe them to visualise solids...this is one way of making it, feel free to mesh pipe the lines, or use exoskeleton plugin to solidify them too.

put there more images of rhino creation...include some gh screenshots too
Final project experimentation. Shell variations. Library of different topological stages >>>slide down for full presentation and you will explore how I created this form. In case yoy can not slide (some browsers are not allowing that as I have observed) feel free to check it out here or than visit final project section. Below - library of different geometries what I generated in Rhino/gh - played around with sliders :) I baked the geometries in gh troughout several stages, than I mirrored them and explored inner space by slicing them trough by using clipping plane tool in Rhino. Than I just made a capture with black background and I got those images like you see:
