
TODOs
☑ Group Assignment- Review the safety data sheets for each of your molding and casting materials,
then make and compare test casts with each of them
☑ Design a 3D mold around the stock and tooling that you'll be using,
machine it, and use it to cast parts
- Design a mold
- Machine a mold
- Build a mold
- Cast an object
☑ Document the process
Group assignment
Our group assignment can be found here.
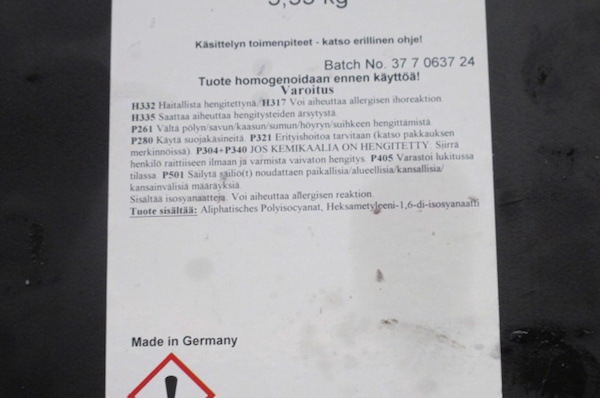
In addition to the group assignment, I learned so many detailed information about different chemical products we use in the lab. This is very important subject of saftey and I would like to include what I have learned from it. I went a bit carried away and start putting all the chemicals we have in the lab. The list also includes chemicals that were not used for this weeks assignment. The following list include chemicals, Trade name, their warning signs and hazard symbols (GH And H phrases) and the last updated version of their corresponding Data sheets.
Individual assignment
Designing the mold
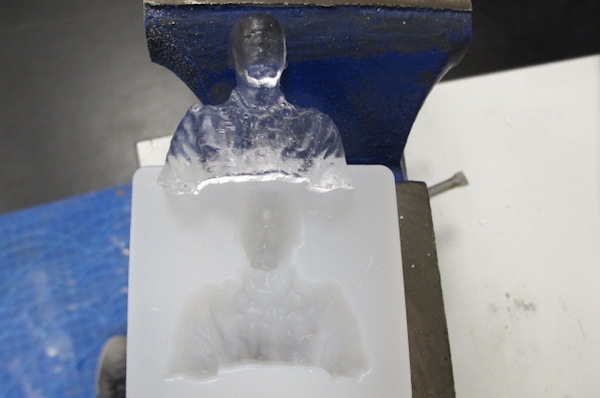
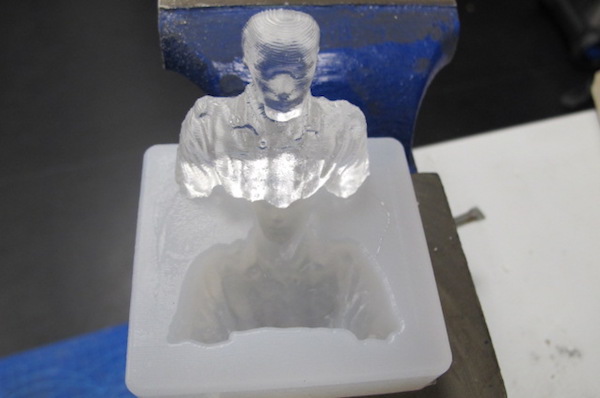
During this week I have designed and machined few simple molds to cast a transparent poly Uraitane into the The ISP programmer inspired by Bas and made a Silicone mold from 3d scanning exercise in week 5..
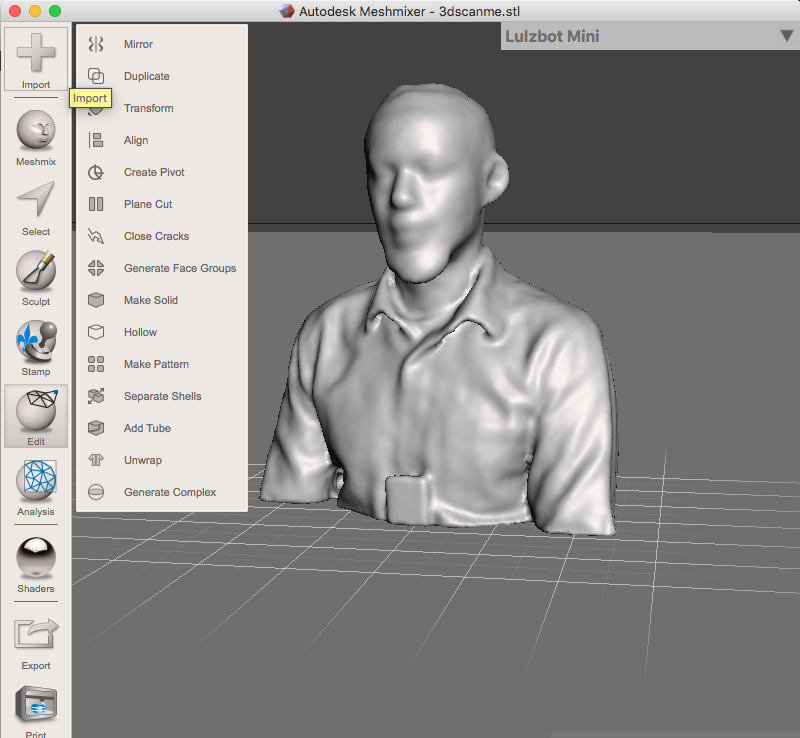
I made minor adjustment to the Stl file from week 5s 3d scanning exercise using Meshmixer. Meshmixer is a handy open source software for quick modifications needed on 3d files such as stl or Obj. In my case I only needed to Splite the Shape so that I could use the from side of the Bust that will be used to generate the toolpath in creating the mold.
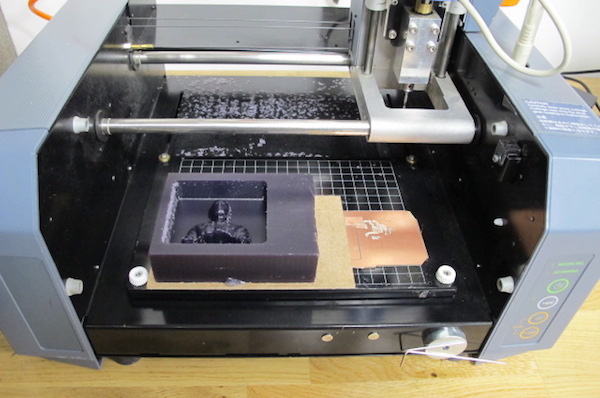
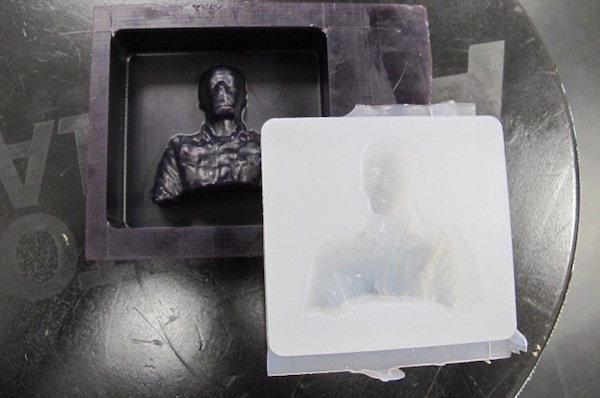
The picture below shows the general work flow needed to machine a positive mold with a modeling wax that will be used to cast a Silicone mold which then will be used as a mold to my final poly Uraitane cast.

I started by setting the right dimensions of the modeling wax into the material properties section in V carve and imported the 3d scan model into V carve software where we will generate the neccessary tool path to make a roughing and finishing oprations to creat the mold.
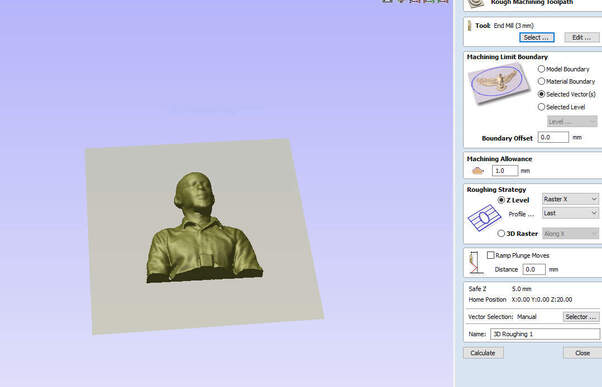
As I need to do two types of operations to make a smooth finished mold, I first started with a 3mm Roughing tool and set the Feed rate and Spindle speed per the chip load of the modeling wax we learned in Machining week. The Picture below demonstrate the setting I used for the tool.After setting up these settings I hit calculate on the lower bar and the roughing tool path was generated.

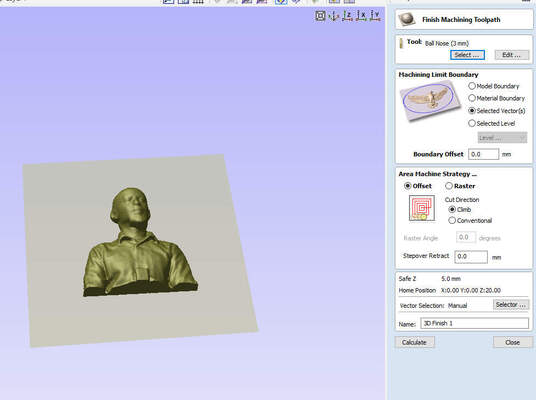
Next I used a 3mm Ball nose to generate the final Finishing toolpath and the picture below shows the settings I used.
After generating Both Toolpathes I hit the preview toolpath botton and checked who the preview match with the expected result.
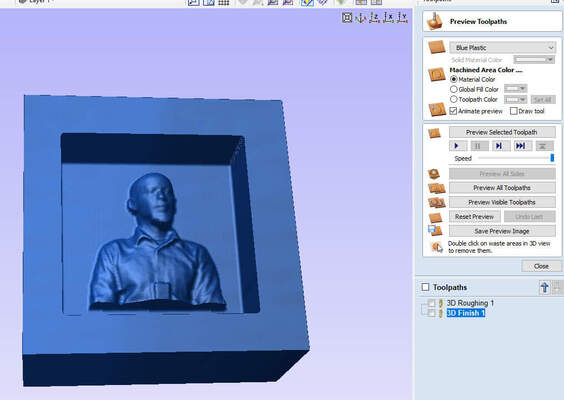
then I inserted my tools Zeroed my Co-ordinates and send the toolpath as per the individual tool types used.
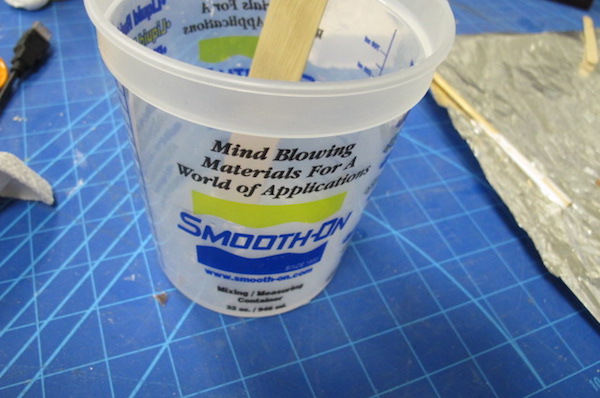
my plan is to use the Smooth-On Mold Star 16 Silicone rubber Product and according to the datasheet it needs to be mixxed by 1A:1B volume. This is a great product as it has relatively low Viscosity and doesn't require vacuum degassing but since we have the machine in the lab and a local introduction was given on how to use it, I did it just for practice. Mold Star 16's Pot life is only 6 minutes so one have to act relatively quick. The Cure time is 30 minutes in a room temprature.
Our Fab manager warned us that all the process was going to be very messy, so we had to put plastic on all the working surfaces.

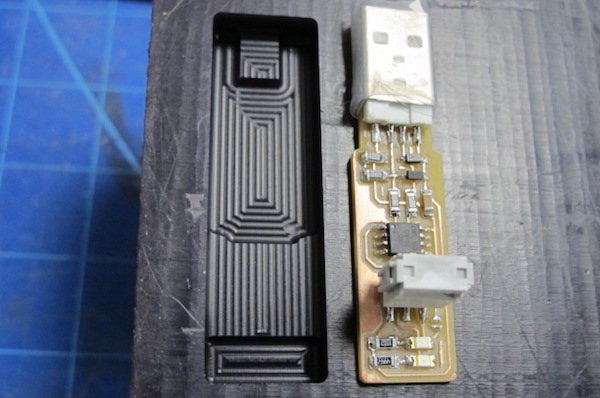
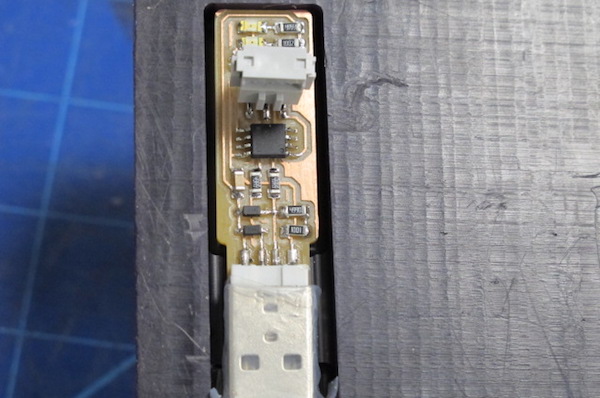
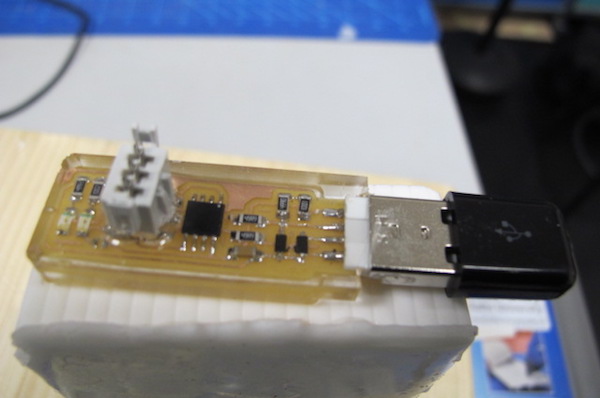
I was happy with the first result but I wanted to make more practical application of the new skill set I just Accuired and decided to make a transparent poly Uraitane cast around the ISP programmer Board I made in electronics design week.
In order to do that I gererated a Single Pocketing operation in Vcarve. V carve is such an interactive tool that you can draw the rectangular measurment of the board with an ofset that will be covered with the polyuratane and adjust the pocket depth for the thickness. The Vcarve steps are similar to the process I discribed above with a 2mm ofset to the eadge of the board and used 3mm End-mill to do the milling.
For casting I utilized SP106 Multi purpose a clear casting resin (urethane) mixxed 100A:18B volume. The pot time of 15 - 20 minutes and a curation time of 4 - 5 hours.
Reflection
Summary
This week I learnt how to machine the negative of a mold using the CNC milling machine using machining wax as stock. I also learnt how to create molds out of silicon rubber. This process was totally new for me. been quite I had initially plenty of ideas of what I could do for this week. For instance, I would have liked to have casted something in metal or using the edible mold.
Main learnings
The whole experience has been really educative. I leaned how to prepare the environment not to mess everything up, the importance of reading safety instructions before starting the process, safety issues (e.g. the necessary equipment you need to use such as gloves, protective glasses ...), how to mix the different components, the importance of reading carefully the instructions to know exactly what you can do and not, how you should mix the different substances, how to use the vacuum former machine to extract air bubble from the mixture, what is exactly the pot time and how you must take care of this time in order not to ruin your mixture, the importance of understanding the limitations of the different materials ...
Main difficulties
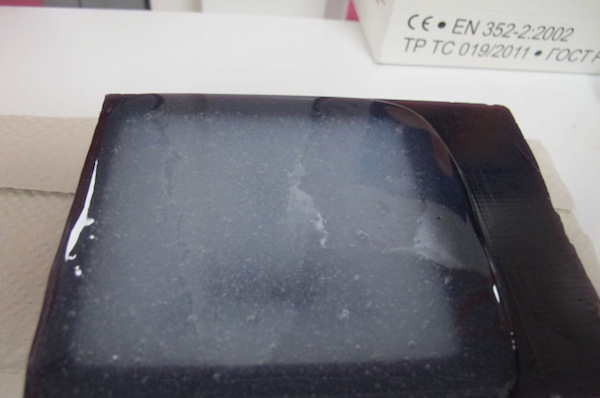
I have had my main difficulties while creating the silicone rubber molds. Although, the resign is was ideal for beginners and doesn't require a vacuum chamber to get rid of the bubbles I had to do the mold twice before gitting the hang of it. Fortunately, the curing time was just 40 minutes, so I have time to do few attempts during the same time.
Resources utilized
- Roland SRM-20 milling machine
- Black Machining Wax (File-A-Wax)
- Vcarve software to build the mold toolpaths and simulate the milling.
- Oomoo 25 to create the silicon rubber mold
- Smooth-cast 300 resin to build the pieces
Models
- STL files for the casting molds
- Fusion f3d files for the ISP molds