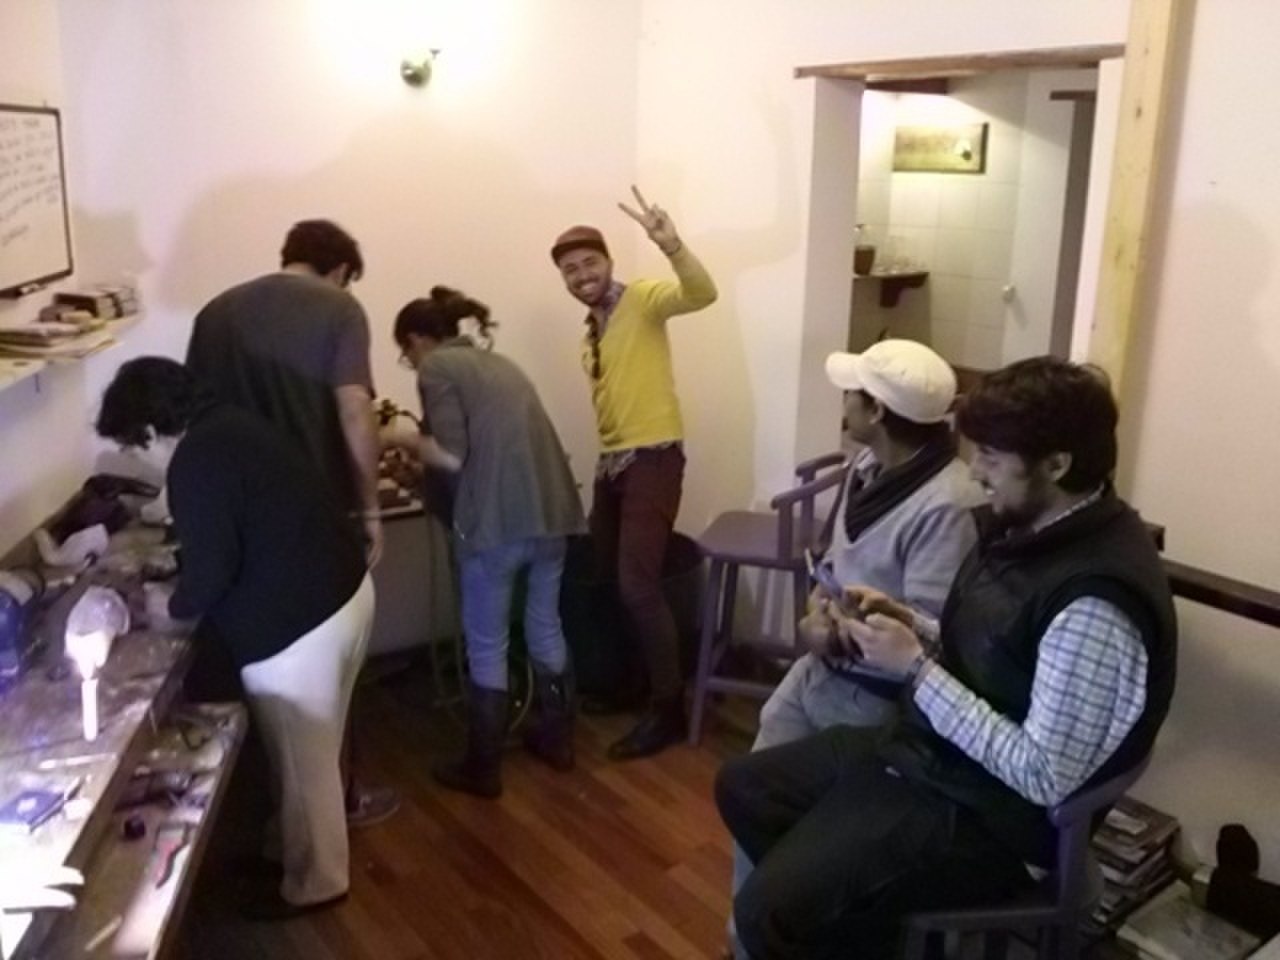
This week the group voted to go to a silver jewelery workshop. The experiment was to integrate digital fabrication to an artisian jewelry fabrication process. It was a very interesting experience. The instructor Maria José Cordovez was extremely patient and nice to the students.
We should digitally design and fabricate a jewel in silver. The process is centrifugal filling on a cast made in whitewash plaster formed with a wax positive. The wax positive is 3D printed.
Sketch of the steps in the molding and casting process.
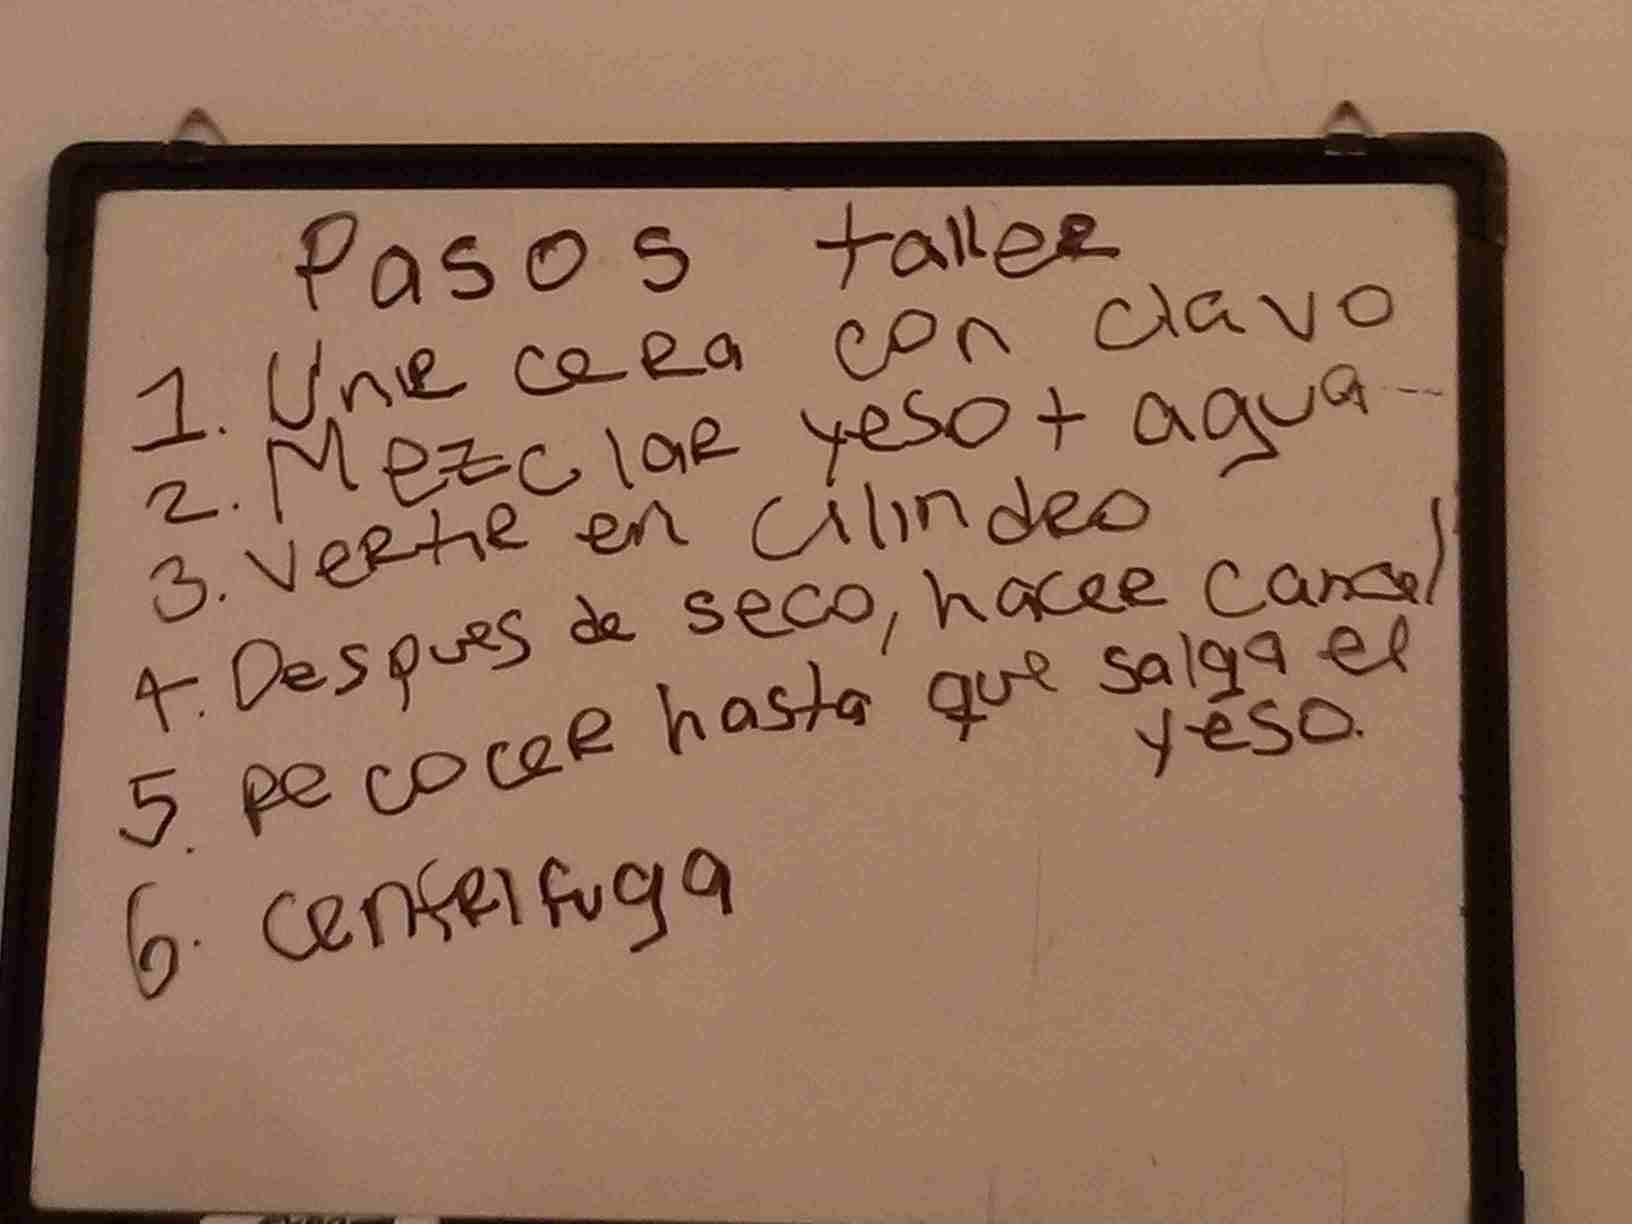
Make a CAD design of a positive and added a duct to the design in order to feed the material from one direction.
These are the sketches I made for designing a ring in silver.
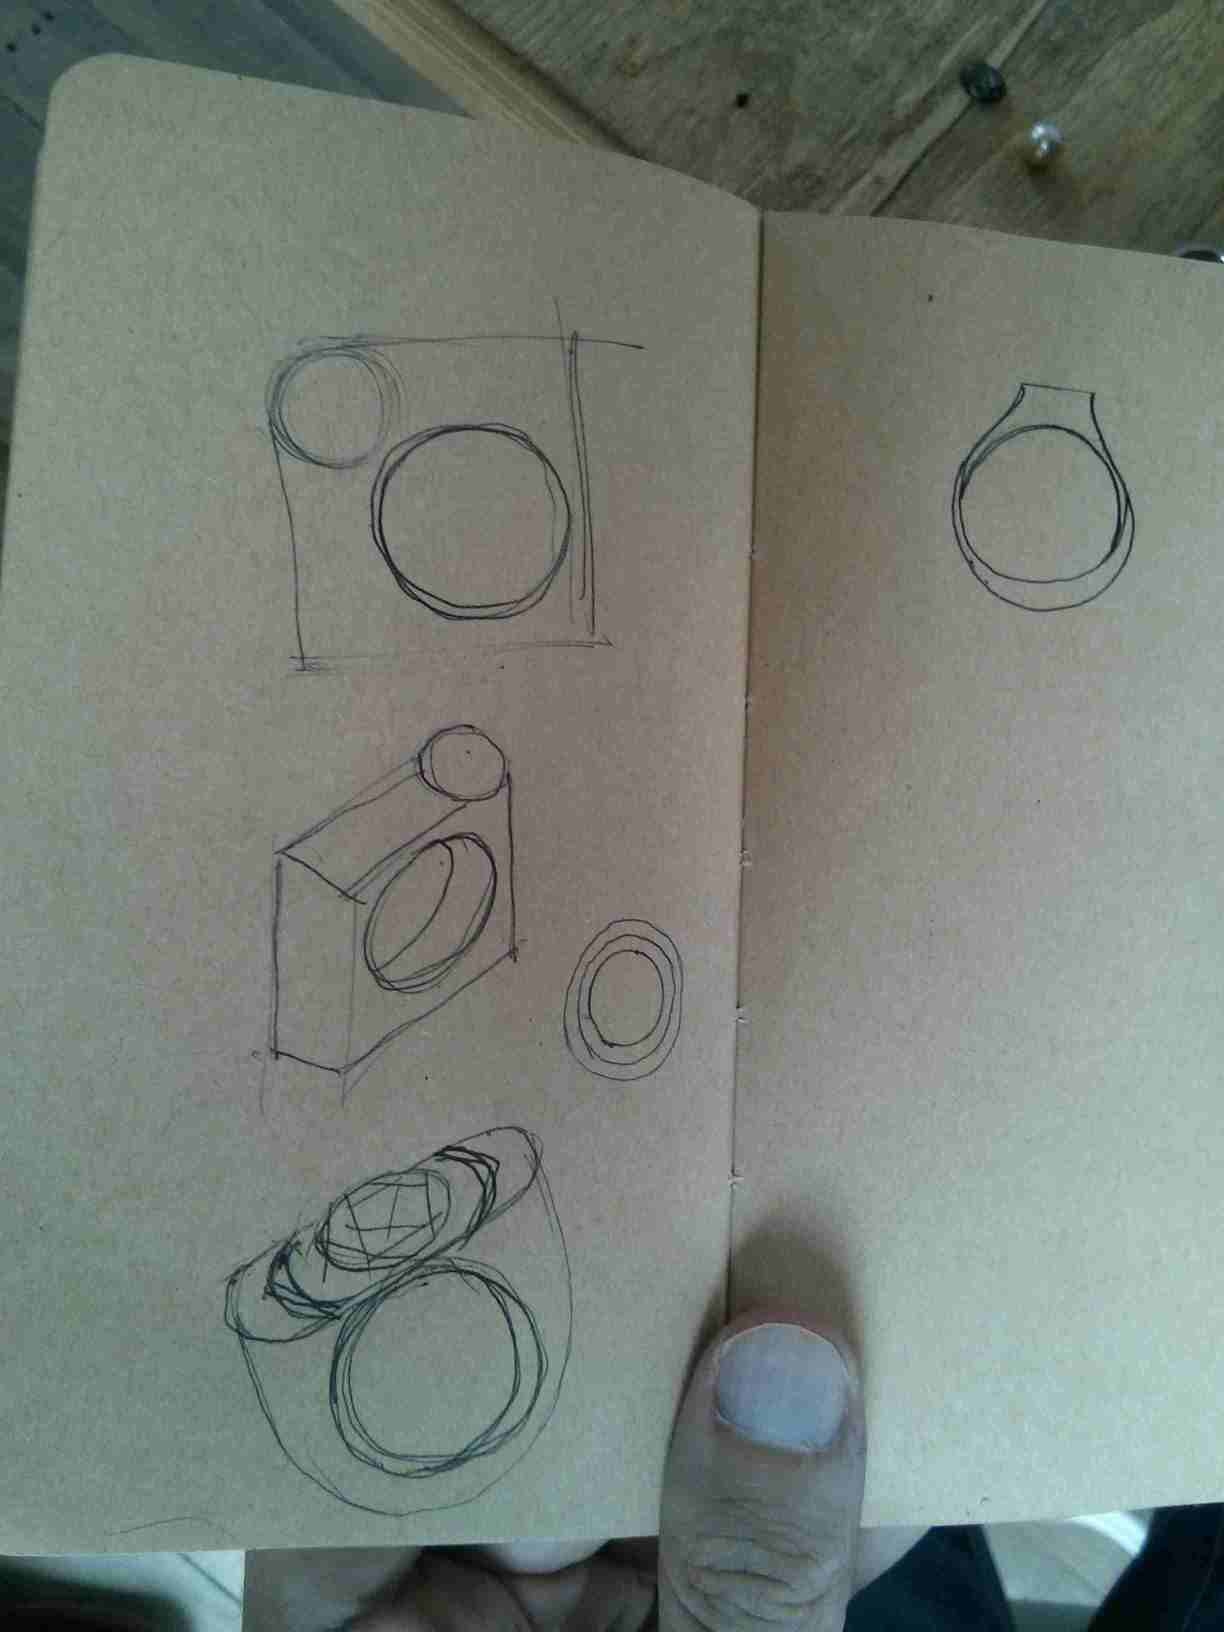
The desig process in FreeCAD for the silver ring CAD I made for this week's assignment is at the Computer-aided design week.
The work to be done on a 3D printer with the appropriate wax which disintegrates with heat was not ready on time. I used another piece, not mine.
Put a piece of steel gasket vertical against a table and surround the outer bottom with molding clay. This holds the liquid plaster.
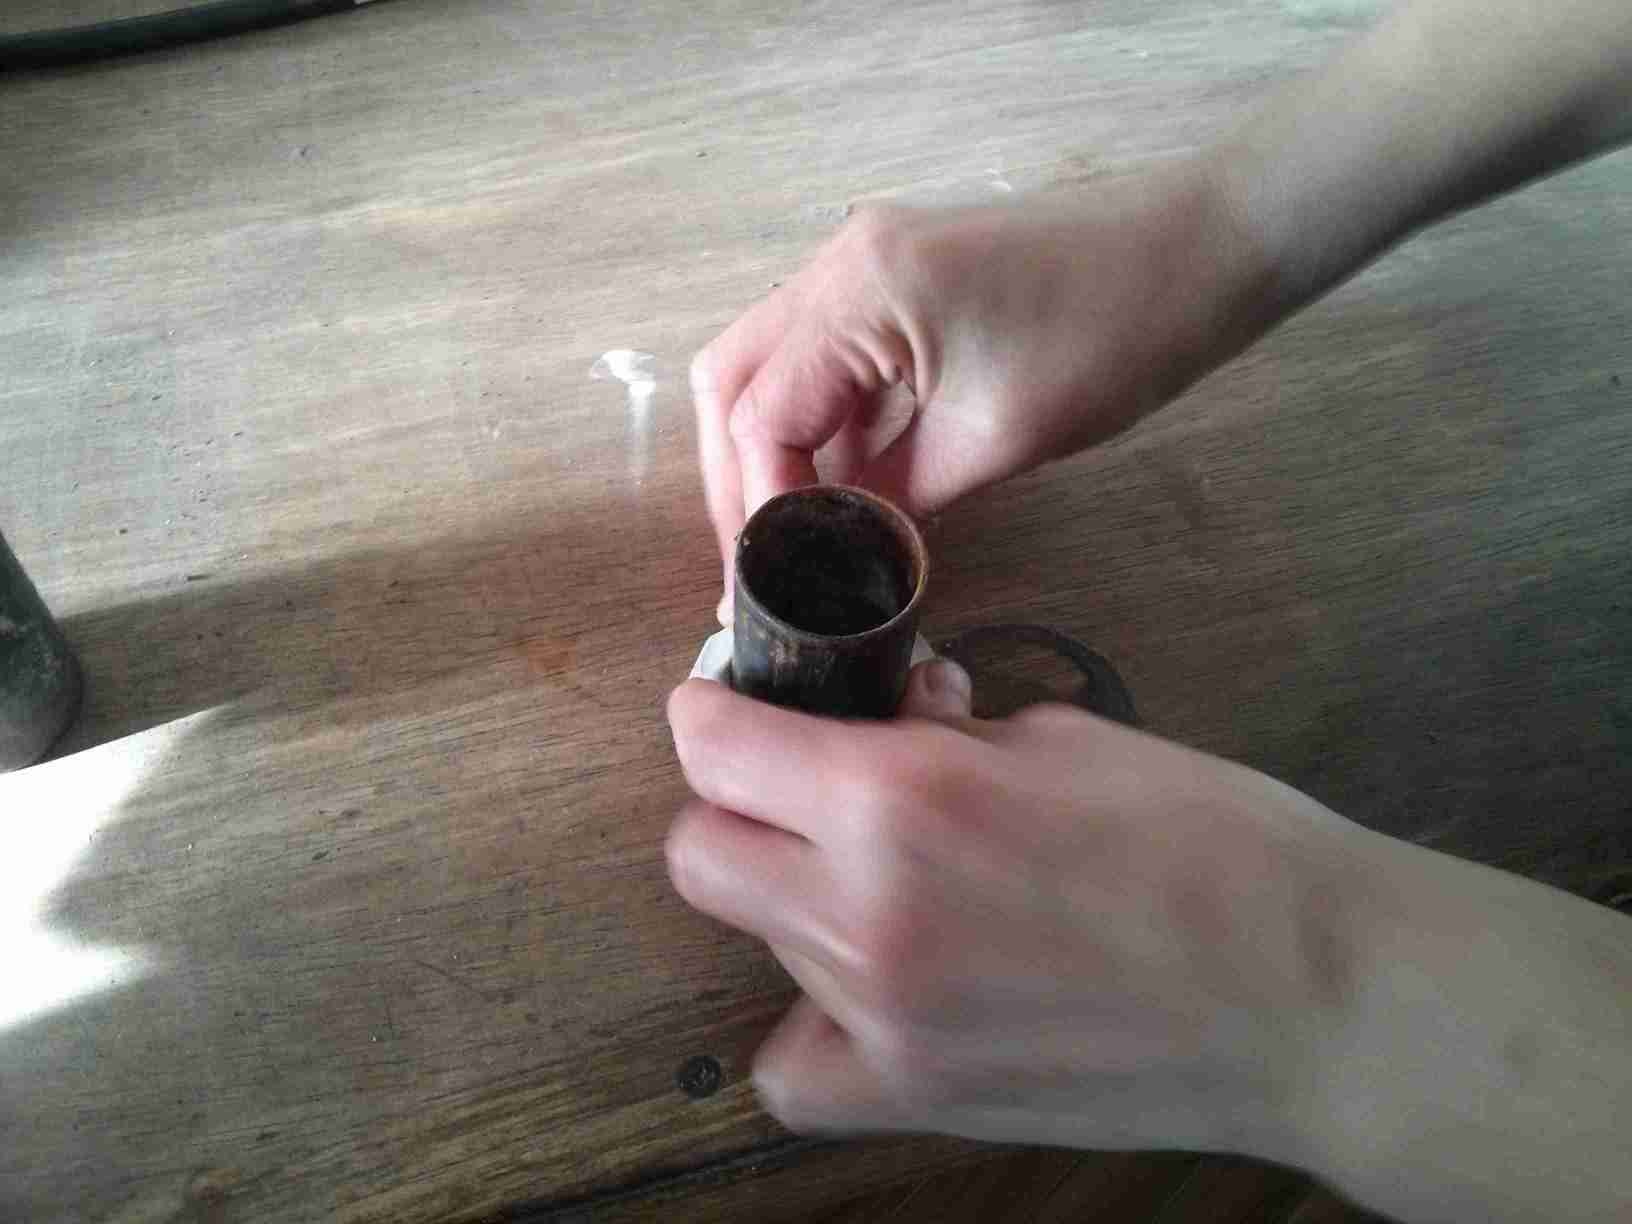
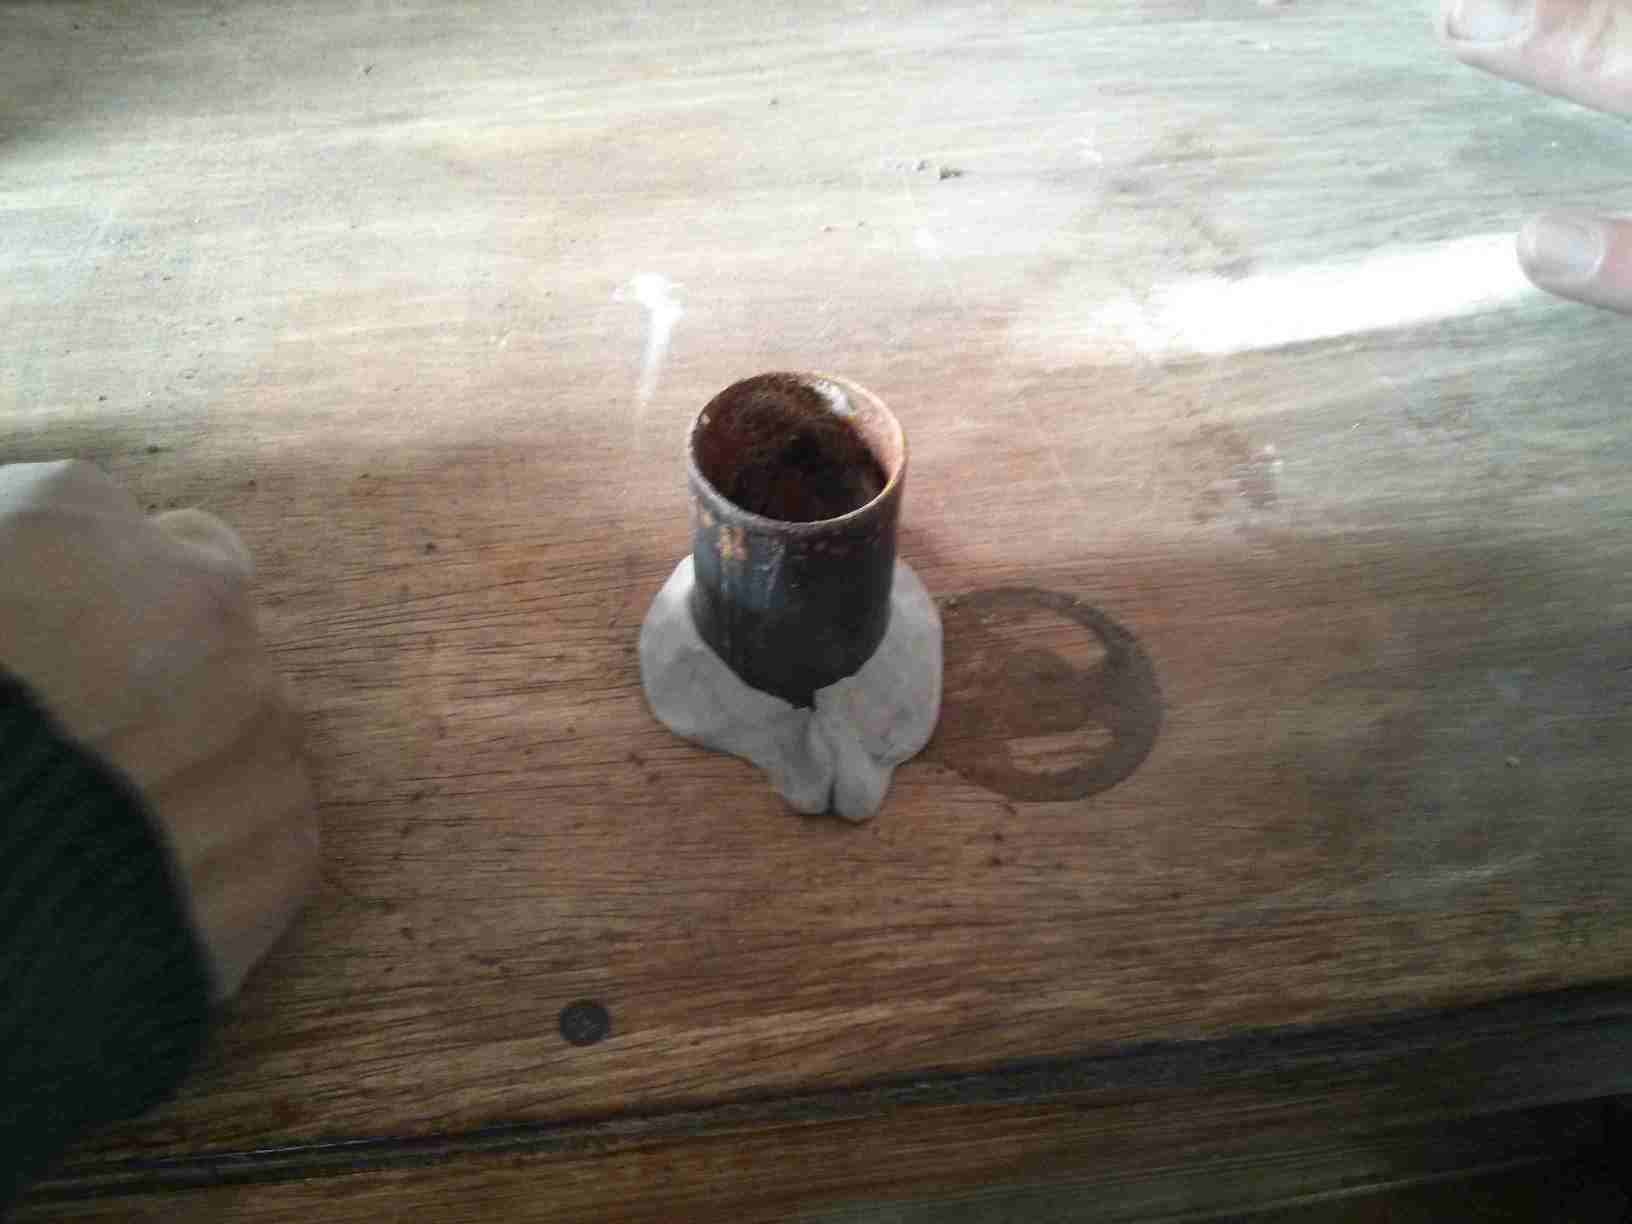
Hang the wax positive from the top of the steel gasket
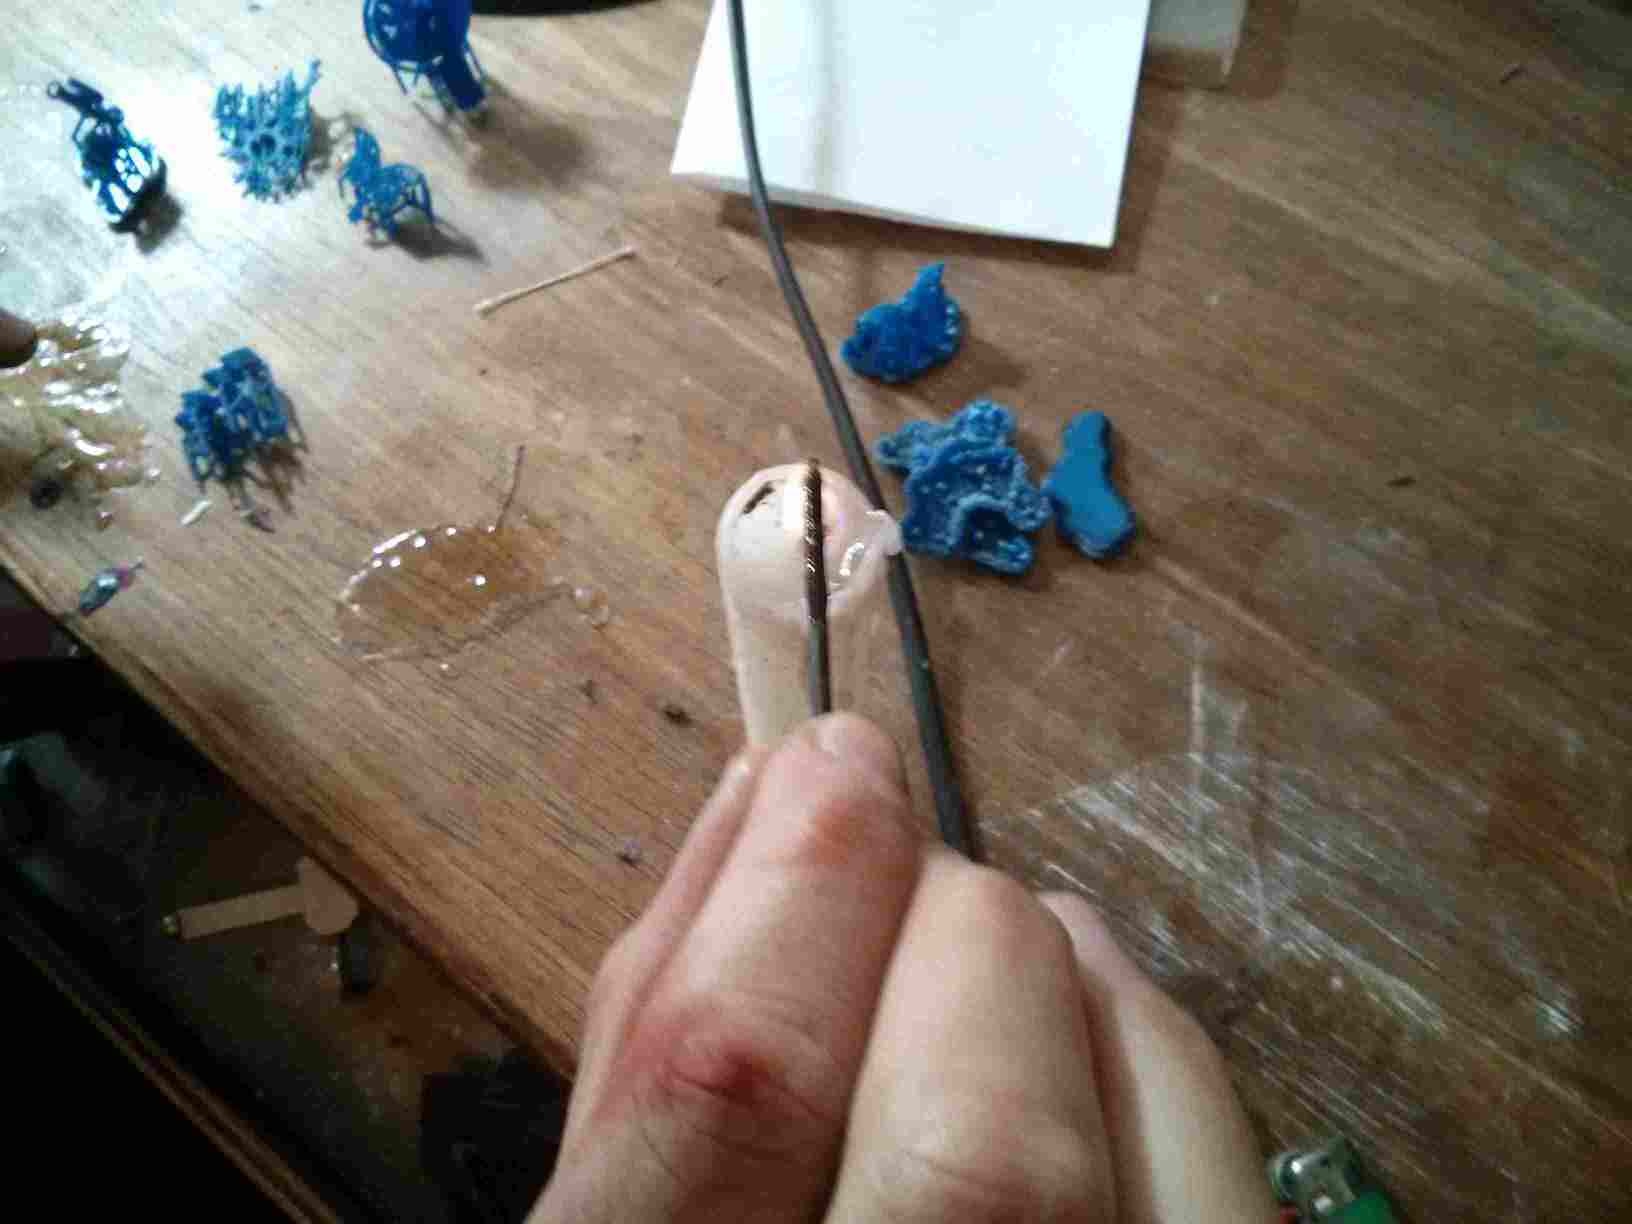
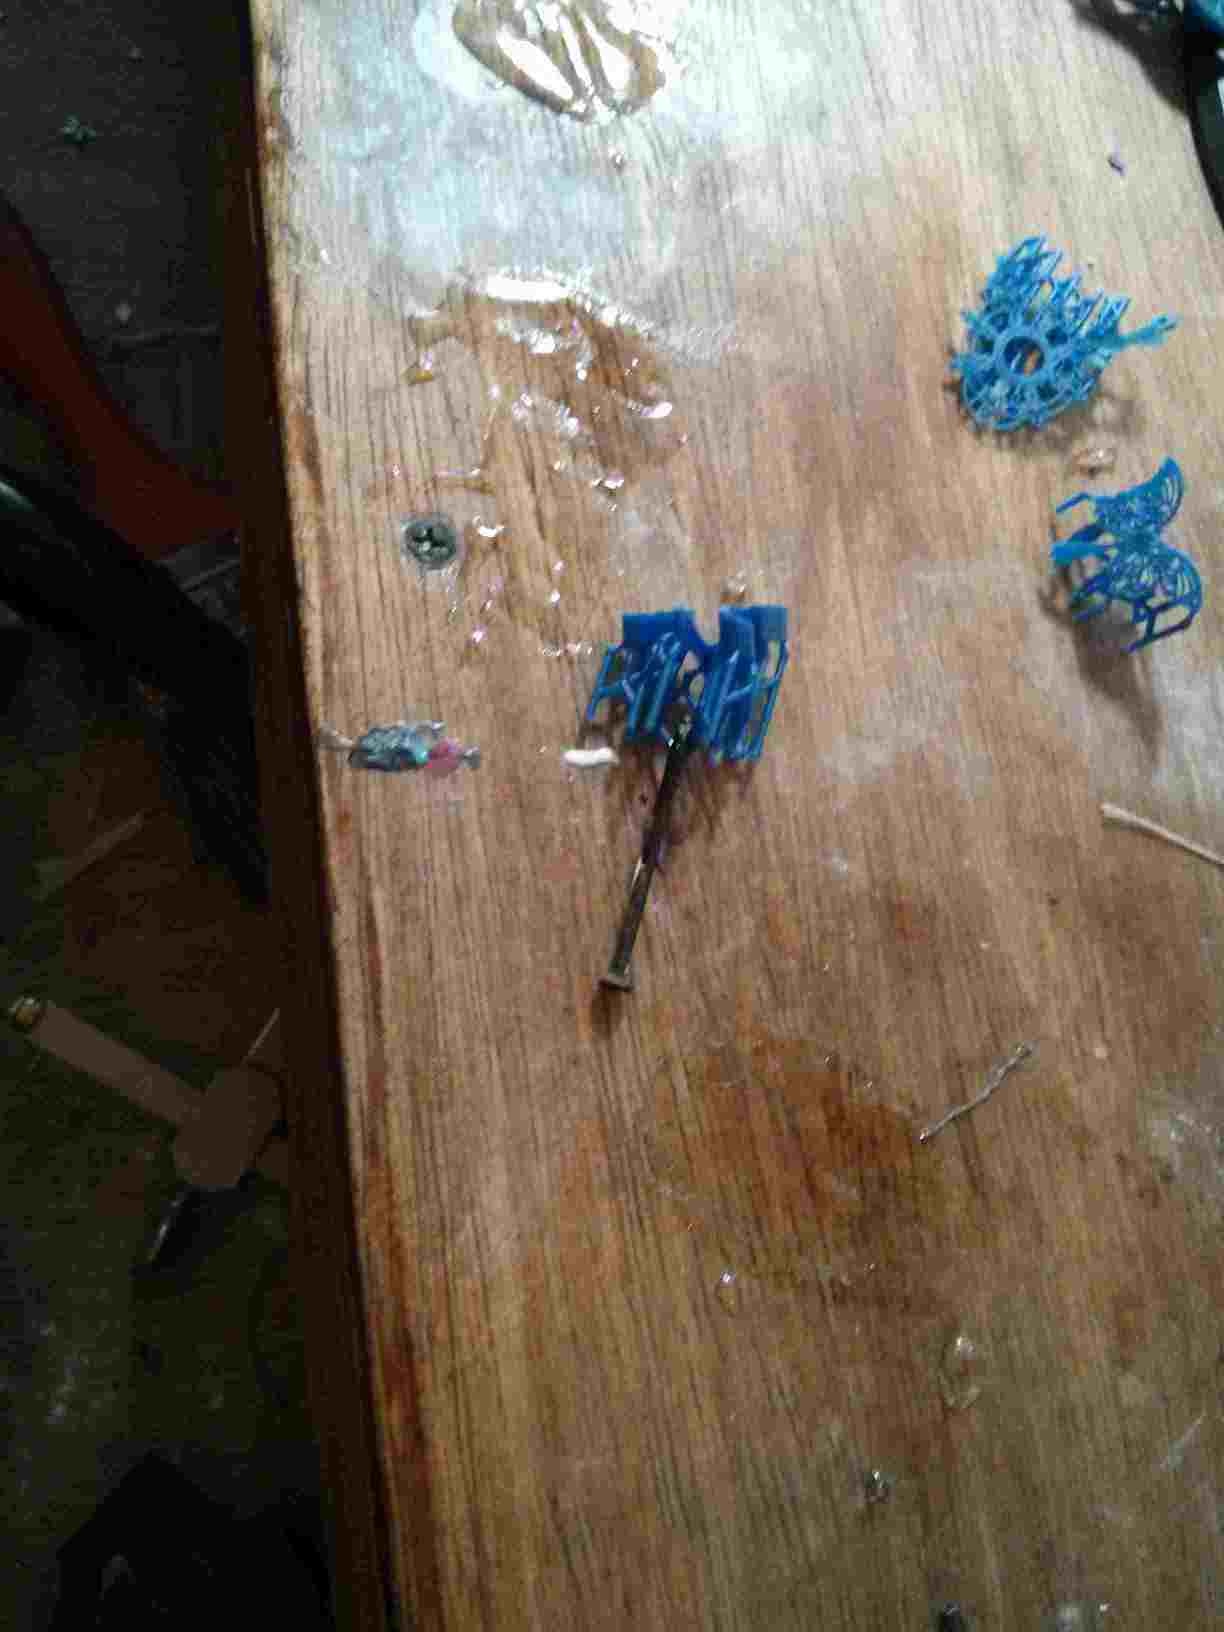
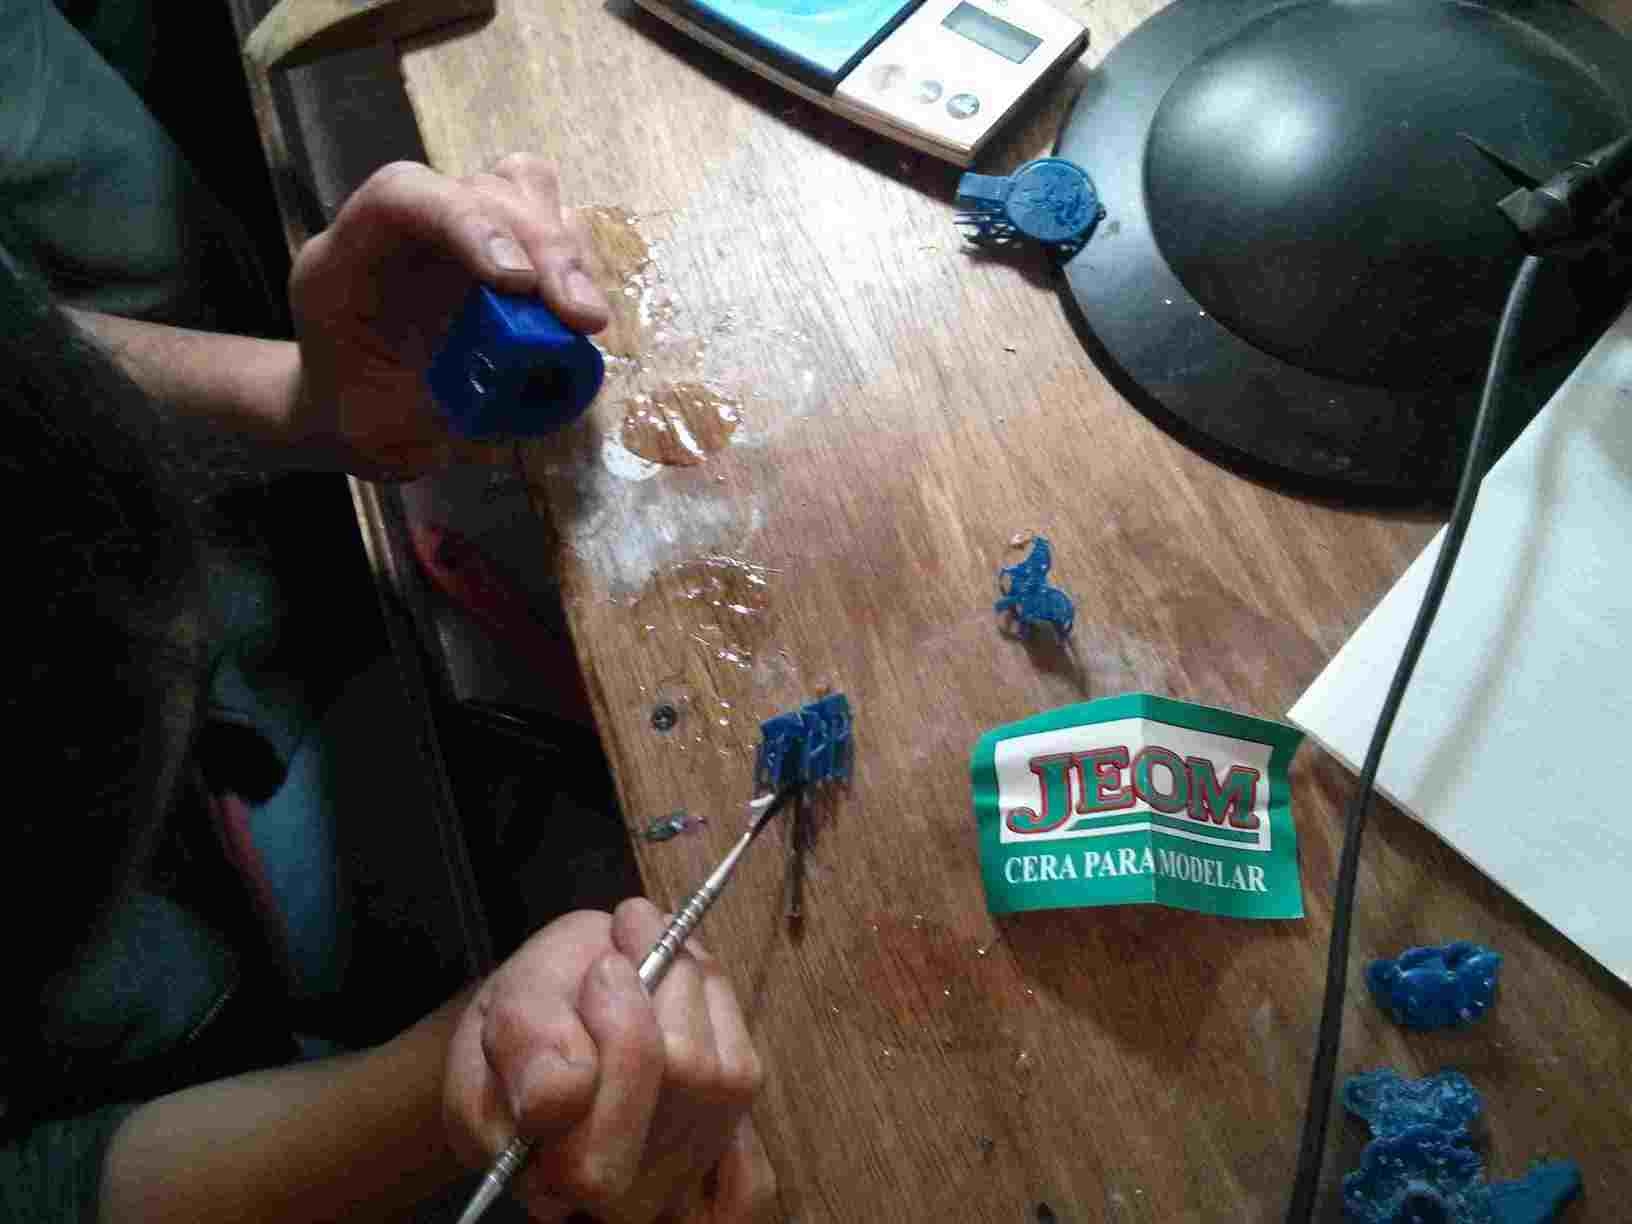
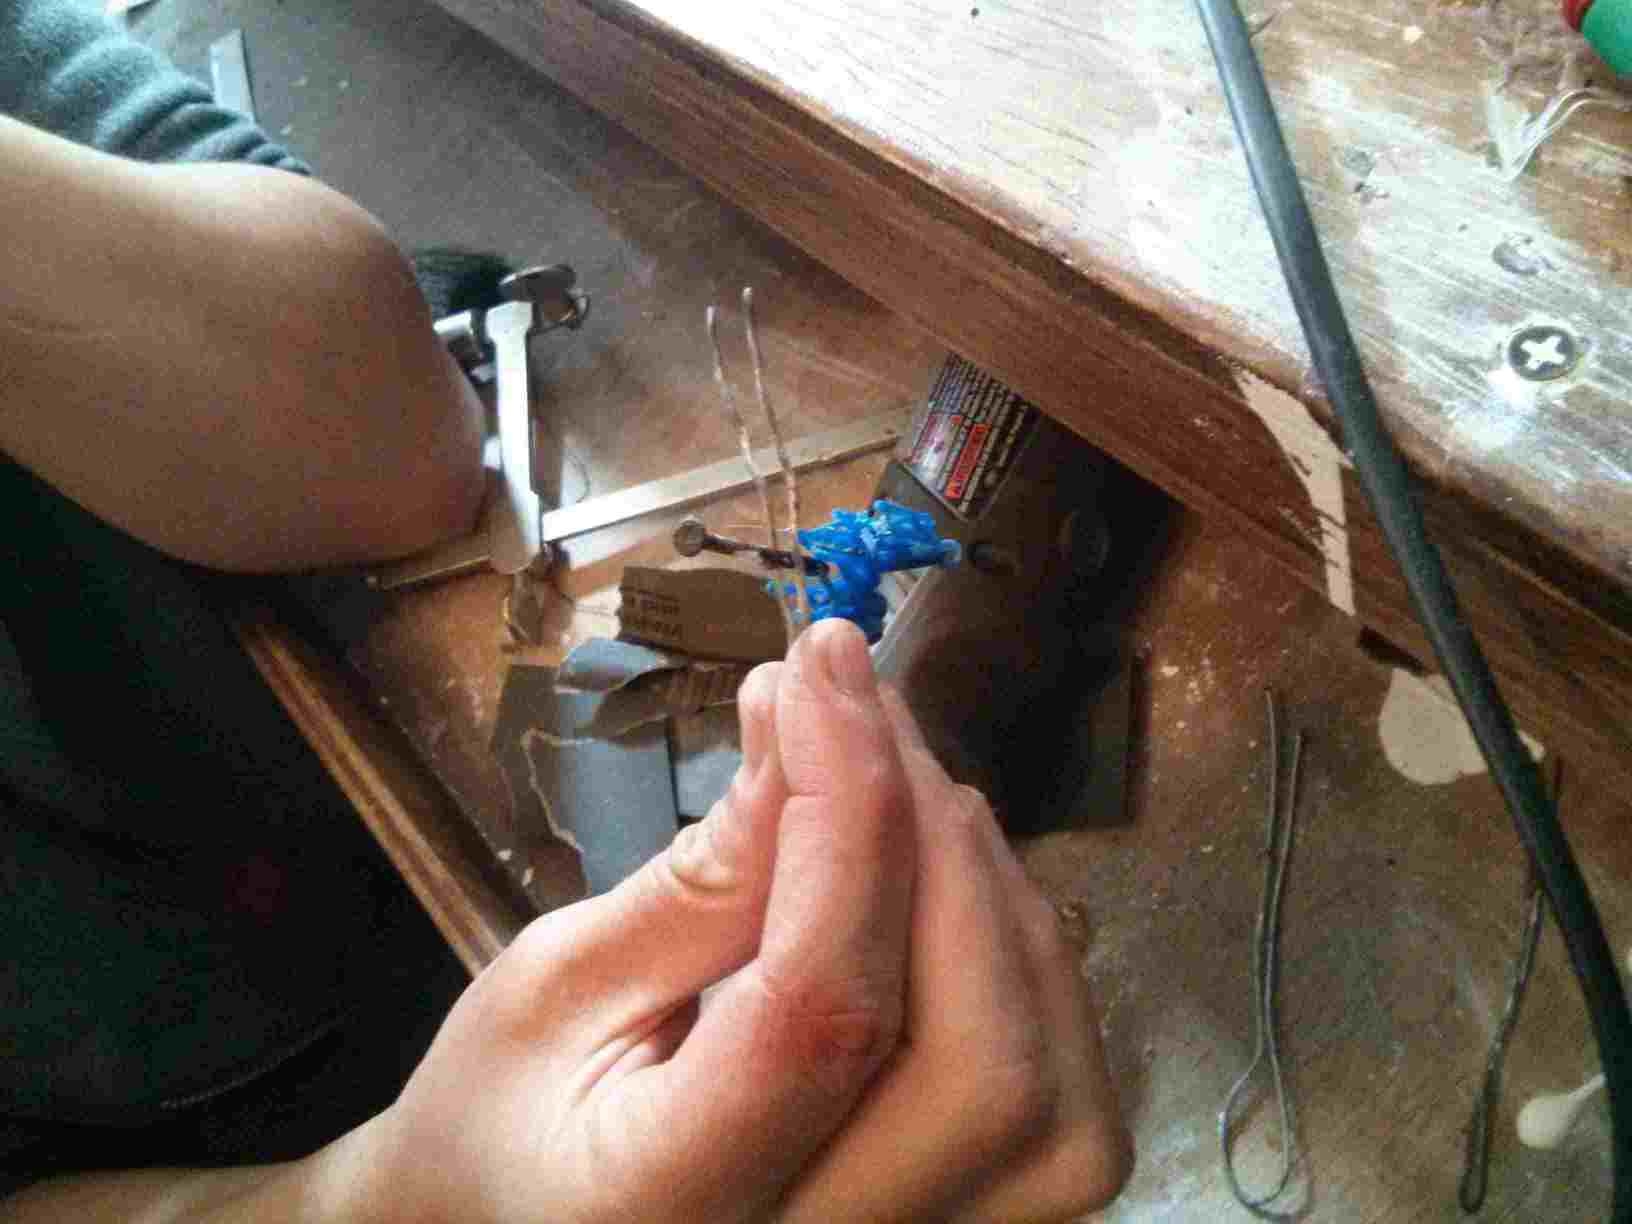
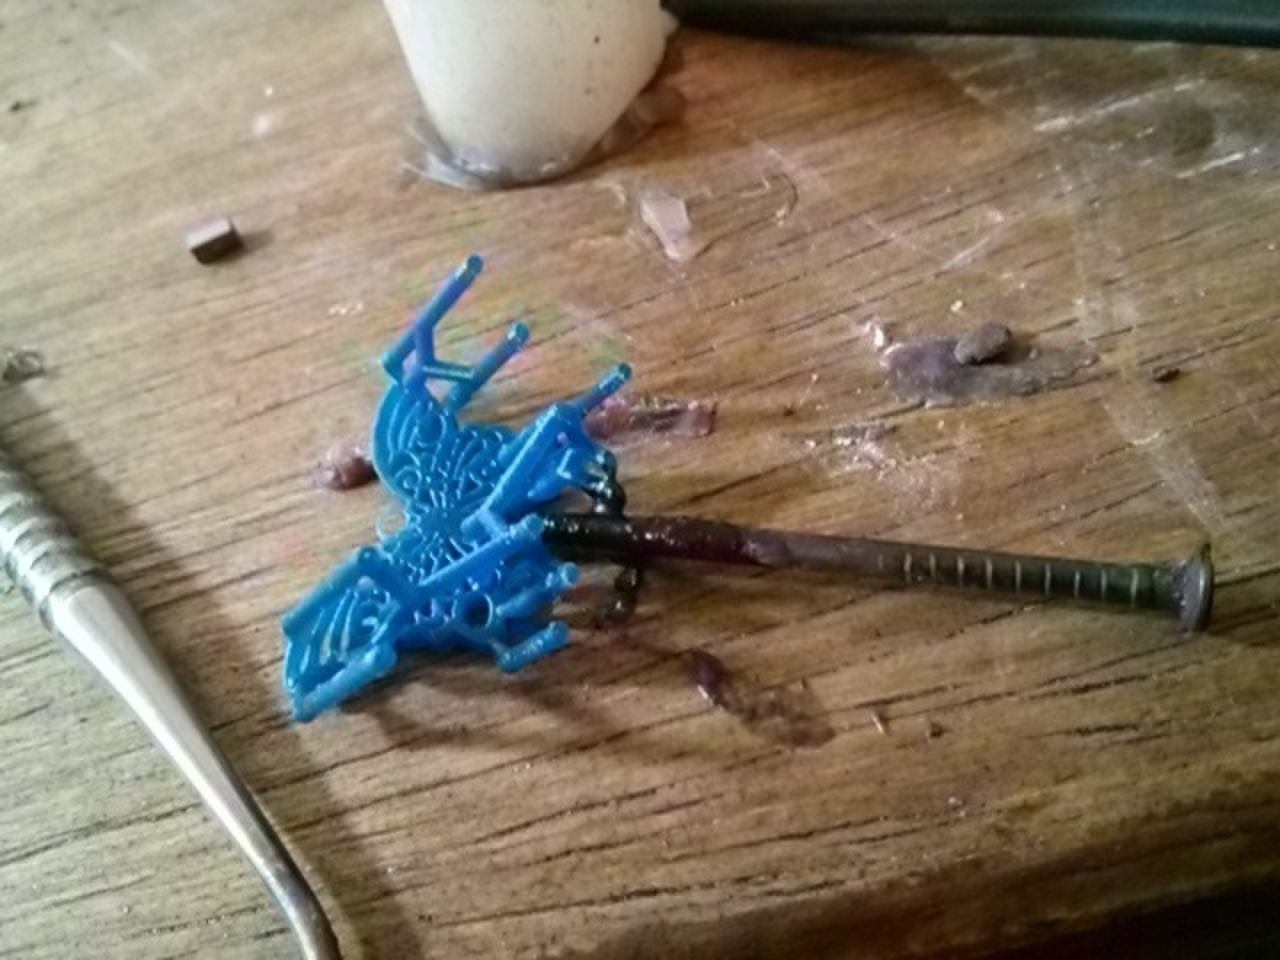
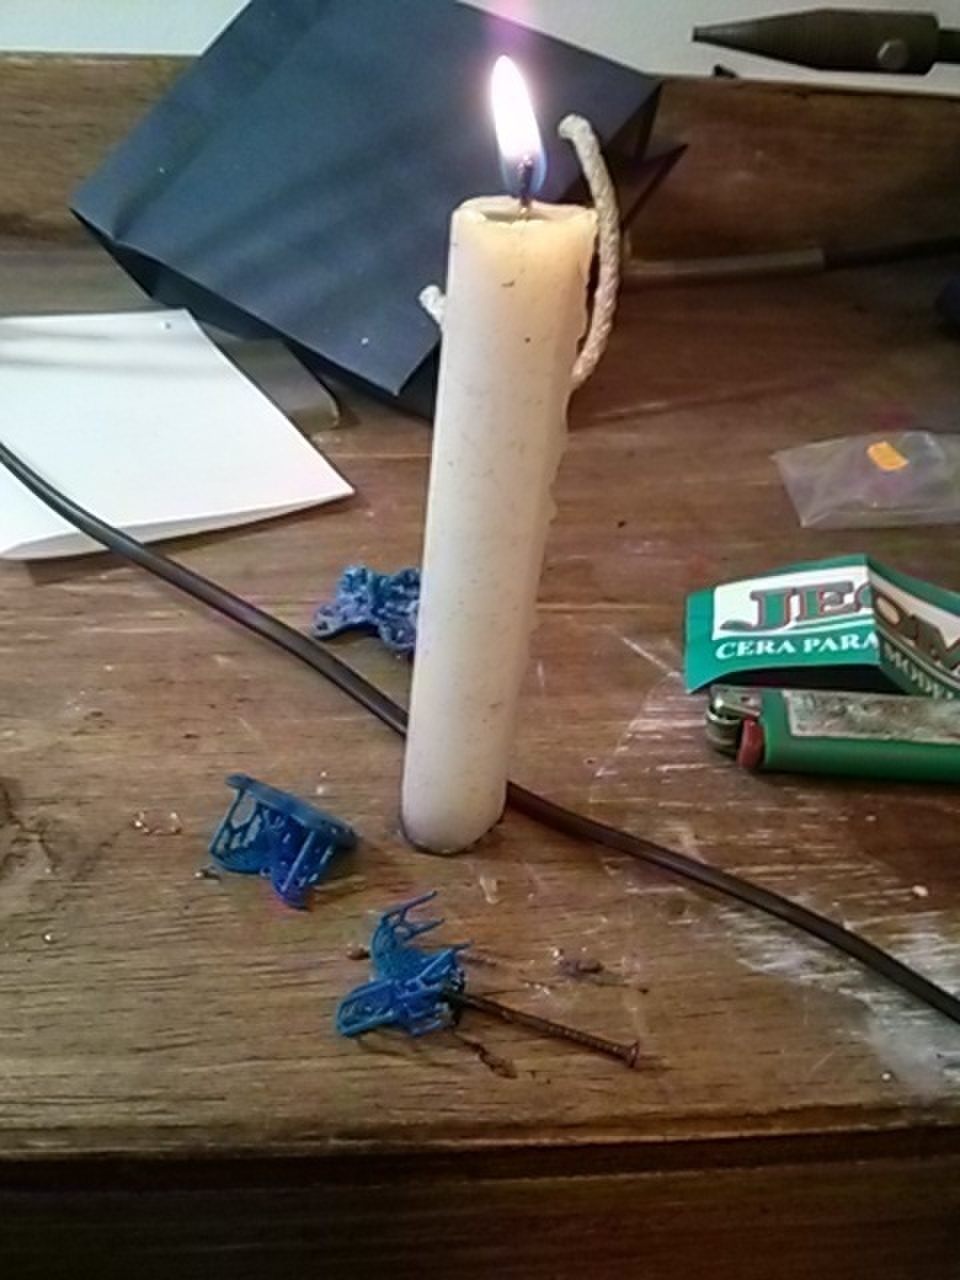
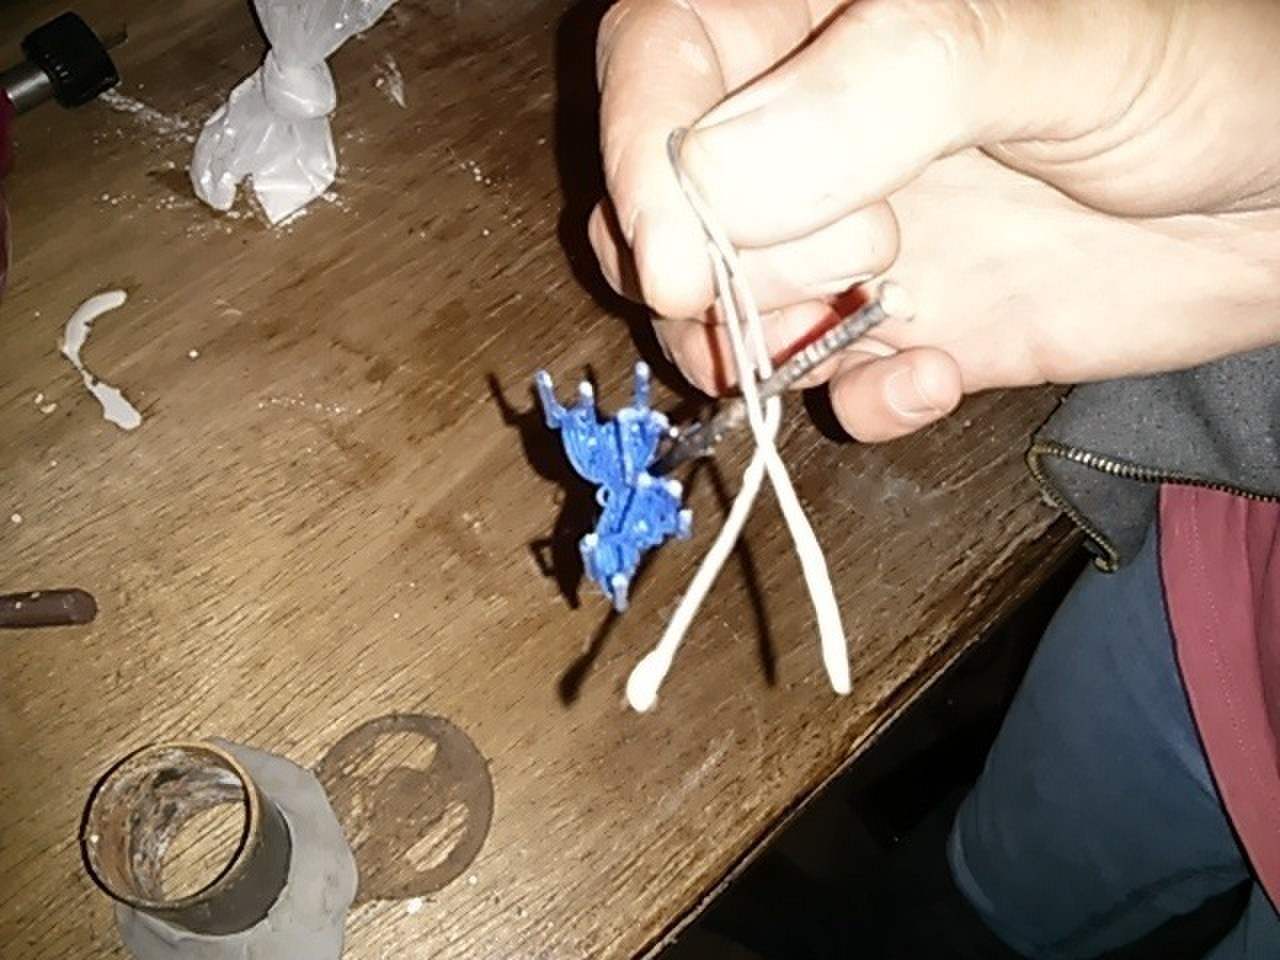
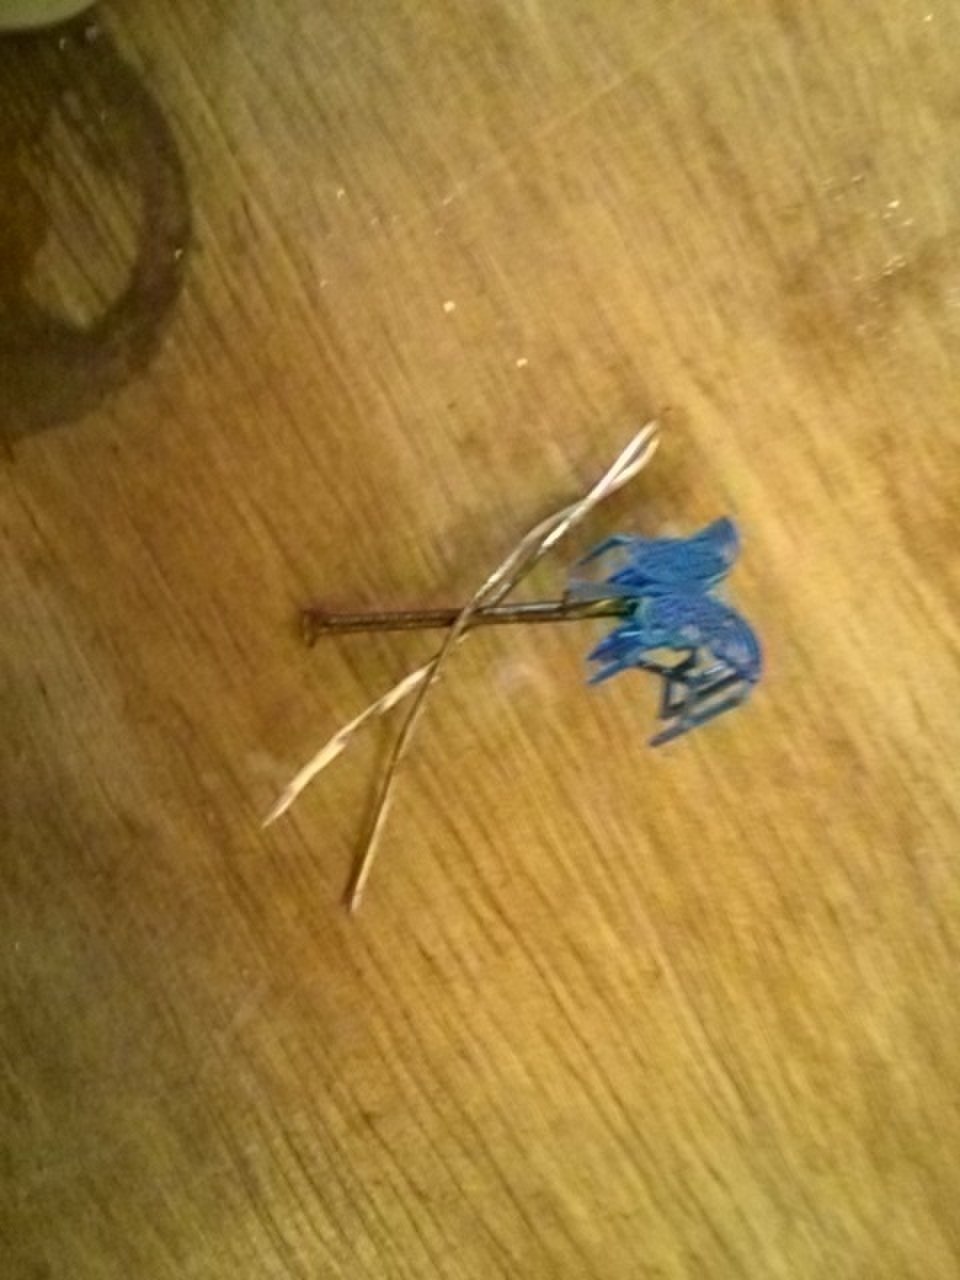
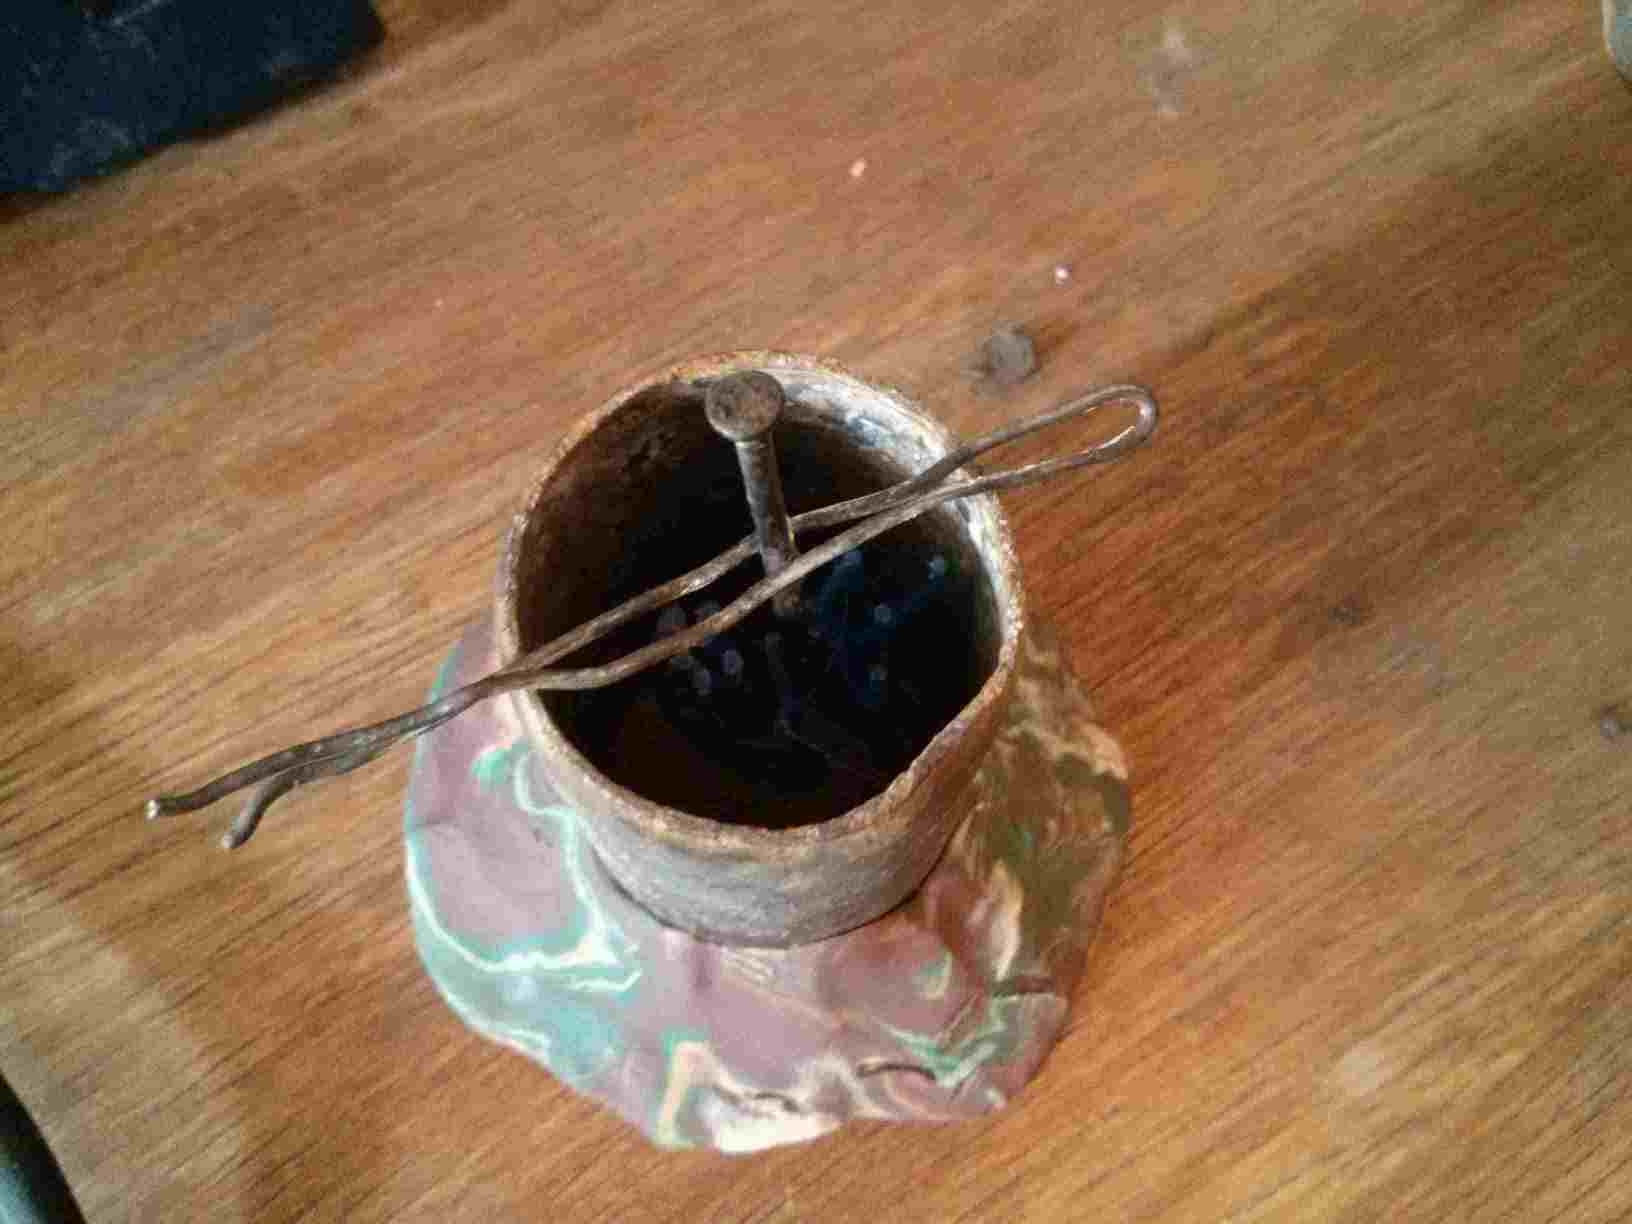
Pour the plaster inside the gasket with the wax positive embedded and with the wax duct facing up.
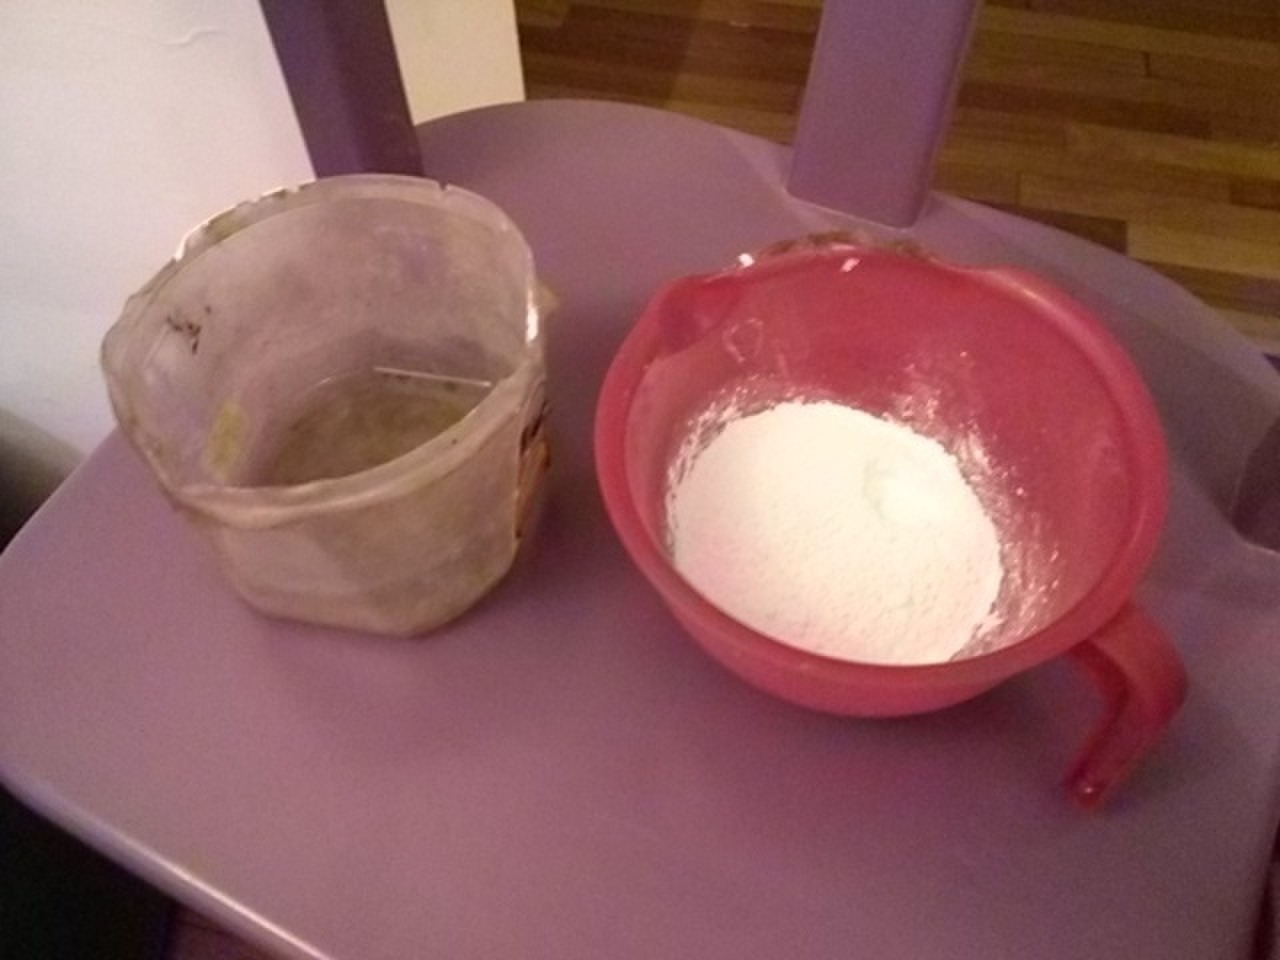
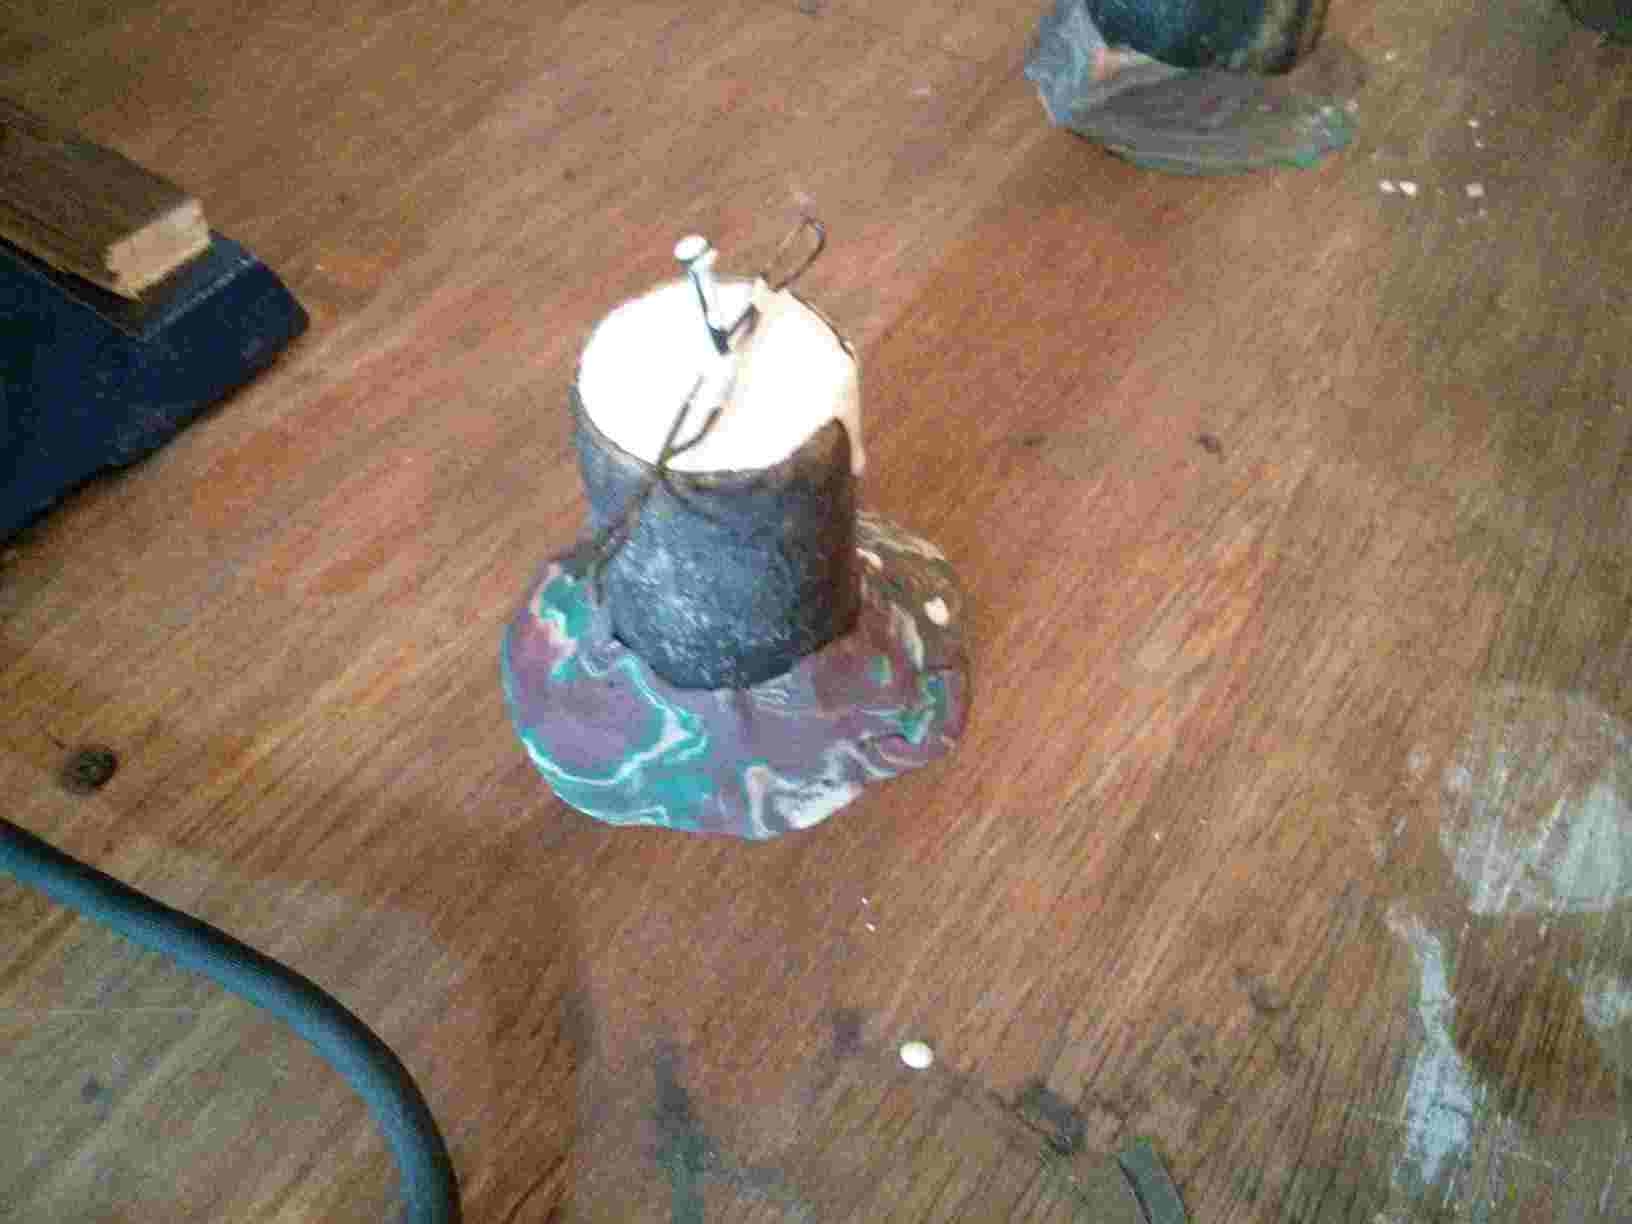
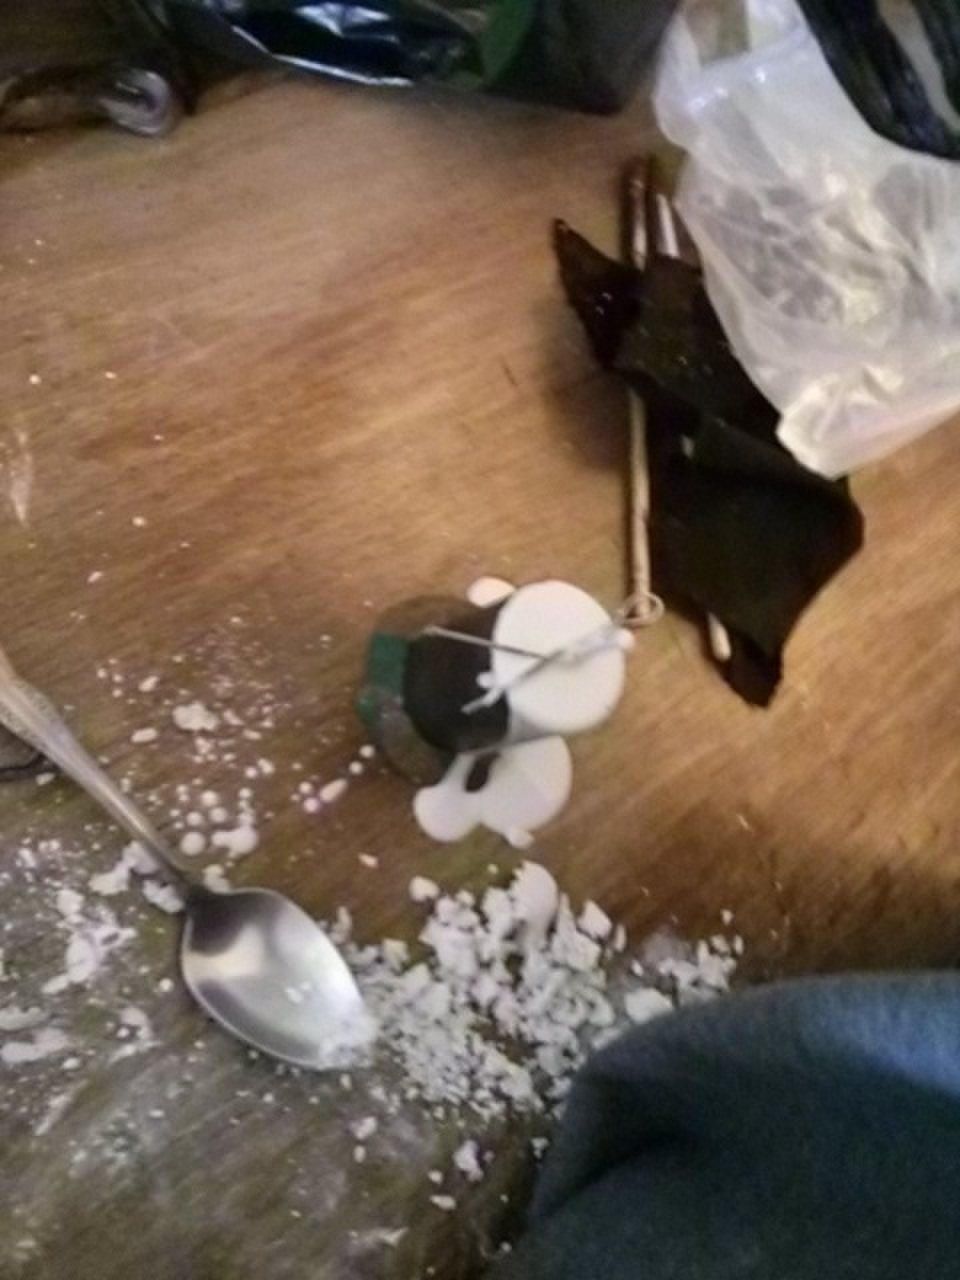
Once the plaster is dry, remove some of the top material in order to reach the wax duct.
Place the silver pieces (95%) mixed with the copper pieces (5%) on the materials' bowl. This proportion is used in order to have A950 grade silver.
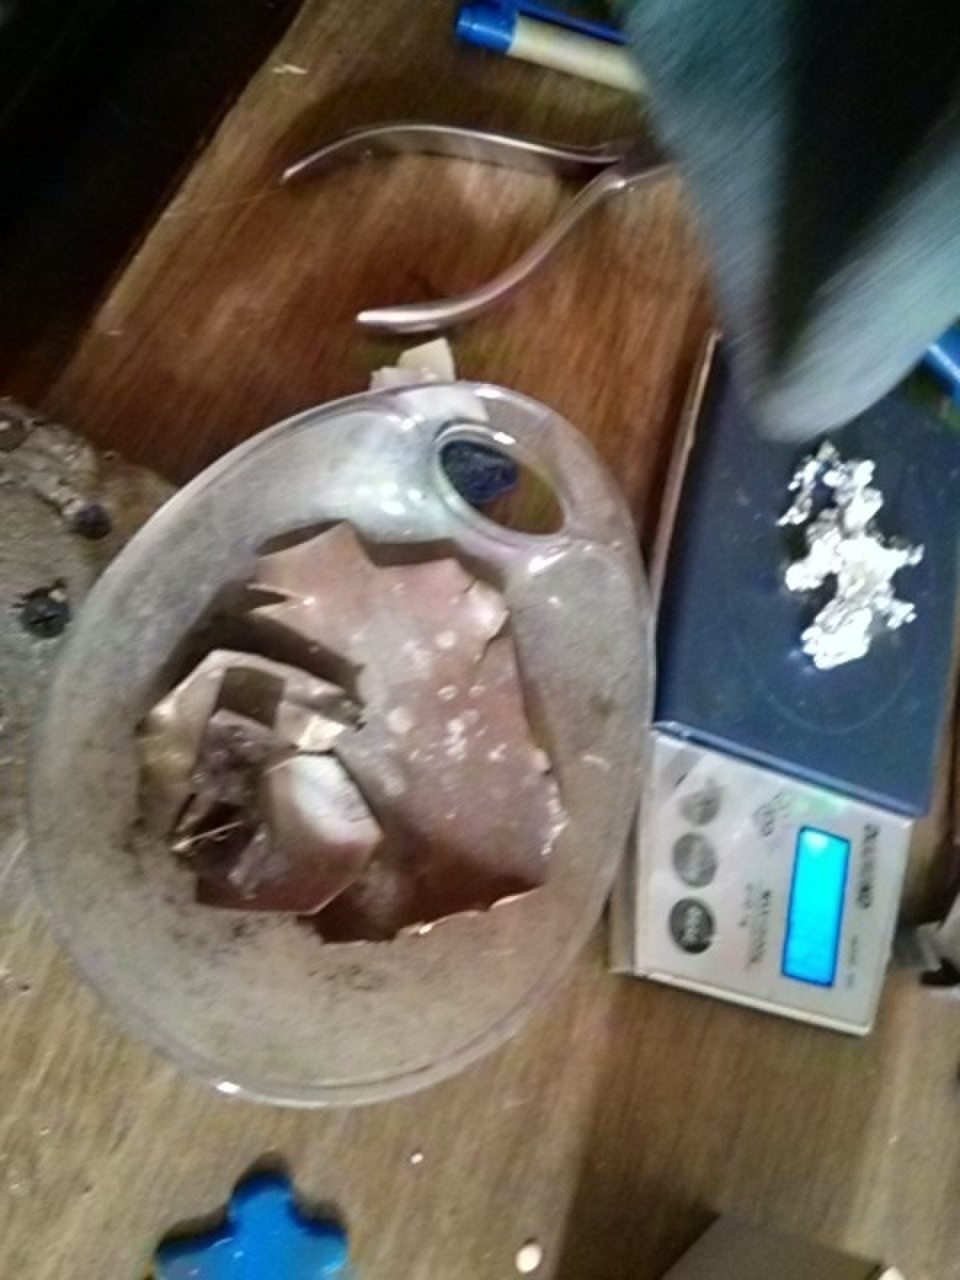
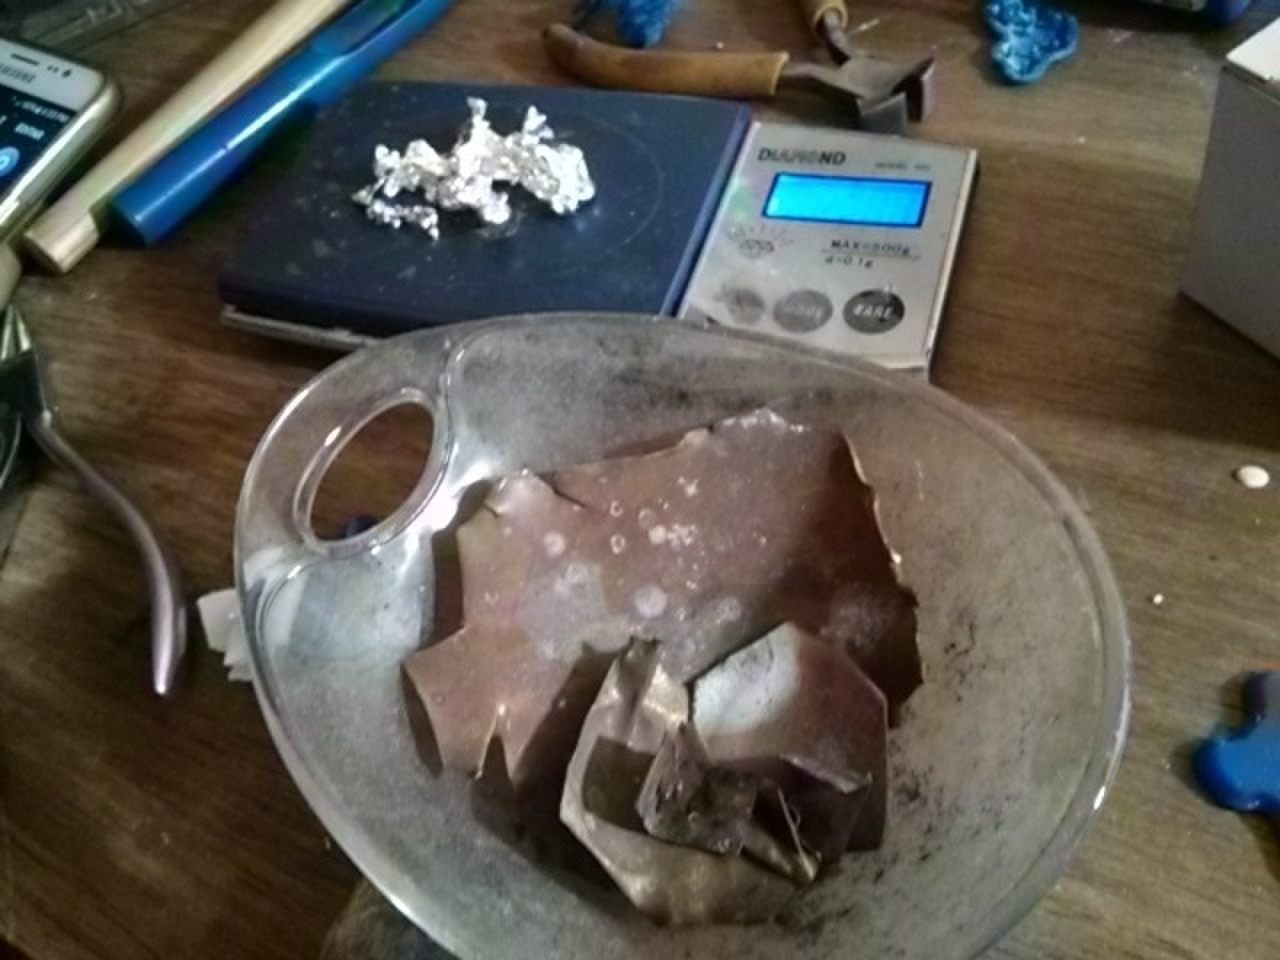
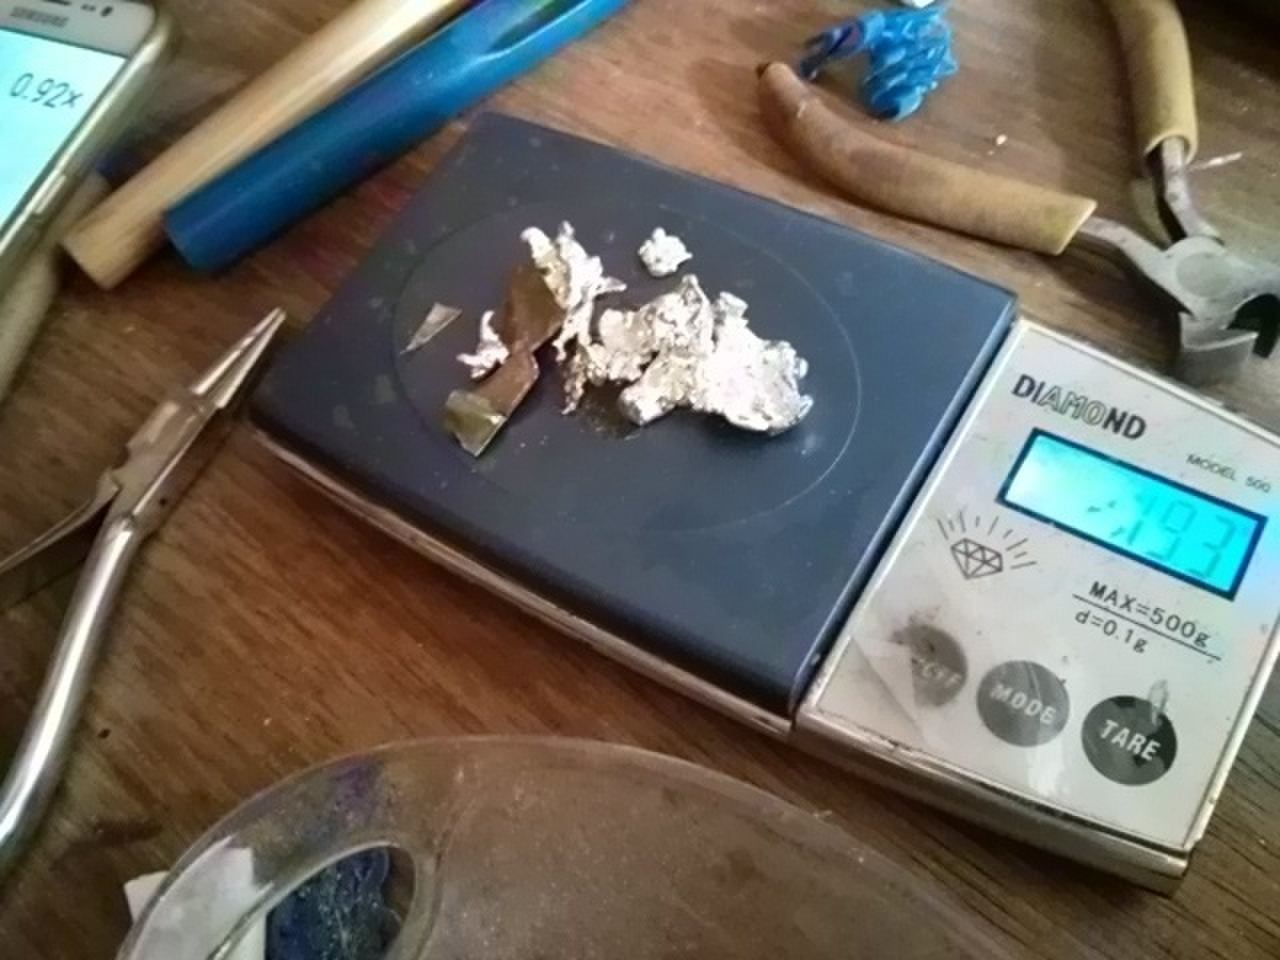
Place the gasket in the mold support with the wax duct pointing in the direction of the materials' bowl.
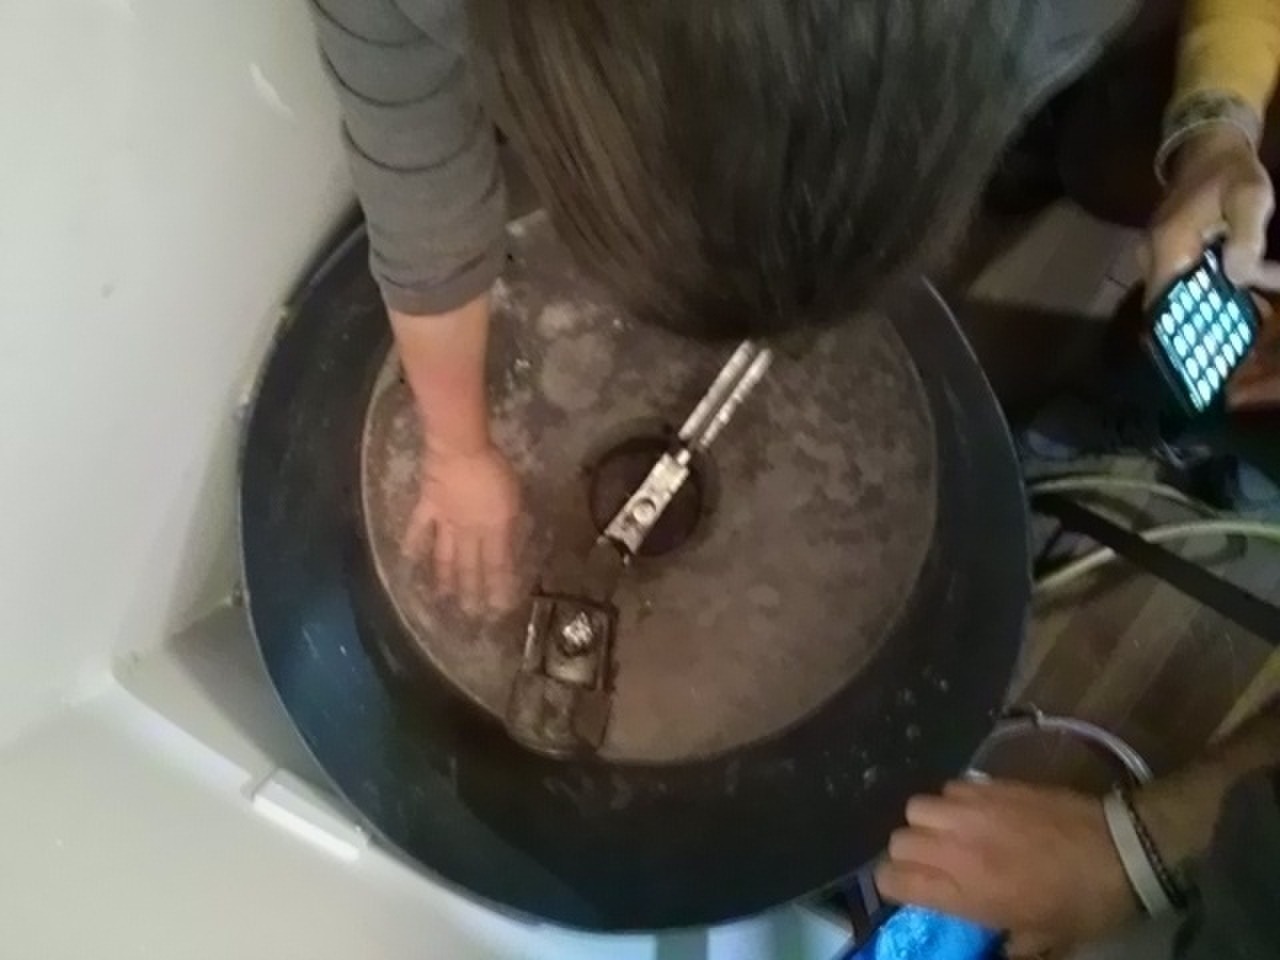
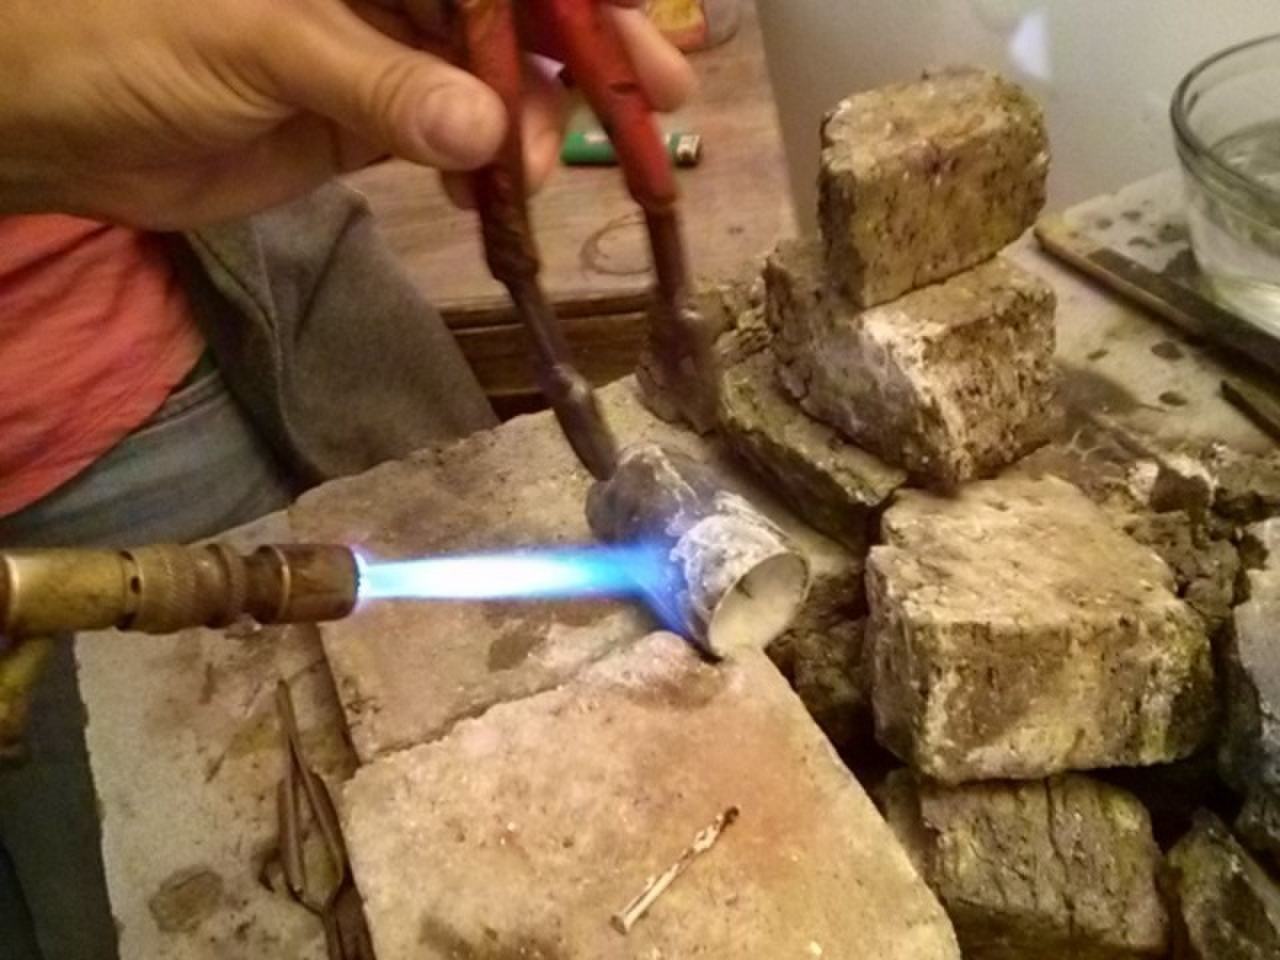
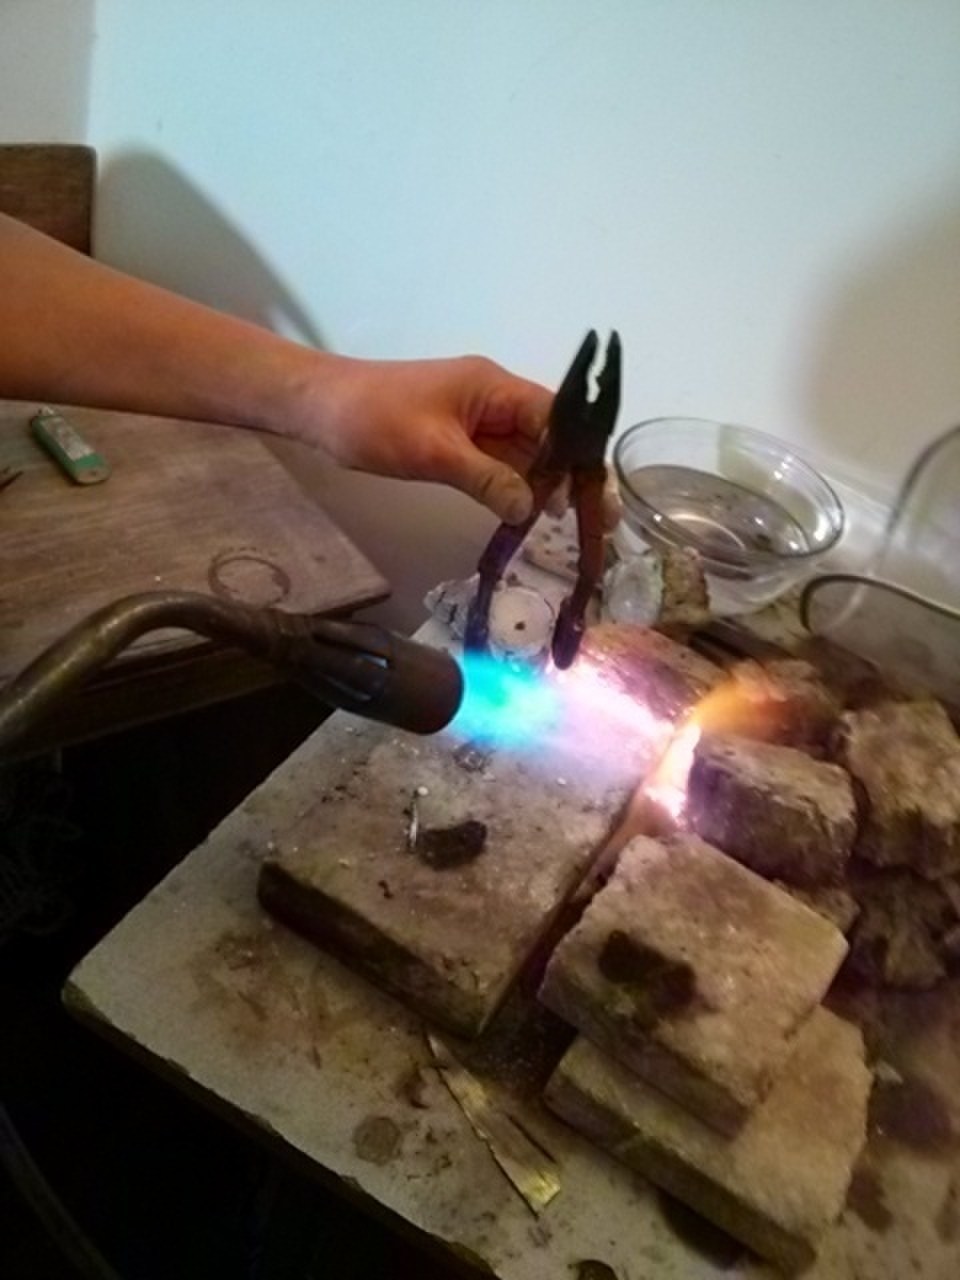
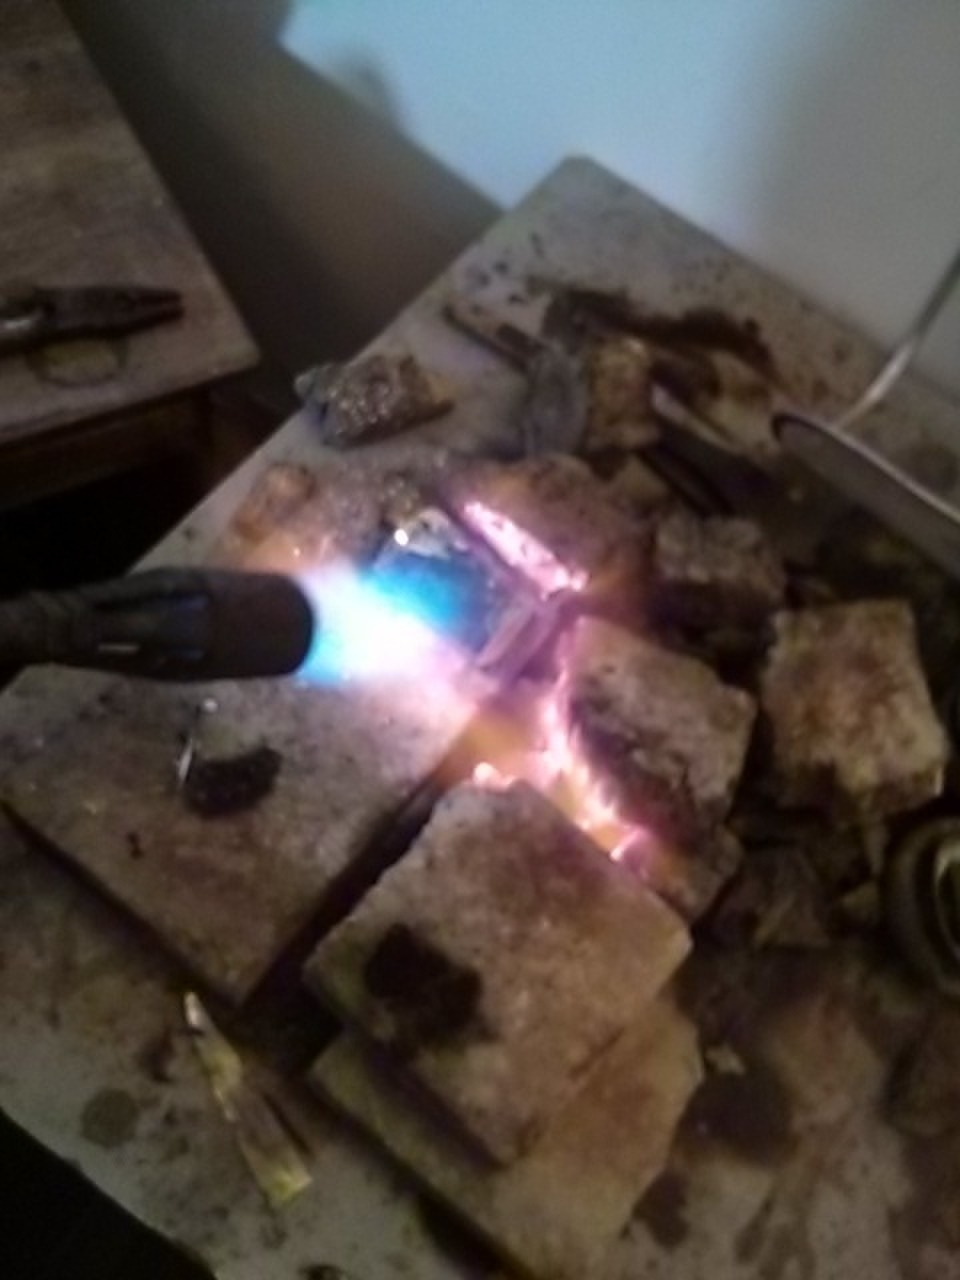
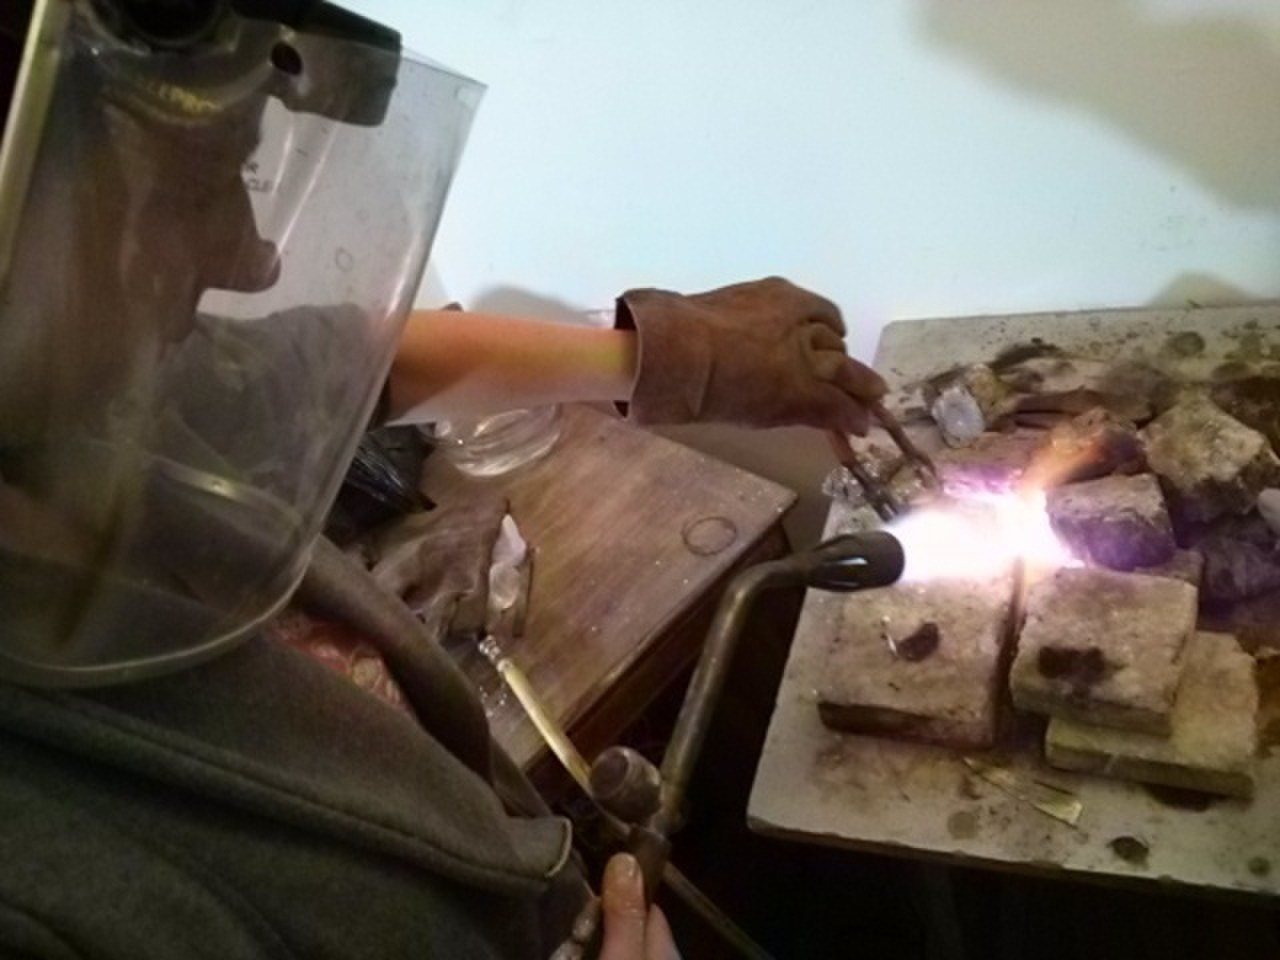
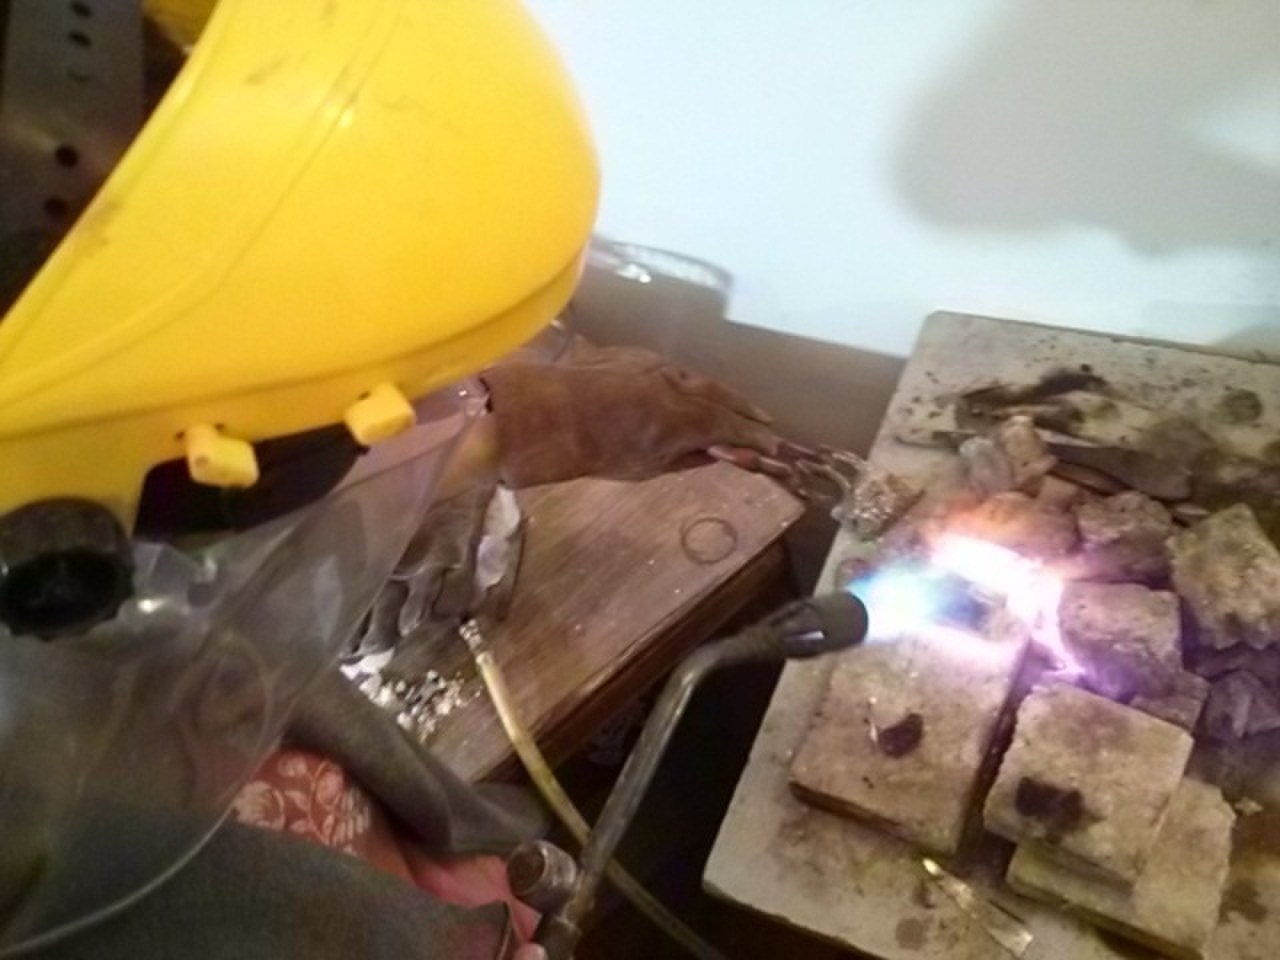
Use the gas torch to heat the materials and move them with a metal instrument in order to melt them and get a good mix.
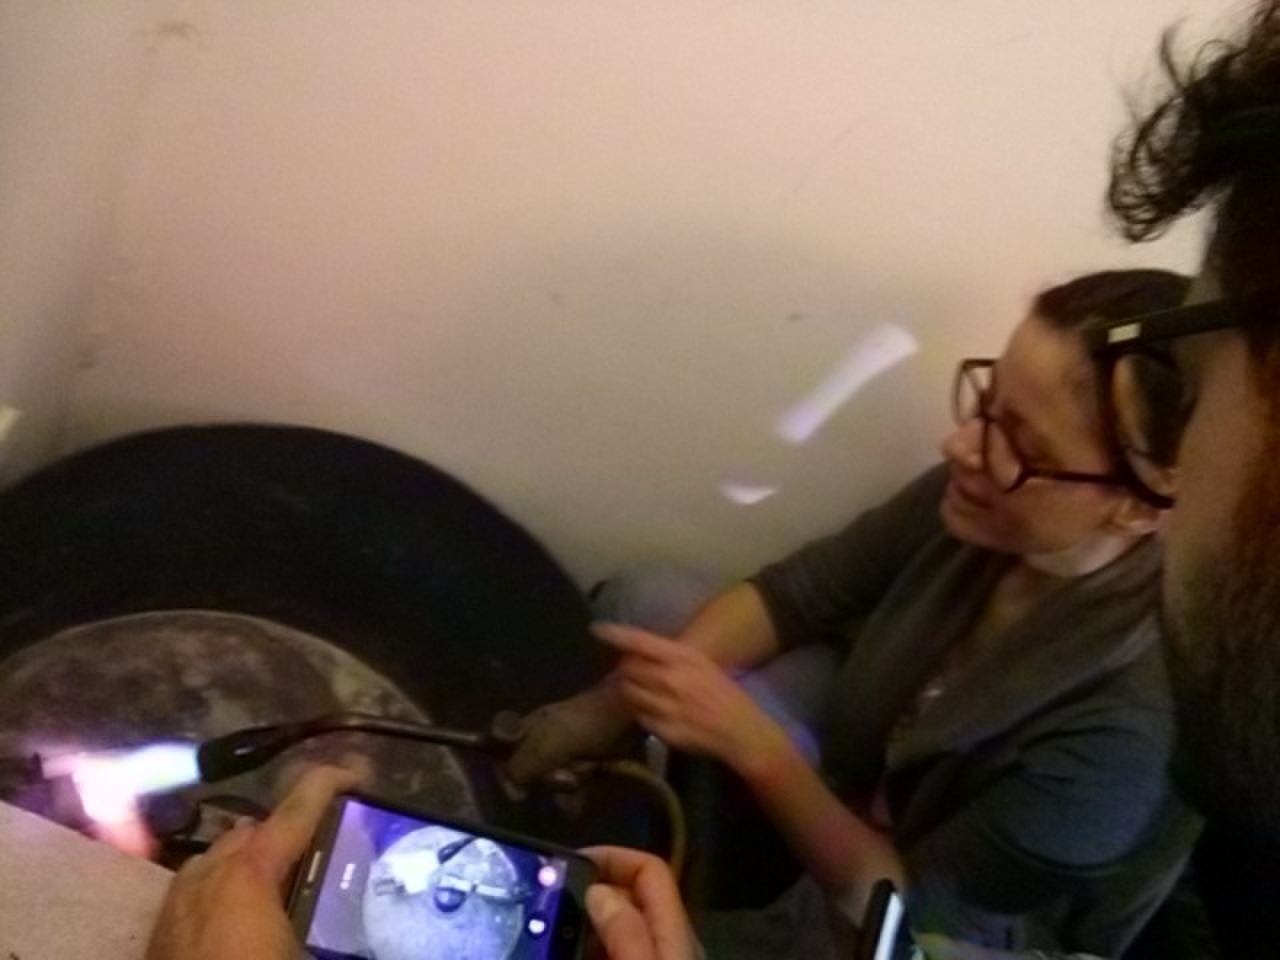
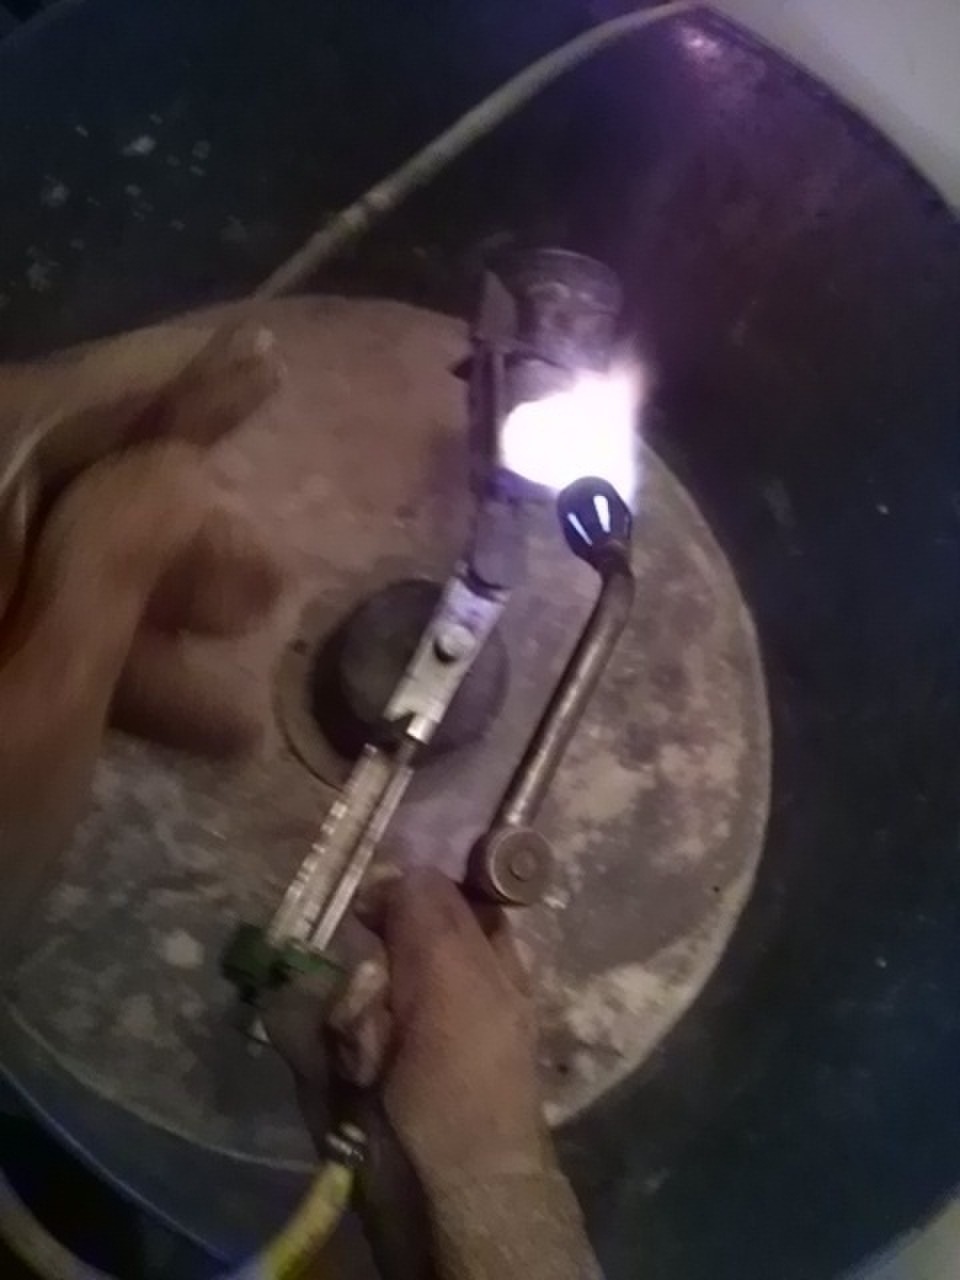
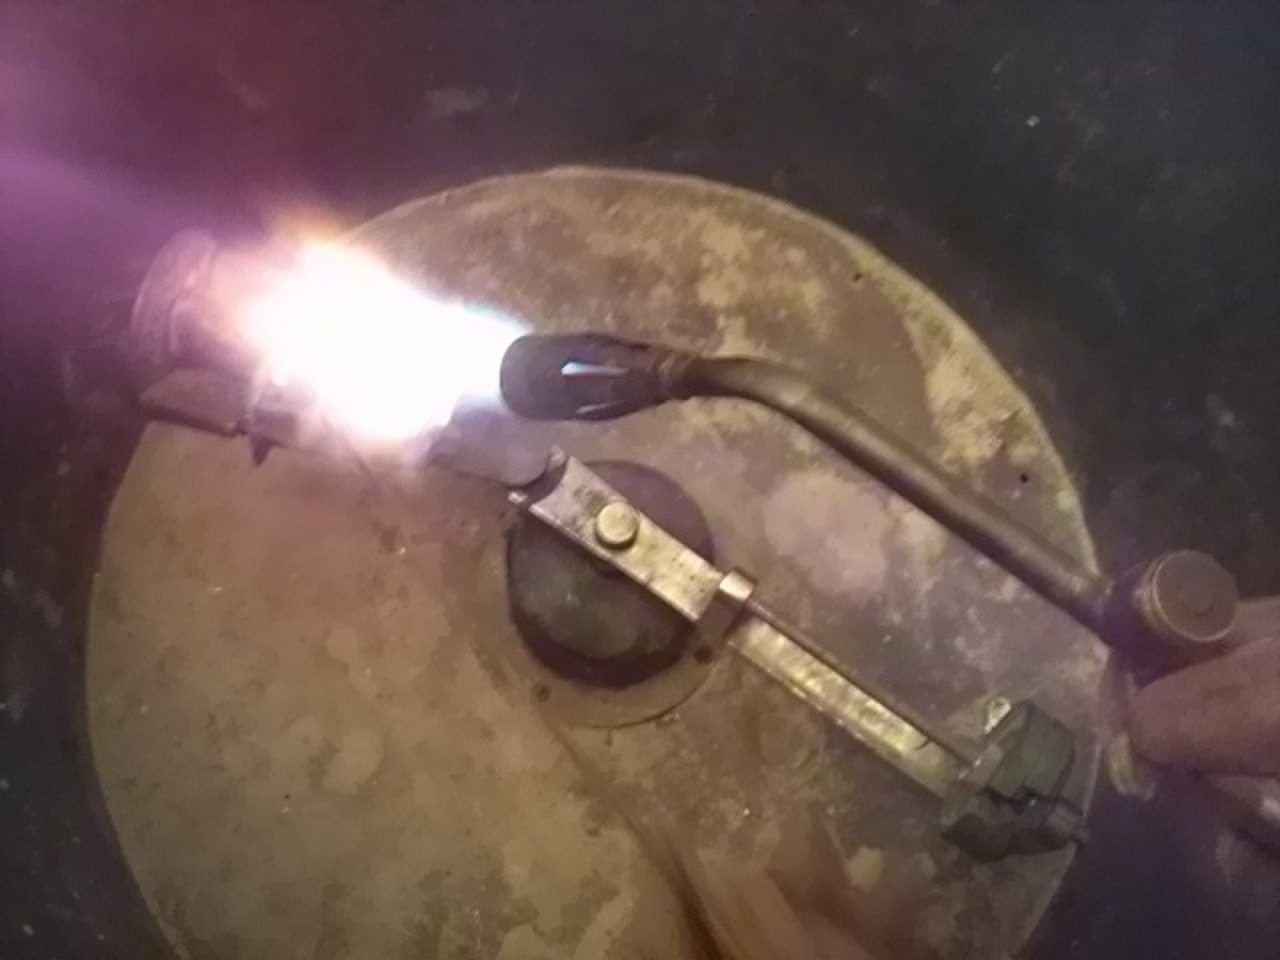
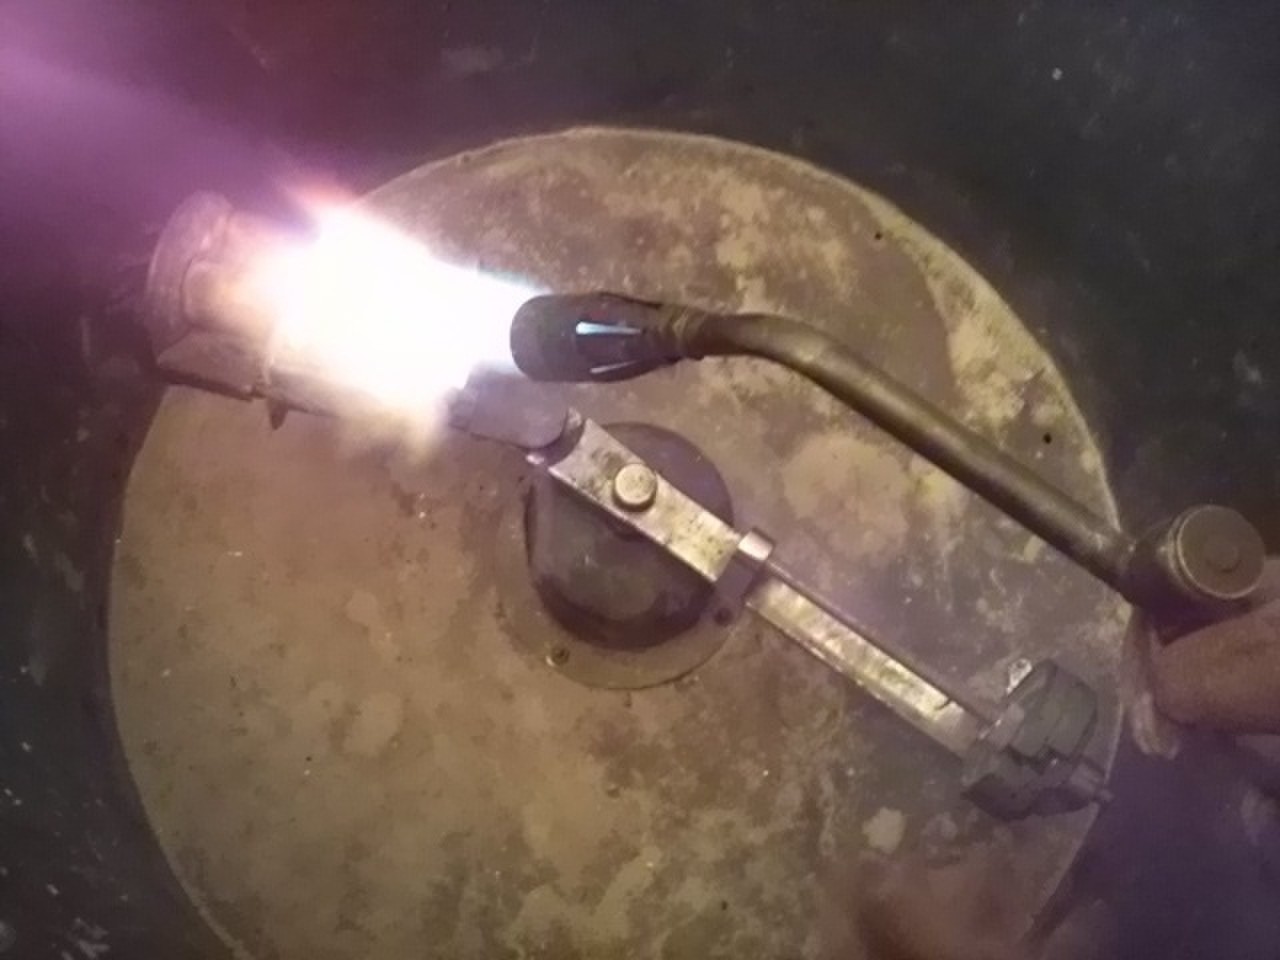
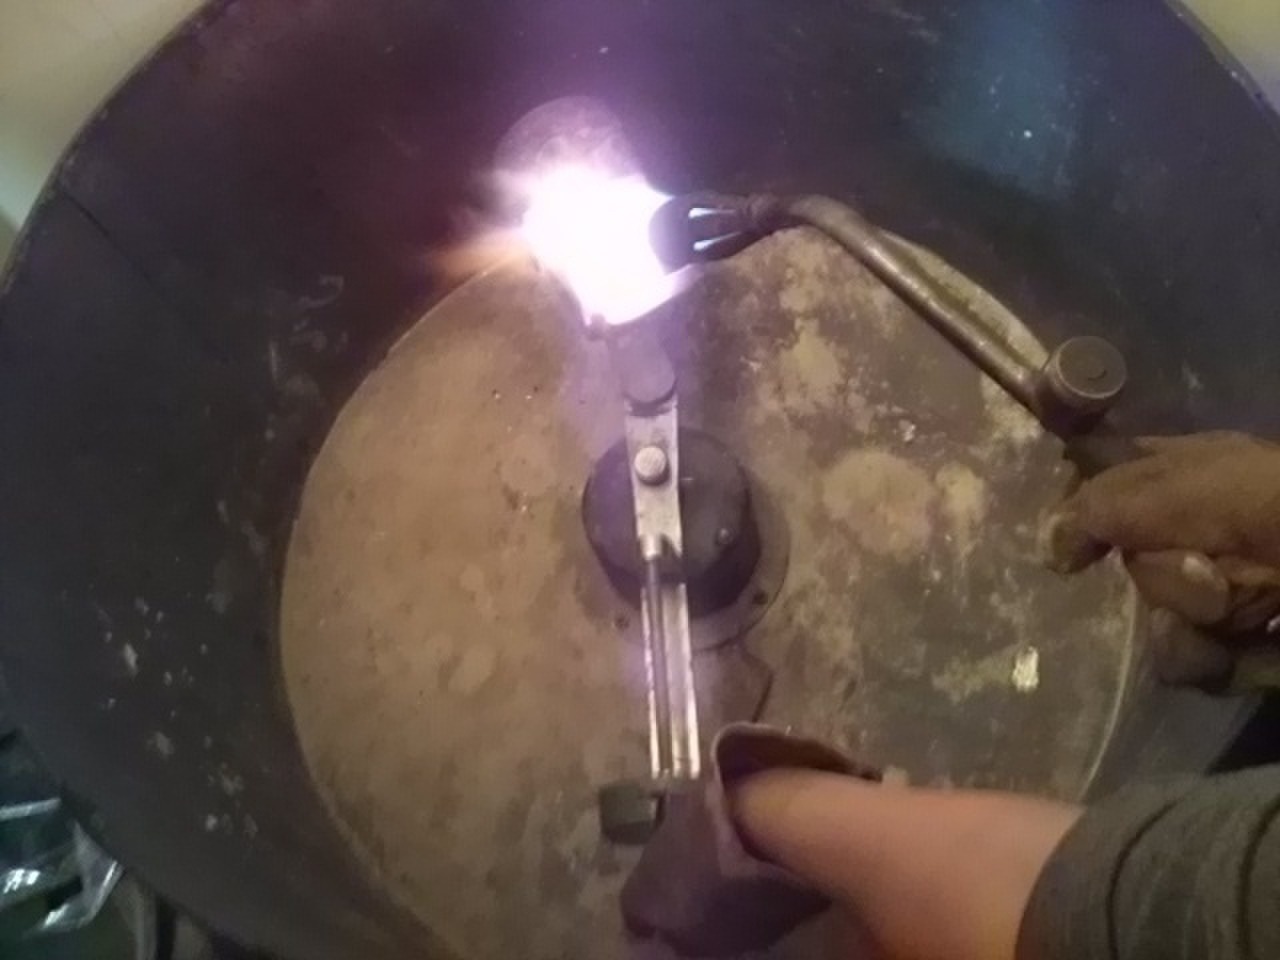
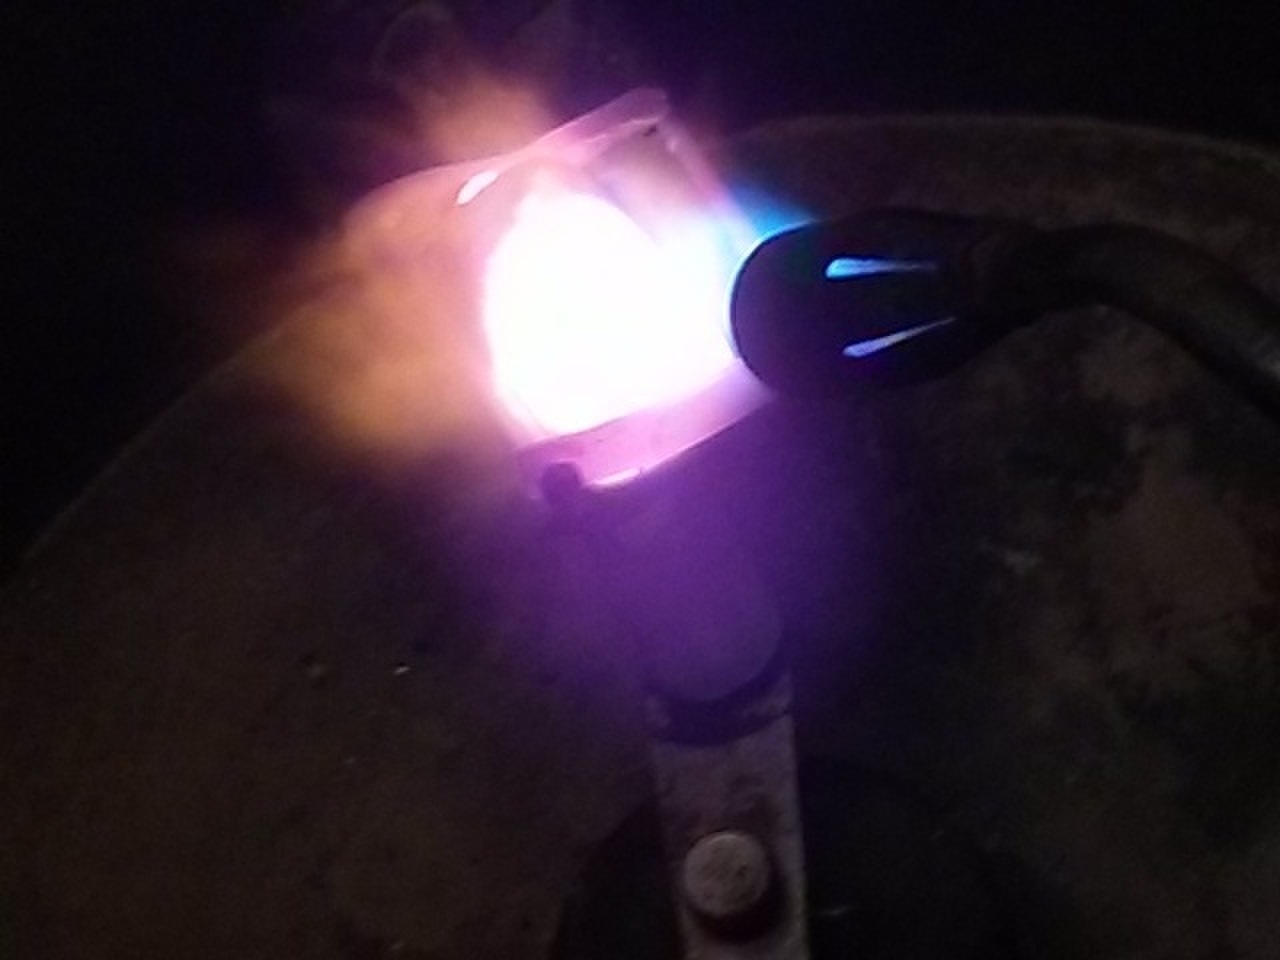
Turn the centrifuge clockwise 2 turns in order to load the centrifuge spring. Let go of the centrifuge. The material (silver A950) is sucked into the place where the wax was while the the wax evaporates.
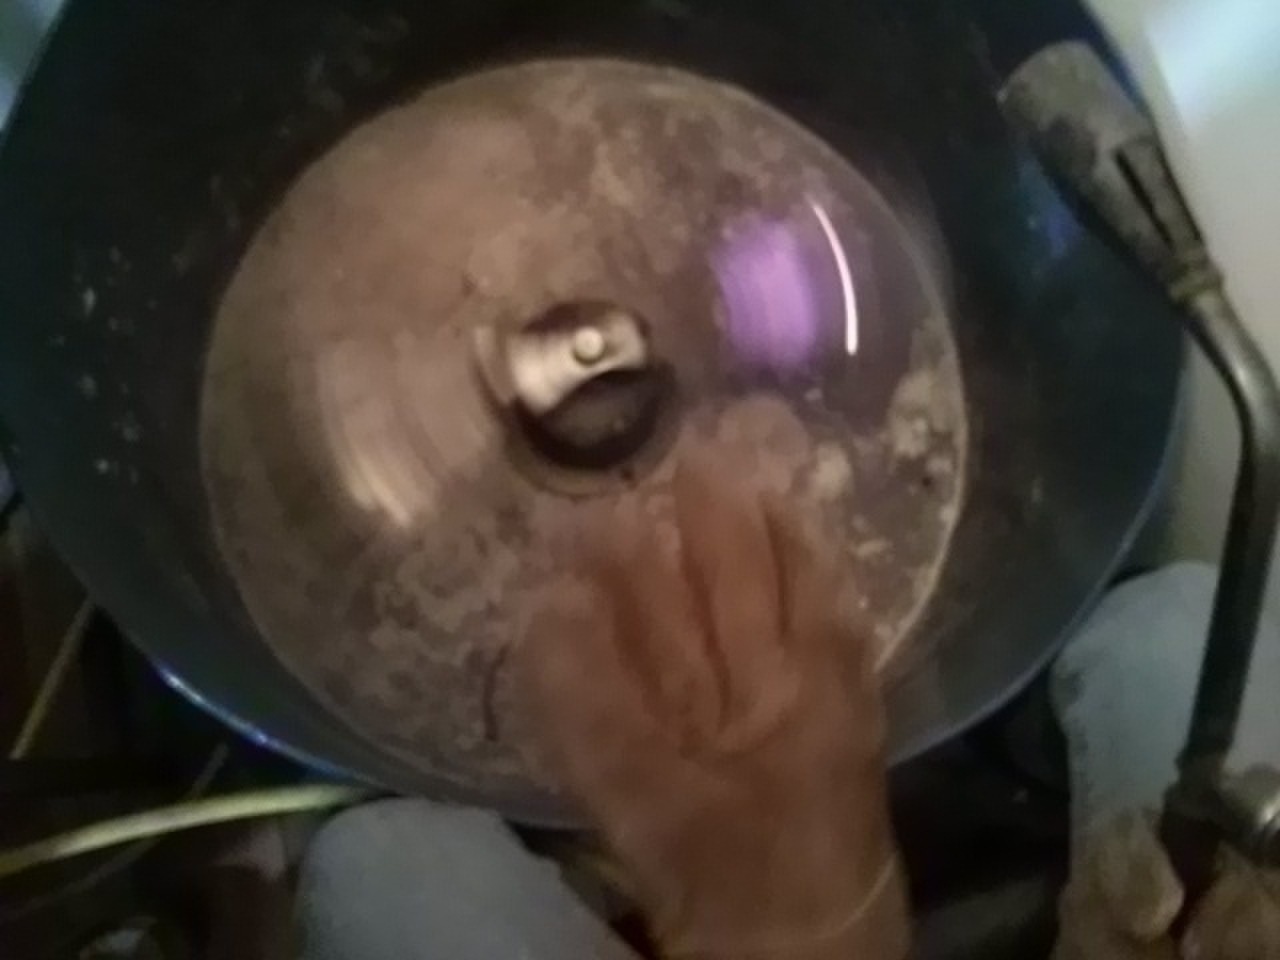
Let the gasket cool down or cool it down with water.
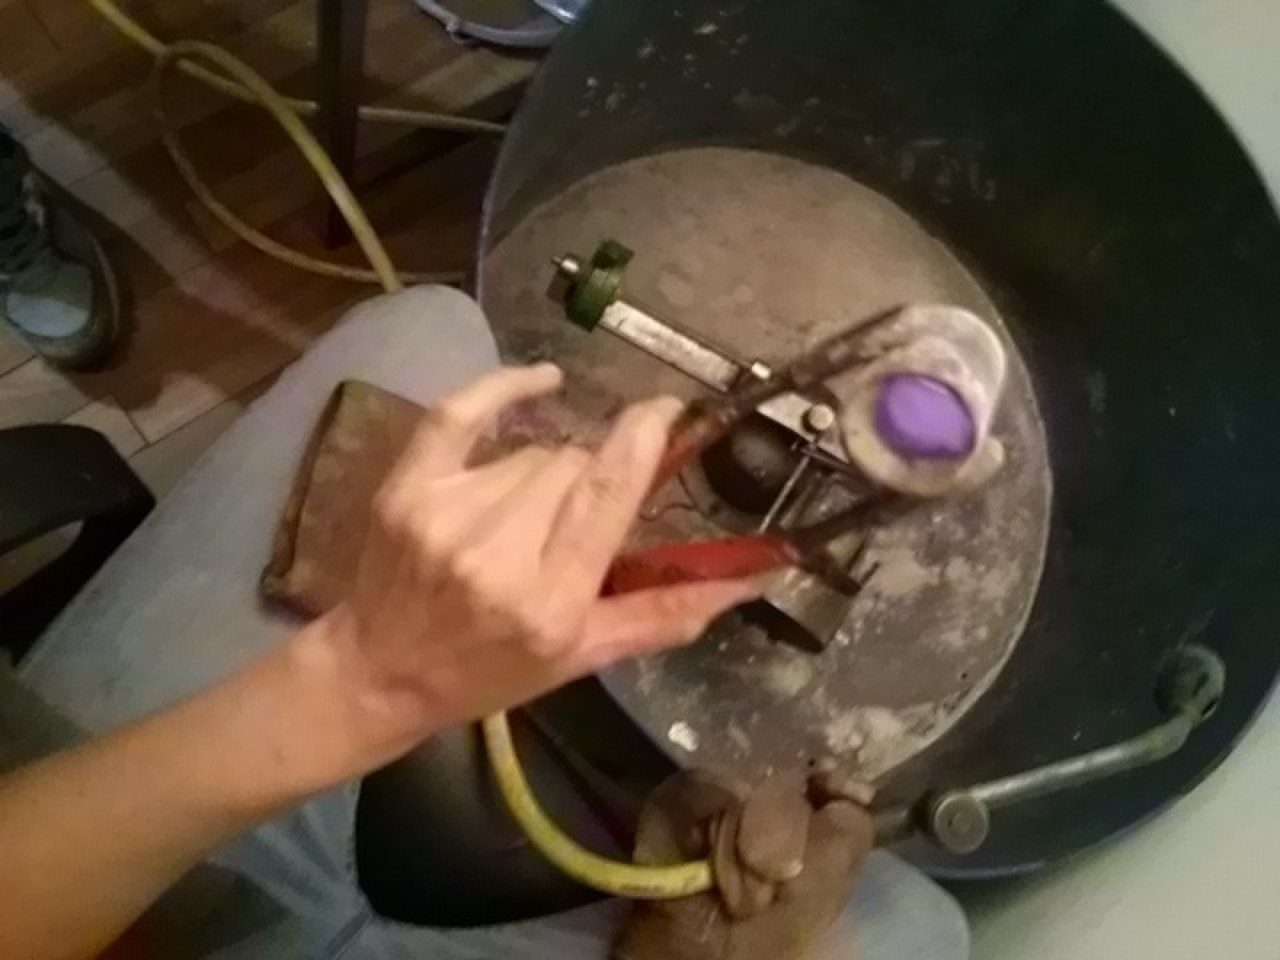
Break the cast plaster from the gasket to recover the finished part.
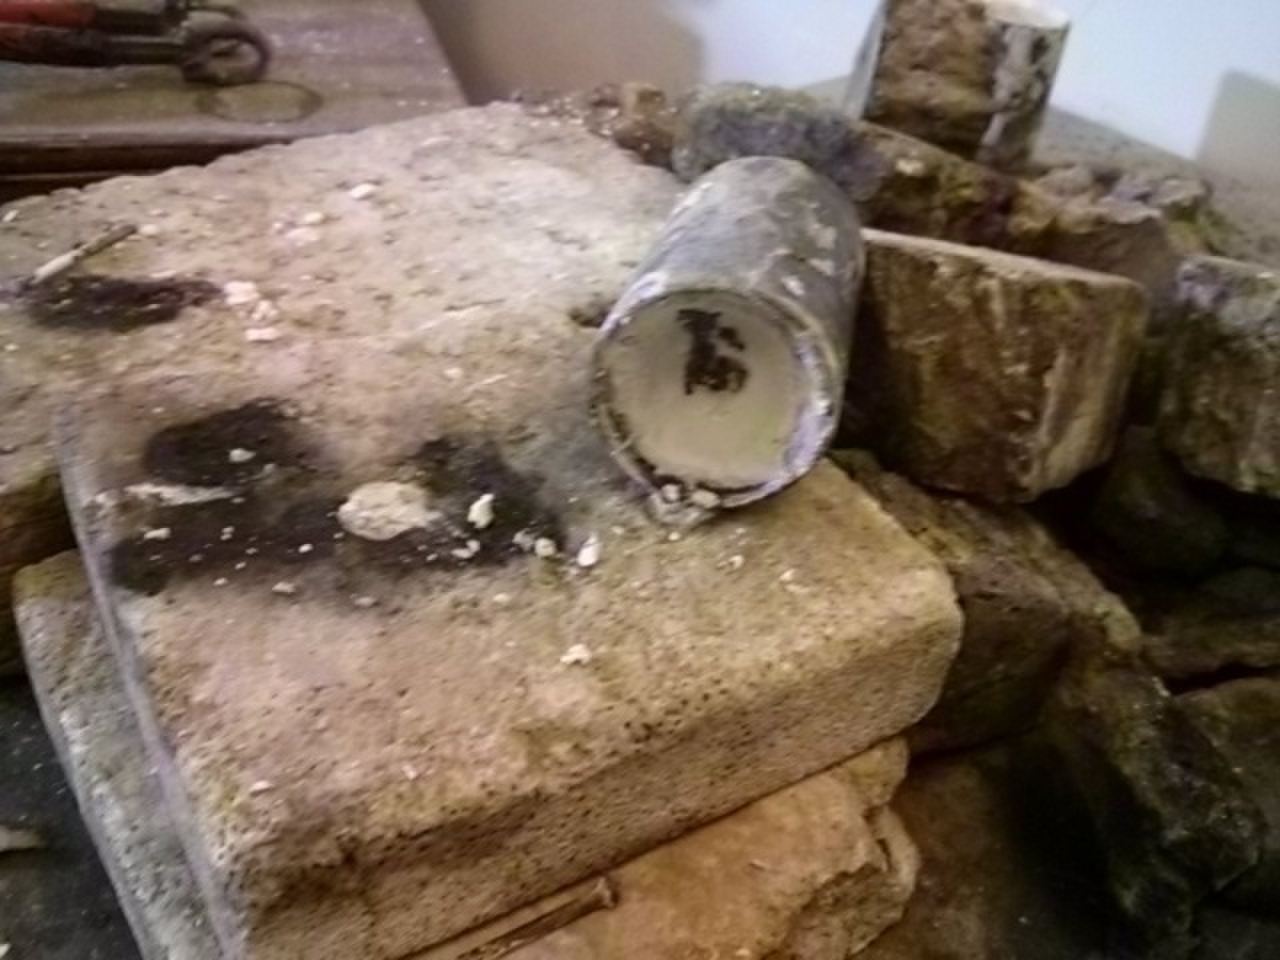
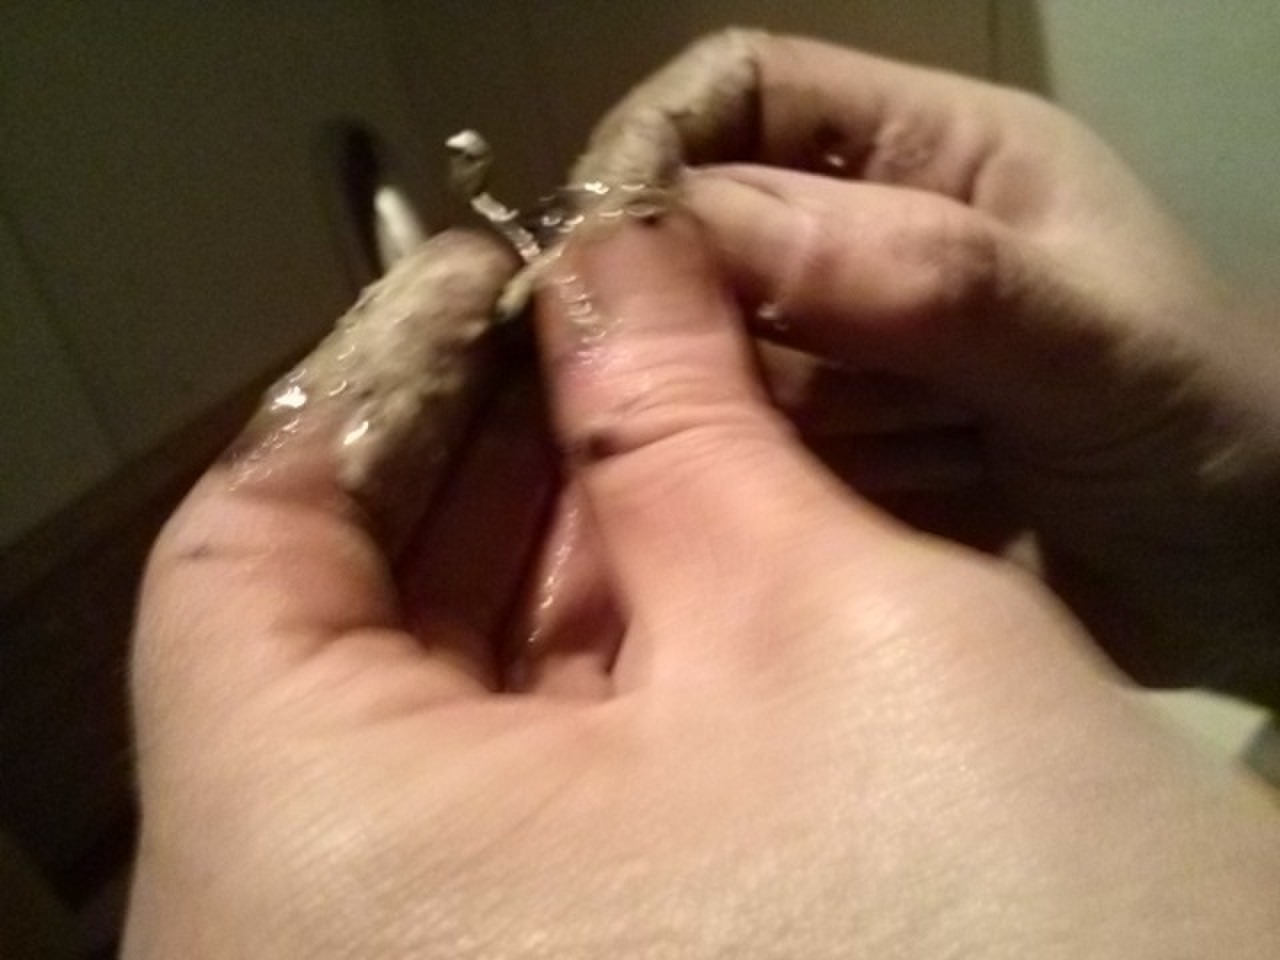
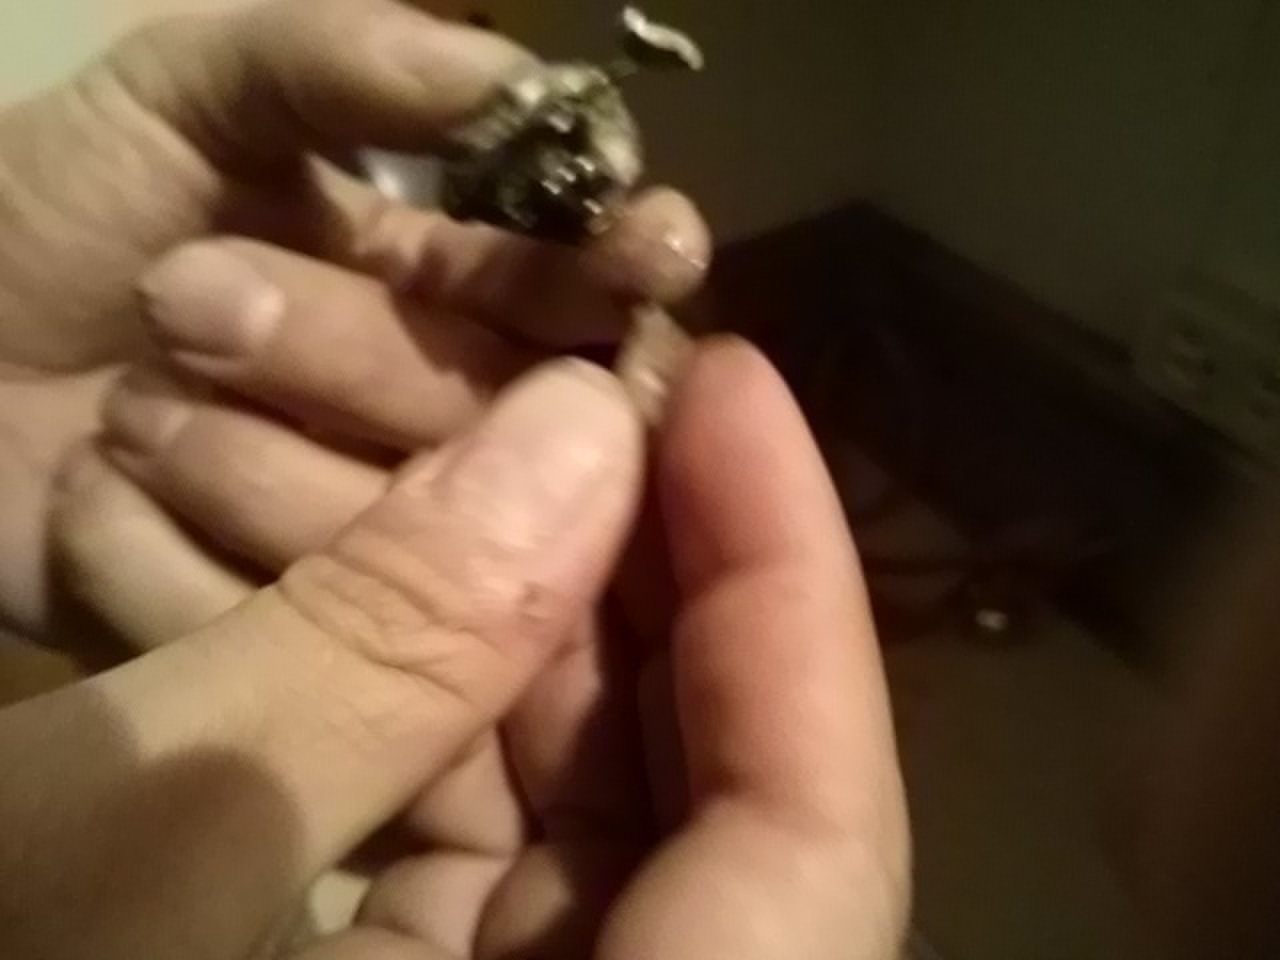
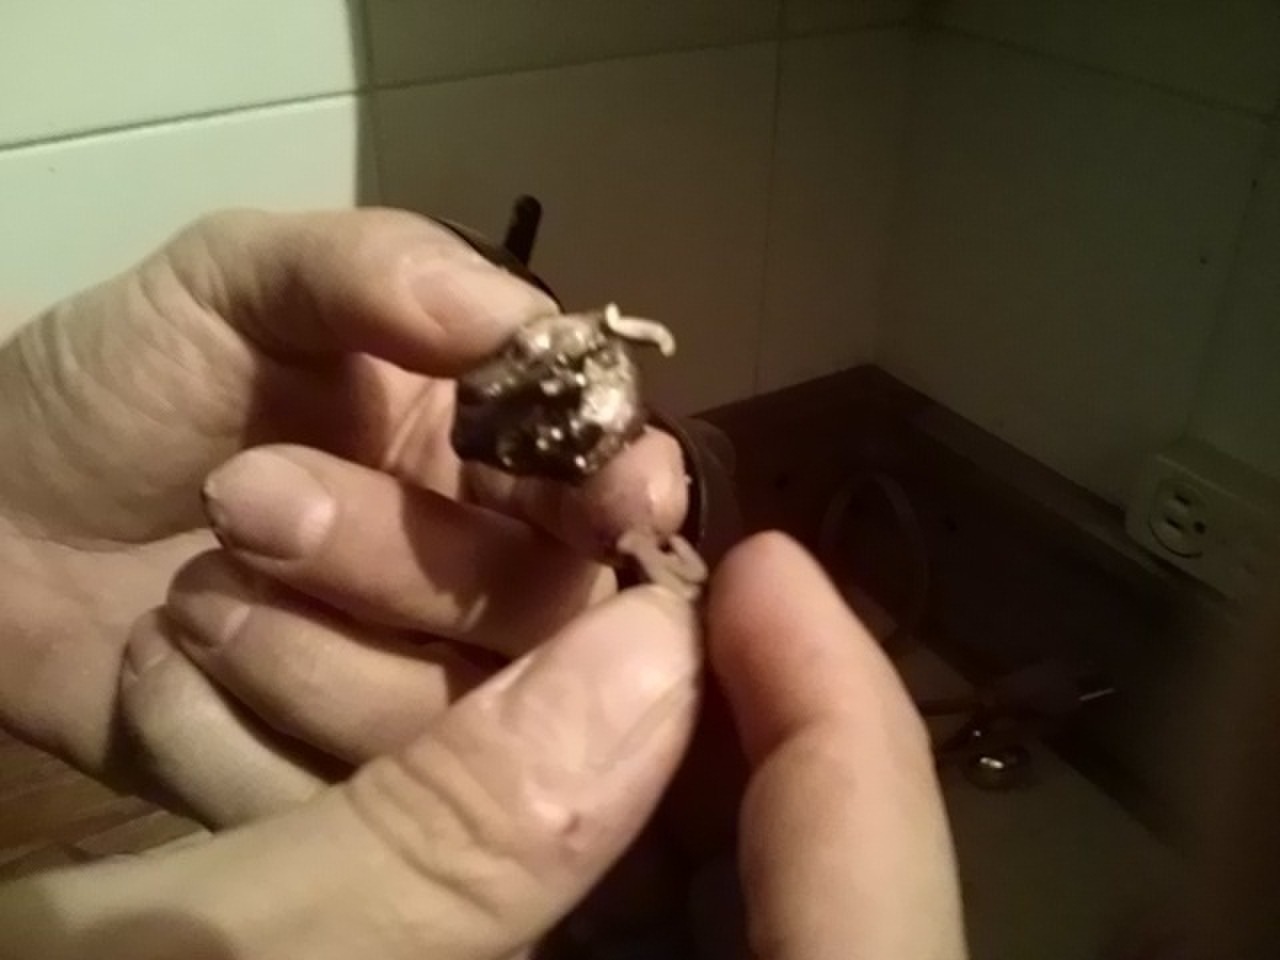
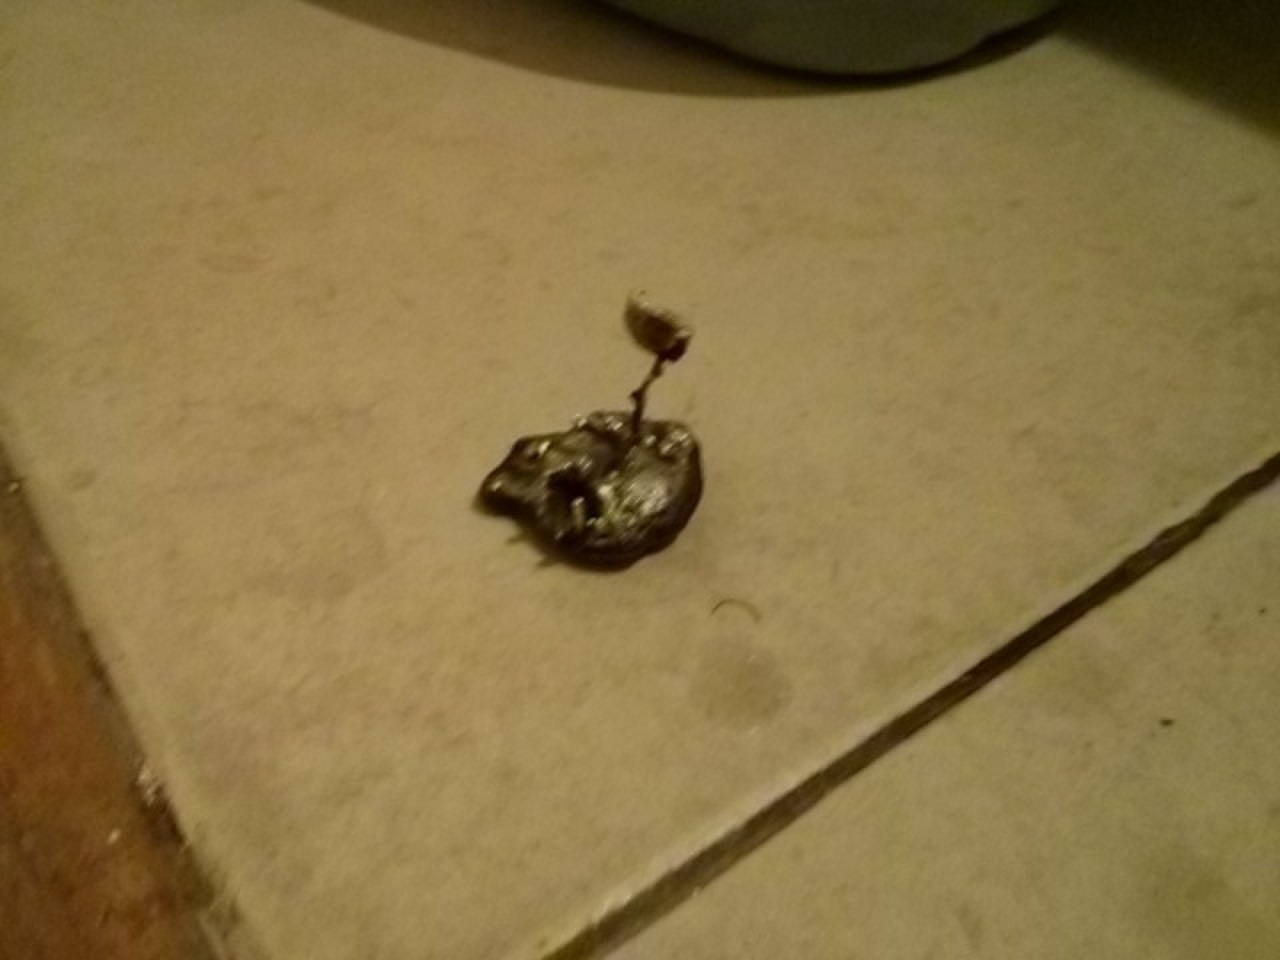
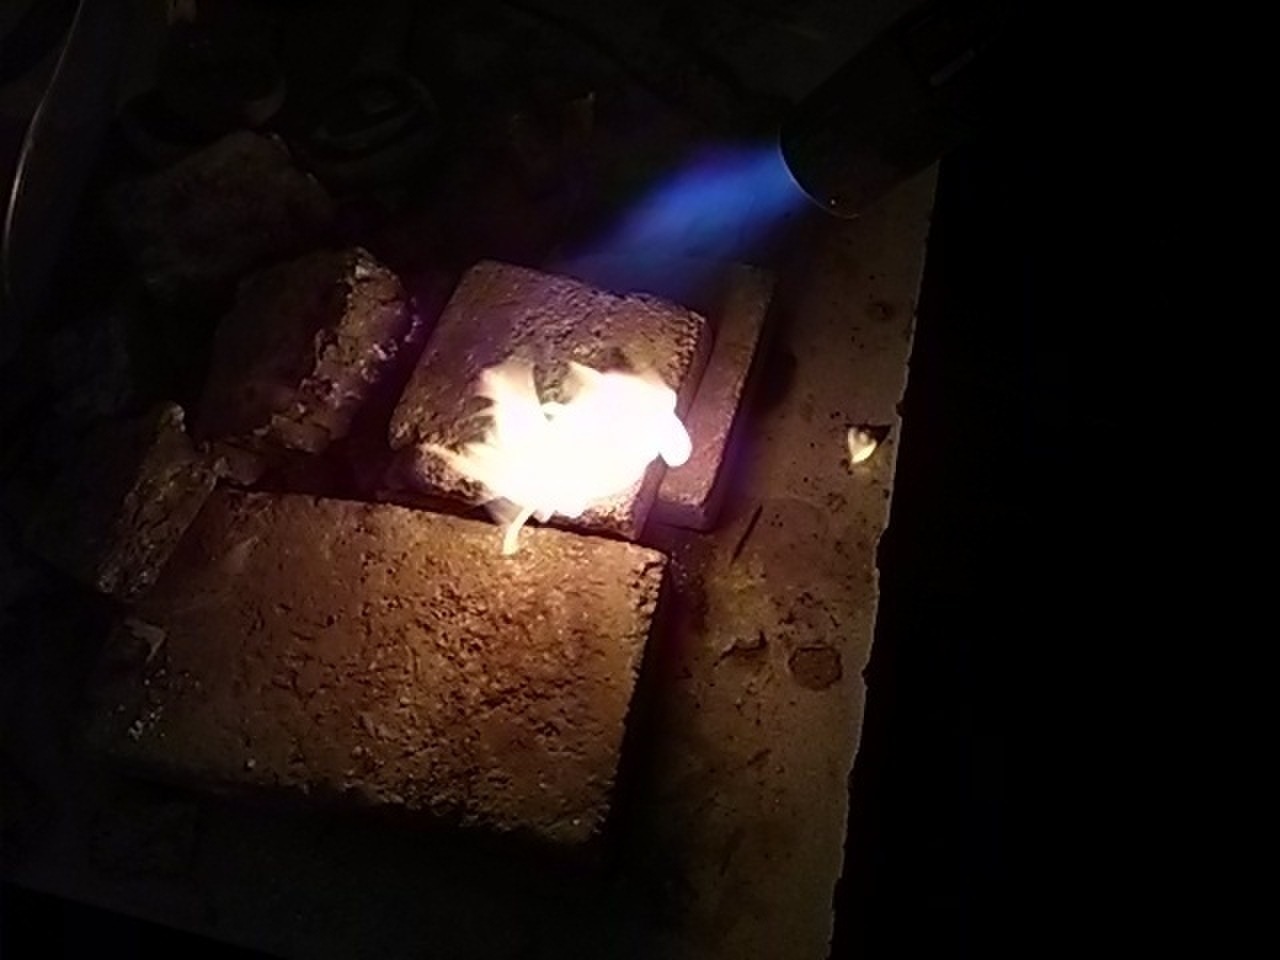
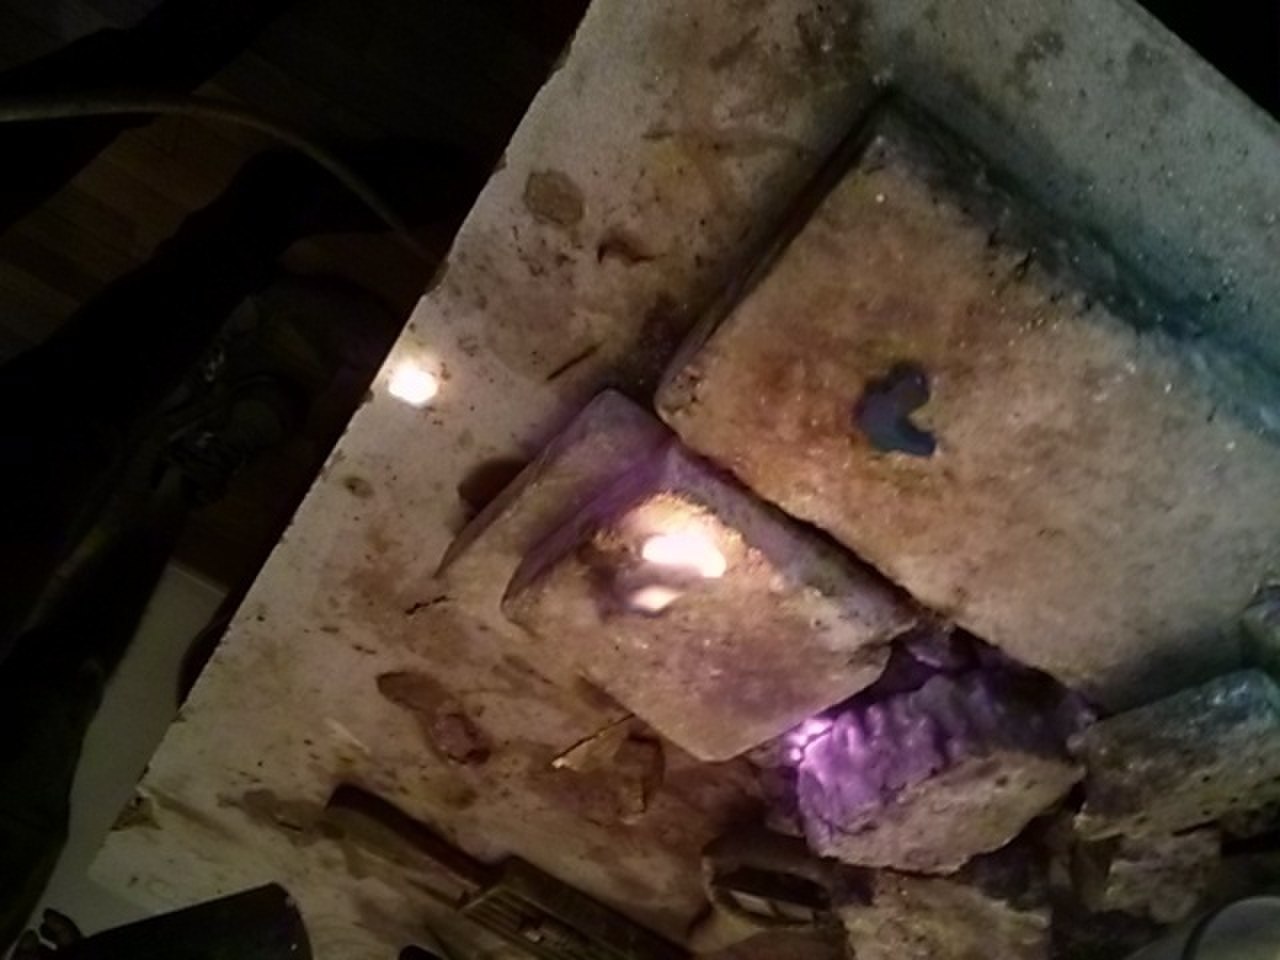
The wax did not melt correctly because the data sheet process was designed for using an oven. This was proven by heating the wax with a torch for a long time. But we did not have an oven to use. So we left the molding process that way.
They are a necesary previous step.
The plaster must be mixed very well. No balls must be left in the liquid mixture in order to avoid gaps in the cast.
The wax material needed a lot of time to evaporate: 30 minutes to reach 120 degrees celcius and 4 more hours to reach 800 degrees celcius. That must be done in an oven. Not with a torch. I have decided to make my mold in regular molding wax on a milling CNC and not with the wax 3D printer now.
Ring design file in FreeCAD.
Making silver jewelry is not a complicated process: design the piece, 3D print it in wax, embed it in plaster, mix the copper with the silver, place them and the plaster in the centrifuge, heat the silver and copper, centrifuge, cool down and break the plaster.
It is a very hazardous and contaminating process.
Beautiful designs can be made in an afternoon.
Integrating artisian fabrication processes with digital fabrication could make it more productive. It makes art incorporate what machines add to industry: precision, speed and modularity with the personalization that artists bring to production.
Castable Resin's web page says it is a material specially useful for making beautiful jewelery. But as it is an acrylate photopolymer, it transitions slowly to a gas in a carefully defined process. It must be followed exactly in order for the metal it forms to percolate and give a nice finish to the jewel.
We have learned to:
