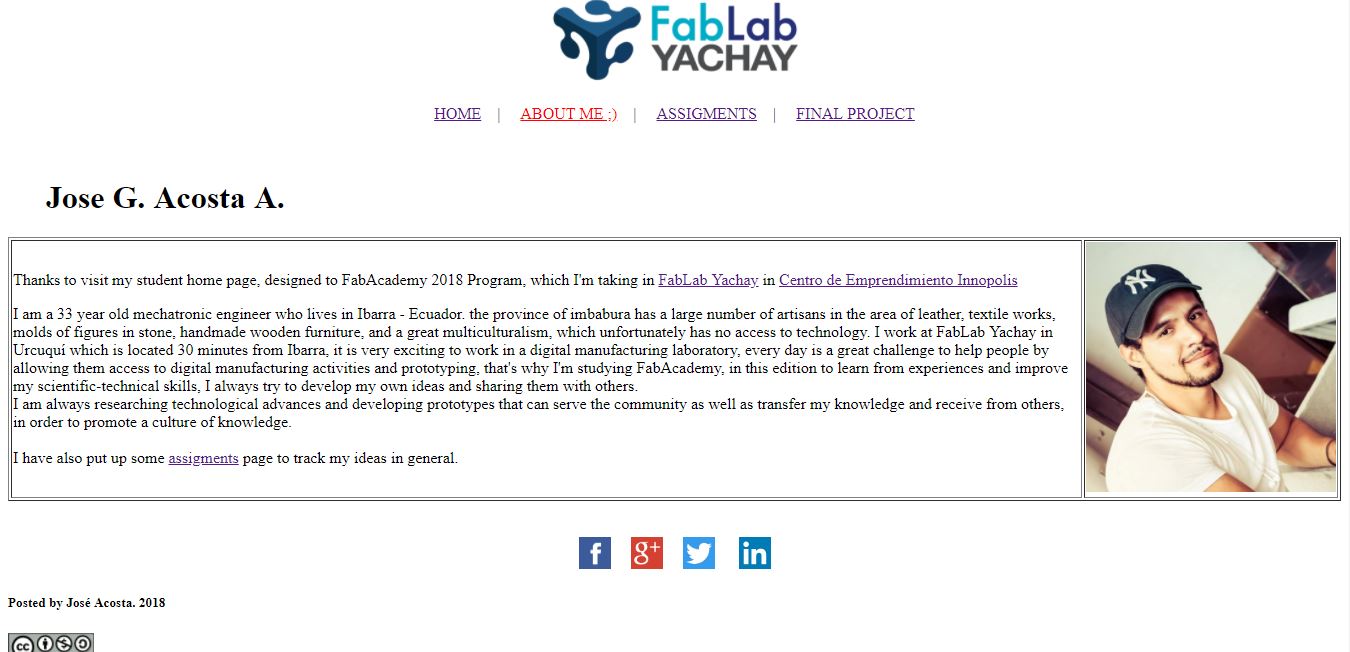
I will start the activities sharing a short description about myself that you can read in the following picture or if you want to contact me pls click HERE and check the social networks links
In this week is important to learn how to design on HTML code, to get powerful skills and apply them to web design activity and create experience. Internet is a powerful tool that can help us if we find information. Some educational companies produce MOOC's (Massive Open Online Course) to help people getting skills on lot of ways of education. Some Moocs allow us to practice and develop some designing activities using HTML code, CSS, PHP, C, C++, Java, etc. I have identified some institutions that are dedicated to providing online courses in programming, for example:
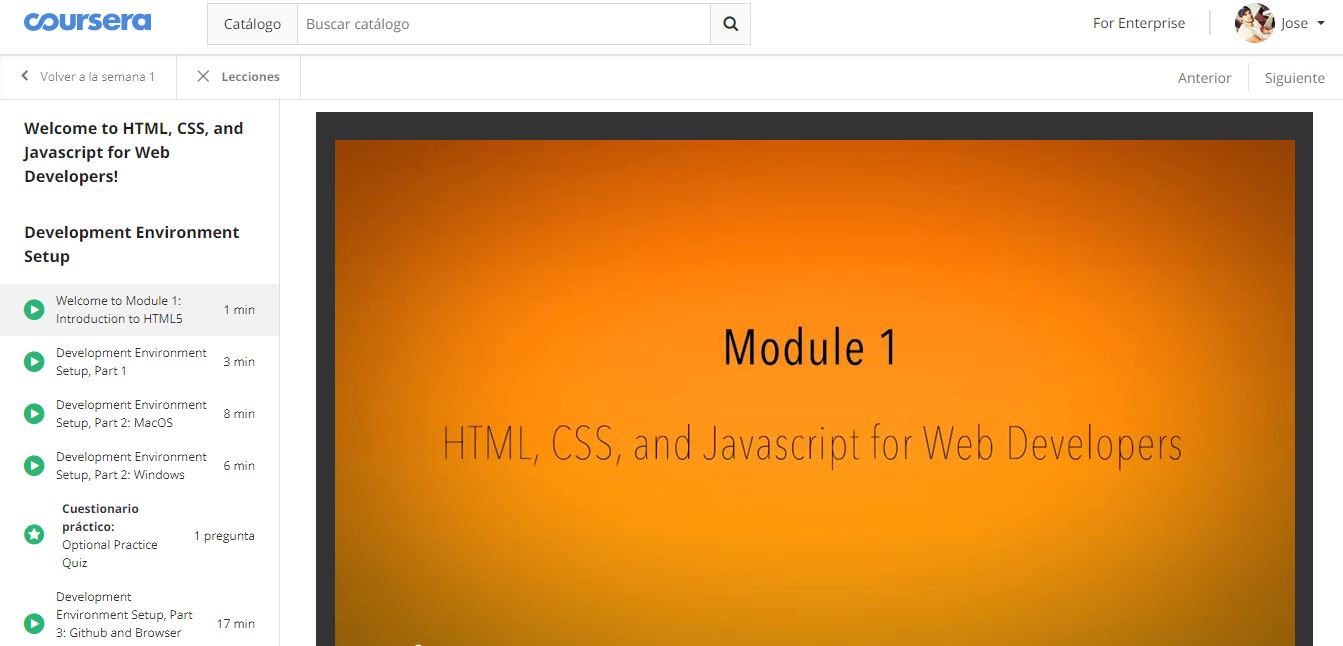
For the development of this activity is very important the experience I have had following courses on Coursera platform obtaining excellent results. Thats why I have applied to the " HTML, CSS and JavaScript course for Web Developers " to know and prepare me in the development of the required HTML skills
Once the course is completed, I will Start selecing a web development platform for designing and editing my FabAcademy's website, among the most important options we have:
- Athom 
- Brackets 
- Sublime Text 
- Dreamweaver 
- Notepad ++ 
All the editors have almost all the same services and applications to web development, some are paid as Dreamweaver, for this activities I have selected Sublime Text as the project editor becouse is free to download and easy to use, for this, we must download the software from its website Sublime Text , considering the specifications of the computer where you are going to work, in my case the 64 bit version
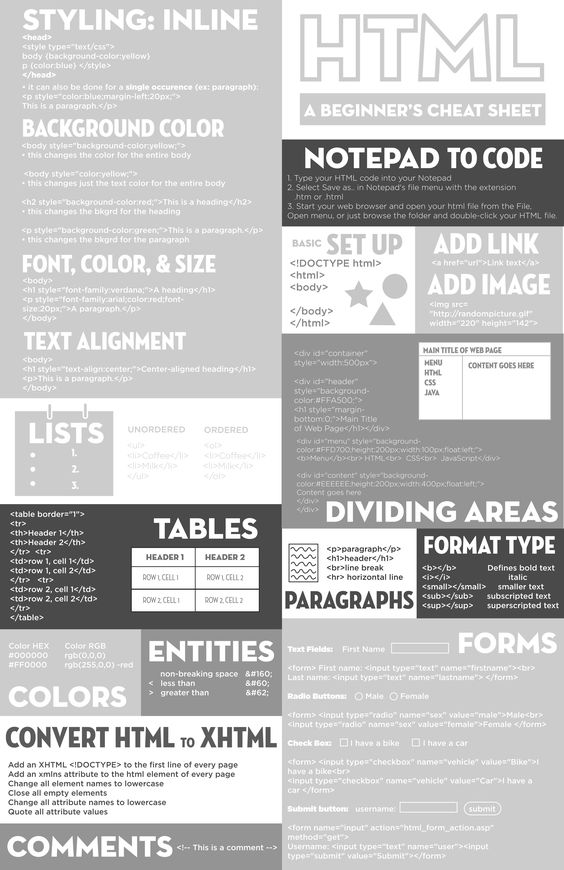
In the following link we will find a list of the commands that we can use in the edition of the website, or as a source of consultation for the development of the activity w3Schools.comor you can use this short list of useful commands:
To verify if the web structure that we made is perfect, we could use this platform Markup Validation Service you can copy all the HTML code, then check to identify errors and correct them.
To start designing a webpage is imporant to create a folder that will contain all the files that I will send to the repository.
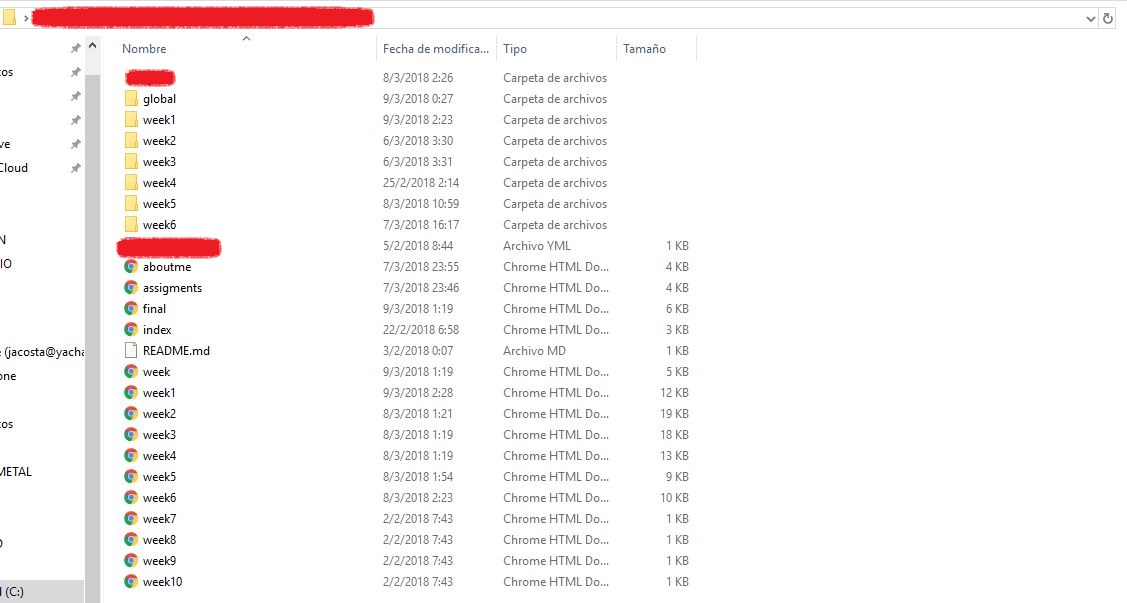
I have structured my website like this: an index, a personal description, an asignments tap and a last webpage corresponding to the final project.
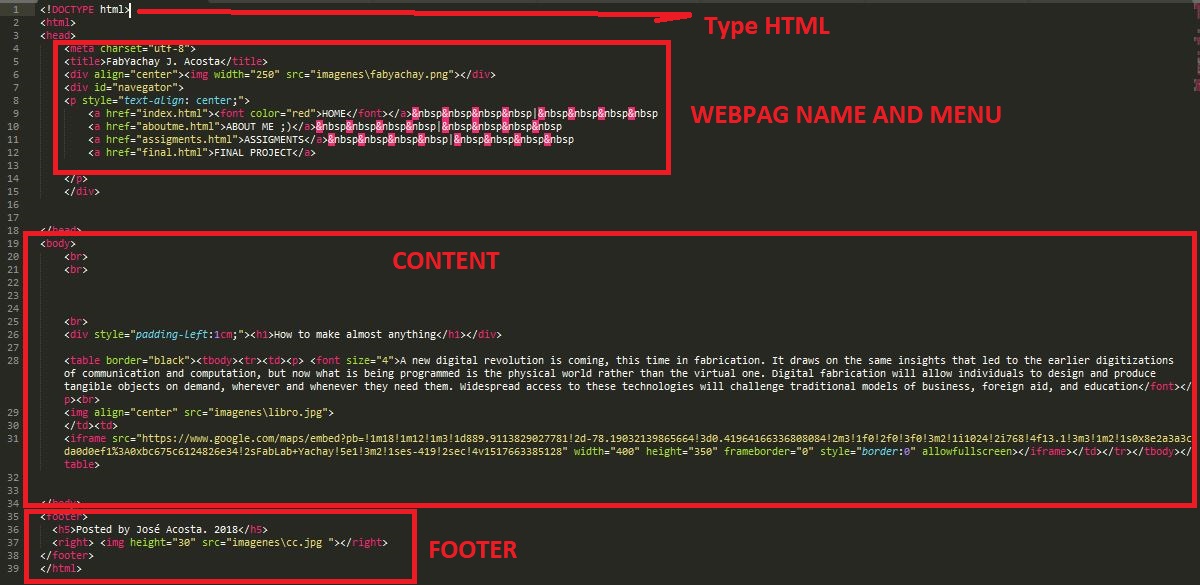
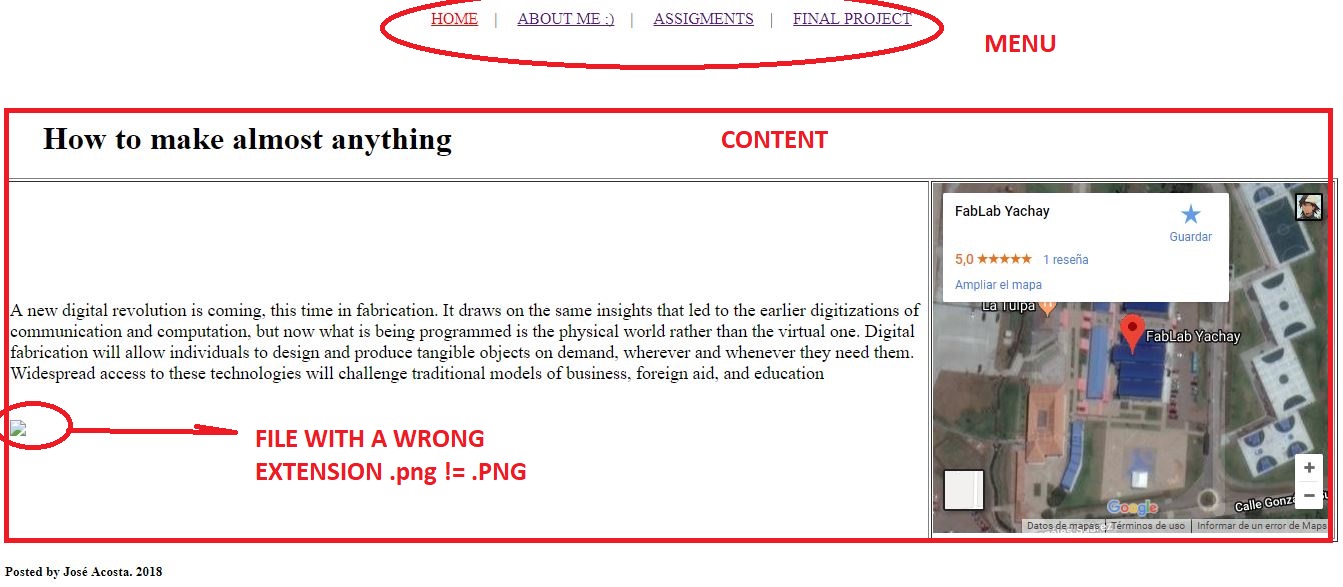
Using some commands learned, I have made the design of the page according to the planning made.
Below we can see a state of progress of the development of the web page
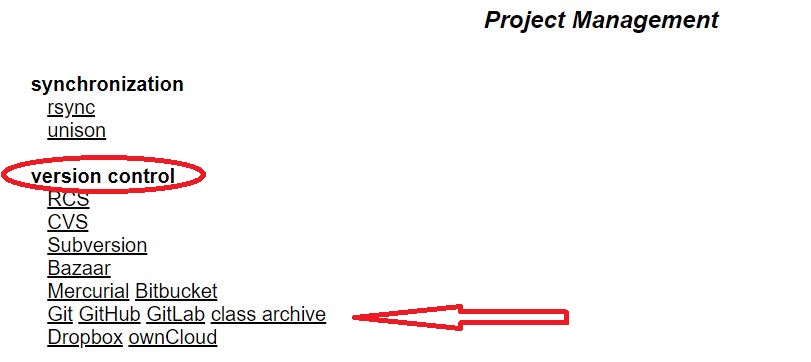
Version Control: Centralized vs. Distributed.
There are many version control systems out there. Often they are divided into two groups: “centralized” and “distributed”.
CENTRALIZED VERSION CONTROL.- Systems are based on the idea that there is a single “central” copy of your project somewhere (probably on a server), and programmers will “commit” their changes to this central copy.
“Committing” a change simply means recording the change in the central system. Other programmers can then see this change. They can also pull down the change, and the version control tool will automatically update the contents of any files that were changed.
Most modern version control systems deal with “changesets,” which simply are a groups of changes (possibly to many files) that should be treated as a cohesive whole. For example: a change to a C header file and the corresponding .c file should always be kept together.
Centralized version control solves the problems described in the previous post on What is Version Control?. Programmers no longer have to keep many copies of files on their hard drives manually, because the version control tool can talk to the central copy and retrieve any version they need on the fly.
Some of the most common centralized version control systems you may have heard of or used are CVS, Subversion (or SVN) and Perforce.
DISTRIBUTED VERSION CONTROL.- In the past five years or so a new breed of tools has appeared: so-called “distributed” version control systems (DVCS for short). The three most popular of these are Mercurial, Git and Bazaar.
These systems do not necessarily rely on a central server to store all the versions of a project’s files. Instead, every developer “clones” a copy of a repository and has the full history of the project on their own hard drive. This copy (or “clone”) has all of the metadata of the original.
This method may sound wasteful, but in practice, it’s not a problem. Most programming projects consist mostly of plain text files (and maybe a few images), and disk space is so cheap that storing many copies of a file doesn’t create a noticable dent in a hard drive’s free space. Modern systems also compress the files to use even less space.
The act of getting new changes from a repository is usually called “pulling,” and the act of moving your own changes to a repository is called “pushing”. In both cases, you move changesets (changes to files groups as coherent wholes), not single-file diffs.
One common misconception about distributed version control systems is that there cannot be a central project repository. This is simply not true – there is nothing stopping you from saying “this copy of the project is the authoritative one.” This means that instead of a central repository being required by the tools you use, it is now optional and purely a social issue.
More information here
GIT Version Control
What is “version control”, and why should you care? Version control is a system that records changes to a file or set of files over time so that you can recall specific versions later.
If you are a graphic or web designer and want to keep every version of an image or layout (which you would most certainly want to), a Version Control System (VCS) is a very wise thing to use. It allows you to revert selected files back to a previous state, revert the entire project back to a previous state, compare changes over time, see who last modified something that might be causing a problem, who introduced an issue and when, and more. Using a VCS also generally means that if you screw things up or lose files, you can easily recover. In addition, you get all this for very little overhead. More information: Pro Git Book
GIT Version Control Protocols
Git can use four distinct protocols to transfer data: Local, HTTP, Secure Shell (SSH) and Git. If you want to discuss what they are and in what basic circumstances you would want (or not want) to use them, you can find more information here.
Local Protocol
The most basic is the Local protocol, in which the remote repository is in another directory on the same host. This is often used if everyone on your team has access to a shared filesystem such as an NFS mount, or in the less likely case that everyone logs in to the same computer. The latter wouldn’t be ideal, because all your code repository instances would reside on the same computer, making a catastrophic loss much more likely.
If you have a shared mounted filesystem, then you can clone, push to, and pull from a local file-based repository. To clone a repository like this, or to add one as a remote to an existing project, use the path to the repository as the URL. For example, to clone a local repository, you can run something like this:
$ git clone /srv/git/project.git
Or you can do this:
$ git clone file:///srv/git/project.git
Git operates slightly differently if you explicitly specify file:// at the beginning of the URL. If you just specify the path, Git tries to use hardlinks or directly copy the files it needs. If you specify file://, Git fires up the processes that it normally uses to transfer data over a network, which is generally much less efficient. The main reason to specify the file:// prefix is if you want a clean copy of the repository with extraneous references or objects left out — generally after an import from another VCS or something similar (see Git Internals for maintenance tasks). We’ll use the normal path here because doing so is almost always faster.
To add a local repository to an existing Git project, you can run something like this:
$ git remote add local_proj /srv/git/project.git
Then, you can push to and pull from that remote via your new remote name local_proj as though you were doing so over a network.
The HTTP Protocols
Git can communicate over HTTP using two different modes. Prior to Git 1.6.6, there was only one way it could do this which was very simple and generally read-only. In version 1.6.6, a new, smarter protocol was introduced that involved Git being able to intelligently negotiate data transfer in a manner similar to how it does over SSH. In the last few years, this new HTTP protocol has become very popular since it’s simpler for the user and smarter about how it communicates. The newer version is often referred to as the Smart HTTP protocol and the older way as Dumb HTTP. We’ll cover the newer Smart HTTP protocol first.
The SSH Protocol
A common transport protocol for Git when self-hosting is over SSH. This is because SSH access to servers is already set up in most places — and if it isn’t, it’s easy to do. SSH is also an authenticated network protocol and, because it’s ubiquitous, it’s generally easy to set up and use.
To clone a Git repository over SSH, you can specify an ssh:// URL like this:
$ git clone ssh://[user@]server/project.git
Or you can use the shorter scp-like syntax for the SSH protocol:
$ git clone [user@]server:project.git
In both cases above, if you don’t specify the optional username, Git assumes the user you’re currently logged in as.
The Git Protocol
Next is the Git protocol. This is a special daemon that comes packaged with Git; it listens on a dedicated port (9418) that provides a service similar to the SSH protocol, but with absolutely no authentication. In order for a repository to be served over the Git protocol, you must create a git-daemon-export-ok file — the daemon won’t serve a repository without that file in it — but other than that there is no security. Either the Git repository is available for everyone to clone, or it isn’t. This means that there is generally no pushing over this protocol. You can enable push access but, given the lack of authentication, anyone on the internet who finds your project’s URL could push to that project. Suffice it to say that this is rare.
The information presented was obtained from the following webpage: Git on the Server - The Protocols

We start with this activity analyzing a virtual repository between two options, the problem is to decide what is better, GitHub or GitLab, from my point of view both offer the same service, but what it´s the main difference between one from another?, I think that in GitHub you could clone a file on the storage server, you can only do it in public option; if you want to upload in privately mode, it implies a cost for the service offered in that option. In the other side, GitLab has not this condition, you can load cloned files in public and private mode, so we will focus on using the GitLab service to this activity
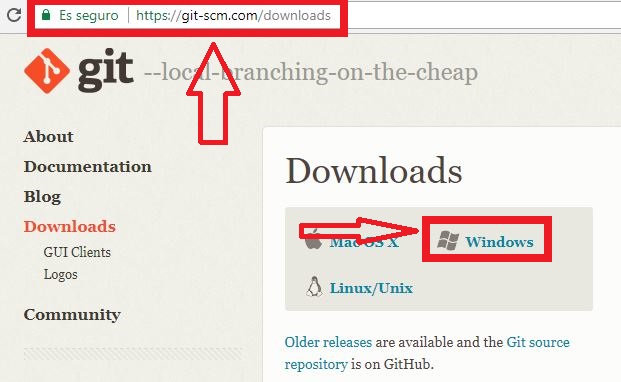
To upload our archives to the repository we should procedure downloading and installing Git Software with its helpful tool "Git Bach" for downloading repositories and cloning files to the GitLab server. We need to visit the Git website, download the Git installer and then proceed with the installation.
One of the options to consider in the installation of the software is the following, the others may remain by default

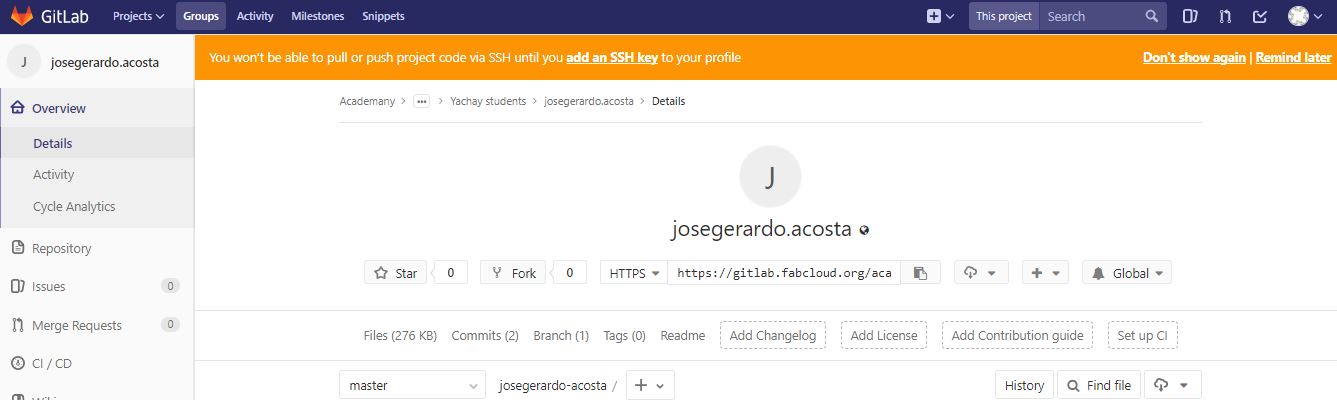
Once the software is installed correctly, we proceed to review the GitLab page and enter with our user account and password (fablabs.io credentials), we must familiarize ourselves with the environment, the account configuration, and update some important information about us, etc.
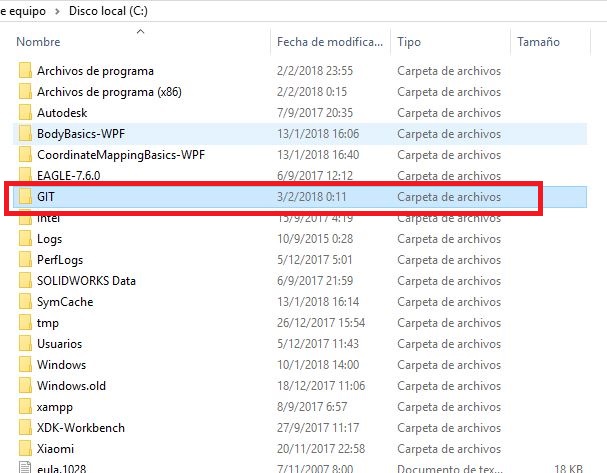
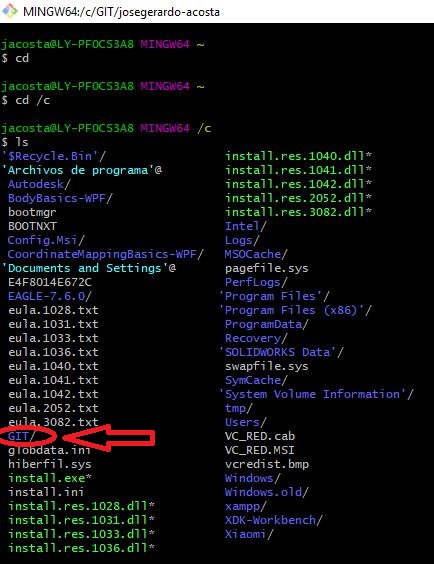
First, to create the link to gitlab repository and upload the files, we must create a folder called GIT in the root of the C: drive of our system
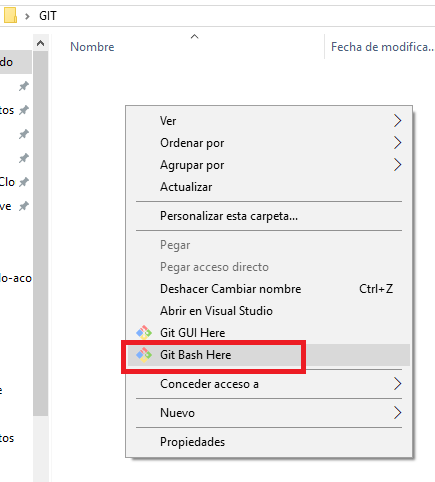
Then let´s right click inside the folder and select Git Bash
Firts, locate the folder GIT in the root of the C: drive
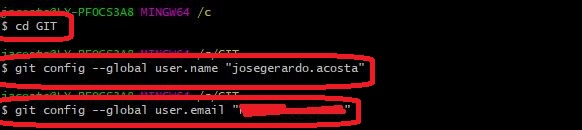
Once inside the folder, let´s set some admin rights to clone the files
First: $git config --global user.name “josegerardo.acosta”
Then, this one: $git config --global user.email “j*****a@y***********c”
After this, we proceed to clone the repository in our GIT folder
We will use this: $git clone http://gitlab.fabcloud.org/academany/fabacademy/2018/labs/fablayachay/students/josegerardo-acosta.git

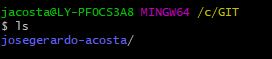
The system will create a folder inside GIT folder with a name designated by the repository, mine is josegerardo-acosta/
Let's get in to this new folder, copy all the files you want to upload there and then use the following commands
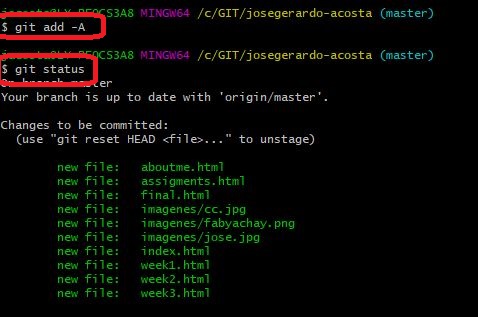
Add files to send with: $git add -A
Verification of files to send $git status
Then, verify the files to send: $git commit -m "passed"
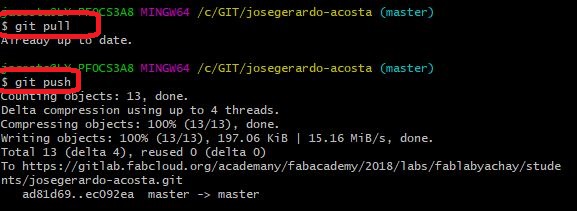
Prepare the files to send: $git pull
Send the files: $git push
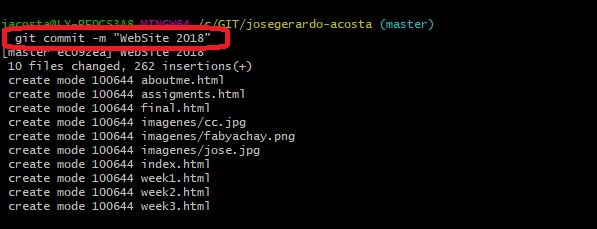
A short summary of the commands used in the week´s activity
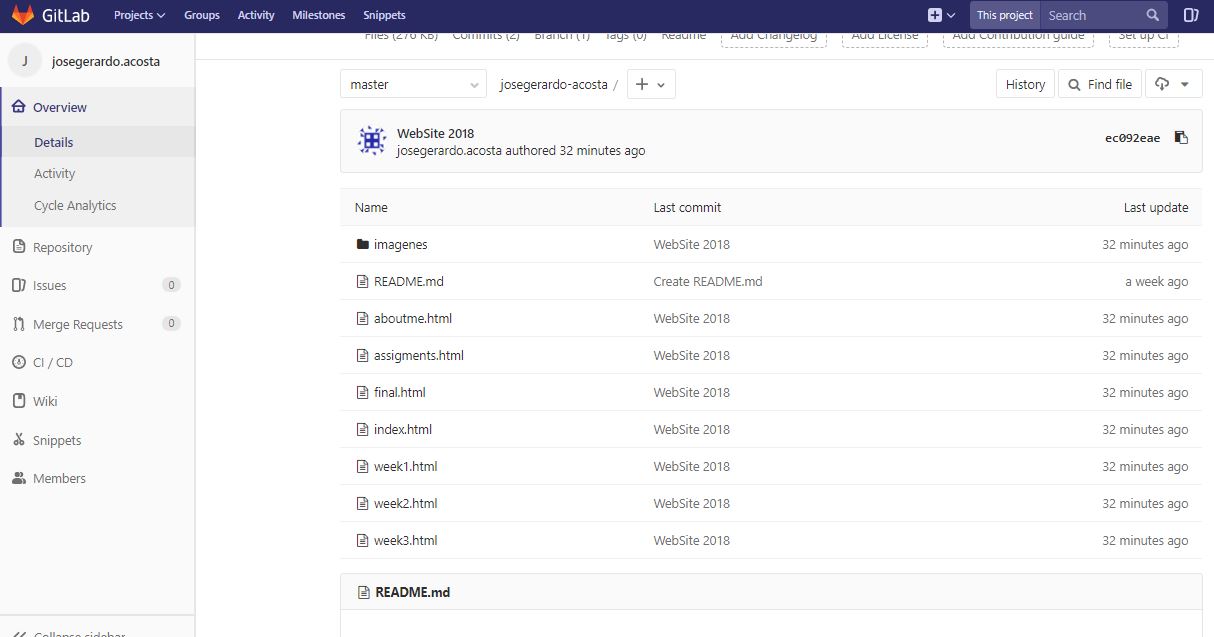
Once all the uploaded files can be verified in our Gitlab repository, they can be found without any problem, as shown in the following image.
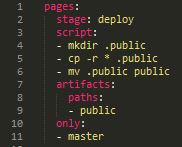
Finally, the following script is used to generate our webpage, so it needs to be include in the GitLab repository
Finally the web page is online in the server, and we can check the activities