Hooked on the hinge
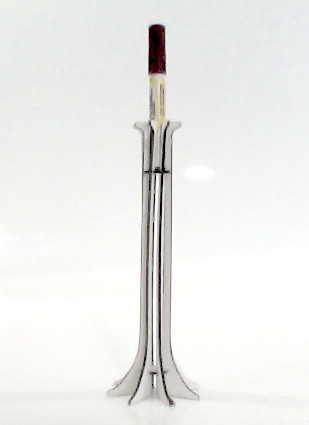
This kit is built around one thing, and one thing only. 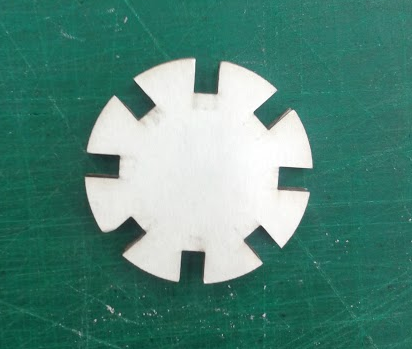 The hinge. The idea is to create one hinge which allows for several different shapes to grow from it, when placed in the fertile mind of a creative, that is. In this case I made two different shapes. First one is a candle holder as seen below and the second one is a nightstand lamp. The candle holder (which is currently holding a whiteboard marker) was the first one I made.
Secondly I made the nightstand lamp. The process was a long one, especially for the lamp. The idea behind the lamp came about with the issue of creating a laser cut lampshade. It'd pretty easy to make a lampshade but if the shape is at all angled outwards it creates bigger gaps between the pieces and thus lets out more light. To solve this I figured one could use the chord of the lamp to create an extra blockage for the light. The idea of the lamp is thus to rotate the chord around the shade.
Making and Shaping
The Candle Holder
Making the candle holder was easy enough and only reqiered some simple 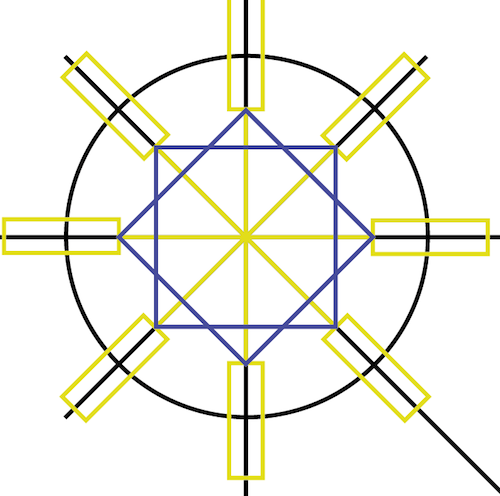 know-how in Illustrator. Which, looking back, really wasn't that much knowlage since I made it harder for myself than necessary. See week 8's lifesaver .ai tip.
I used the same small circular hinge as for the lamp but when putting it together realized I could be creating a fire hazard by not having any outside support since the hinges are all located on the inside. This became very visable 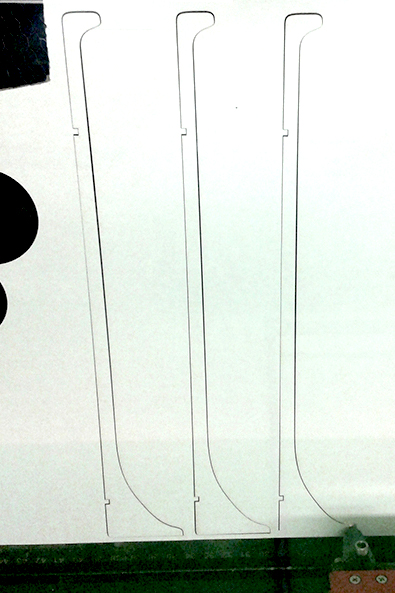 once I printed it since the candle would apply pressure and, if worst came to worst, push out the outside structure from the hinges. I experimented with adding
 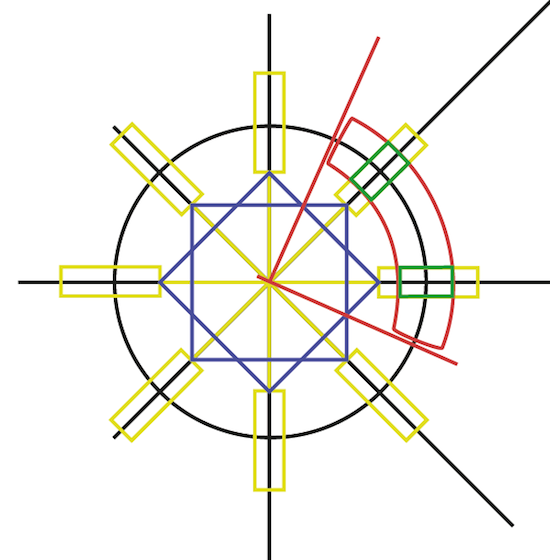 outside hinges but realized much later that something like
 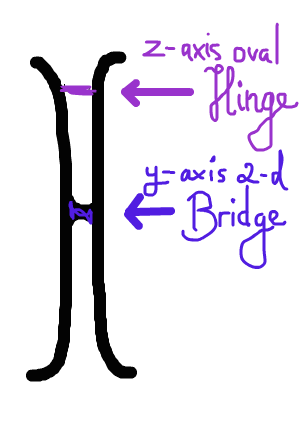 this would've solved the issue and by making several bridges in different heights (so they don't collide) it would create a shape much like a spiral staircase and hopefully look pretty.
Perhaps a future project!
The Nights Light
The nightstand lamp was a little bit more complicated since I wanted a shape for the chord to rely on. The first iteration I made was somewhat successfull, if one is of the mindset that the glass is half full, that is.
How 2 Make
First Step
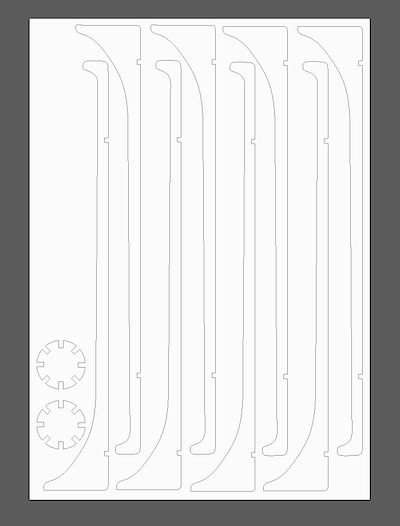
Download files, see below. If you want a different material, change joint and hinge thickness to fit your material correctly.
Second Step
Print on Lasercutter. If following the original design, use 3mm thickness cardboard, if redesigning make sure you cut a test joint first.
Third Step
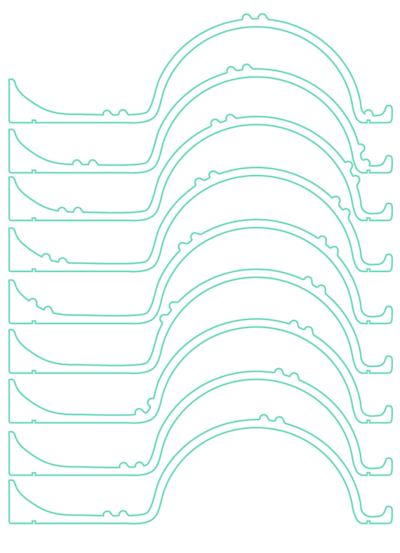
Assemble by pressing the longer pieces together around the circular hinges. Make sure the bottom hinge is aligned with the top hinge.
Vinyl Cutting
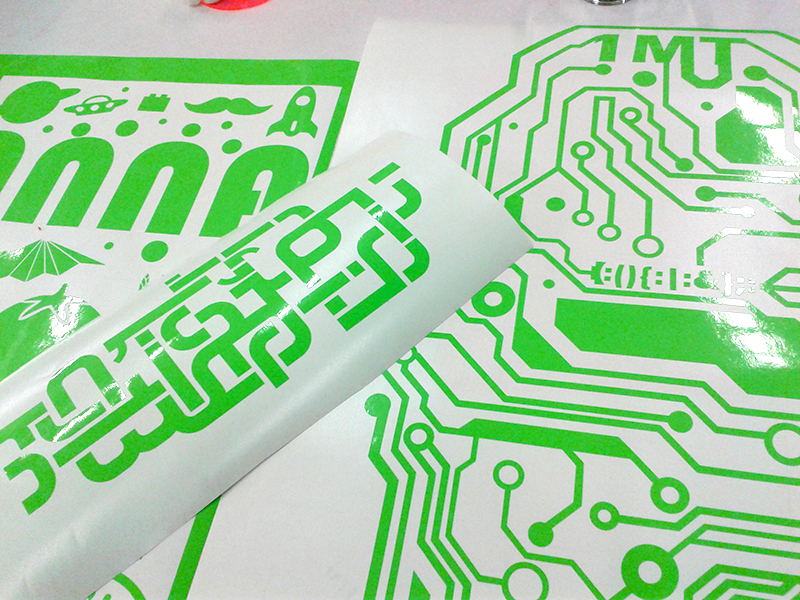
We got the chance to lay or hands on the vinyl cutter as well and ended up doing a collaborative project for the fablab, decorating our kitchen divider and giving it a, indeed very, personal touch. The center one is the one I made.
The final results looked something 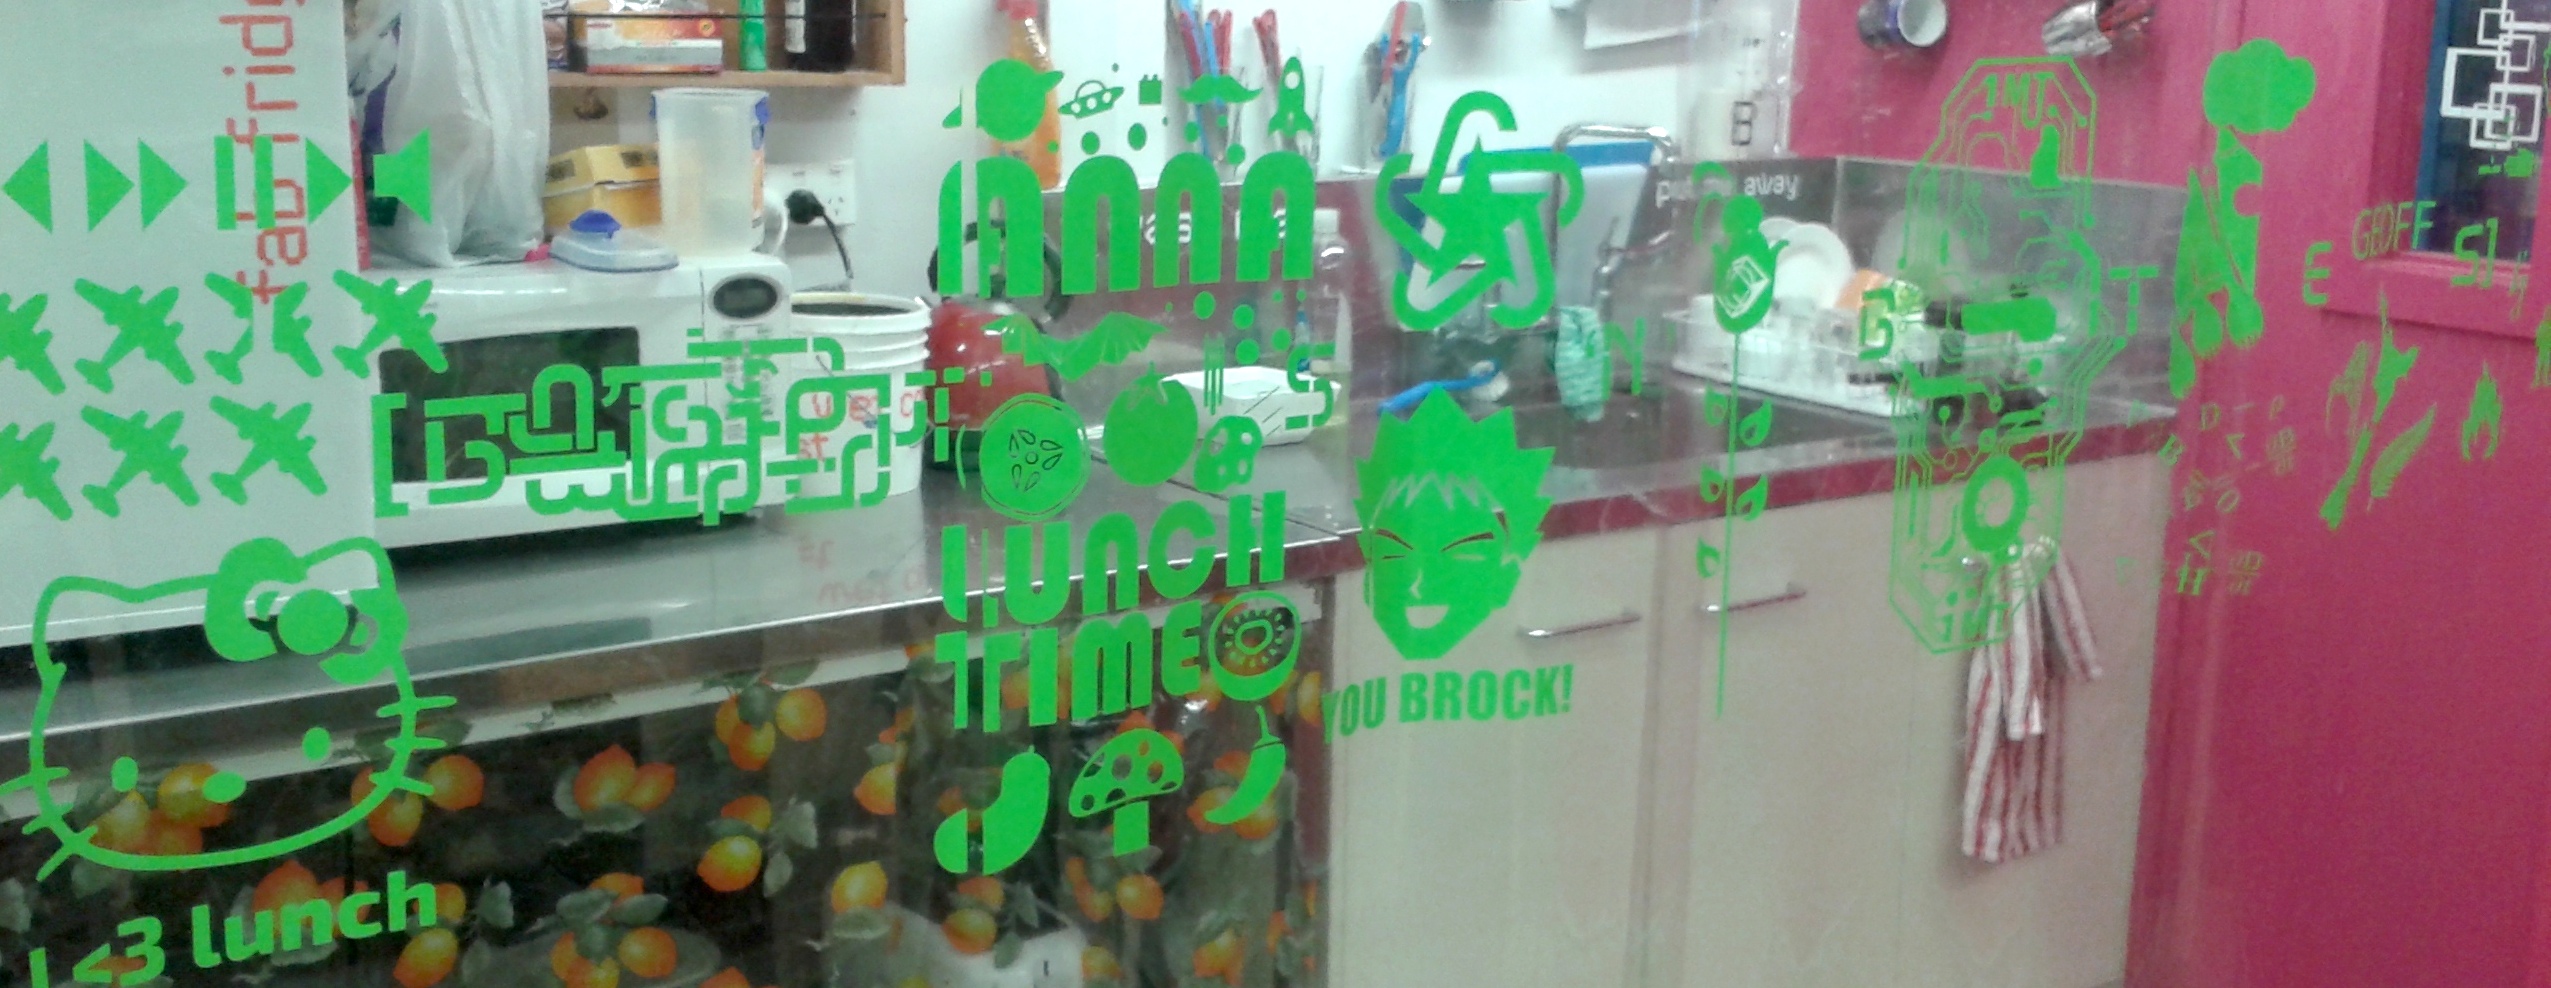 like this with
  this section designed by me. Quite unique!