
Hello! I'm Zenna.
Read more about me here! There you can find contact info and a brief introduction. Now, onward to Project Management!
Open Vibes and The Source
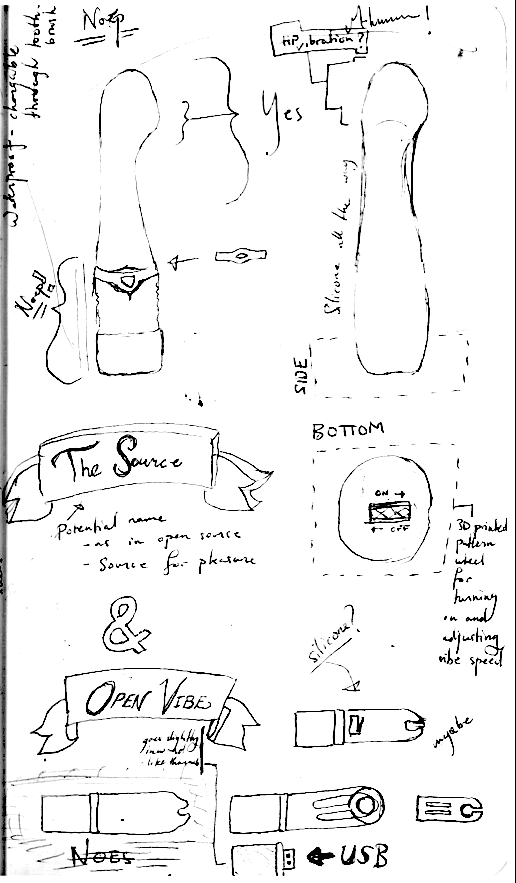
Open-Source Sex Toys
The idea is to create a vibrator and a dildo which will then act as a foundation for others to keep building on. The longterm goal would be to build a web space for the community to share their developements, 3d shapes, programmed vibration patterns etc etc with each other on and in general get in touch with other people of female/non-binary gender who could act as mentors withing the technology focused makers community.

Mind Mapping
This has been key for me. To stay on top of all my ideas and the potential width of this project I've used mindmapping to the extreme. The full mindmap is  this big and is constantly being expanded upon. I think I've reached the point though where expanding the mindmap would be adding to the mess, It's time to clean up.
A potential part of the final project was making a documentary. At first the plan was to do it myself with vlogs but I ended up getting a documentary crew together who wanted to do it, we were five people. A director, a sound guy, an editor, me and a cameraman. In the end we ran into bureaucracy issues and it put the team off to an extent which rendered the project futile. Since it became clear that the documentary won't happen I've started doing small vlogs again and hope to keep doing them even though a full documentary would've been the dream. I spent a big chunk thinking about how to make this and it ended up taking over 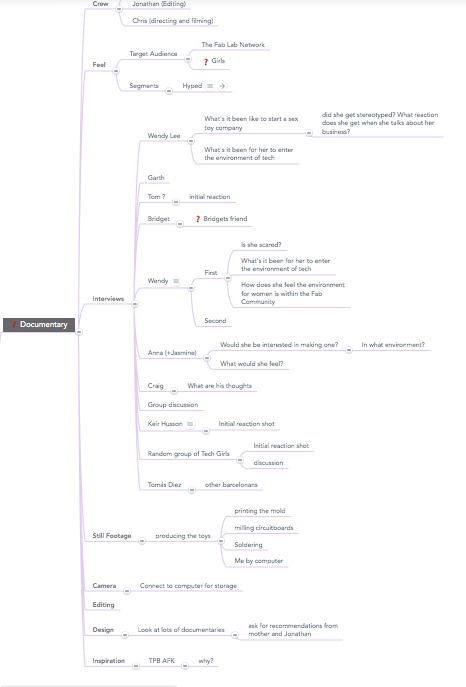 a big chunk of the mindmap
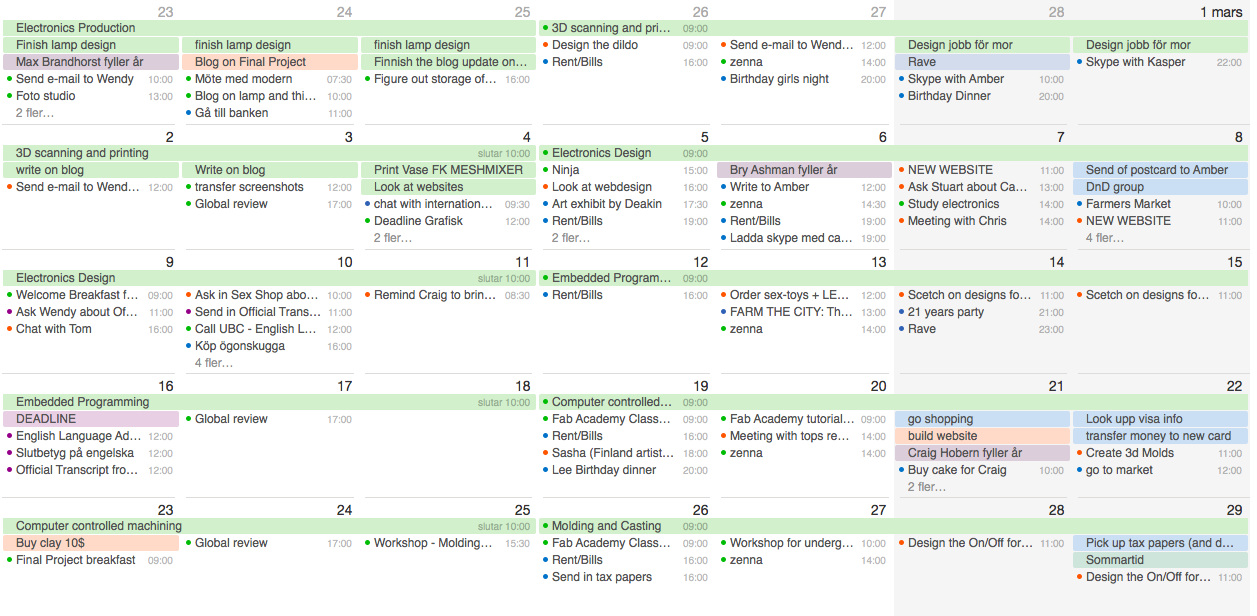
Planning out the project
I'll have to admit, this hasn't proved to be my strongest side. I've been excellent at getting siderailed and losing track of the final goal. What I have used fully is my calendar. I've sectioned out different parts of the final during the "free" periods of FabAcademy much like we were told to do in a GANT chart except in my calendar. This allowed me to get notifications and reminders in real time without having to look up the assignments.
Site Building
This website took a bit more time than I was originally looking to put into it. I guess it wasn't really the website which took it but me who gave it, being picky and all. Also, poor time management, hindsight is 20/20! To build it I used Brackets as it works great on mac and looks nice. (No joke).
The Foundation.
Even though my background is in web and graphic design (mostly graphic though) it had been a while since last I built a website and as we all know, the development goes very fast. Thus I took help from this excellent guide to build the skeleton of the website.
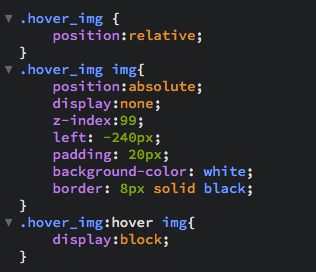
The image hover effect
The hover effect I'm refering to is much
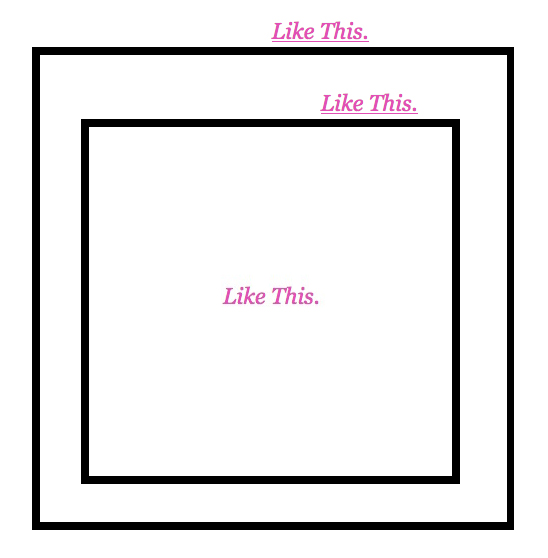 Like This. but perhaps without the whole inception thing. I've used it frequently to explain sections without having to add an image that would take up space on the main page for the different weeks. I was very pleased with it and the actual css and html was very simple.
The CSS is in the picture above, for the lazy, here. The basics of it is that it uses the span in the html with the class "hover_img" as seen  here. It calls on the class hover image to display as relative. The image is then called uppon as ".hover_img img" and set to "position: absolute;". This means that we can now position the images in relation to the content marked with .hover_img rather than in relation to the full page.
The second important step is that we want the image to only display when we hover over the link. This is done by adding "display: none" for .hover_img img and adding "display: block;" on .hover_img:hover img. this makes it so that when we hover over the span with the class off hover image the display settings for images will be set to visable rather than "none".
E-motions
During the second week of FabAcademy I wrote the following:
My final project is still in a scetch stage with fundamental pillars through which it stabalizes. Because of this, and certain other reasons, I plan to keep my main focus out of the spotlight for as long as possible.
And so I have. I've waited a long time to post about my intentions for my Final Project and clearly state my goal for the world outside the safety bubble of FabLab Wgtn. There's been a lot of nervousness about how it would be recieved and the way it might stereotype me in peoples minds.
Pushing to GitHub and Merging
Setting it up was a bit more complicated then I expected, especially since my comfortability in Terminal is far from supreme. With a lot of help from the greatness named [INSERT LINK] Craig we managed and pushed it in the new fashion. The following steps are for pushing and merging, as well as downloading the most recently pushed version if you accidentally F your local one up.
Connecting the ssh Key and GitHub
If you, like me don't have an ssh key, this link will be very helpful for creating one.
When creating your ssh key Terminal will ask you to create or choose a folder in which to save the ssh key in. Most likely you'll create a hidden folder ".ssh" in your home directory.
Typing in "ls -al ~/.ssh" will then show you everything you have in the .ssh hidden folder. This means that if you want to see the .ssh when listing from the home directory you simly have to add -al "ls -al". Personally 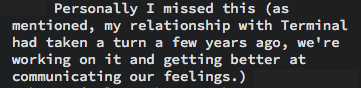 I missed this and had to ask terminal to show me the public ssh key before I had navigated to the .ssh directory. Thus I simply navigated by "cd ~/.ssh" from there I could ask for "cat id-rsa.pub" This, including the e-mail part, is the long key that we wanted to copy to gitHub and
 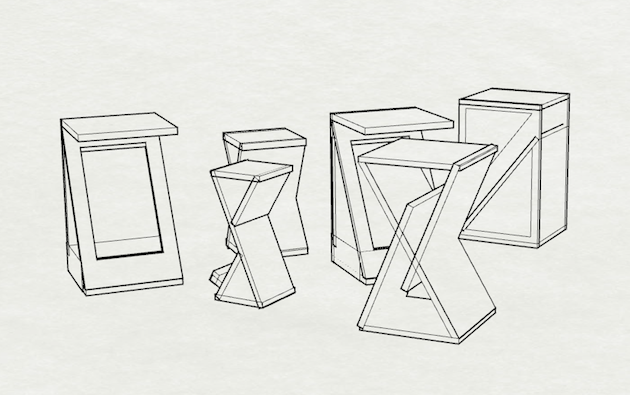 this is where you copy it
The next steps are fairly straight forward. Create a folder for gitHub on your computer, I called mine GitFab and put it in the folder FabAcademy. Original, huh?
Navigate to the folder in terminal, use those cds and Tildas and then copy your link here, my folders in the FabLab Wgtn folder, thus here "git clone git@git.fabacademy.org:fabacademy2017/fablabwgtn.git ."
Remember to download and install xcode in case you haven't already! I suspect that this might be what caused my future issue.
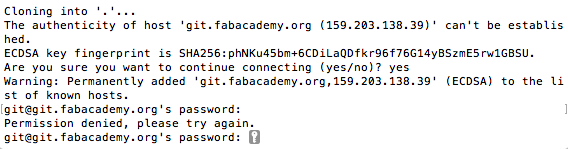
How about we delete the issue?
So I ran into a bit of a problem when creating my directory and cloning git into it. I got the above message, asking for a password. It might have something to do with 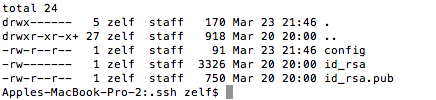 this config file that showed up. Perhaps it got placed in the wrong folder.. I'm not sure though, the easy way of solving it turned out to be by deleting the folder and creating a new one with the same name and re-cloning git.
The Next Step
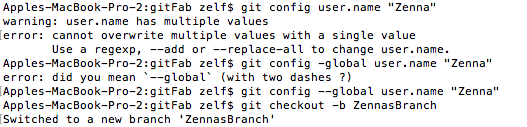
Yeeeah, pretty much that. To clearify, I added my name, but realized I'd named myself something else on github, decided it was time to change this by globally changing my username, on github, by typing "git config --global user.name "Zenna"" Obviously, I typed it wrong the first time...