Input device
Week 12
Assignment
SOFTWARE USED
- Kicad
- Arduino IDE
HARDWARE USED
- My sashakit homemade board (see week9)
inspired by Daniele Ingrassia's sashakit - DS 18b20
- SRD-05V
- heater
FILES
Sensor and relay arduino IDE
LEARNING EXPERIENCE
This week, I worked on using a temperature sensor.
I wanted to control a relay with a certain temperature.
It is something I want to do for my final project.
I passed over the kind of fear of electronic and coding ...
I decided to code using arduino IDE and a library for the temperature sensor I choose: DB18S20 one wire.
And for the relay, I choose a SRD-05V.
Let us go back to how I did it ...
I looked at the data sheet which gives info on temperature range,schematic,voltage ..
I also worked with Axel in Denis Lab.
READING THE TEMPERATURE
I looked at tutorials on how to connect and program the sensor
The aim was to switch the relay on,if the temperature was below 25 degree C and off if above
You must first include two libraries in arduino IDE.
Those libraries provide extra functionality to arduino IDE,
in this case, it includes functions to read the temperature from the Onewire temperature sensor.
To do this, you have to go to the tools menu and include them.
I had previously loaded it into the arduino IDE library folder in zip format.
It is the Onewire.h and Dallas temperature.h libraries .
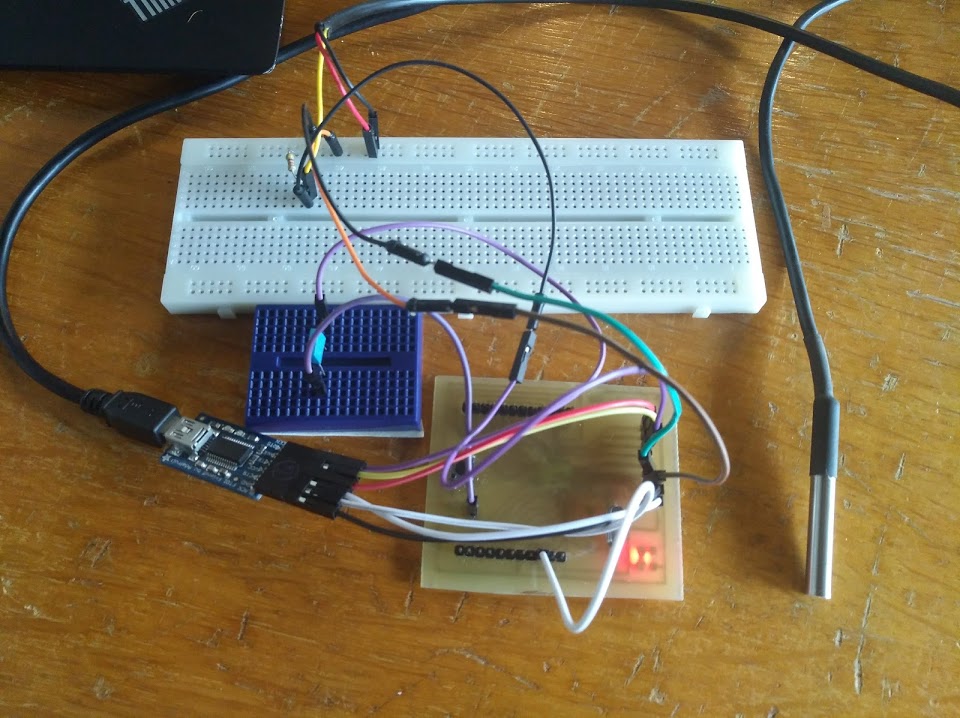
Then I opened a code example to read the temperature, uploaded it,
and opened the serial monitor.
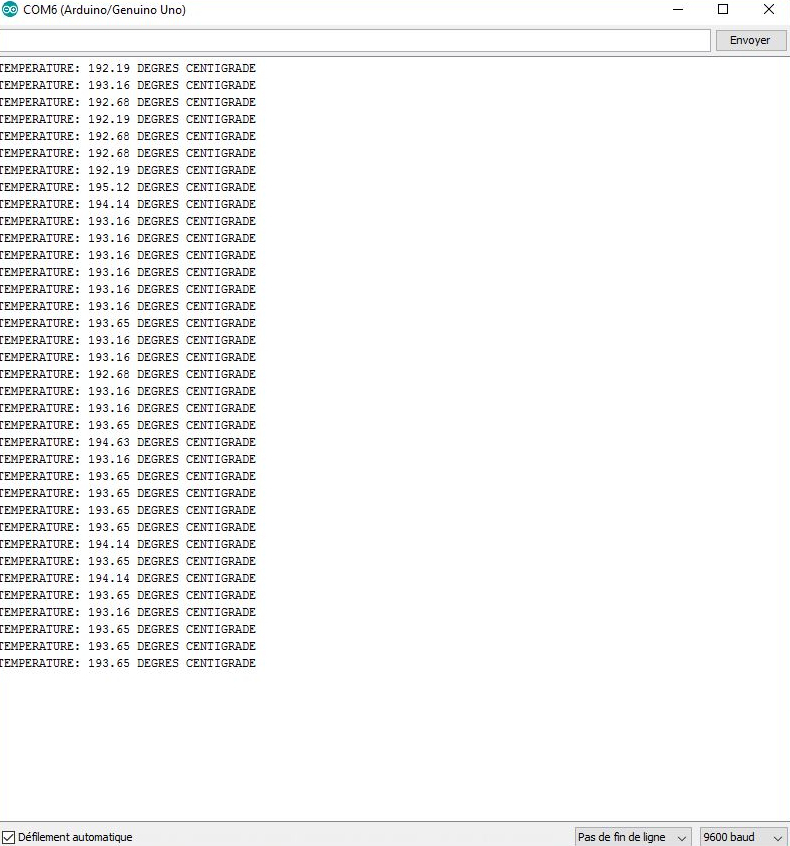
I made a mistake connecting the VCC and GND sensor and the sensor started heating up.
not surprisingly I did not understand the numbers on the screen ....
.
I corrected it an there it was ...
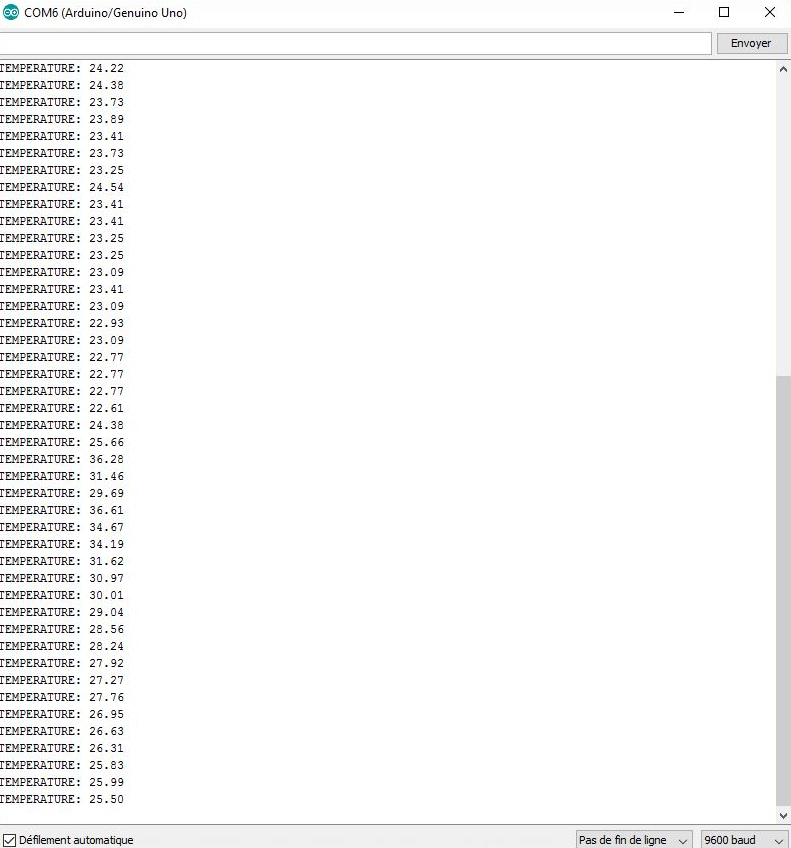
USING THE RELAY
A relay is an electronic device that is used to switch on and off high currents or voltages by a separate low power signal. It is made of an electromagnetic coil, two fixed blades and a movable one .
The principle is to separate the strong current of the weak current by this device and to be able to open or close the circuit.
To trigger the relay, we will pass the current through the coil,
which will produce a magnetic field that will attract the mobile blade to a fixed blade.
This will produce the contact to close or open the circuit and allow the strong current to pass.
There are two ways to connect the relay: NC, NO.
NC: the circuit is closed, the current passes.
NO: the circuit is open, the current does not pass.
In both cases, one of the terminals of the 220V will be put on the common relay.
After I coded the operating conditions of the relay with the function if/else.
Then, I set up the condition by giving a temperature level and a moment when the relay is triggered: 25 degrees C.
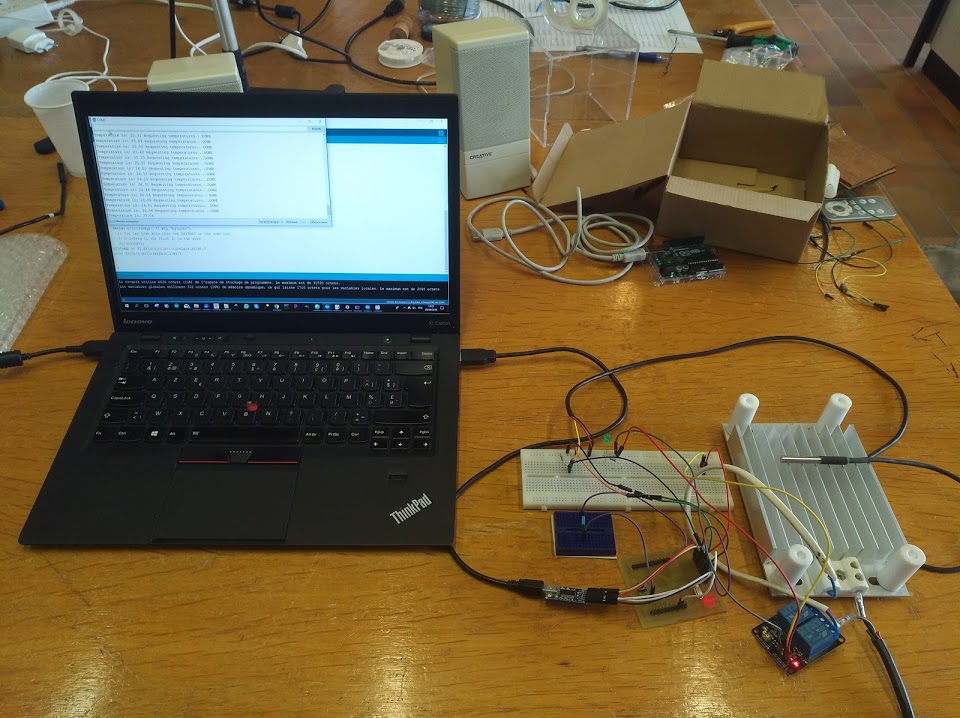
Axel gave me a heater and we connected it to the relay.checked it with a thermometer
Here is the diagram ...

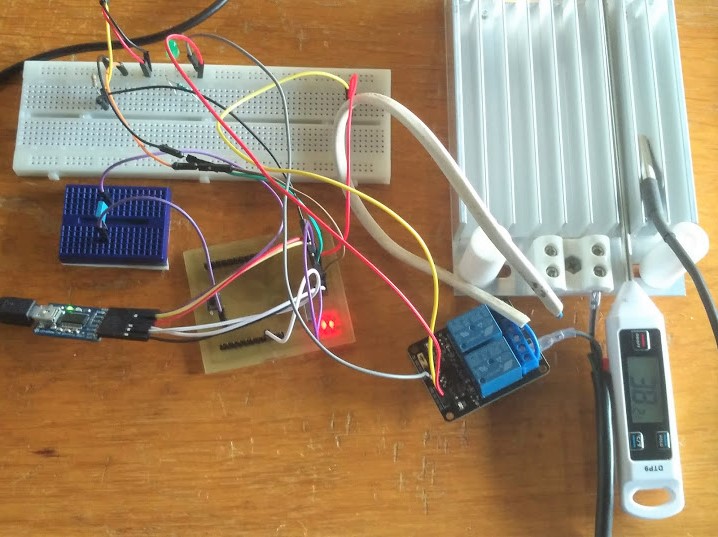
Everything worked as expected.
The relay triggered at 25 degrees C and the heater started to heat untill I unplugged at 38 degrees C (see picture above).
 Code:

/*

Original code From Kontantin Dimitrov
https://create.arduino.cc/projecthub/TheGadgetBoy/ds18b20-digital-temperature-sensor-and-arduino-9cc806
Modified by Victor Levy, Fabacademy 2018, week 11, input device
Reading temperature from a DS18b20, adding a relay.

 */

#include OneWire.h>
#include DallasTemperature.h>

#define ONE_WIRE_BUS 2
#define relais 3
OneWire oneWire(ONE_WIRE_BUS);


DallasTemperature sensors(&oneWire);

void setup(void)
{
 Serial.begin(9600);
 Serial.println("Dallas Temperature IC Control Library Demo");
 sensors.begin();
 pinMode(relais,OUTPUT);
 digitalWrite(relais,LOW);
}

void loop(void)
{

Serial.print(" Requesting temperatures...");
sensors.requestTemperatures();
Serial.println("DONE");

Serial.print("Temperature is: ");
float temp=sensors.getTempCByIndex(0);
Serial.print(temp); // Why "byIndex"?
0 on the same bus.

delay(1000);

if(temp >= 25.0){

digitalWrite(relais,HIGH);}

else

{digitalWrite(relais,LOW);}

}
HOME