 |
Learning the "code"
For this assignment, the first thing that came to my head was to force my self to code
every part of the web page. That would give me total control over the site and updating would
be easier. With that in mind, I would be needing to learn html code.
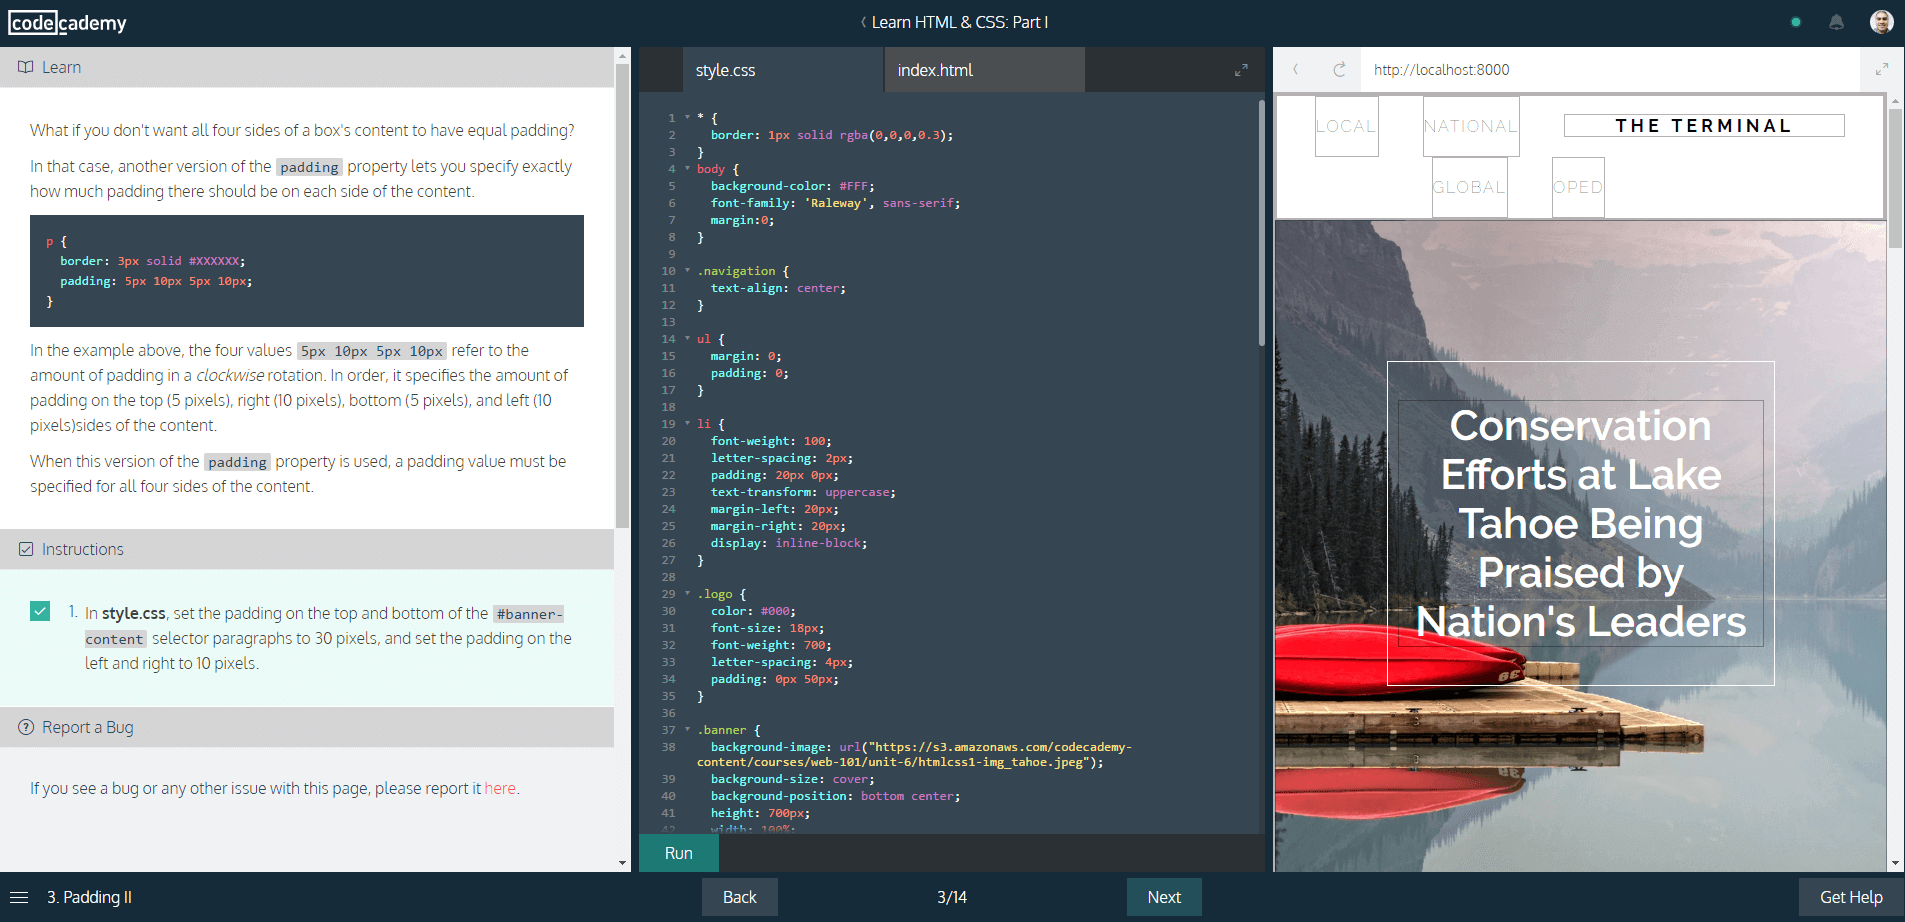
I went then to CodeAcademy.com. I have been learning Javascrip in the past with great pleasure, so went
back to check their HTML courses. After several hours with in-web practice, I was ready to try with my own website.
|
Editor selection
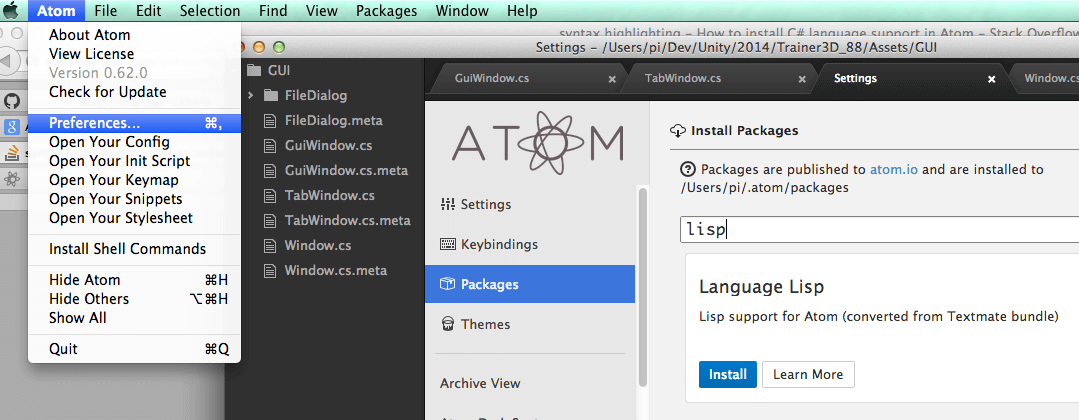
I have some experience with coding, so I was thinking in using my installed editor for web code.
It is TextWrangler, which is installed in my Macbookpro. It's a very simple editor but enought for simple task.
I tried for a while, but I wasn't getting confortable with it. That's when decided to look for something else.
My search lead me to Atom editor. It is a simple but powerfull program with a very autopilot UI. In a couple of hours,
I was working with no problems. I even installed a preview addon, that let me see my html display in real time. Very helpful.
|
 |
  |
The web design.
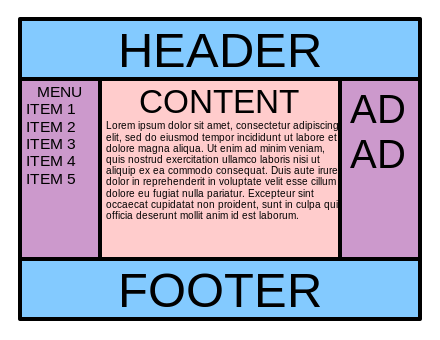
I looked some design on internet but decided to do the "basic form": means header, sidemenus, content (on middle) and a footer. Implementing was easy but one thing I noticed was
not responsive, meaning it looks bad when using different devices (usually small ones like smarthphones). Looked some tutorials (Like the ones in w3schools)
and some pages and found the "holy grail" for responsive development. Here is the example page, and here
the code. Using it as base I created 3 css-grid styles: one for home page, one for my personal info and last the week assignments. All can be cheked within browser using CTRL+I command.
Web Develop
The hardest part of the job was making everything works from ground. I could only look in internet for several websites and check
their source code to learn the "good practice".
Even with CodeAcademy open, finding why my text doesn't get into position was very frustrating in the beginning.
It is after several tries that I could make the layout for the home page, but the nightmare wasn't over. Learning that
it is important to make a good template is what will save time in the future. Even now I think my web will need a lot
of more improvement.
|
Git explanation.
I been using Github for a while, so I'm aware of git "mechanism".
Basically, there is a repository where all data is storaged.To get to that storage, we need a "client" program to "push" info in. Each time it does, we need to summit a "commit"
point out what changes have been added from previous version. That way, we can version-control our work.
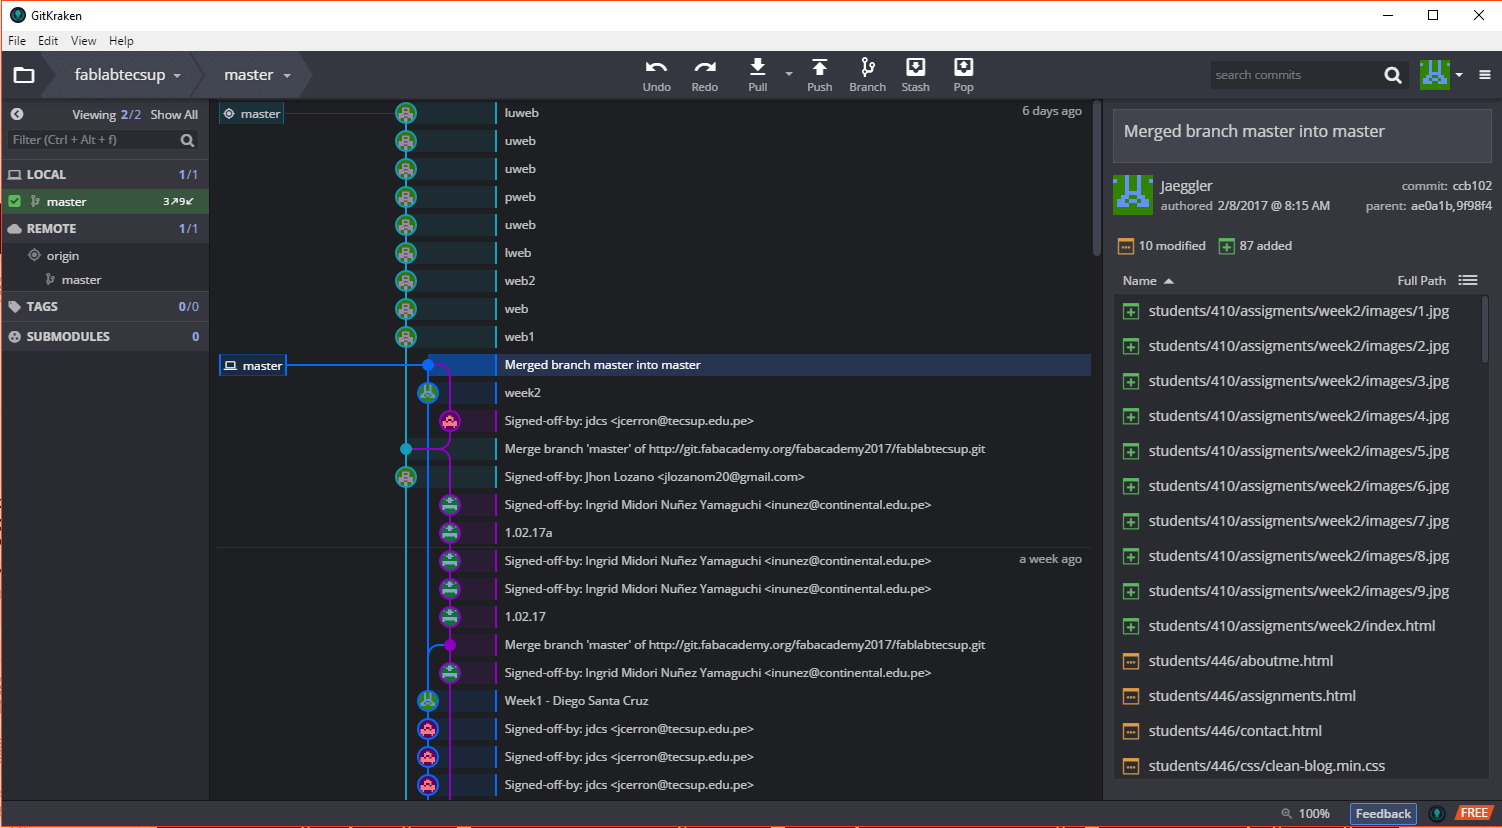
Using Git Client
First we need to clone the repo where we are to work. Each student gets a repo (link to ge from gitlab.fabclo9ud.org) from Academy staff.
On GitKraken, the option for clonning is on File>Clone Repo. A direction on the user hard drive should be added and the URL from the each repo. After hitting "Clone repo!",
the client shows the main screen. On left we have repo control, on right commit control, on middle there is a graphic representation of each commint and details about it; and finally on top
controls for push, pull and undoing actions.
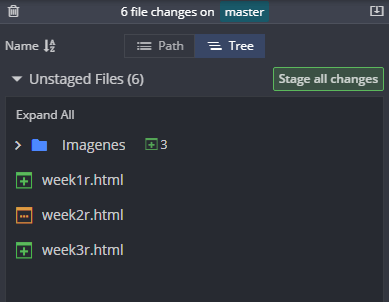
On the selected directory (on user hard drive), we need to copy all files we are to push. When all are copy, the programm will show there are "changes", if we want those changes to
be carry to the "push" group, we "stage" all changes. Finally, commit them with a topic and hit "Stage files/changes to commit". If donde correctly, in the middle part of the screen
the commit will display, but before we can see it online we need to push it to the repo. That is done with the PUSH button on top. Did correctly, the program will display the files are correctly
storaged within the repo and in the local hard drive.
|
 |
