LASER CUTTING
Computer Controlled Cutting means to use laser cutter or vynlcutter to cut the shape of a 2D design. Lasercutter is powerful that it could use a laser beam to cut a variety of materials including plastics, wooddenboard, cardboard, etc. When I was a little boy, I usually bought some wooden toys––the one that can be assembled from several woodden broad parts ––and now I find out that they were probably shaped by laser cutters. By cutting several 2D parts, we can assemble them and make three dimensional structures.
Here are all the things we have to do:
First, learn to use the 2D designing software and design your own 2D printing map;
Second, learn how to operate the laser cutter properly;
Third, test the best fit power of your laser cutter to the particular material.
And the last step is to cut your picture.
LASERCUTTER
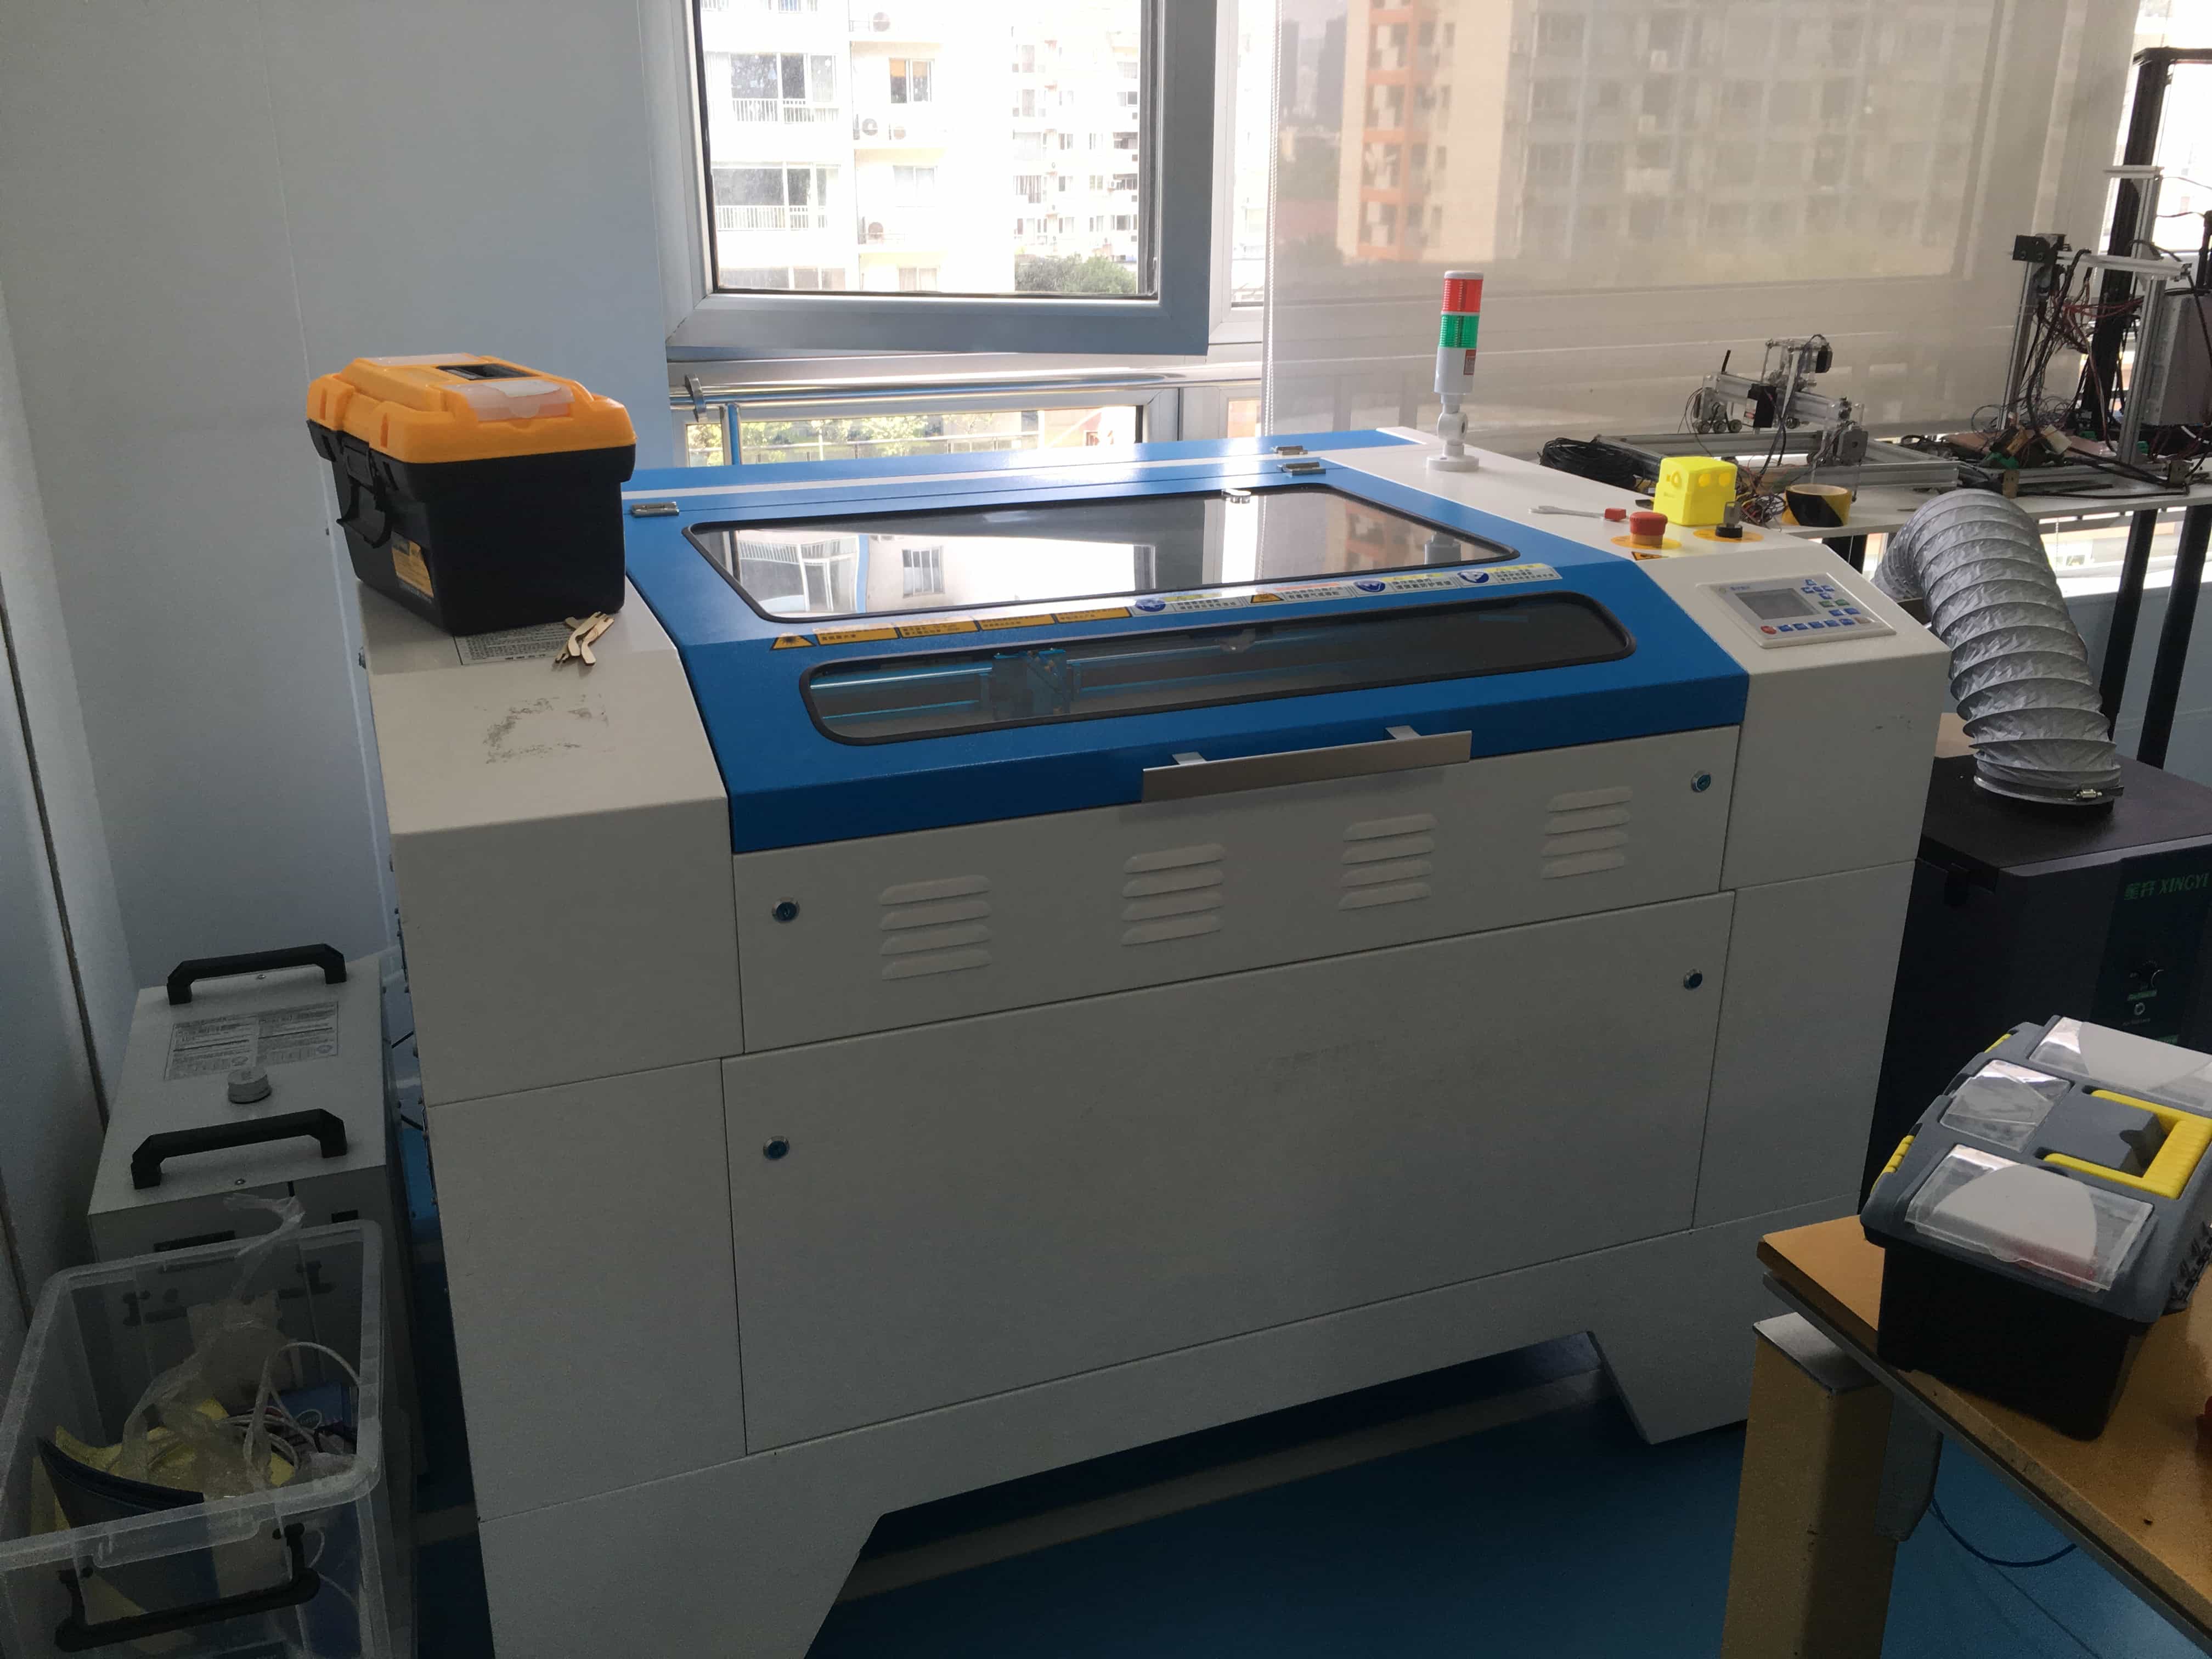
This is a laser cutter produced by a Chinese company. To make the cutting process more secure, we have two other devices to cool the machine and purify the air.
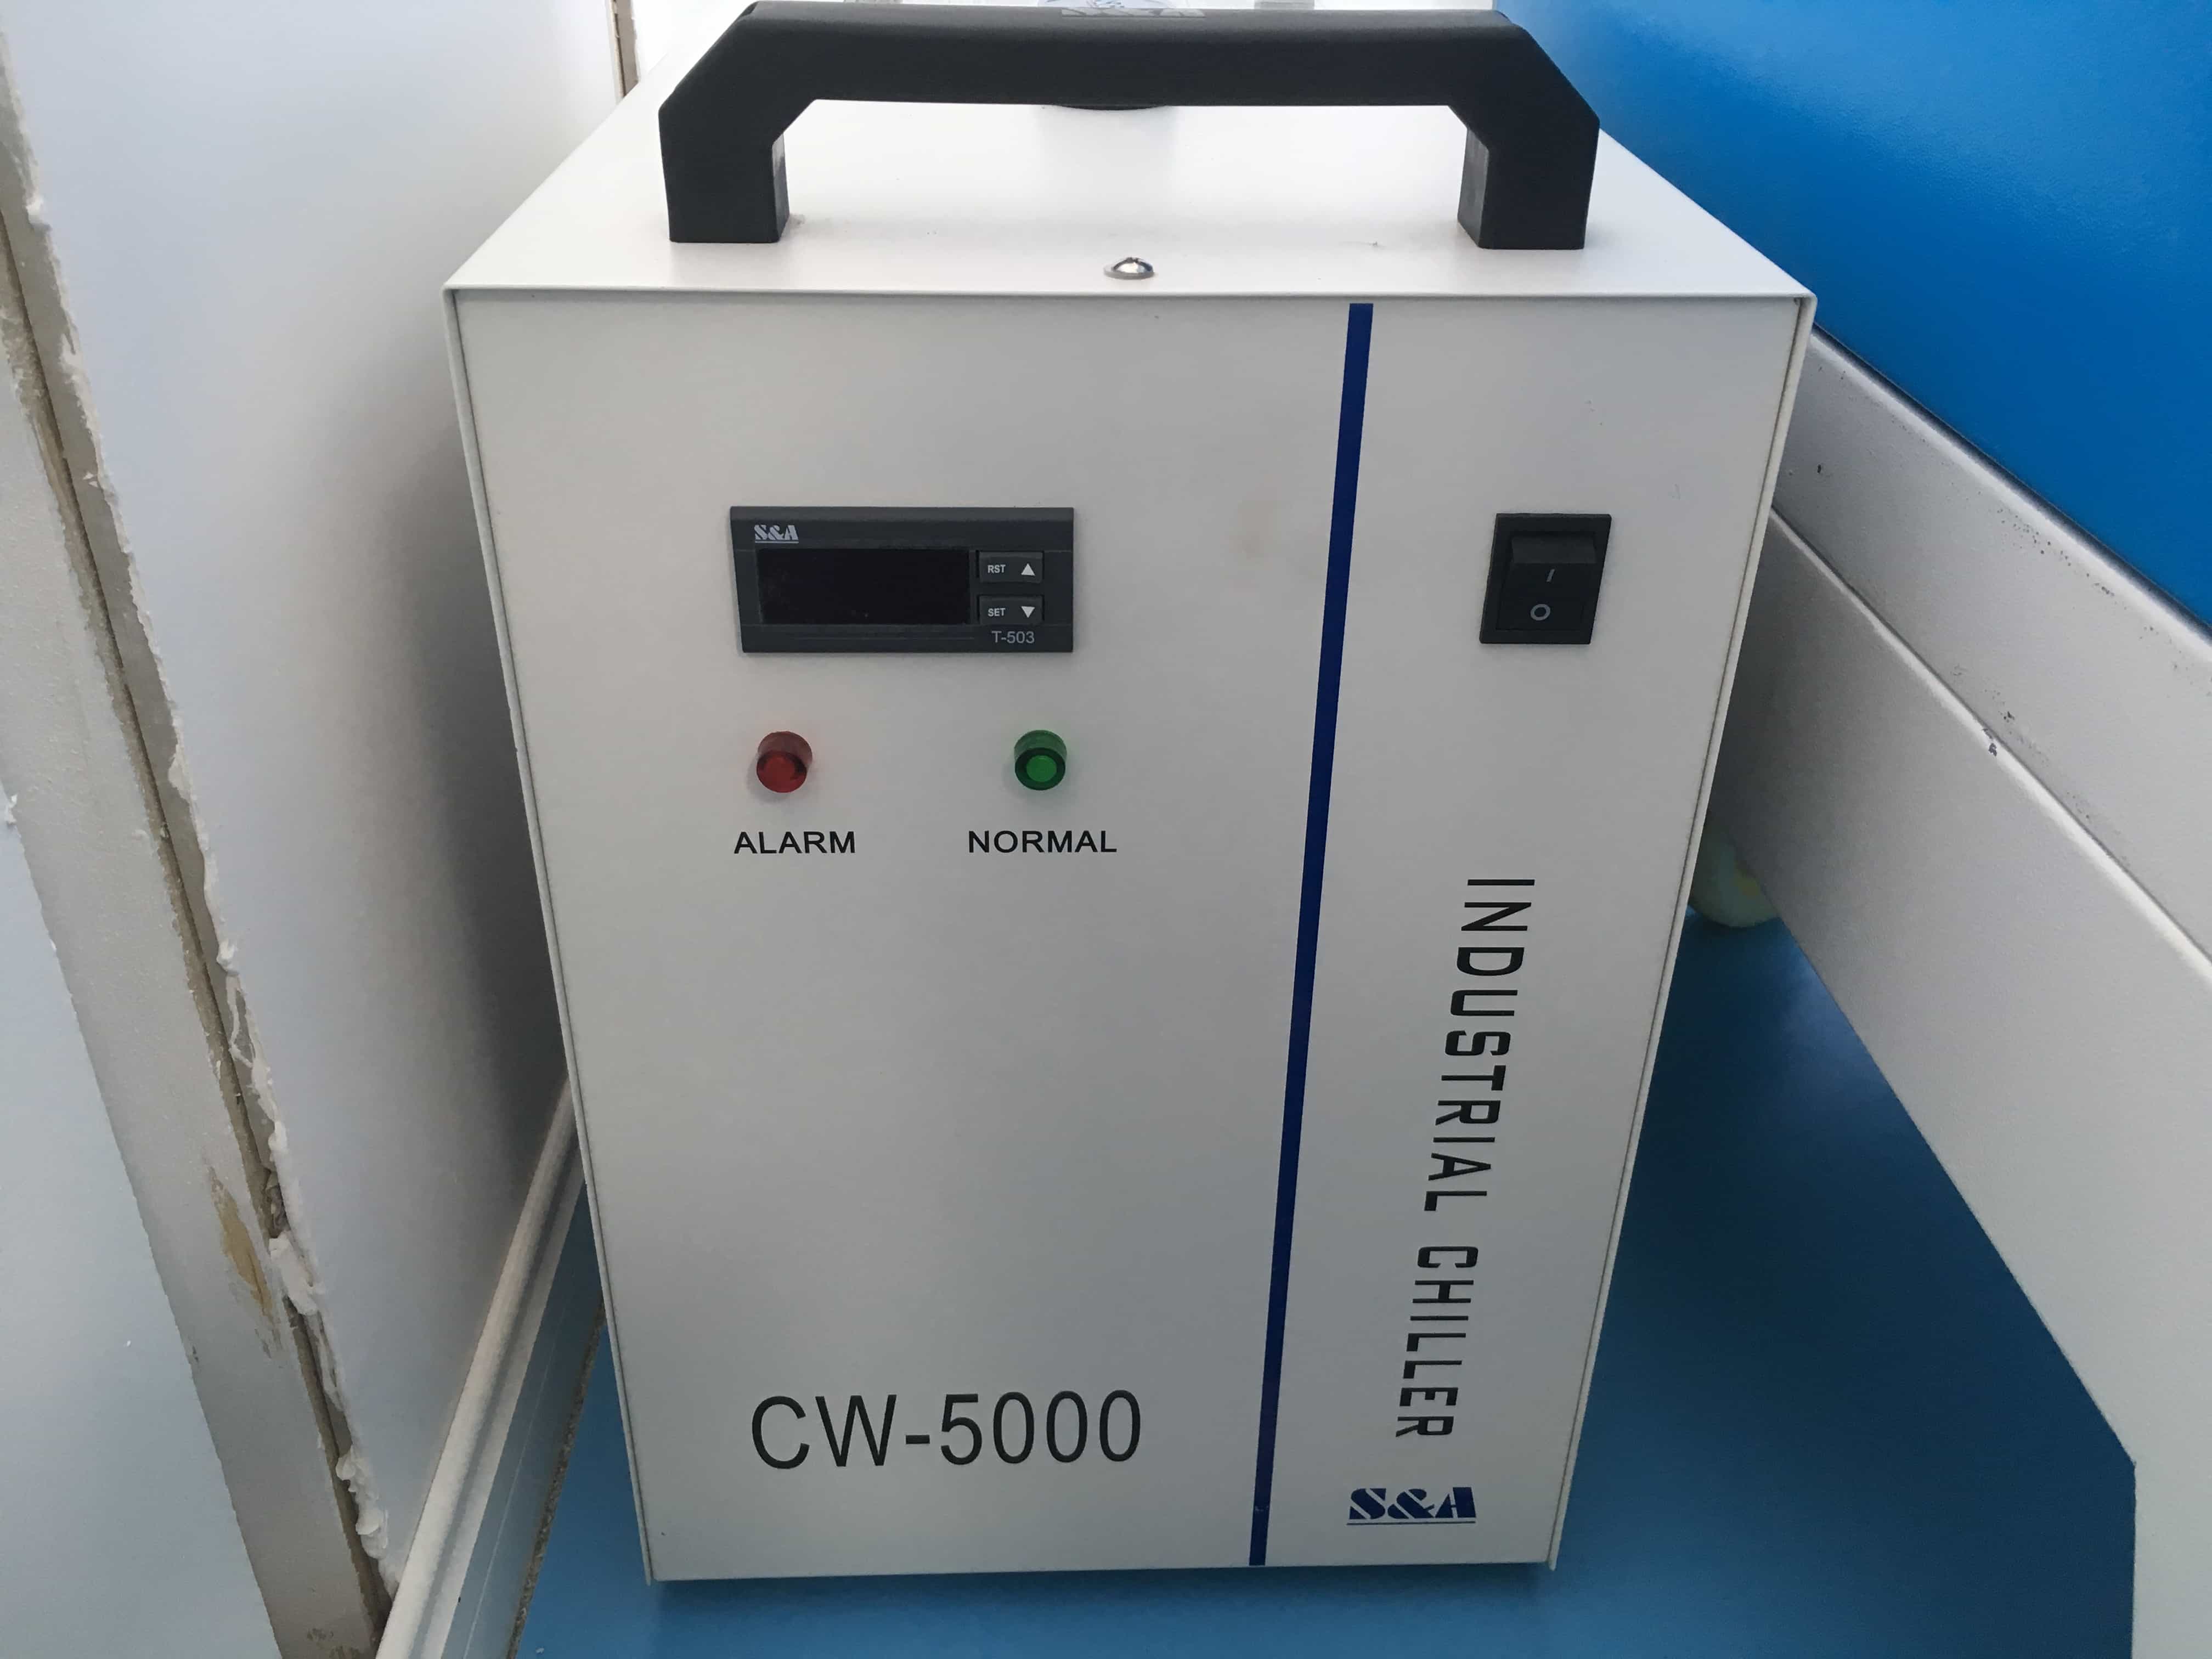
Industrial chiller. Open it before you turn on the lasercutter.
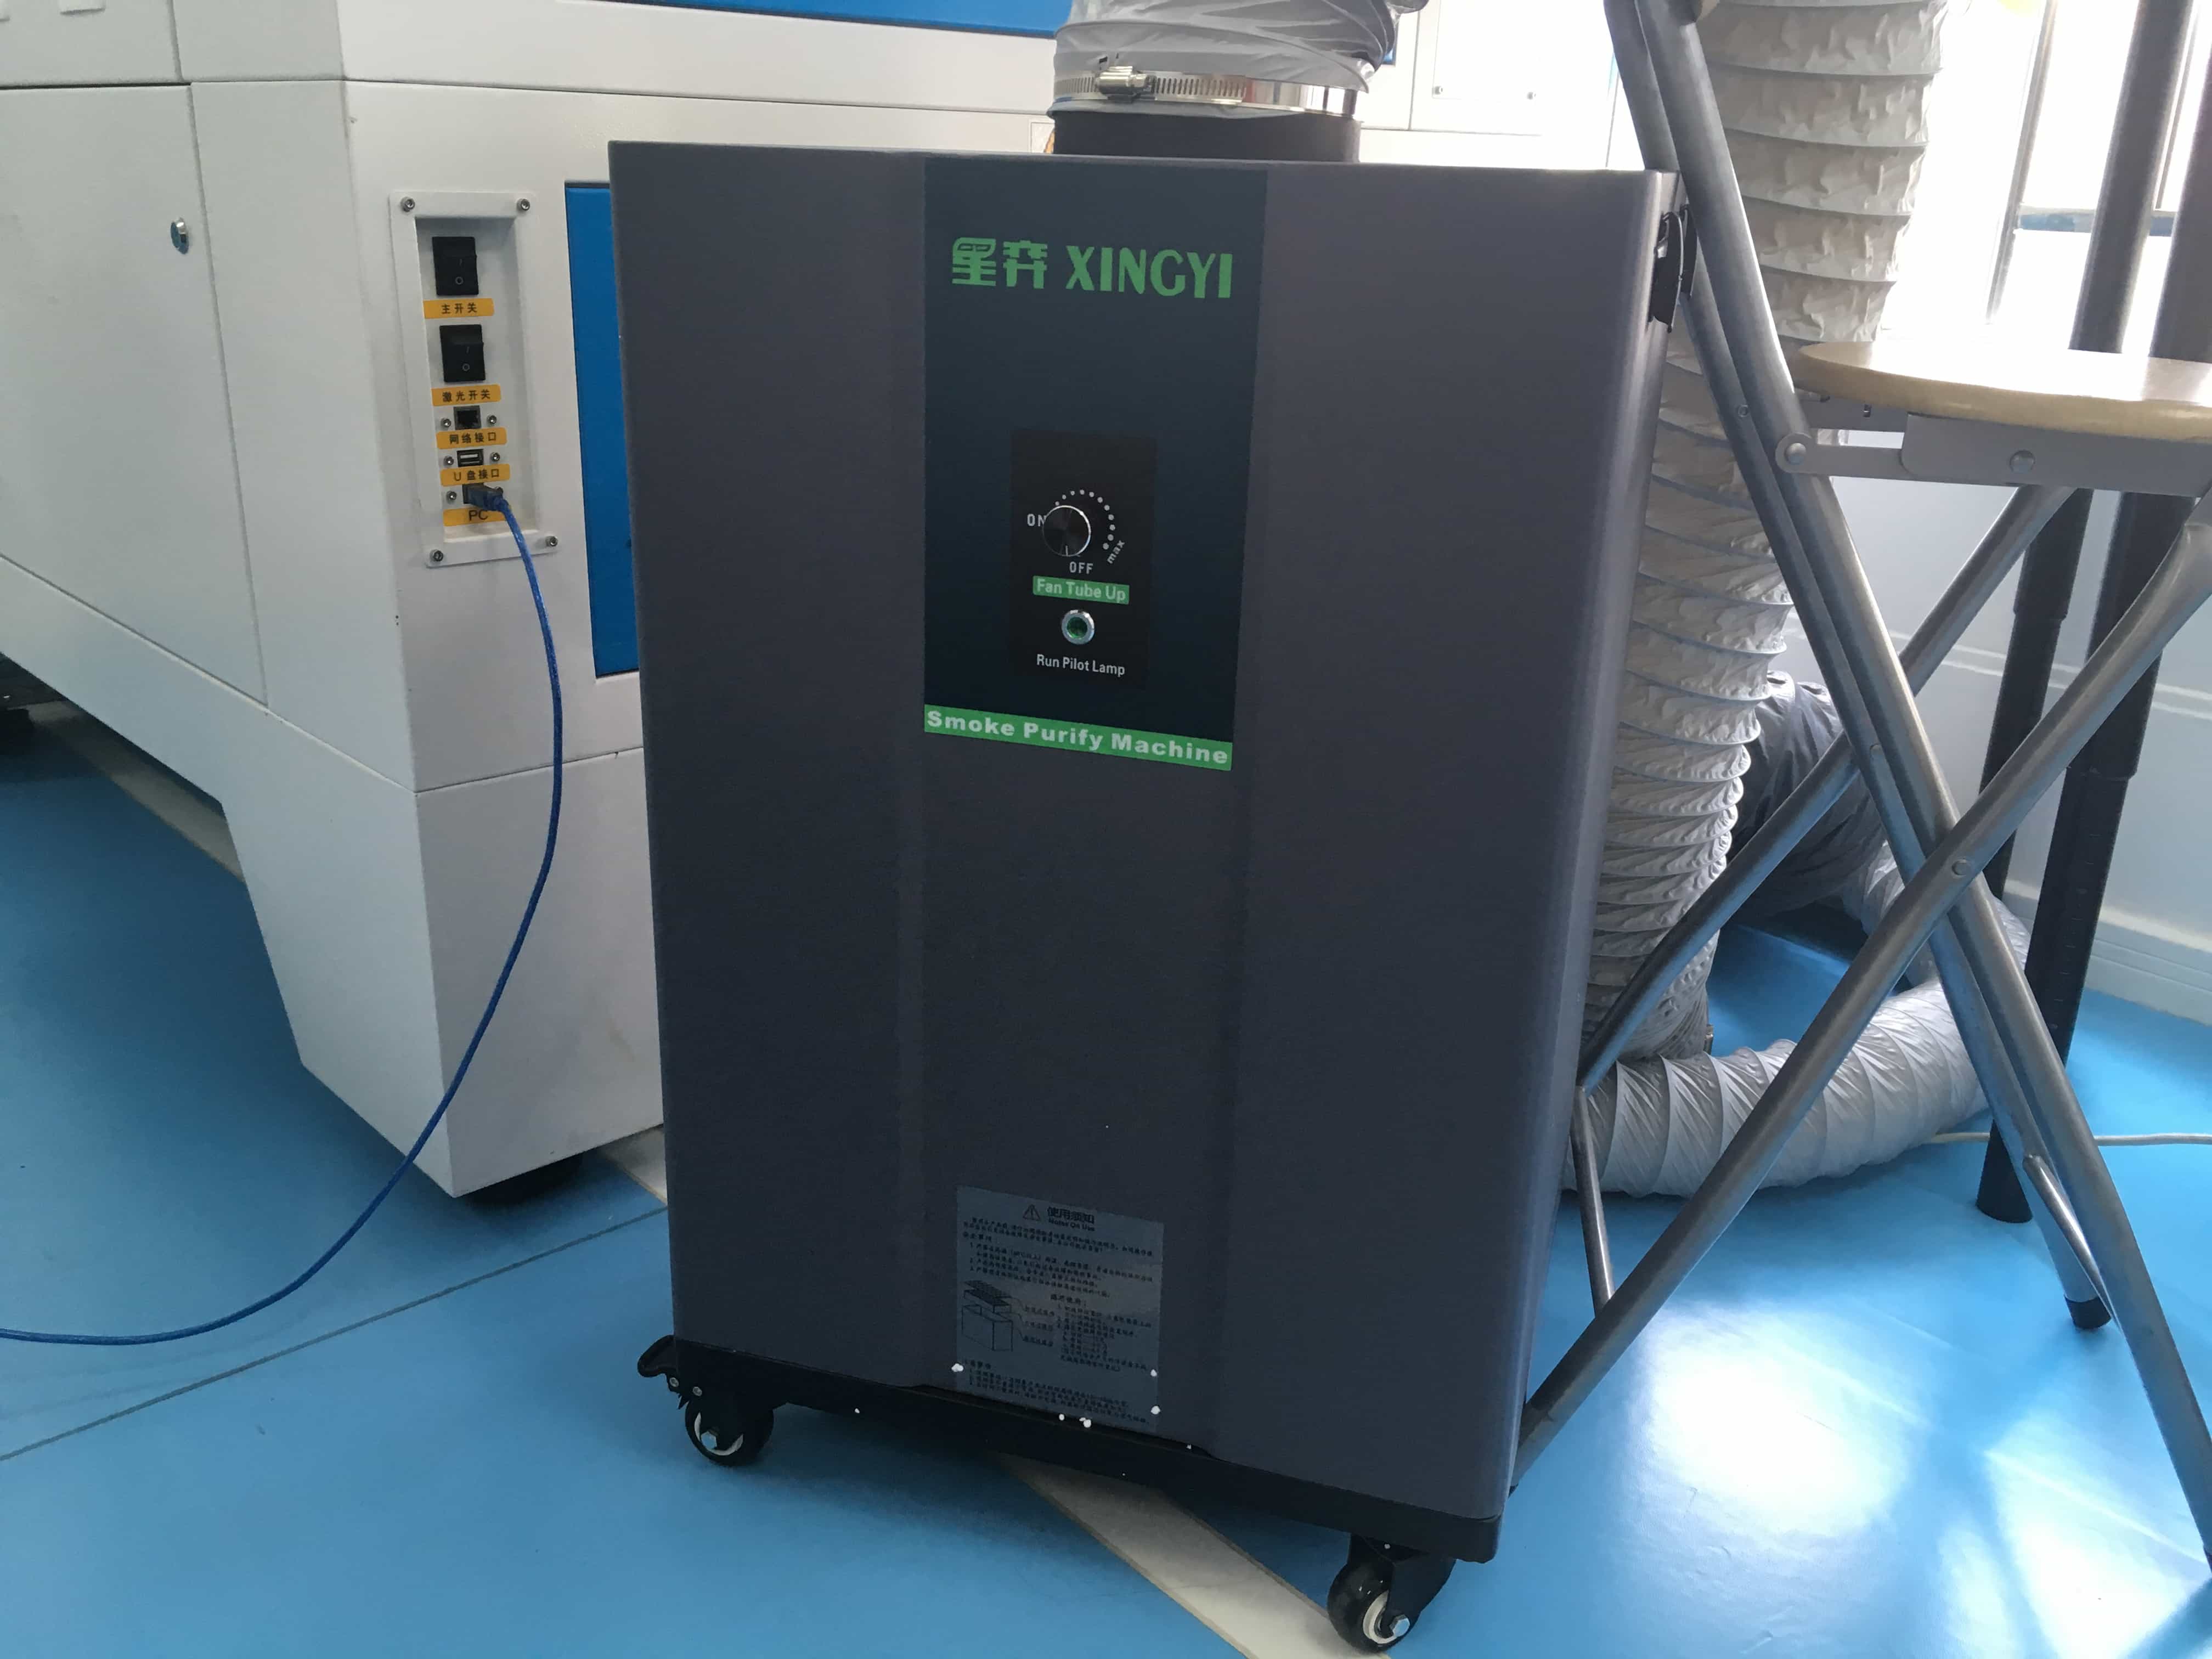
Air purifier. It can purify the air inside the lasercutter, since some toxic gas may be generated when cutting something like acrilic or density board.
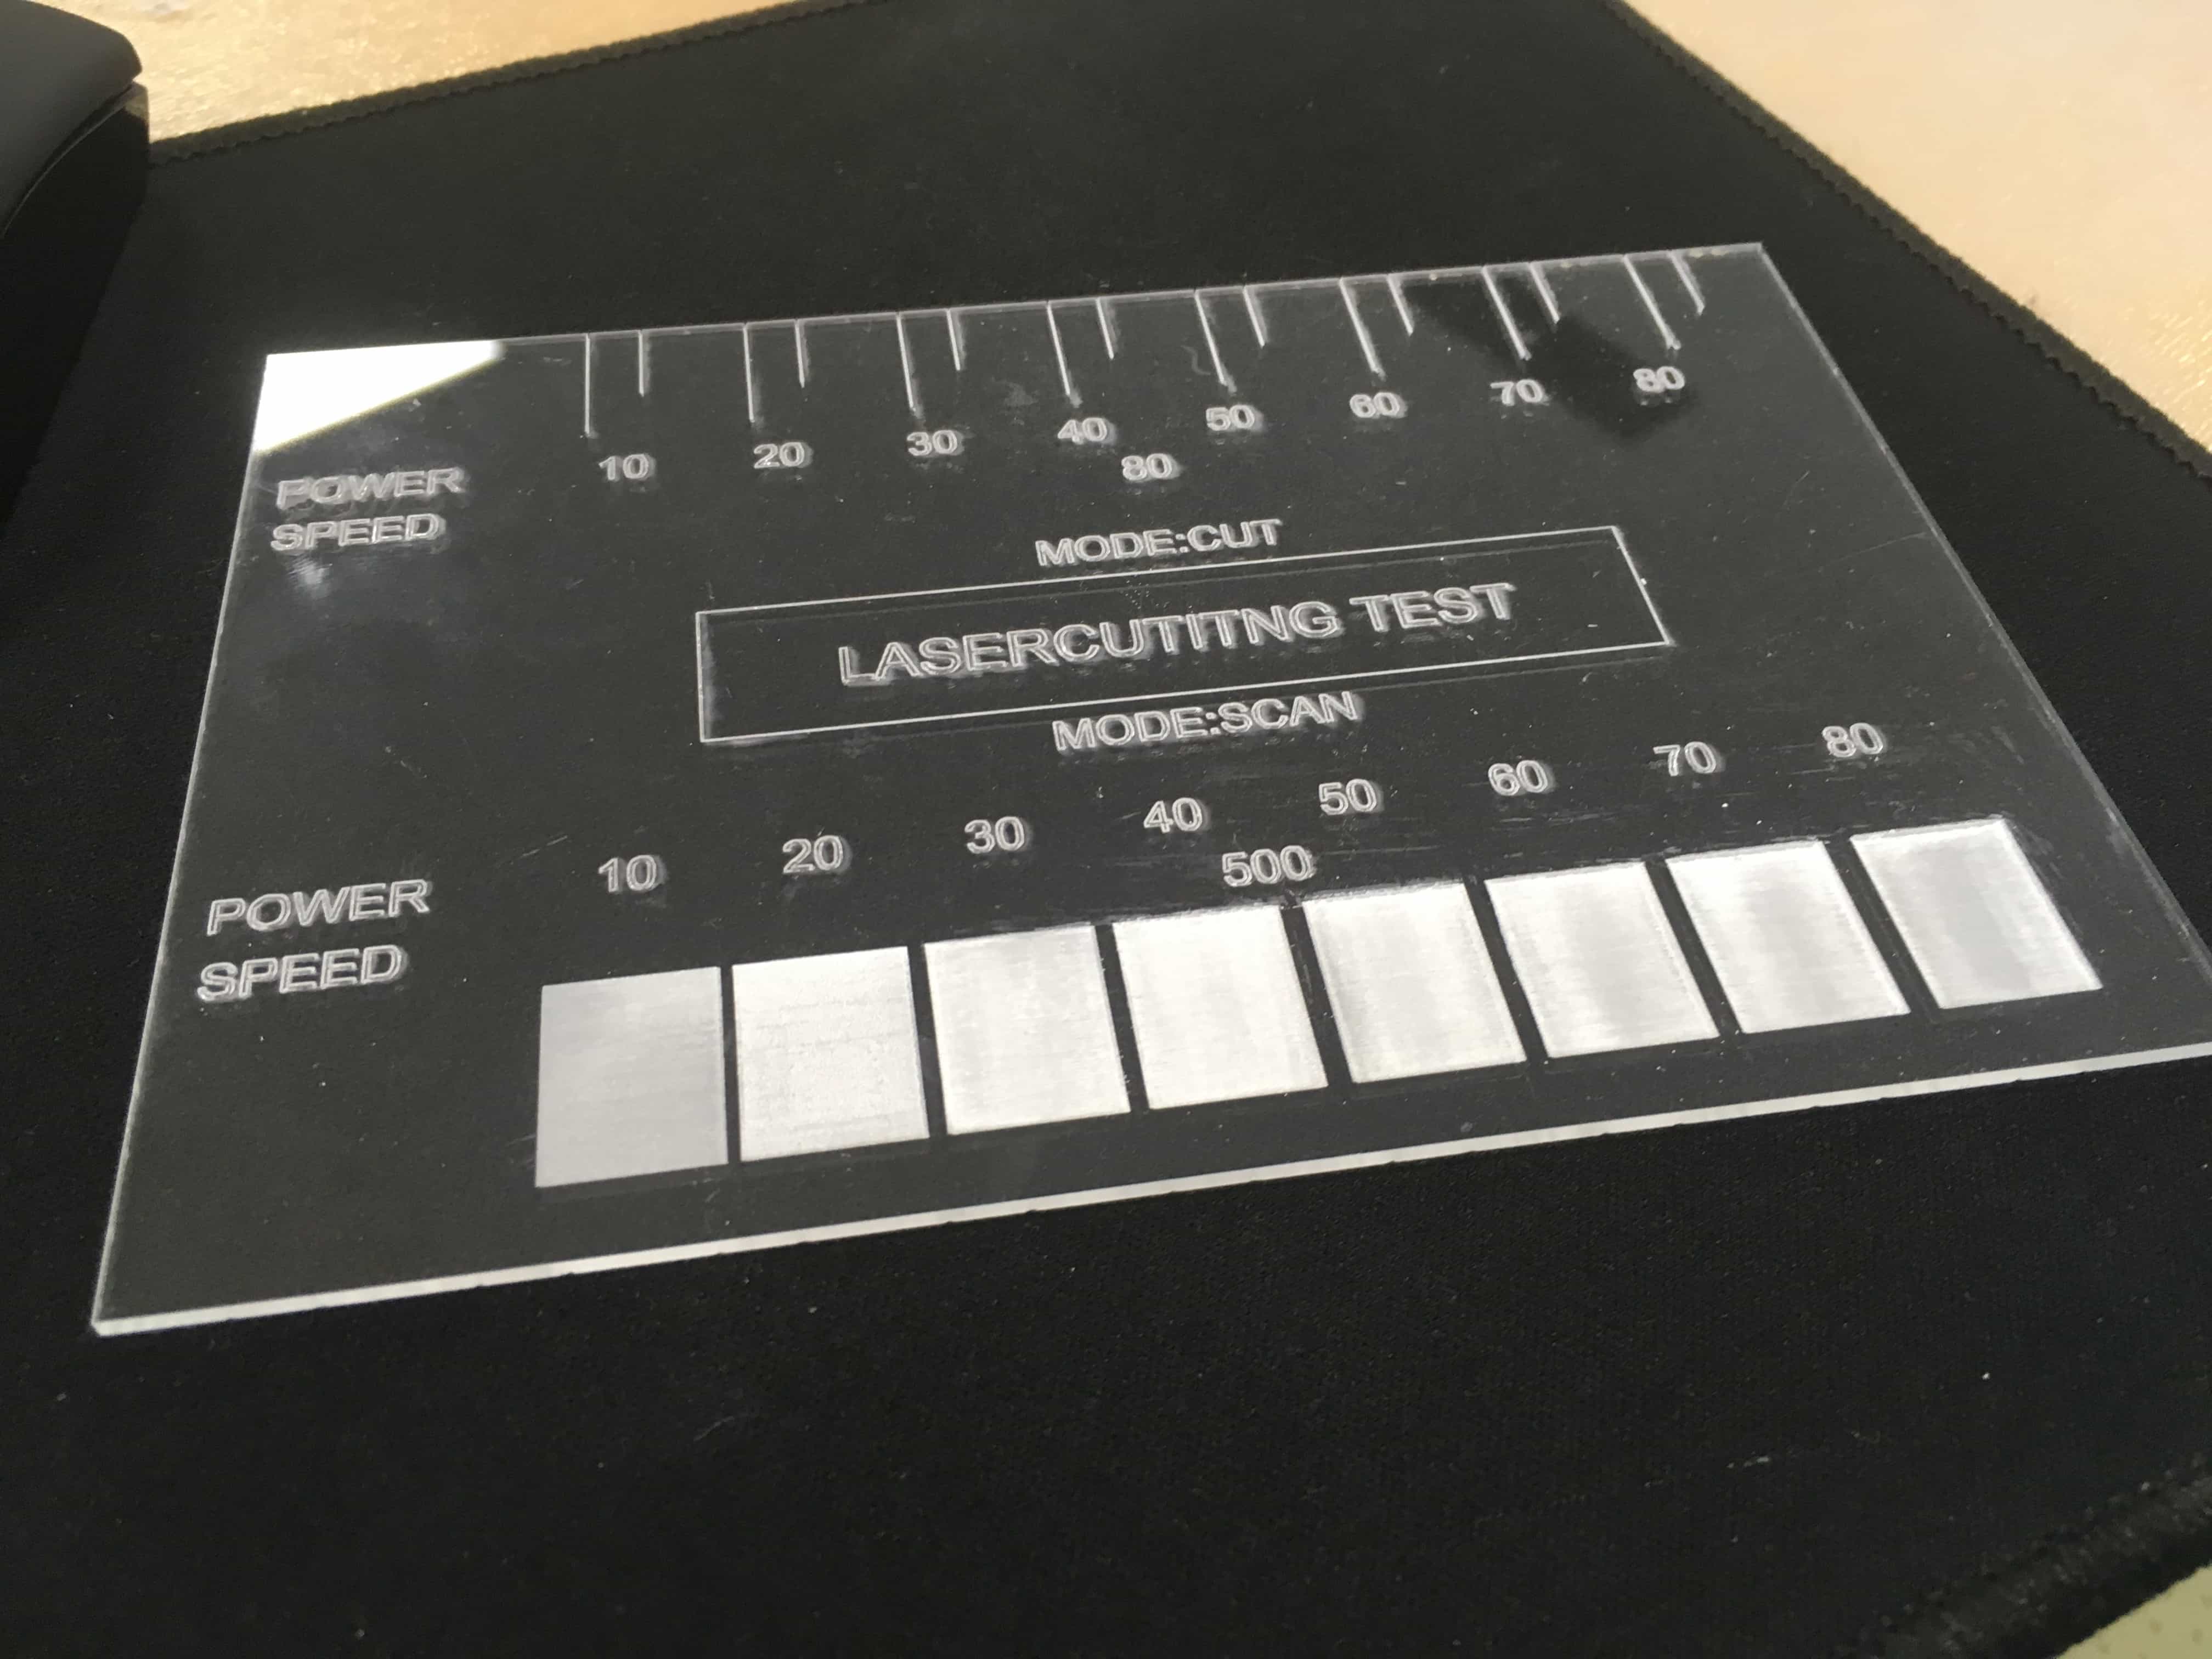
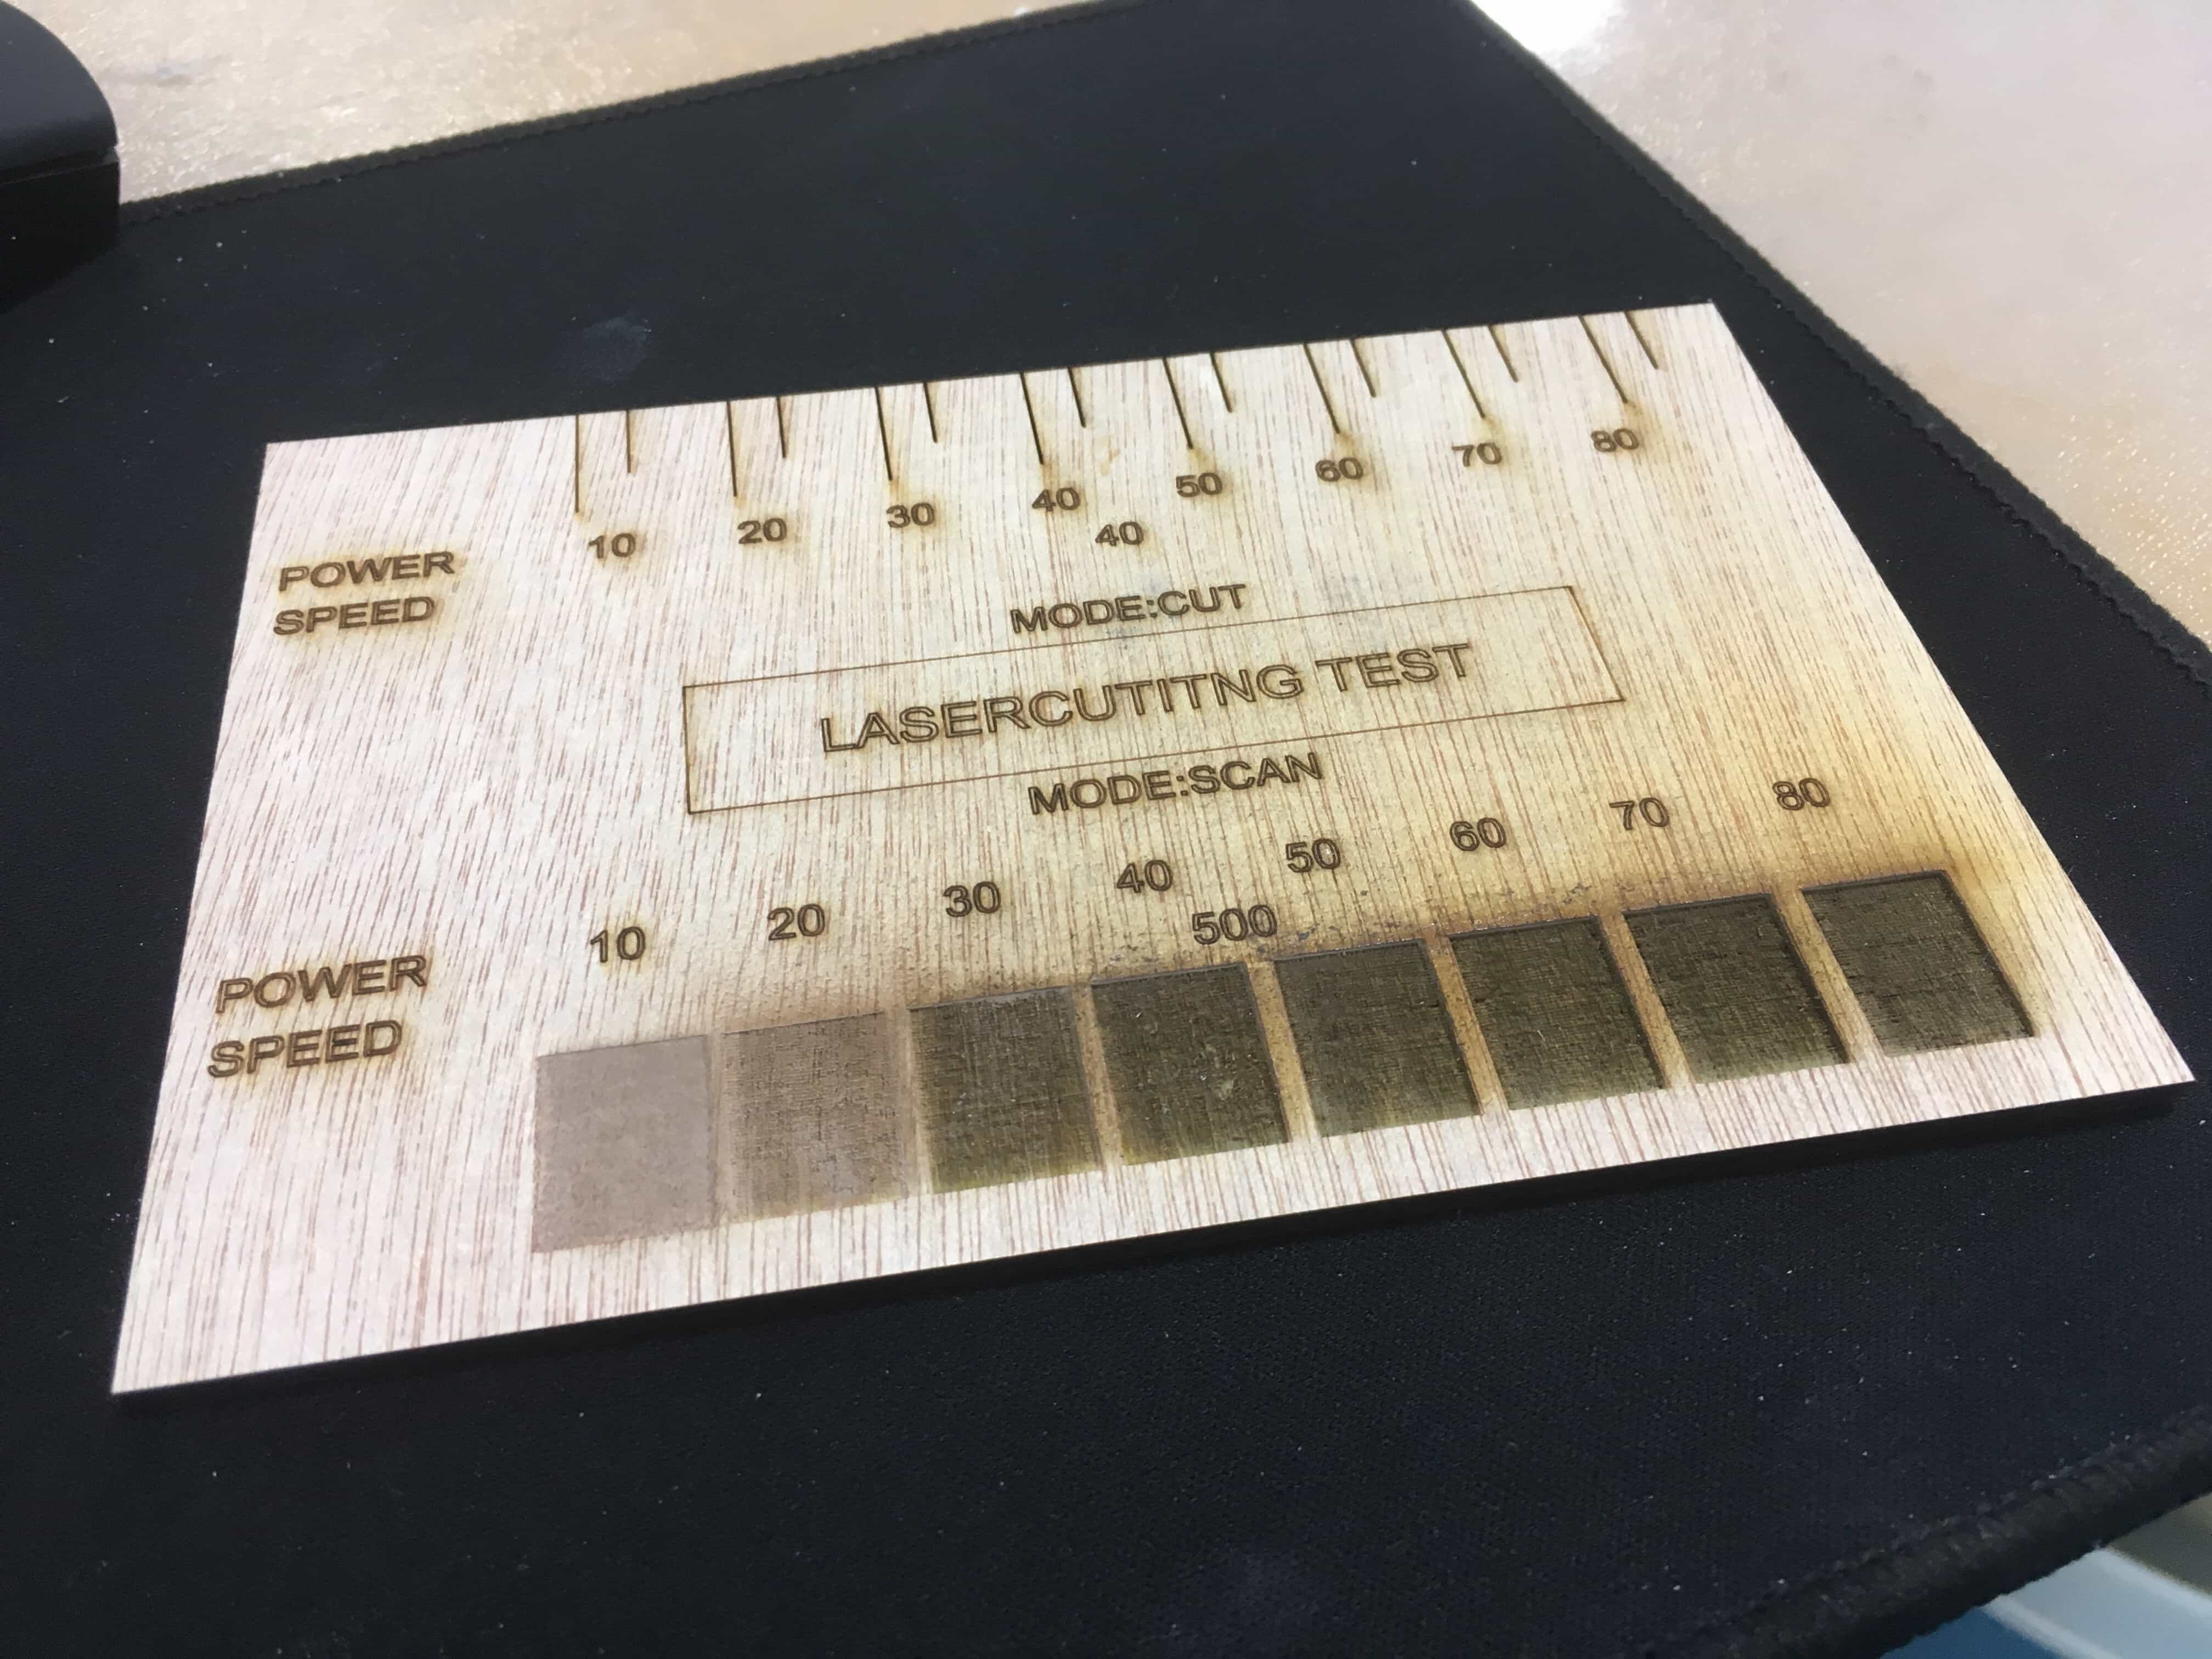
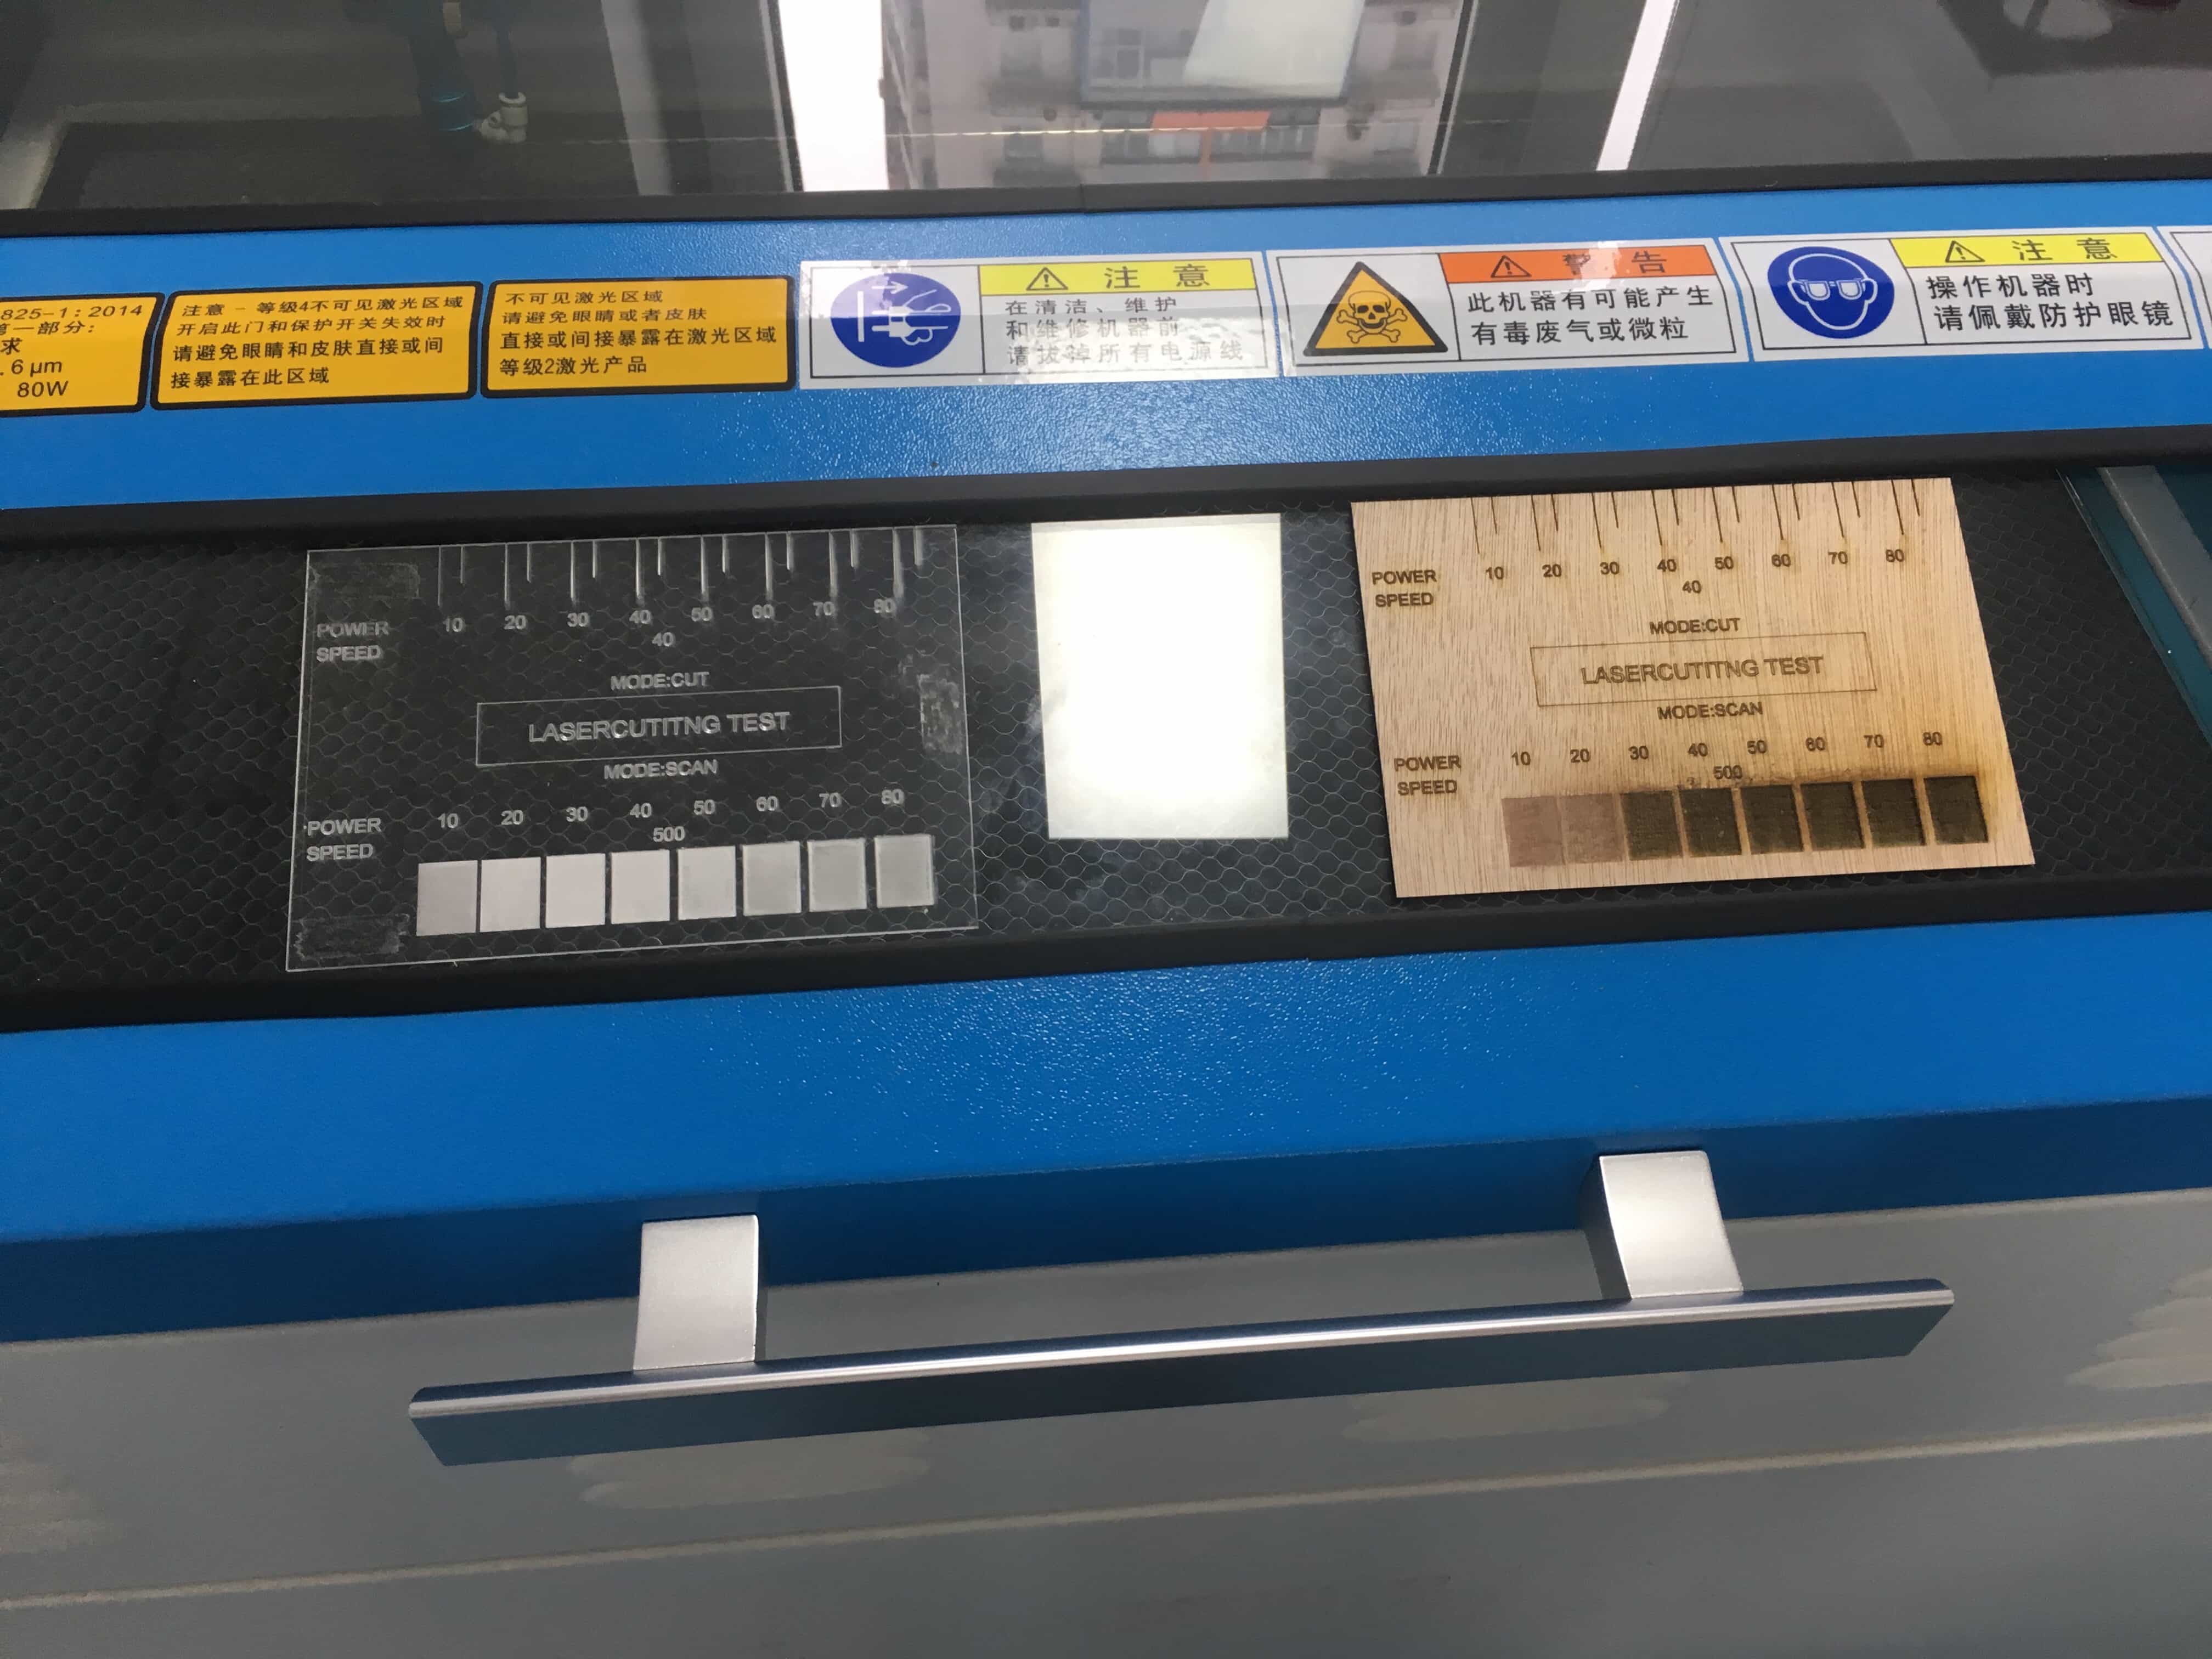
Test the power-speed effect of Lasercutter
To figure out lasercutter's working effect of different level of speed and power on different materials, I desinged a testing pad and used the laser cutter to mill it out on 2.2 mm acrylic. Then I adjusted the cutting speed to make the test on 3mm plywood board and then stuck the testing pad on the machine for others in the lab to make a reference before cutting.
Tools and software
Since at Chengdu Fablab We only have one kind of laser cutters that are produced by a Chinese company, the consistent software provided is in Chinese and it is also refined with several functions. Therefore, it is easy to adjust the power and speed or draw the picture with the software called RDWorks V8.
I also made a replicated one with Fusion 360. Fusion 360 has grids so that the parametrical design would be easier.
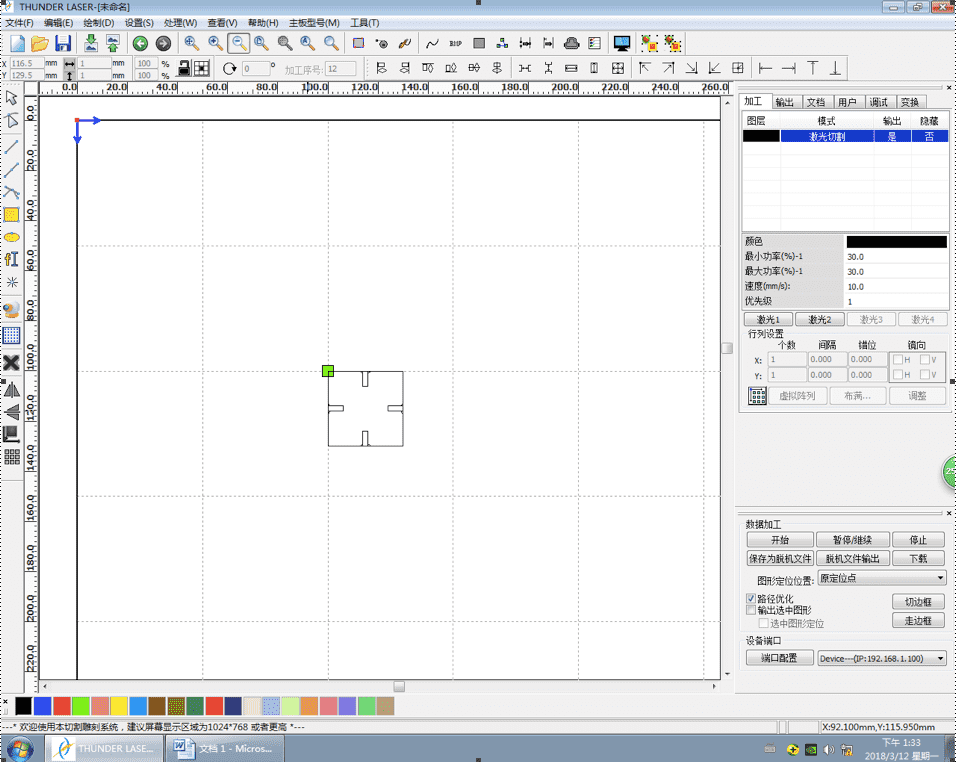
Draw the draft
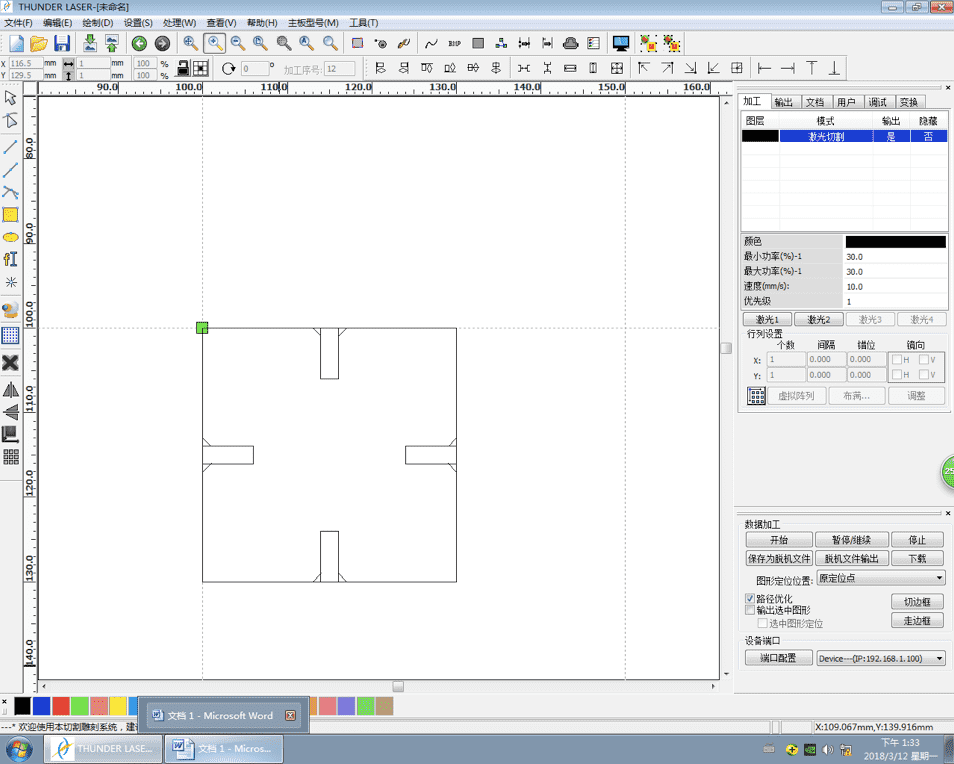
On the platform of RDworks V8, we can see that the drawing area with drawing tools is on the left. We can draw lines and other shapes. I firstly designed a single part. But it is a limited software, so the video below shows how to use Fusion 360 to design a press-fit kit.
This design is for the press-fit kit made from 2.2mm density board––being cheap and easy to cut, however, compared with cardboard, density board provides better tenacity ( cardboard has uneven tenacity of parallel and verticle direction because of the alignment inside, also boundary is another big problem).
Because of the great friction, I had to design the width of the pocket to be 2.3mm, just 0.1mm wider than the thickness of the board, to make it easier to assemble the kits. Also, following Neil's advice, I made a triangle at the end of each pockets as an assembling guide.
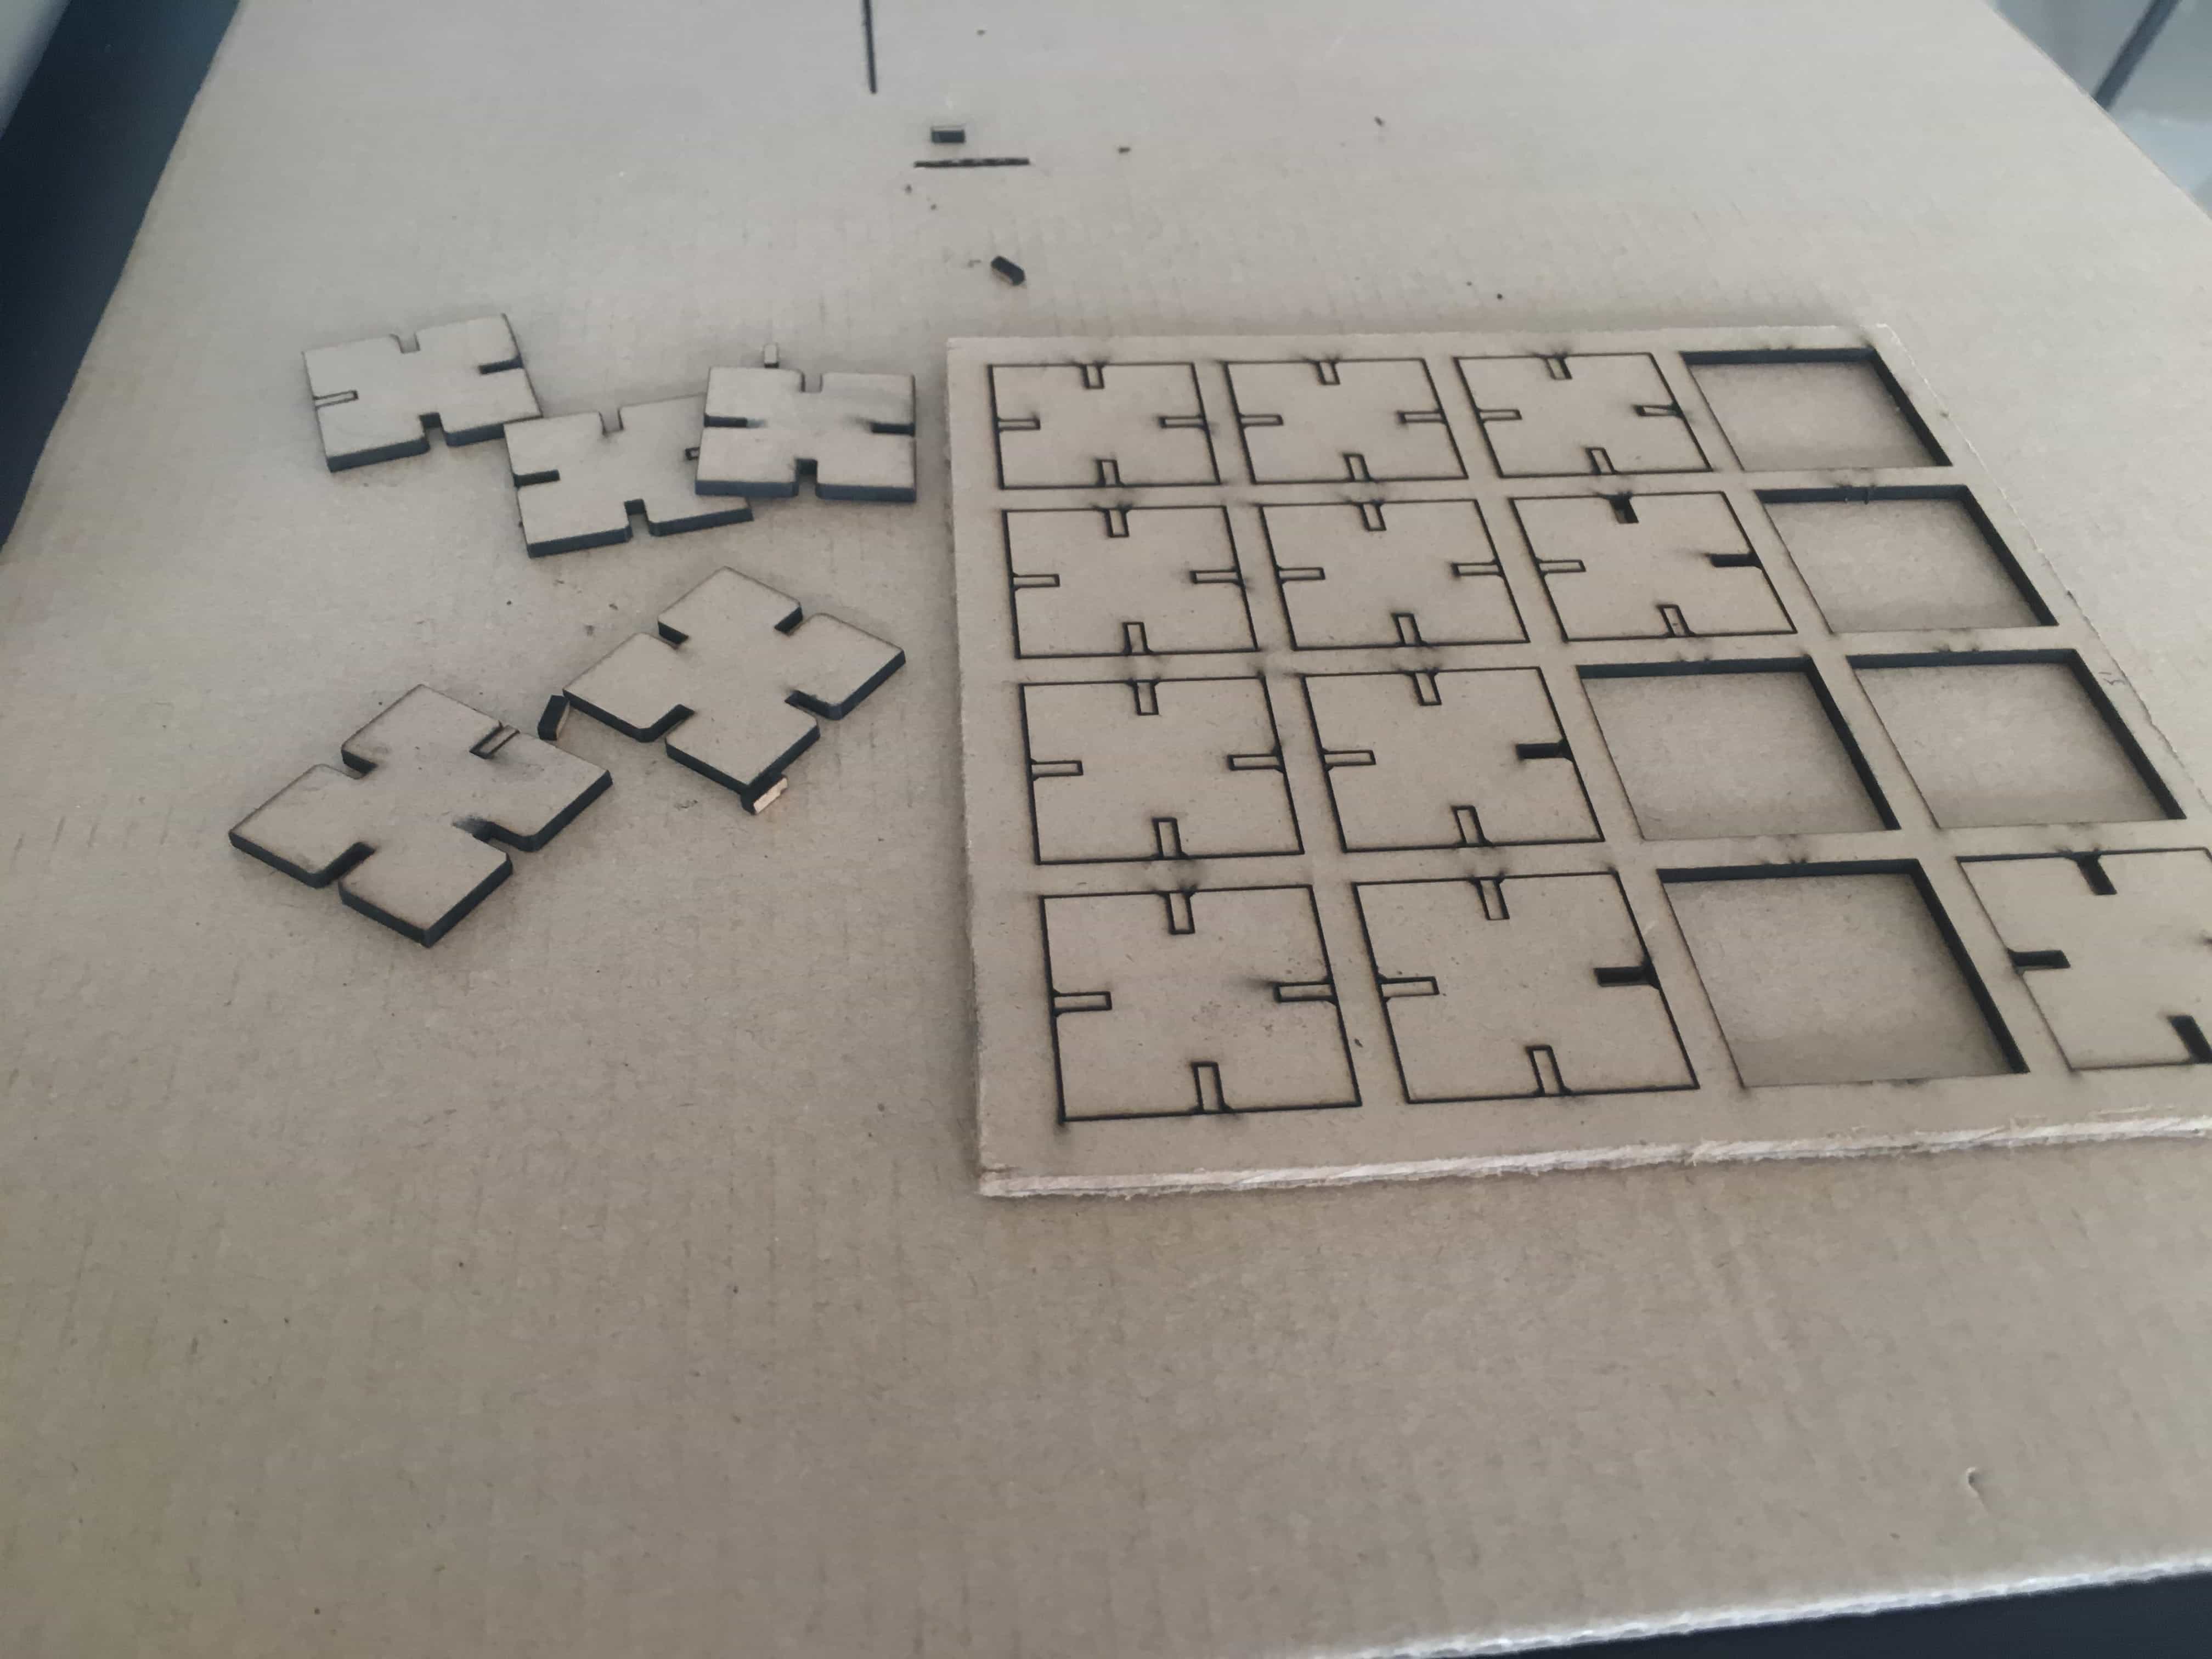
Test your design: cut it out and modify the draft
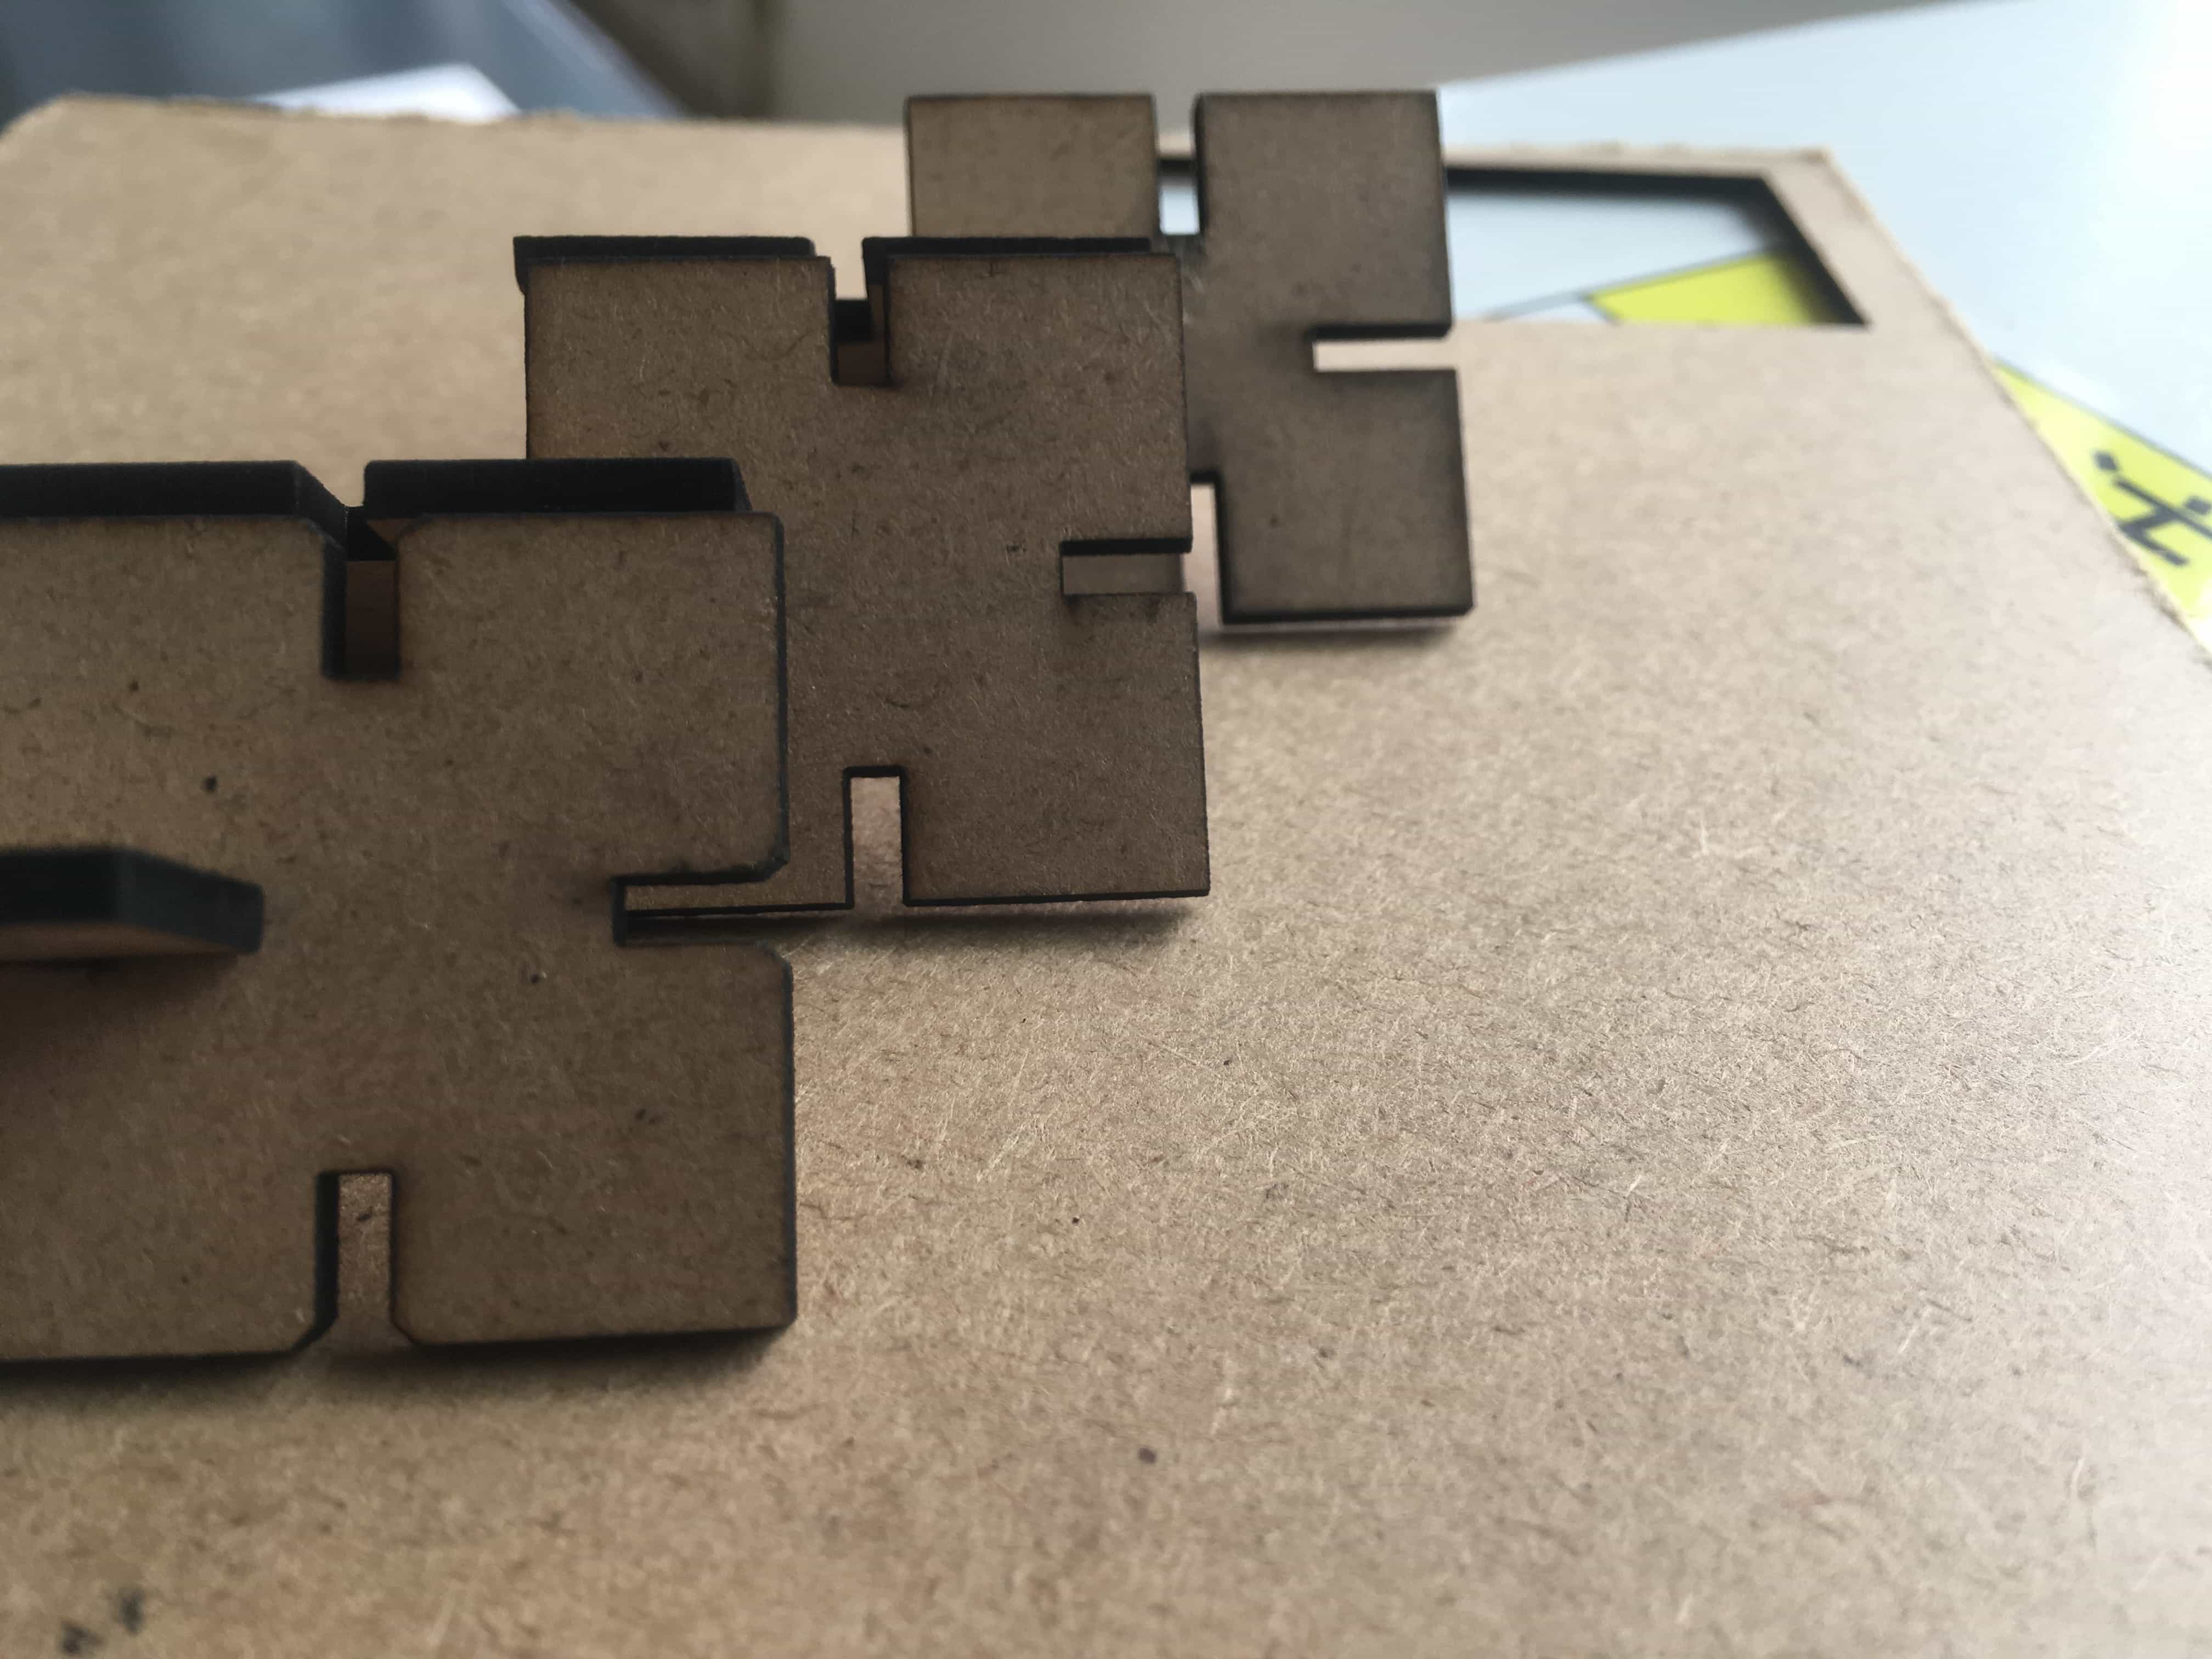
After testing the machine itself, we should test whether our design is easy for assembling. For example, the wooden board is 2 mm thick, so at first I make the notches for 2 mm wide and 8 mm long. But I found out two problems: first, the notches are a little small since the board would be too tight when attaching to each other; second, when two boards are attaching to another board on its opposite side, they would have a conflict, because the length of a square board is only 30 mm, 2 mm smaller than 4x8 mm.
For these reasons, I adjusted the size of notches to 2.3mm x 6mm. Also, I added a triangle notch at the end of each rectangular notch for a "attaching guidance".
This picture show the difference of three different version with two adjustments. The final version is on the top.
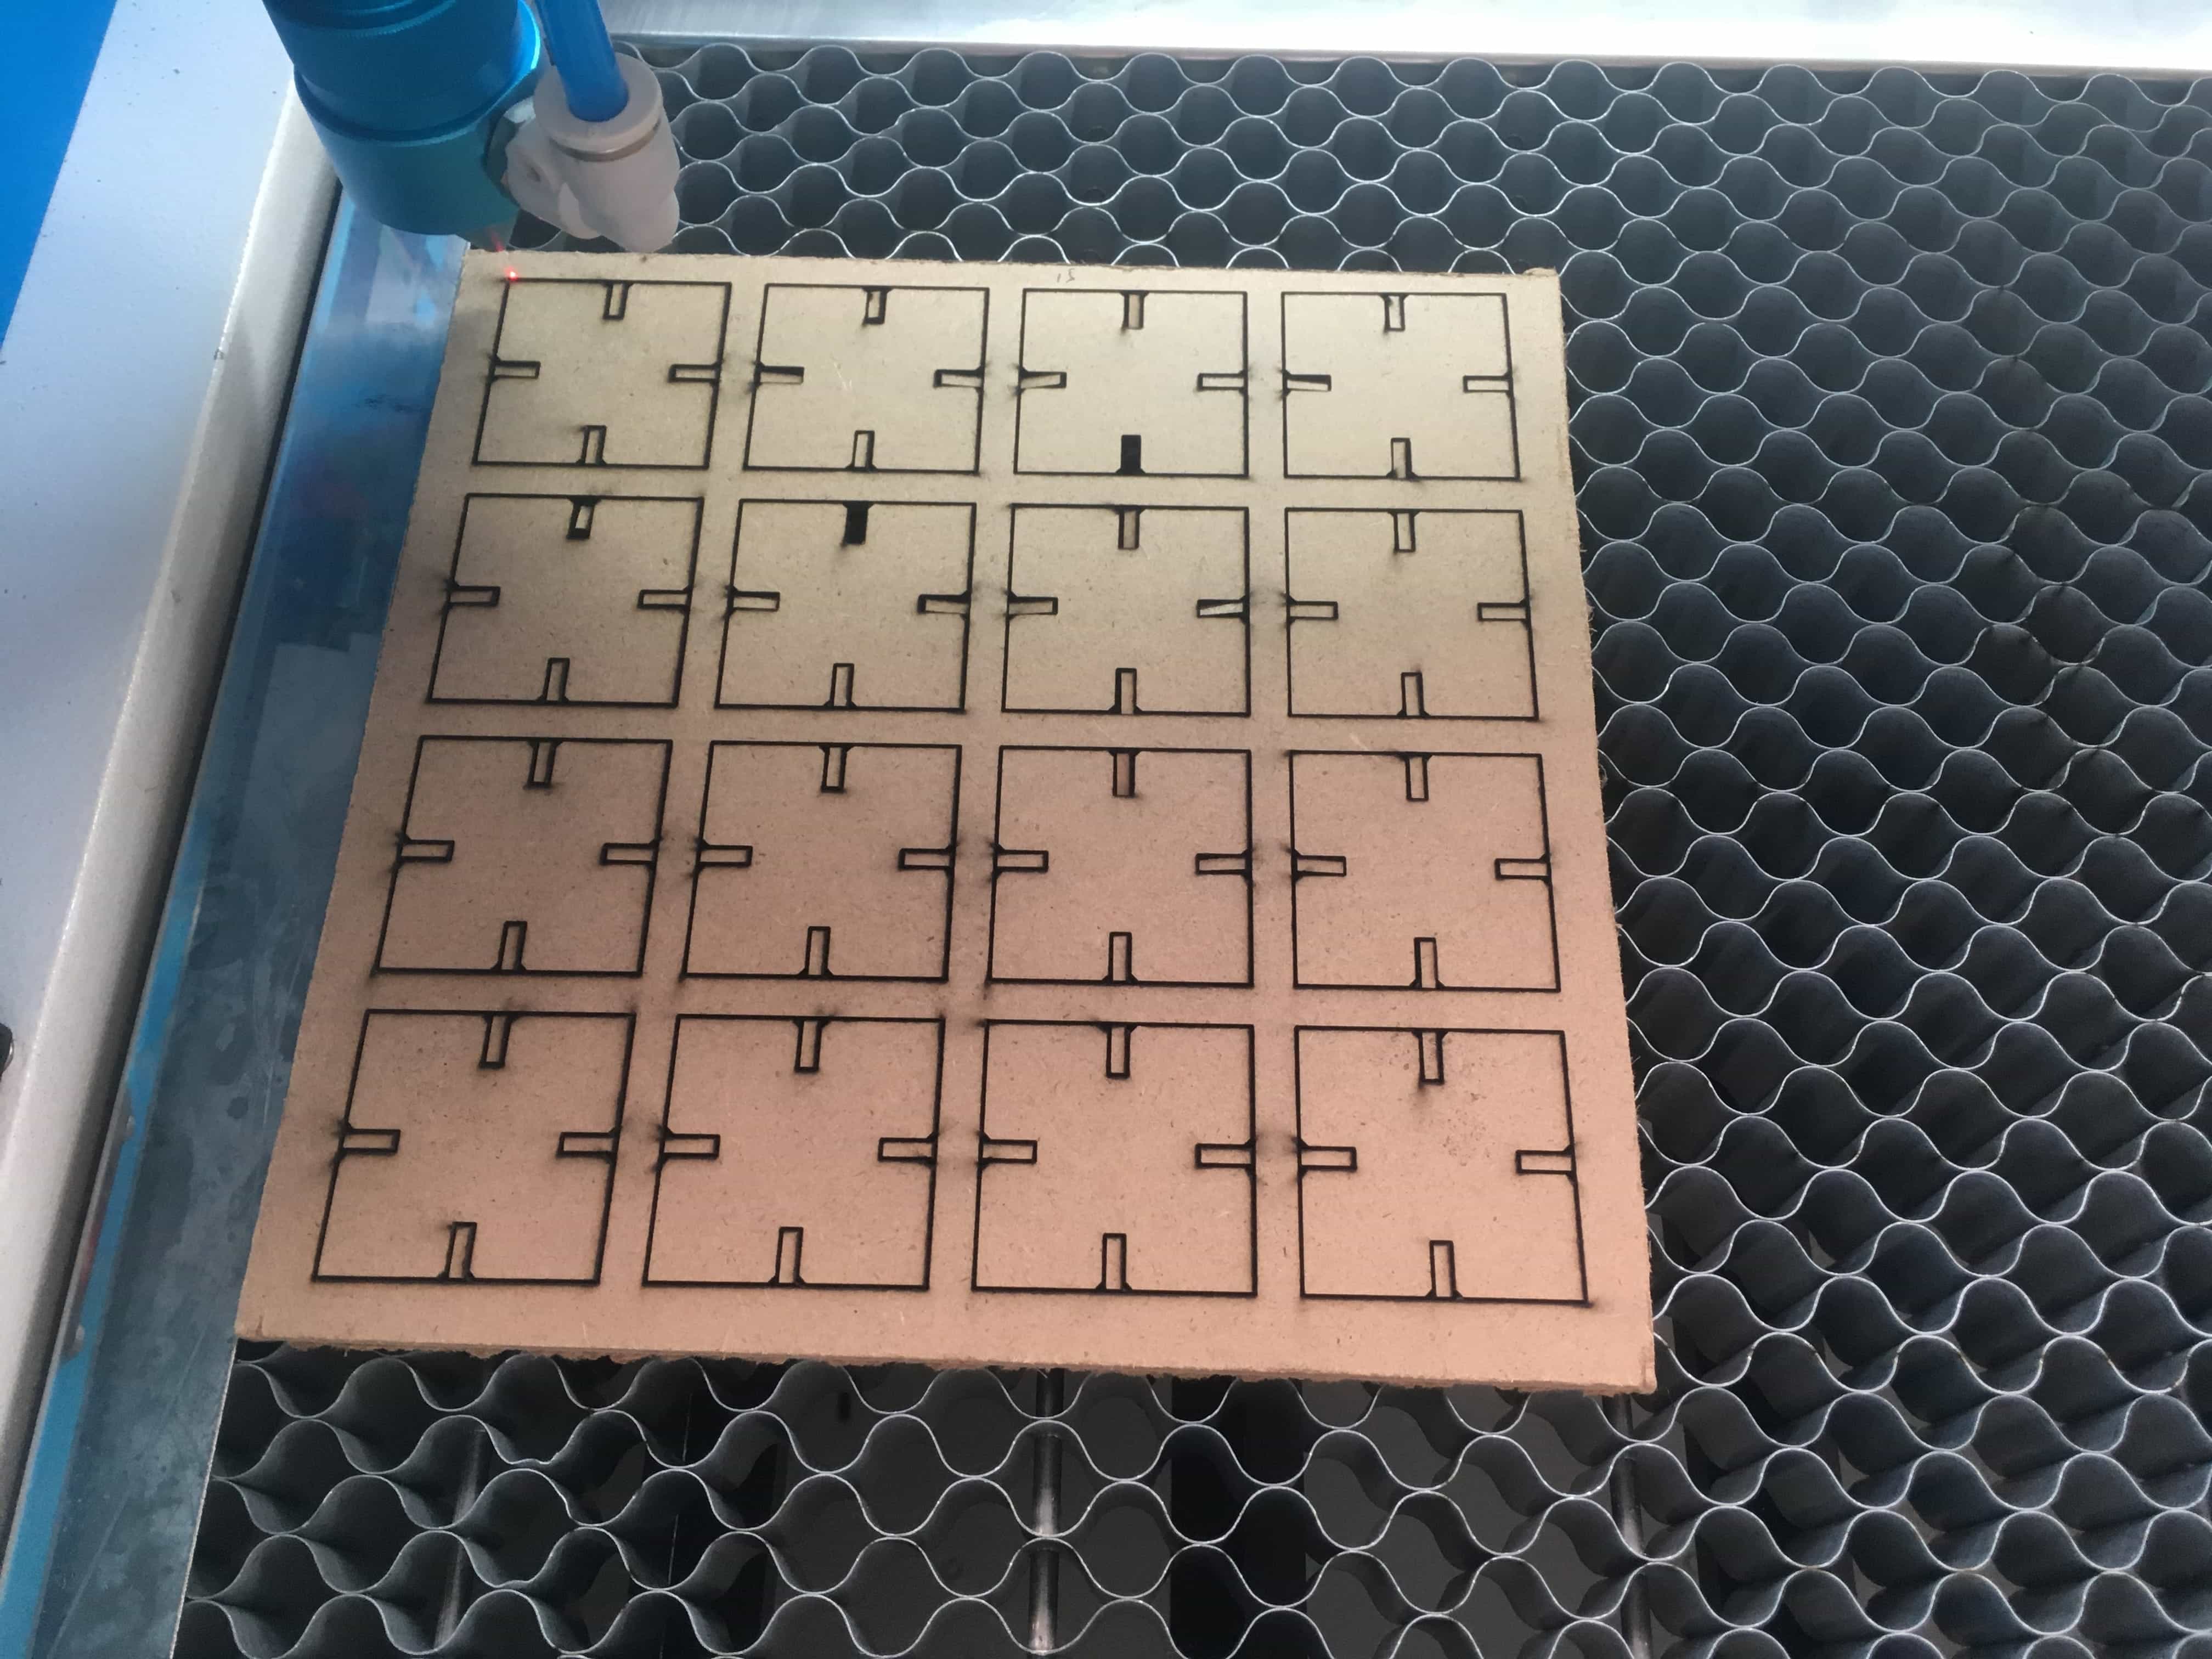
Duplicate and mass-produce
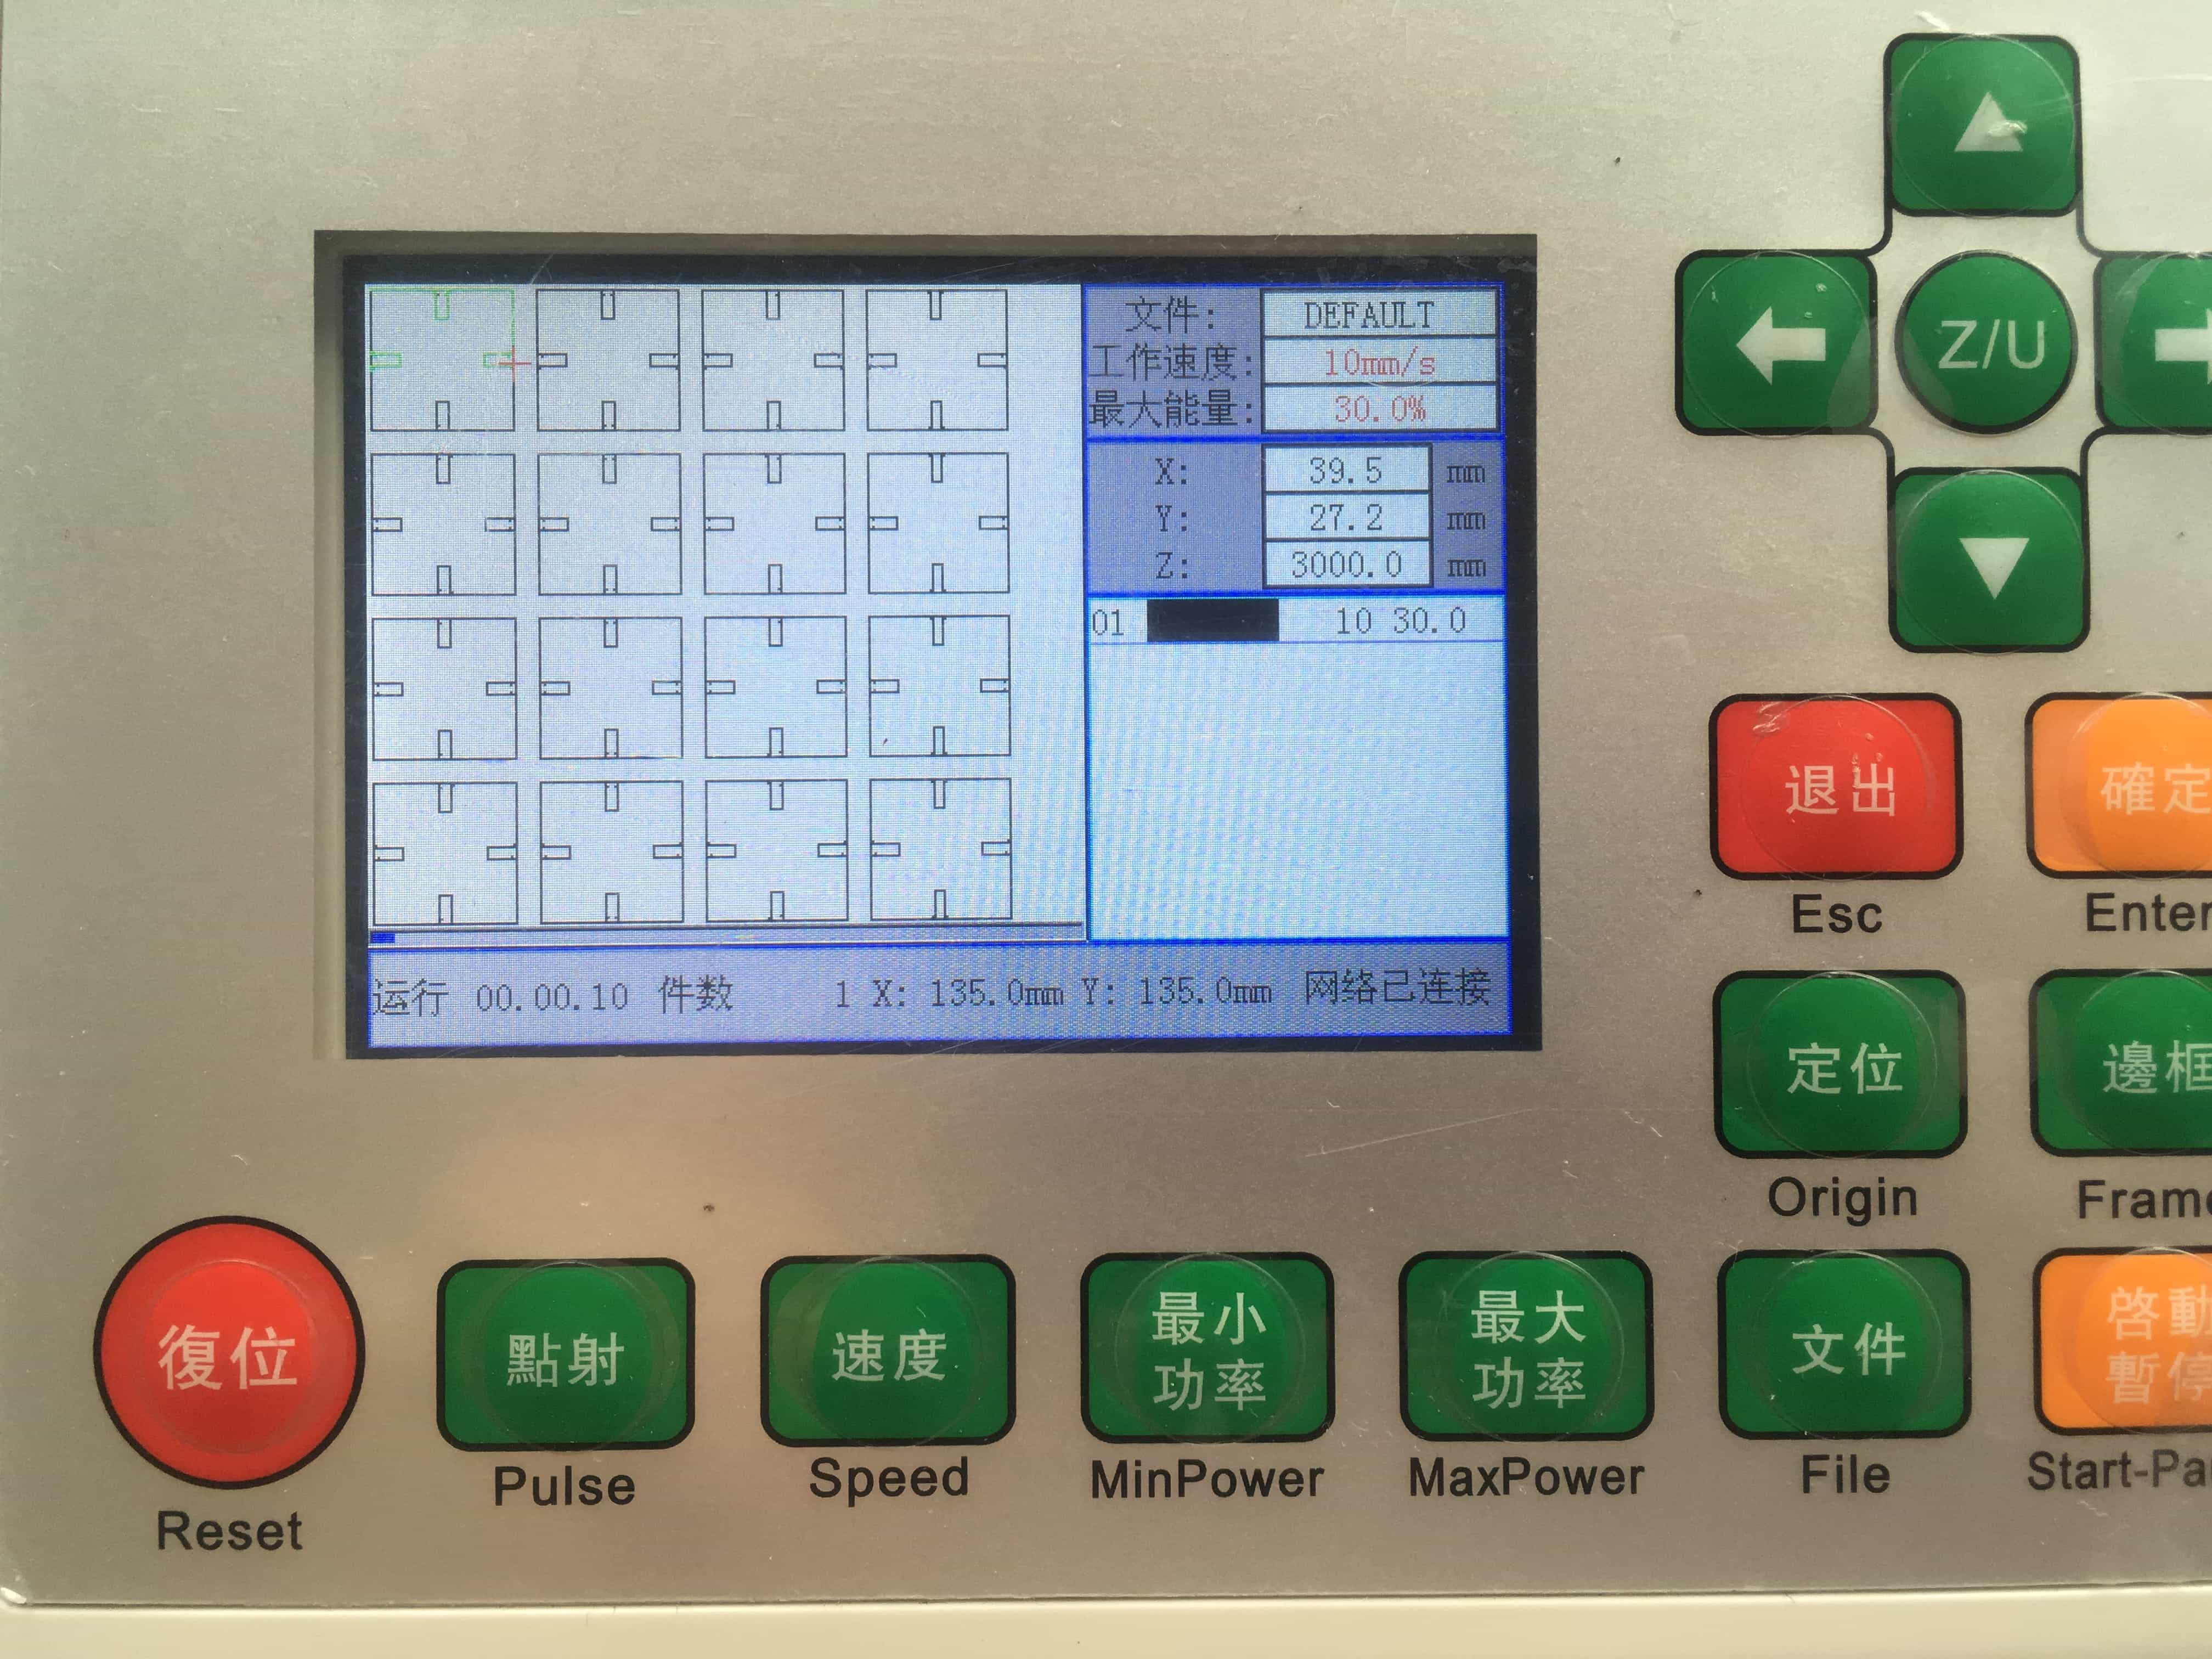
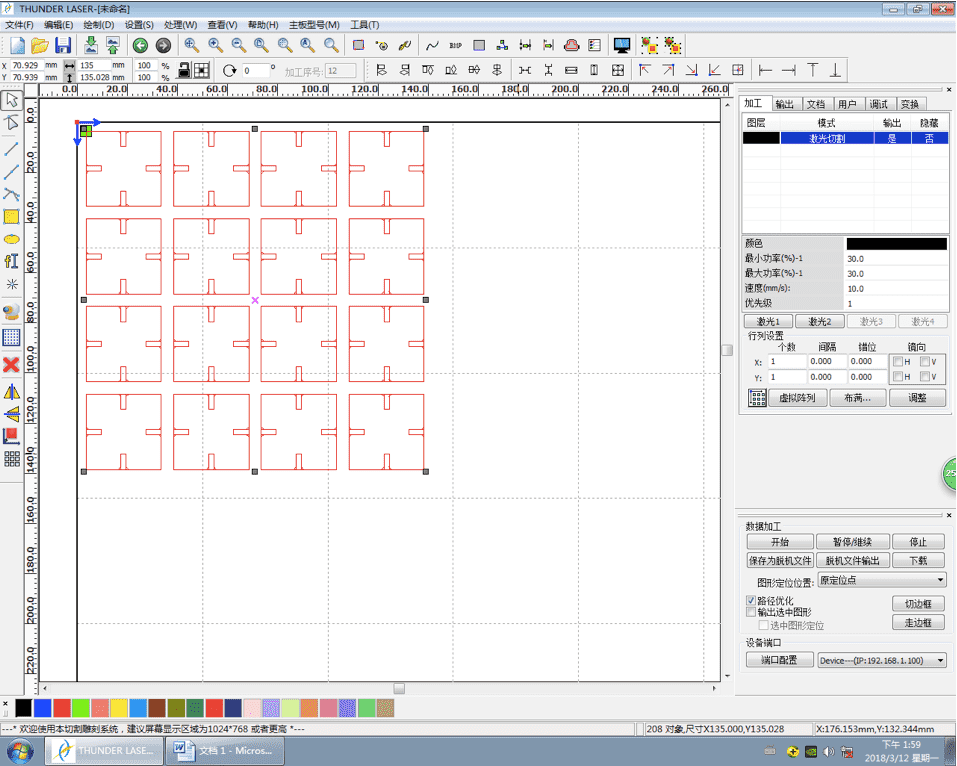
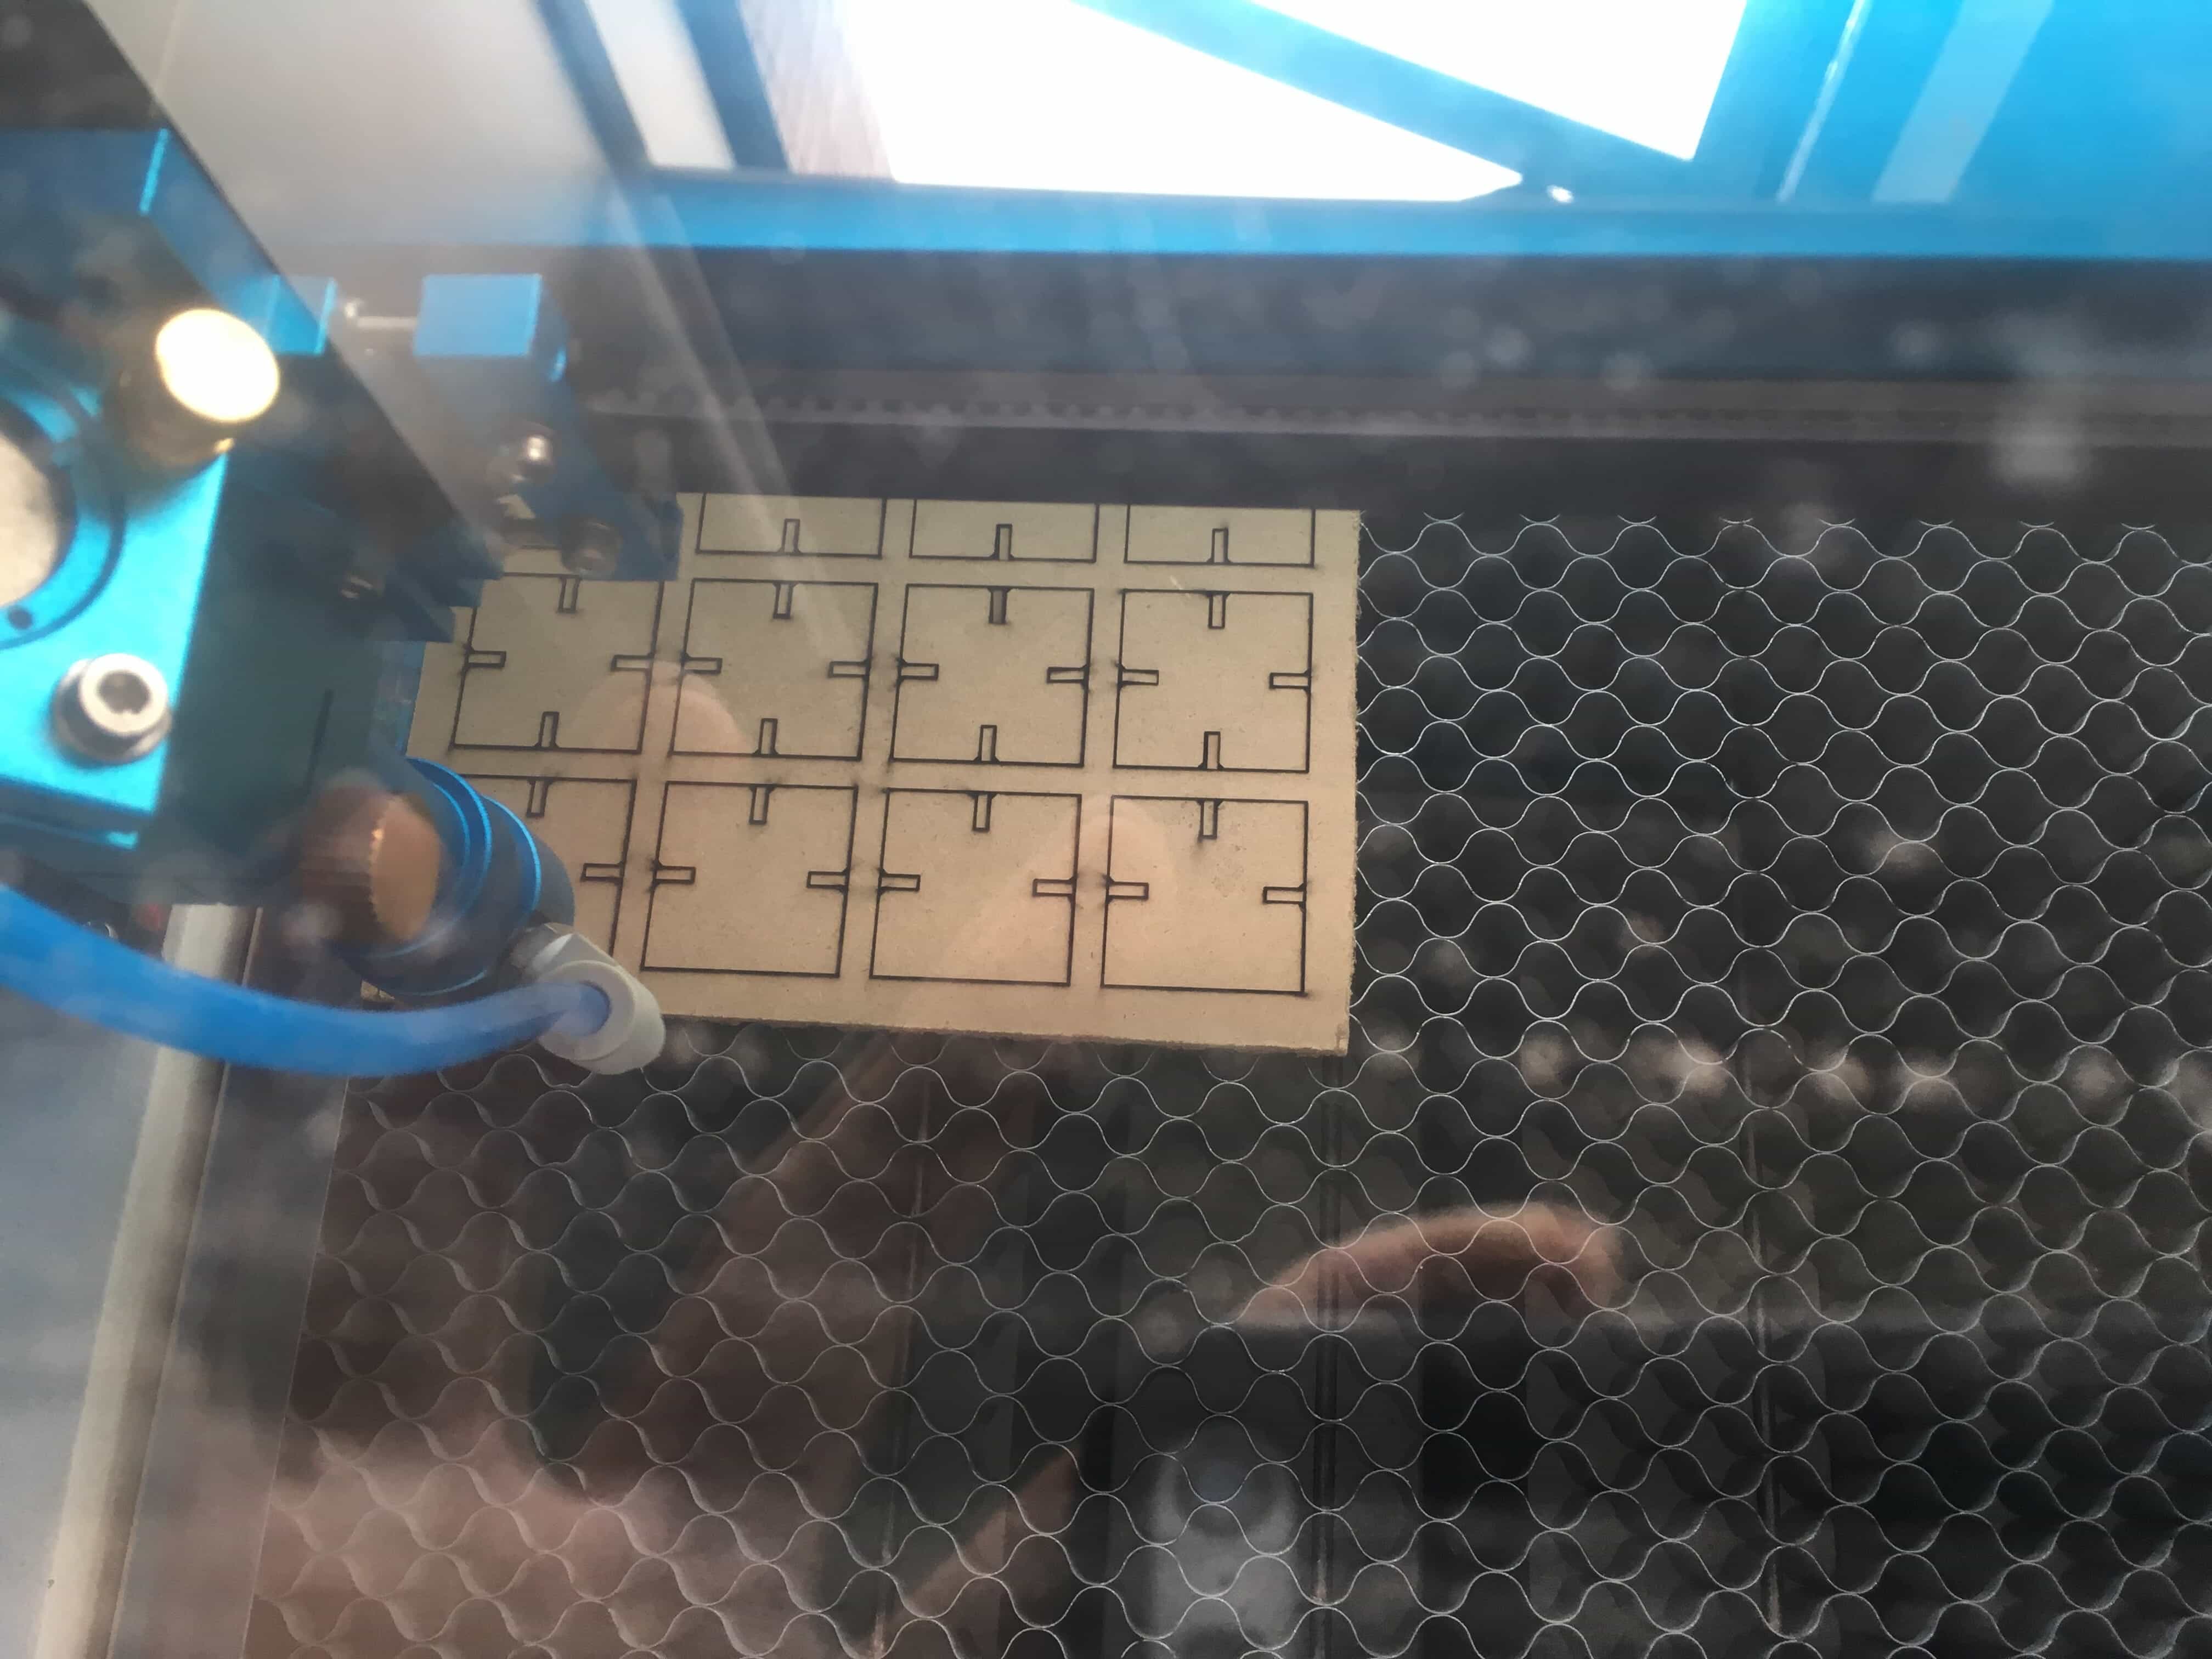
After adjusting the single board model, I resized it and duplicate it for a 4x4 array (16 parts included).
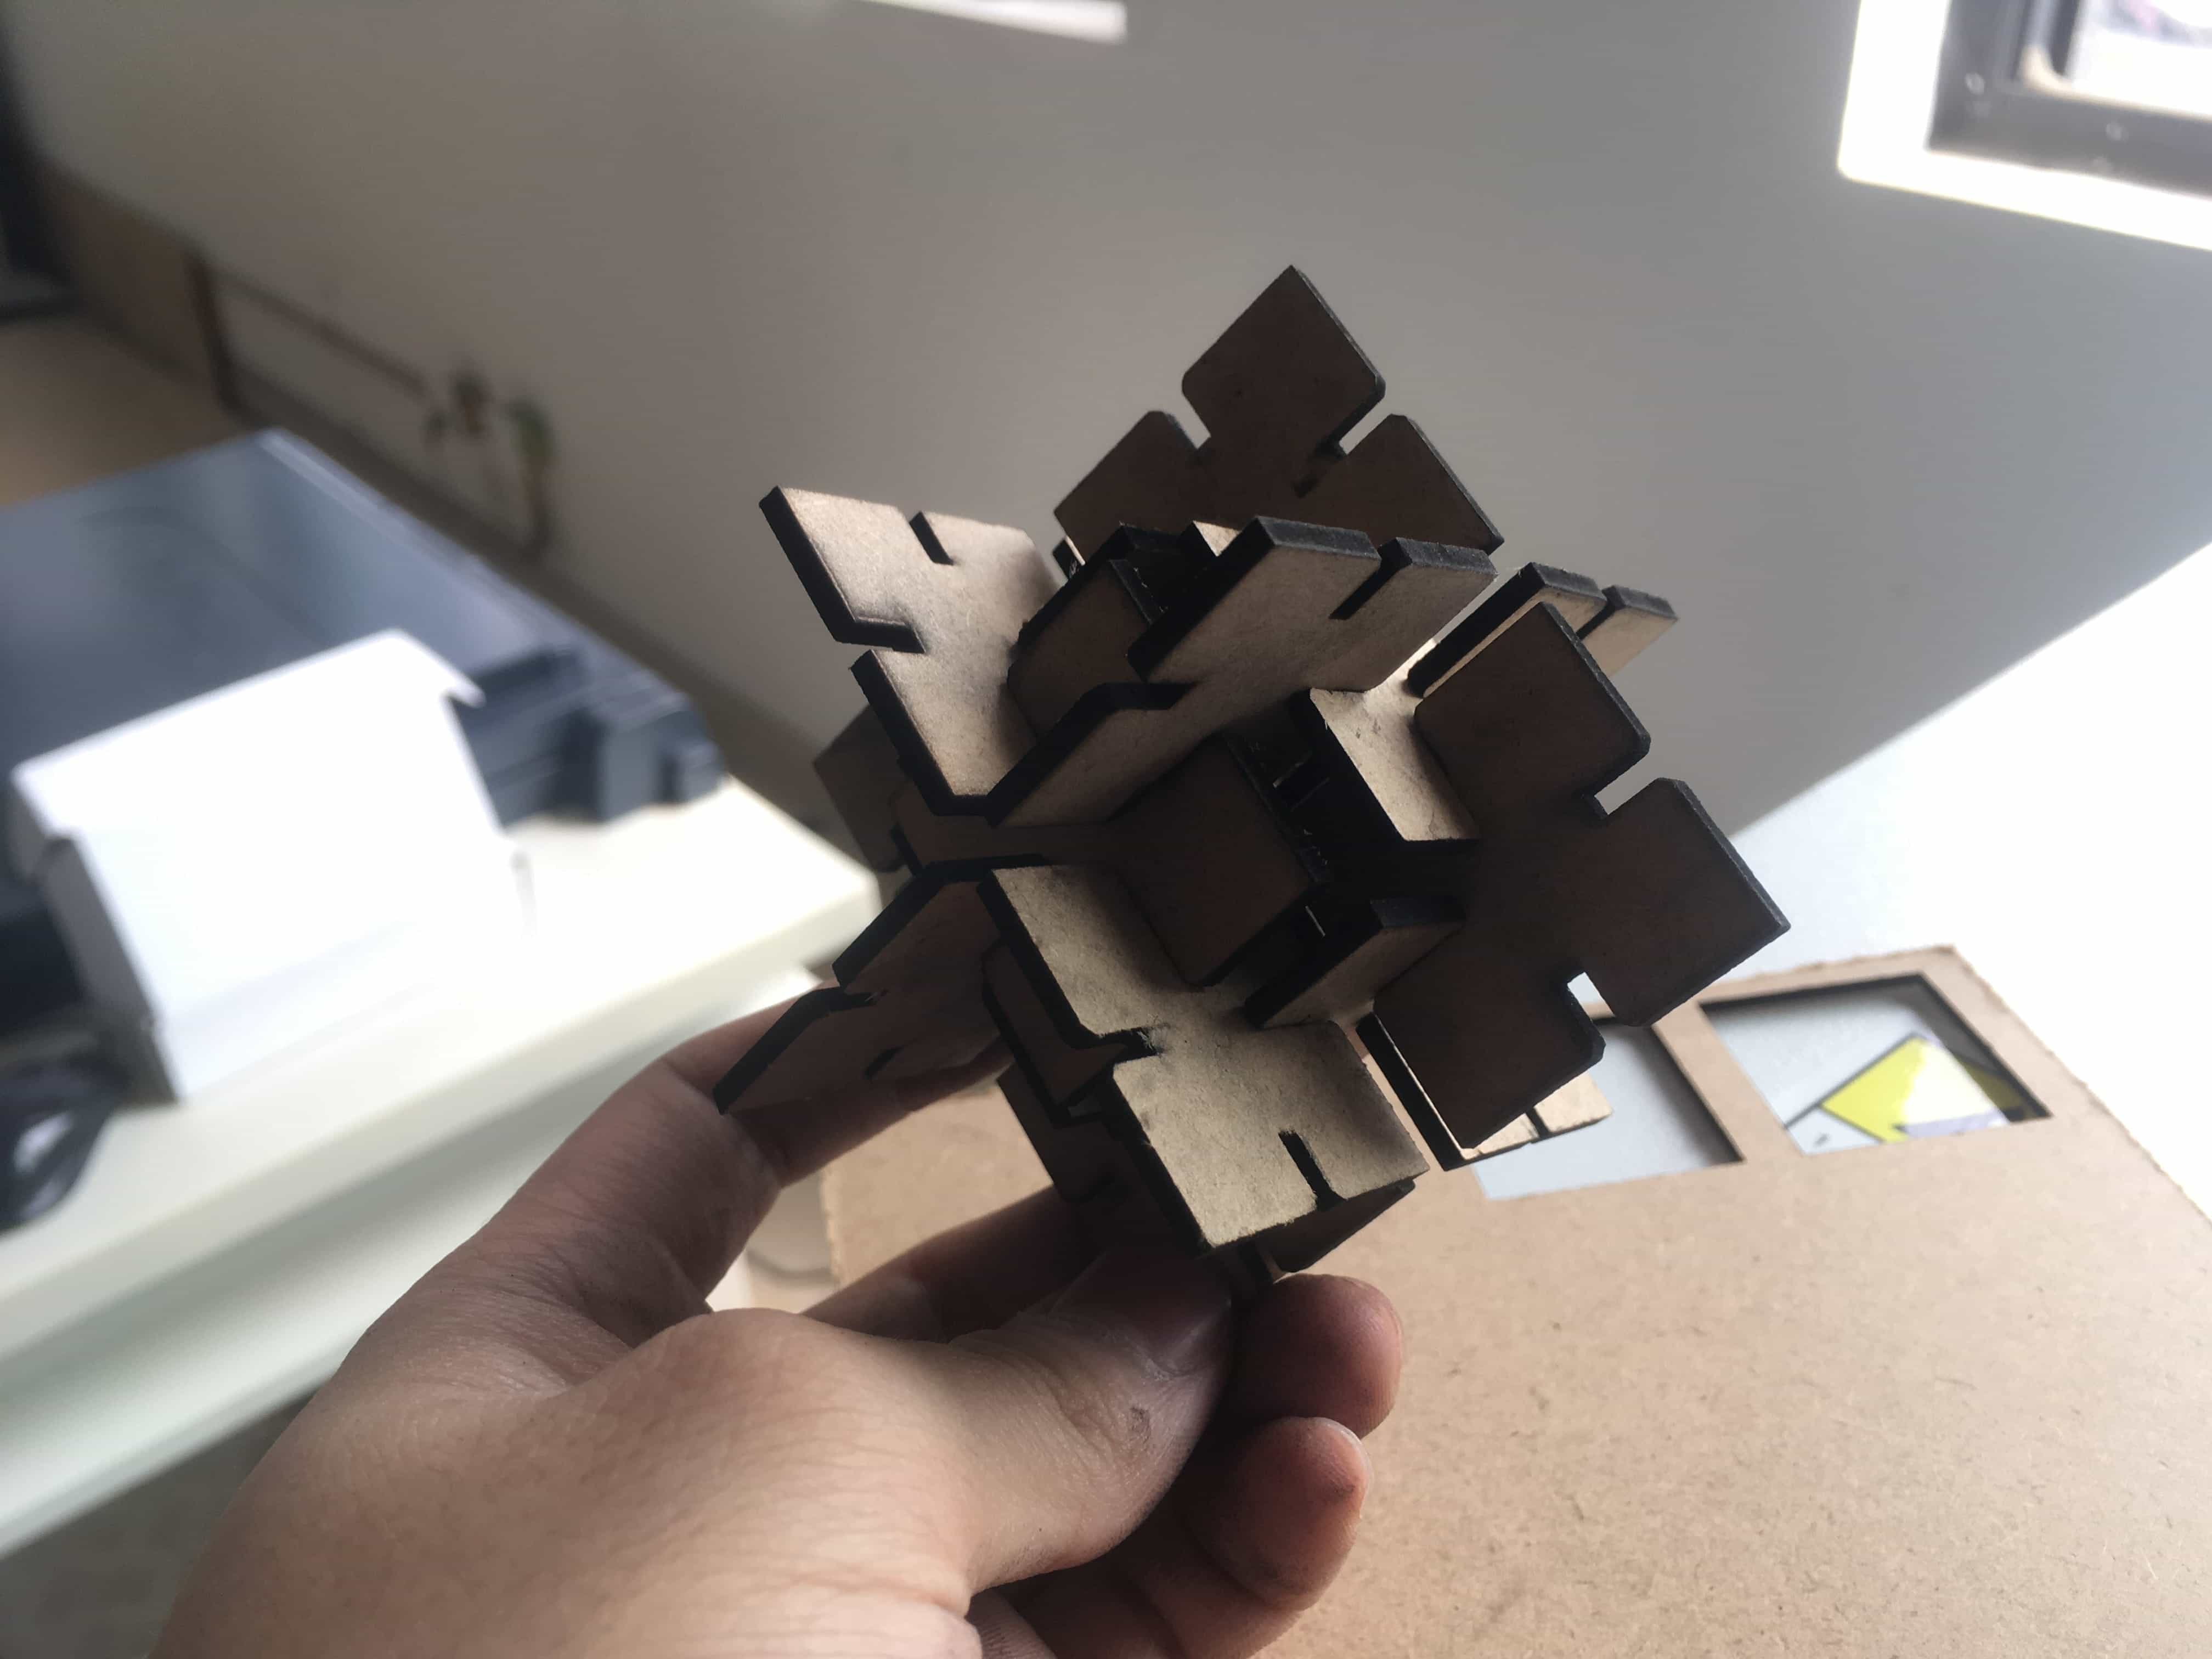
This is the finished cube assembled with these boards. It is very solid.
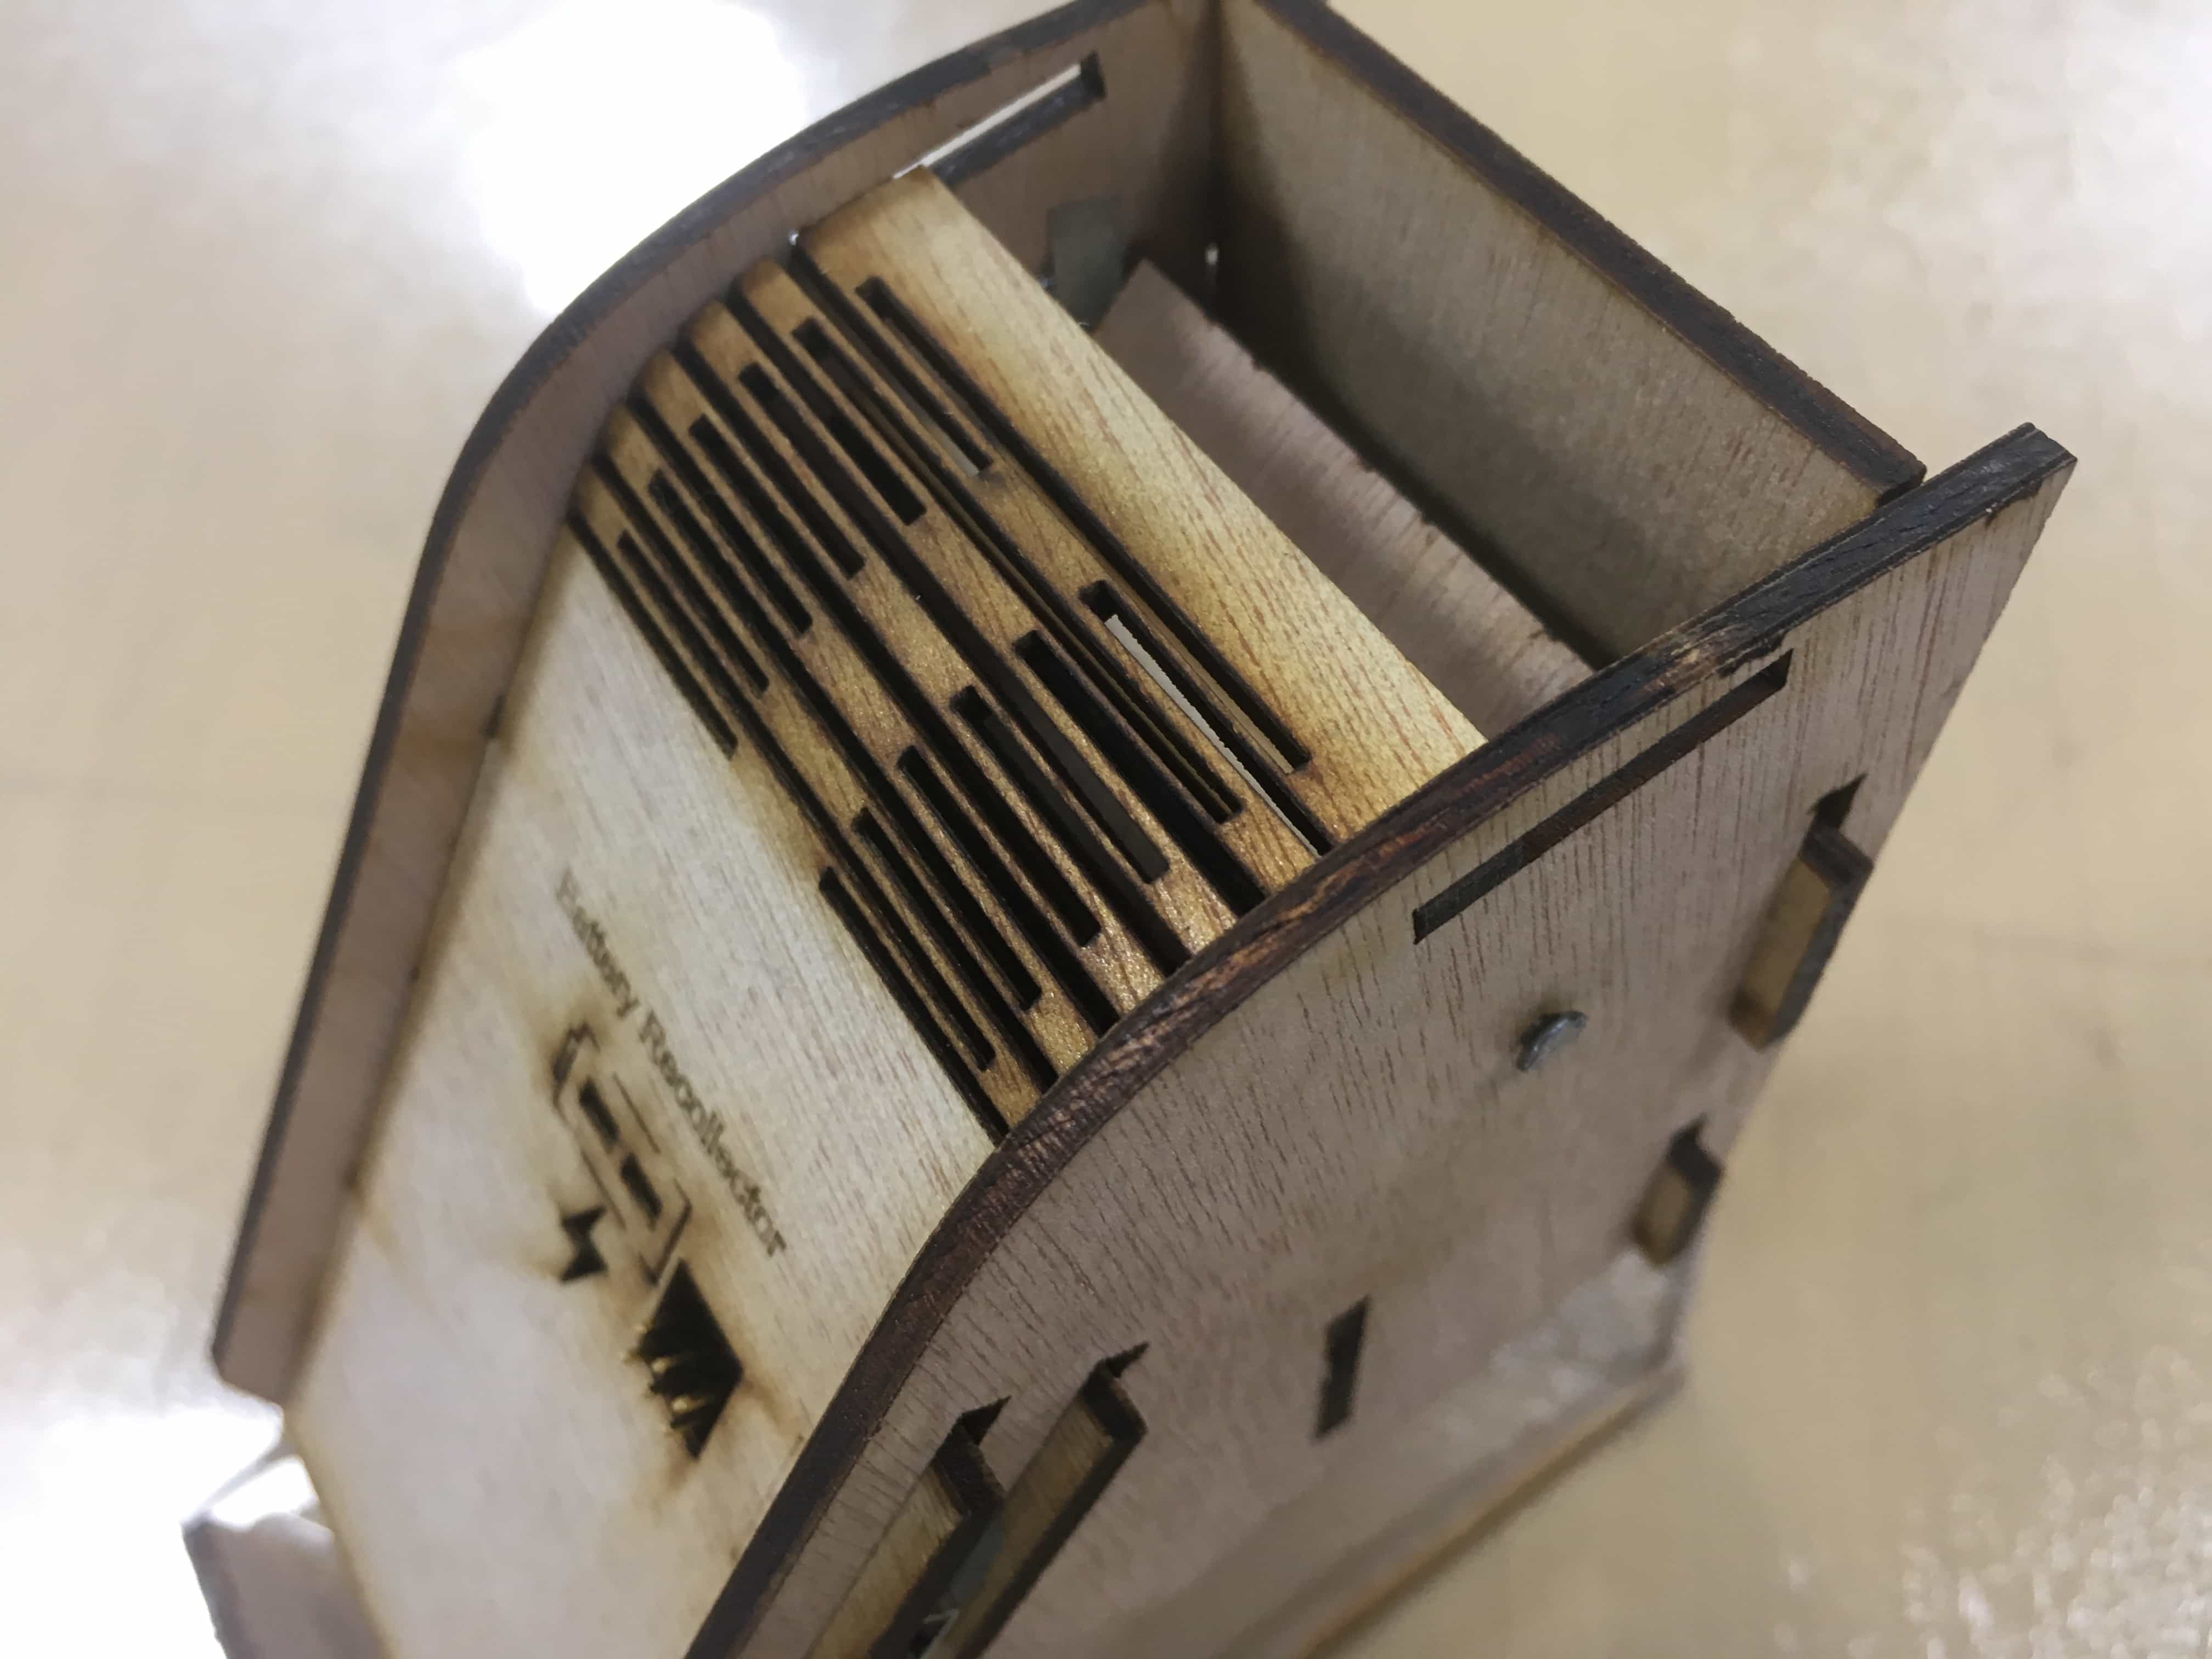
APPLICATION OF LASERCUTTING IN FINAL PROJECT
I also used lasercutting in my final project extensively.
VINYL CUTTING
For vinyl cutting, my lab had not received a vinylcutter until June 22nd, so it is a little bit late to update this part.
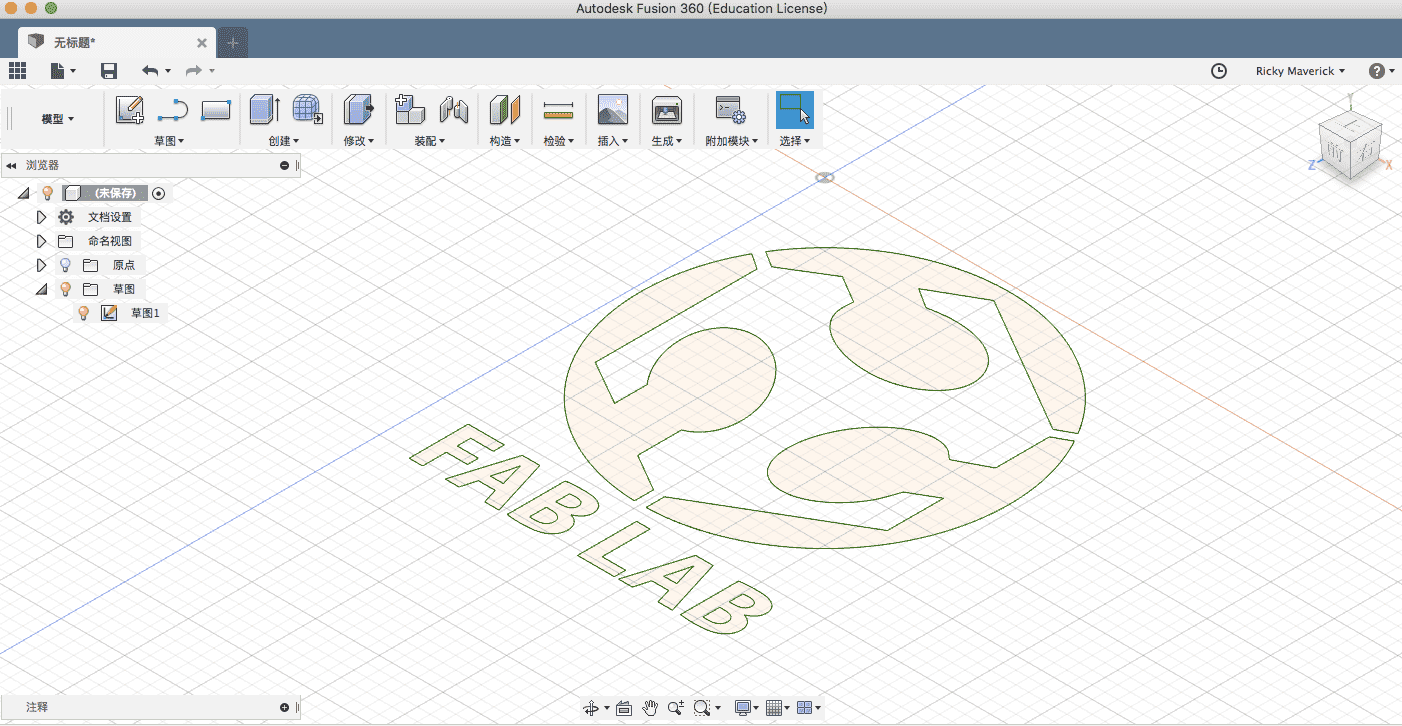
My machine is Pica CT630. I am using a software called Wentai Cutting to load the dxf files and generate gcode and then send them to the machine. The file is a Fab Lab logo. The original image is a svg file with color, while the code generate only accepts dxf rather than svg because of the color issue. So I had to use Fusion 360 to import the svg file, edit it, and then export the skematic as a dxf file.
HERE TO DOWNLOAD THE ORIGINAL SVG AND EXPORTED DXF
About the vinylcutter
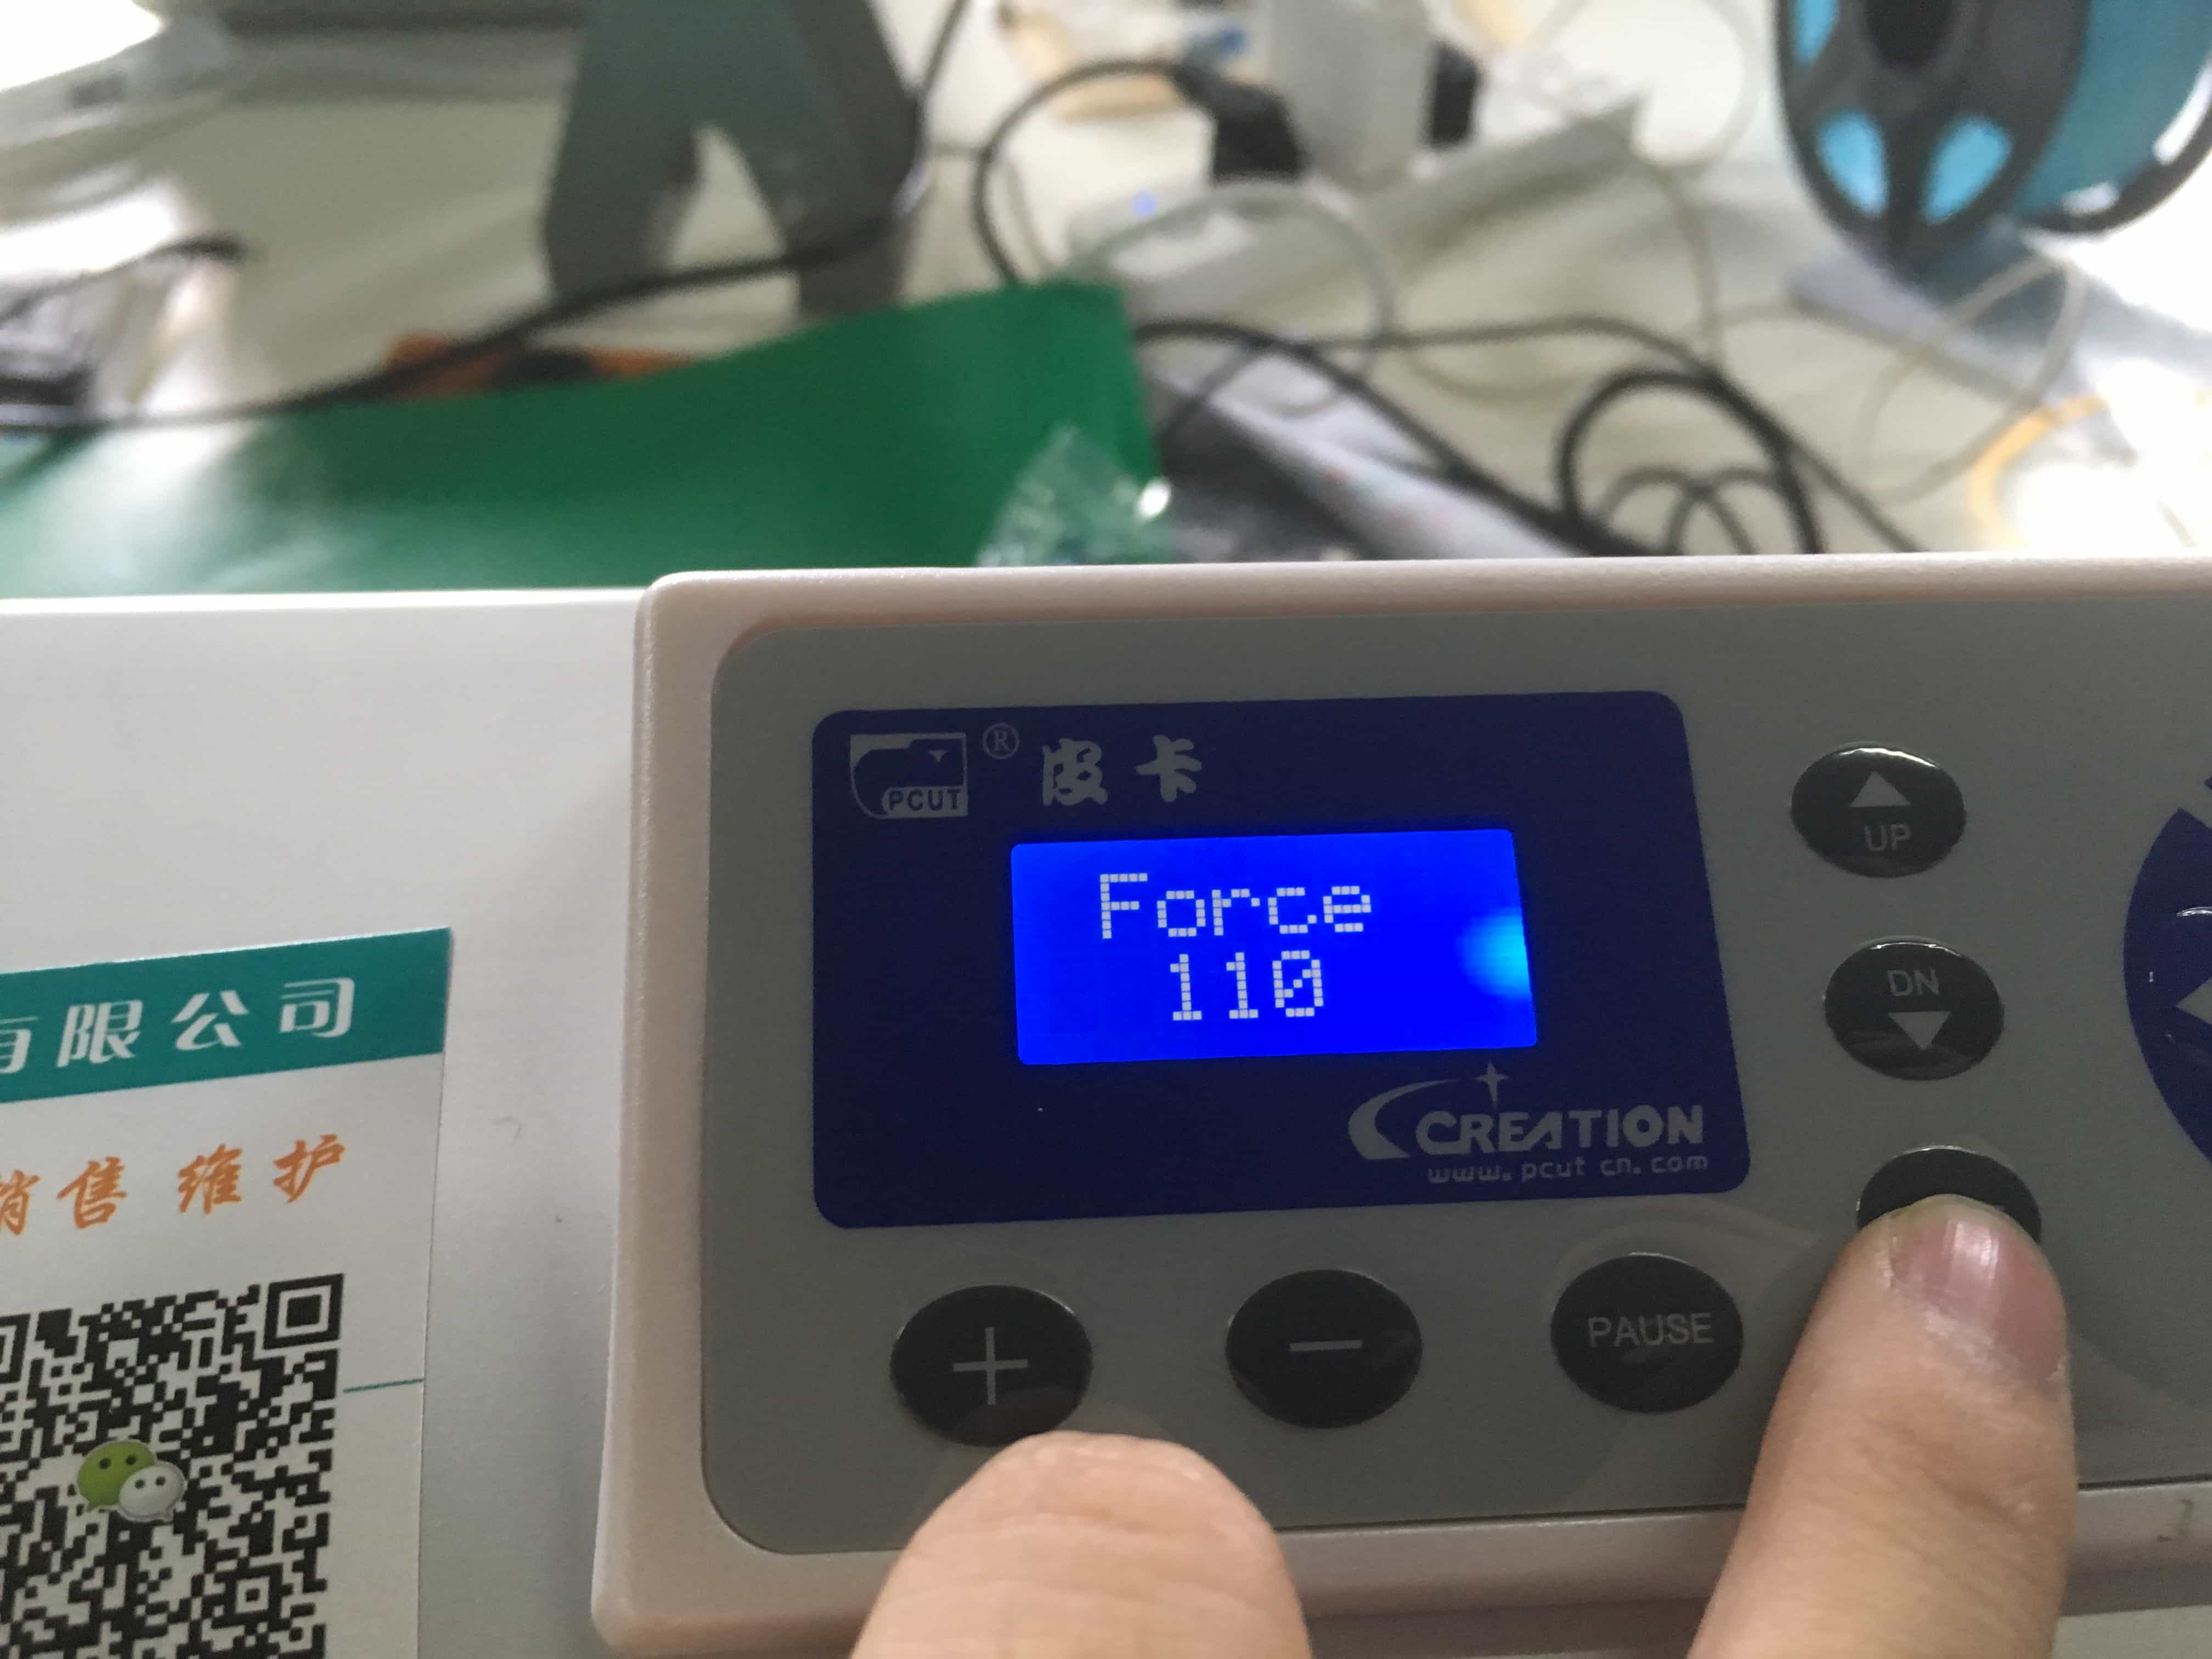
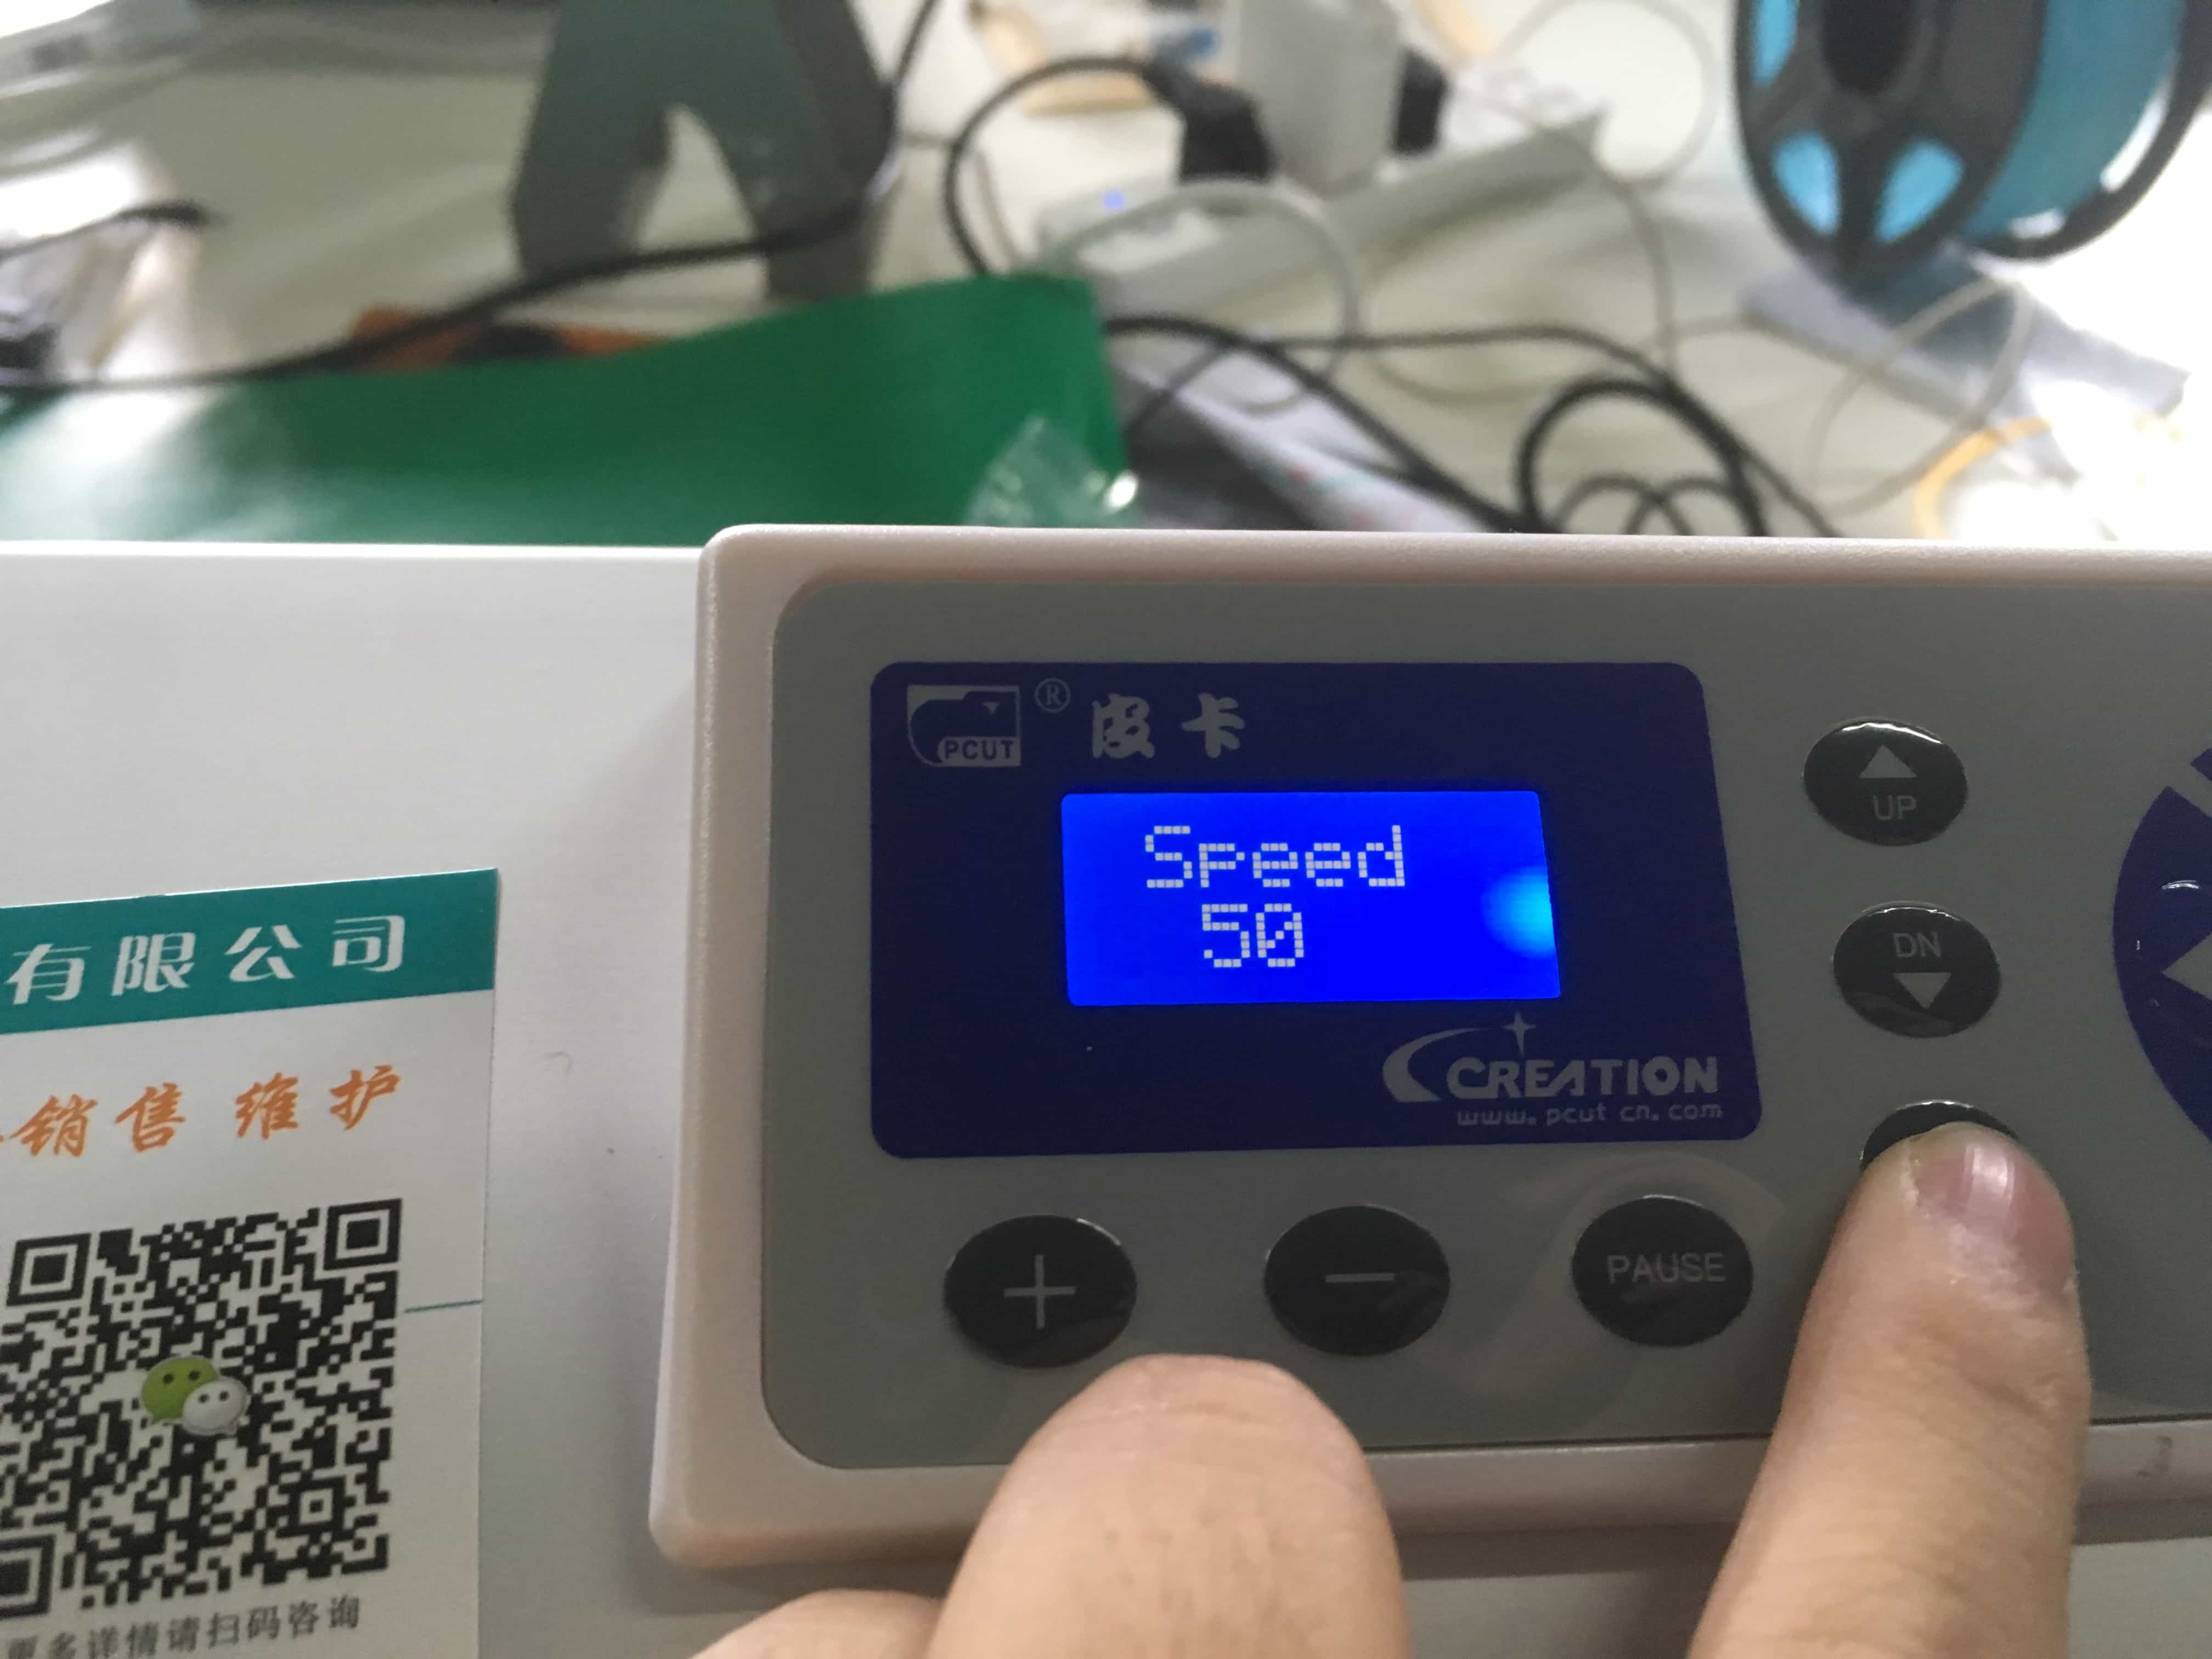
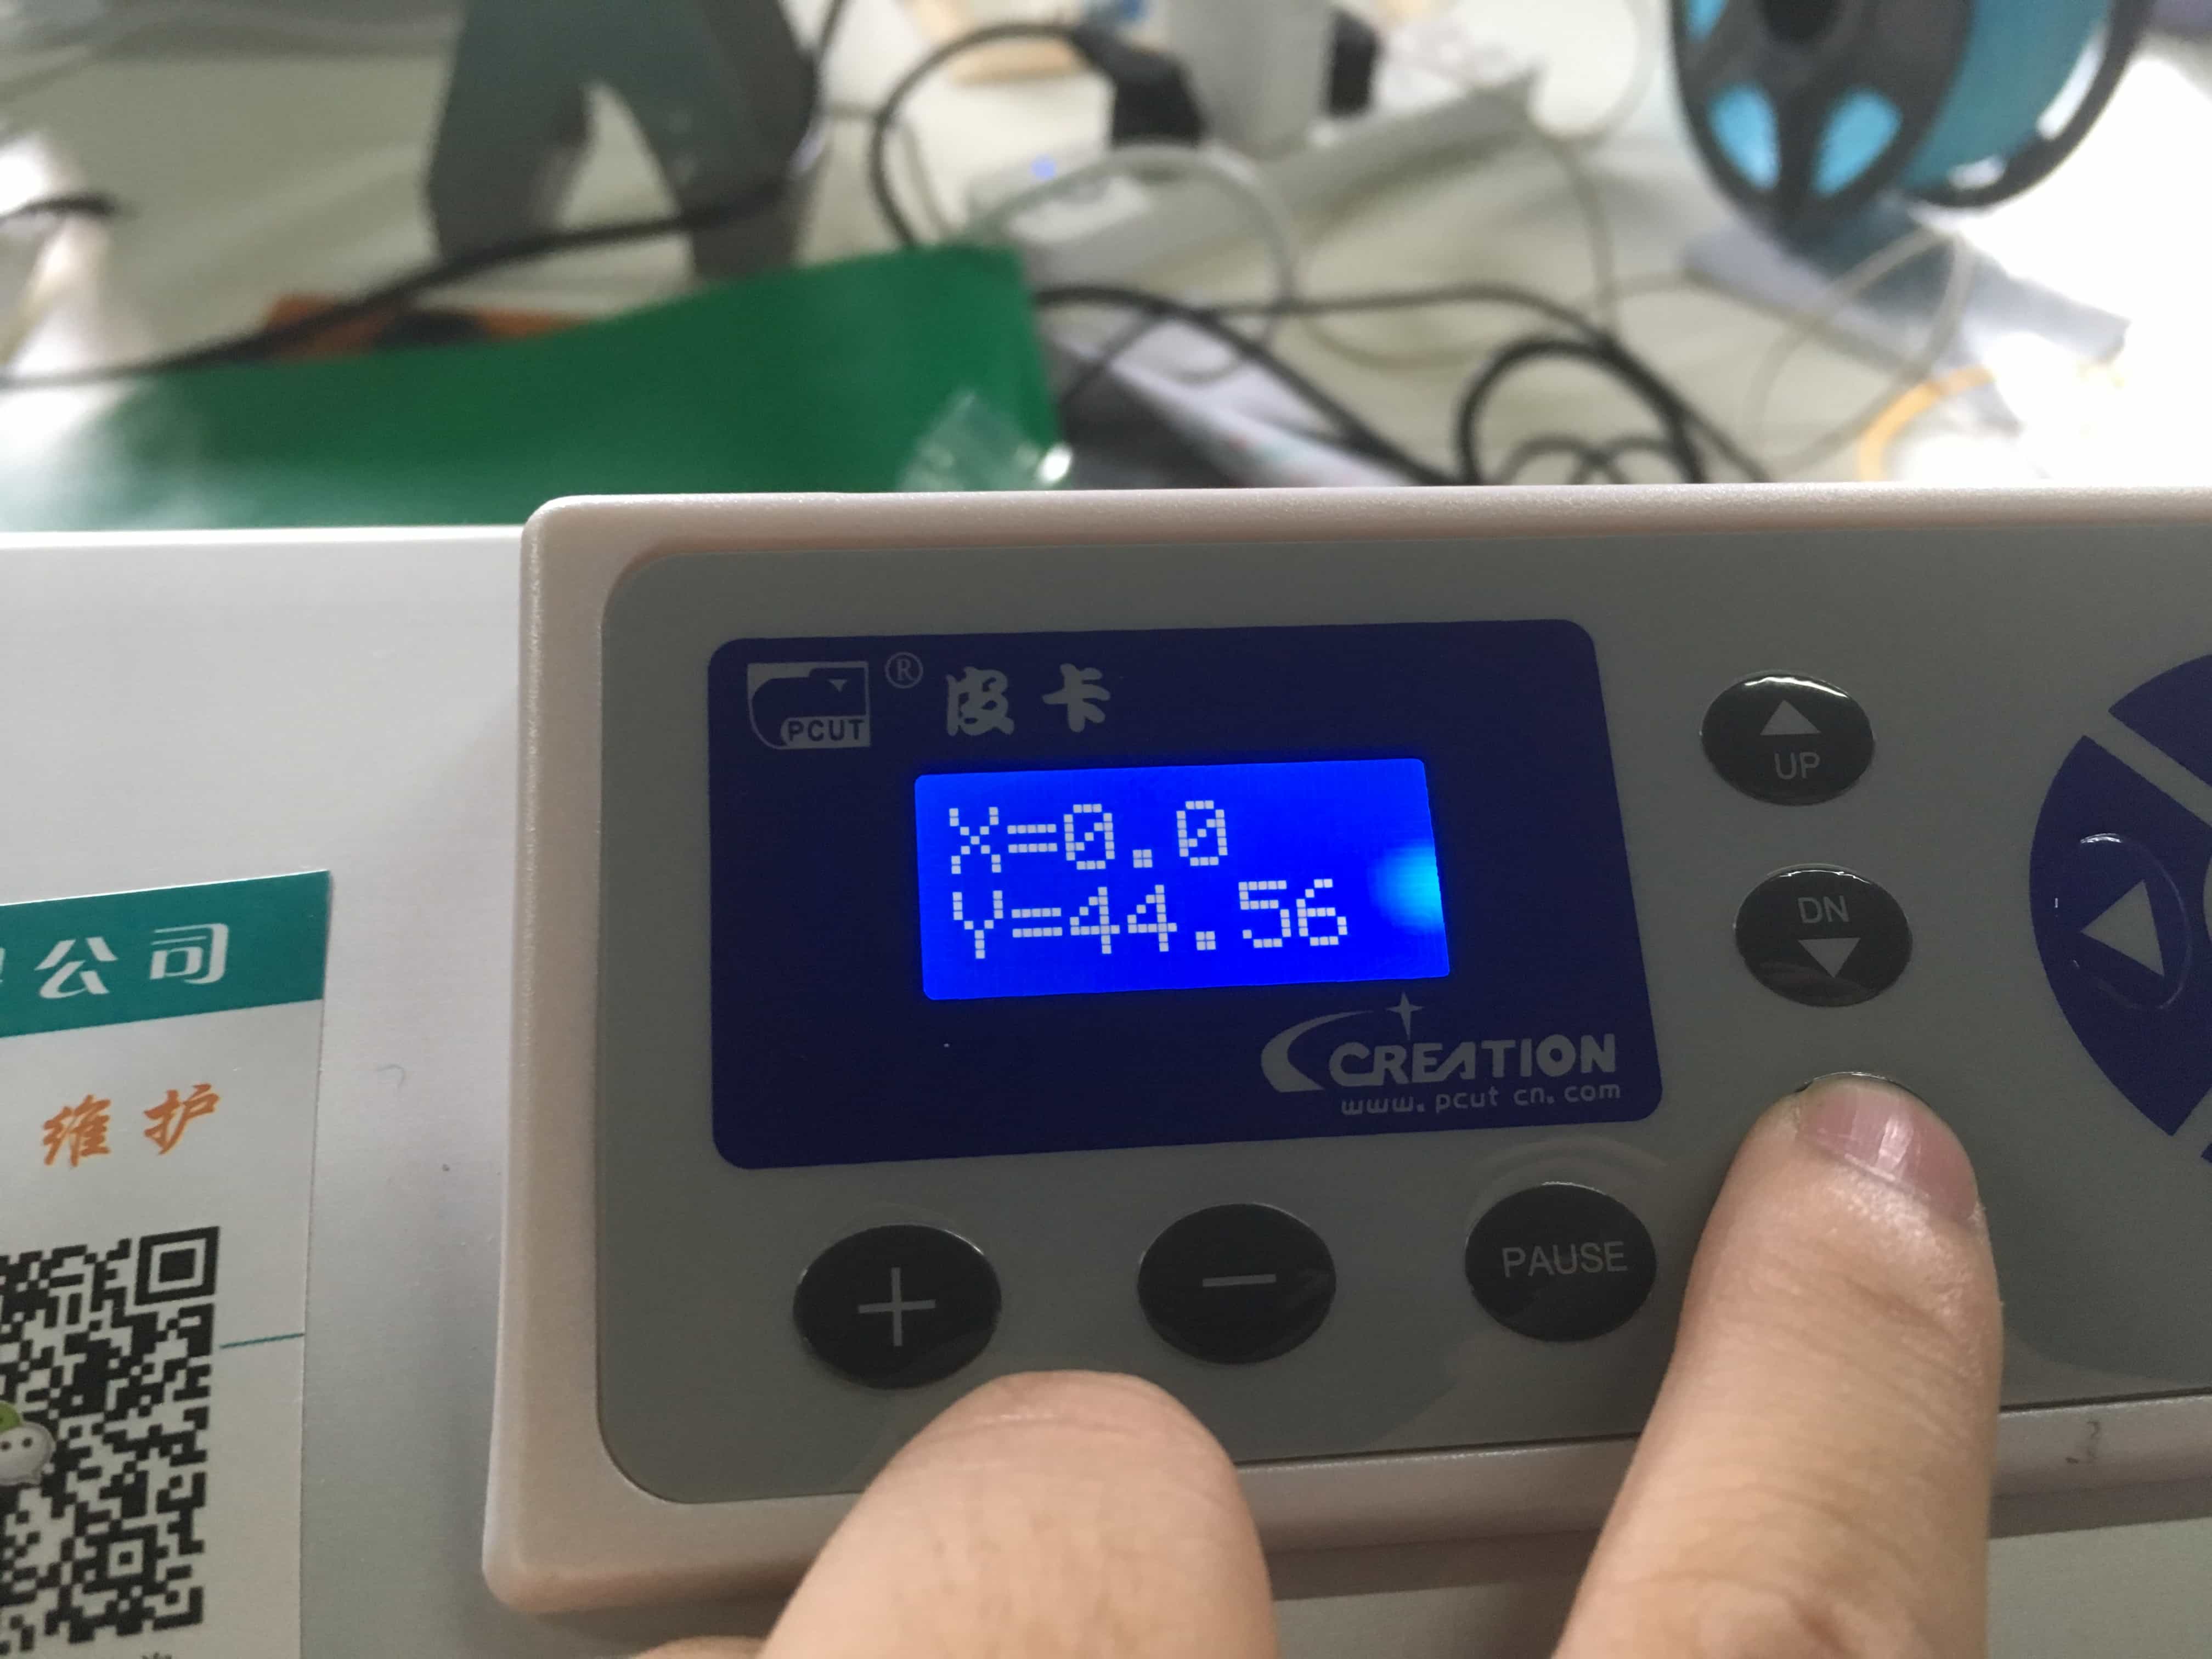
this is the control panel. Press "model" so that I can change the force, speed, and XY coordinate. Just like any cnc machines, a vinylcutter needs to be set an origin before starting to cut something. Here, I set the cutting speed to 50 and force to 110.
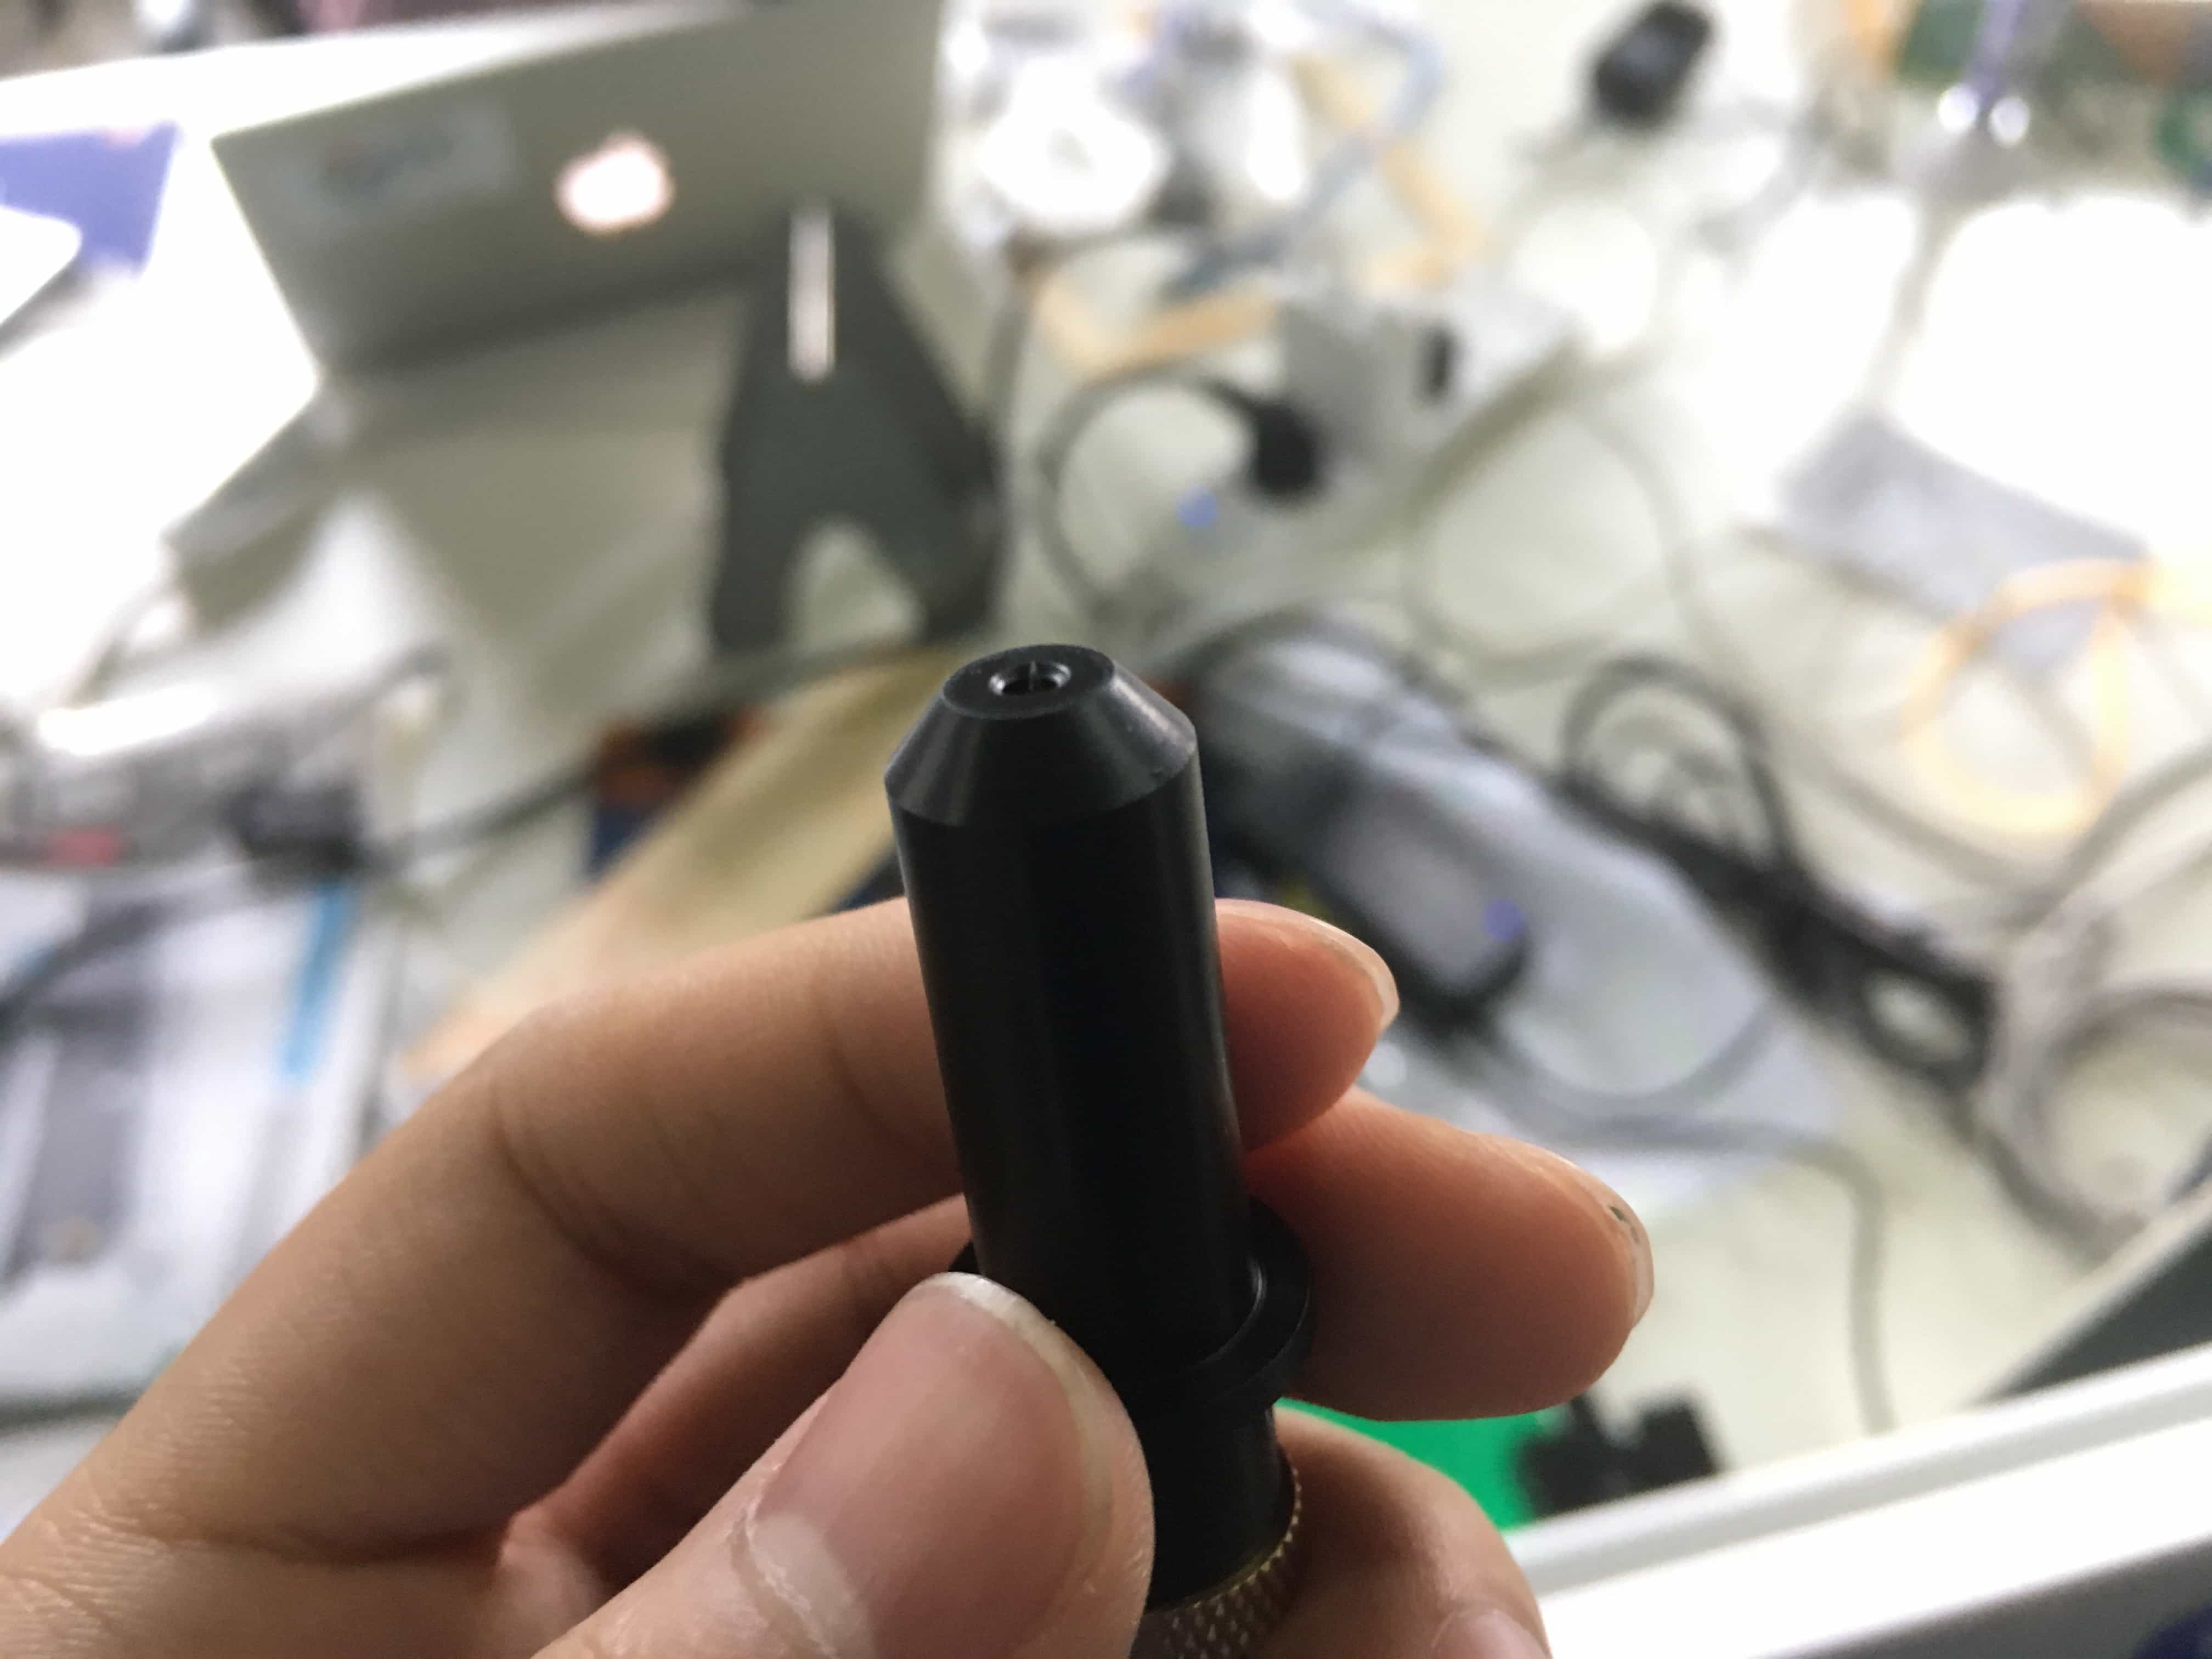
Tools: At first, some of my cutting was not right because some routes were destroyed when the knife is up. So I went back to search the user instruction online and found out that the part of knife outside the holder was too long that the holder cannot guarantee the vinyl to be flat when cutting. So I followed the instruction and reset the parameters to 20 in speed and 120 in force. And then it went right.
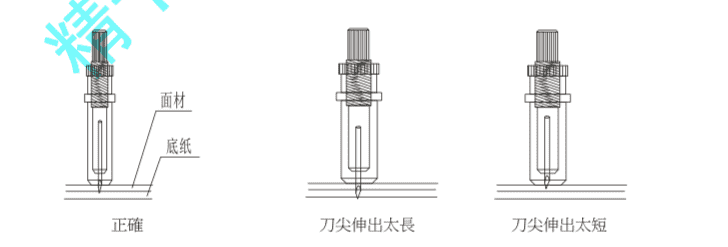
The Chinese words means: the left one is the right depth; the knife in the middle one is too kong that is would cut through the material; the knife in the picture on the right is too shallow that it could not cut through the first layer––which means you cannot separate the image from the material easily.
Before I adjust the knife you can see it is so rough.
After I adjust the knife you can see there is no turnup.
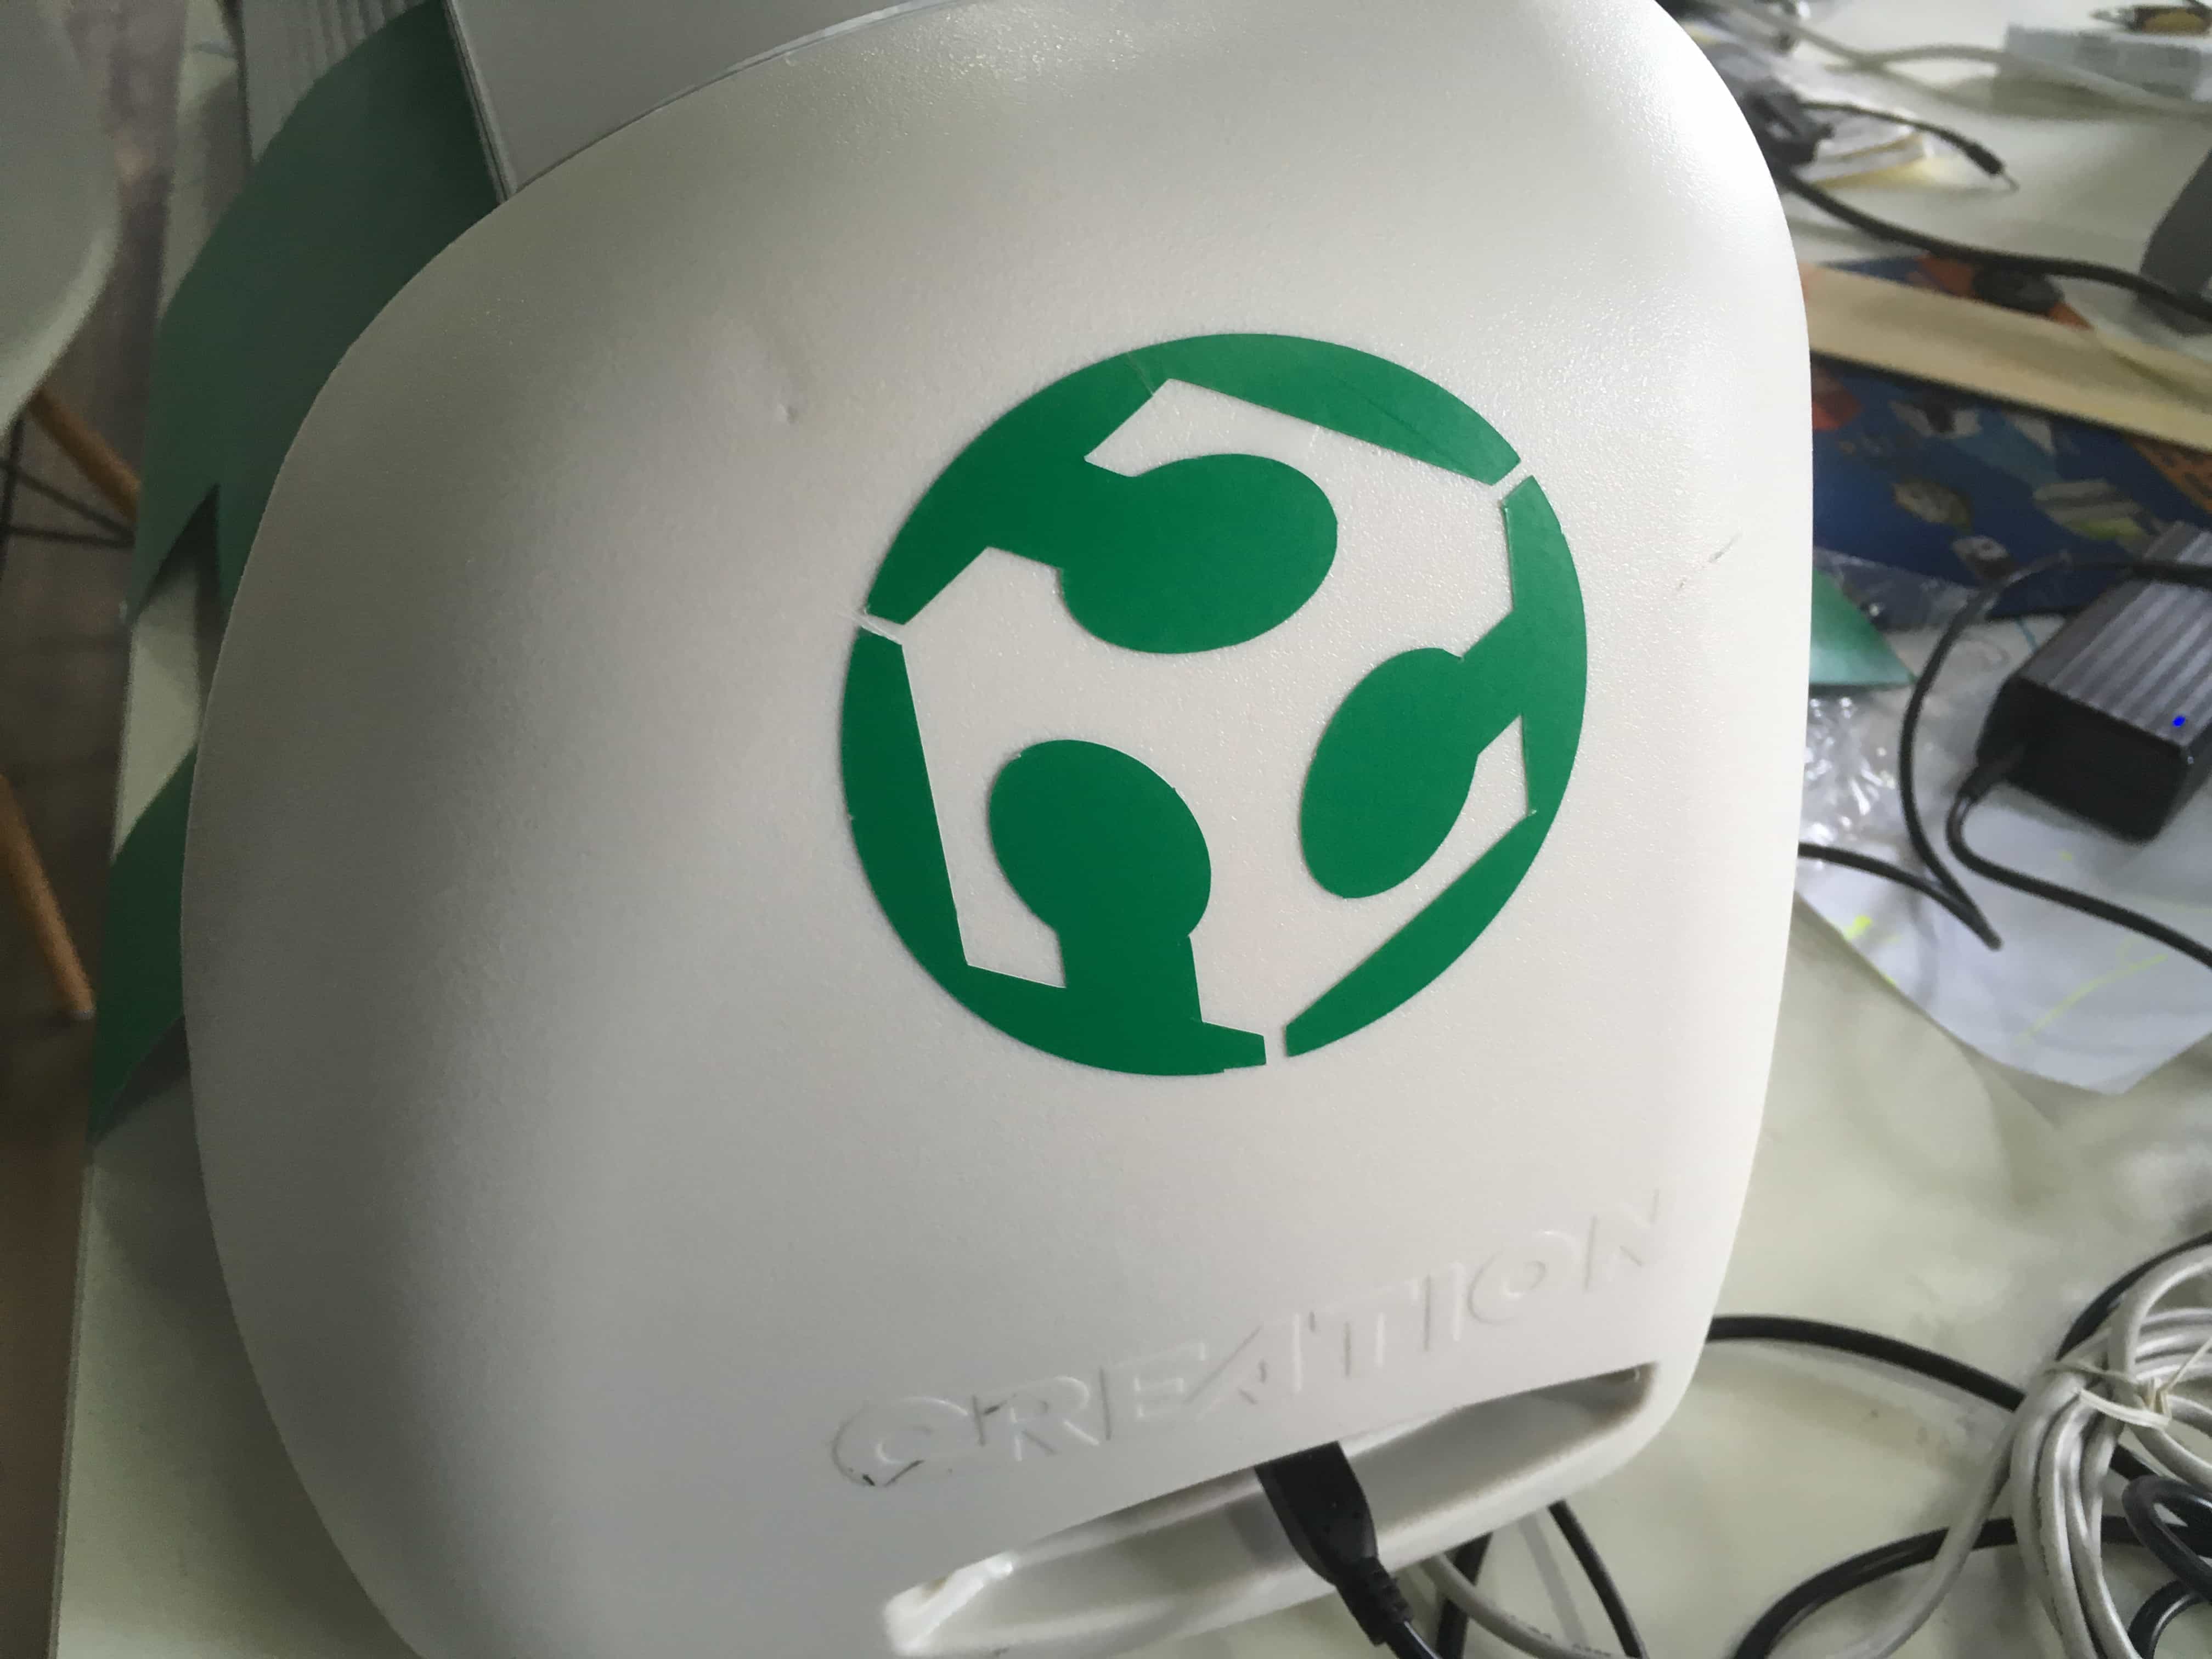
I made a FAB LAB logo sticker and stuck it on the vinyl cutter.
