interface and application programming
this week assignement are:
- Interpret and implement design and programming protocols to create a Graphic User Interface (GUI) .
Arduino & processing?
This week i choose to use PROCESSING for my weekly project. it was the first time i used it. the language is close to Arduino (C language) so a good point for starting.
 After download it and istall it, i open it. and it's look really similar to the ARDUINO idea
the software is compose of two part like in the Arduino IDE
After download it and istall it, i open it. and it's look really similar to the ARDUINO idea
the software is compose of two part like in the Arduino IDE
-
a setup and a "loop" in processing called draw
- PROCESSING file (processingfile.PDE)
- Ino file (RIGHT CLICK - SAVE AS)
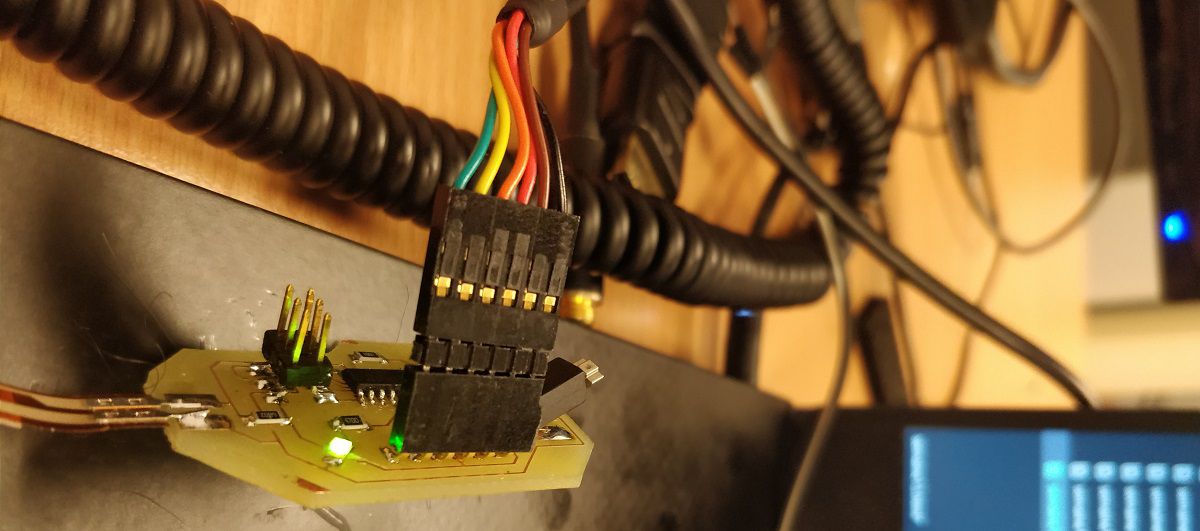
 So this week i try to understand how work Processing and make it work with my input board.
so my imput board have already a code that i can use. it's already talking to my COM10 serial Port of my computer. since is already working. i have to plug my ftdi cable and start to work on the Processing code.
Time to code
 So my project on processing is to change the color when a flex is sense, so
for that we have to start by being able to read the good COM port of the computer so for that we have to import the serial value to processing:
So my project on processing is to change the color when a flex is sense, so
for that we have to start by being able to read the good COM port of the computer so for that we have to import the serial value to processing:
import processing.serial.*;After that we have to tell him what the name of the serial and where we will keep track of the value from the serial.
Serial myPort; // Create object from Serial class int val; // Data received from the serial port
now we are ready for the setup part:
 now that you declare the serial, and were keep track of the value, you'll have to now wich port com to listen, and wich boadrate. the boadrate is the same as the arduino code, in our case 9600
yPort = new Serial(this,Serial.list()[0], 9600);in the setup you have to now in pixel, the size of the window you want to create :
size(500, 500);then you have to tell the framerate of the "draw loop" and finally you can work on the Draw part. where everything gonna work.
 the draw part is composed in multiple part.
the first thing is to check if we are receiving some data from the serial port
the draw part is composed in multiple part.
the first thing is to check if we are receiving some data from the serial port
if (0 < myPort.available()) {if we are receiving some data we have to take it track into "val" and to write it down for us.
val = myPort.read(); // read it and save it in val println(val); }when it's good is time to change the color of the 500X500px window we want to create. and i want it to be pink!
background(255,30,120);after that we have to tell, what to do when the value change. if the value is more than 49 so we have to change the color of the rectangle to Black
if (val >49) { // If the serial value is bigger that 49 then.., fill(0);if the value is less than 49, then change the color to Yellow
else { // If the serial value is not less than 49, }so the only thing we have to do is to tell him what is the size of the rectangle in the window we want to change the value. for that it's pretty simple. We just have to declare a new rectangle. the two first value is the position of the new rectangle in the windows, and the two last value is the size of the rectangle.
rect(125, 125, 250, 250);Et VOILAA!
Improvement & learning
it is all the time i have to do something this week, but the objectif was to make something like the Owl here i didn't had the time to push trough it more this week unfortunaly. but i learned a lot about the Processing code!
--
file of the week.
here you'll find the file of the week
For downloading
right click and save as