Week6: electronics design
Group assignment:
use the test equipment in your lab to observe the operation of a microcontroller circuit board
Individual assignment: redraw the echo hello-world board, add (at least) a button and LED (with current-limiting resistor) check the design rules,
make it, and test it
Eagle
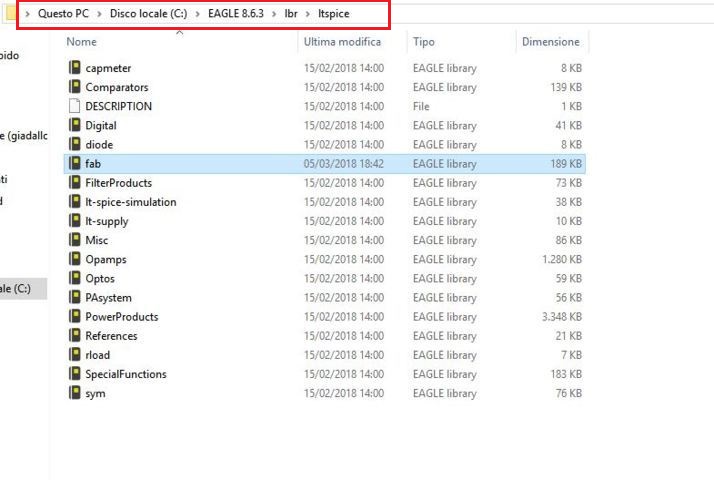
This week I had to study a little about electronics, so I searched some tutorials about circuits and electronic's elements. Our instructor showed us how to use Eagle and how to create traces, but then we had to practice alone. Then I installed eagle and searched tutorial to understand better how to use the program. I downloaded the library containing the elements of the circuit (which are our lab). Initially I found it difficult to import it because I had missed a step: I didn't paste the folder in this location.
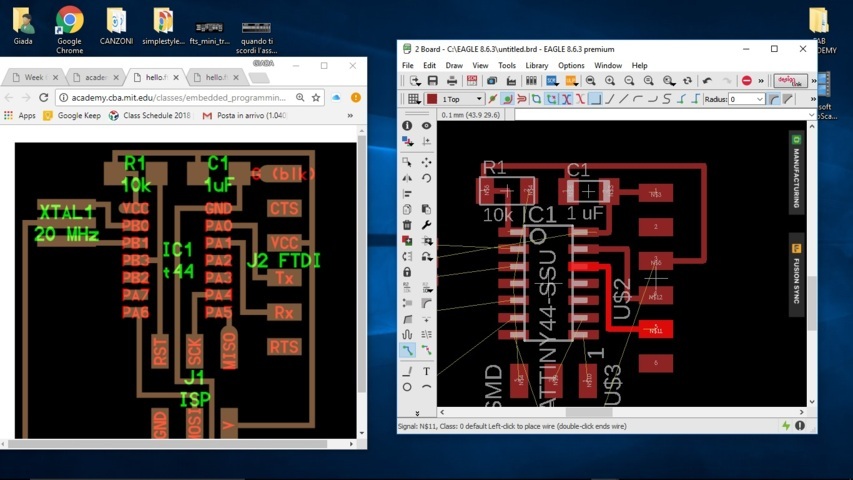
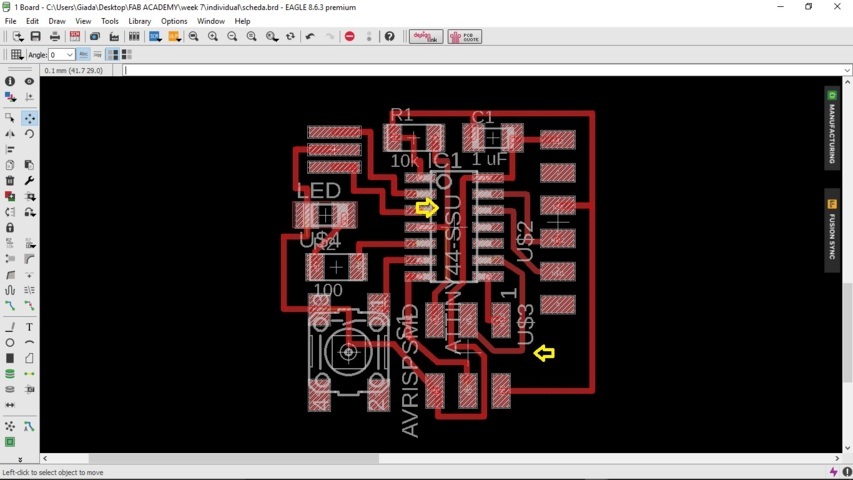
After I had correctly entered the library I started to create the connections of the circuit, which pins of the microcontroller must be connected to the various elements of the board. Since I've just started to discover the world of electronics, I've followed the connections from the Neil's board. After connecting the elements among them I added a button (with the help of this datasheet), a red led and an appropriate resistor (looking at Silvia Palazzi's documentation I realized that a resistance of 10K was fine, but if you nedd help to calculate the right resistor lets see this page.).

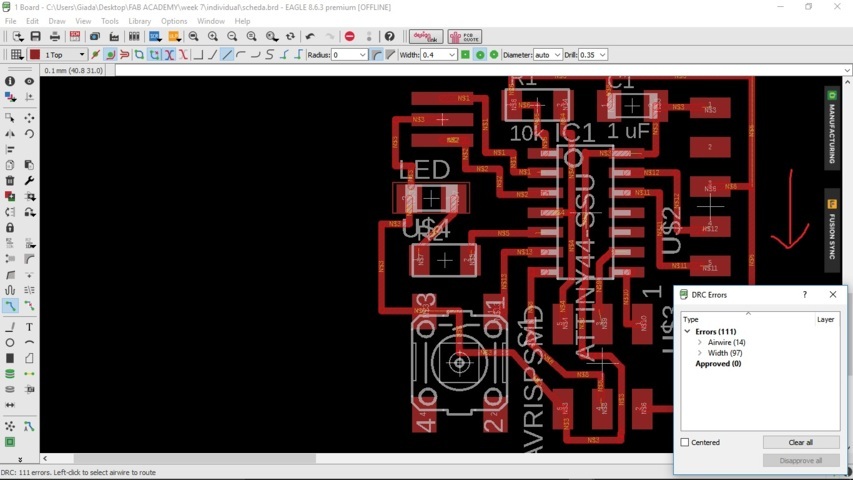
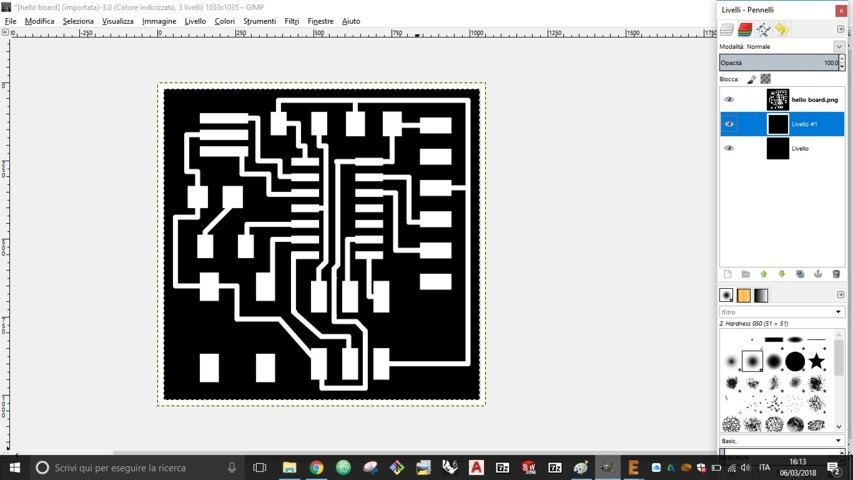
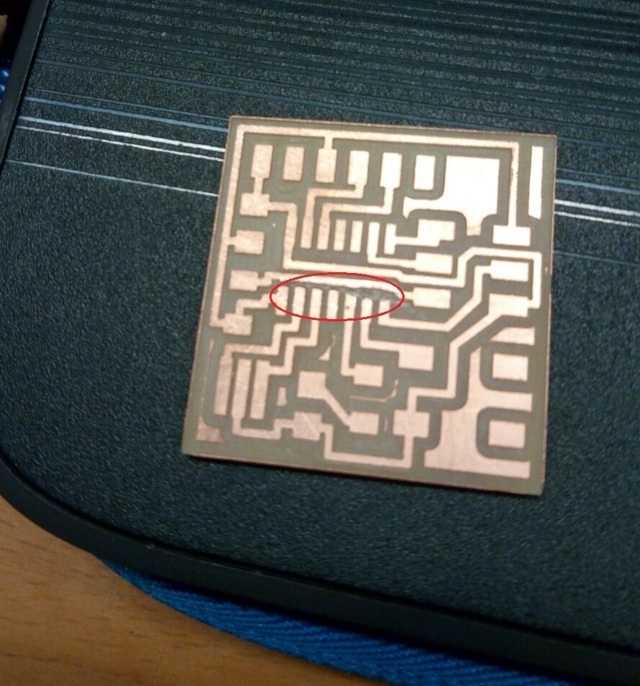
At this point I went on board and created the traces
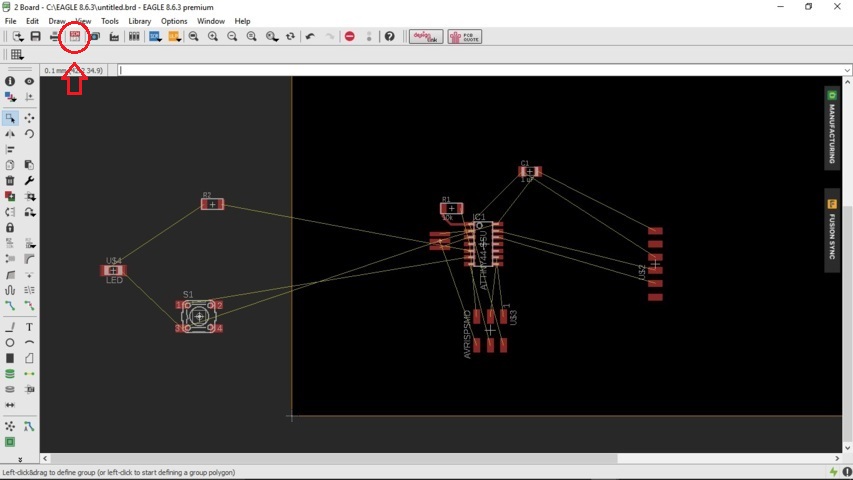
The board should connect all the parts in the least possible space, so to get an idea of how to do it I copied the traces.
looking at the button I saw that it was big enough to could insert the track under him and take up less space. I checked for any errors and I read what it was in their description. Honestly I underestimated them and I have not investigated, thinking that the tracks went well the same. But to a deeper analysis they mean this:
Width: Minimum width violation of a copper object. Defined by Minimum Width in the Design Rules (Sizes tab) or,
if defined, by the track parameter Width of a referring net class. The higher one of the given values will be taken for this check.
 Also the line width of vector font texts in signal layers will be checked.

Airwires: they are usually unconnected nets.
This link could be useful in these case -> link
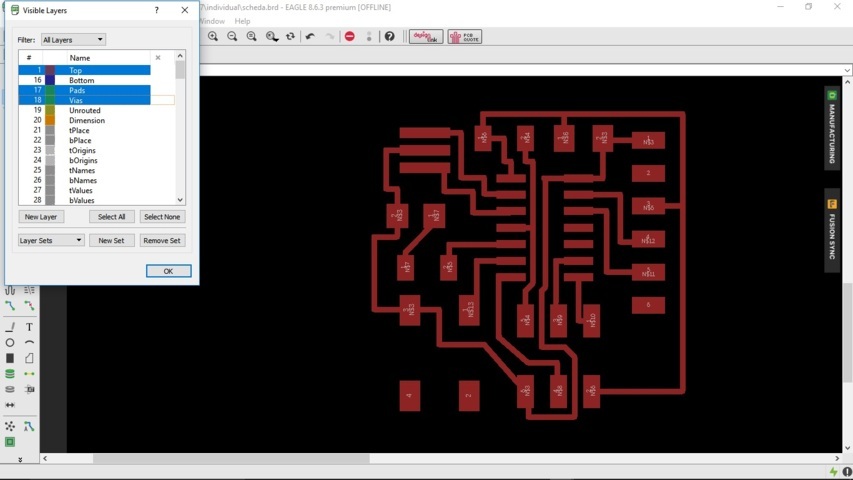
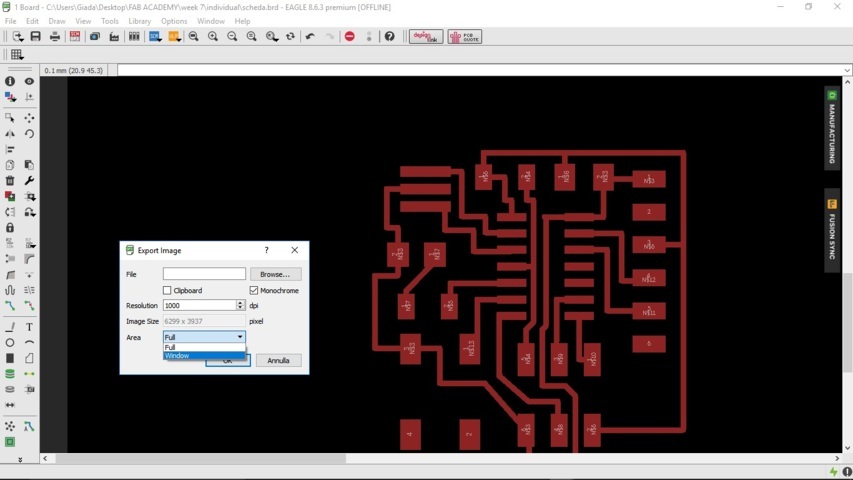
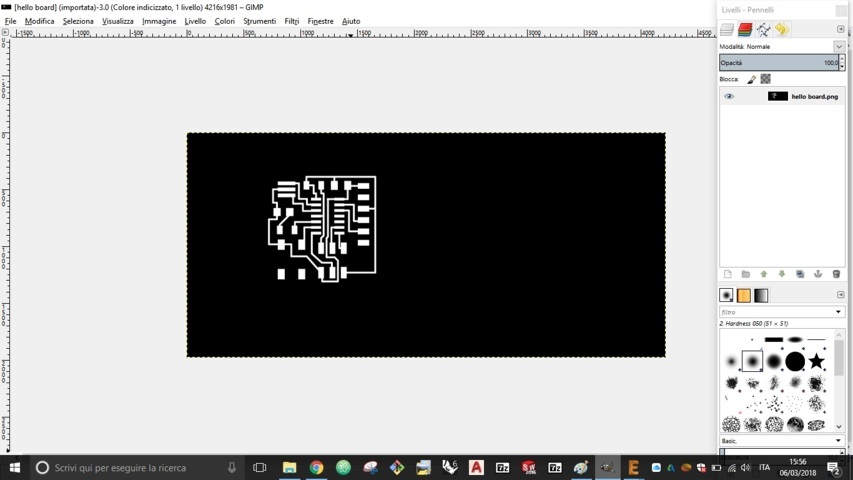
I set the image to make visible only the parts to be milled and then I exported it
Gimp
For this part I also followed the steps of Silvia Palazzi. I opened the image on Gimp 2 but the image was wrong because I exported like area-->window, so I exported again
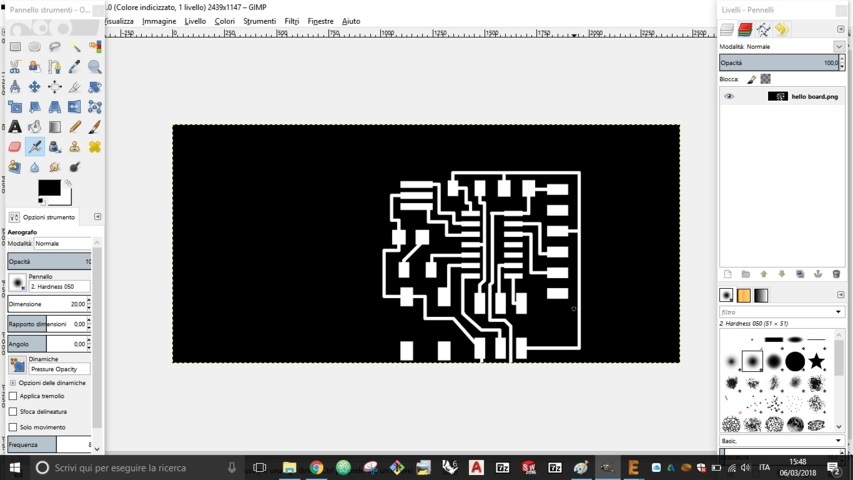
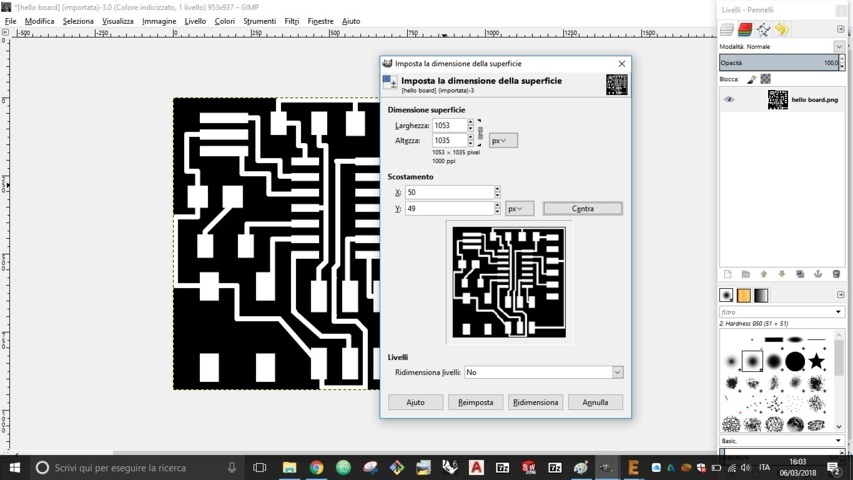
It was ok, so I did autocrop and set the canvas size
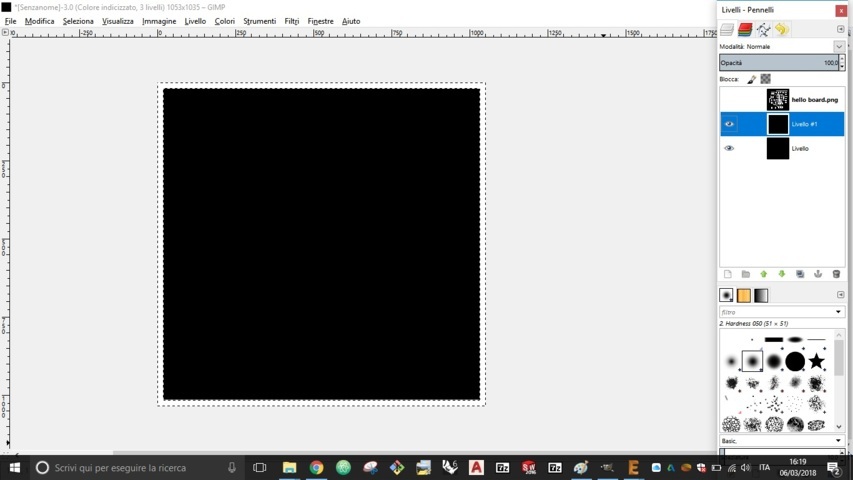
I created two levels, one with foreground color and another one white
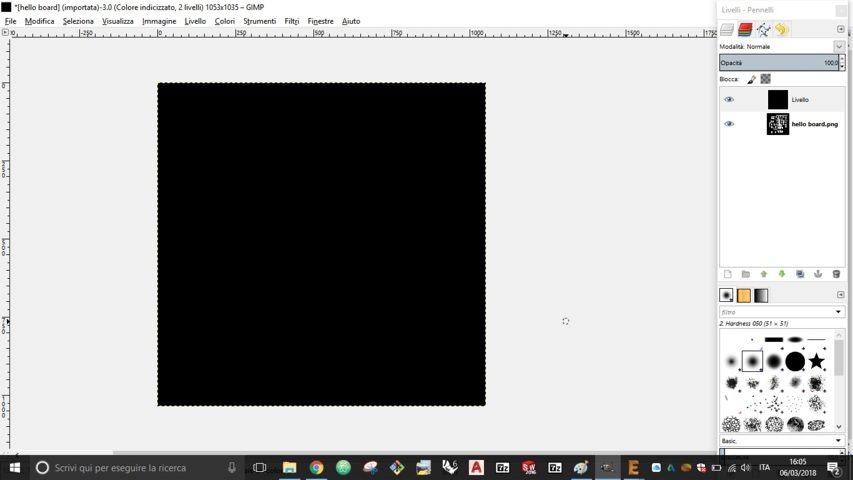
The levels should be placed in this order
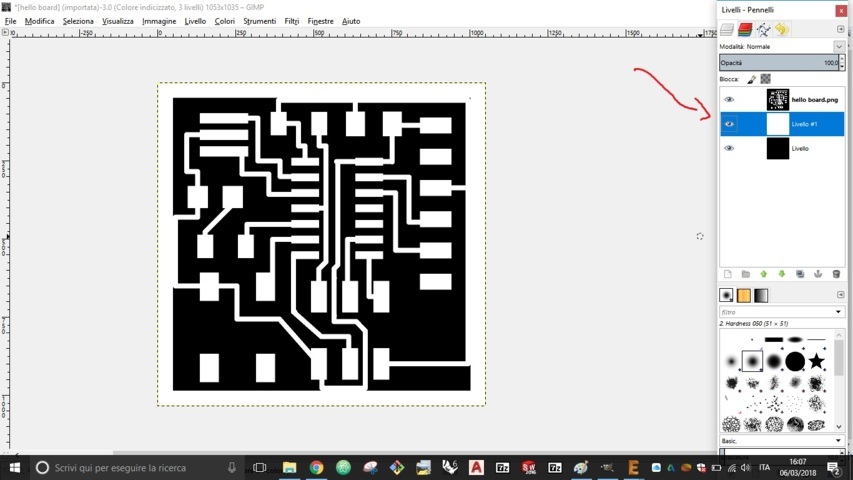
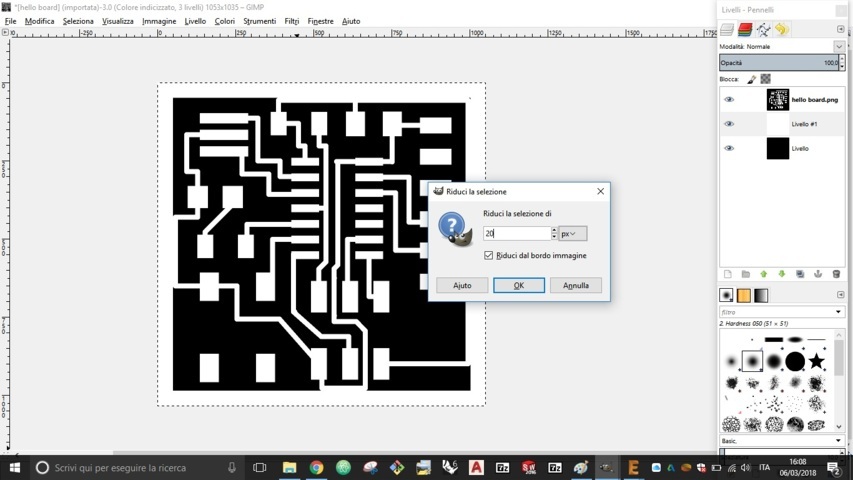
Then I performed these steps select--> all
select-->shrink-->20
Then I saved the traces and the outline in .jpg
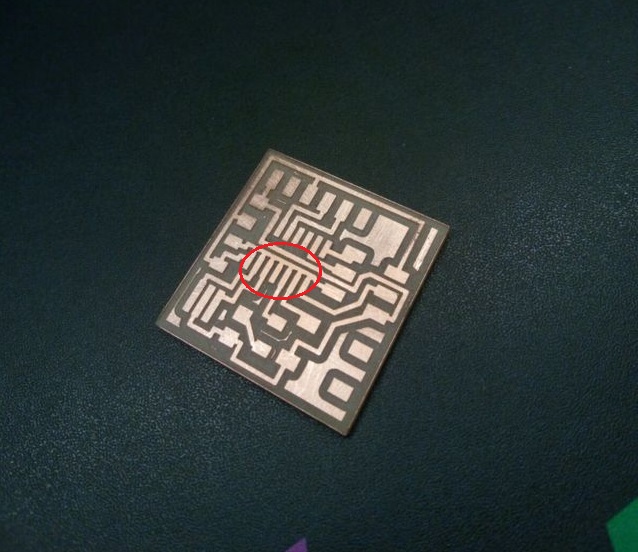
I used the fabmodules to create the milling files. At this point i followed the steps I did in the week 4. Unfortunately the milling machine didn't cut it at these locations and this was probably the mistake that eagle tried to signal me.
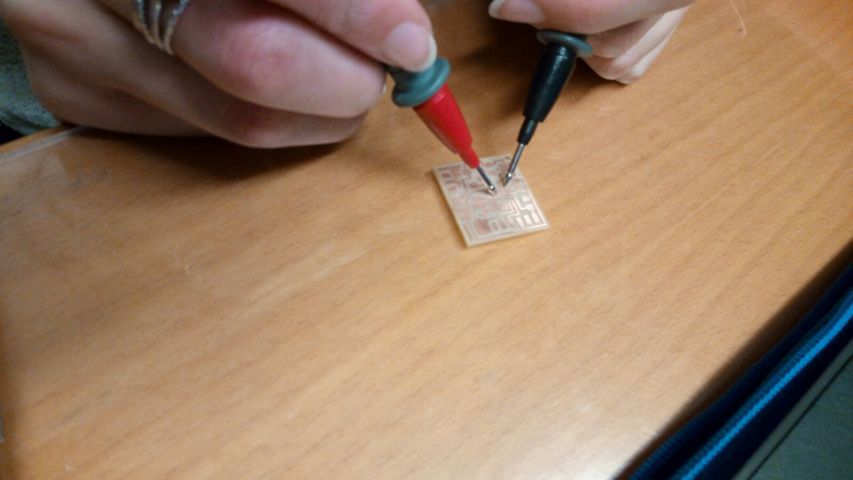
After doing BOM I soldered
ATtiny44	x 1
Resonator 20MHz	x 1
Resistor 10K	x 1
Capacitor 1uF	x 1
FTDI	x 1
ISP	x 1
Resistor 100 ohm	x 1
Button	x 1
led	x 1
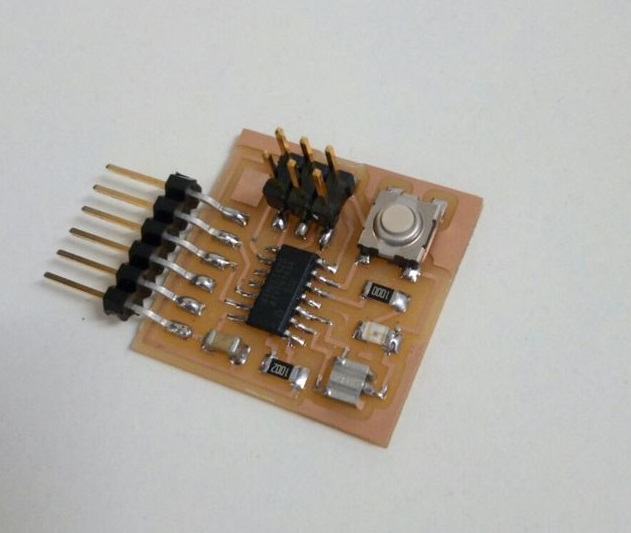
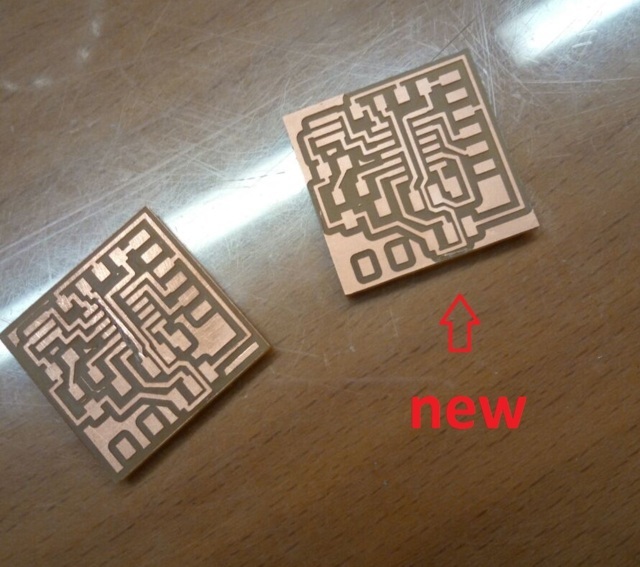
I must say that creating traaces can really be a puzzle, surely practice makes perfect. In my case, creating thin traces, I risked raising the copper layer, which would compromise the conductivity of the board and its malfunction. Fortunately, the board didn't have this kind of problem, but it's something to keep in mind when you are creating tracks (better a larger but working board).