Week 16: Composite
Individual assignment: Design and produce something with a digital fabrication process
(incorporating computer-aided design and manufacturing) not covered
in another assignment, documenting the requirements that your
assignment meets, and including everything necessary to reproduce
it. Possibilities include (but are not limited to) composites, textiles,
biotechnology, robotics, and cooking.
The model
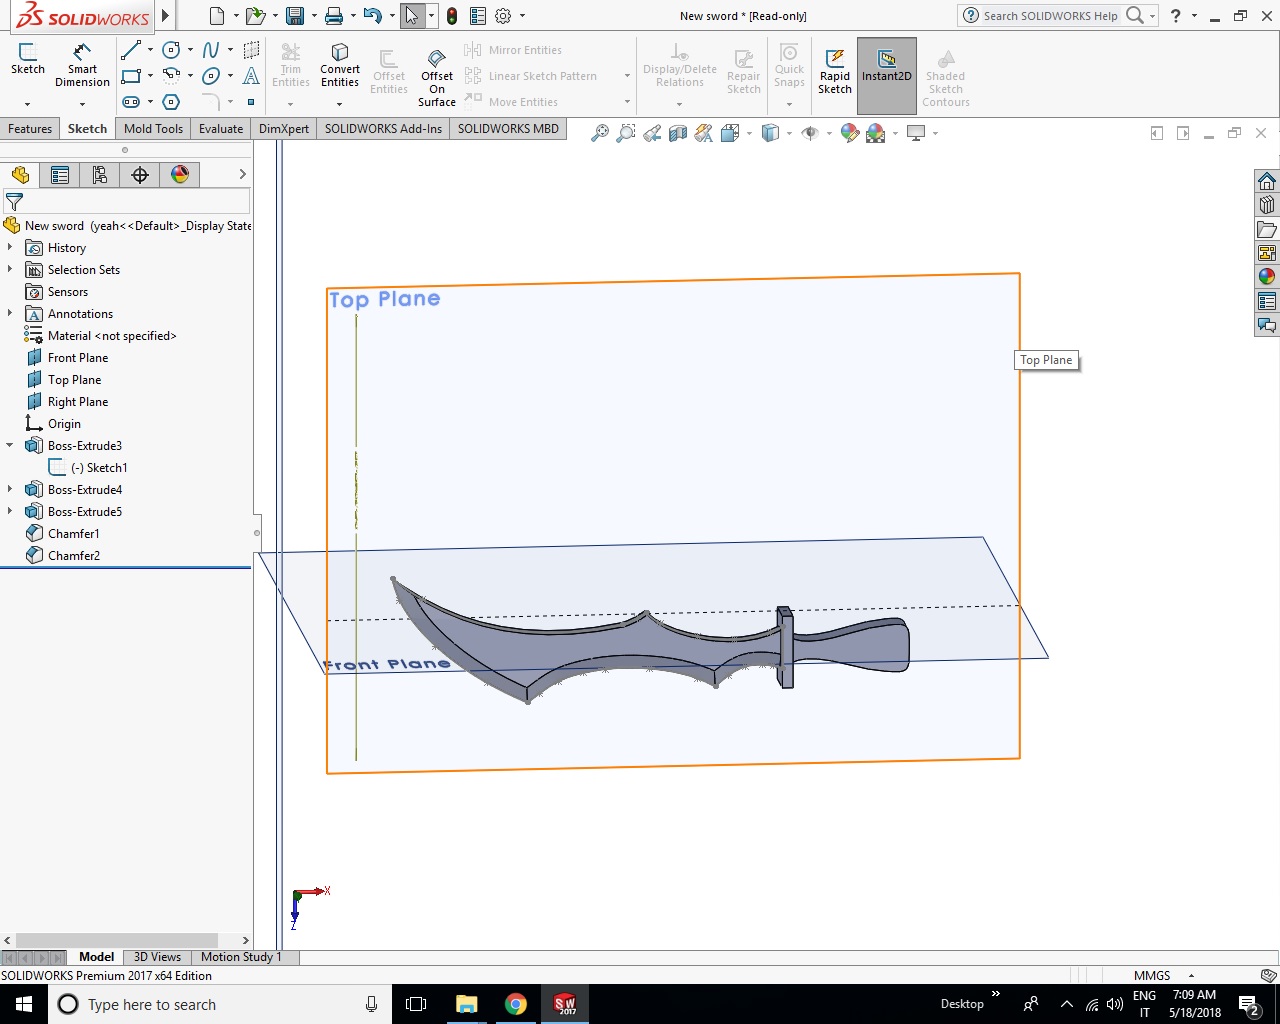
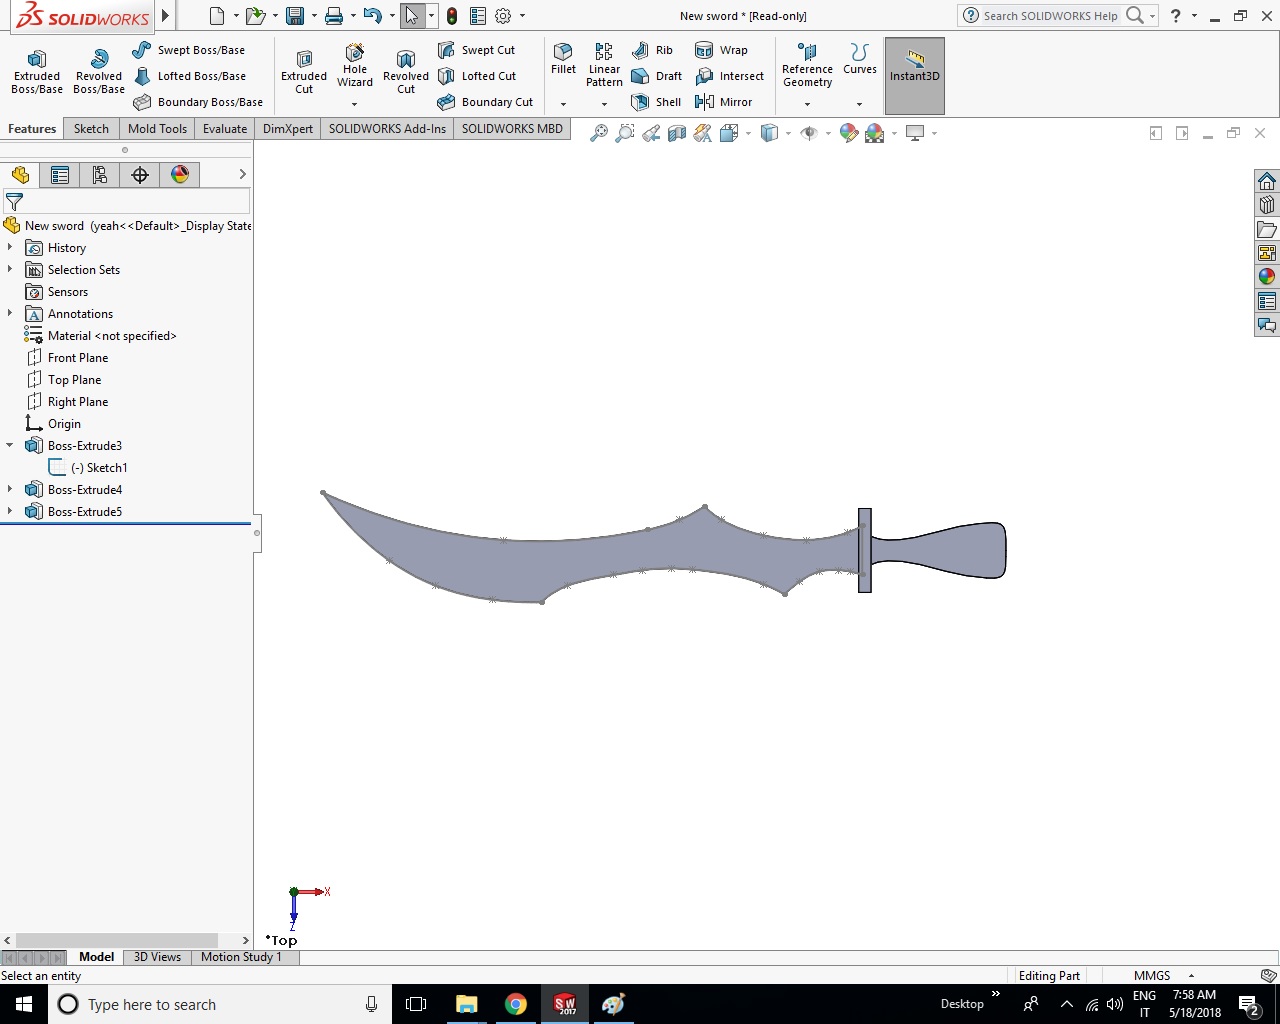
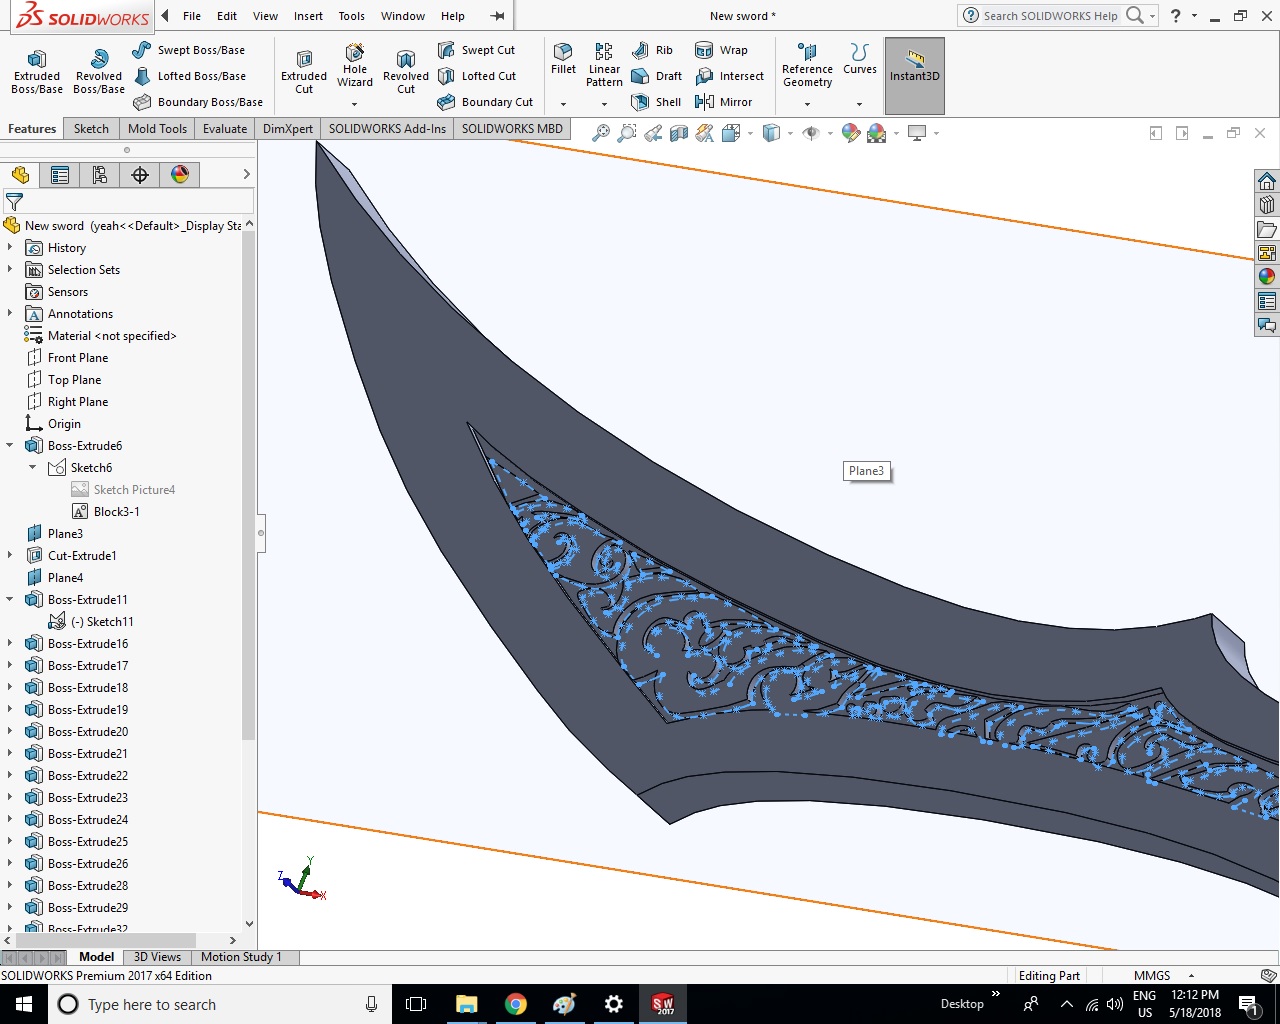
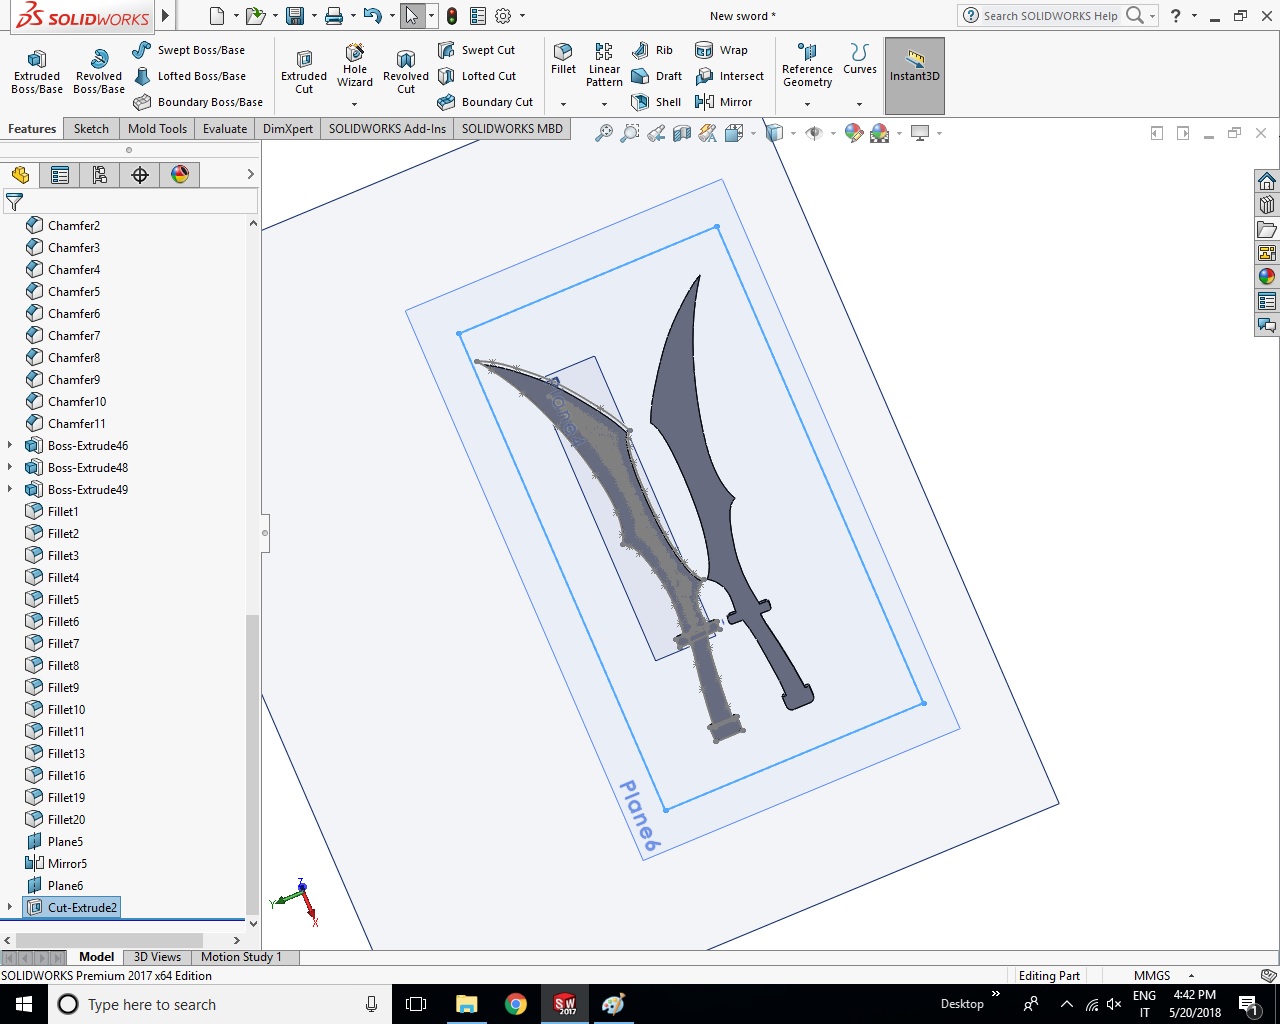
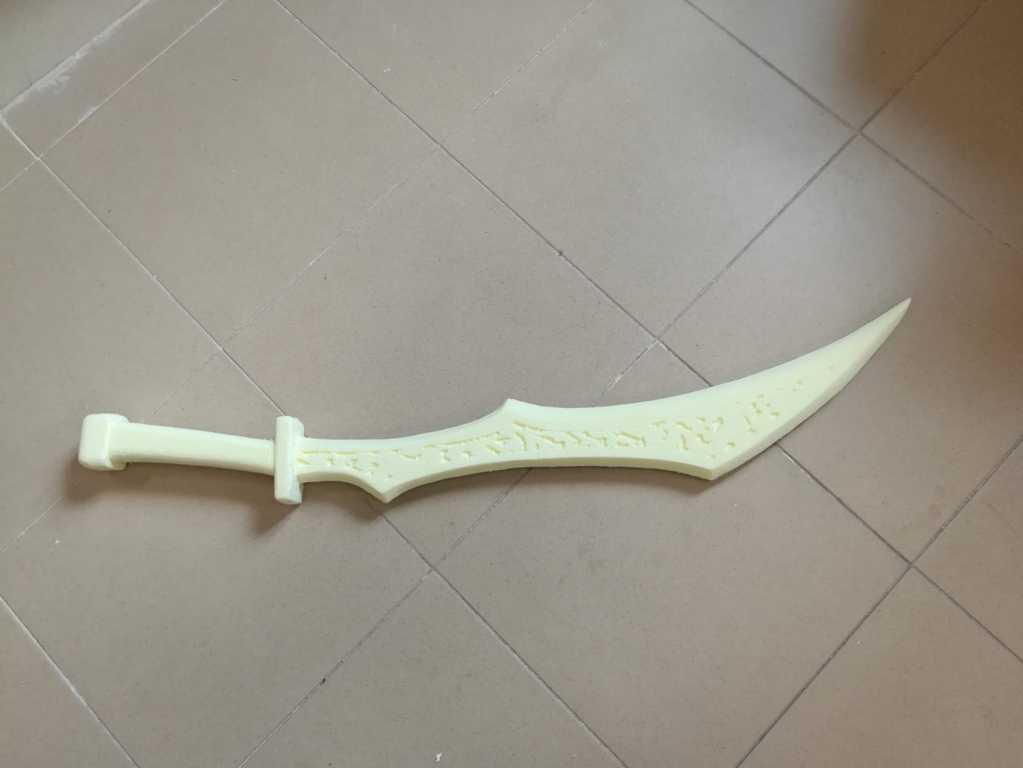
I decided to re-model the sword that I did in the week9, but this time I tried to do more details.
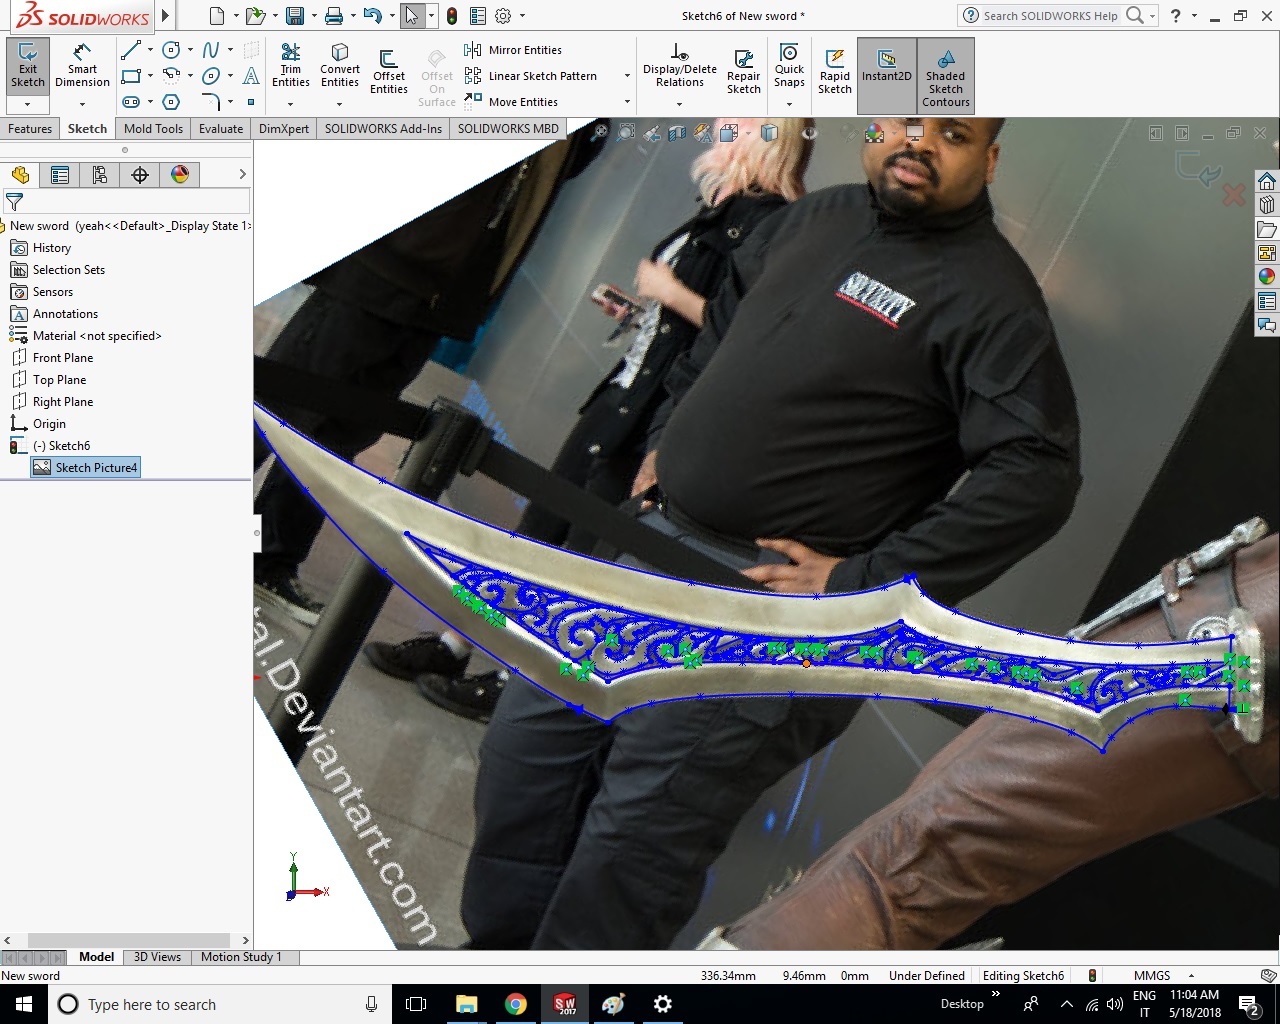
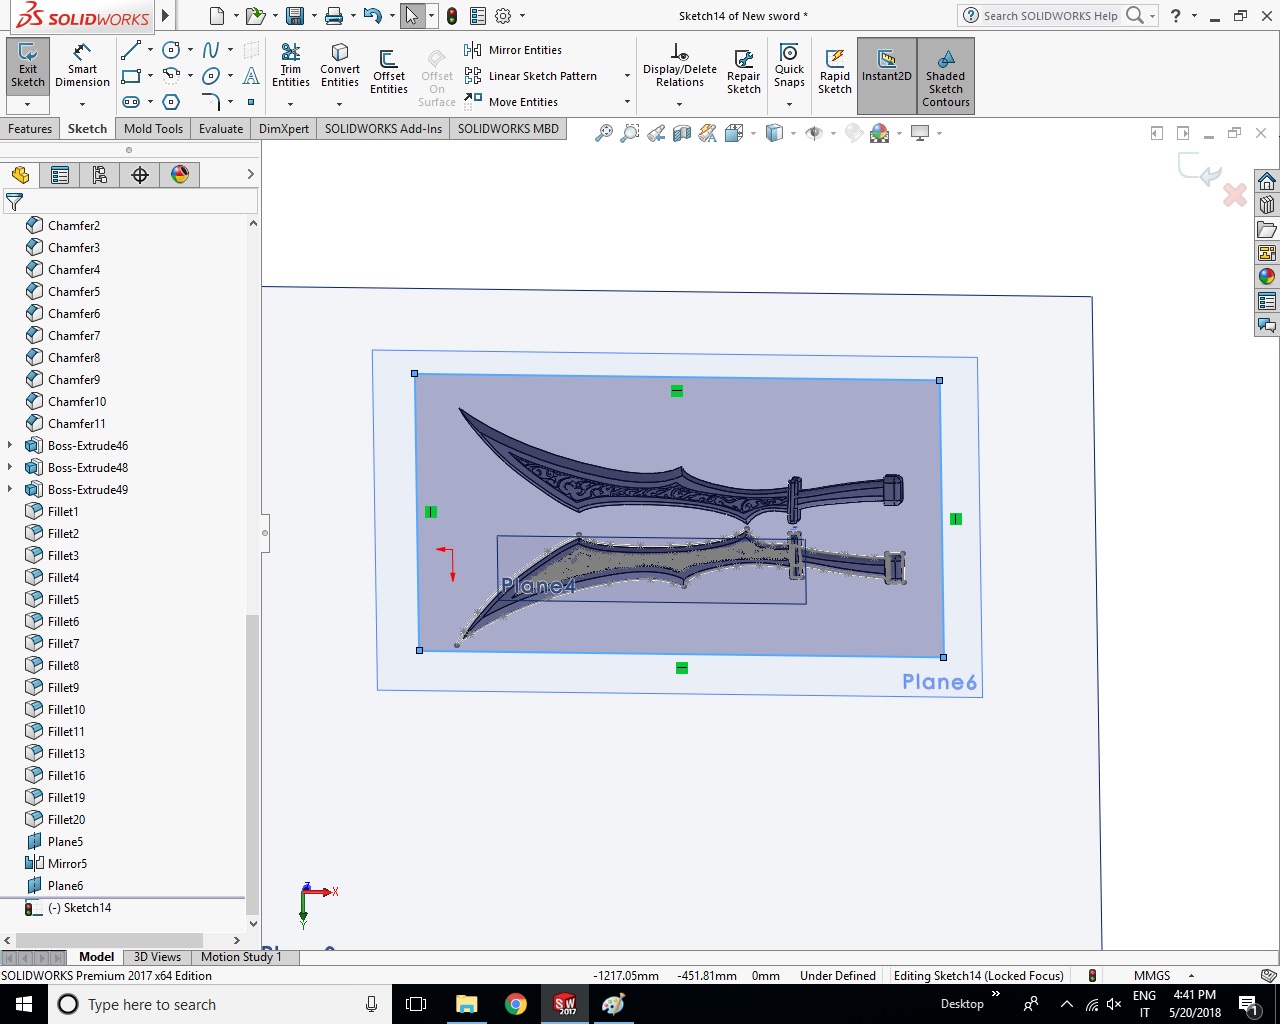
I tried to draw the friezes with enough space for the tip, but the work is too long and complicated
so I did it in a casual way.
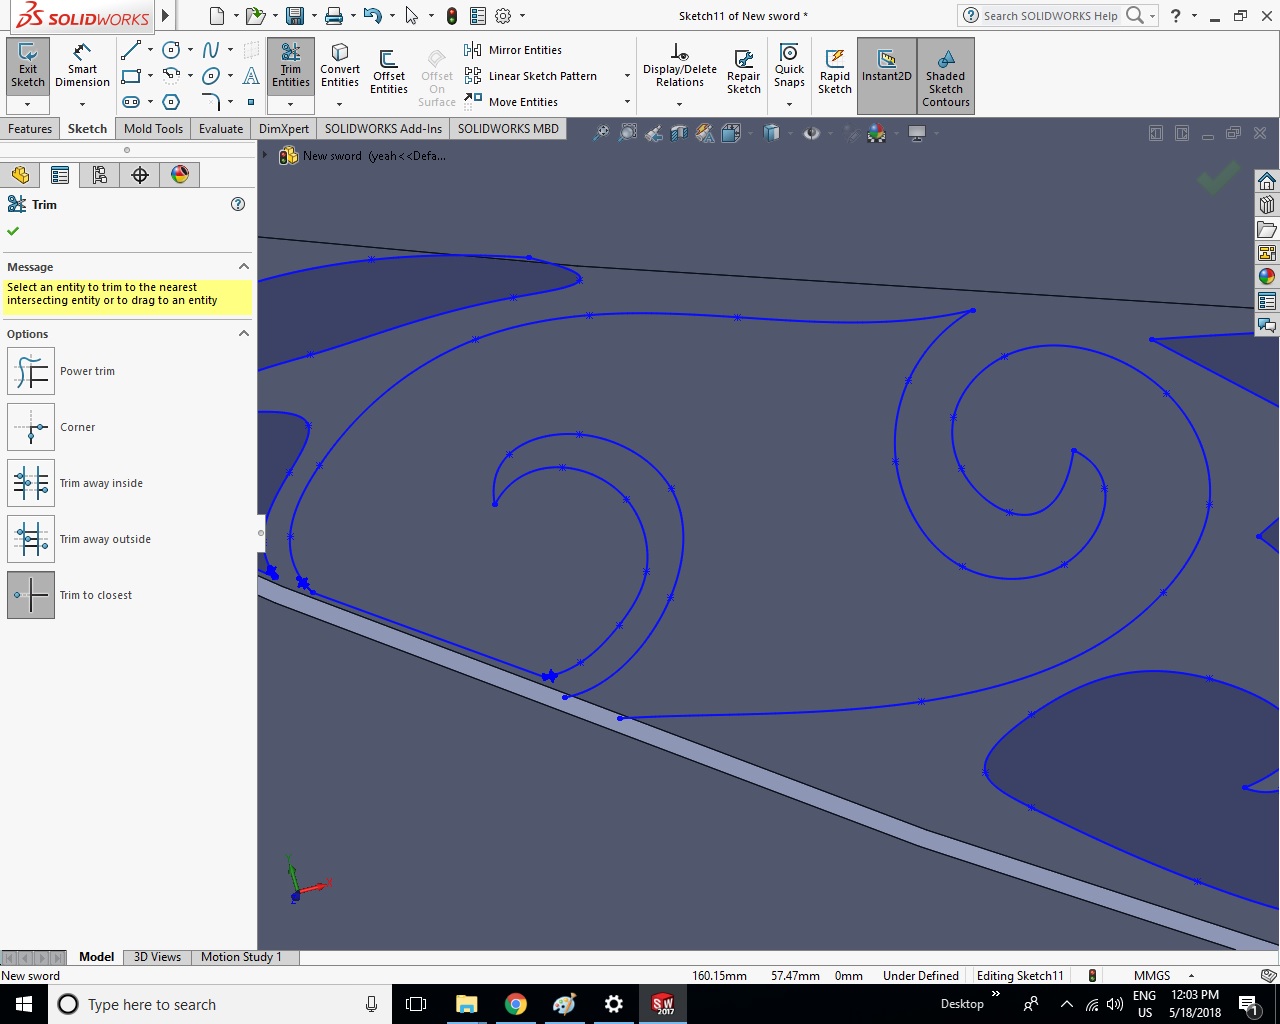
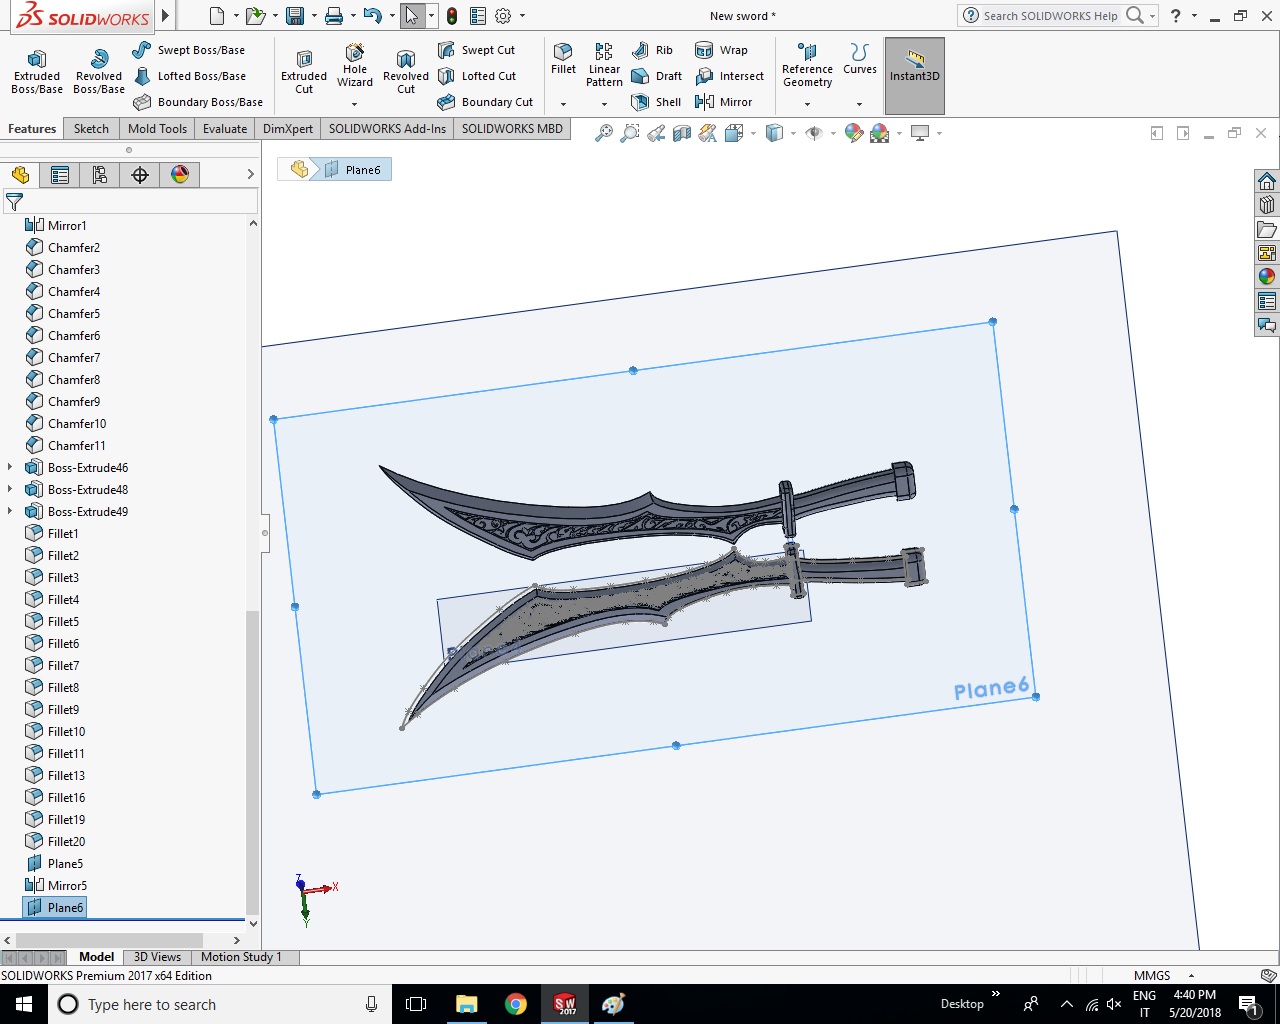
After I was sure that all the lines's friezes were closed I started to extrude them.
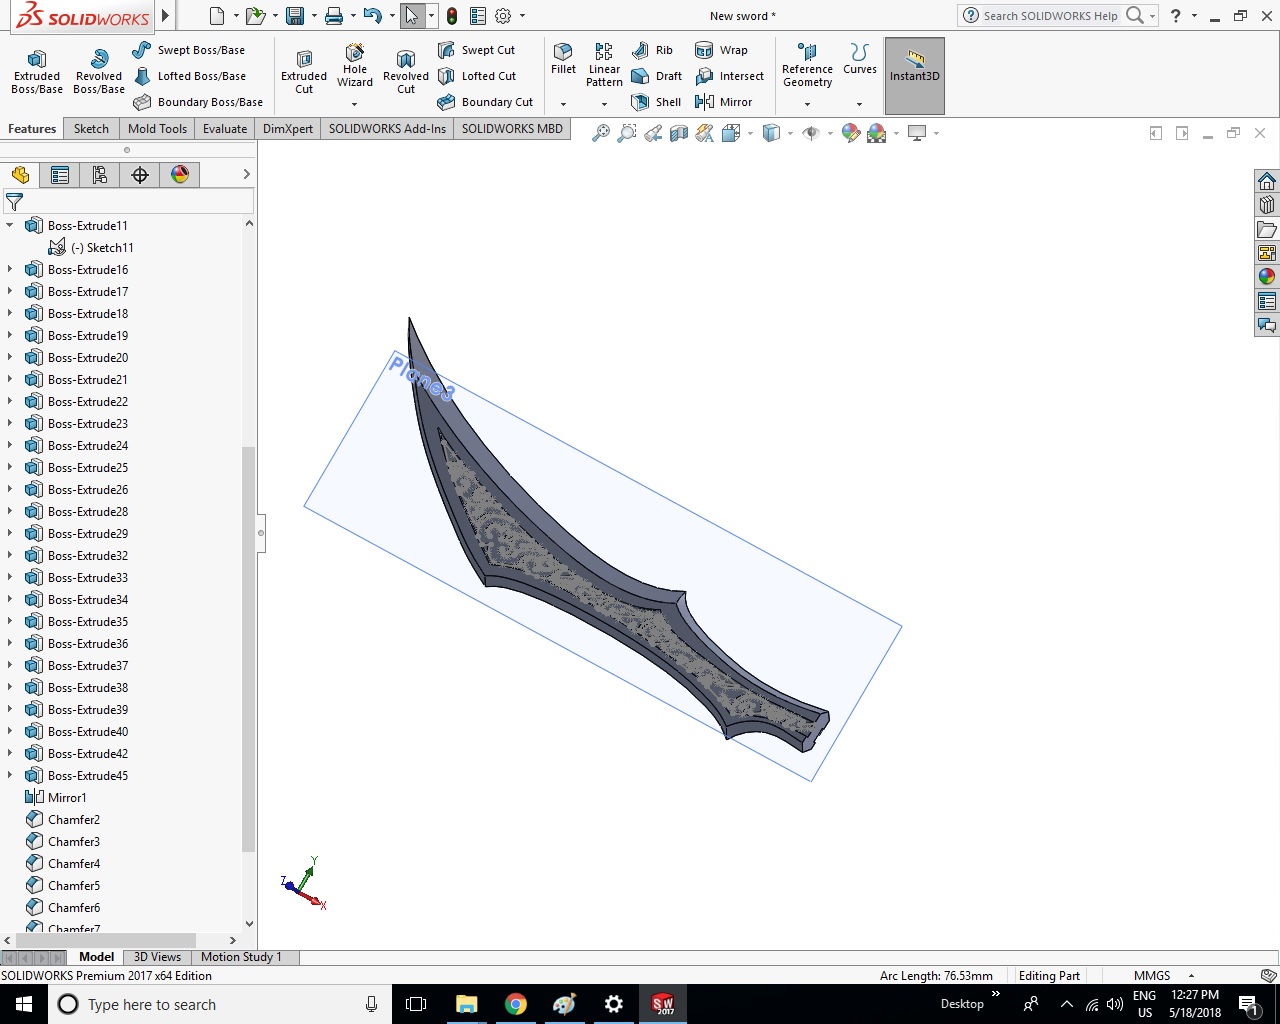
Then I did the chamfers of the blade and the hilt.
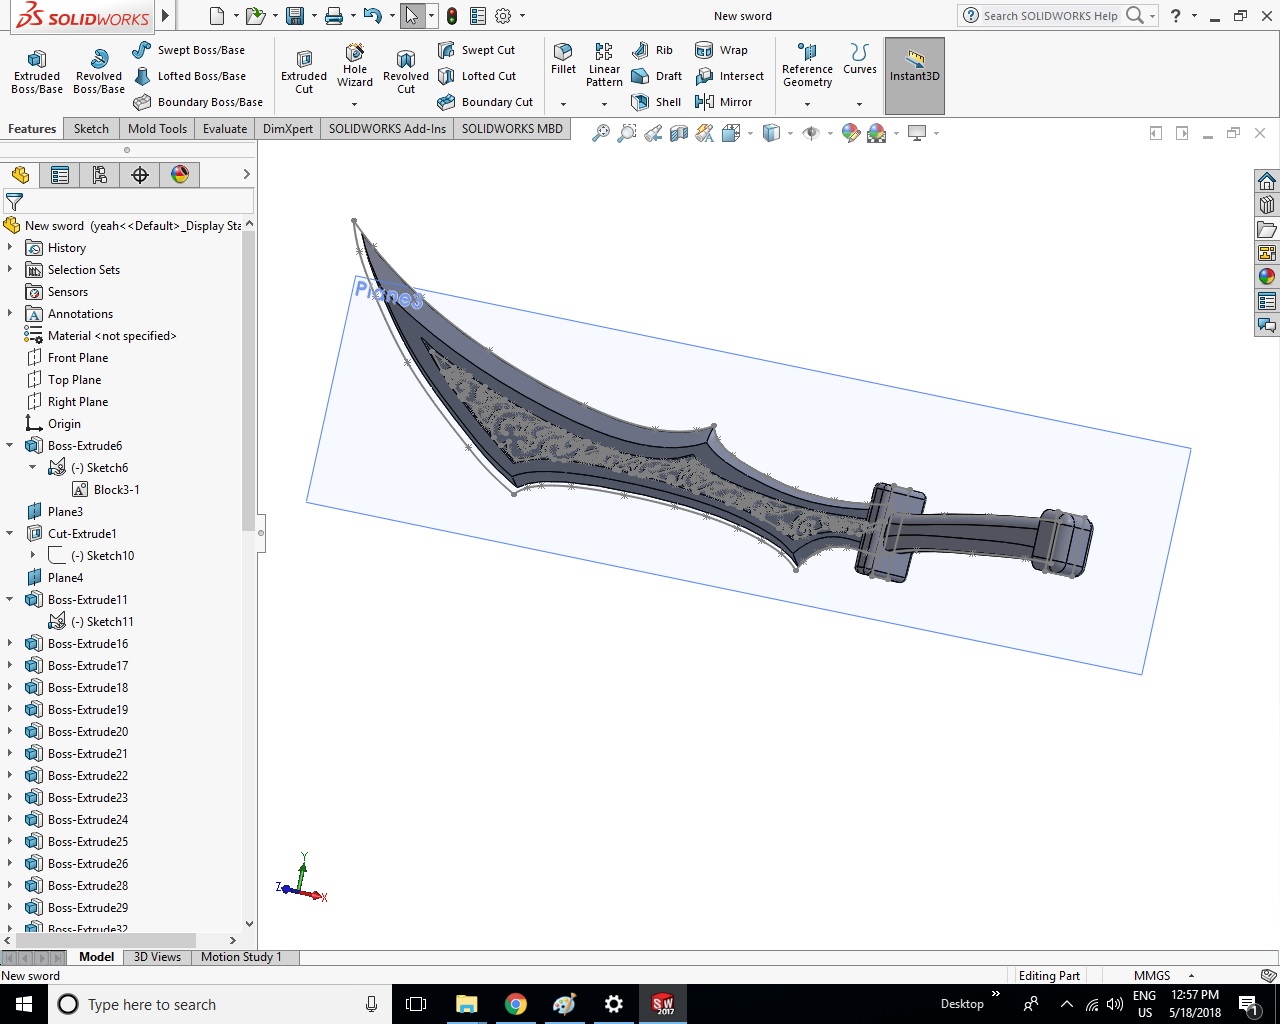
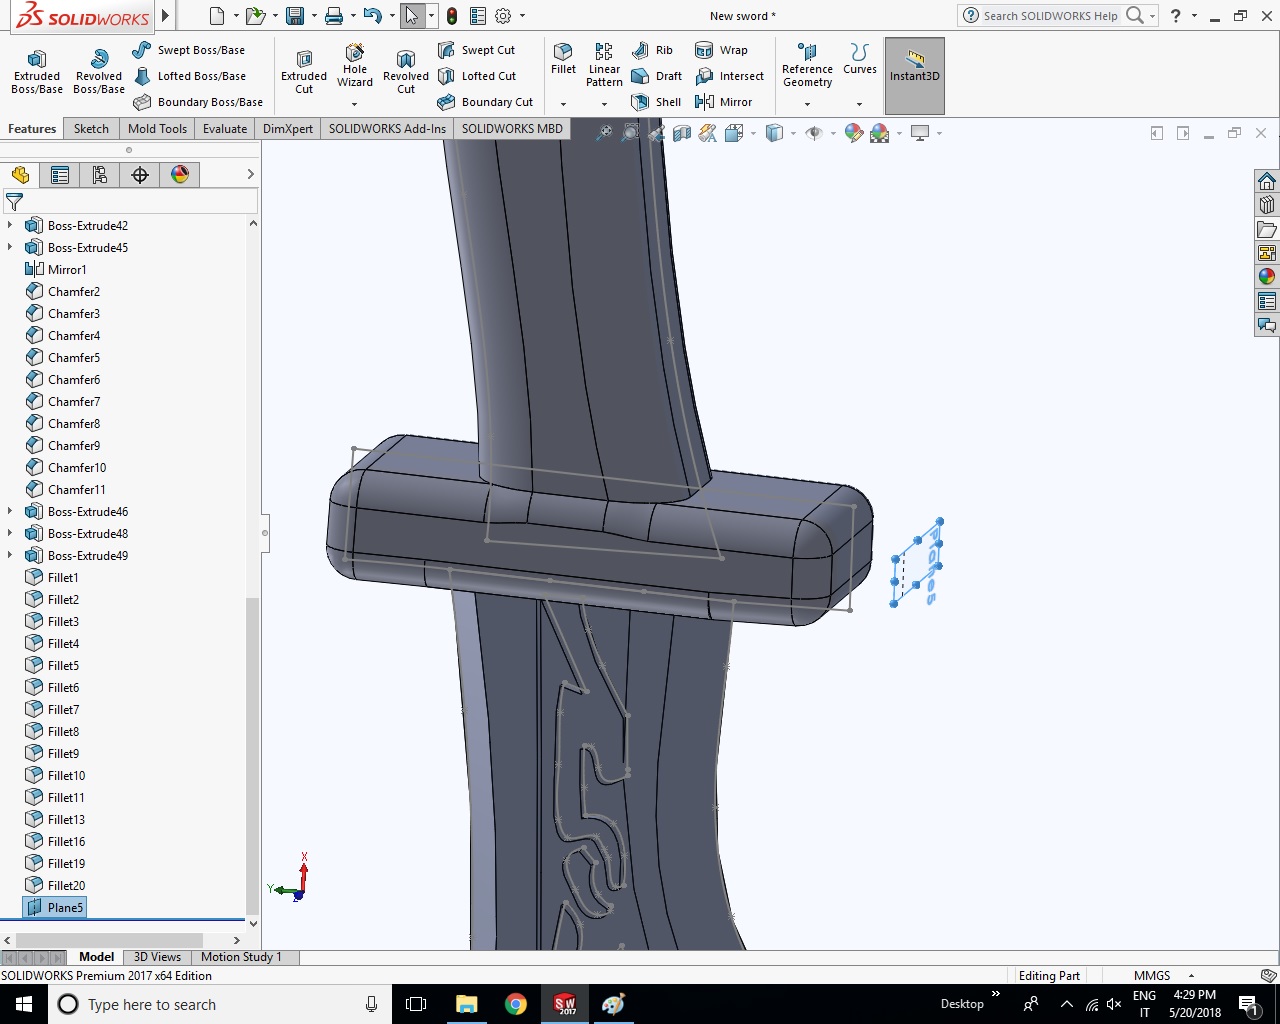
To finish the hilt I made a simple sketch and after the extrusion I finished it with the fillet function.
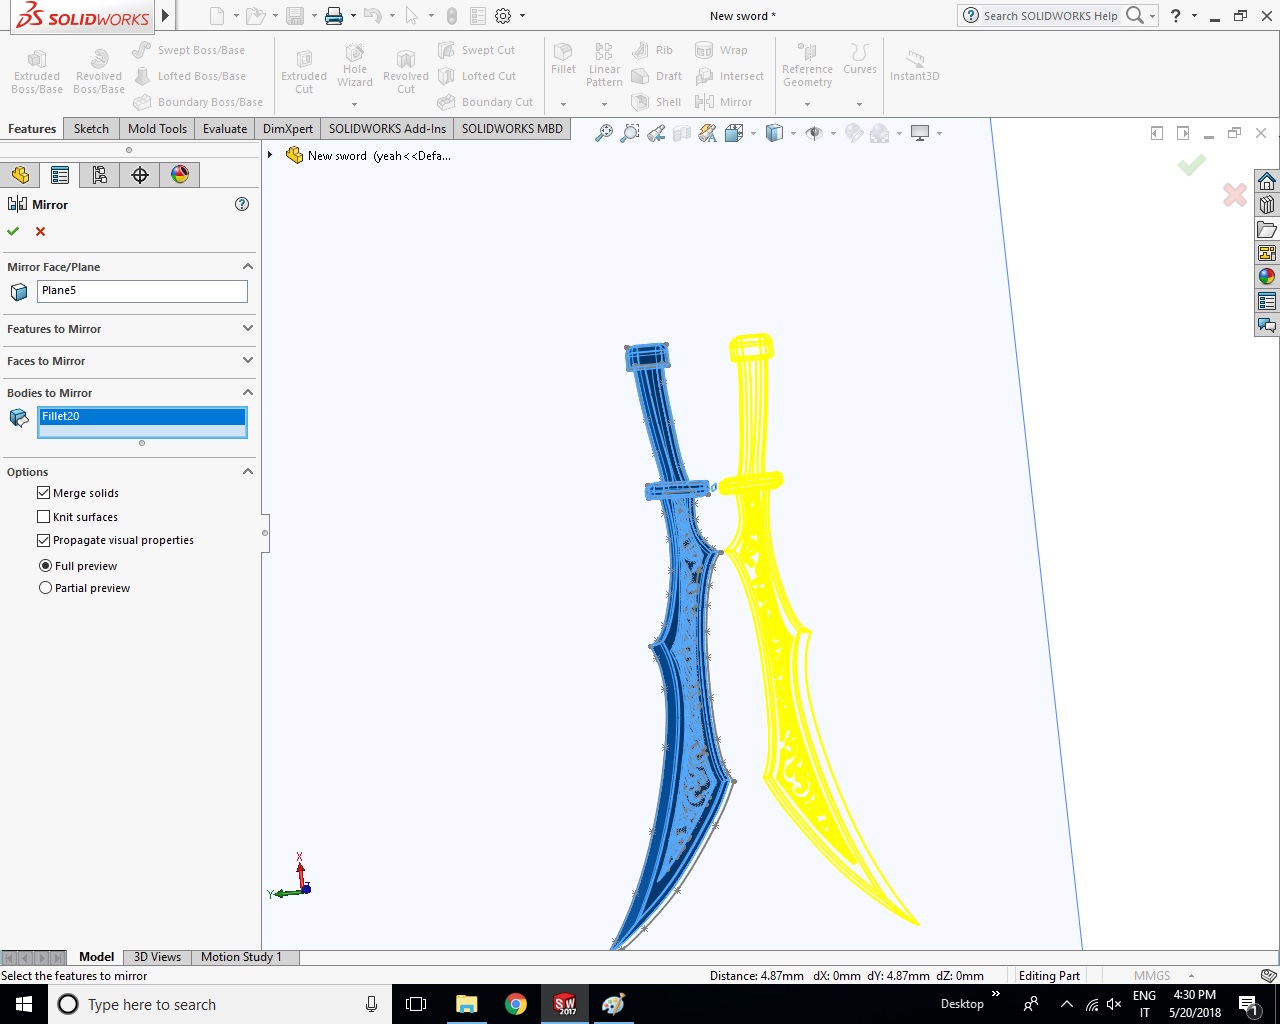
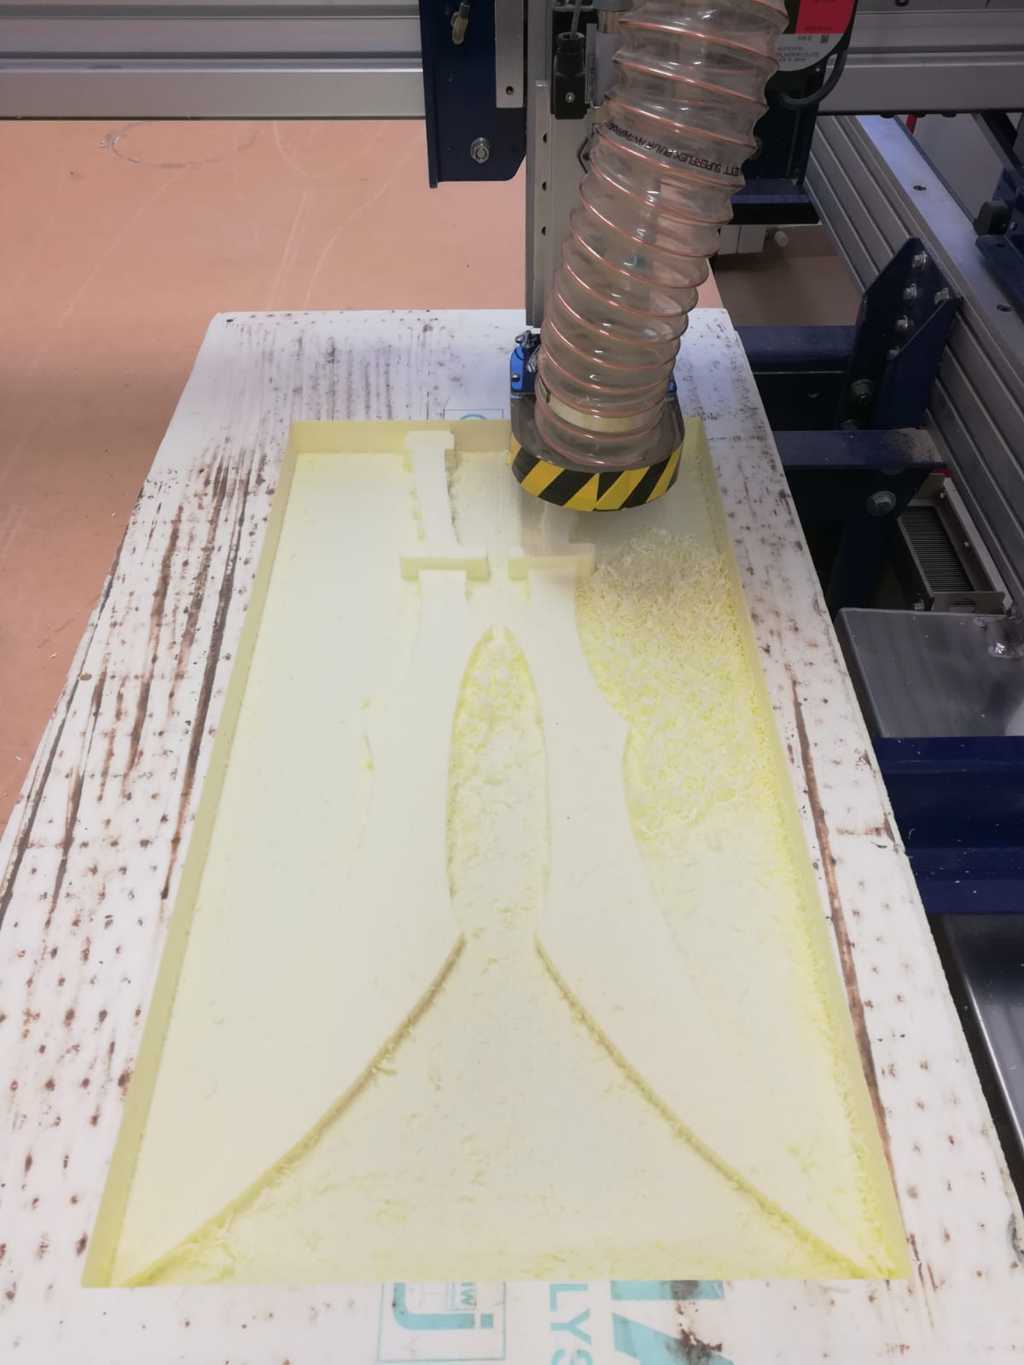
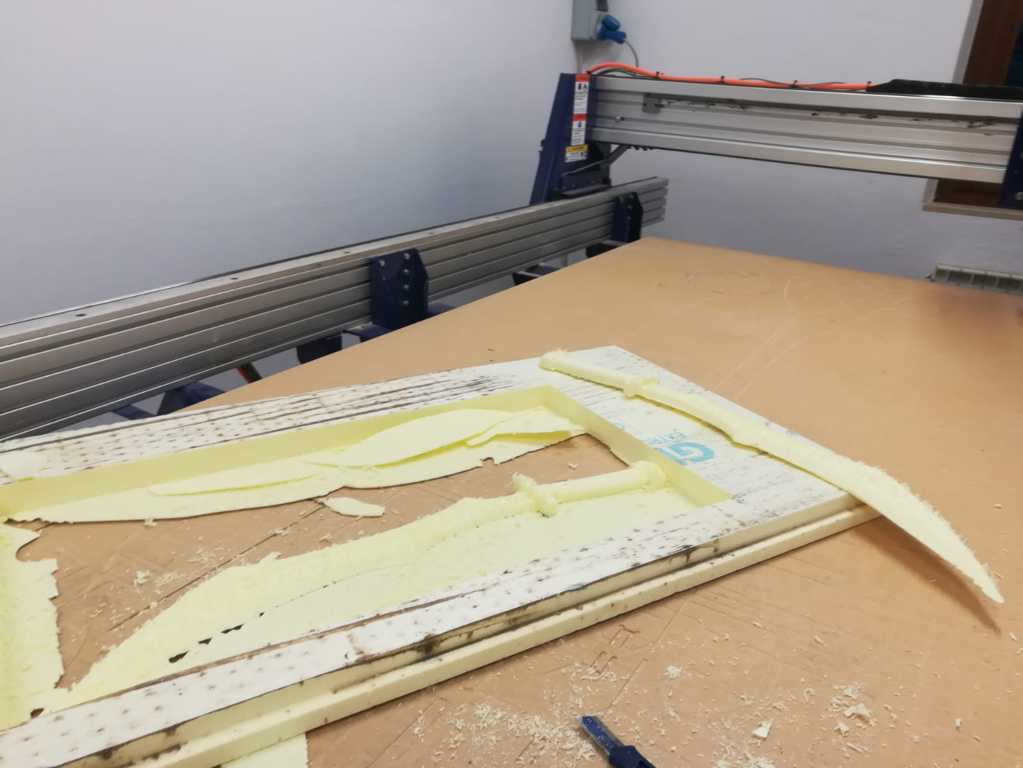
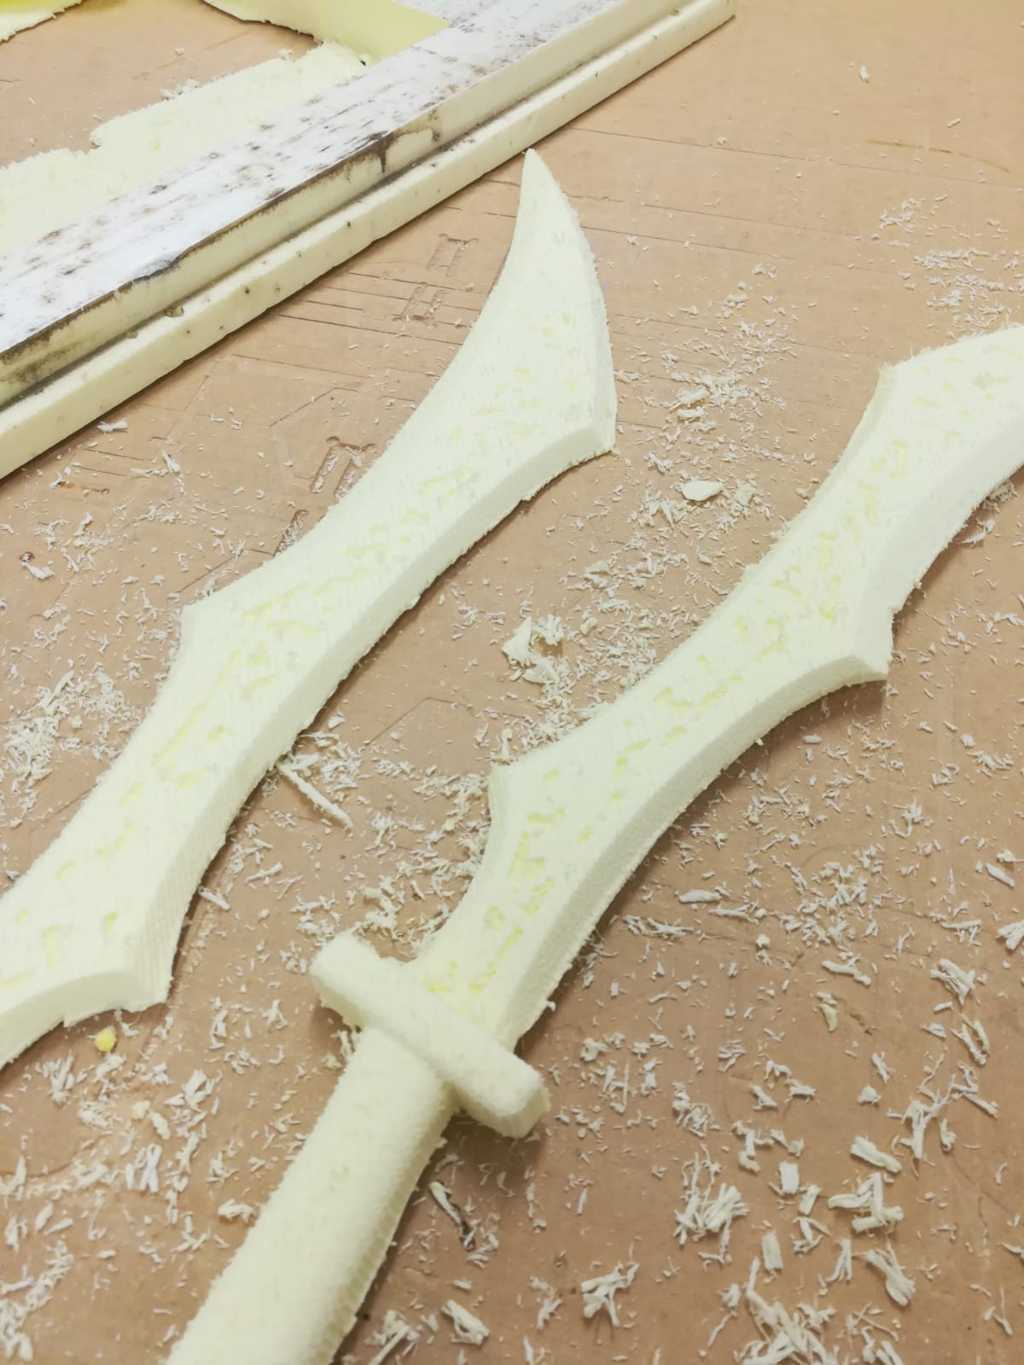
Since the foam that we have in the laboratory is 4 cm high and the friezes of the sword are on both sides
I decided to mirror and cut it in half, so I have two parts to glue together.
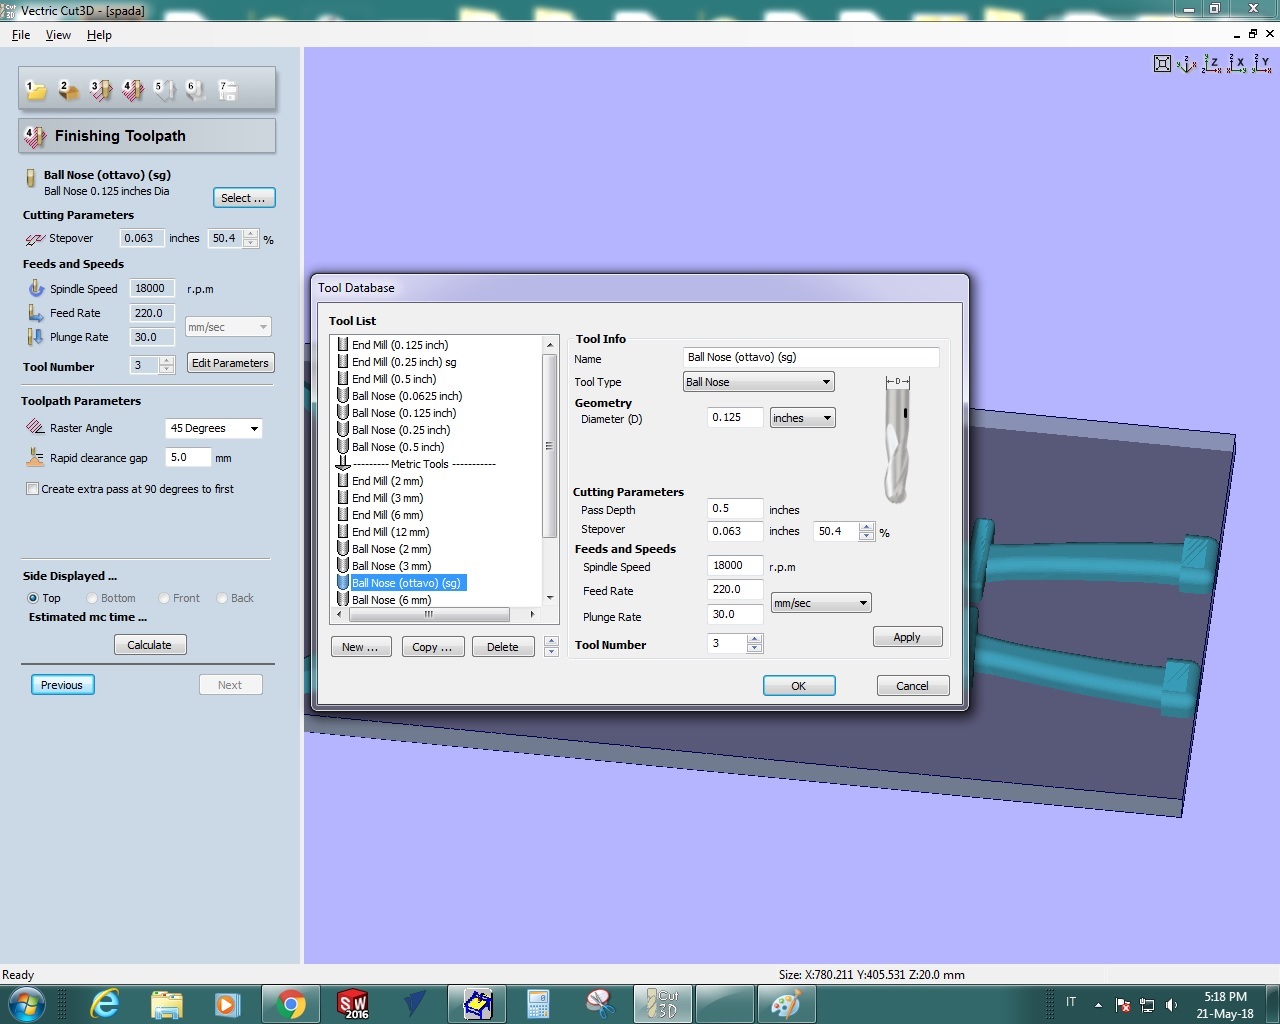
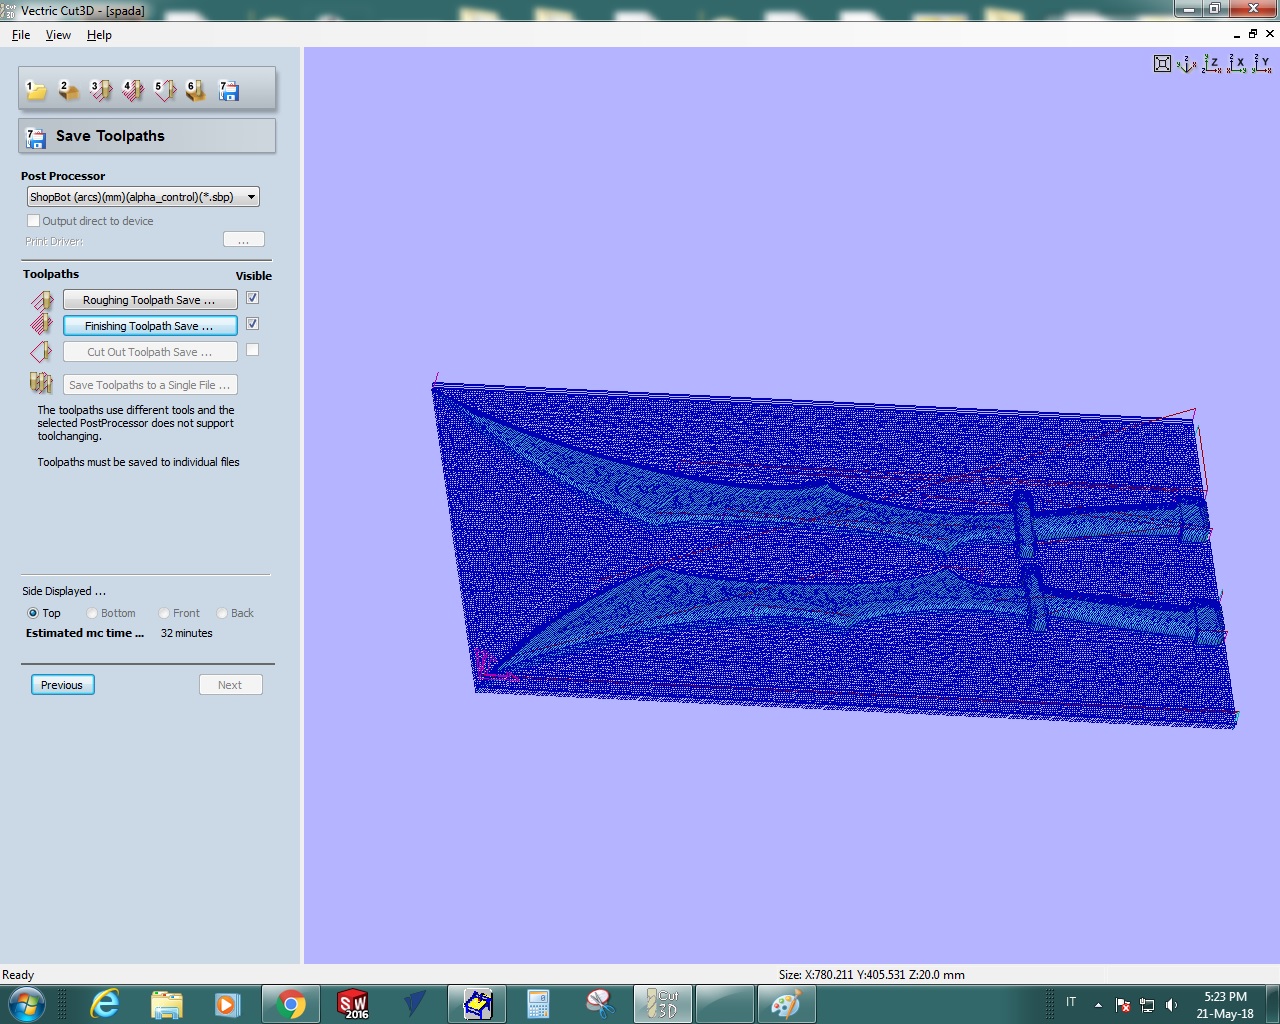
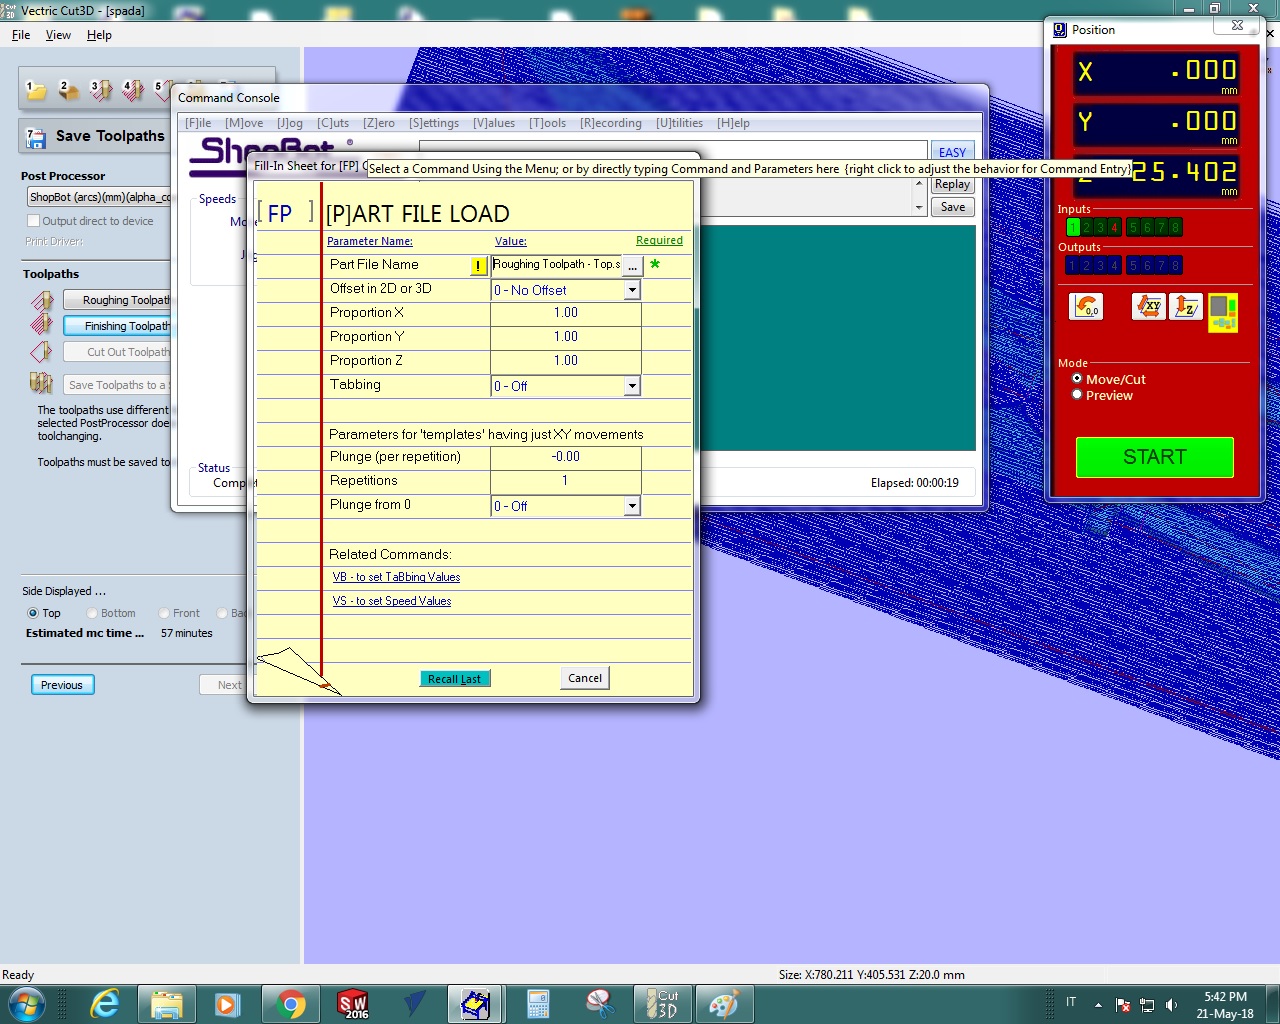
Cut3d
Once I finished the file I exported it to STL and I opened it in Vectric cut 3d (available in our lab's computer).
This program realizes the gdcode for Roland milling. The process is the same used for the week 9.
I used this tip for the roughing
I used this tip for the roughing

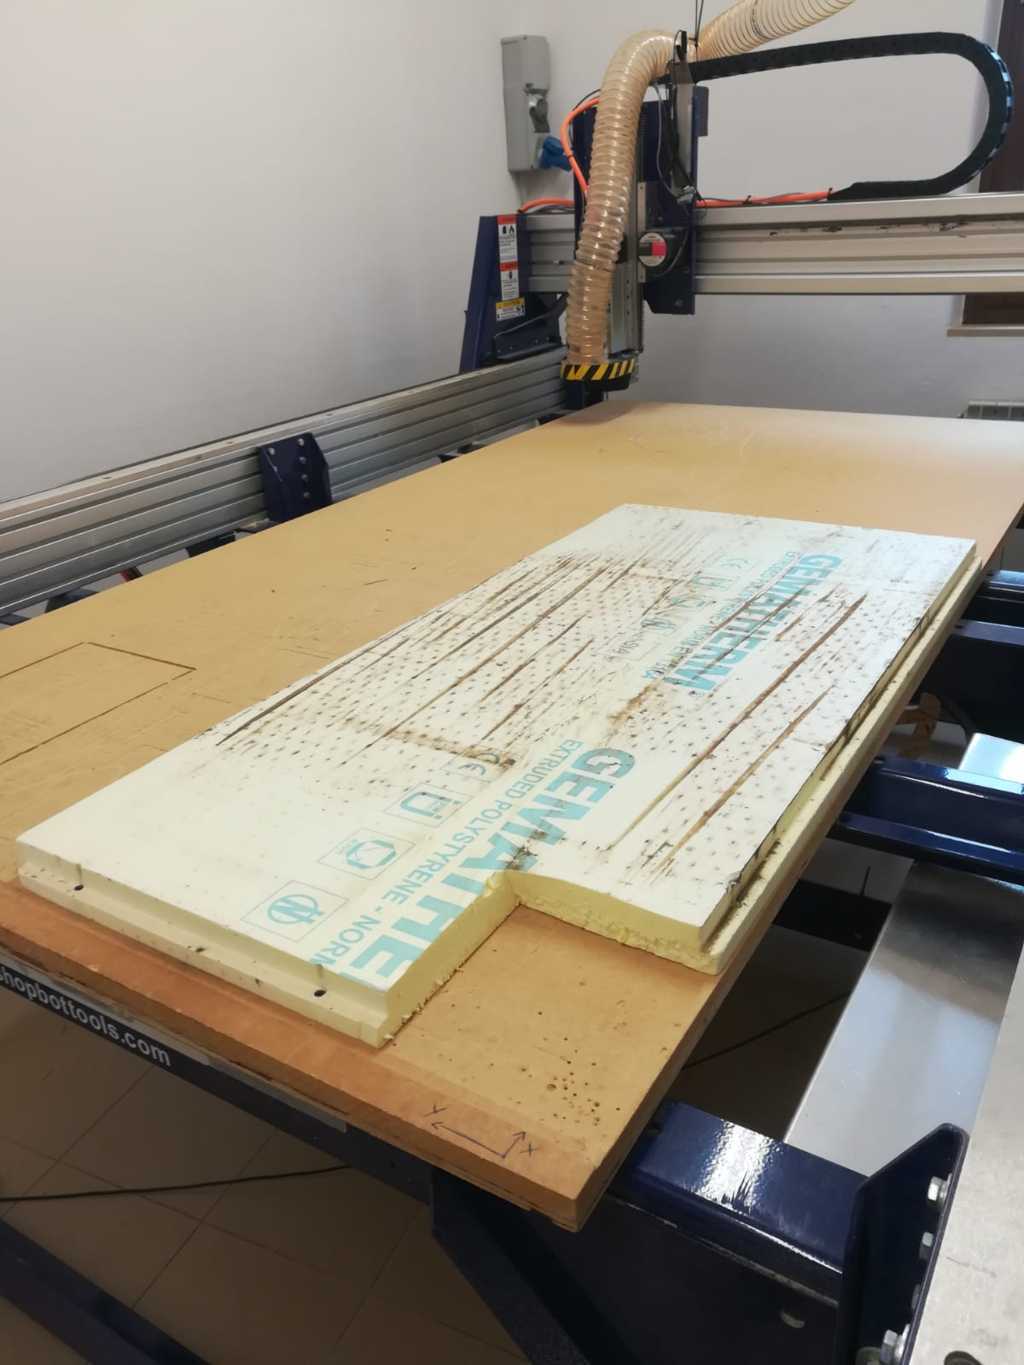
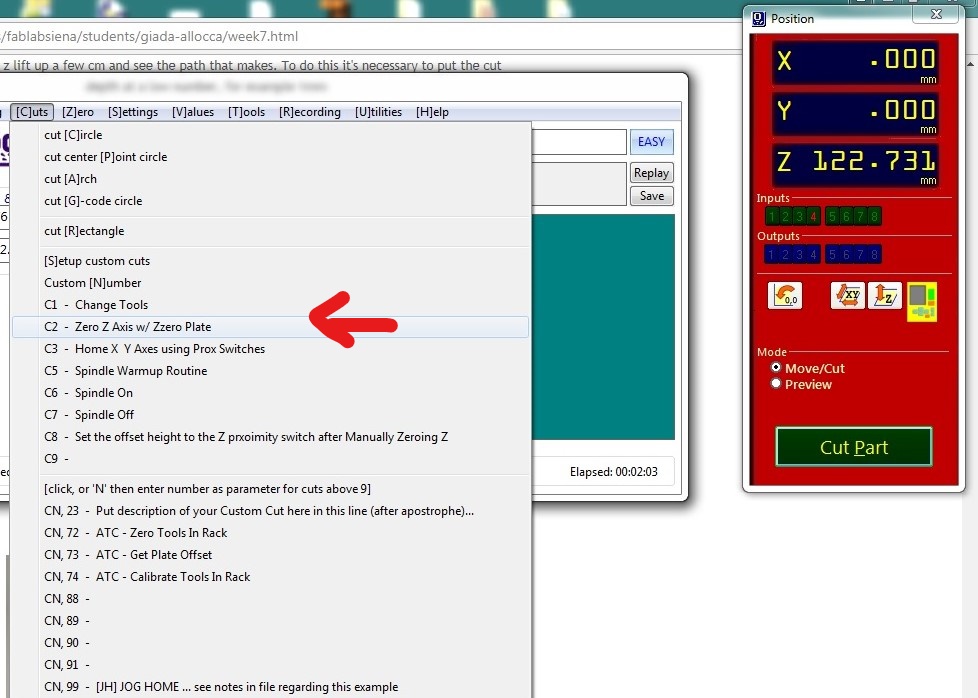
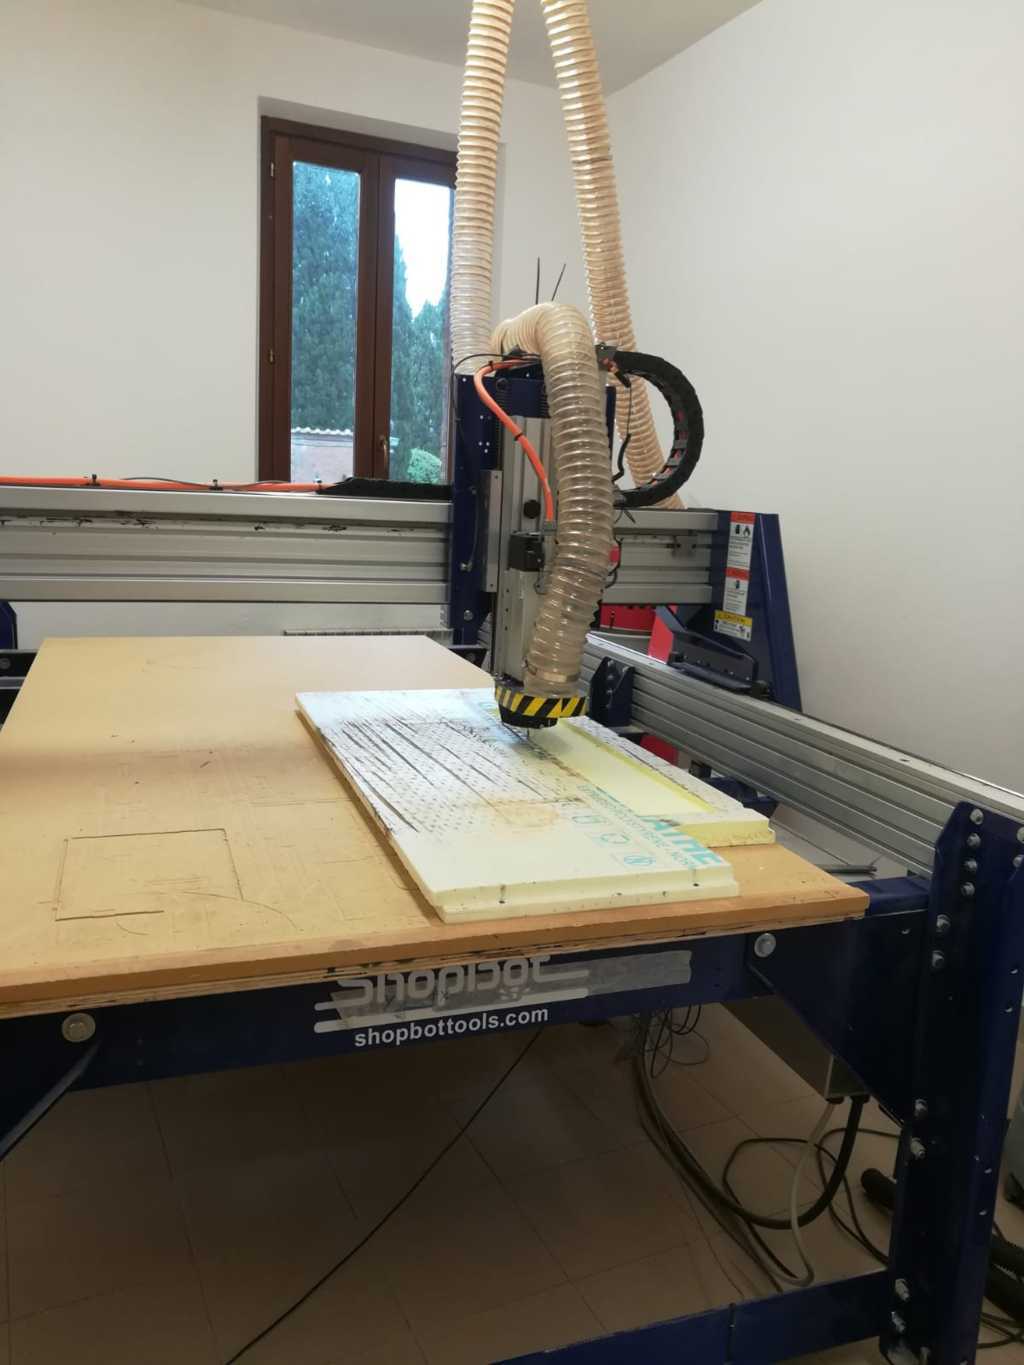
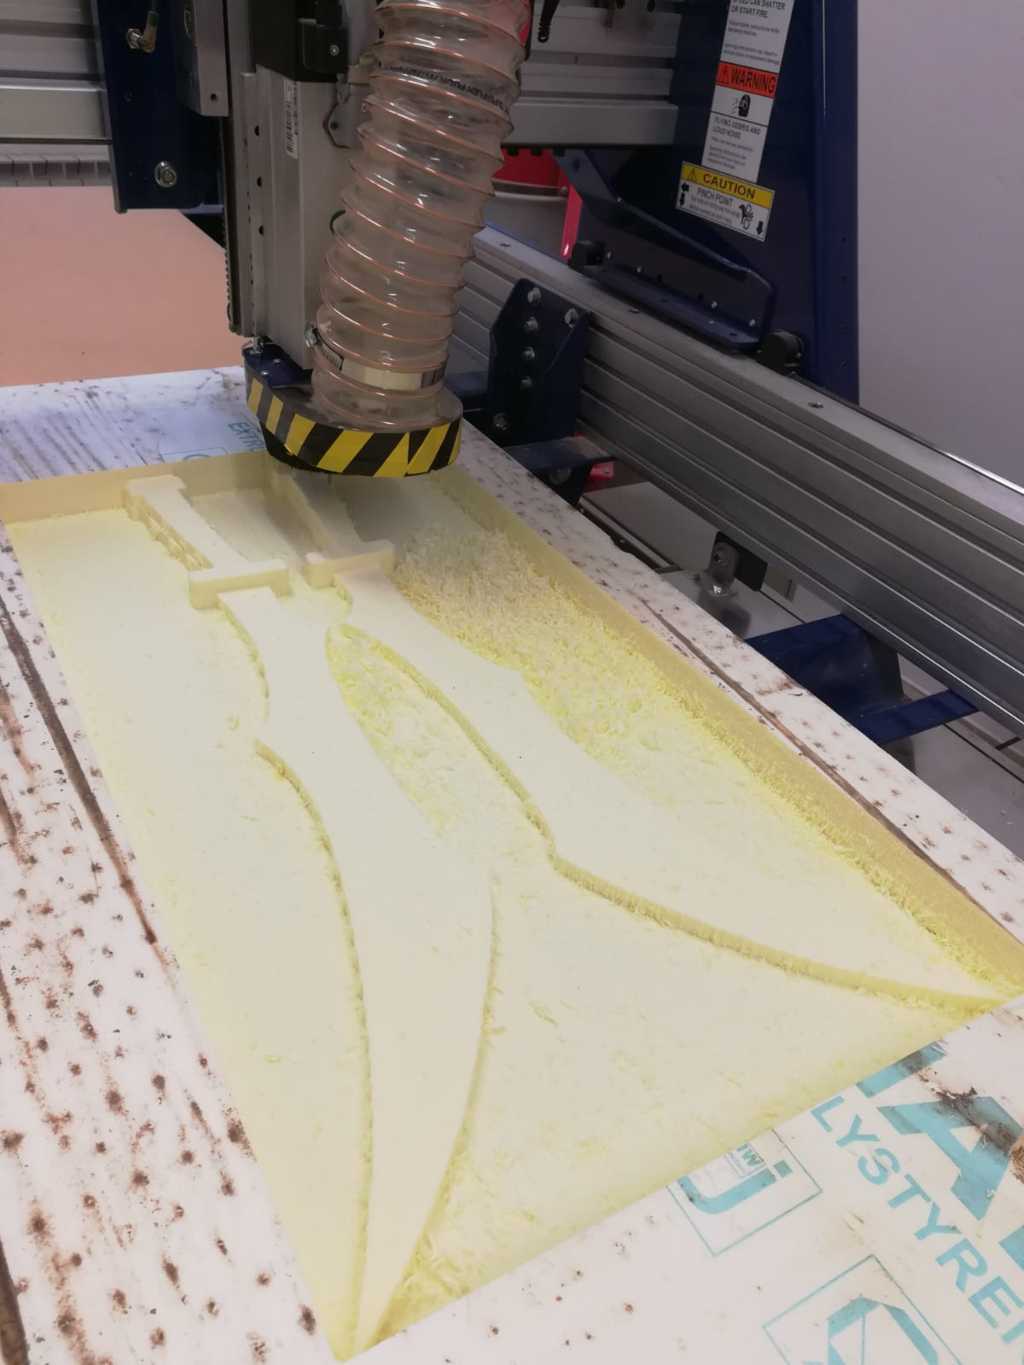
ShopBot
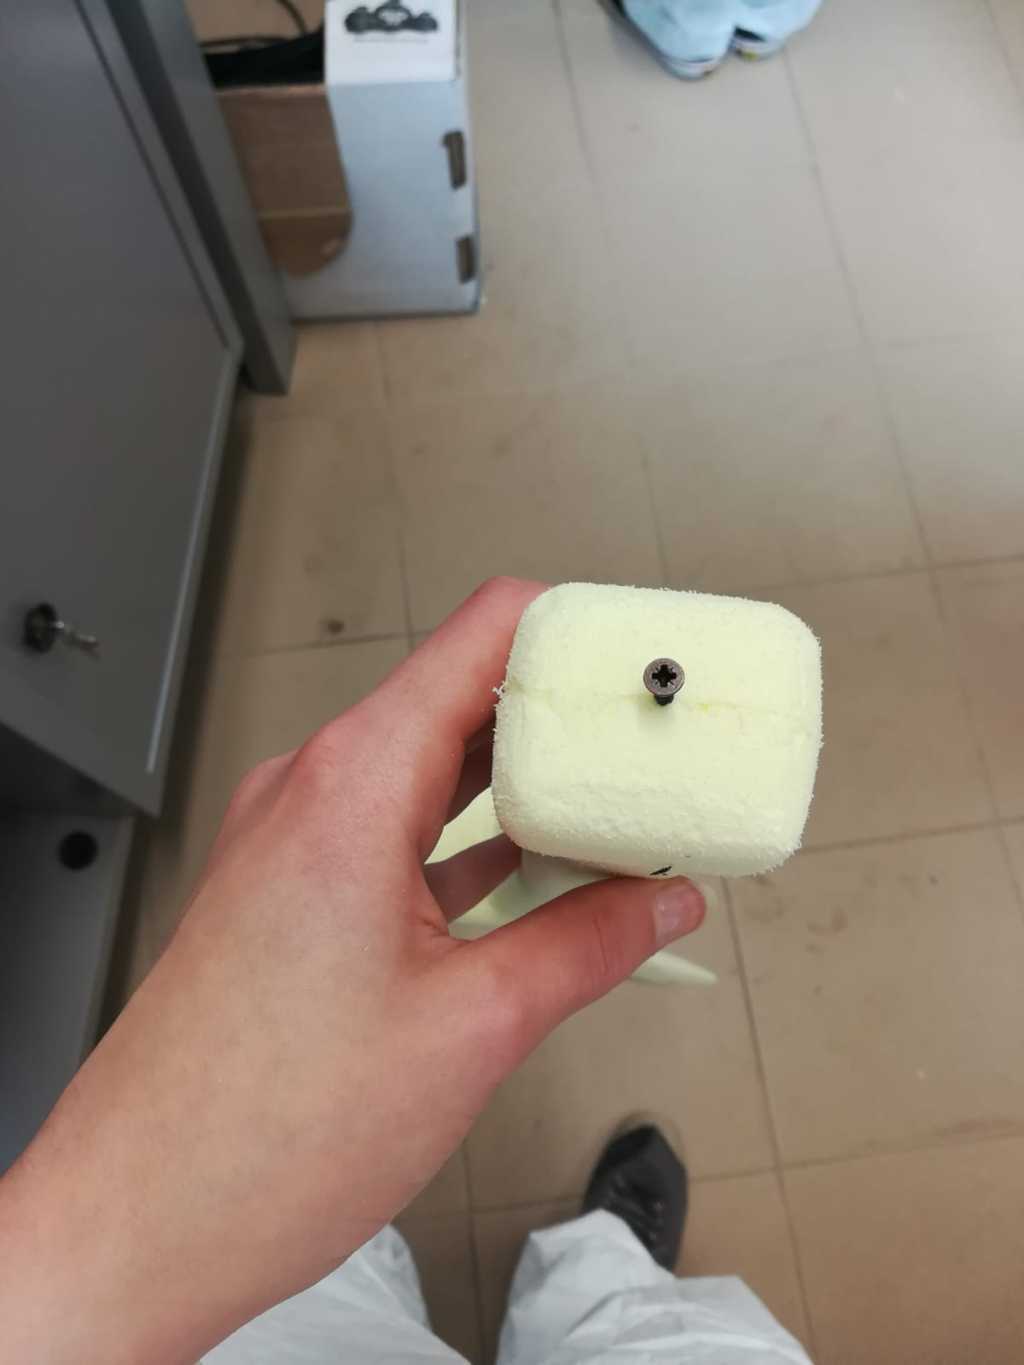
To start the work I screwed the foam to the worktop so that the screws were in the most external position possible
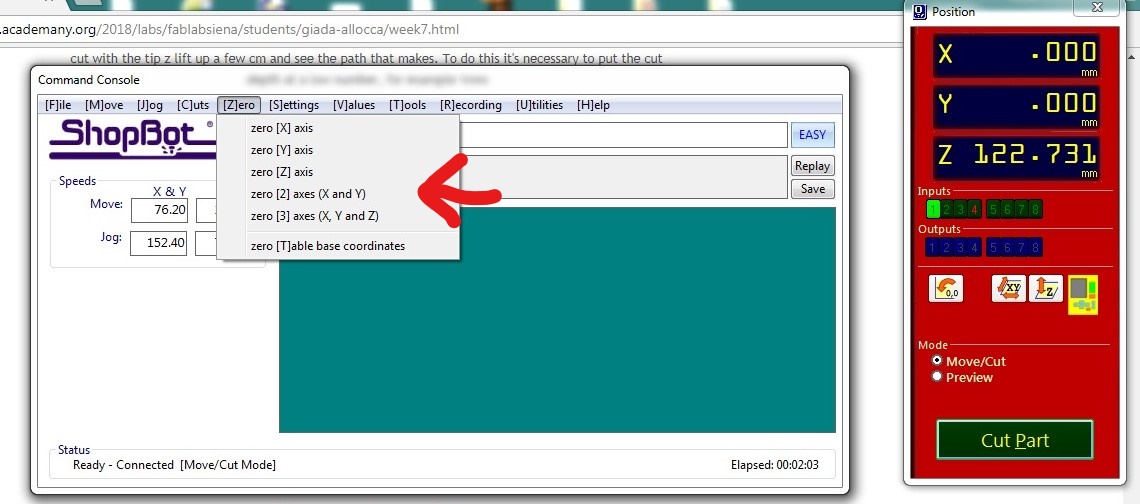
To use the shopbot first of all you have to set the x and y axes
To use the shopbot first of all you have to set the x and y axes
Composite
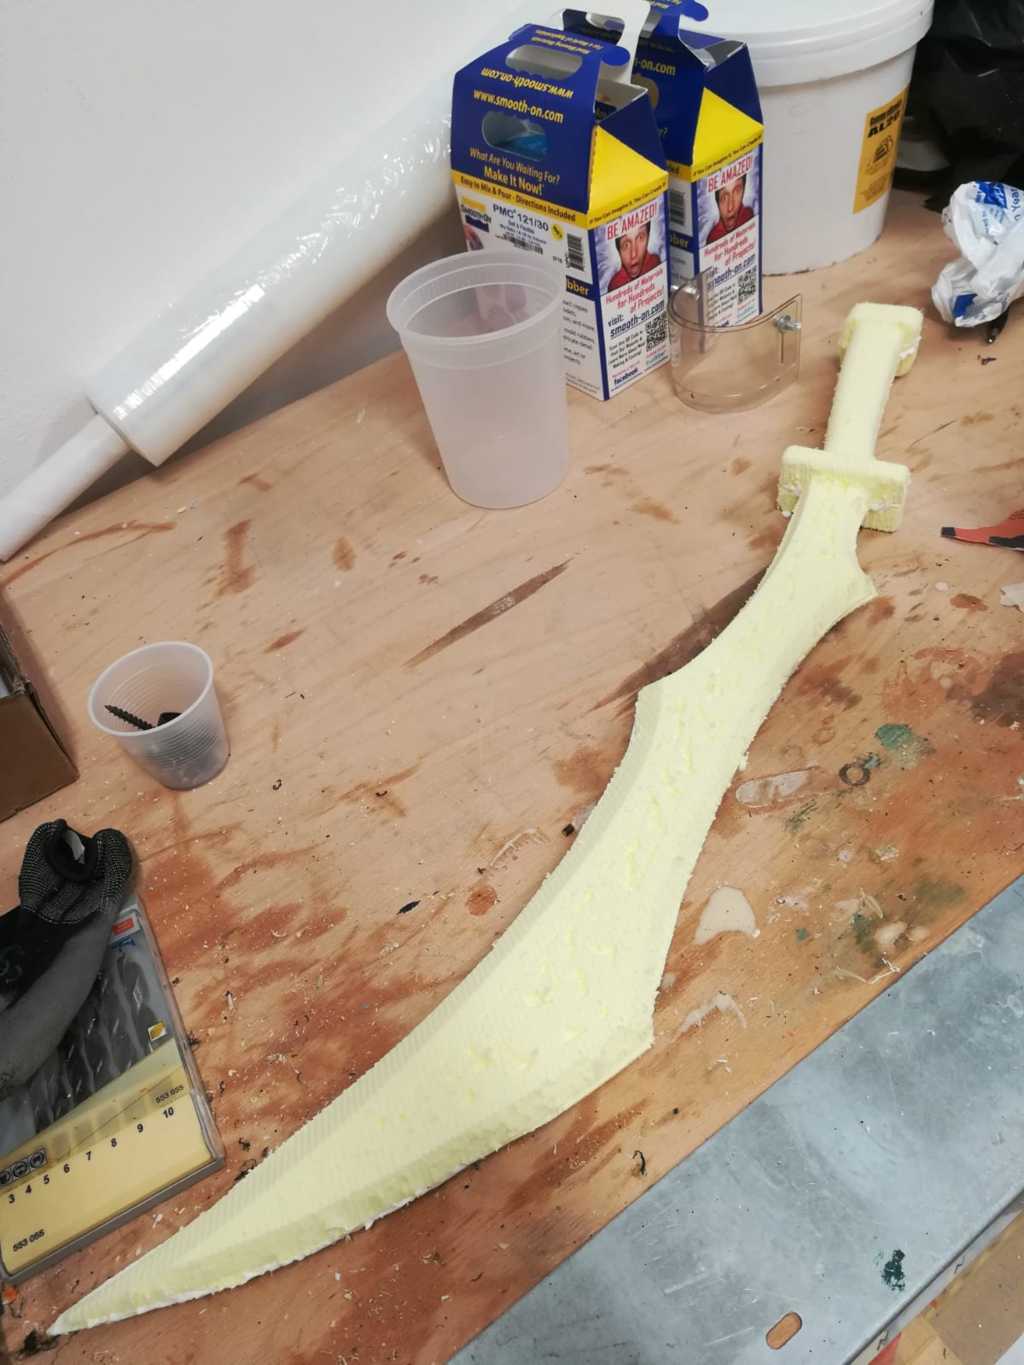
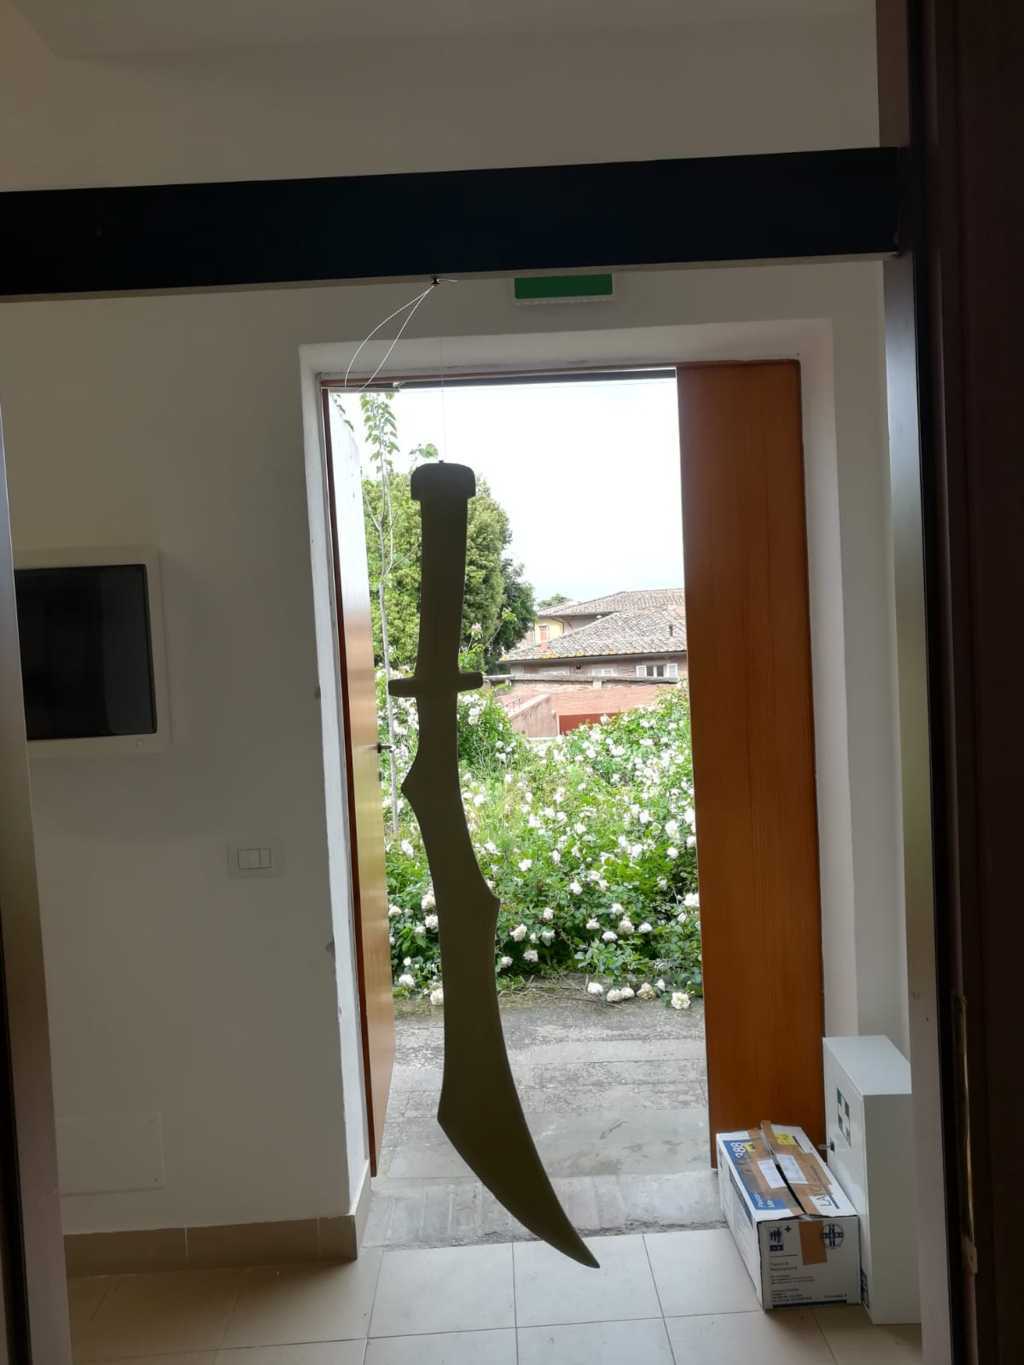
After studying the situation I decided to hang the sword to cover it at once. in this way I would had only one problem: the time.
I screwed a screw to the handle, I tied it to a thread and hanging on a wooden beam (stuck in a door)
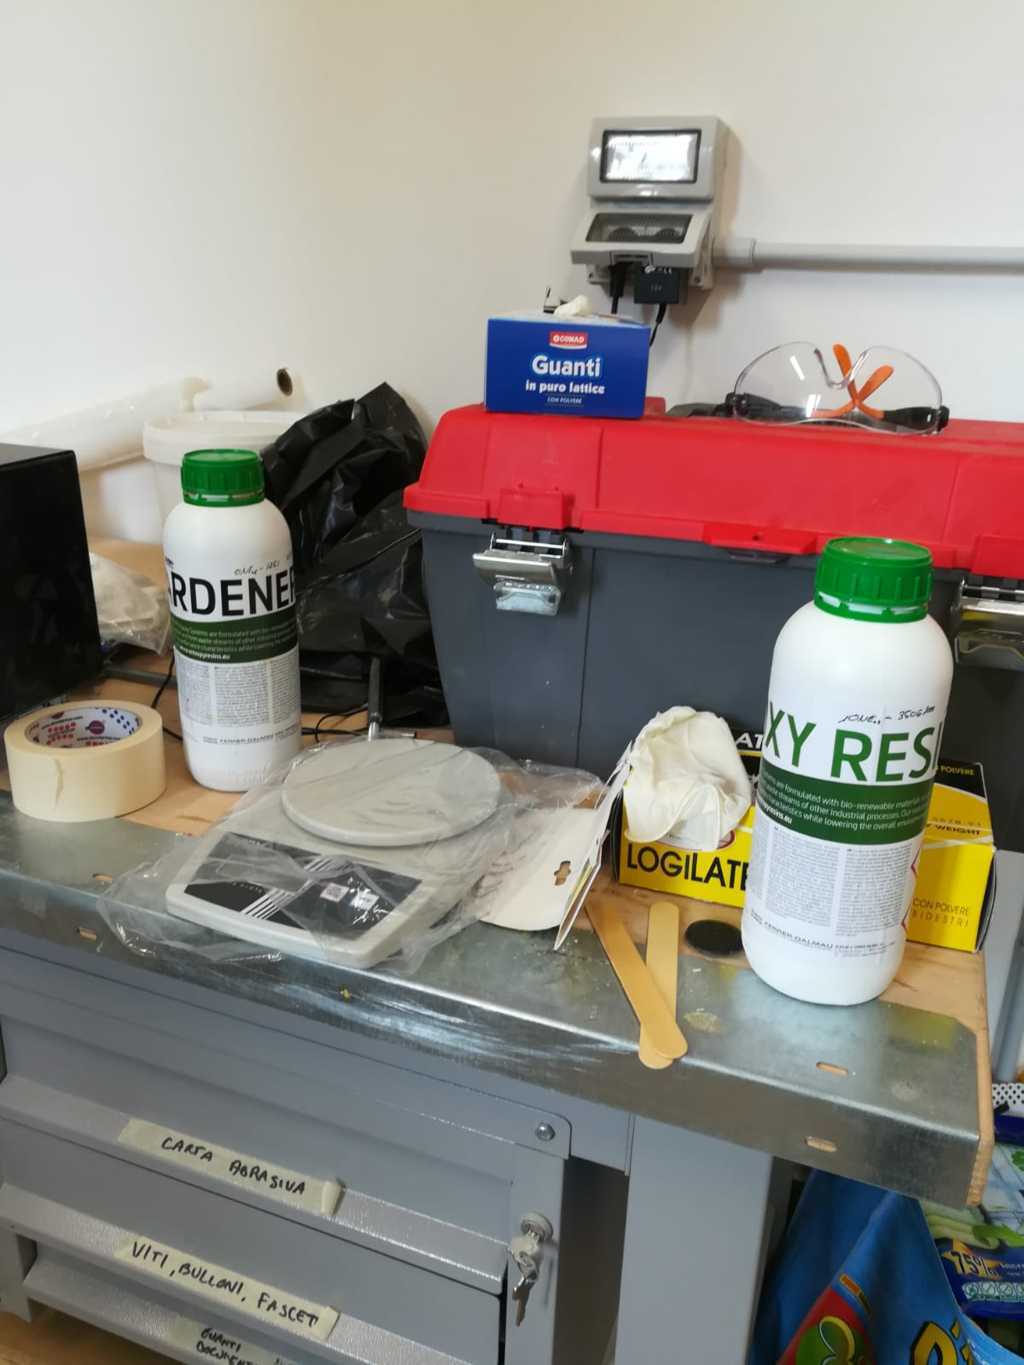
The resin that I used is the Super Sap ONE epoxy,
here the site and
the datasheet
The A part is the epoxy and the B part is the hardener. The ratio (by volume) between A and B part is 2:1.
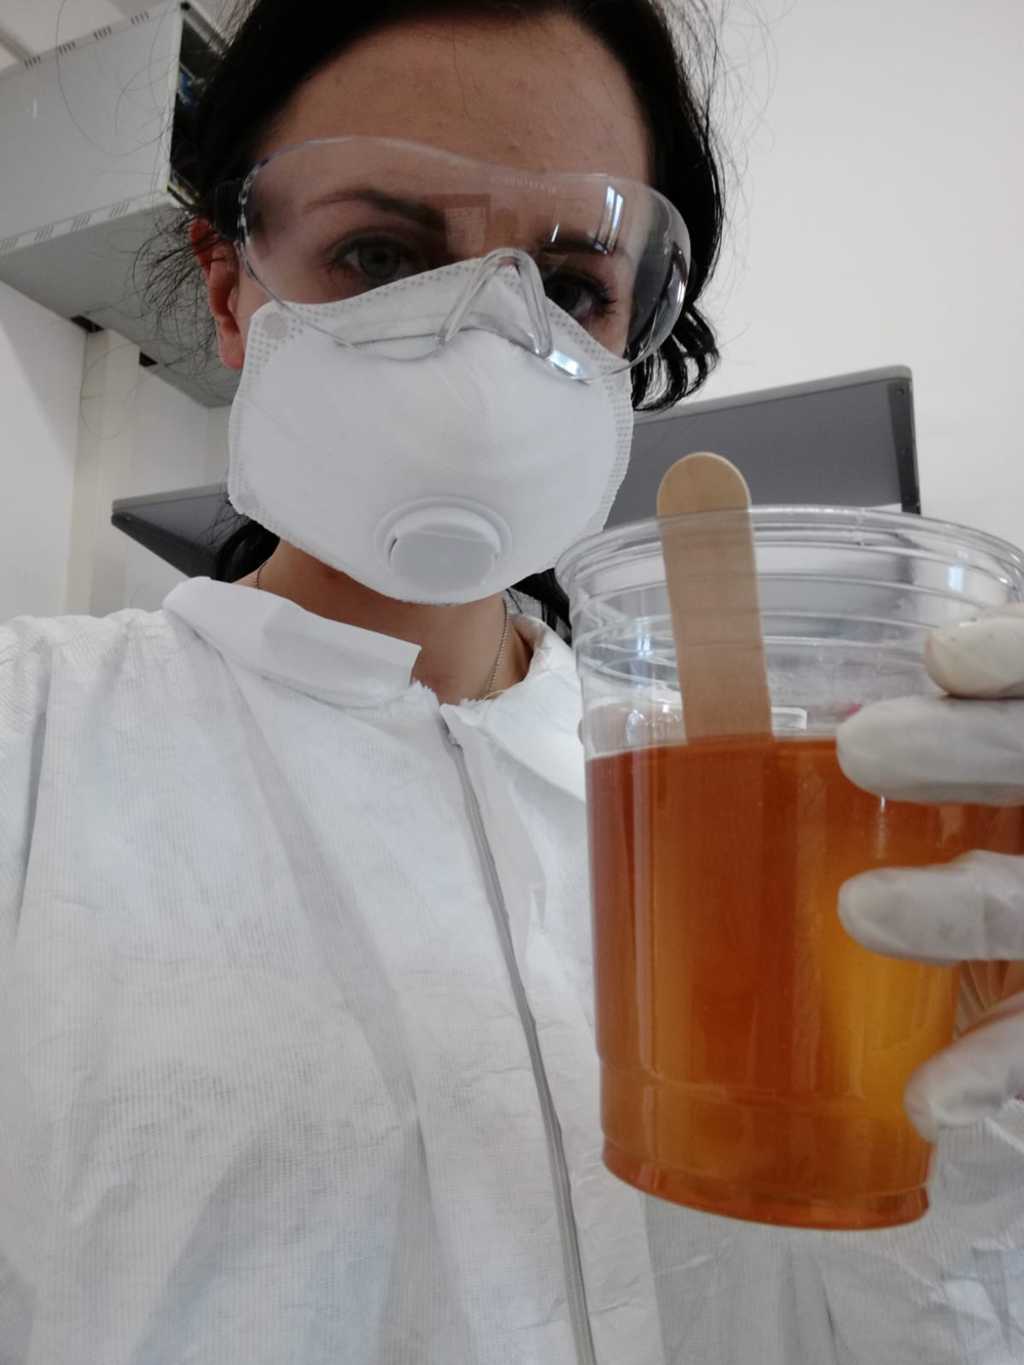
Since the resin is a very corrosive material and releases toxic fumes it's essential to protect yourself well as you can
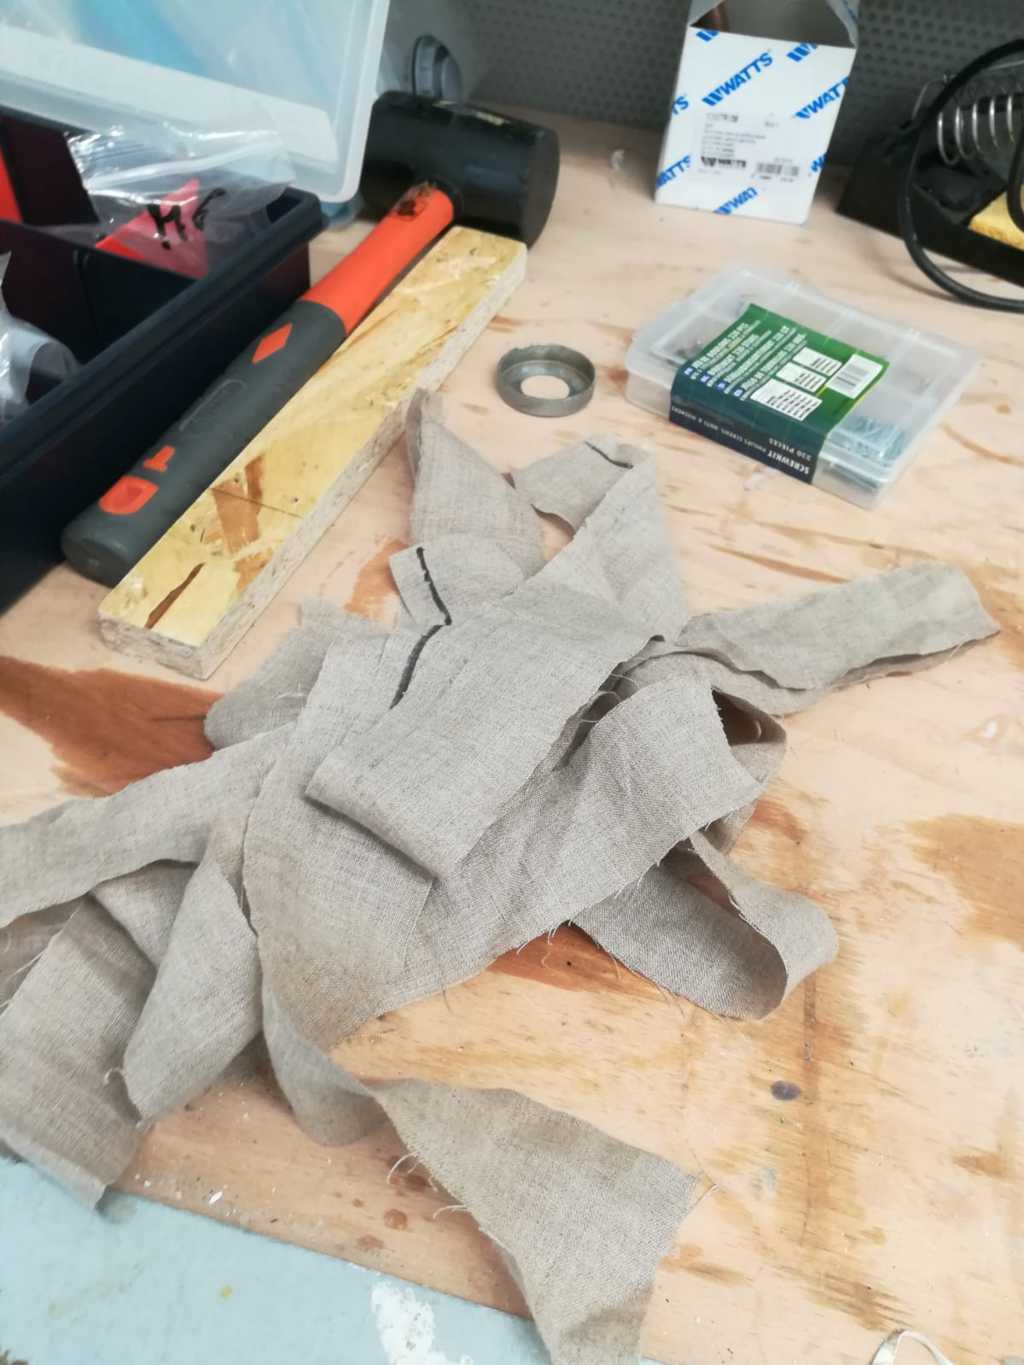
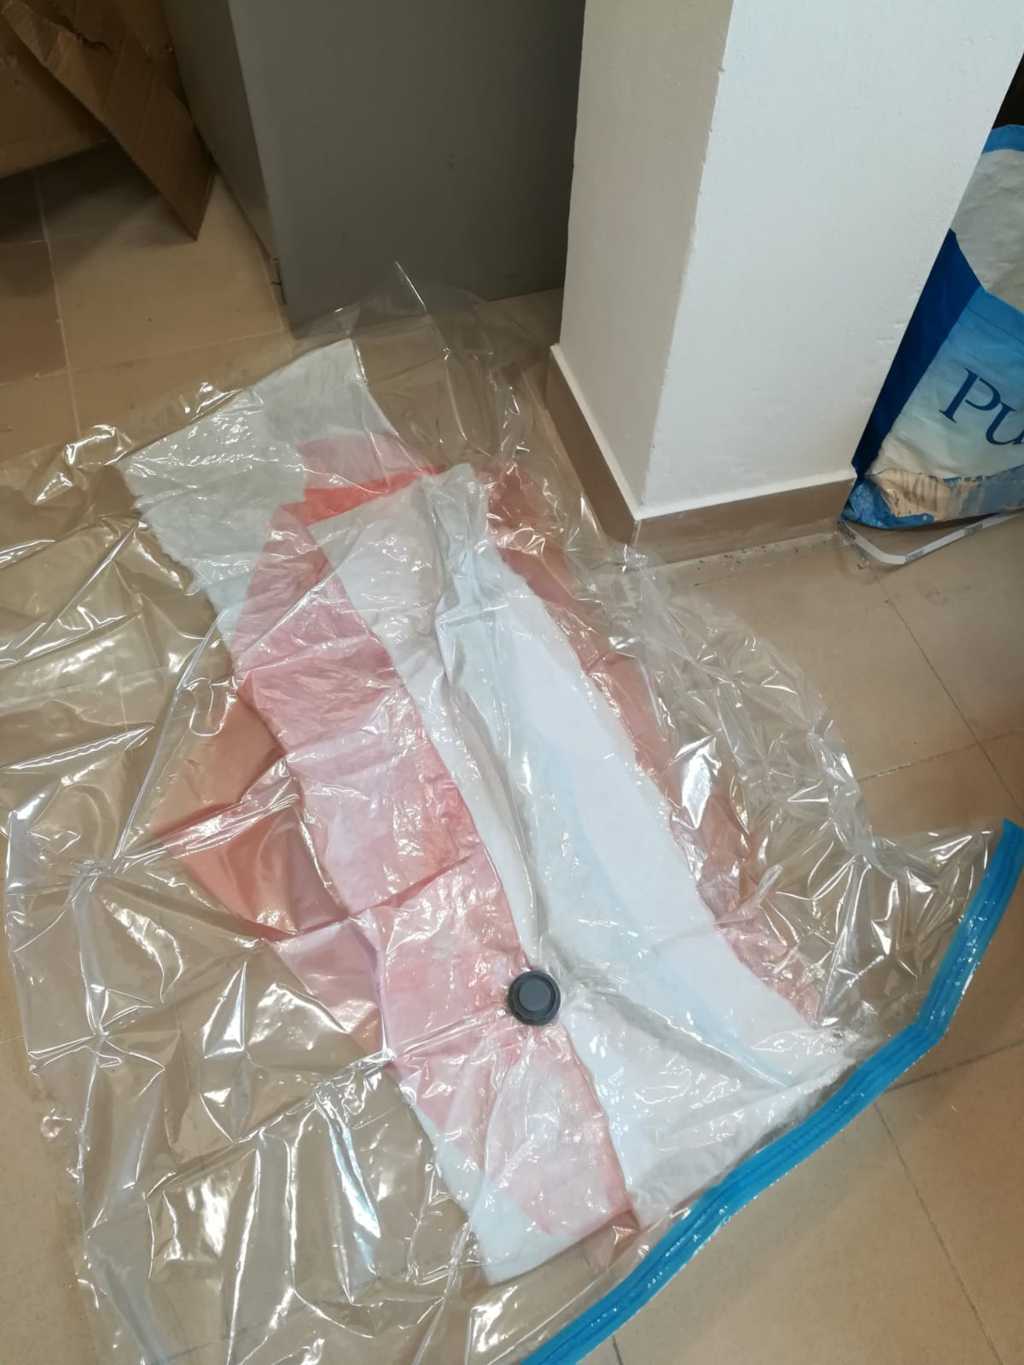
I must say that it was more complicated than I thought, because the flax strips started to lacked and the resin hardened before I could cover some points,
but the result is quite satisfying
The A part is the epoxy and the B part is the hardener. The ratio (by volume) between A and B part is 2:1.
Since the resin is a very corrosive material and releases toxic fumes it's essential to protect yourself well as you can

The final result
