Week9: Molding and casting
Group assignment:review the safety data sheets for each of your molding and casting materials,
then make and compare test casts with each of them
-> link
Individual assignment: design a 3D mold around the stock and tooling that you'll be using, machine it, and use it to cast parts
-> link
Individual assignment: design a 3D mold around the stock and tooling that you'll be using, machine it, and use it to cast parts
The model
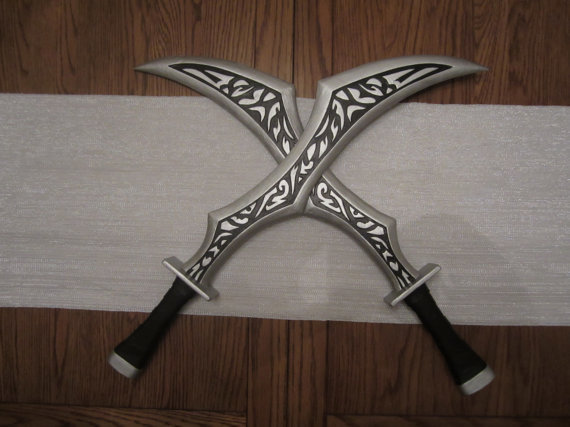
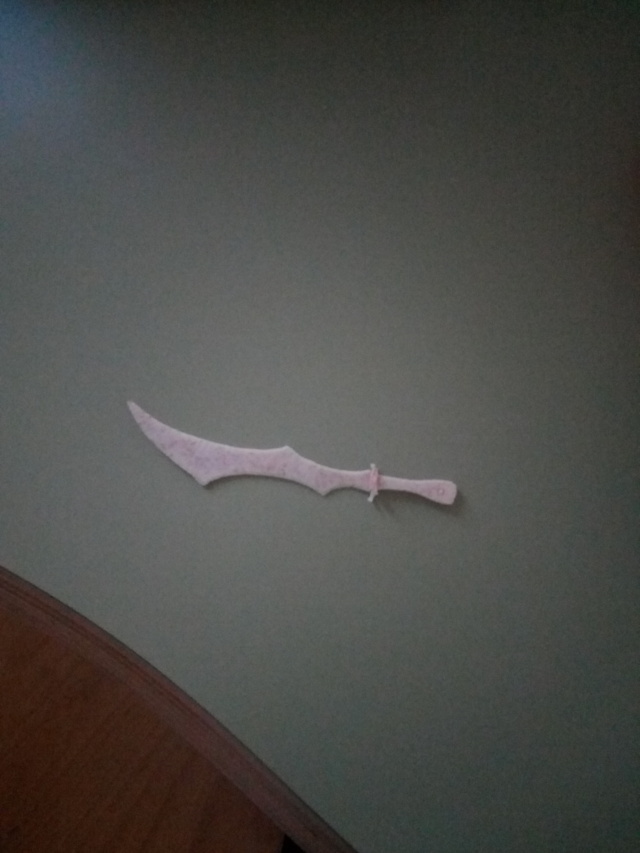
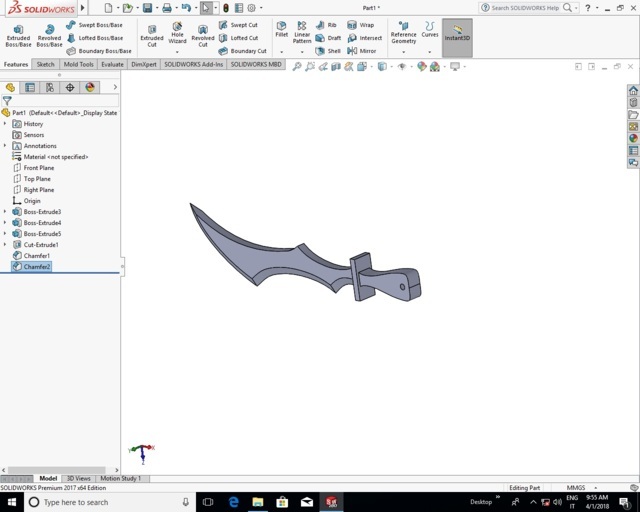
This week was very interesting for me because I could make a an object that I always wanted to make, a sword-shaped keychain. This sword is used by
one of my favorite champions in a game, so I found an image on the internet and used it to make the 3D model
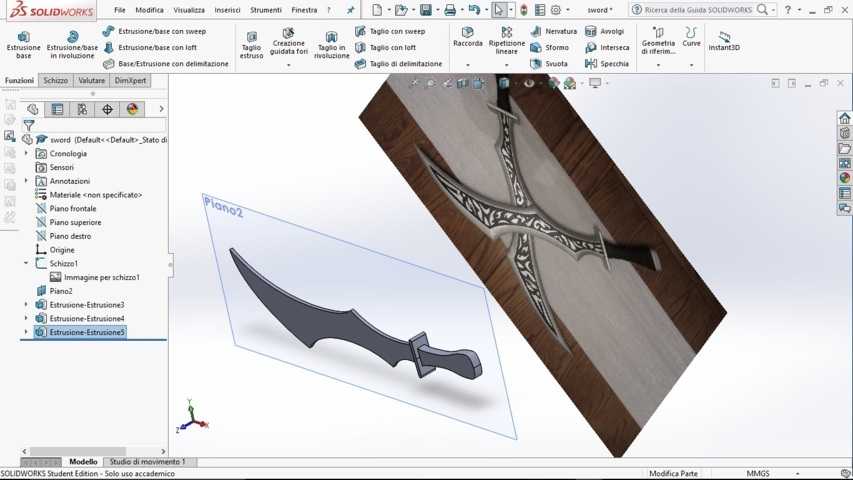
Since the design is quite complex I followed a tutorial of a sword that was really useful -> here the link. Once I inserted the image I traced the outline dividing it into 3 parts, each with a different extrusion to obtain different volumes
Since the design is quite complex I followed a tutorial of a sword that was really useful -> here the link. Once I inserted the image I traced the outline dividing it into 3 parts, each with a different extrusion to obtain different volumes
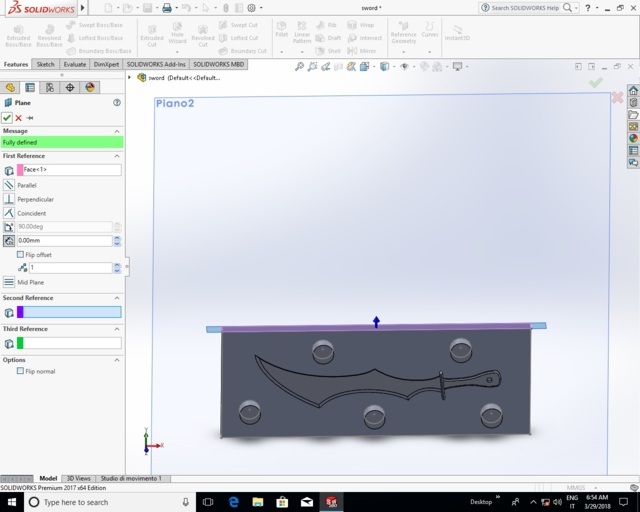
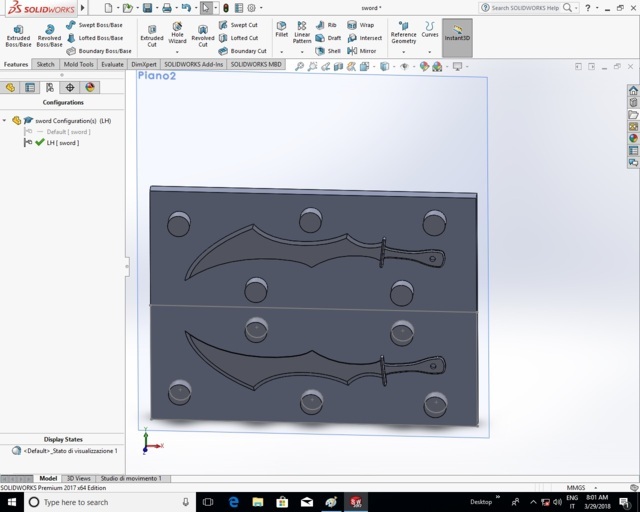
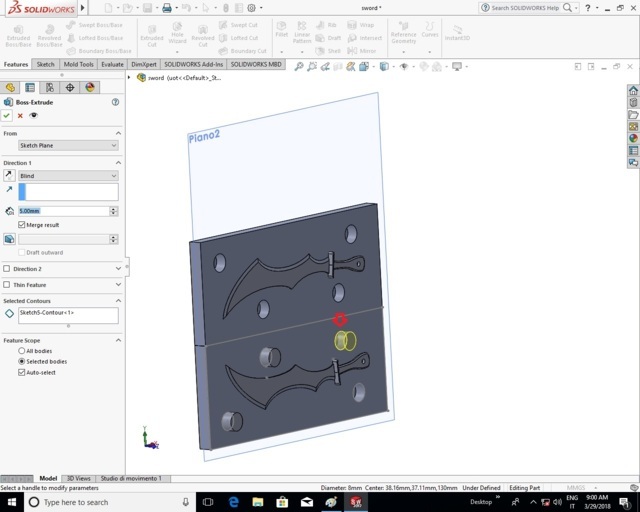
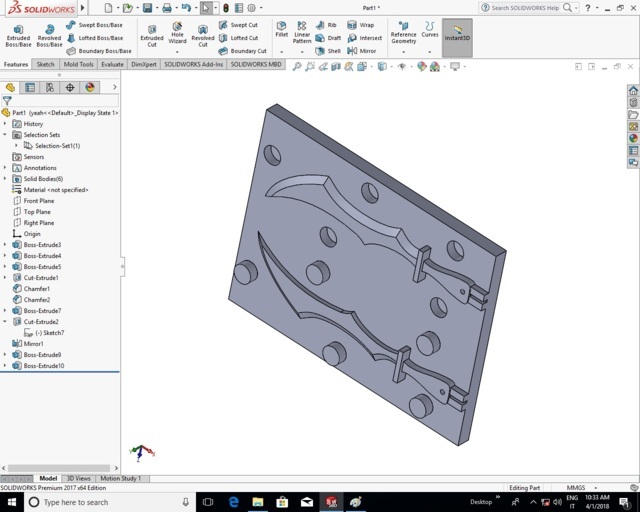
After the mirroring it was hard creating the holes for the keys because the one I took from one side took it away from the other,
so I first made the holes and then the extrusion of the keys, in this way it worked. So I exported the model in STL.
Milling
For this work we will use the Roland
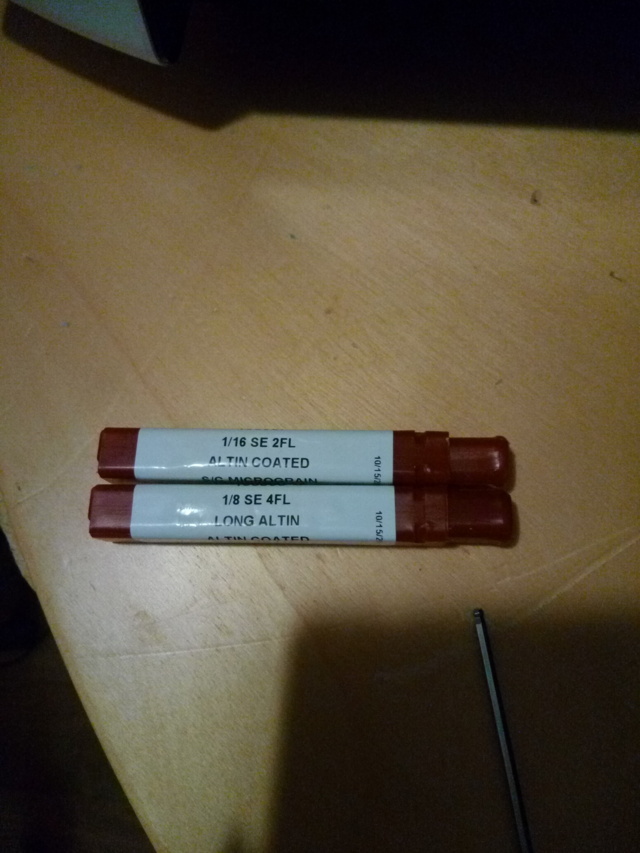
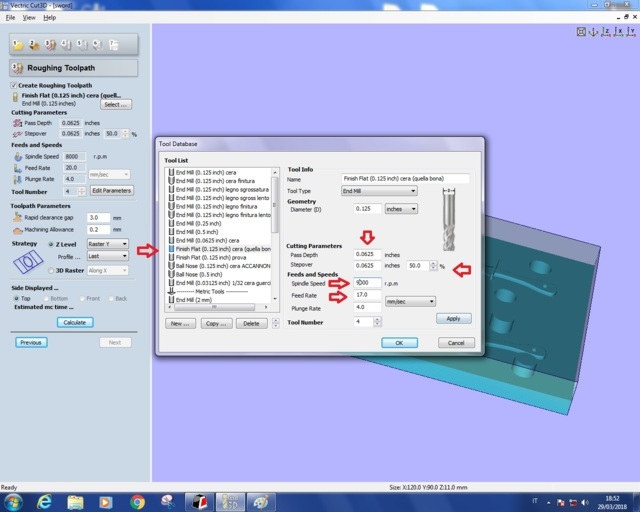
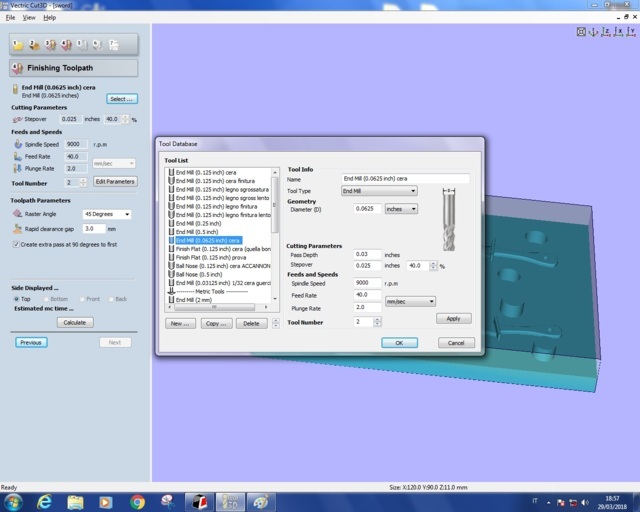
Some info on Vectric Cut 3D: there are several parameters to insert and two different files to save. In fact the first part of the work will be roughing (and in our case the 1/8 tip will be used) while the second part is finishing (smaller tip, 1/16).
Pass depth = indicates how much the tip drops in every pass
Stepover = it is expressed in percentage because it represents the distance between the previous cut and the next one (high percentage means you need more time to mill)
Spindle speed = it is measured in r.p.m (revolution per minute), consequently it express the speed related to the spins in 60 seconds
Feed rate = indicates the speed of the progress done on the workpiece
Plunge rate = indicates the speed at which the tip goes downward (through the material)
Below you can see what parameters I used for the Roughing and the finish toolpath
Some info on Vectric Cut 3D: there are several parameters to insert and two different files to save. In fact the first part of the work will be roughing (and in our case the 1/8 tip will be used) while the second part is finishing (smaller tip, 1/16).
In this part is important to set the position of the origin and the depth to start creating the model. Greater is this measure, thicker the mold will come.
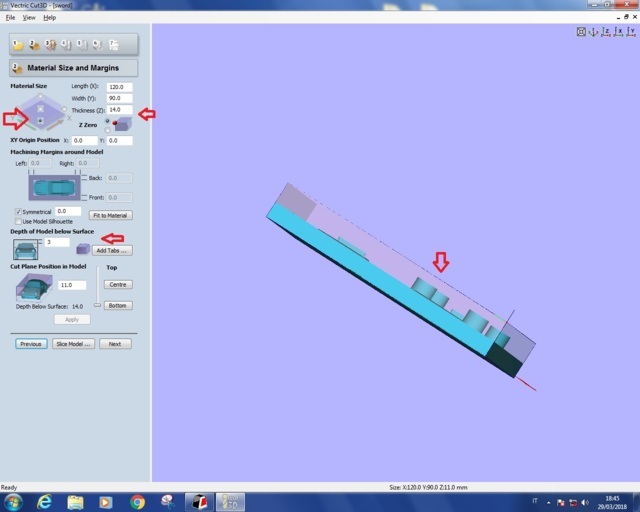
Some notes about parameters:
Pass depth = indicates how much the tip drops in every pass
Stepover = it is expressed in percentage because it represents the distance between the previous cut and the next one (high percentage means you need more time to mill)
Spindle speed = it is measured in r.p.m (revolution per minute), consequently it express the speed related to the spins in 60 seconds
Feed rate = indicates the speed of the progress done on the workpiece
Plunge rate = indicates the speed at which the tip goes downward (through the material)
Below you can see what parameters I used for the Roughing and the finish toolpath
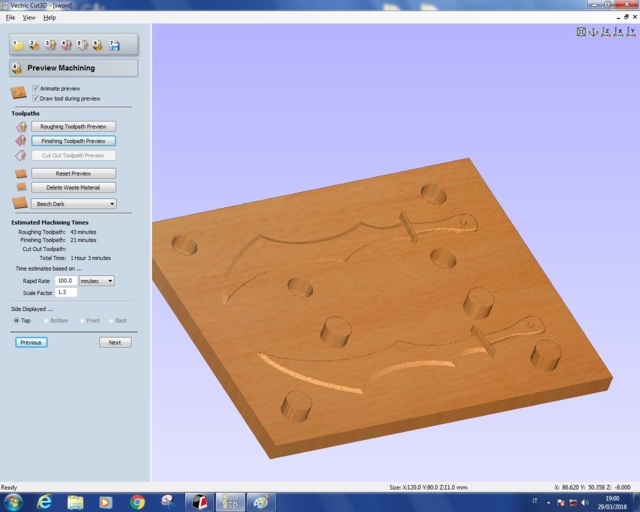
As you can see there is an option that shows you the toolpath preview
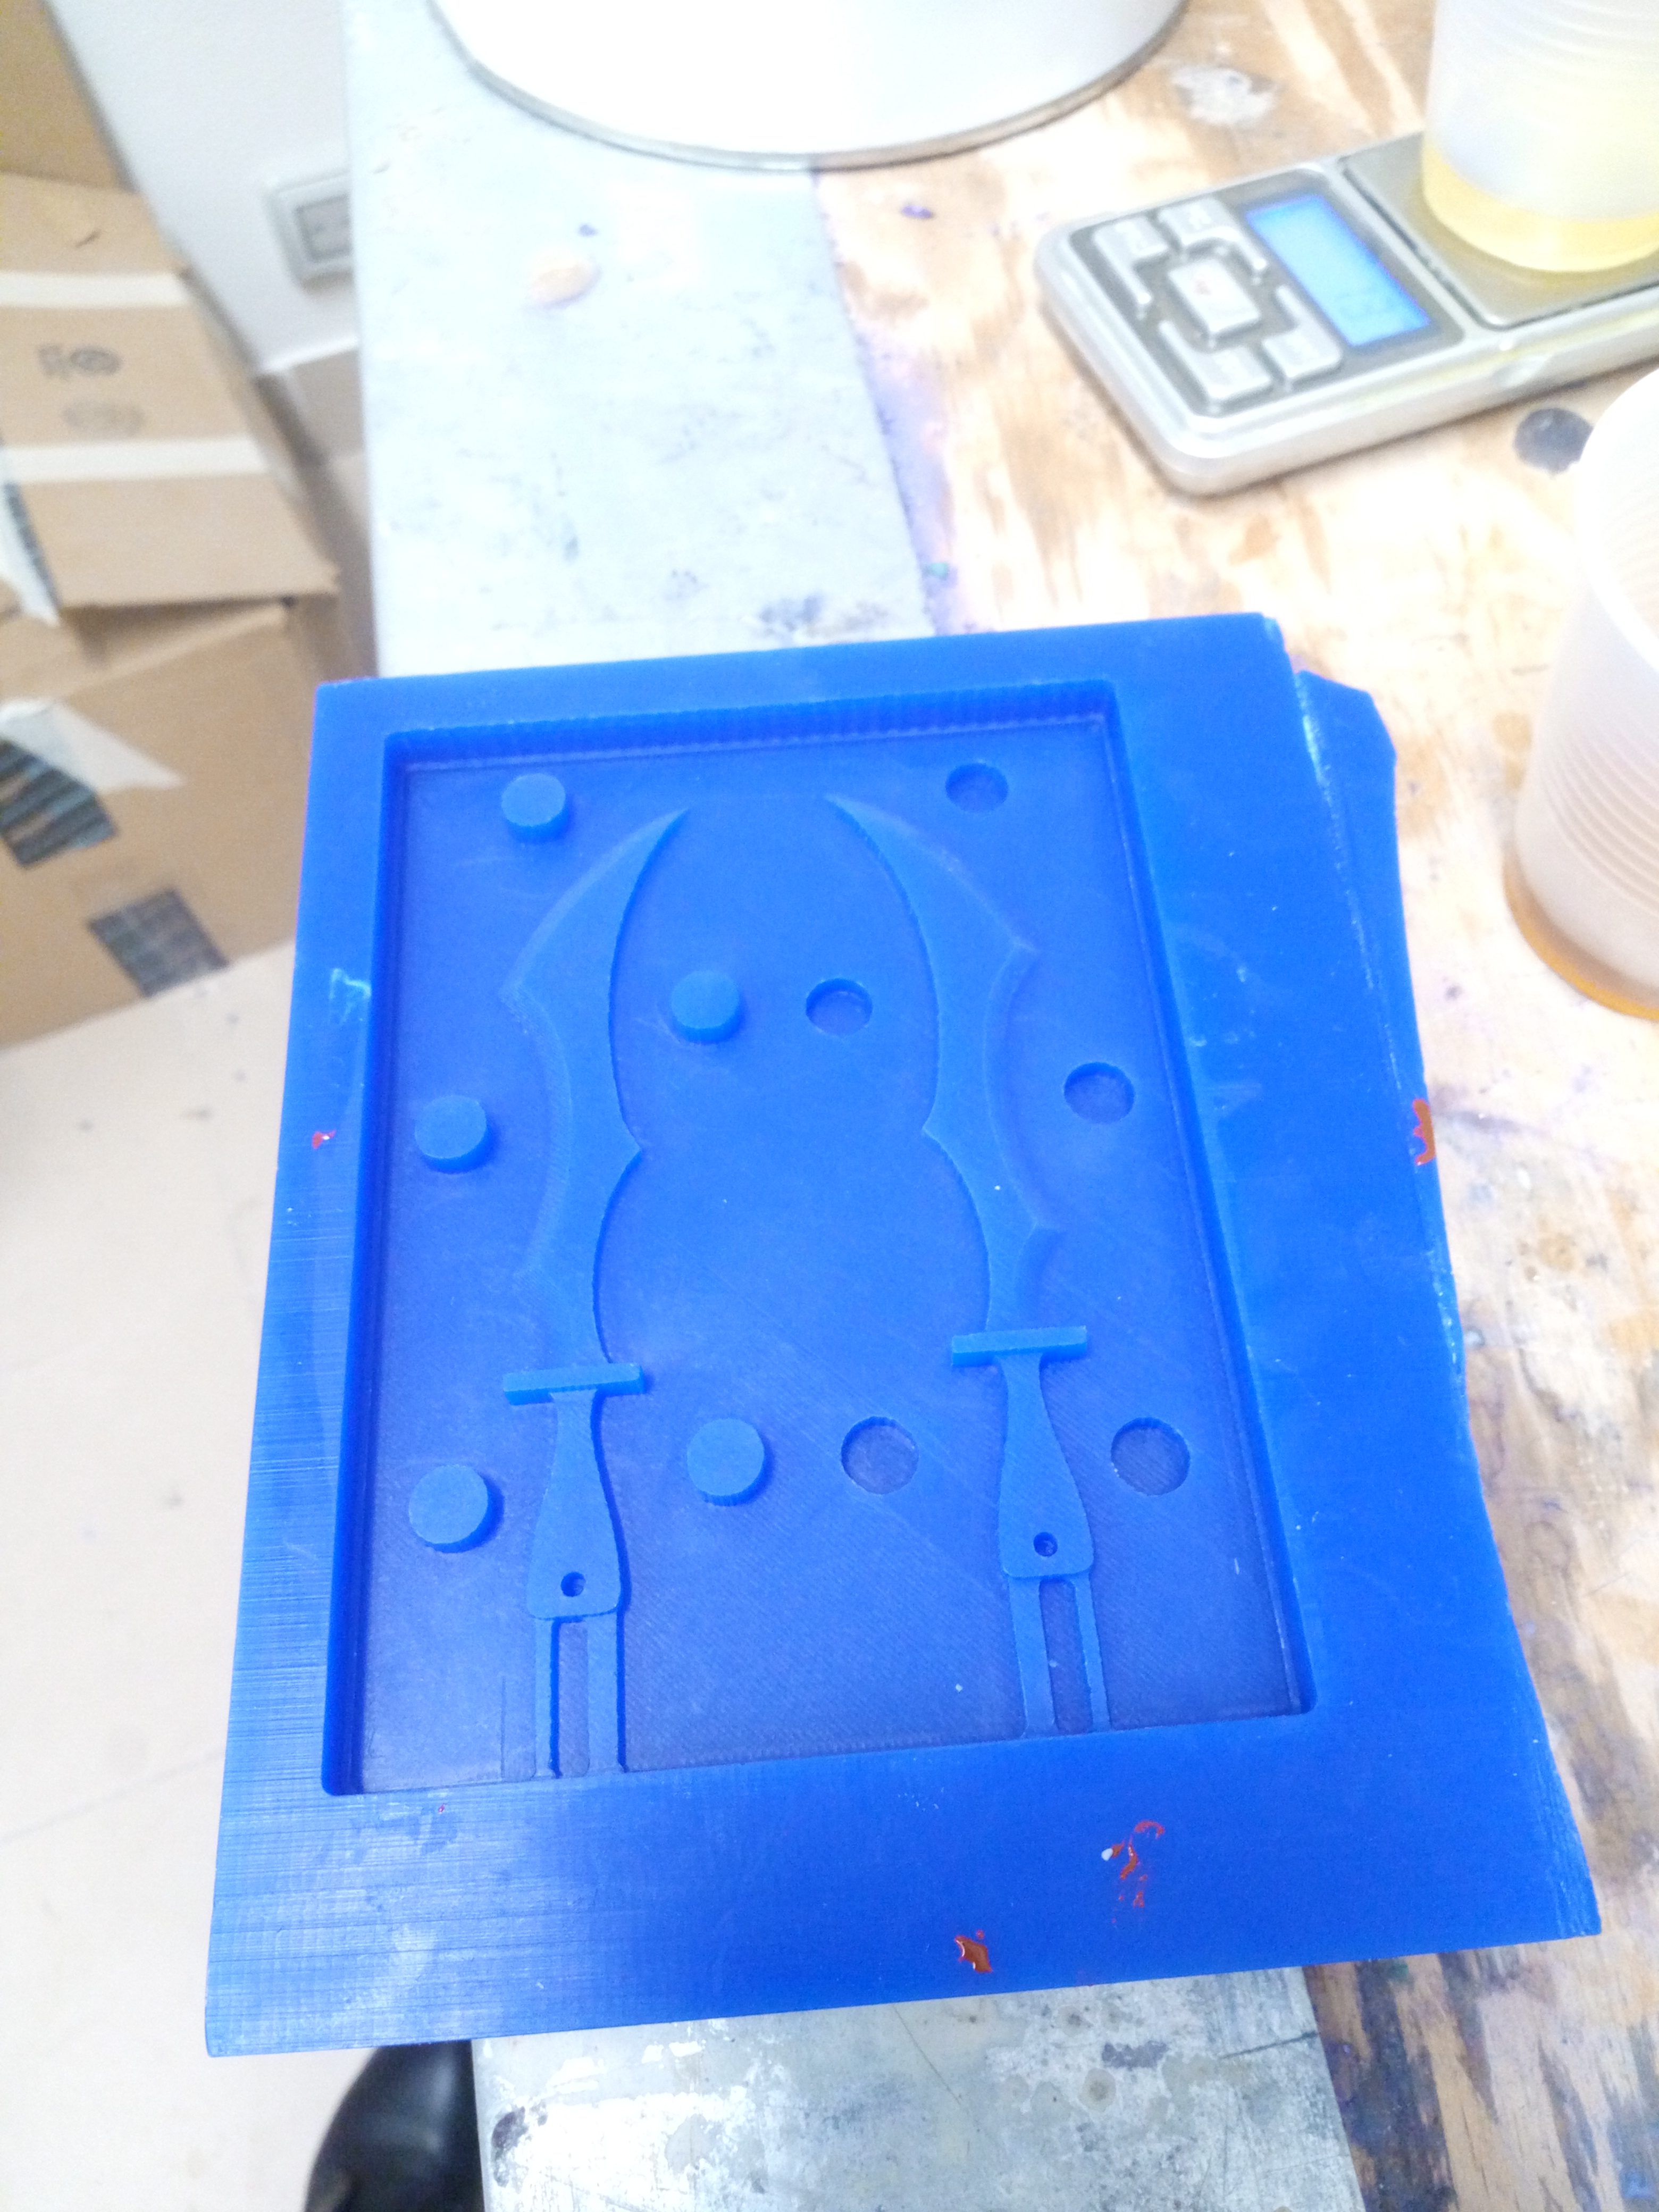
The negative mold
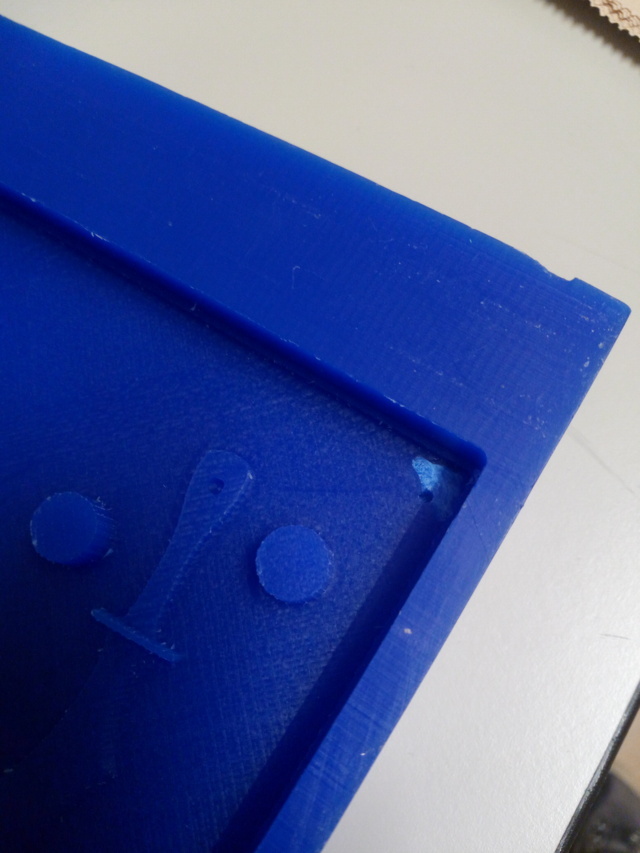
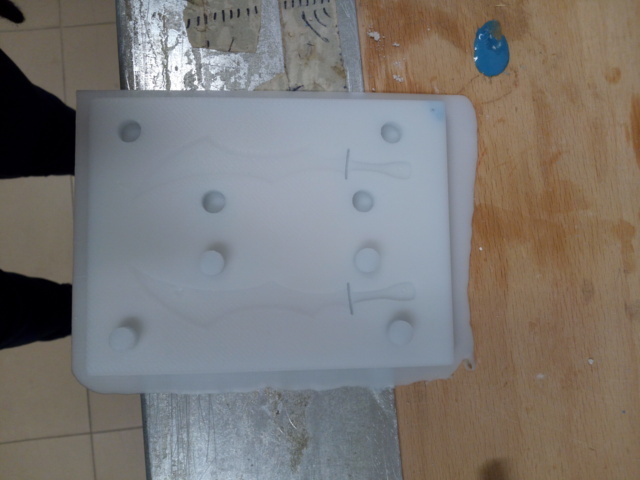
After several time, this is the result
Advice! It's important to set the Z origin of the tips: this happened because I didn't that at first time.
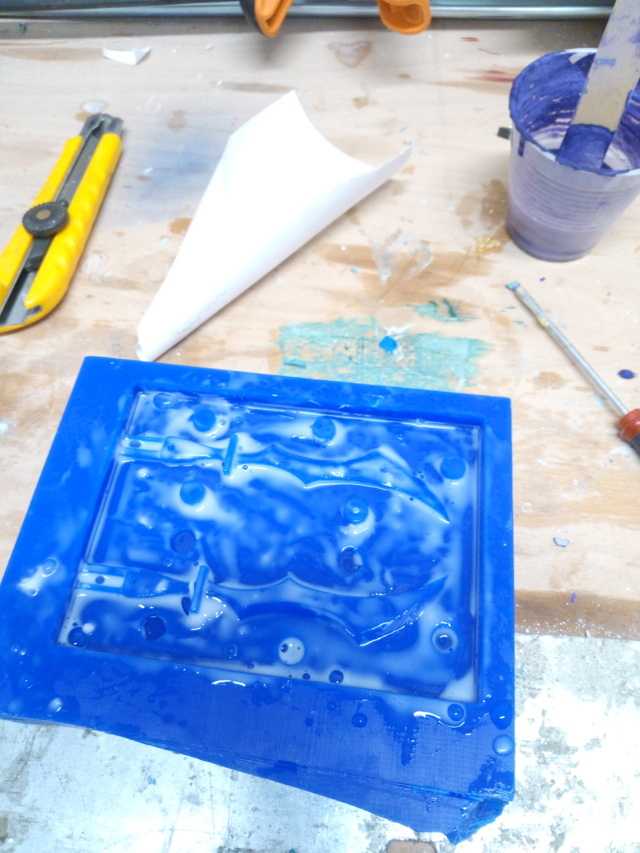
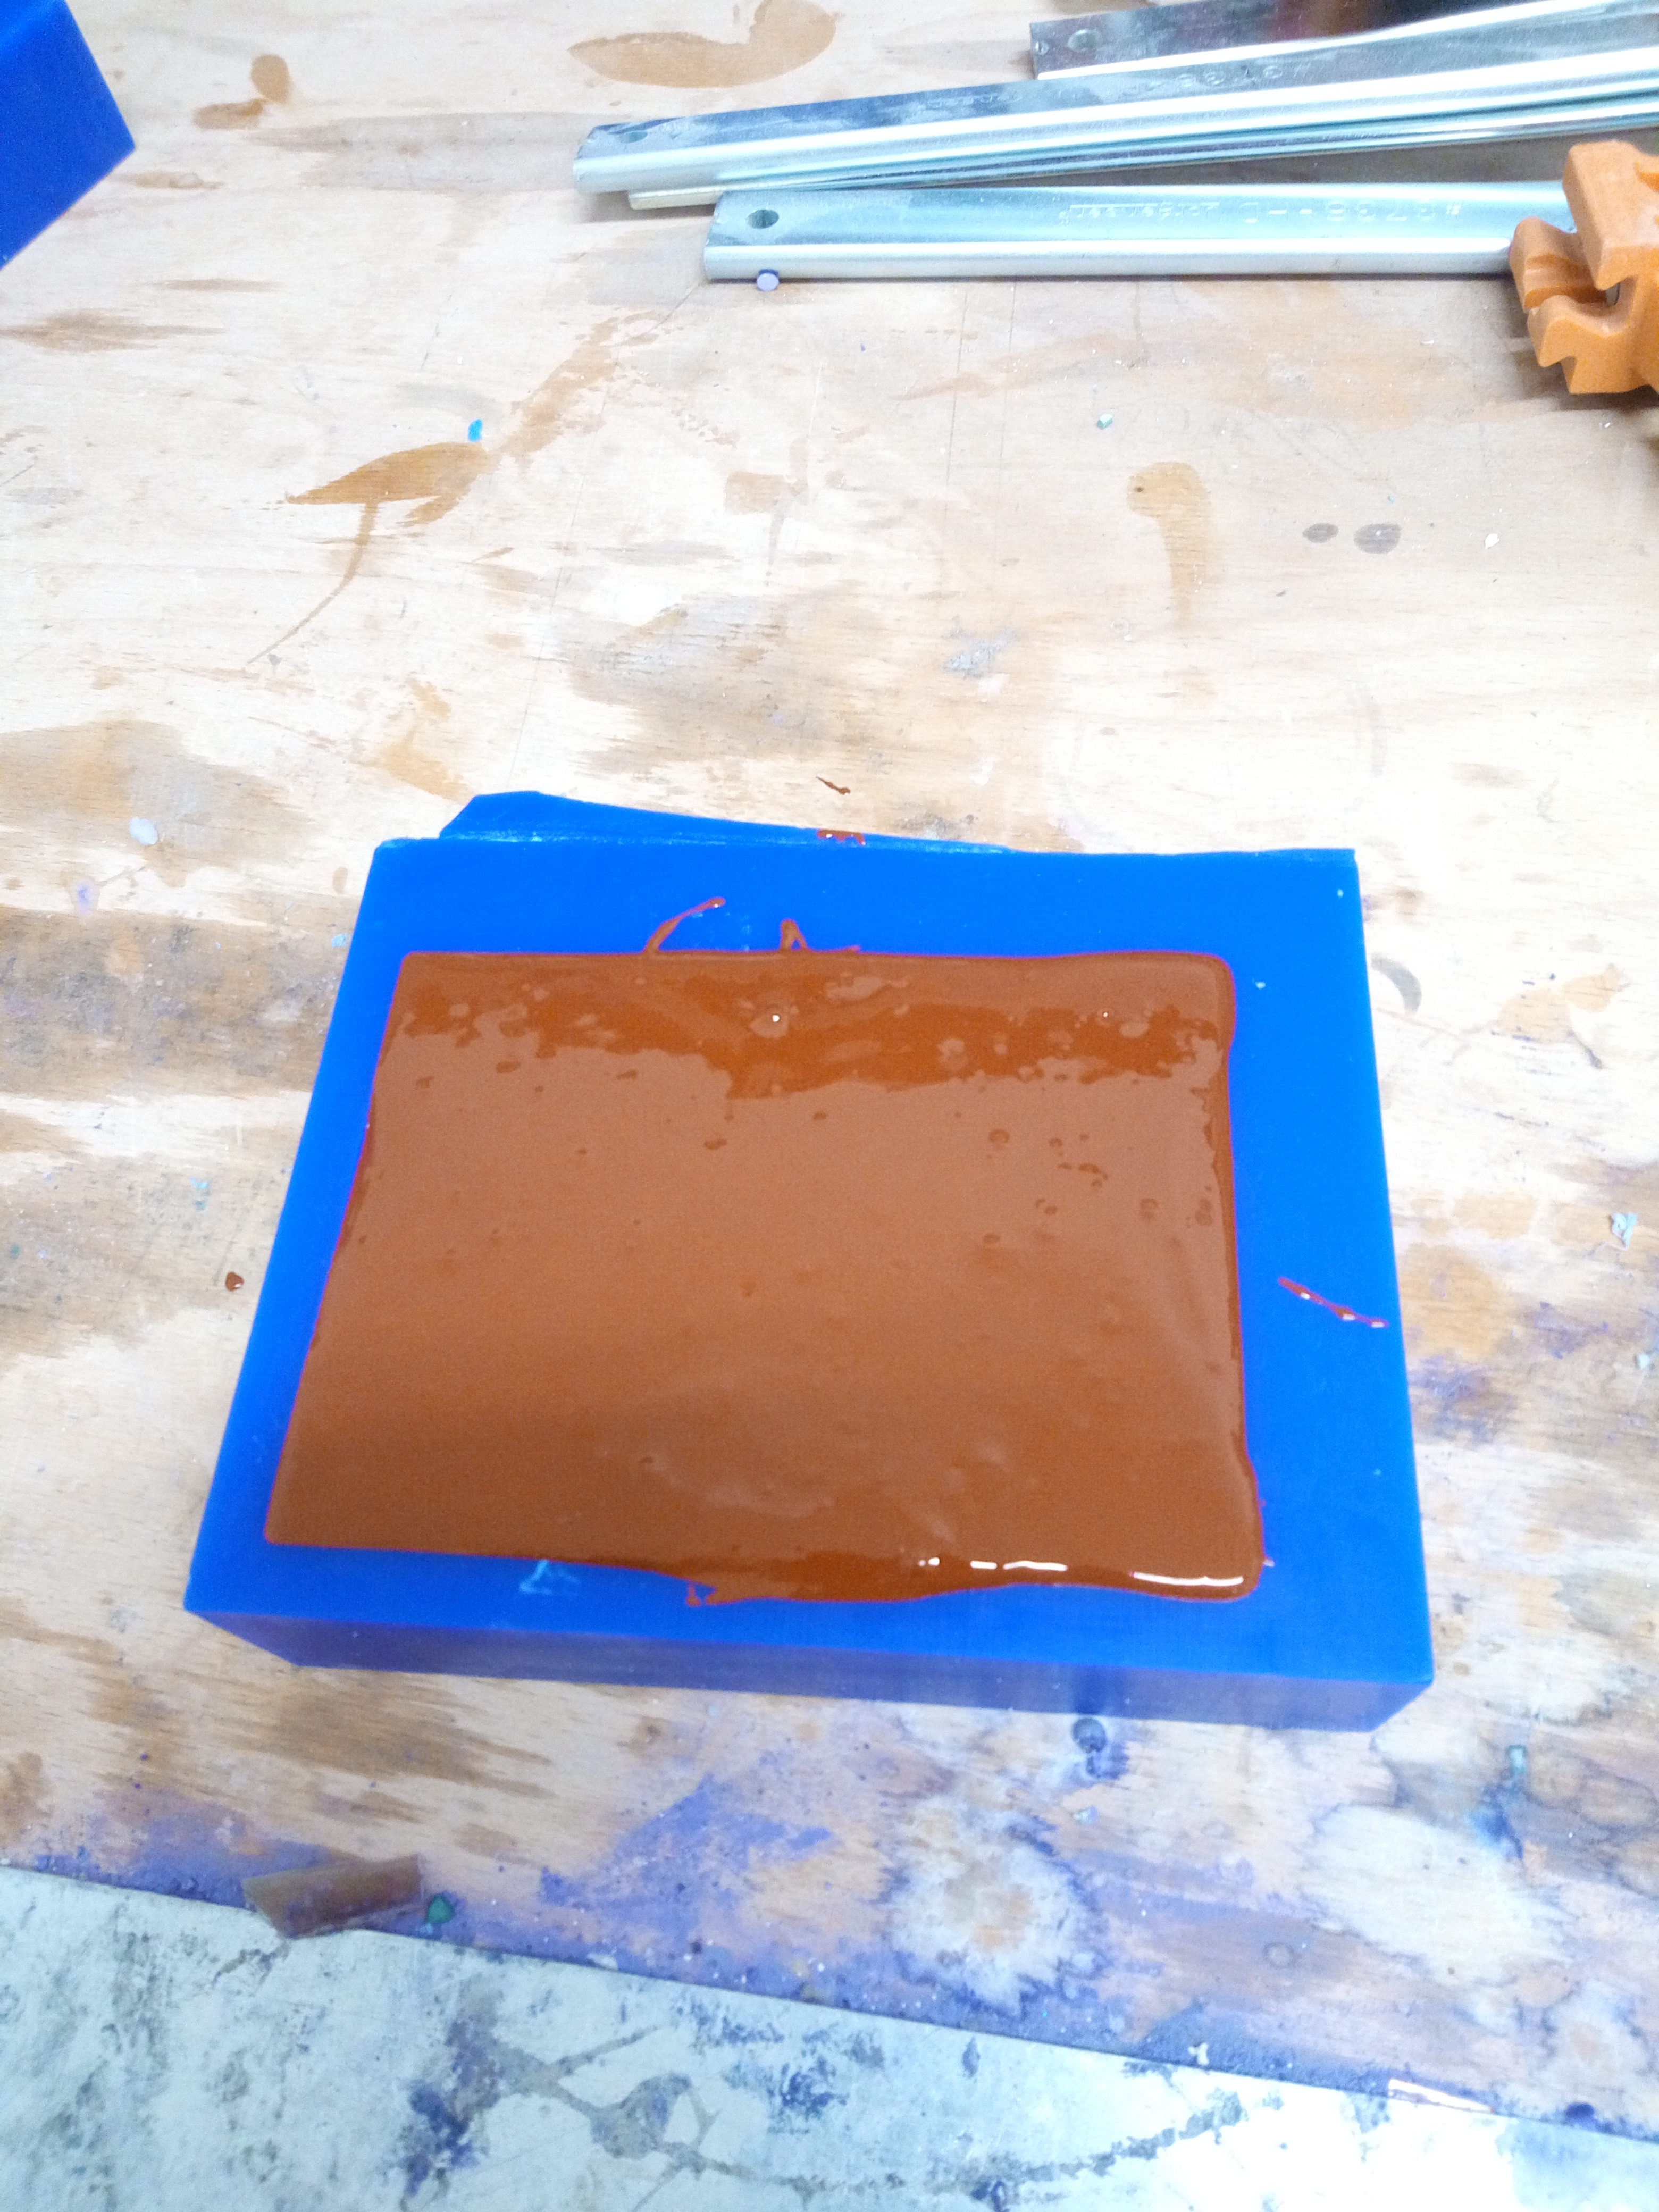
For the negative mold I used this silicone rubber Antichita' Belsito and the relative catalyst in proportion to 5%
After 24 hours the mold were finally ready
From this moment on I have to say that I encountered several problems: doing various casting tests the result was not satisfactory, in fact the sword came too thin. So I decided to do all the process over again.
I modified the model making it thicker
AndI also added the channels.
Another problem: when I redid the mold I probably didn't mix the silicone rubber enough and it didn't catalyze, so I had to clean the positive mold (it was a very long and boring job)
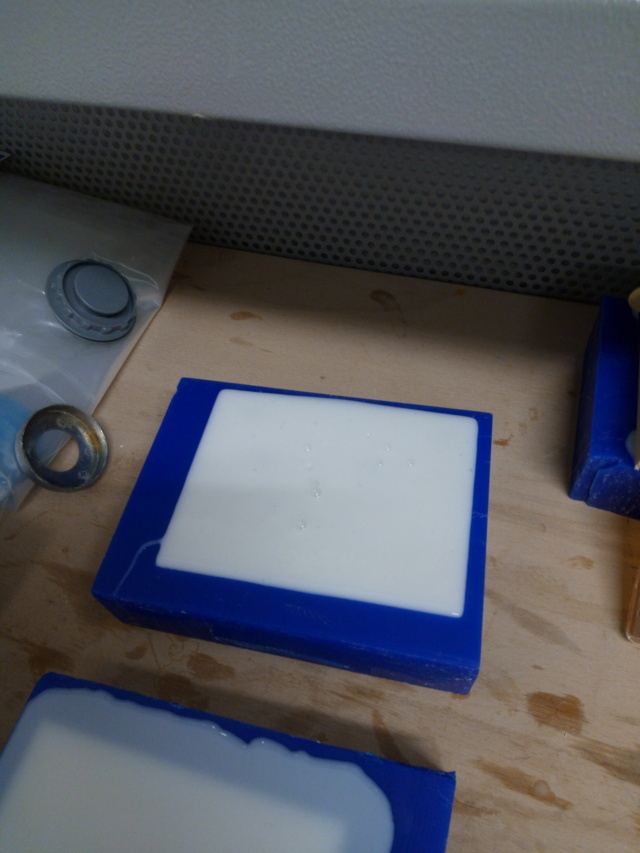
This time for the negative mold I used Smooth-On Mold Max 60 and the result came very good
Then I prepared the mold
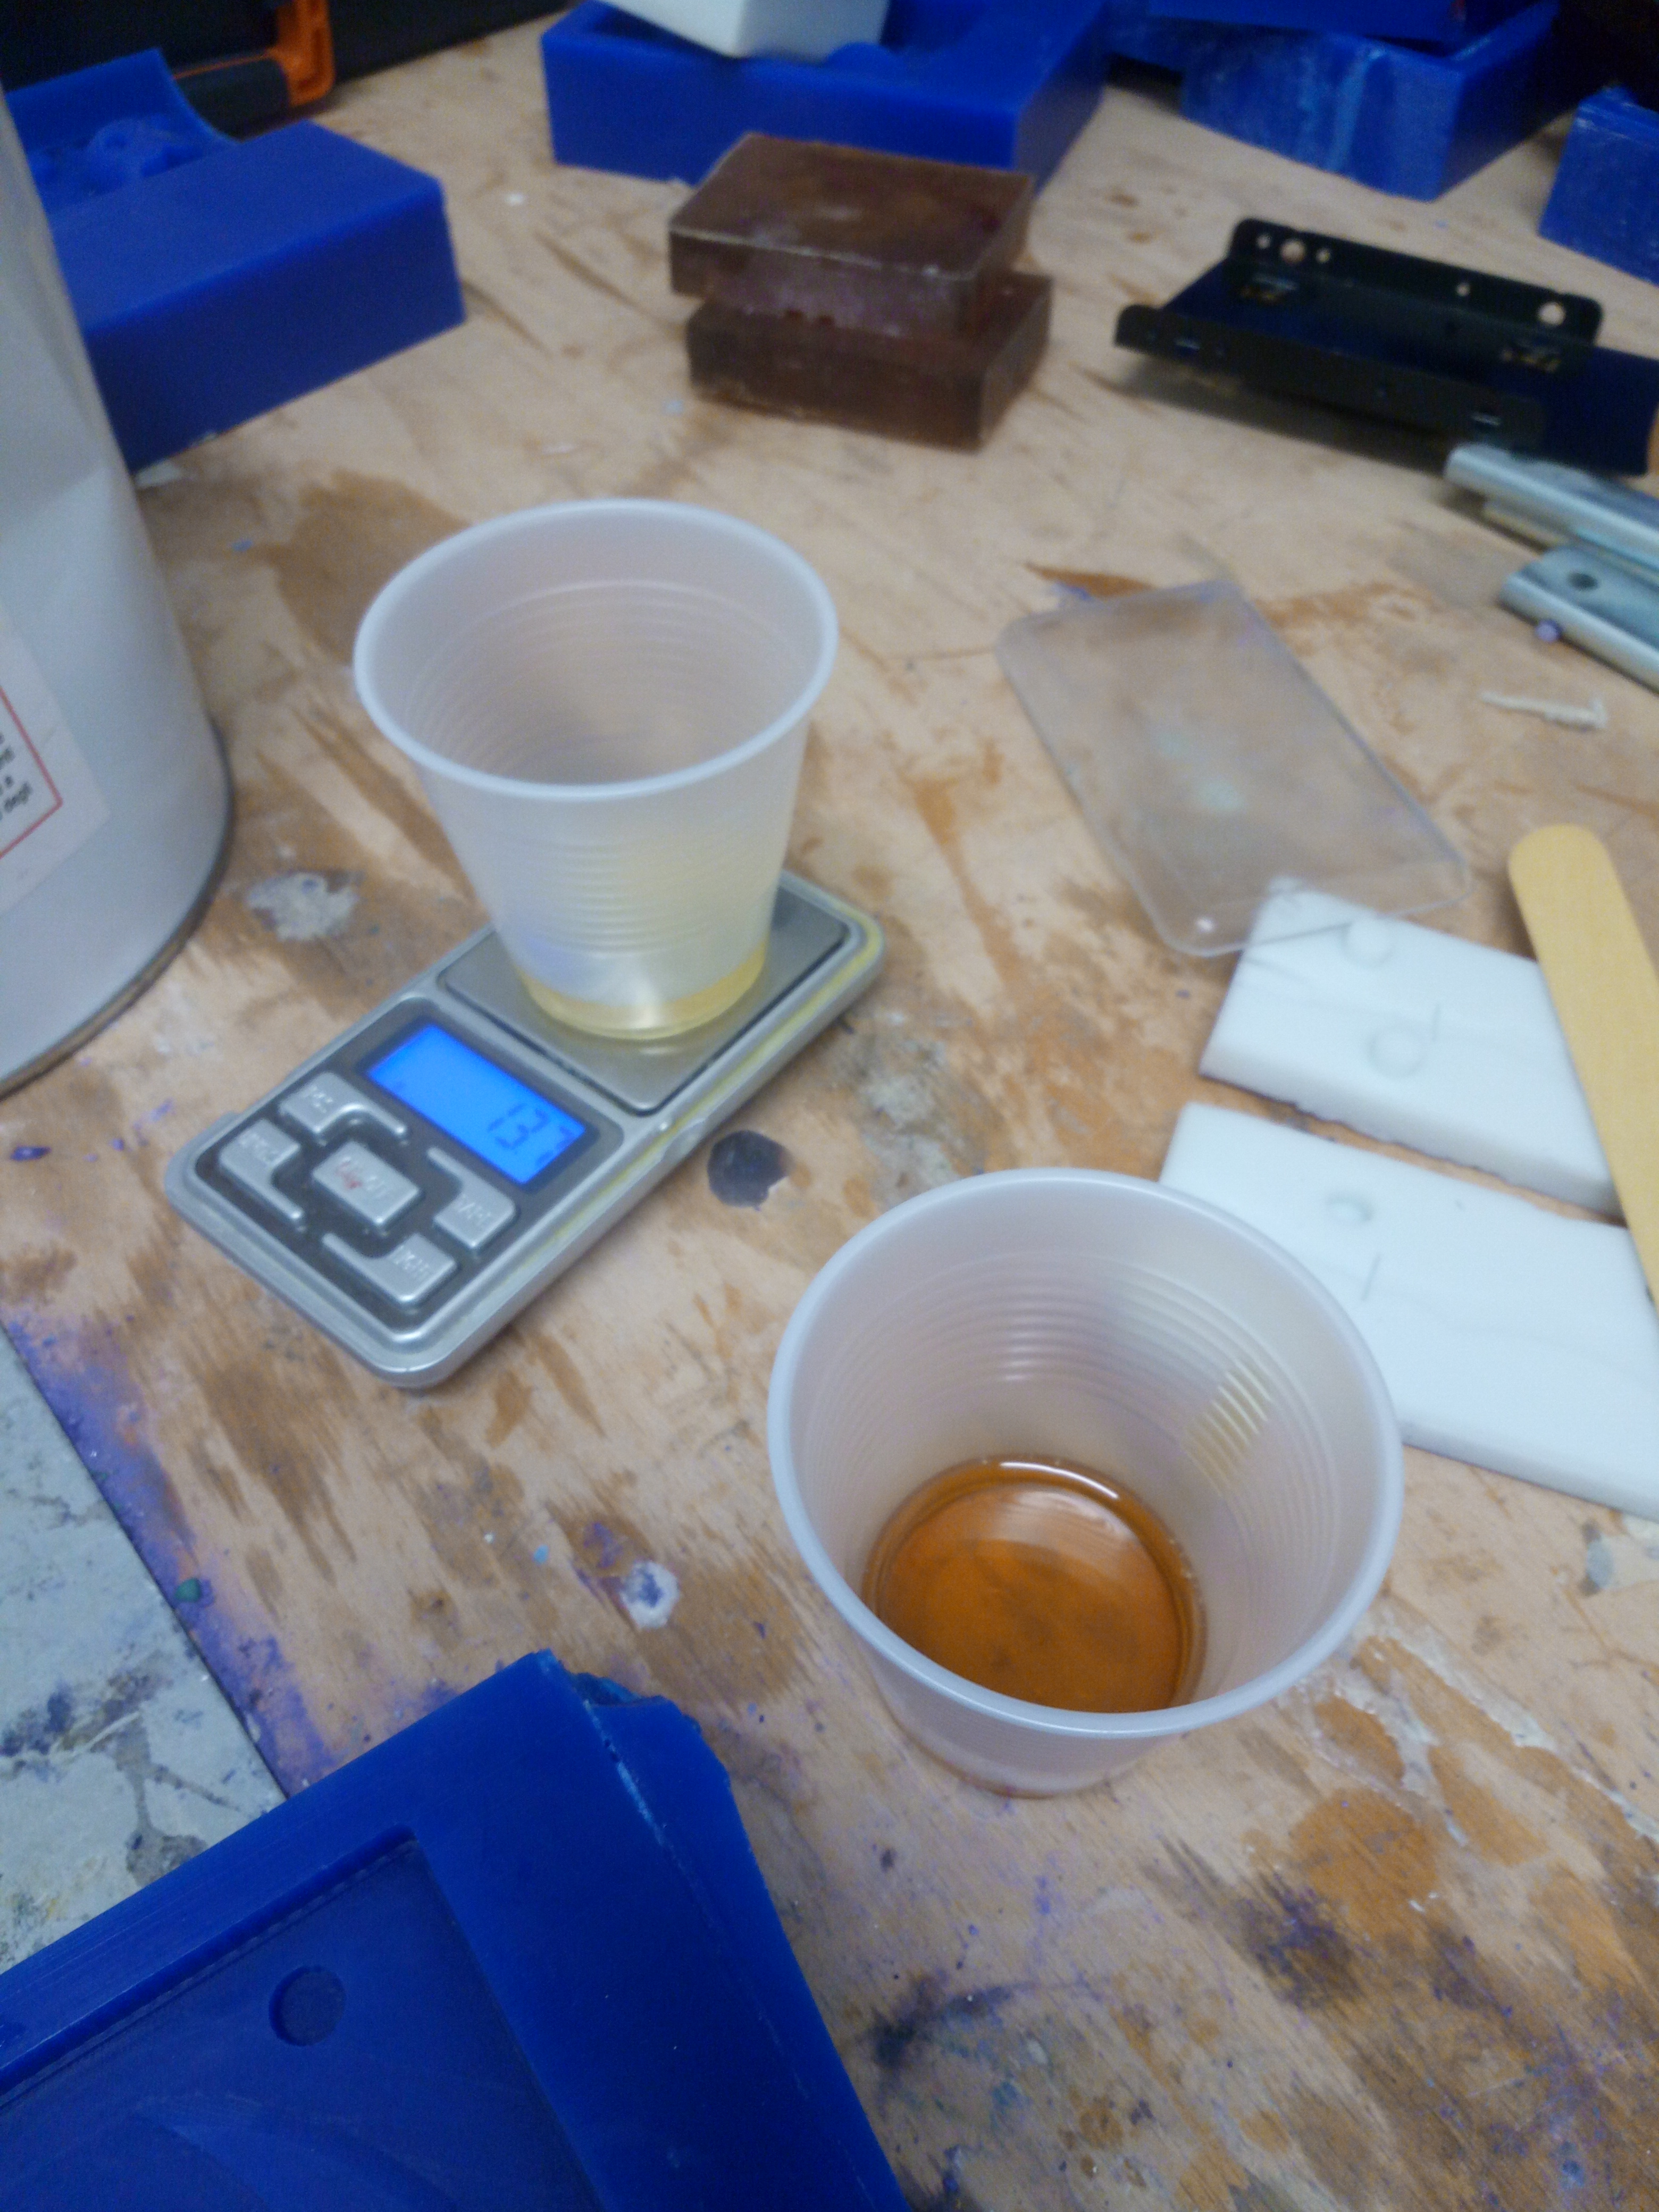
Well, it's time to talk about the Sintafoam, a polyurethane resin. Here the manufaturer's webpage with the datasheet. These are the general instructions for using this resin:
The Pot Life is 120/130 secs
The Cure Time is 250/310 secs
The ratio between A and B parts is 1:1
And above all it is very important to use gloves since the resin is a corrosive material
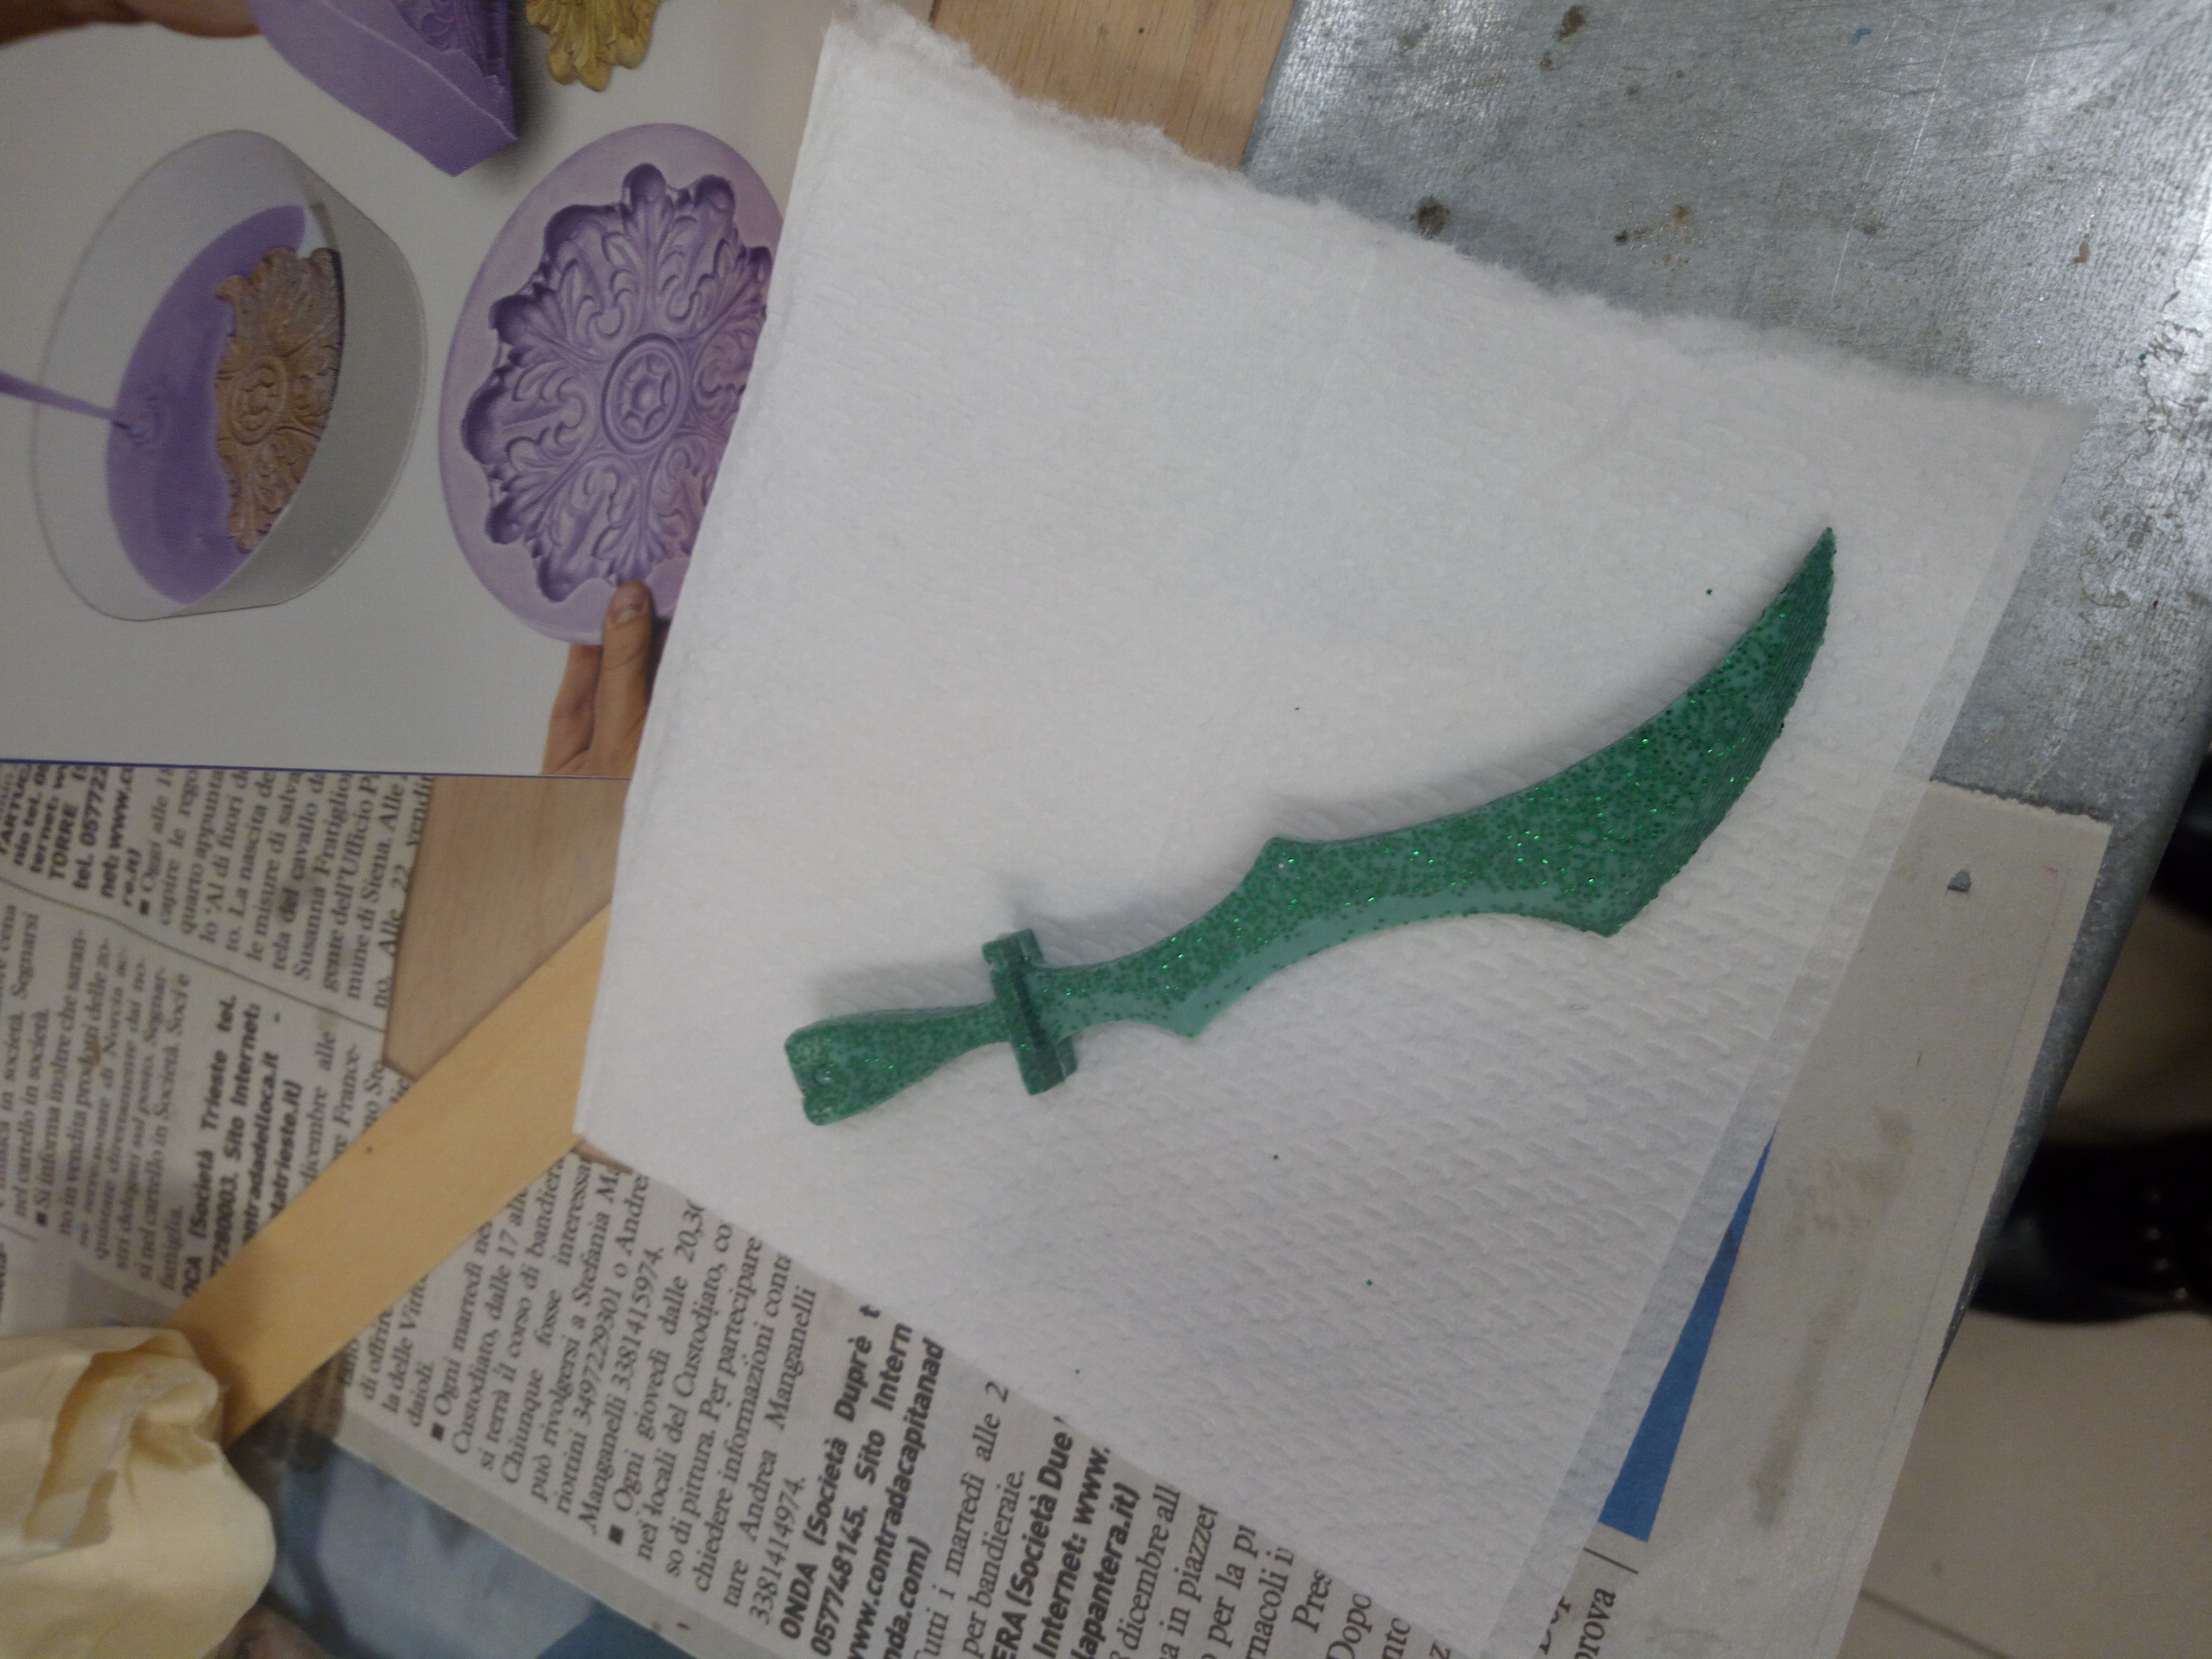
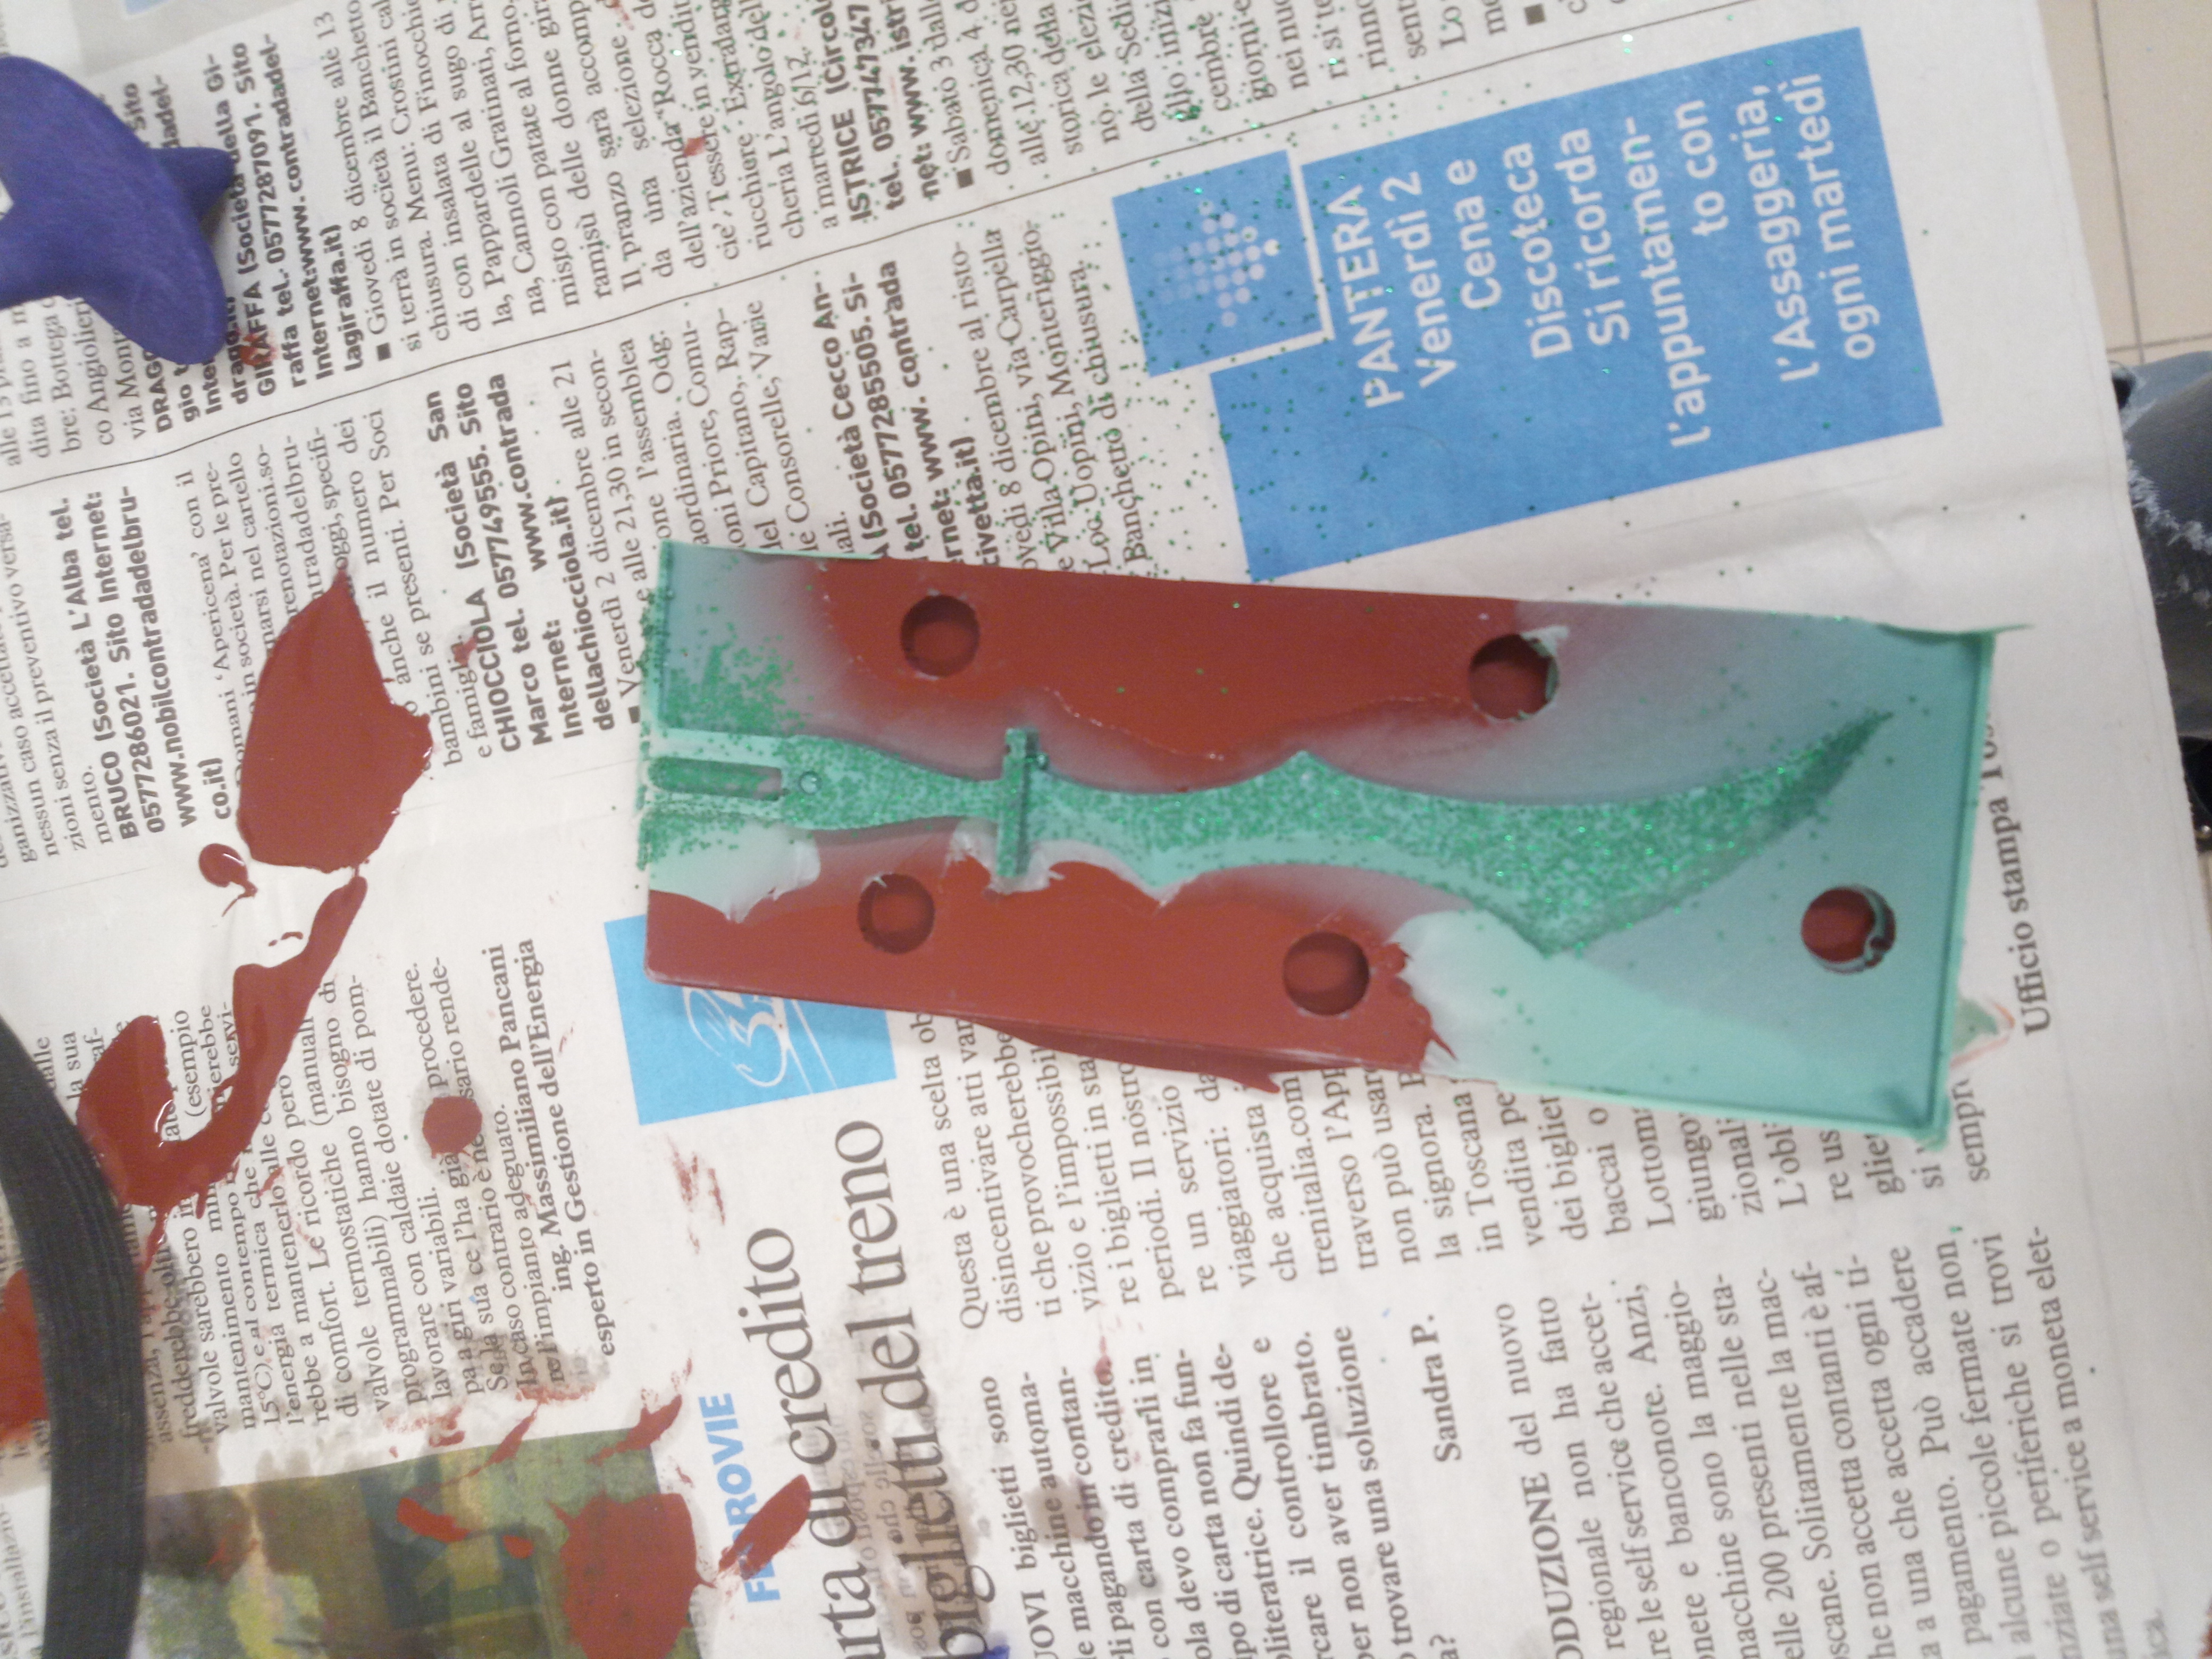
To give a touch of class to the sword I used the green dye and the glitter, so it is less threatening.
I am very satisfied with the result. The most delicate part is definitely mixing the silicone to make it catalyze well, but also pouring the resin before it starts to harden is quite complex. In fact you have to let the air out gradually from the mold to avoid the formation of air bubbles, but in a very short time.

Advice! It's important to set the Z origin of the tips: this happened because I didn't that at first time.
For the negative mold I used this silicone rubber Antichita' Belsito and the relative catalyst in proportion to 5%
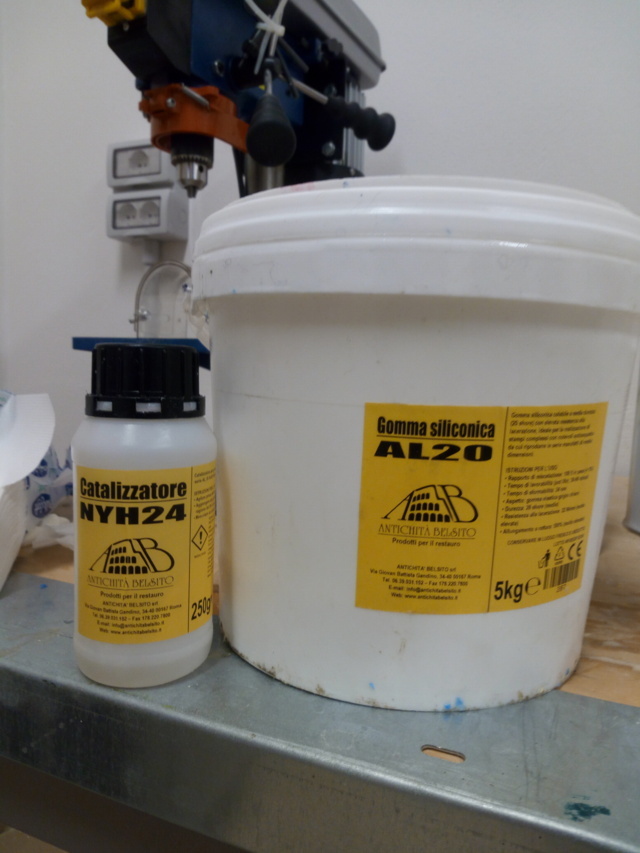
After 24 hours the mold were finally ready
Casting
From this moment on I have to say that I encountered several problems: doing various casting tests the result was not satisfactory, in fact the sword came too thin. So I decided to do all the process over again.

I modified the model making it thicker
AndI also added the channels.
Another problem: when I redid the mold I probably didn't mix the silicone rubber enough and it didn't catalyze, so I had to clean the positive mold (it was a very long and boring job)
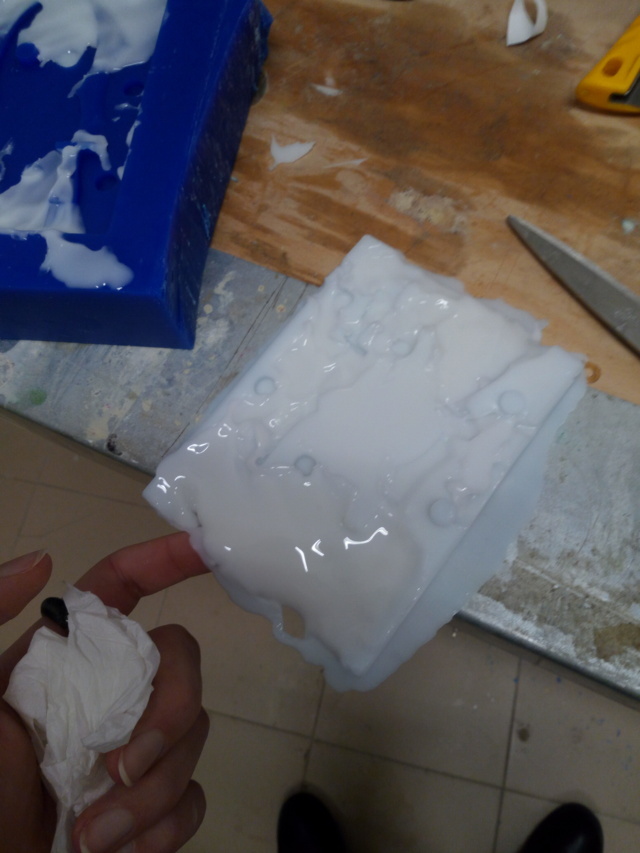
This time for the negative mold I used Smooth-On Mold Max 60 and the result came very good
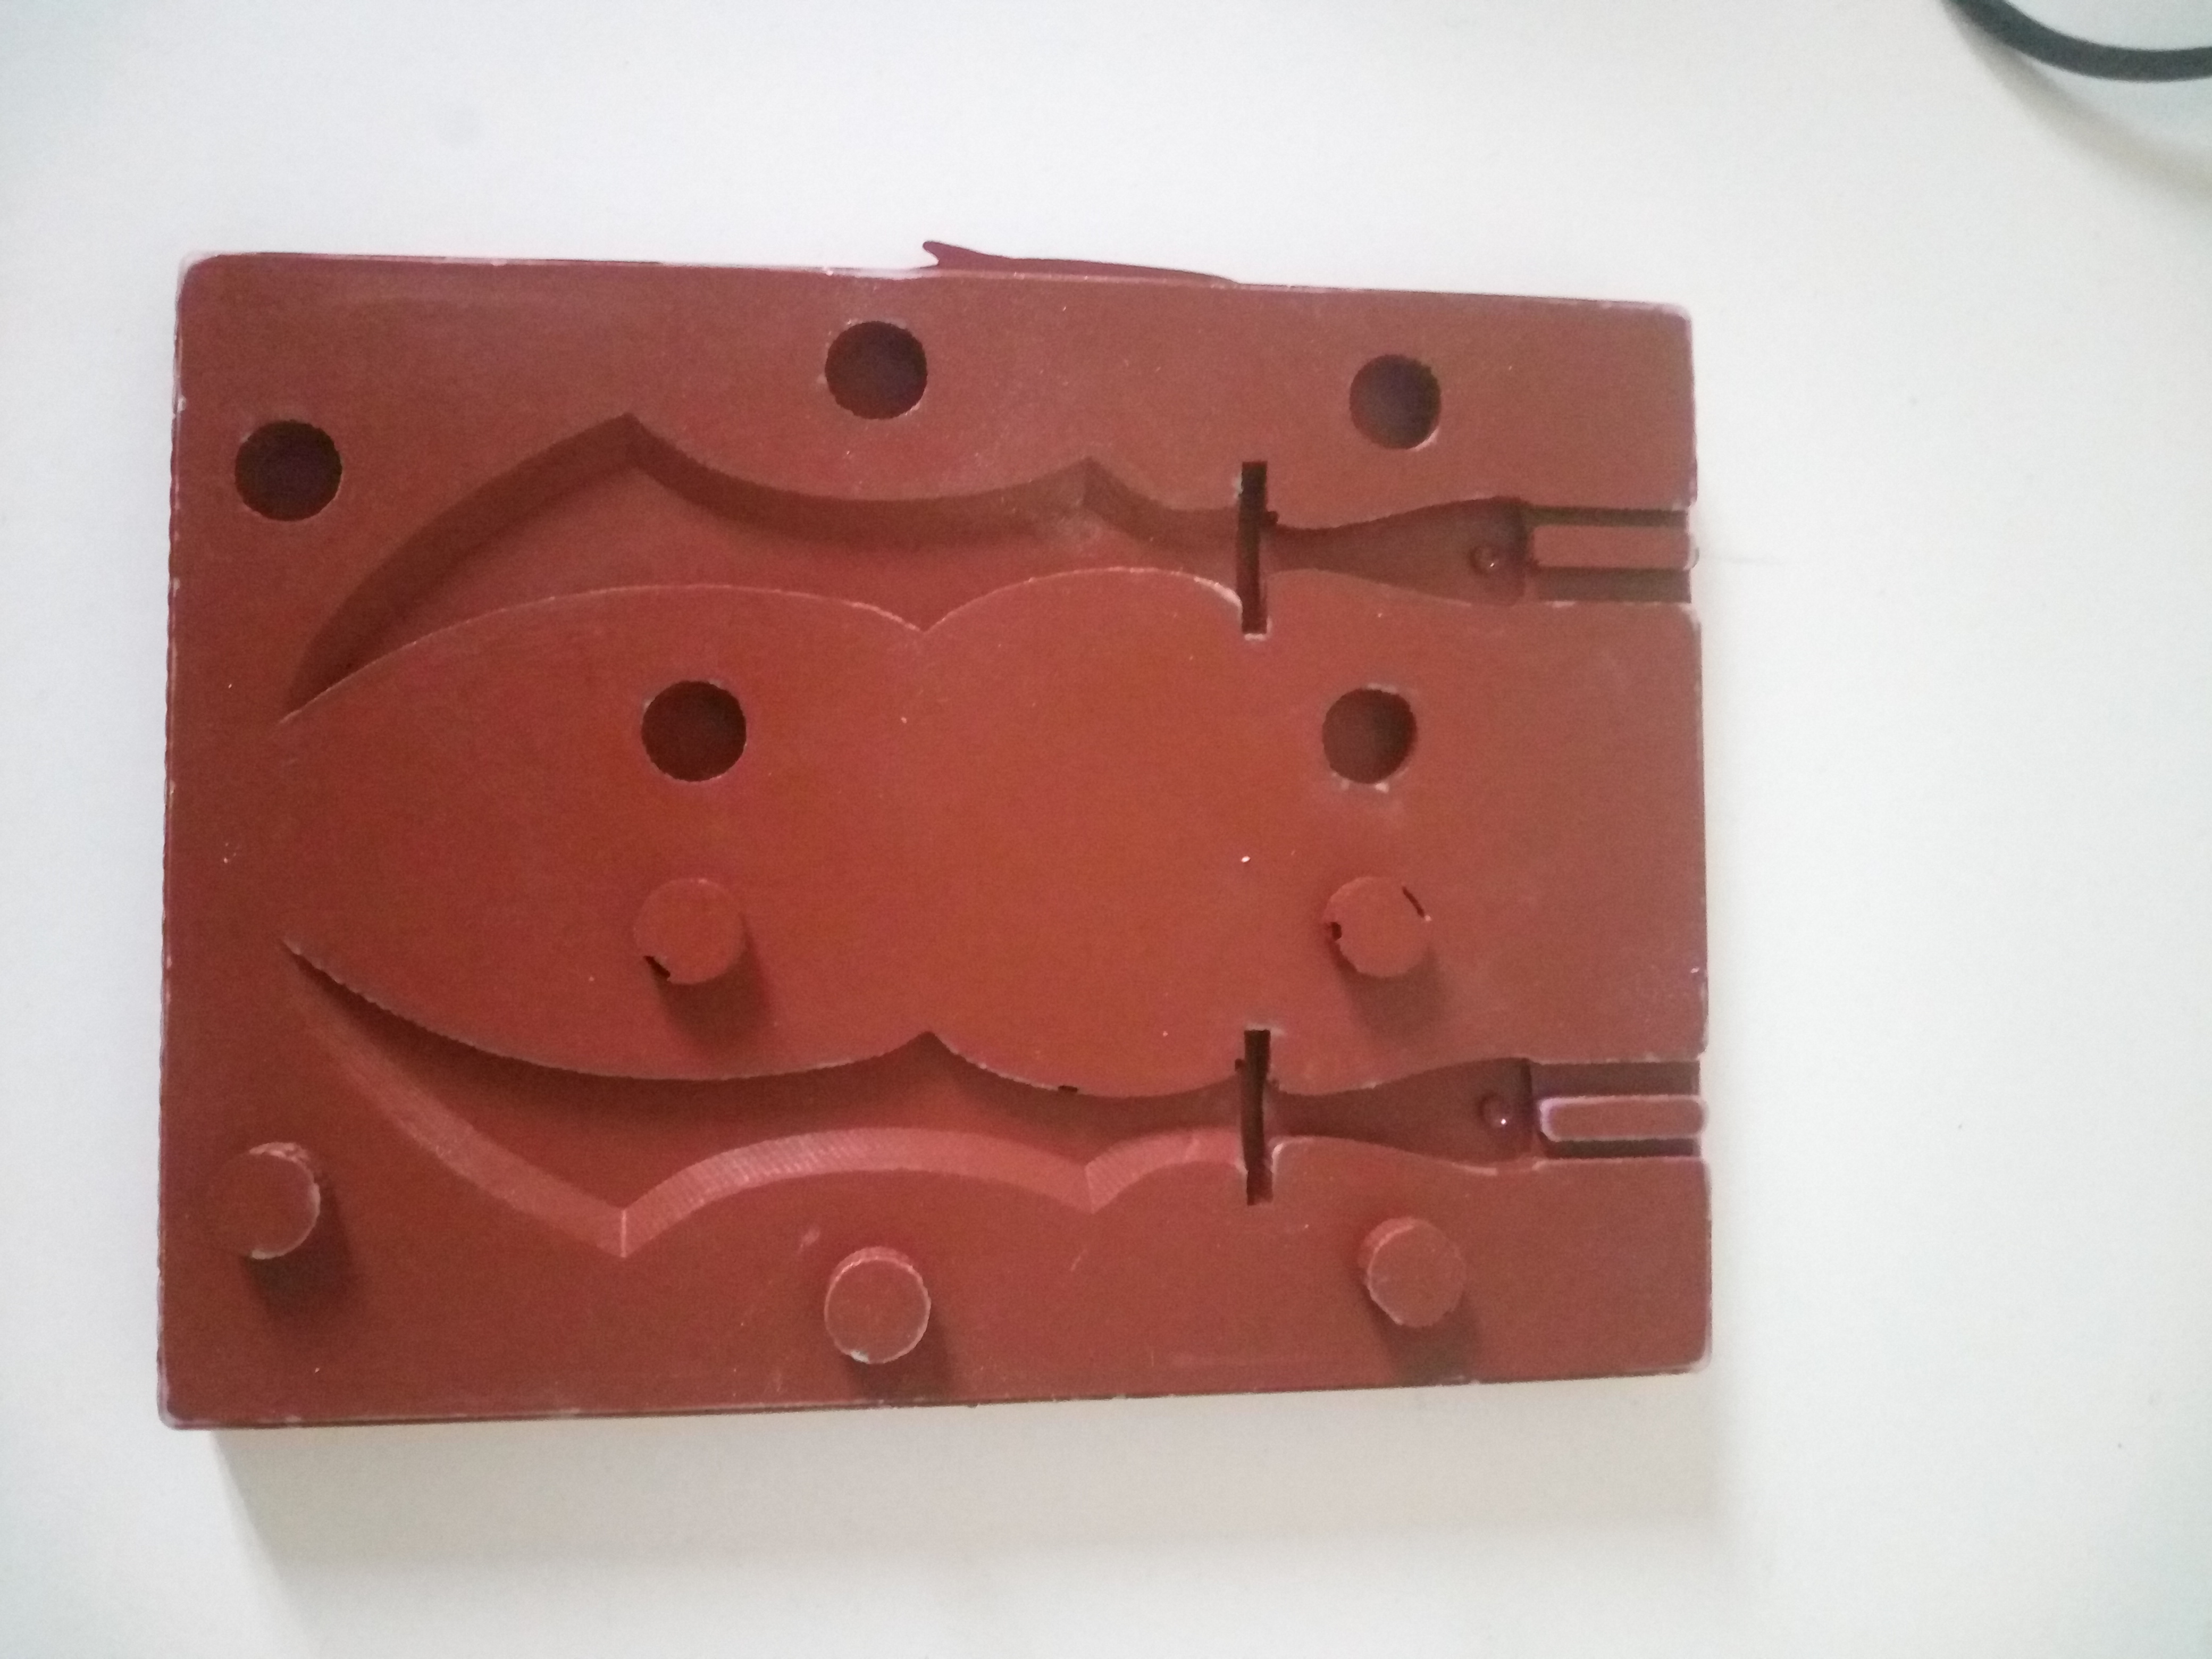
Then I prepared the mold
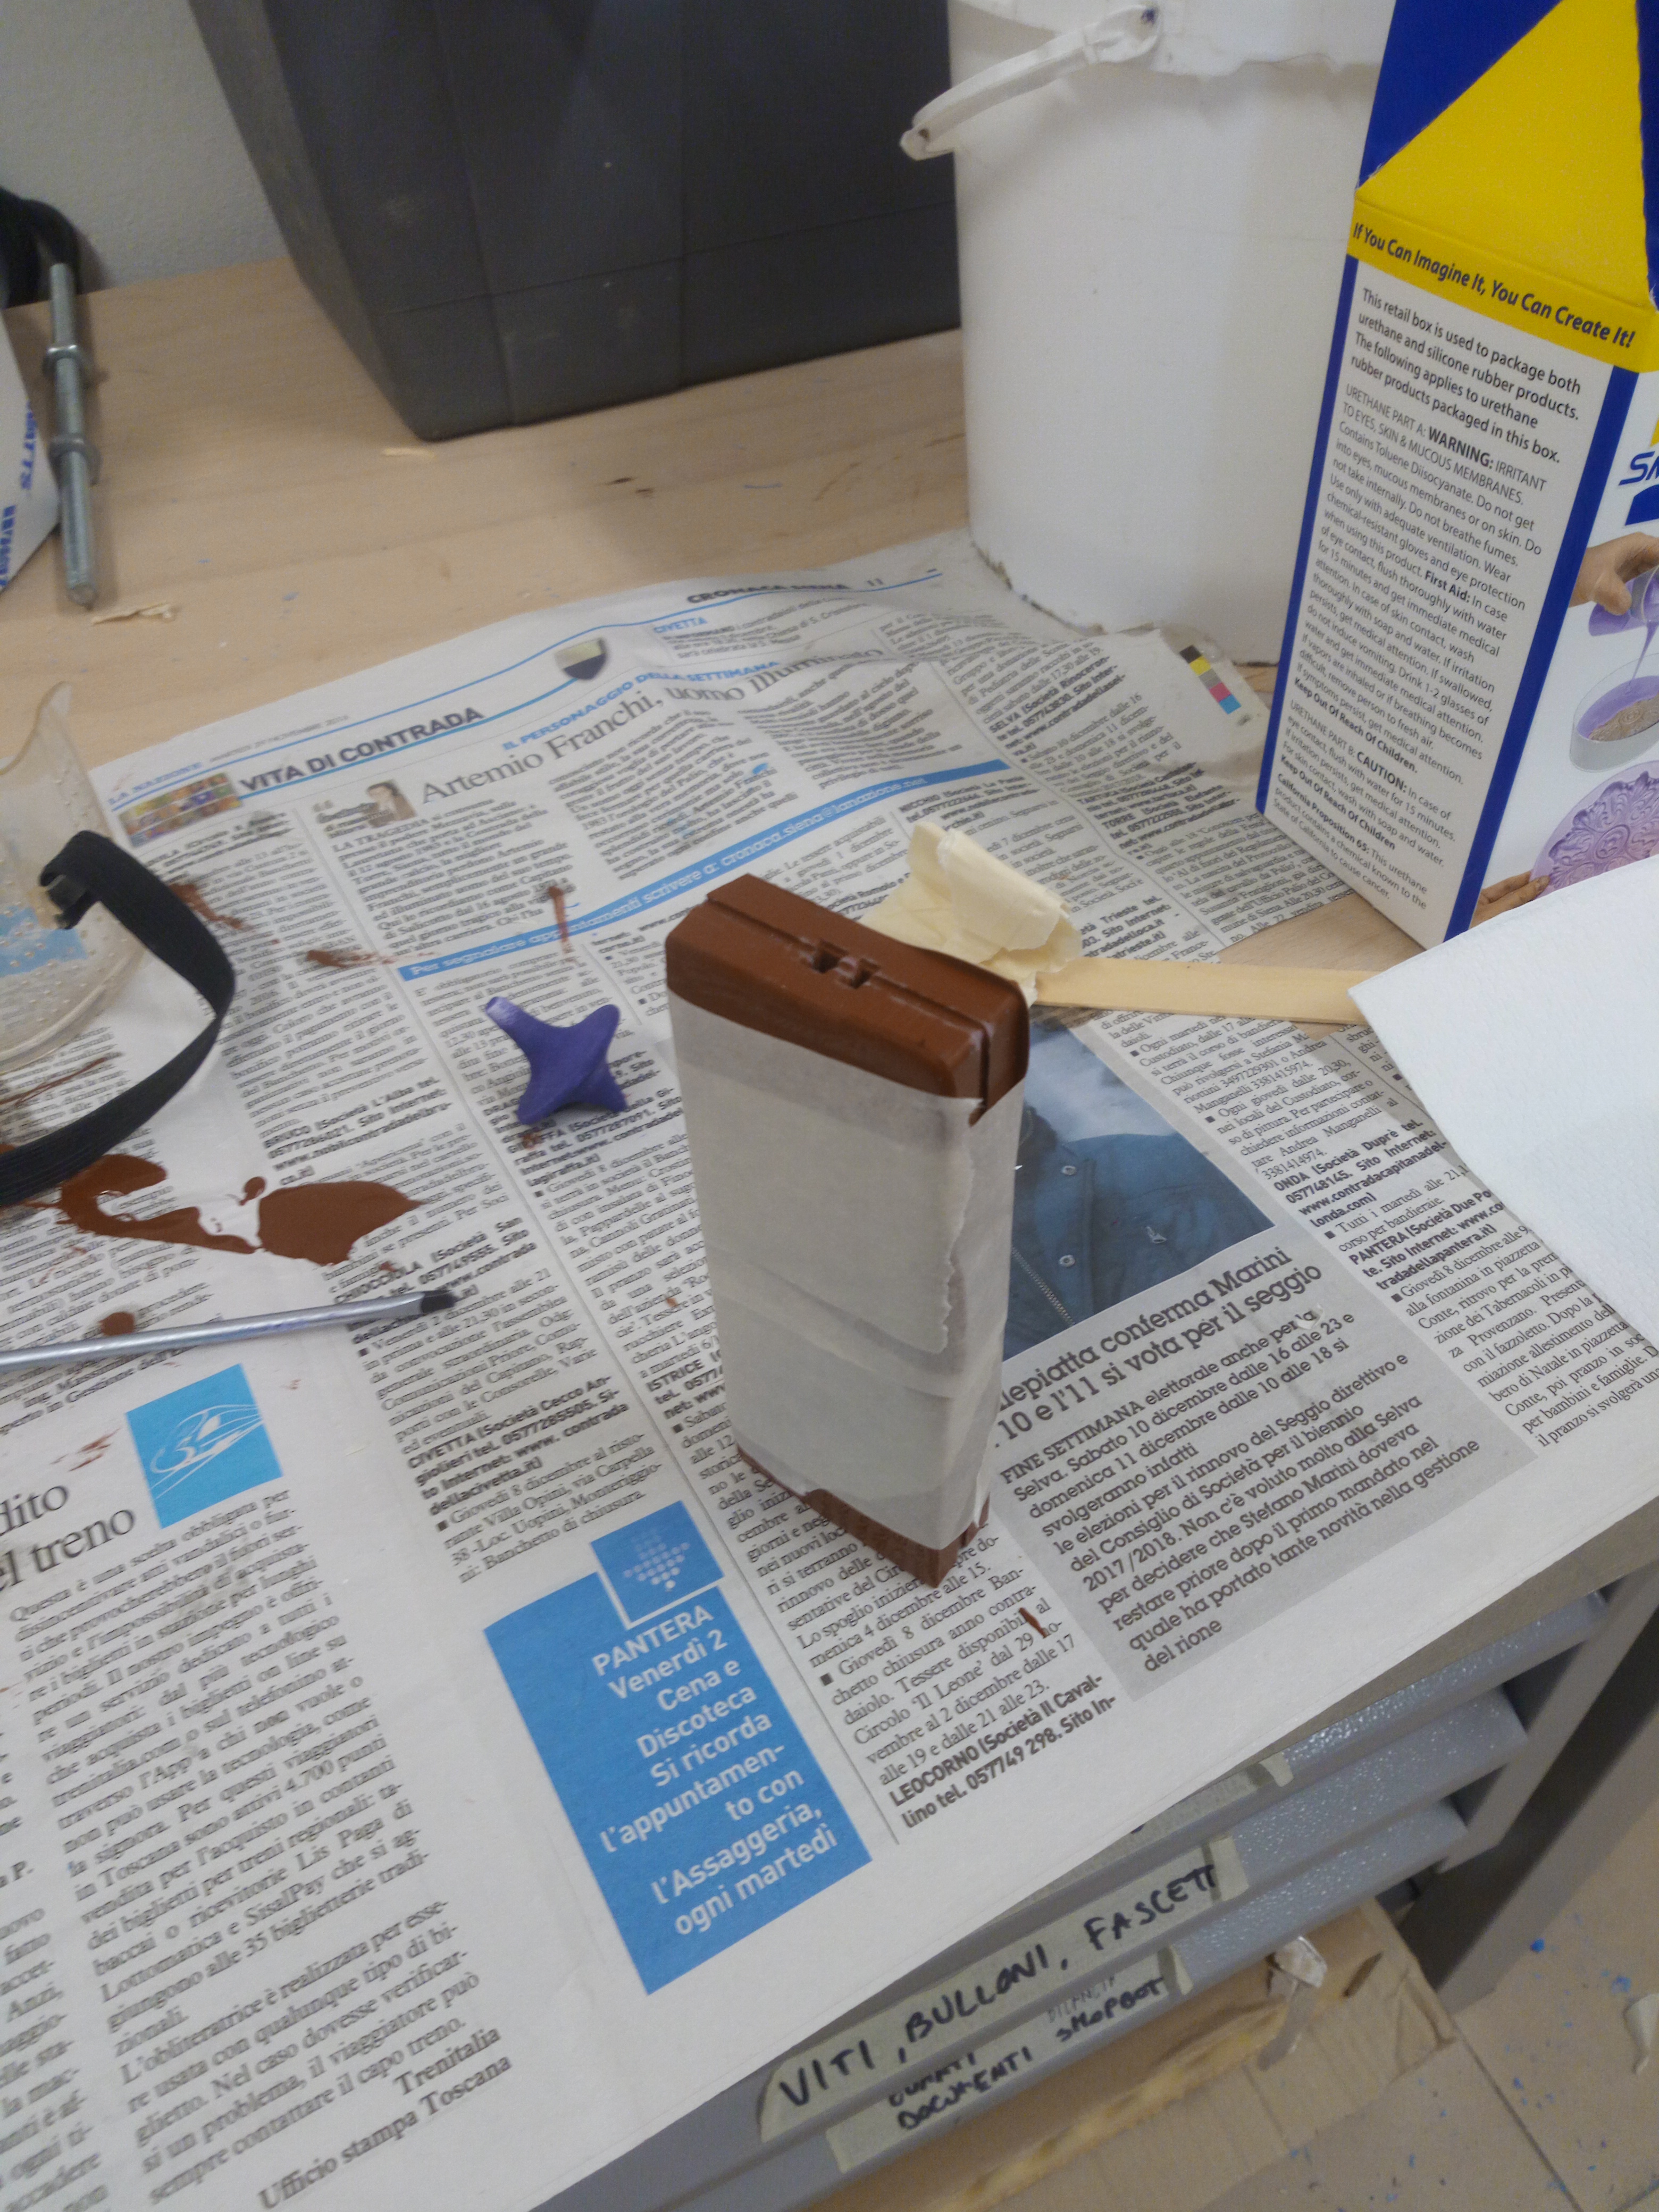
Well, it's time to talk about the Sintafoam, a polyurethane resin. Here the manufaturer's webpage with the datasheet. These are the general instructions for using this resin:
The Pot Life is 120/130 secs
The Cure Time is 250/310 secs
The ratio between A and B parts is 1:1
And above all it is very important to use gloves since the resin is a corrosive material
The final result
I am very satisfied with the result. The most delicate part is definitely mixing the silicone to make it catalyze well, but also pouring the resin before it starts to harden is quite complex. In fact you have to let the air out gradually from the mold to avoid the formation of air bubbles, but in a very short time.