WEEK 7 - COMPUTER CONTROLED MACHINING
Assignment - group assignment : test runout, alignment, speeds, feeds, and toolpaths for your machine
Here is the link to Group assignment.
individual assignment : make something big
MACHINE
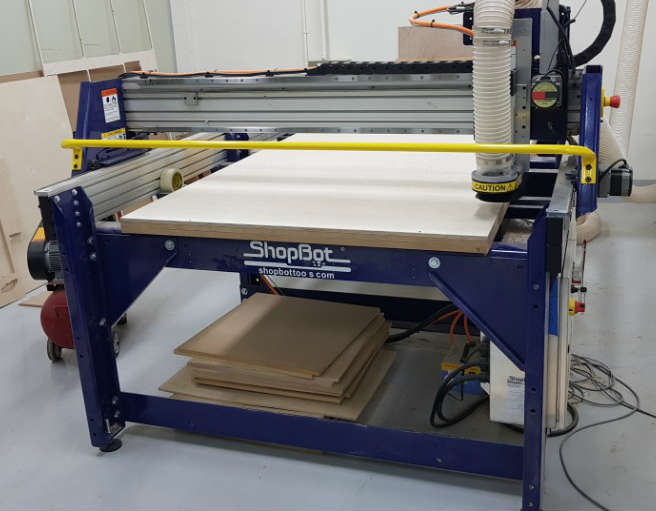
Our machine is shopbot
We should learn about some rules for using machine.
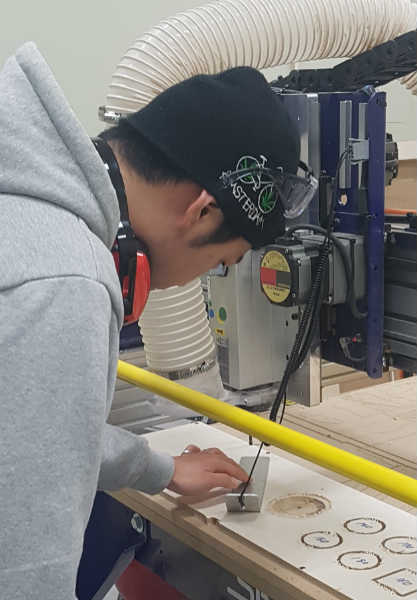
1. We can control spindle to origin point automatically. When I push the origin point button, machine moves spindle to origin point at the origin point of x, y axis there are bolts those can stop the spindle exactly on origin.
2. When opening the vector file on V-carve that is software to run shopbot, it’s essential to make sure the material lengths are correct to x, y axis. Longer side is x axis.
3. Before milling, you should check if there are open vectors or duplicated vector. If there is any open vector, you could use joining tool. There is value that can set the length of tolerance to join each other. And if there is duplicated vector you can select every duplicated vectors and delete those.
4. And right before milling start you should open the RPM checker window and make sure right RPM is entered. And also run the dust collector and spin the spindle.
During milling, you should listen to machine every time.
5. If cut all the part of the object, the part could be thrown so we should create the tab which is hold part on last layer of the material.
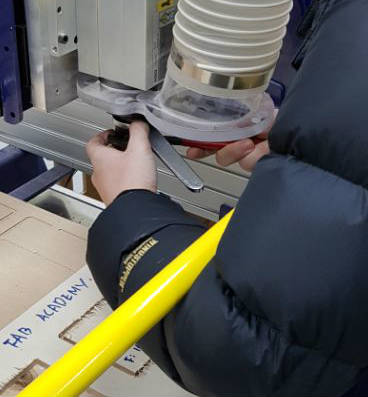
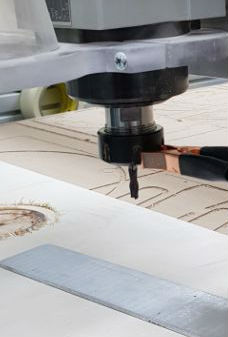
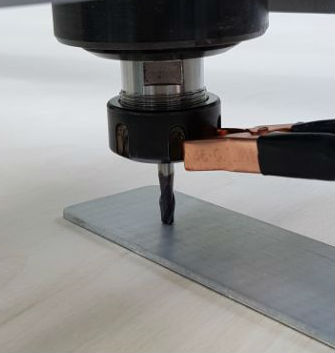
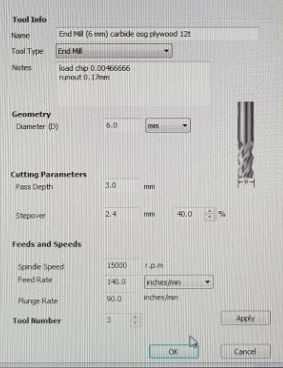
6. To change the tool it’s same process with bantam tool, but the collet we use is 6~7mm thick so we should hold tool tight. And probing z axis was also electric method same as bantam tool. After place metal board on material and connect electricity with pin. And when the tool touched the board electricity goes through and set z axis origin point.
GROUP ASSIGNMENT
MAKE SOMETHING BIG
MODELLING
I feel like use laptop on the bed. But without desk it was uncomfortable. So I decided to make laptop desk on the bed.
Design consider
1. On the bed the top of desk should be upper than my thighs.
2. When I put laptop it should be comfortable to type and use mouse.
3. It should be large enough to use sketchbook or something with laptop.
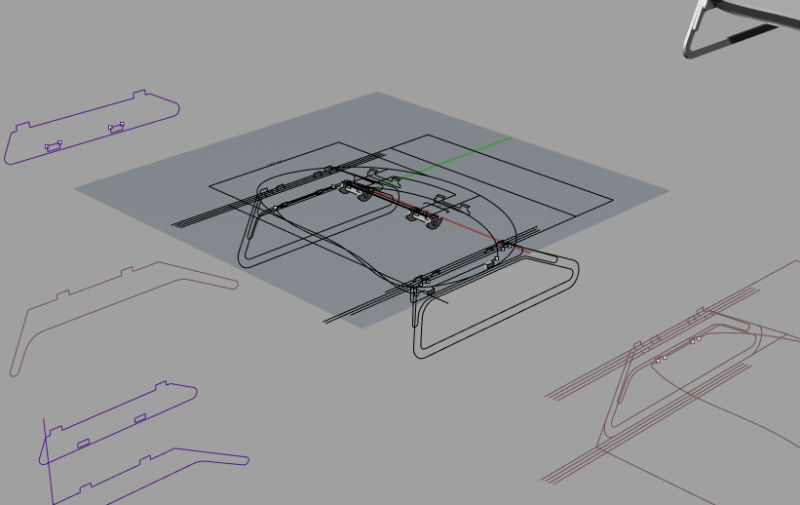
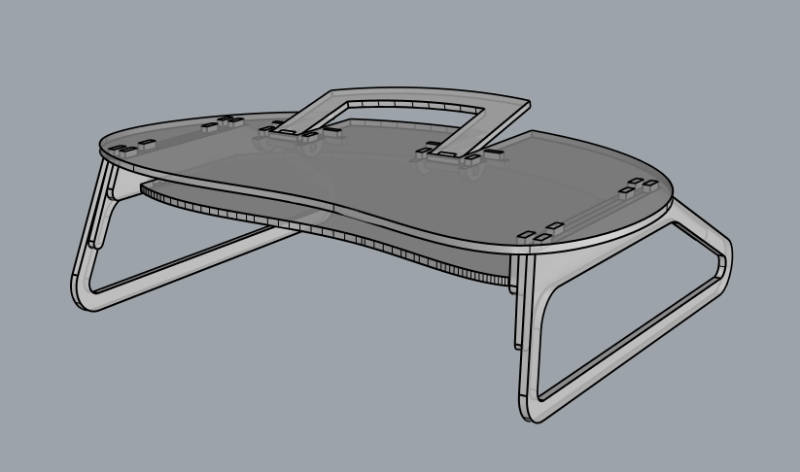
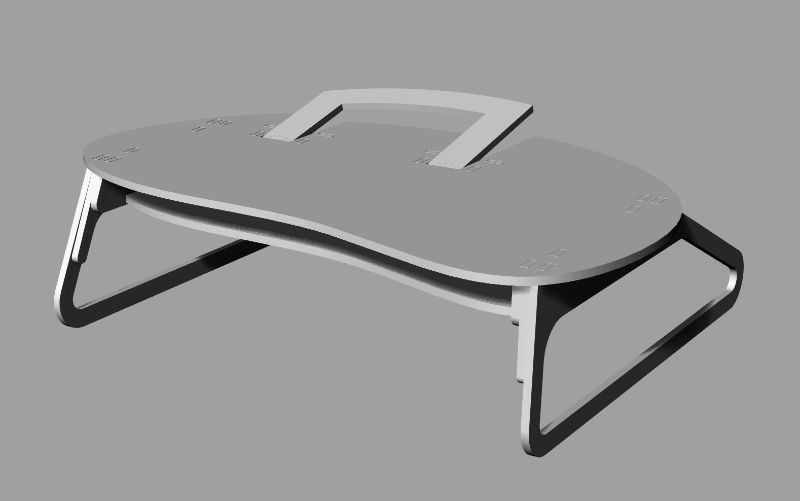
With these consideration I made it large on the right side and put more space near the body. And push the laptop holder part behind and make space to put sketchbook. And I made second layer to put other stuff and prevent my leg touch the hinge joining part.
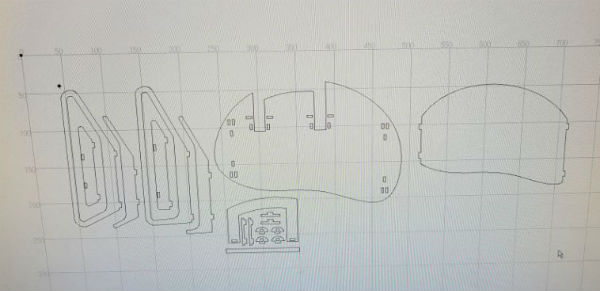
LASER CUTTING
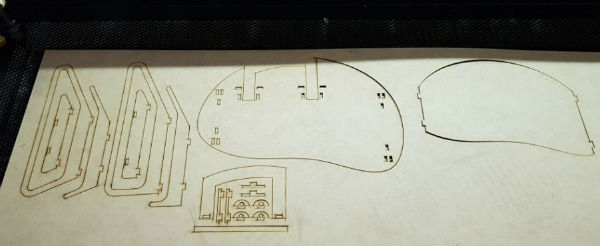
After design and drawing done, I did some pre experiment with laser cutting and checked the structure. I’ll use 12t birch plywood to make my final desk, so I did modeling with 3t MDF board. I reduced the scale to quarter. I didn’t consider kerf size in this process.
And put values power 55 and speed 25 which is ideal value that I got from the test before.

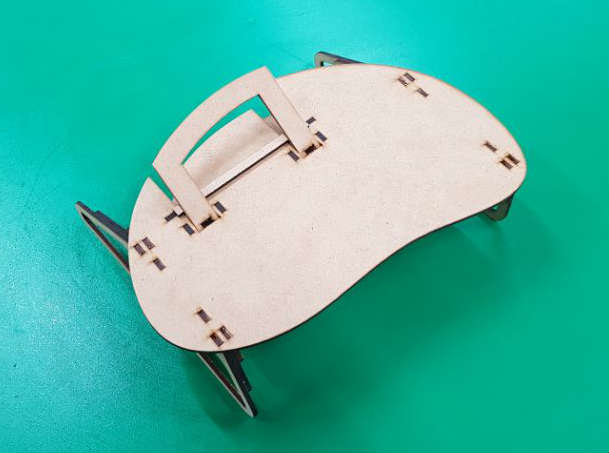
After cutting done, I assembled parts and put some instant adhesive. There was no problem on structure but this part didn’t get inside the slot. Because I didn’t make an offset. And I found that the legs of desk were too thin to bare the weight of upper boards. So I modified the drawing to make legs double layer.
CNC MILLING
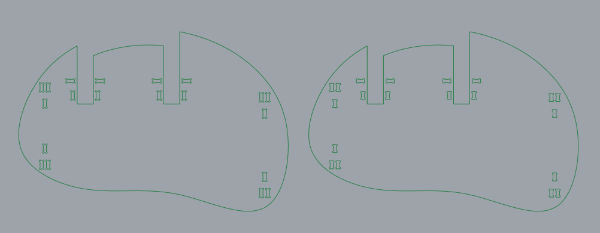
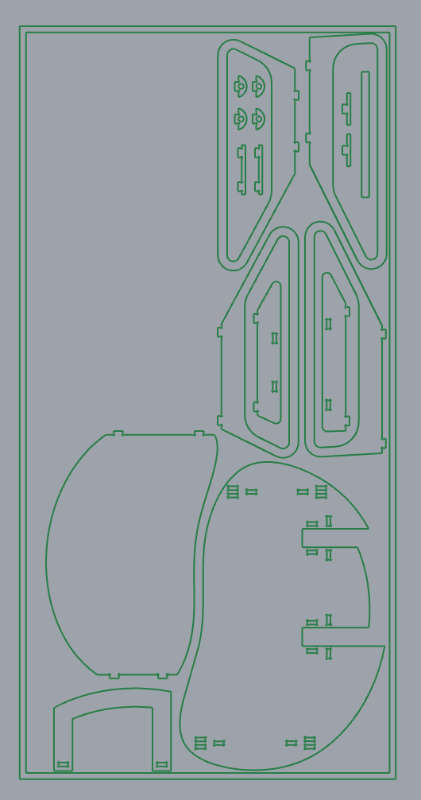
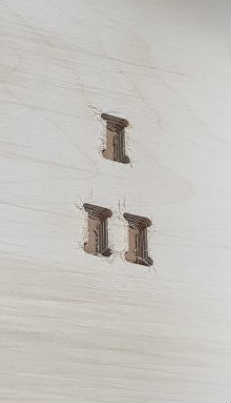
I want to make every slots doggone shape. So I made doggone shape with 6mm diameter on every corner. I thought end mill could cut rectangular and just drill the round part in doggone shape. But v-carve doesn’t read those part as a path. So I should make circle bigger or change the shape of hole. So I changed every hole to t-bone shape. It was much efficient way to cut and paths were fine. And I arrange all the parts on 4*8 board. I made offset curve about 20mm and put every parts inside the curve to prevent the accident.
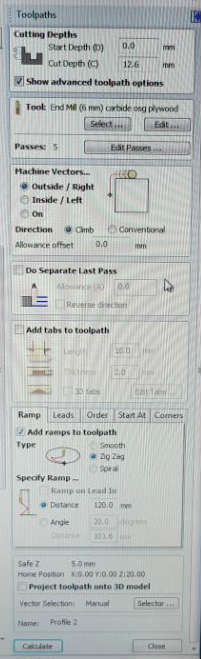
We tried outline profile and pocket. But I should use inline profile to cut big holes. But pocket is much safer way to make a small holes, because it terminate every part inside the hole that can prevent big chip bounce off the dust collector.
Rather than cut every parts once, it’s better way to separate part to several groups. That can make me to check every process and it was better to tool also. So I divided parts to two group and did every single kinds of milling like pocketing, profiling outline and inline.
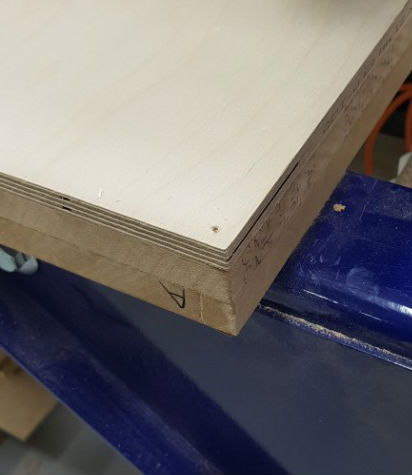
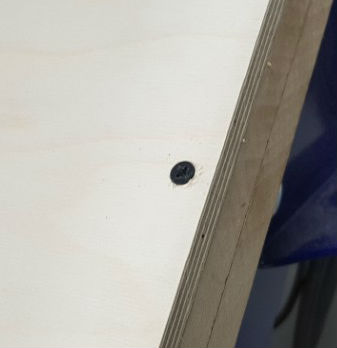
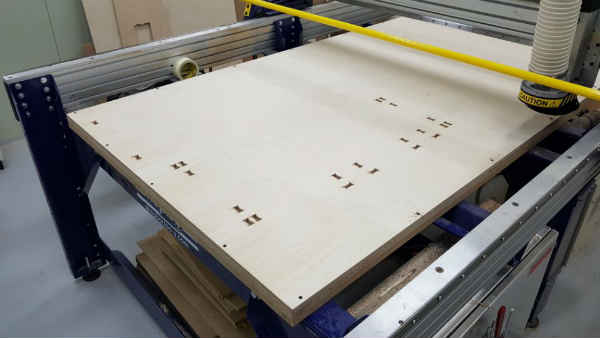
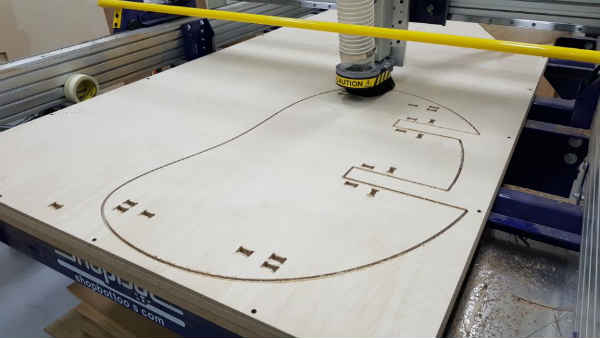
First I put new 4*8 size 12t birch plywood. And screwed the edge part by interval about 300mm to make material completely flat. And I cut pocket part on group1 which is on the near part to origin point. It was fine.
So I tried to profile. Biggest two parts were fine but on the hinge part which I didn’t put the tabs, after cutting done, end mill grab the output. It made crack on the parts and drop when it moved to other part. Fortunately it was fine, but it was dangerous. So I realize it’s crucial to make tabs under 500*500mm stuff. Also make separate group and cut step by step is important.
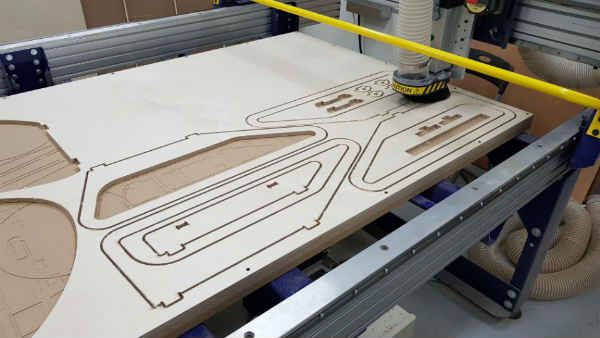
Same as before, I made holes with pocketing first. During this process, I parallel sanding works of course paying attention to listening the machine. After milling done, I cut next smaller part inline profile. I put every part more than two tabs that has 12mm length and 2mm thick. But it was too thin because the cut depth was 12.6mm and last layer of plywood isn’t thicker than 2mm. It didn’t have enough strength to hold part from vibration of spindle and end mill. i removed cut parts and made tabs 3mm thick after.
After these two groups milling done, I should cut the laptop holder part again. I tried to put the broken part to assemble but it was to thick to get inside the slot. So I modified the drawing, I offset 3mm. To cut this part again I should put more screw because after removing big parts, board lost the strength to be flat.
I started with pocket and profile outline after.
before sanding I tried to assemble it won’t get in so I hammered and it was really tight and fine.
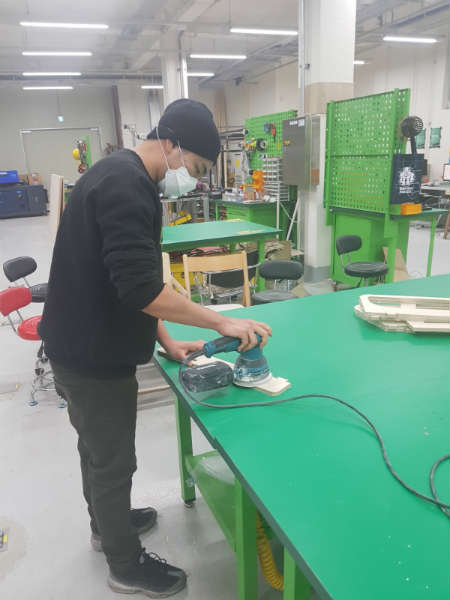
I sand every surfaces and edges with orbital sander. 220 grit. And tiny chips on the edge easily got off. I sanded every parts those are available with orbital sander.
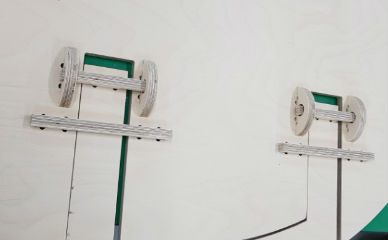
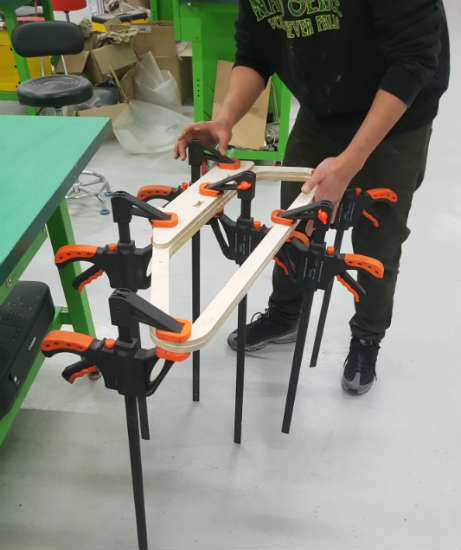
And I sanded with sanding paper on the inside parts. I bonded two legs on each sides and put clamps.
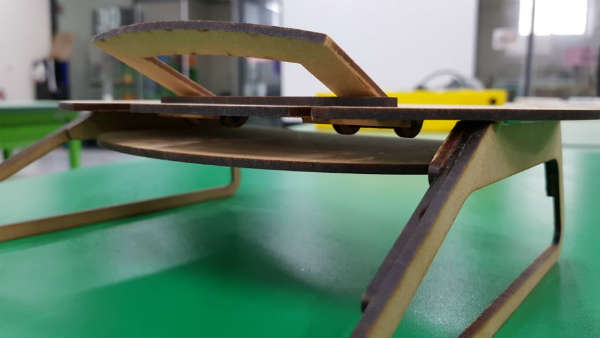
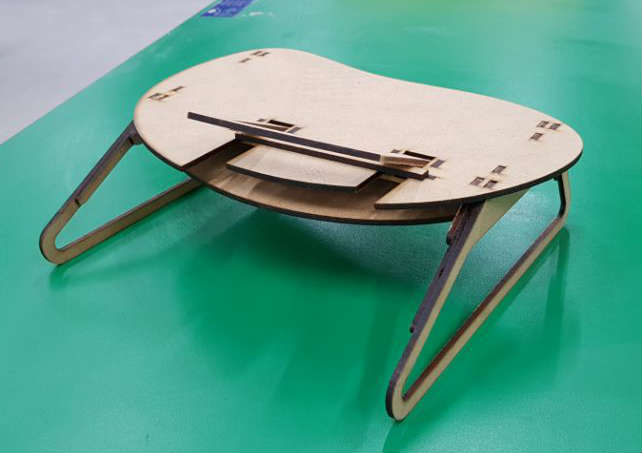
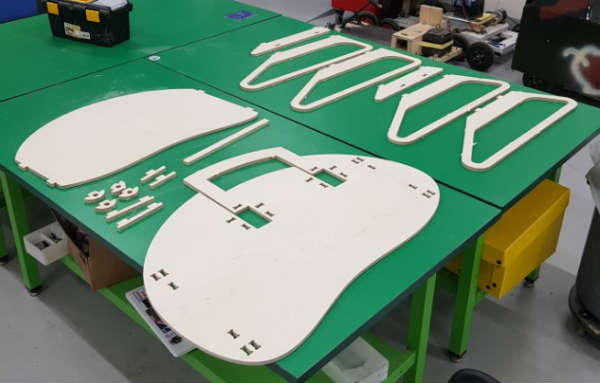
RESULT!!!!!!
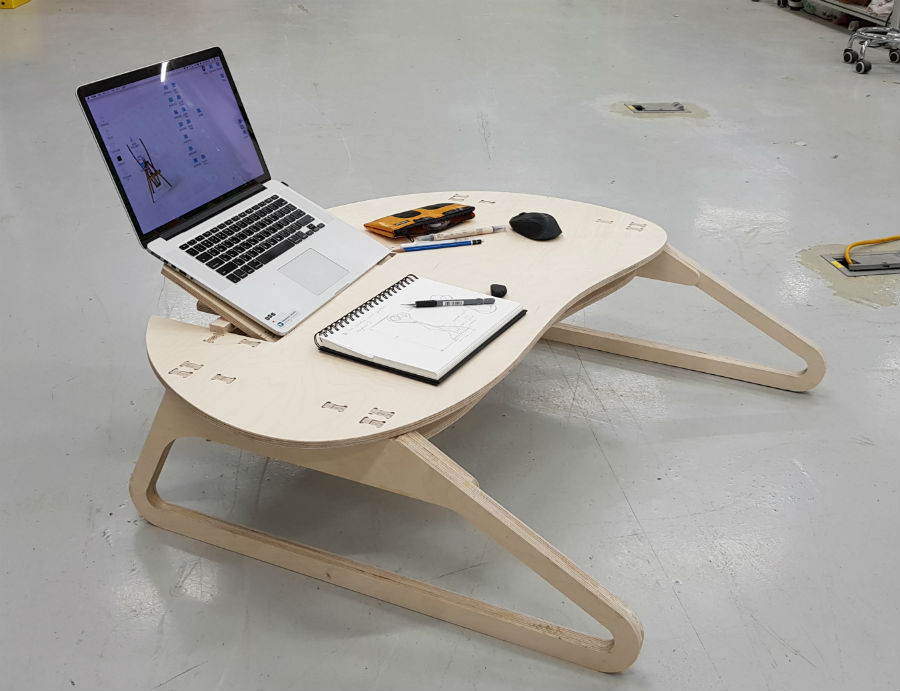

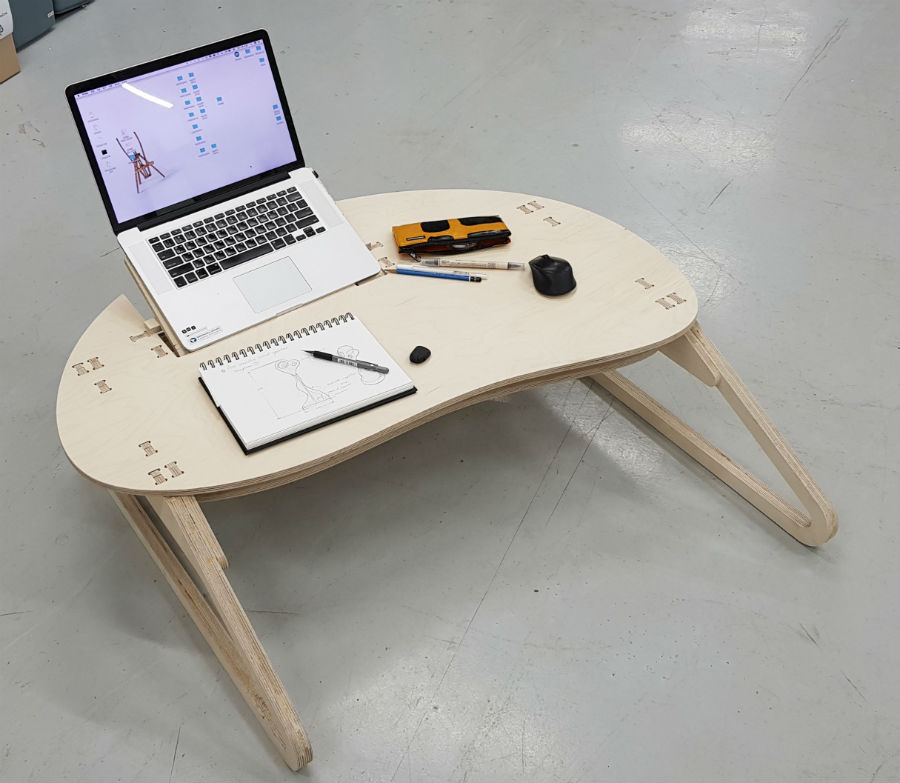
Here are my works.
Download