I have first converted my images from .png to .rml since its what the milling machine takes as input. I used fabmodules to convert fabISP images to rml. On Input format drop down I choosed image(.png), on output format I choosed Roland mill(.rml), and on process I choosed PCB traces(1/64). And continued selecting on machine I choosed SRM-20, other settings were made automatically then I clicked on Calculate button for converting it.
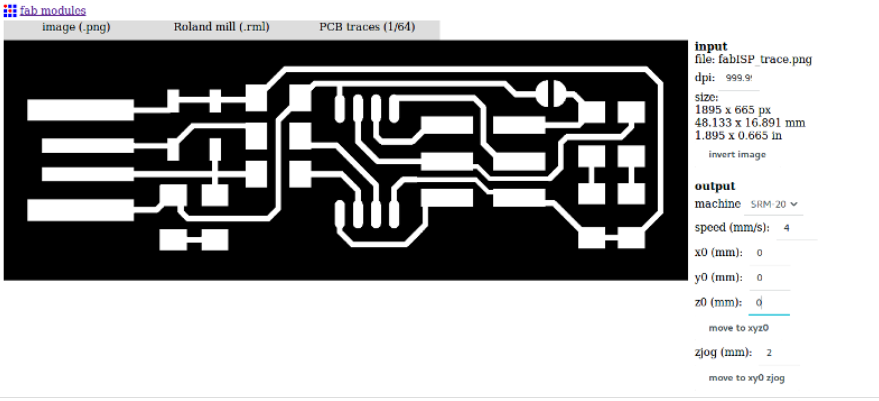
that schematics show some configuration by using fab module for that process also. Now another window will come. Load the image (our design which is in the png format). Then click on make path button. Choose the process as "mill traces(1/64)" on the top of the window. And the final step is to click on "calculate button" button and then on "save" button Before clicking the "make .rml" we need to set up the machine.
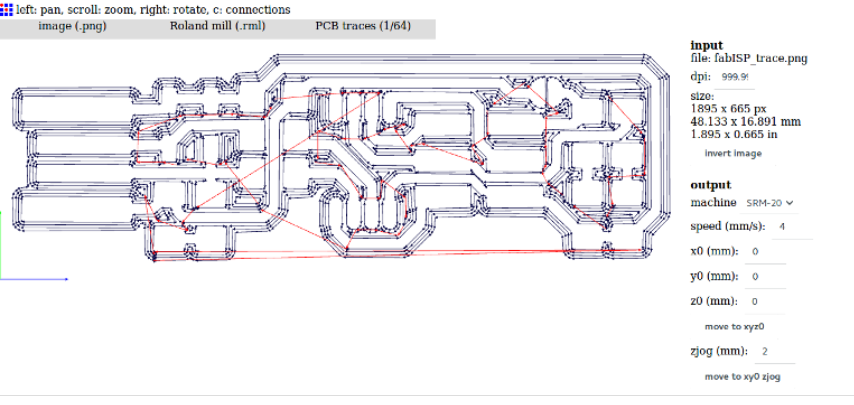
After calculation done on the image, the rml file is generated .
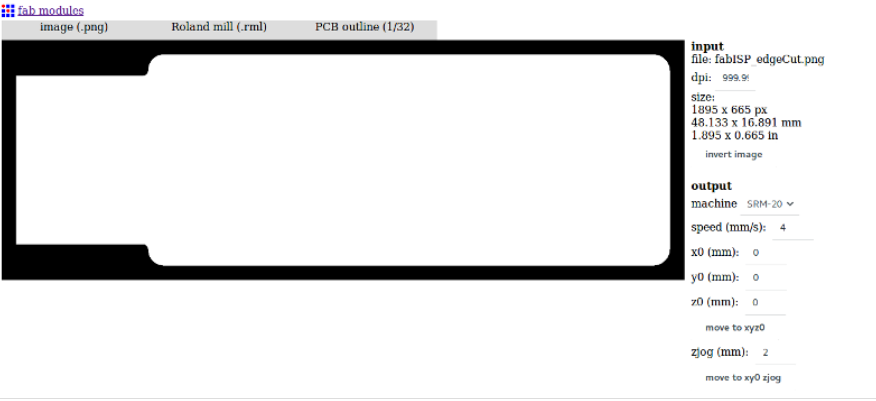
Now I have done the same thing on the edge cut file with some modification like on process I selected PCB outline(1/32) and on cut depth (mm): I entered 1.6 cause I want to cut through the board.
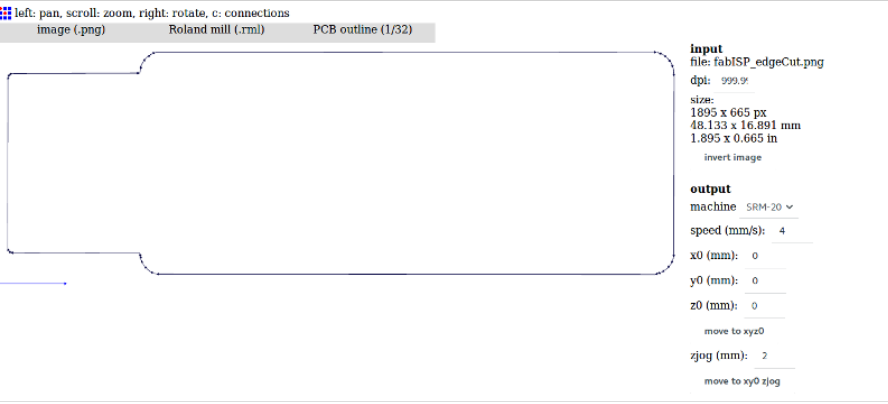
After calculating the path for the tool the RML file is generated.
assignment description
characterized the specification of your PCB production process.
make in circuit programmer by milling the PCB.
optionally trying other process.
learning outcomes
Describe the process of milling, stuffing.
Demonstrate correct work flows and identify areas for improvement if required.
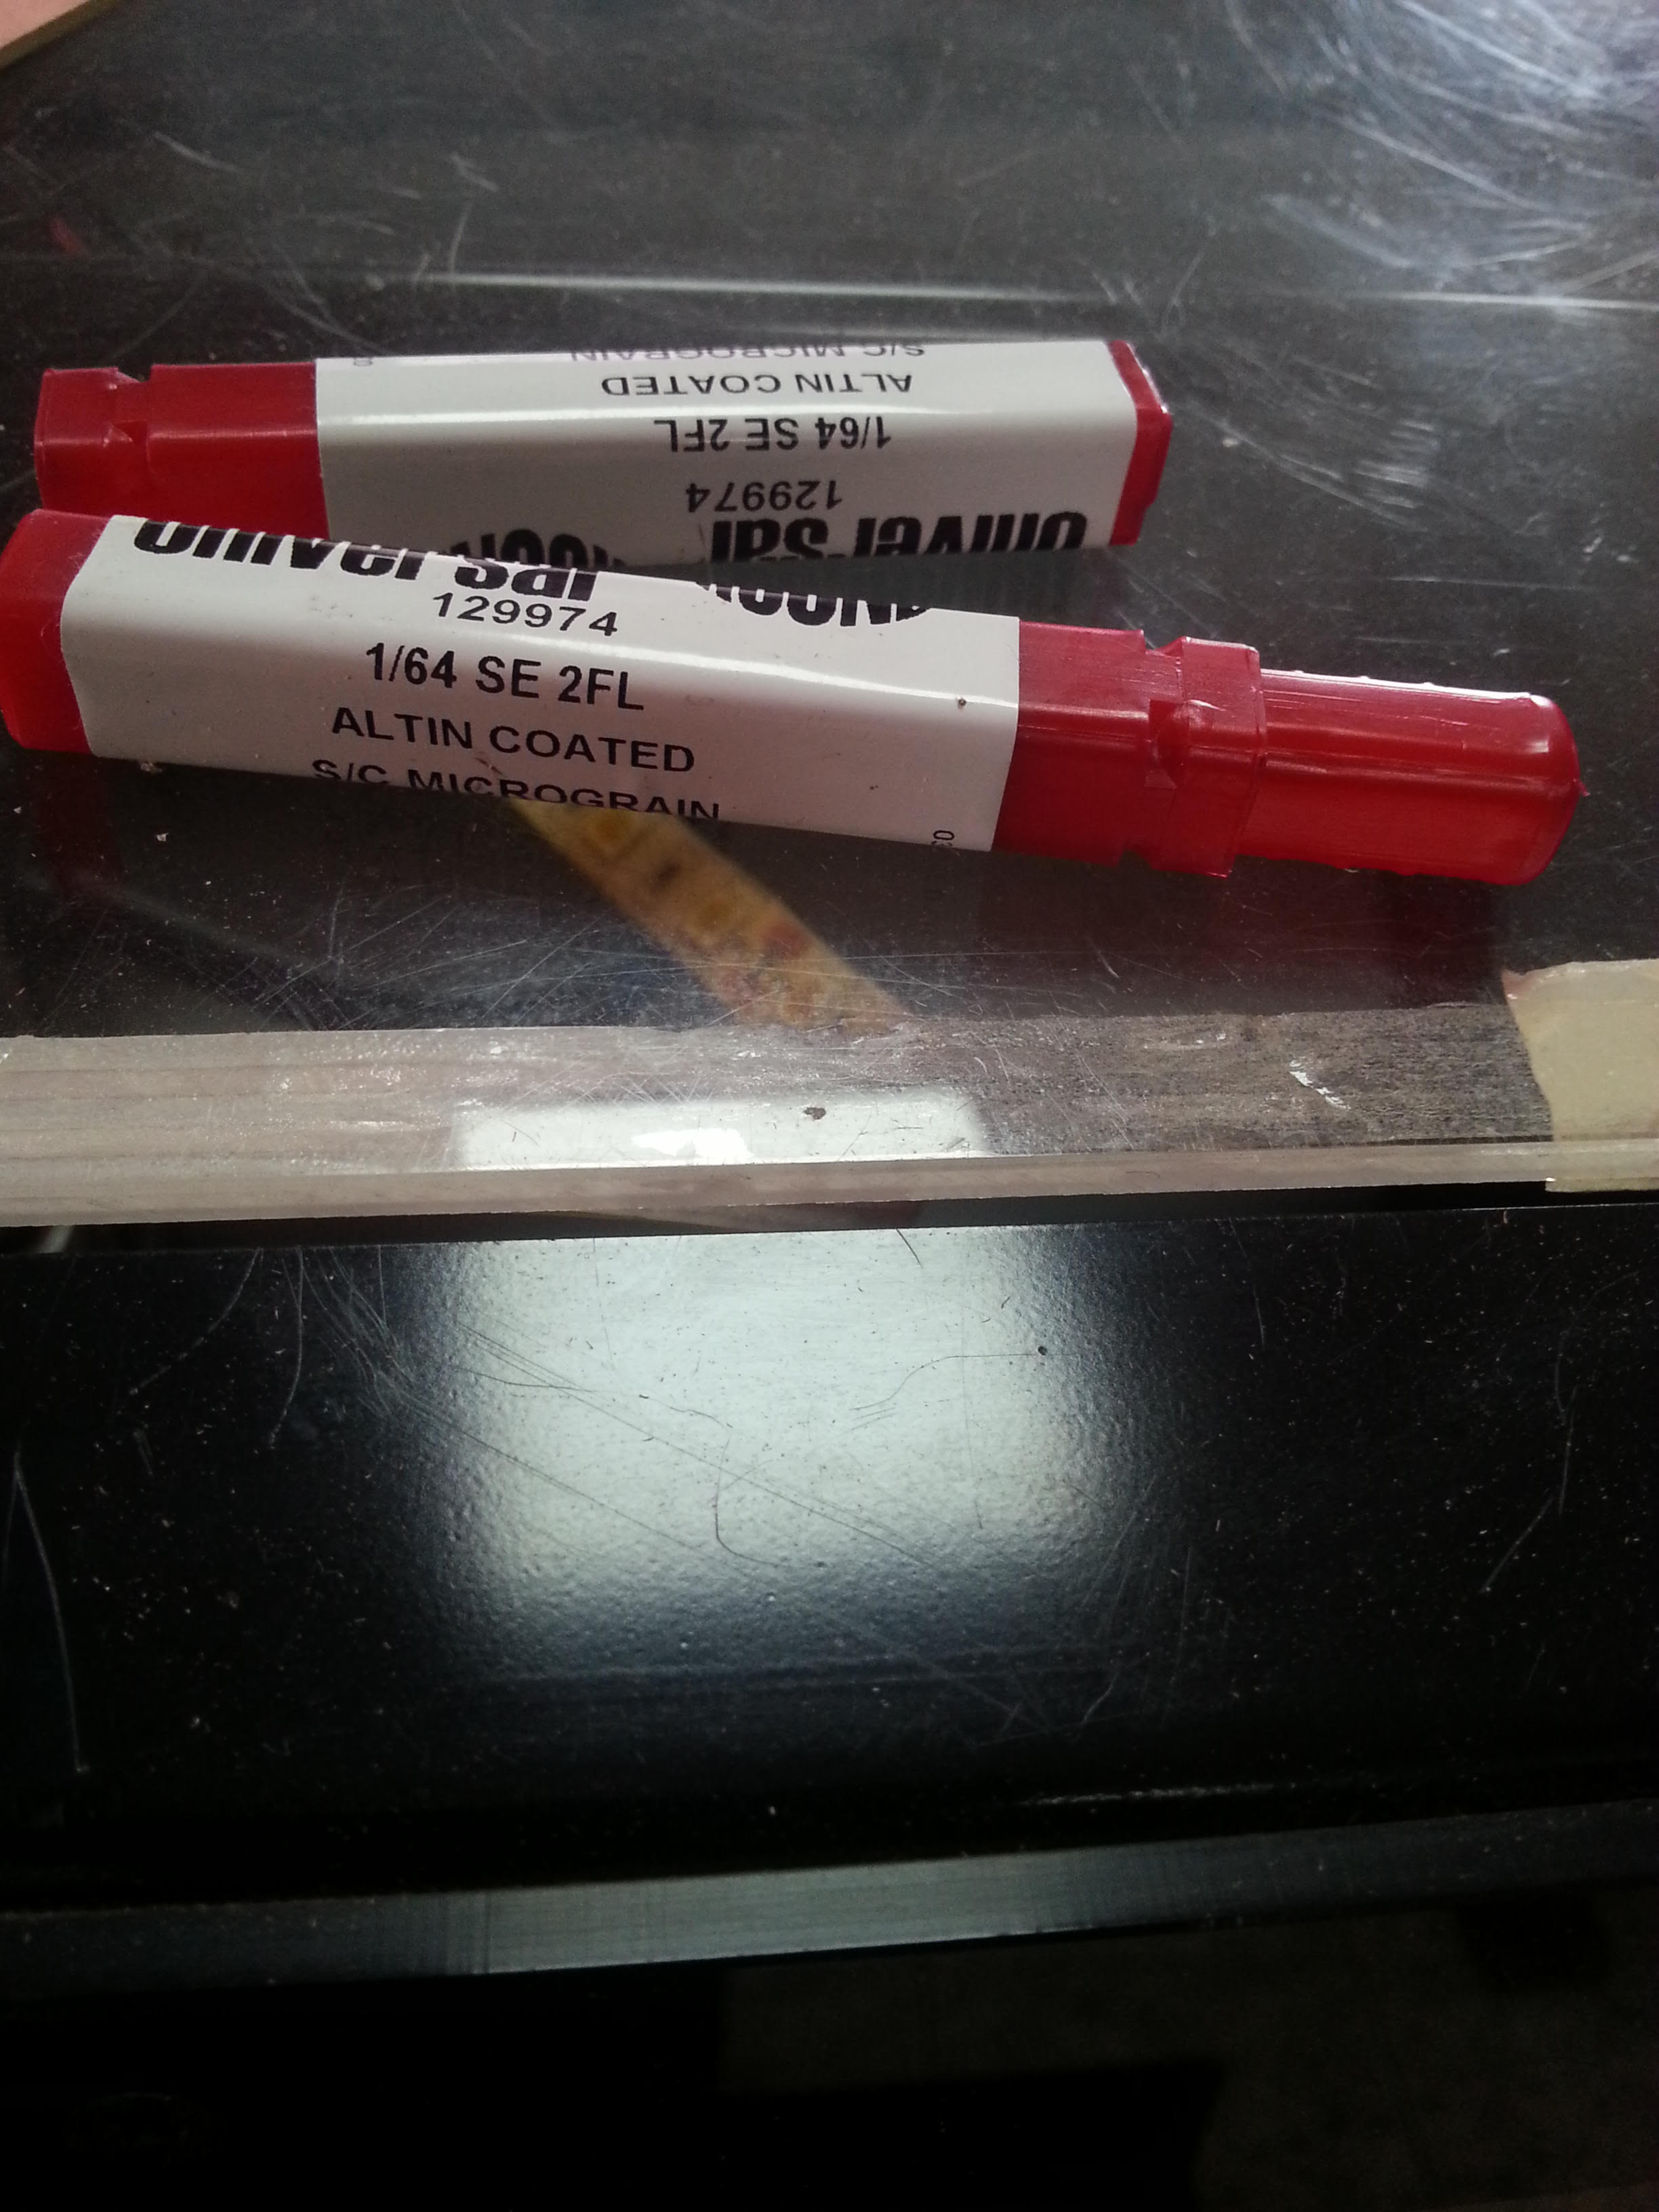
tools that are using to design the circuit in board
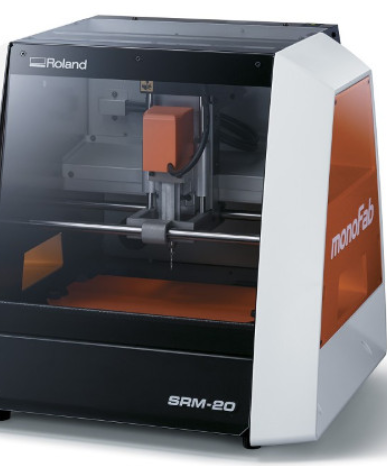
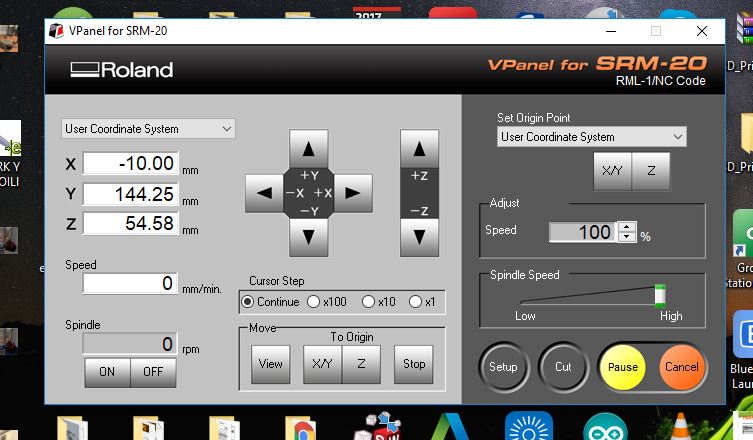
we use the software called v panel to set the machine.
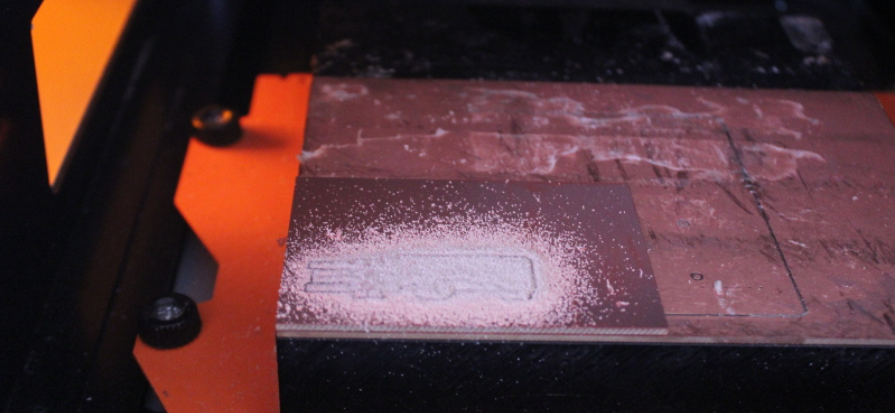
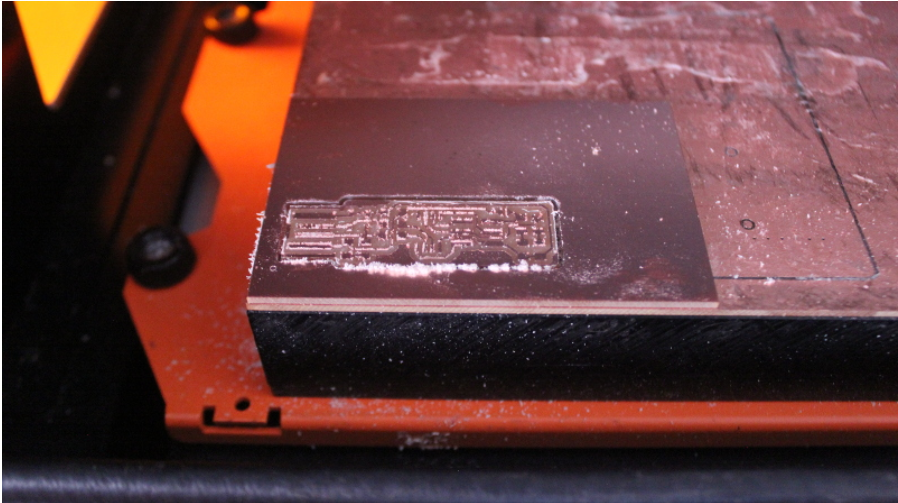
that are the machine in process of printing circuit.
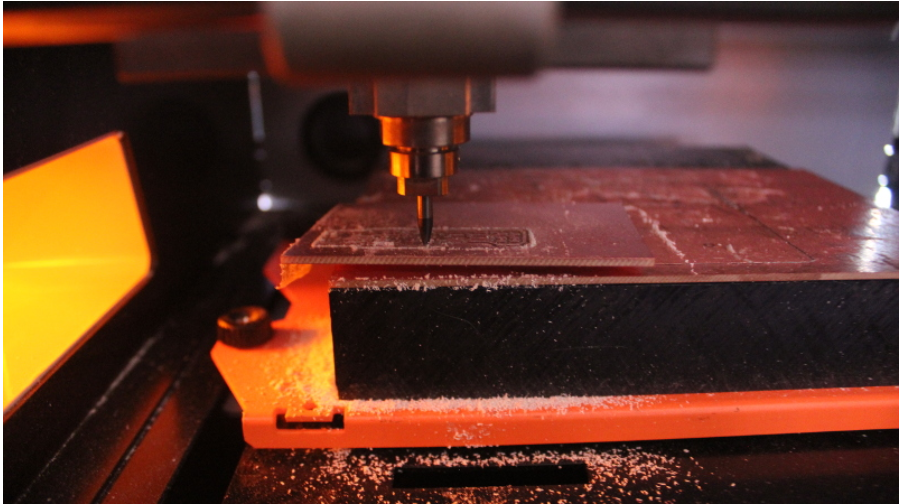
Now that I have fixed the board on the bed, I am ready to setup the machine and start milling.
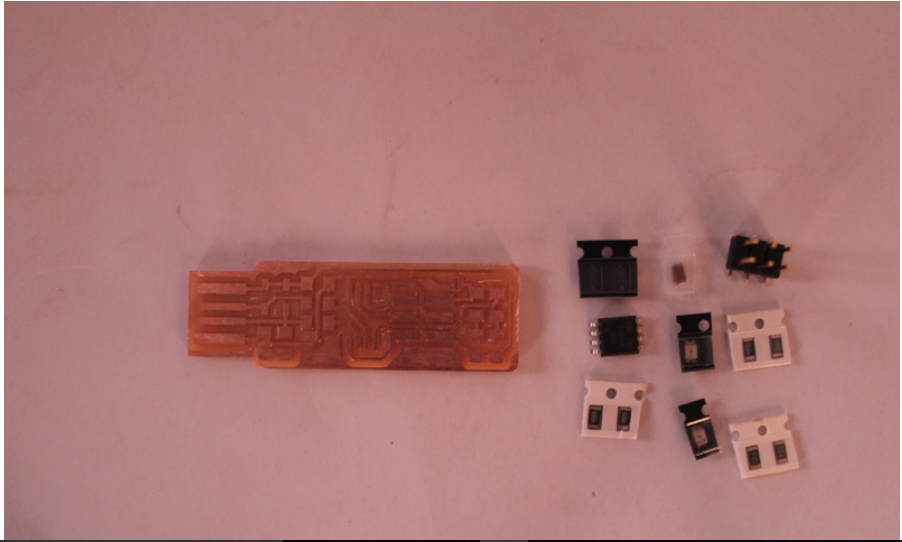
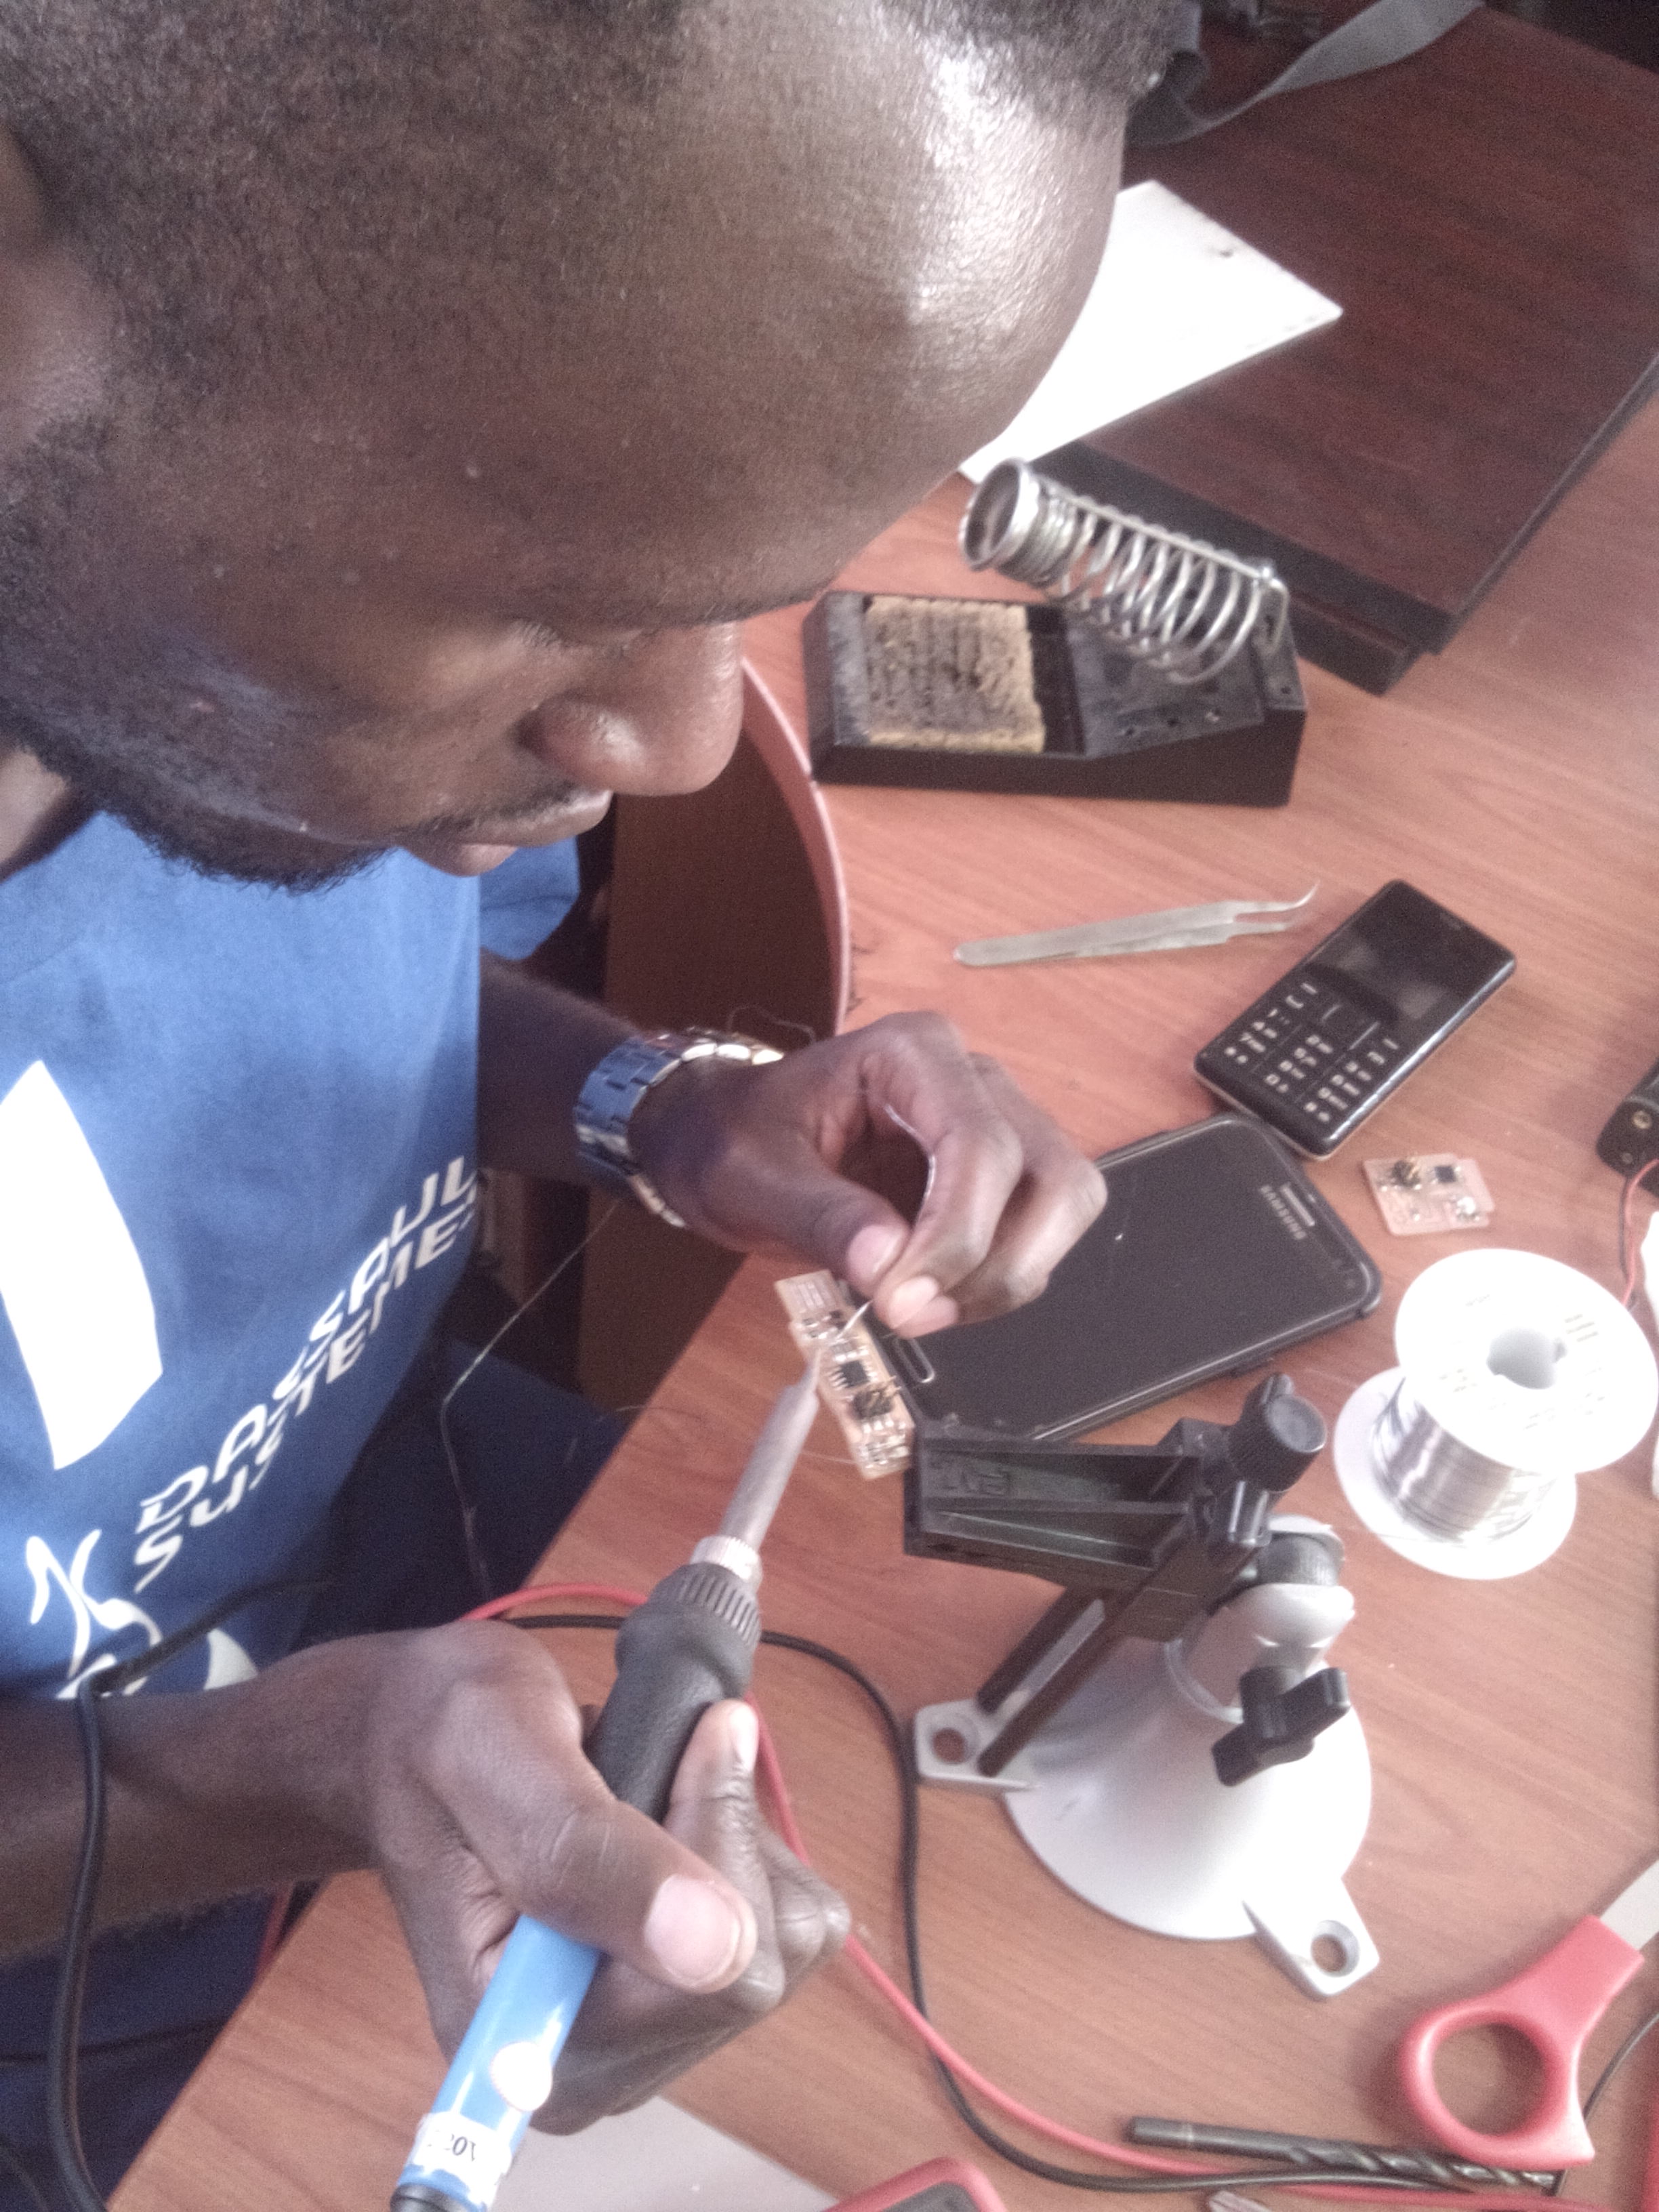
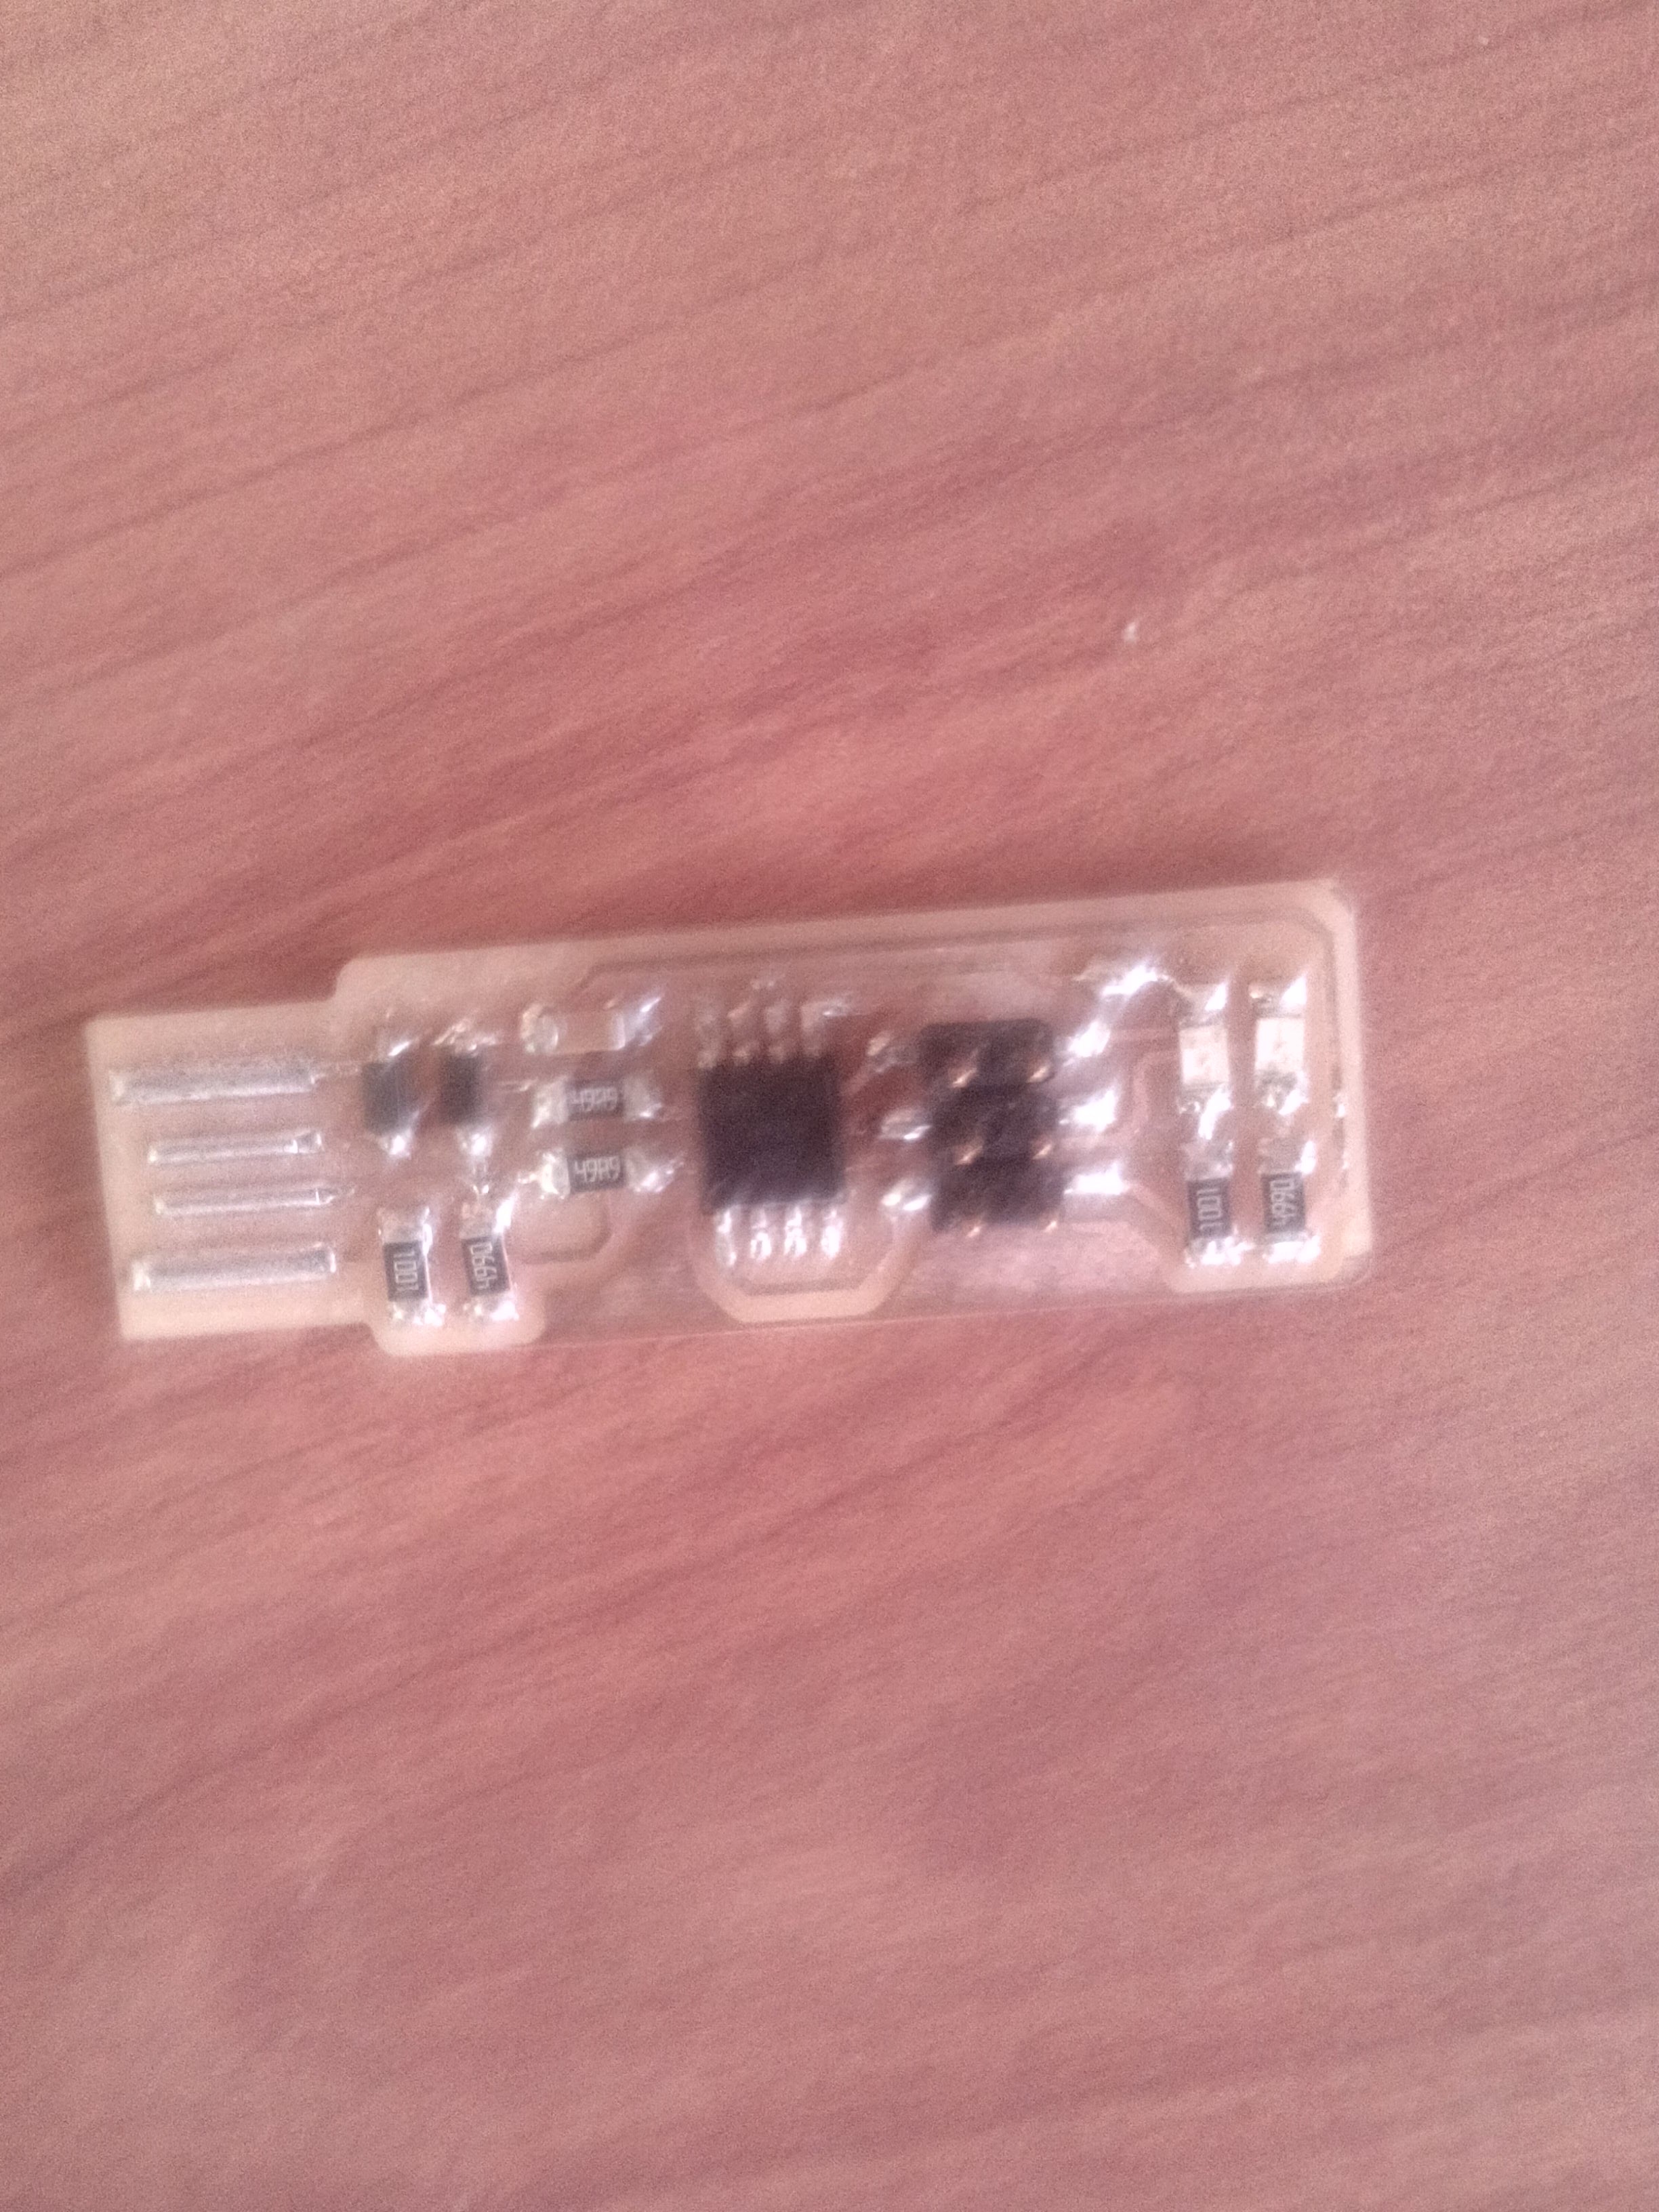
Now the pcb is ready and the next is soldering the components. For soldering, we use soldering station of Weller which is very nice to use.
I wrote down all the components required in a paper.
1x ATtiny45.
2x 1kΩ resistors.
2x 499Ω resistors.
2x 49Ω resistors.
2x 3.3v zener diodes.
1x red LED.
1x 100nF capacito.
1x 2x3 pin header.
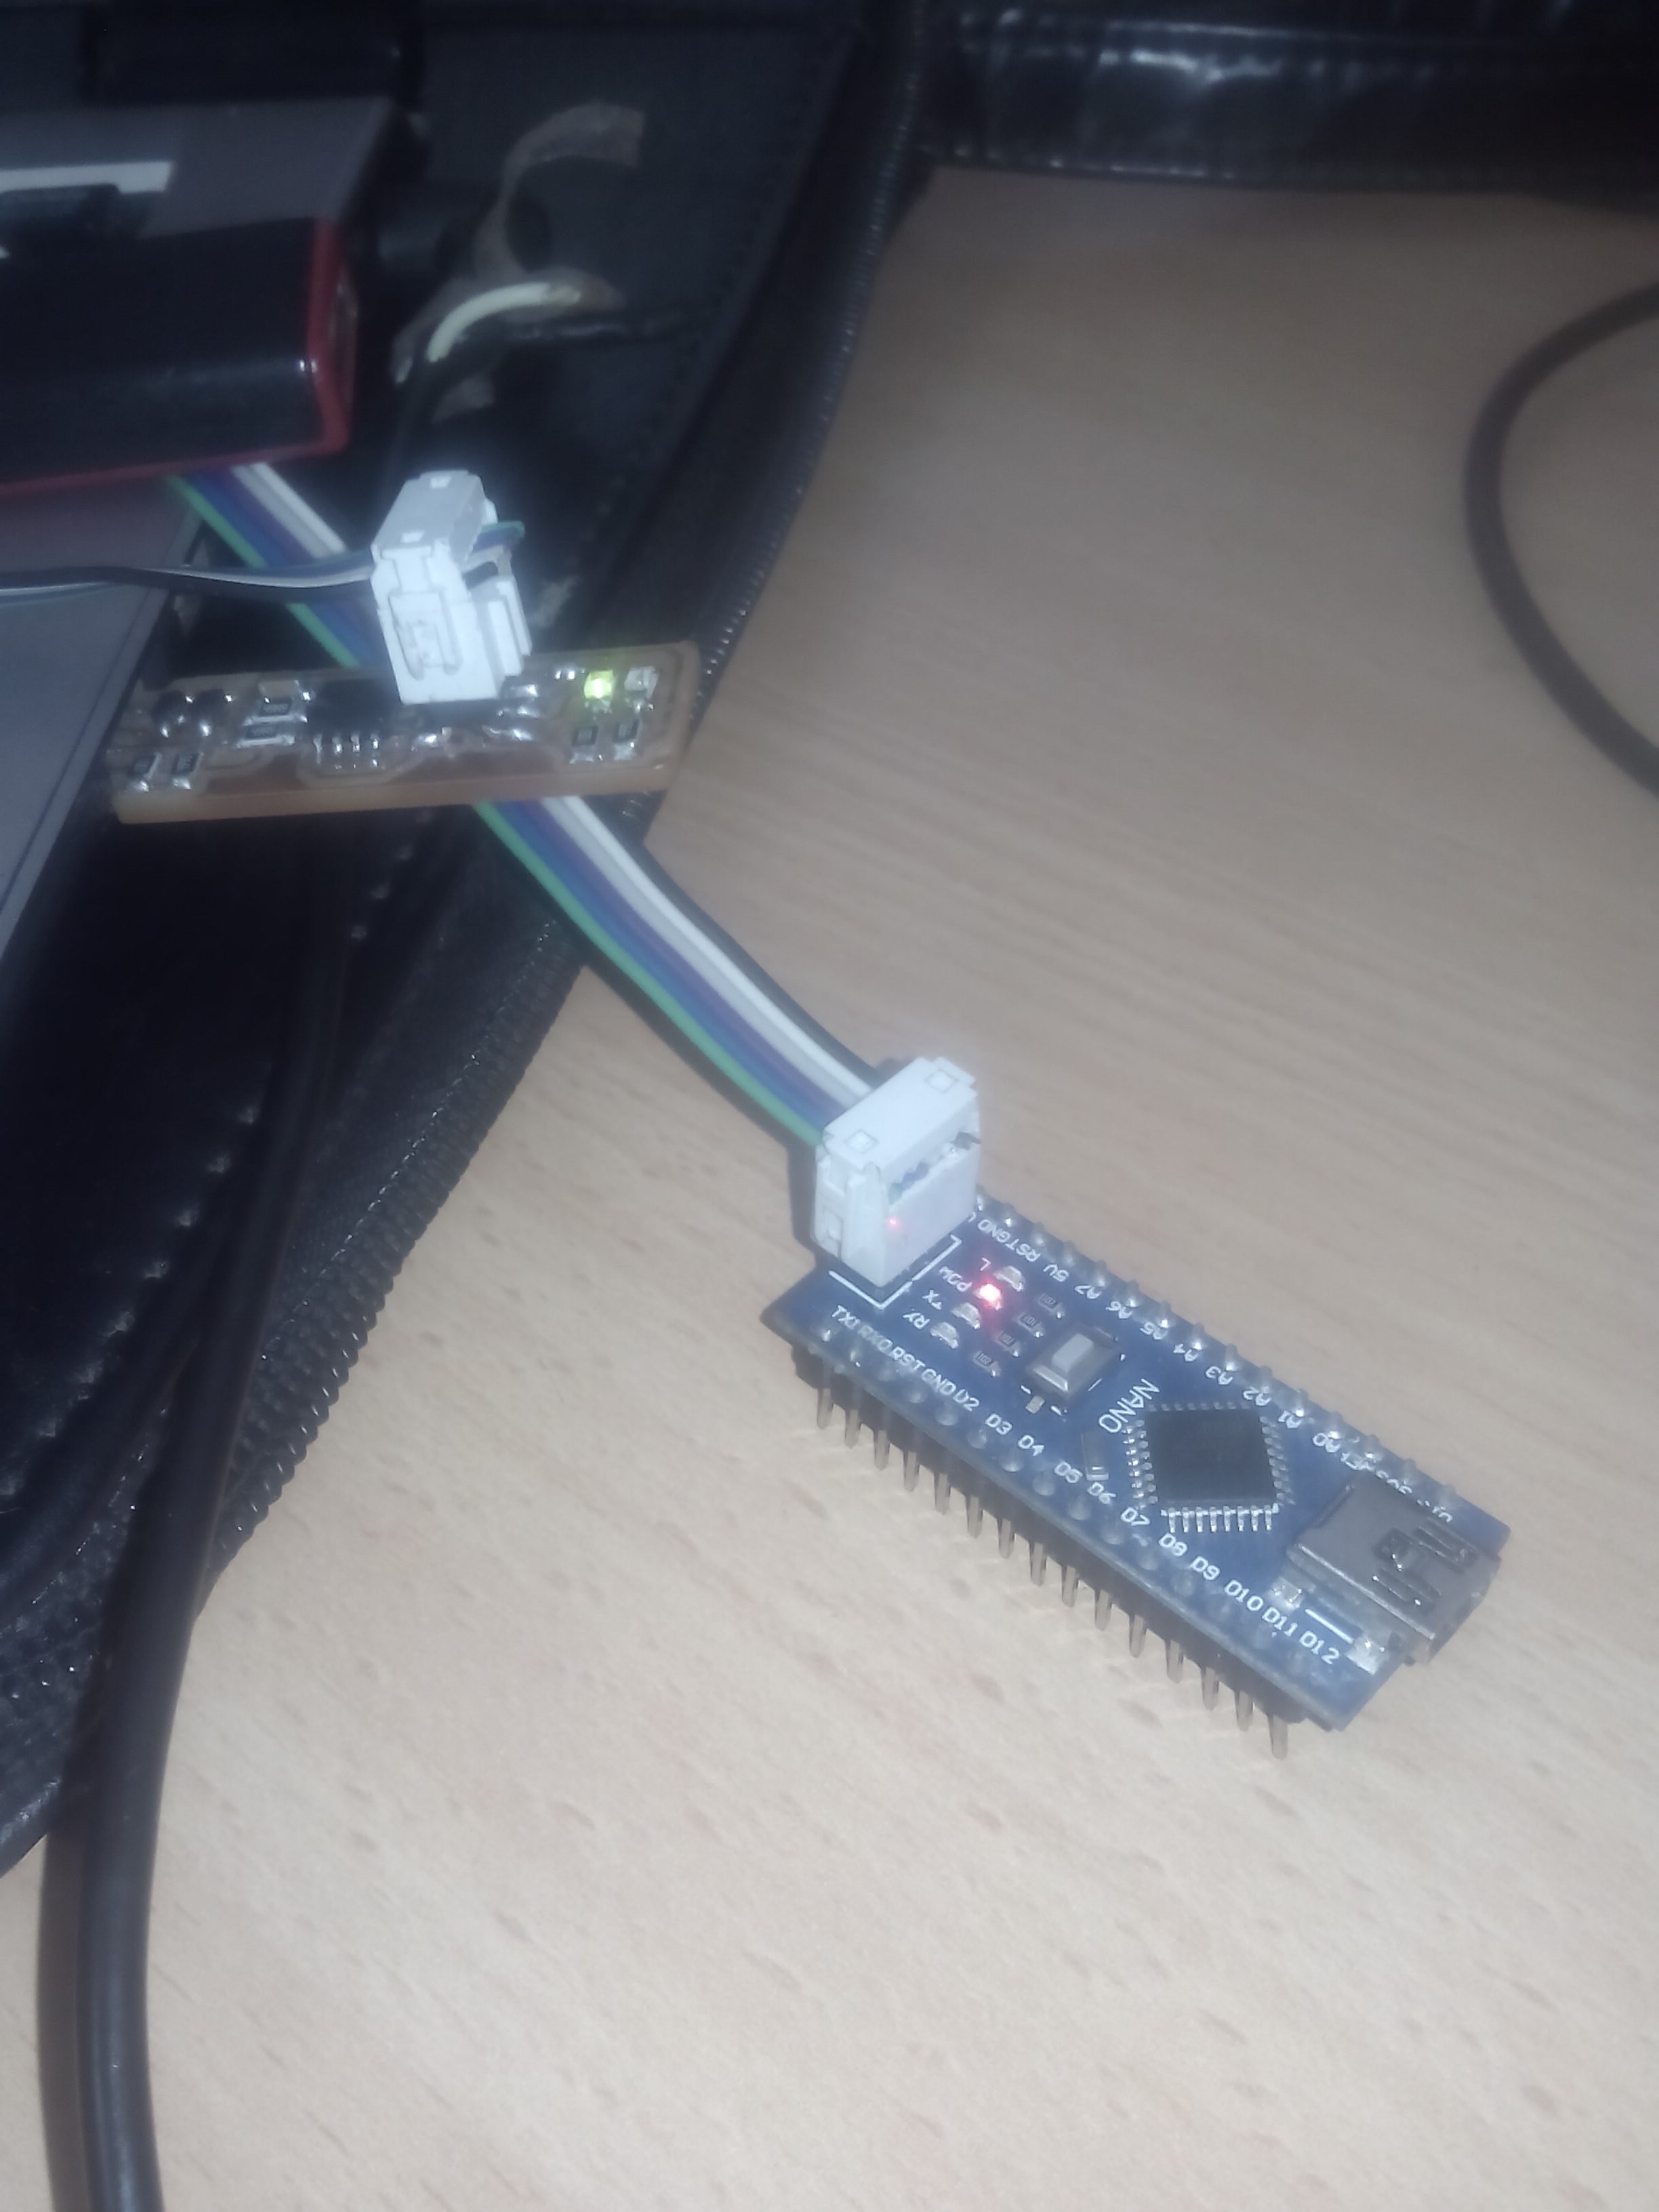
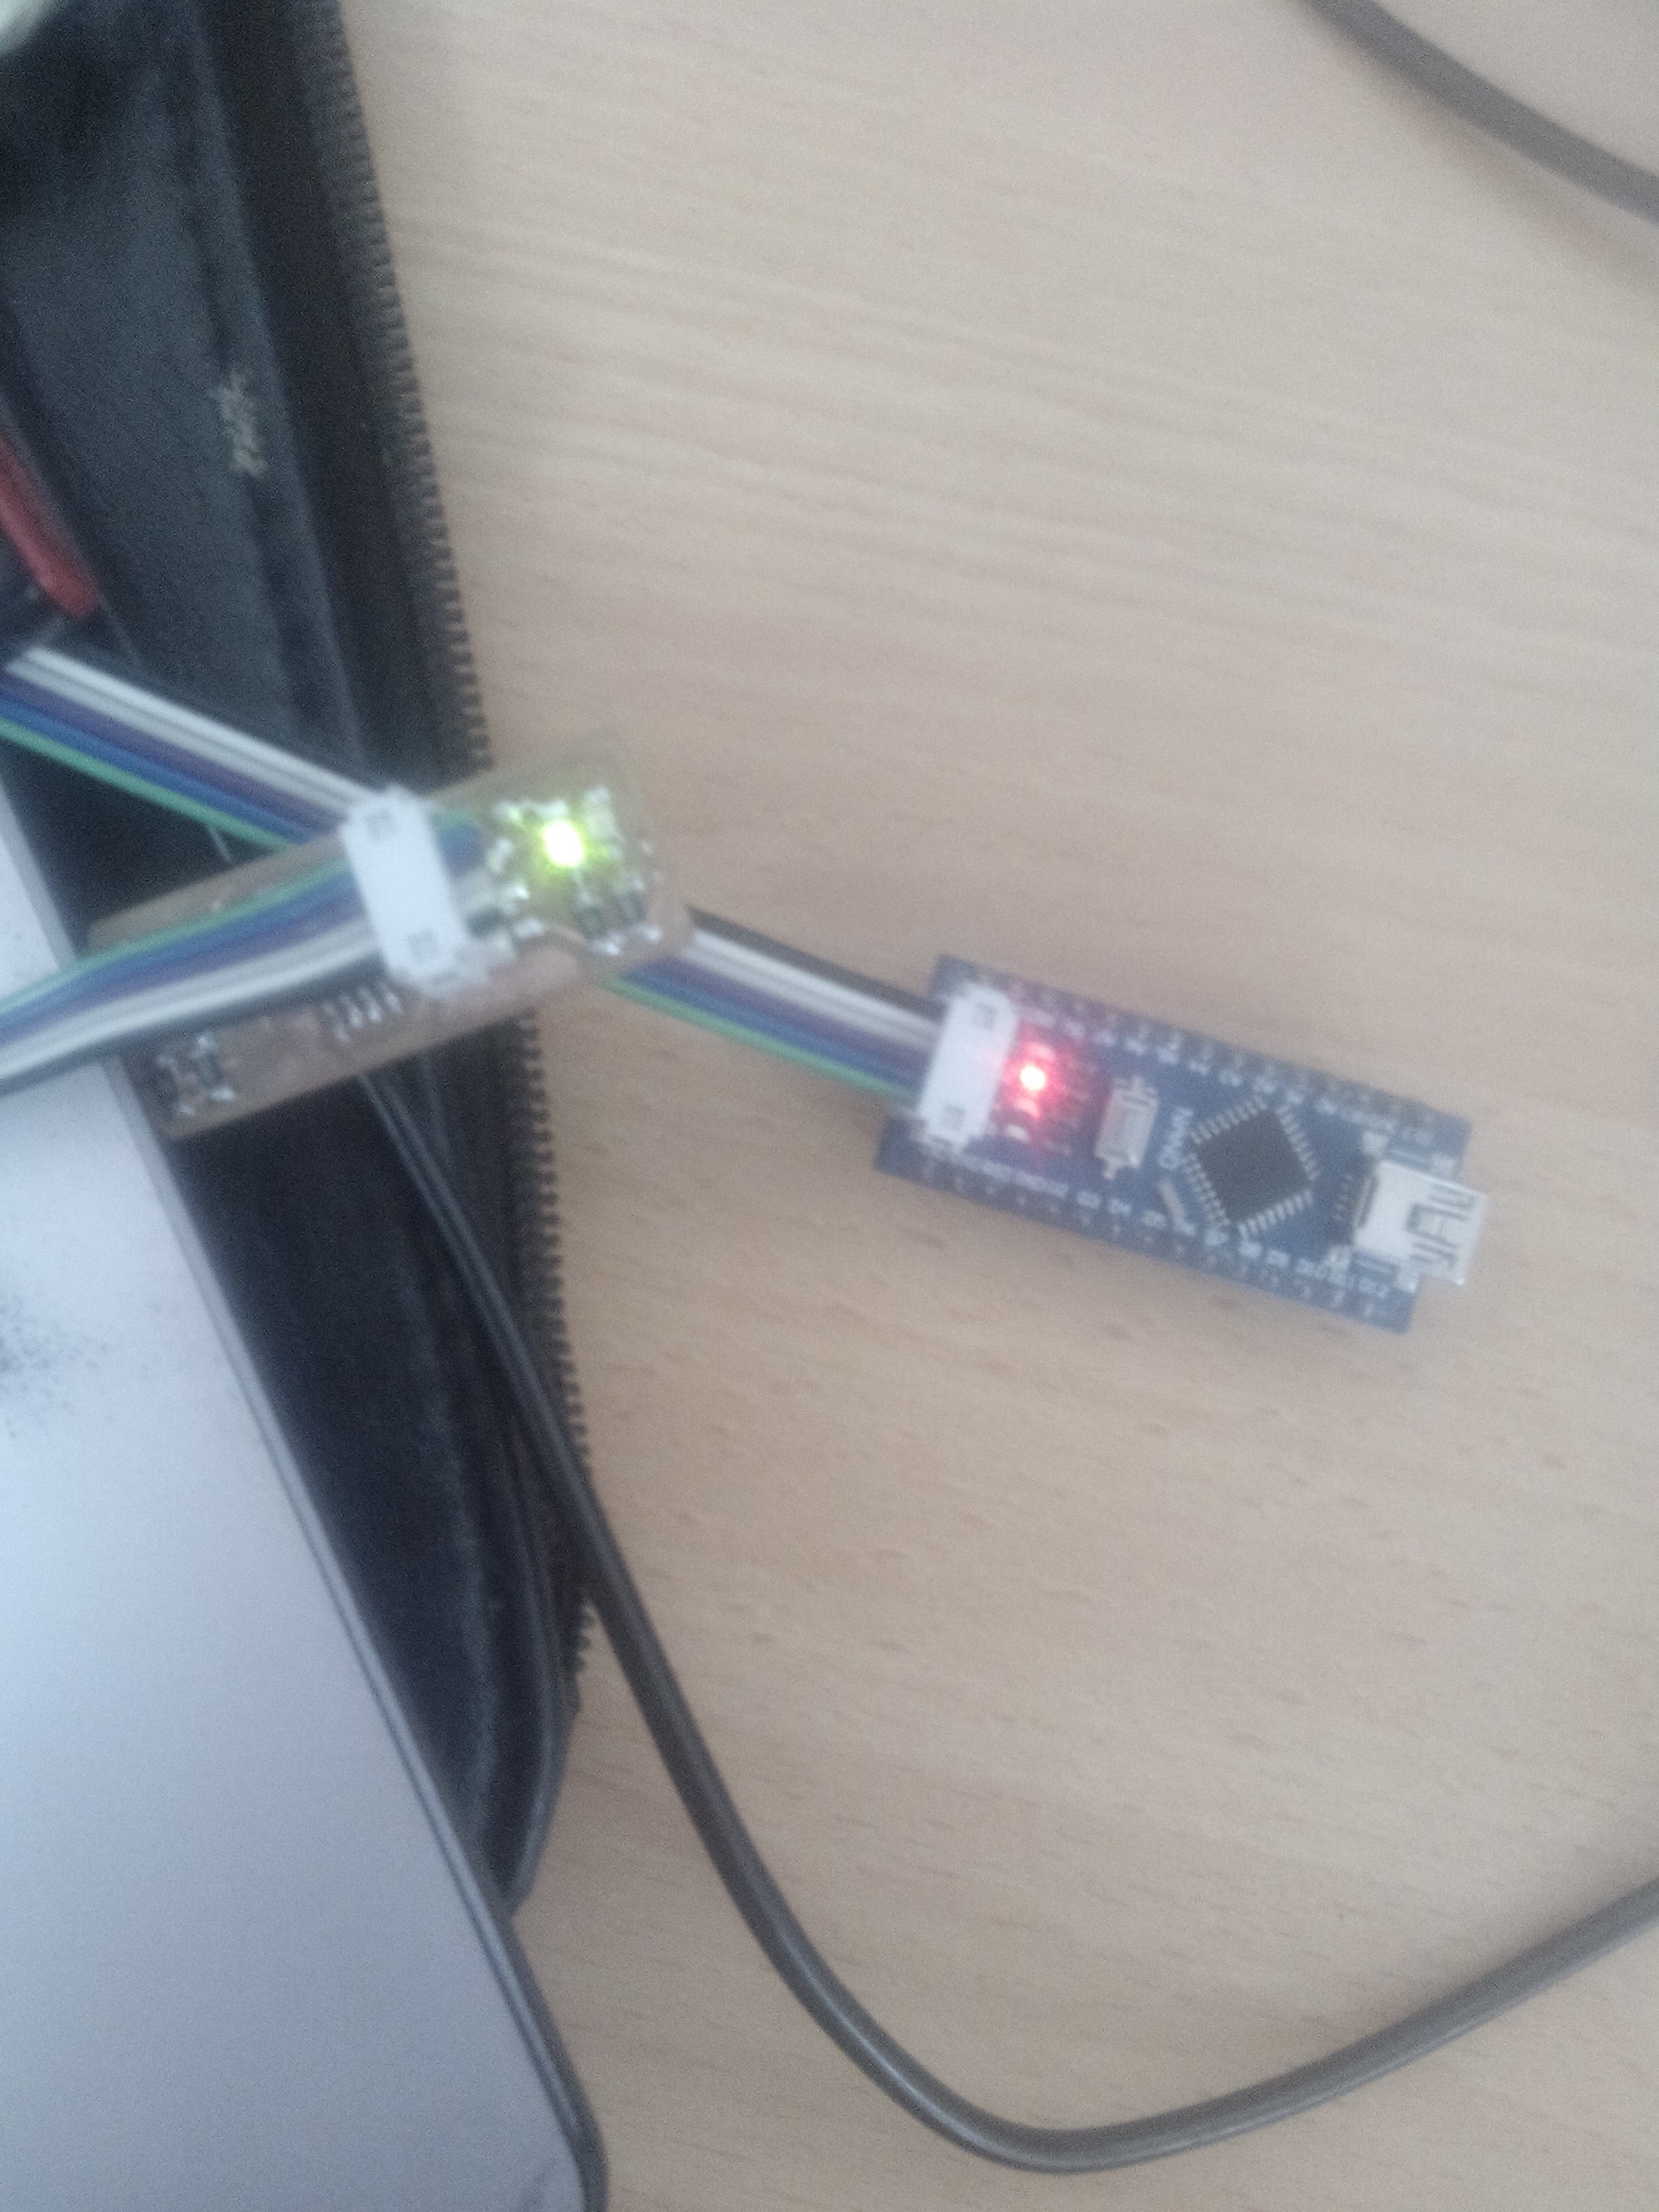
The LEDs and their associated resistors are optional; the red LED lights when the target circuit is powered, and the green LED lights when the programmer is talking to the target. Solder the parts to the PCB, using the schematic and board image below as a reference for component values and placement. Start with the most difficult parts (the ATtiny45) first, so you have the most access. Install the ISP header last, as it is large and can get in your way if you do it earlier..
programming of fabisp.
The steps to program the isp is also explained in MIT fablab link For programming the isp, we need avr-gcc installed in Windows. We can install it using terminal .
To program the FabISP, you first need to install the necessary software for your operating system and download the firmware..
Then you edit the Makefile.
Set the fuses / program the board
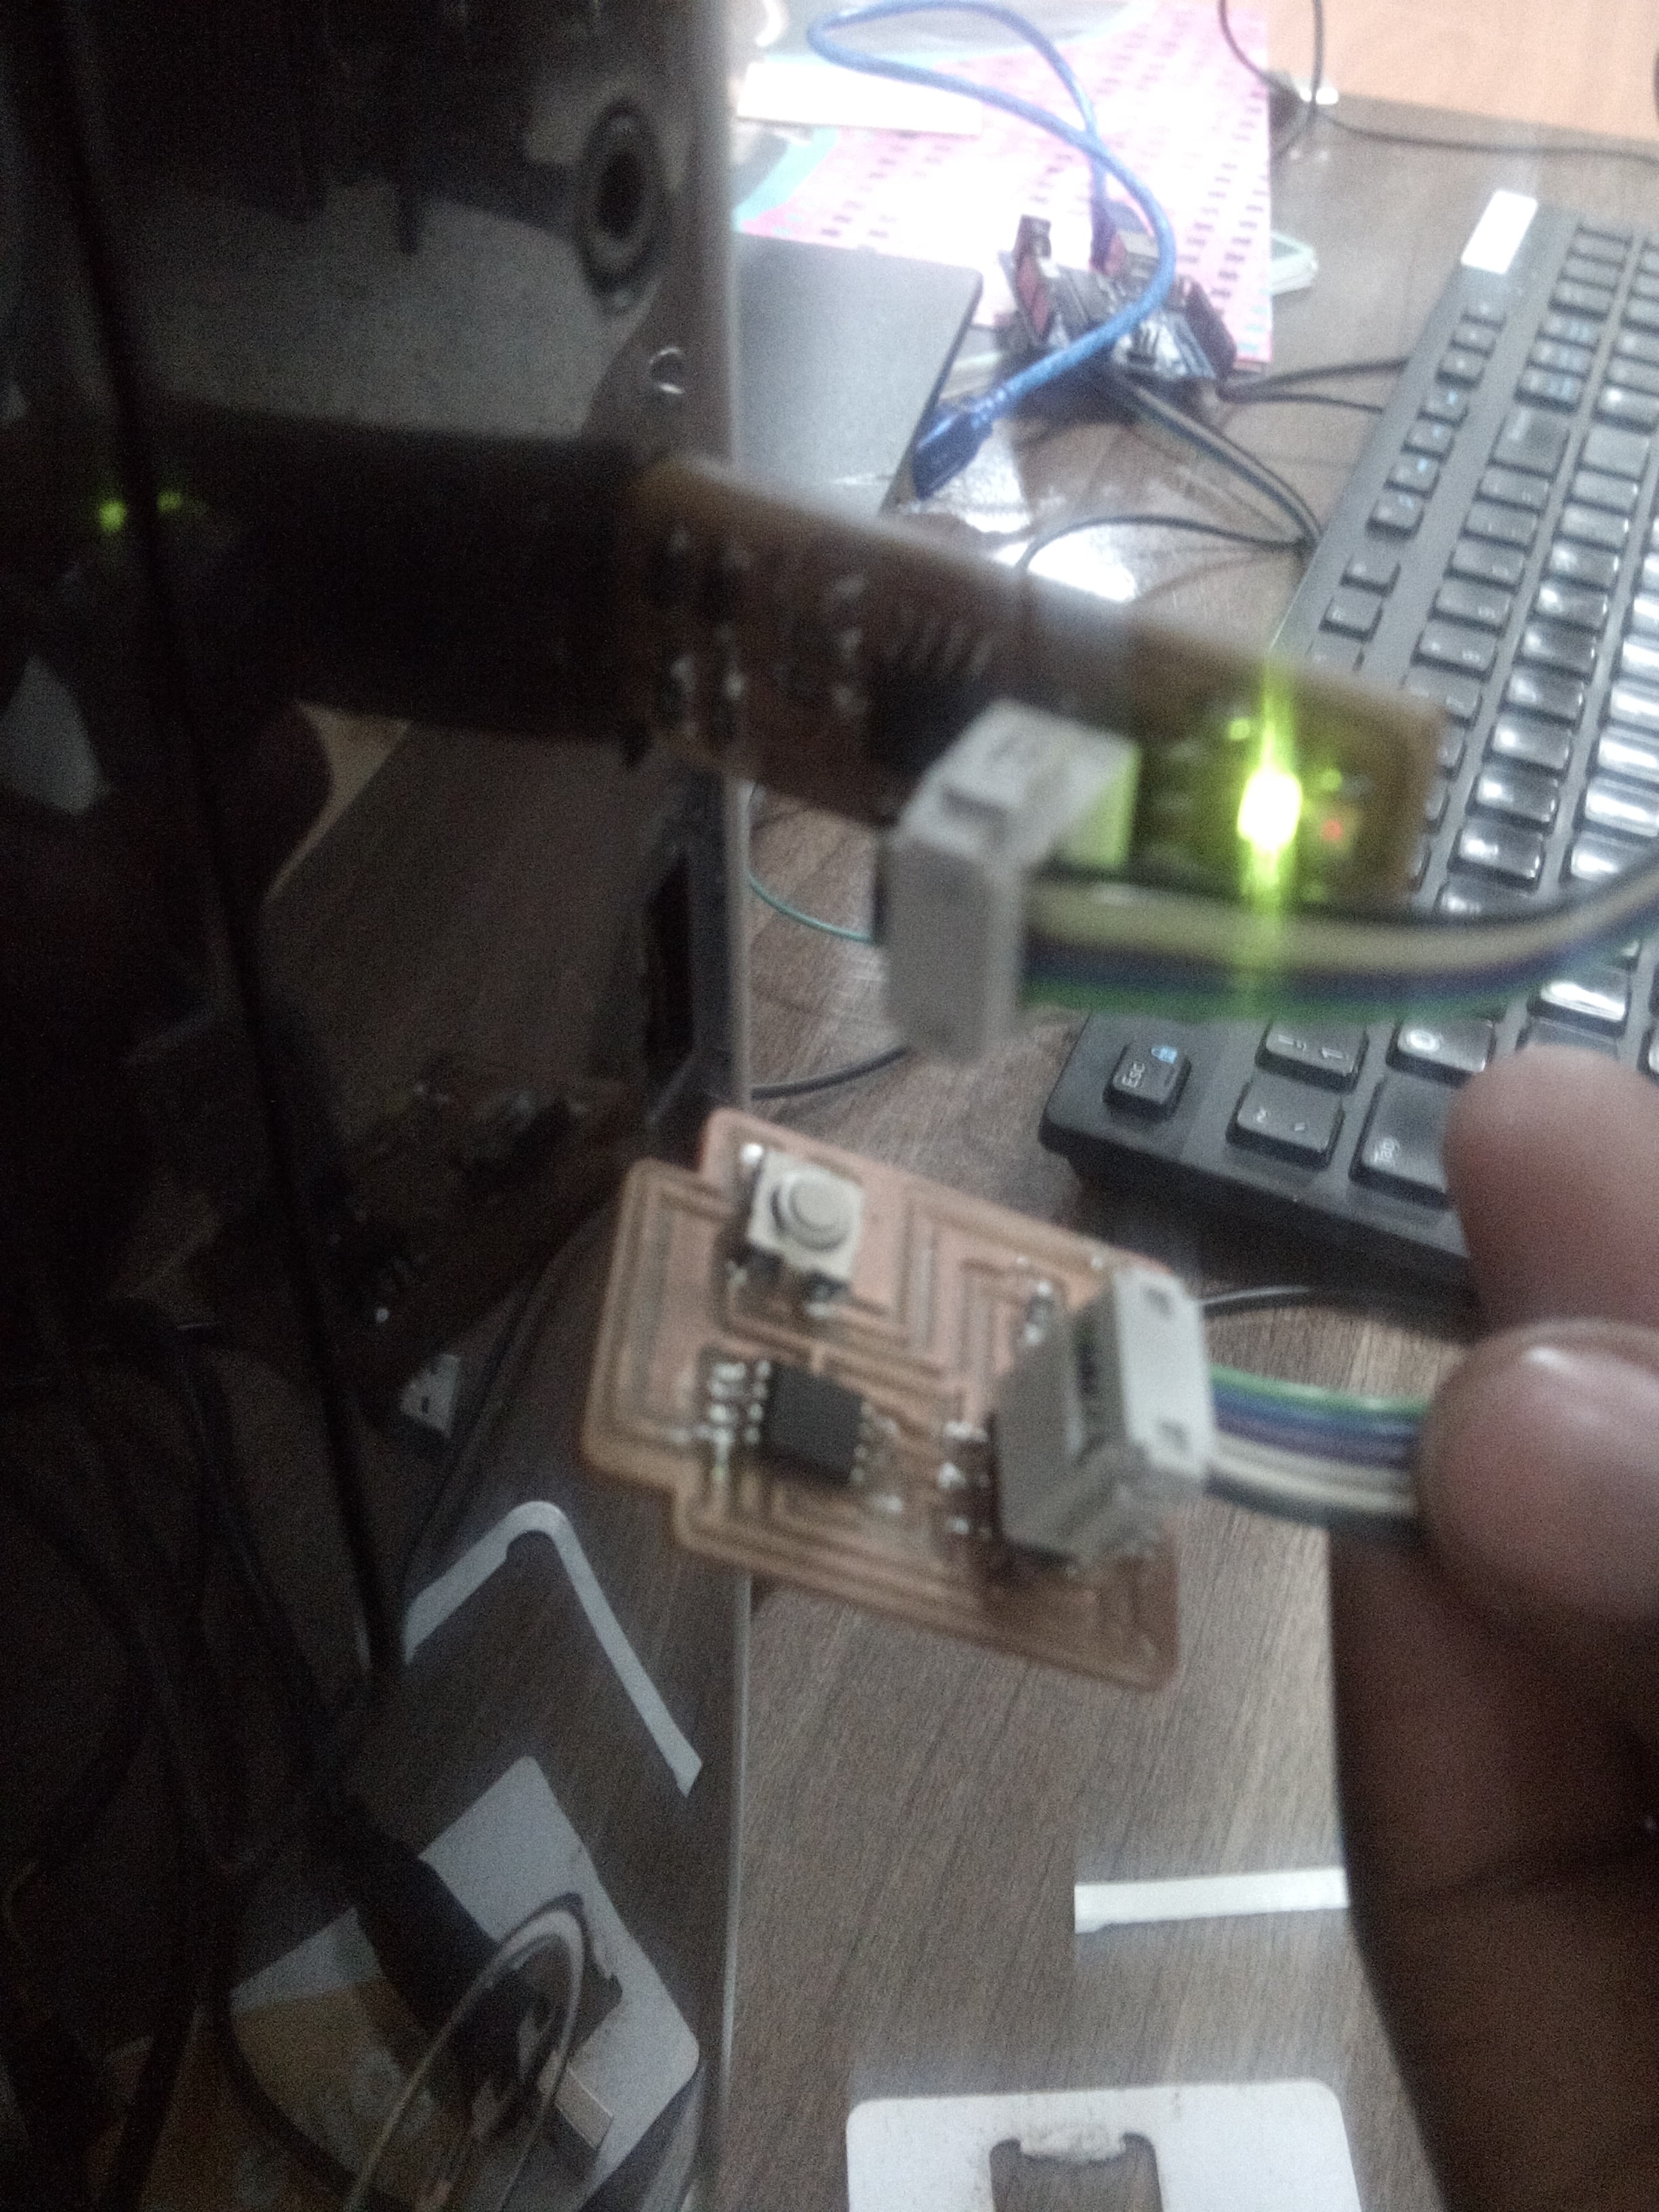
Verify that the board is working properly.
Then you need to open up the jumpers to make it a programmer.
Install Necessary Software for AVR Programming:
For the electronics units in the Fab Academy, you will need:
Avrdude (for programming AVR microcontrollers)
GCC (to compile C code)
Furthermore, WinAVR may require additional packages to function on Windows 10. (Some programs are broken and do not run.) avr-gcc and other development tools can be installed in the Bash on Ubuntu on Windows 10 environment, follwing the same instructions as Ubuntu. However, I don't think a working avrdude can be installed this way. Using a Linux machine (or a Linux virtual machine) might be the easiest option for Windows 10 users right now. (If you have discovered better ways to make this work, please update this documentation!)
here is step-by-step set of instructions
After installing check your systems path variable, if it only contains the path to the winavr installation:
copy those values
restore your old path
add the windavr path back to it
close any commandprompt window you may have open
Download the drivers for your version of Windows
Download the FabISP Firmware
Plug in another FabISP or USBtiny programmer.
Install the drivers:
Go to the Start menu -> Control Panel -> Device Manager (or run "mmc devmgmt.msc")
Locate "FabISP" under "Other Devices"
Right click on the "FabISP"
Select "Update Driver Software."
Select "Browse my computer"
Navigate to the drivers folder you downloaded at step 4 and click on the folder.
Hit "ok" to install the drivers for the USBtiny / FabISP


conclusion.
that is my work done in this week i try to work in Printed Circuit Machine[PCB] and software called eagle i try to print the isp fab in that week thanks.