Assignment: Group assignment:
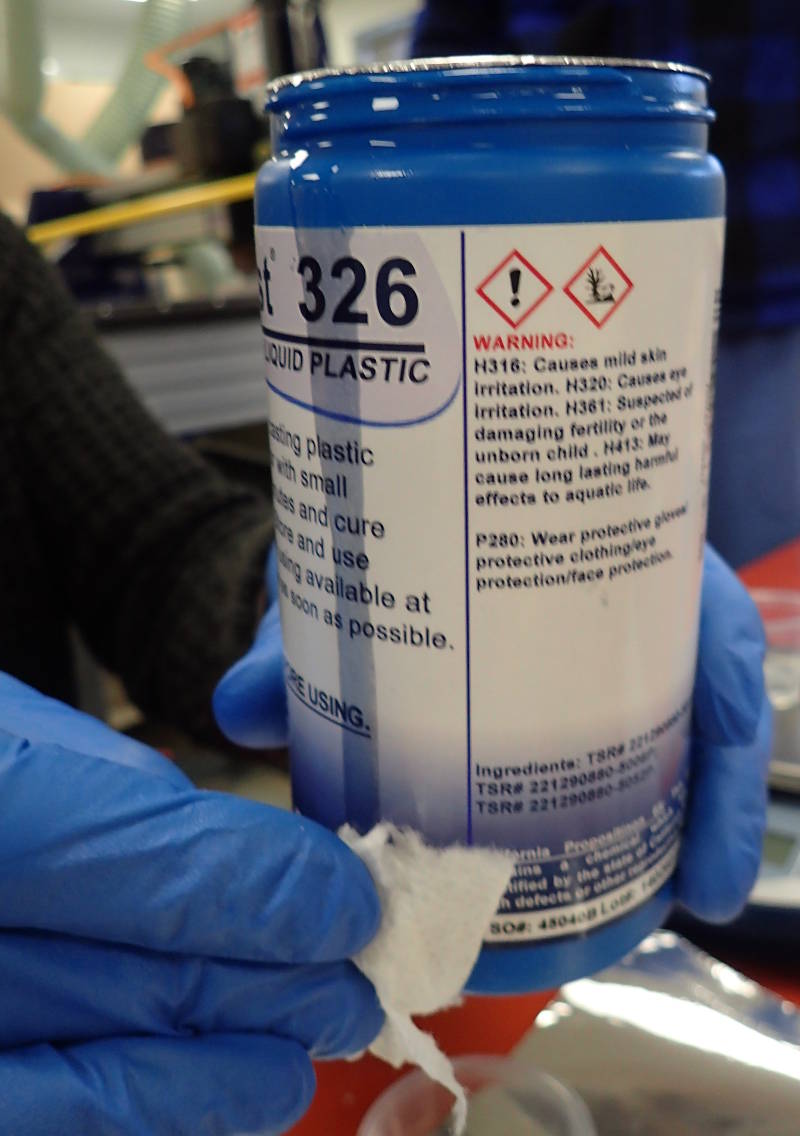
Review the safety data sheets for each of your molding and casting materials,
then make and compare tests with each of them.
Individual assignment:
Design a 3D mold around the stock and tooling that you'll be using,
machine it, and use it to cast parts.
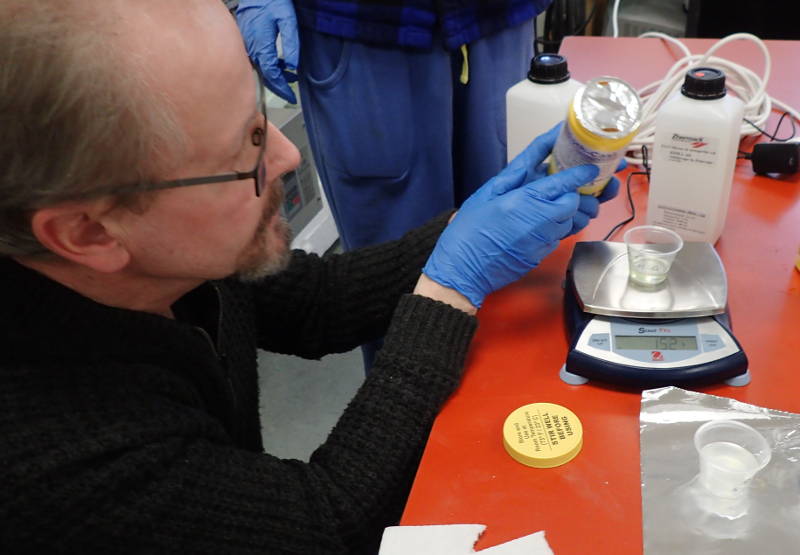
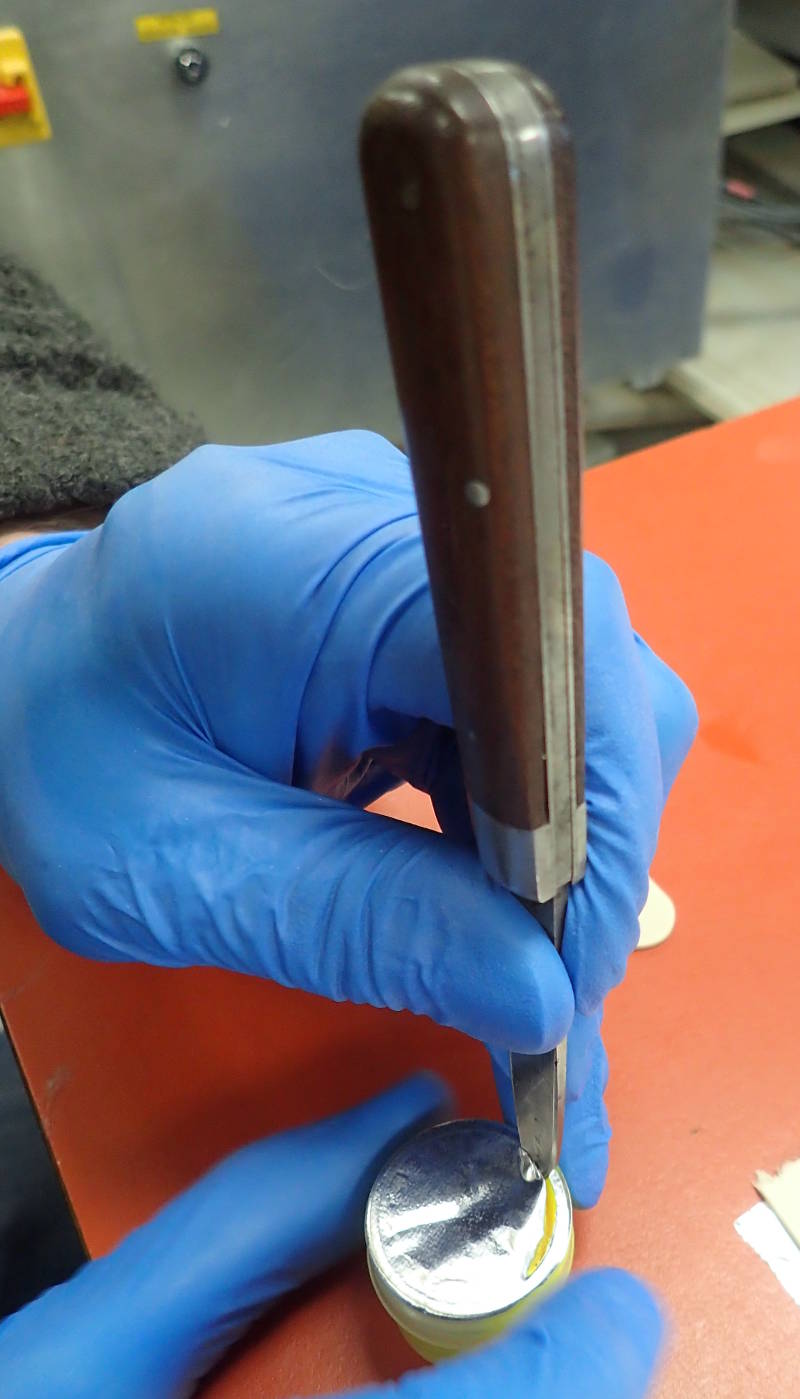
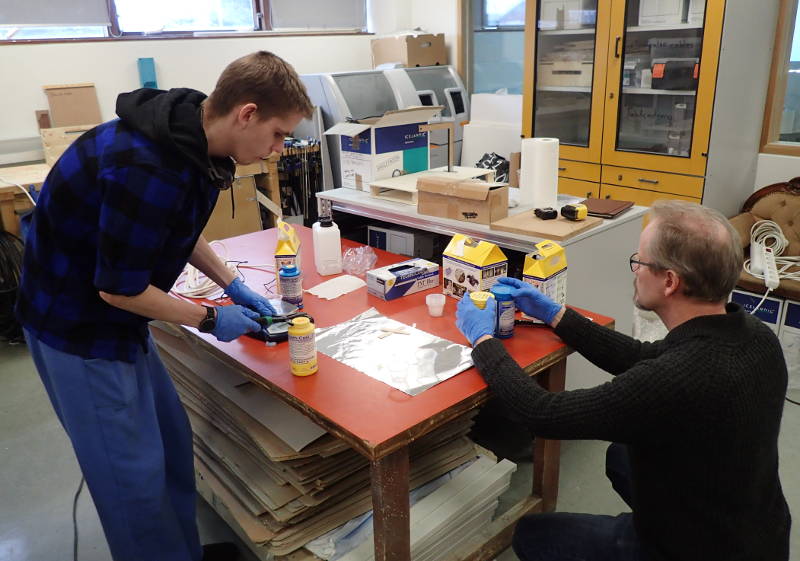 Going through the stock, determining it's status.
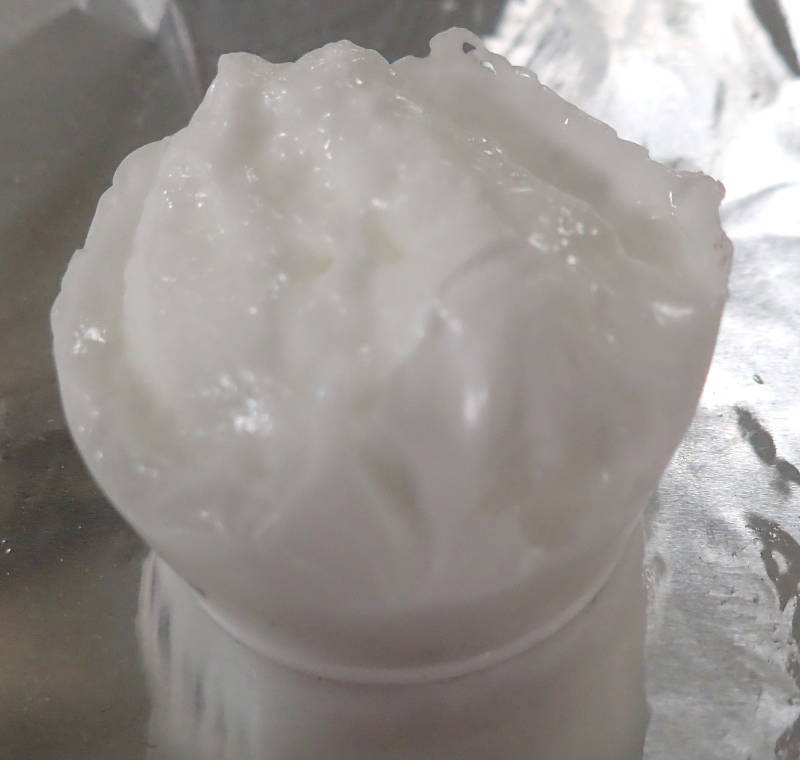
 This one had completely solidified.
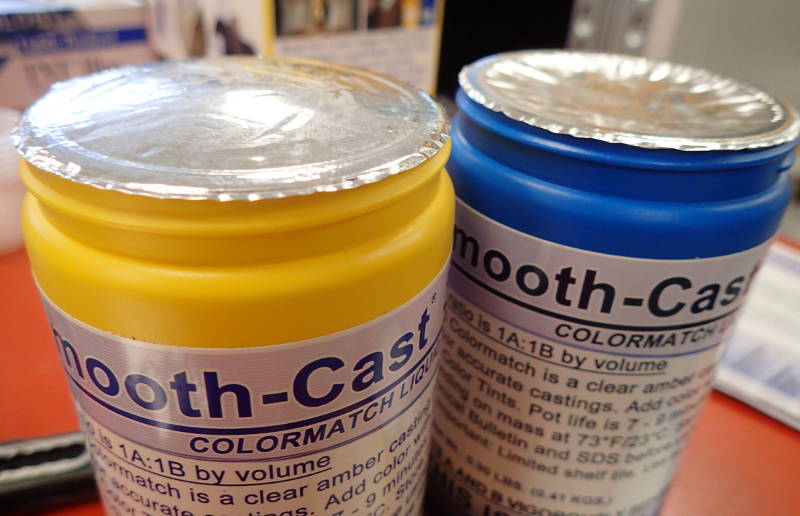 Some slight bulging was evident, but contents seemed fine.
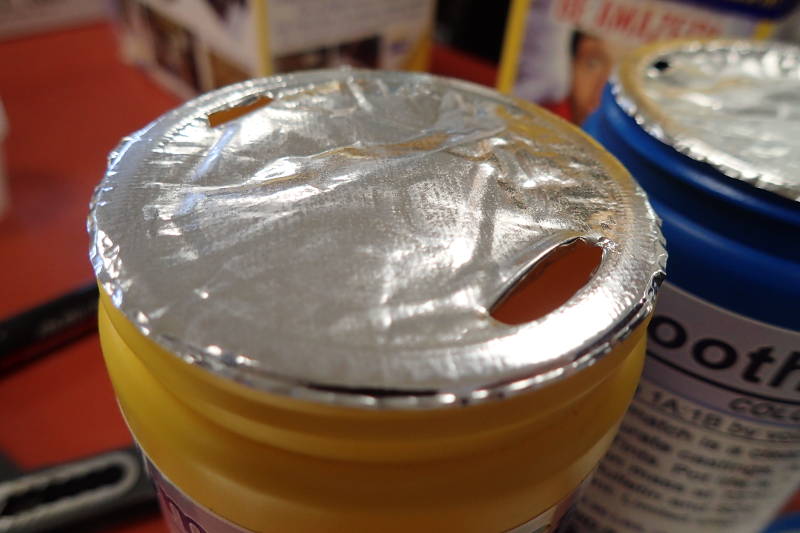

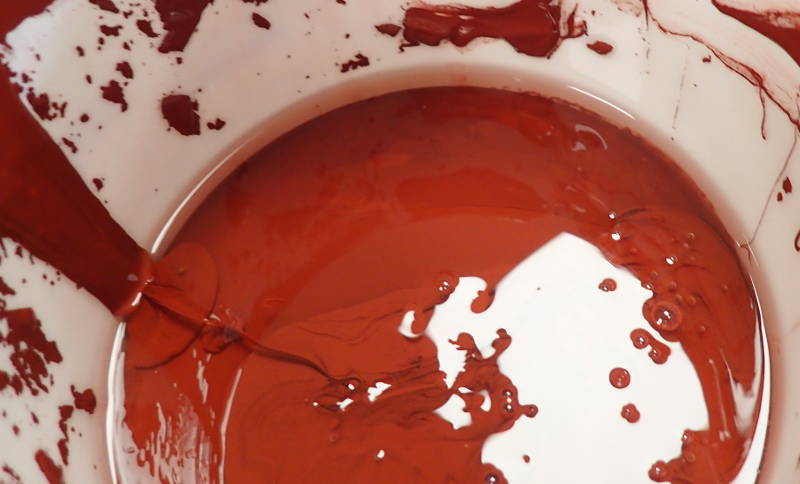
 Dye had set over time.
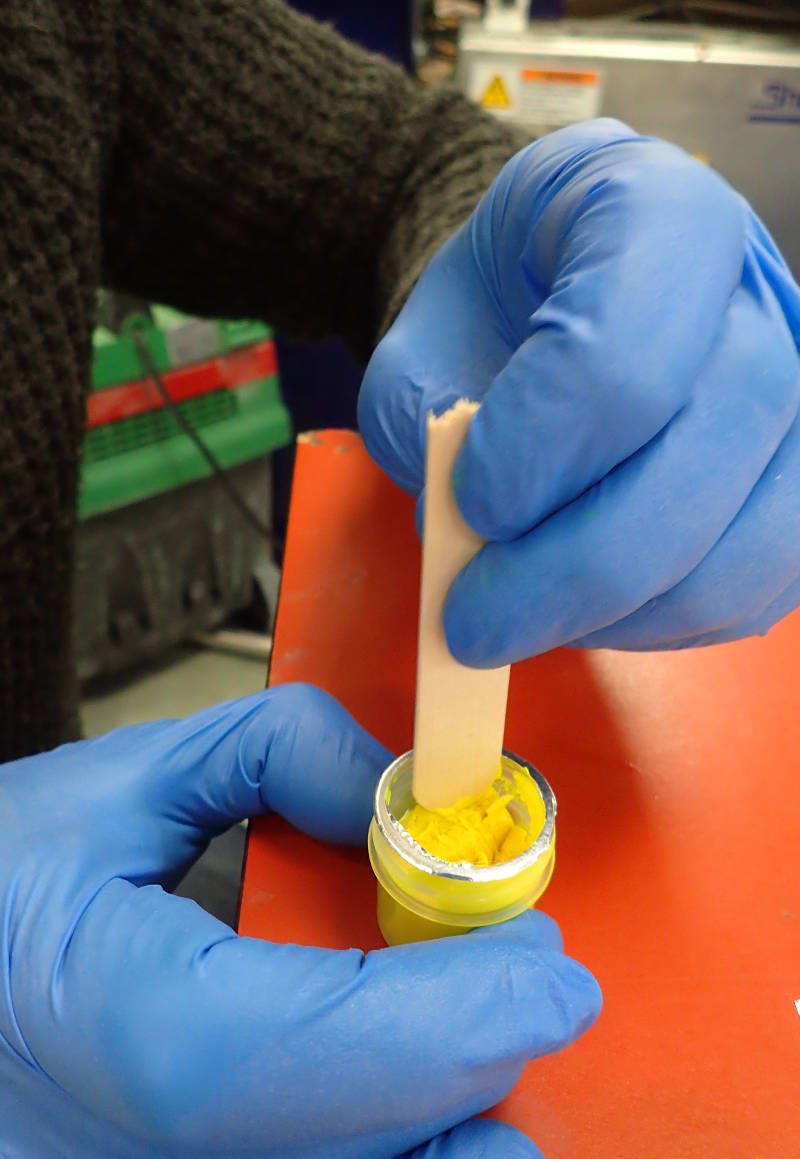 Stirring up the dried out dye. It was still usable.
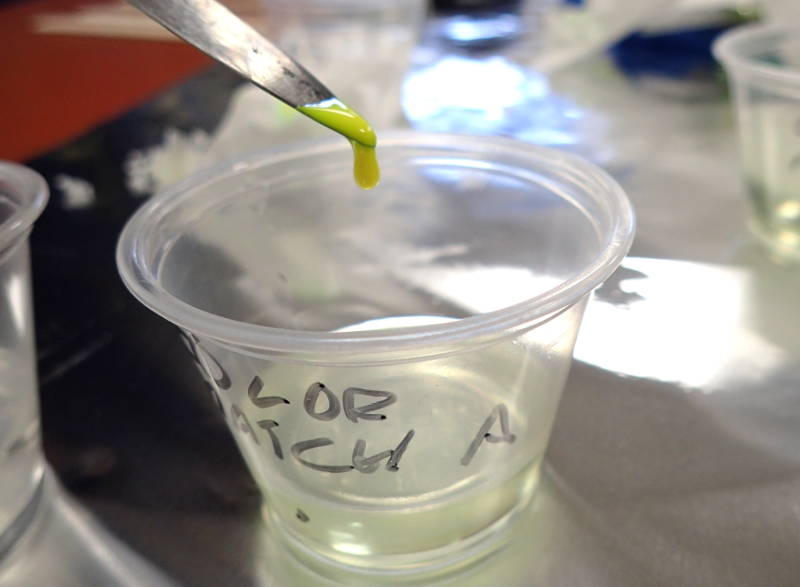
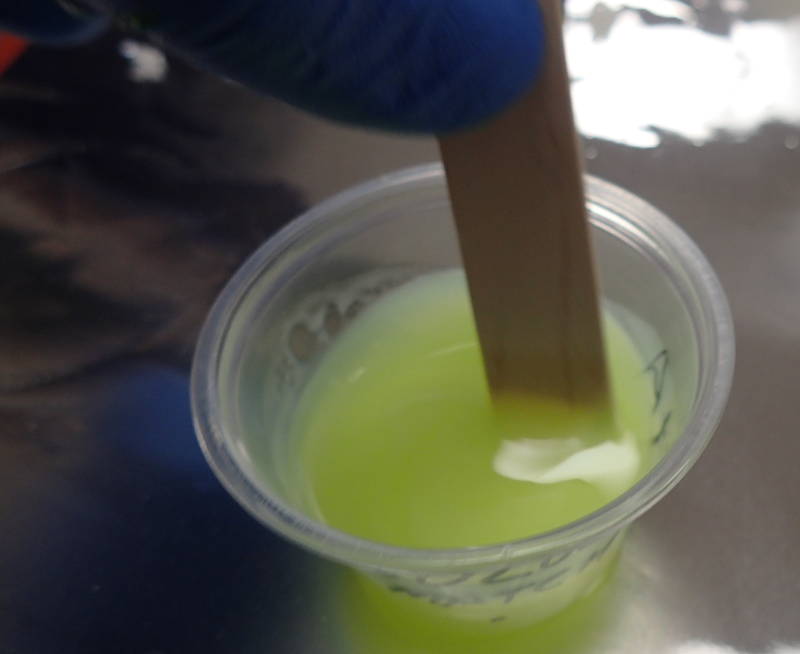
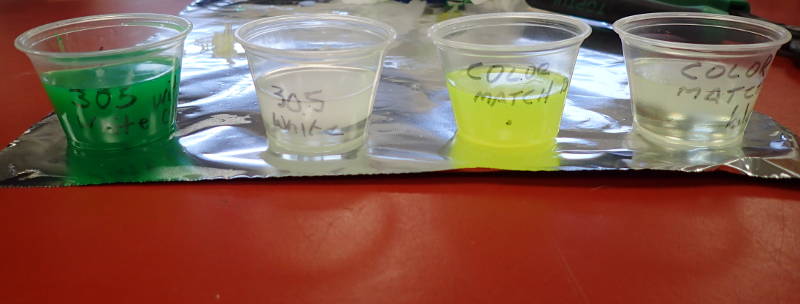
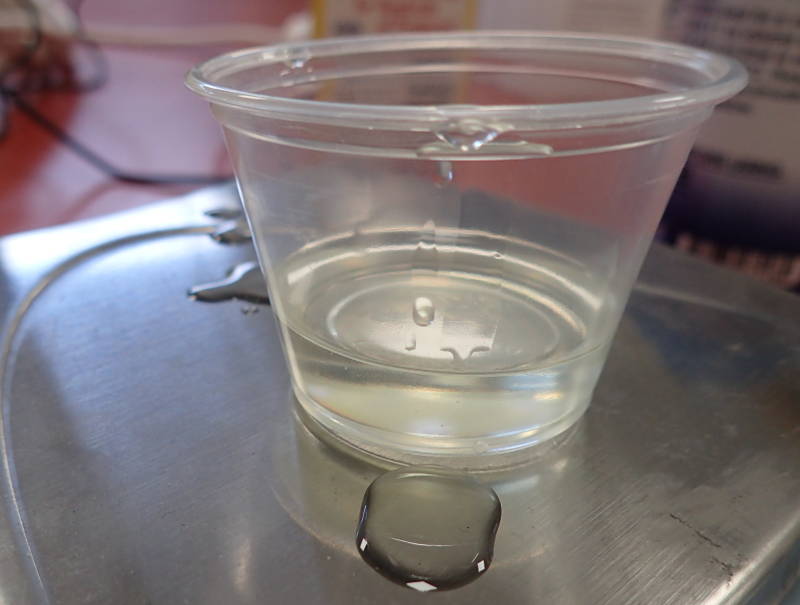
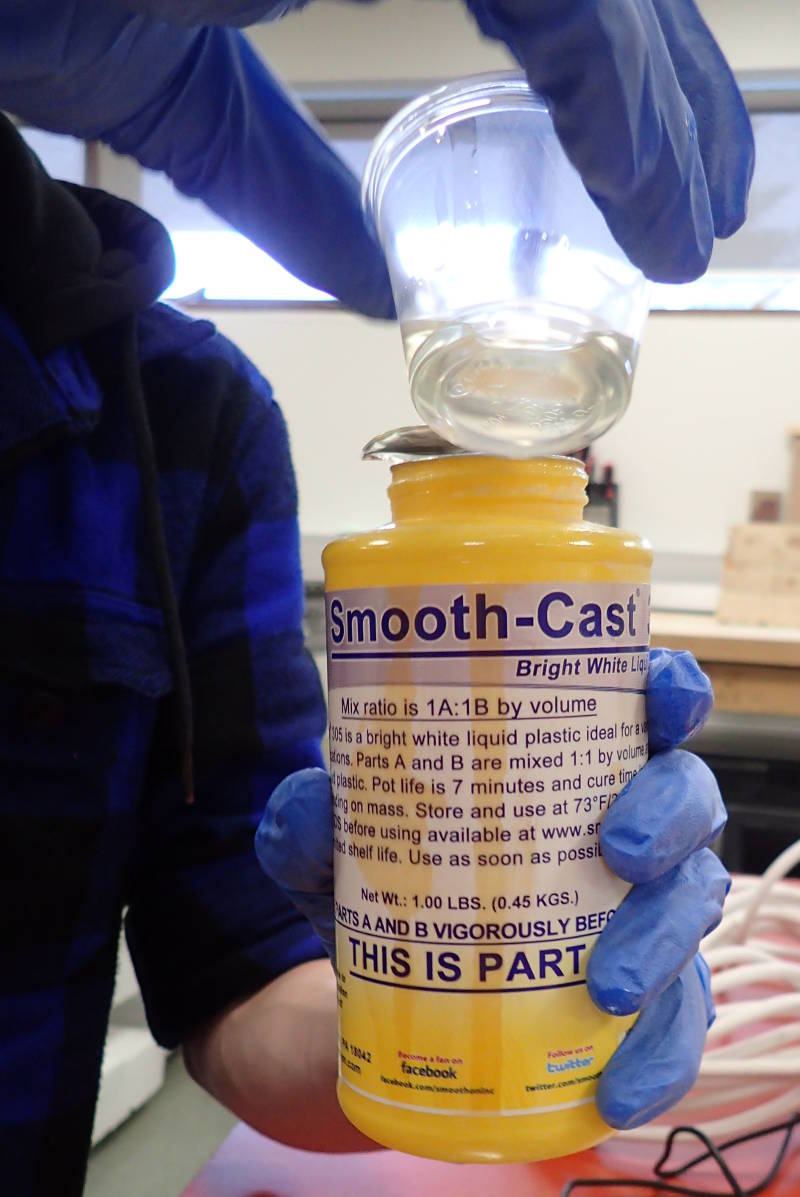
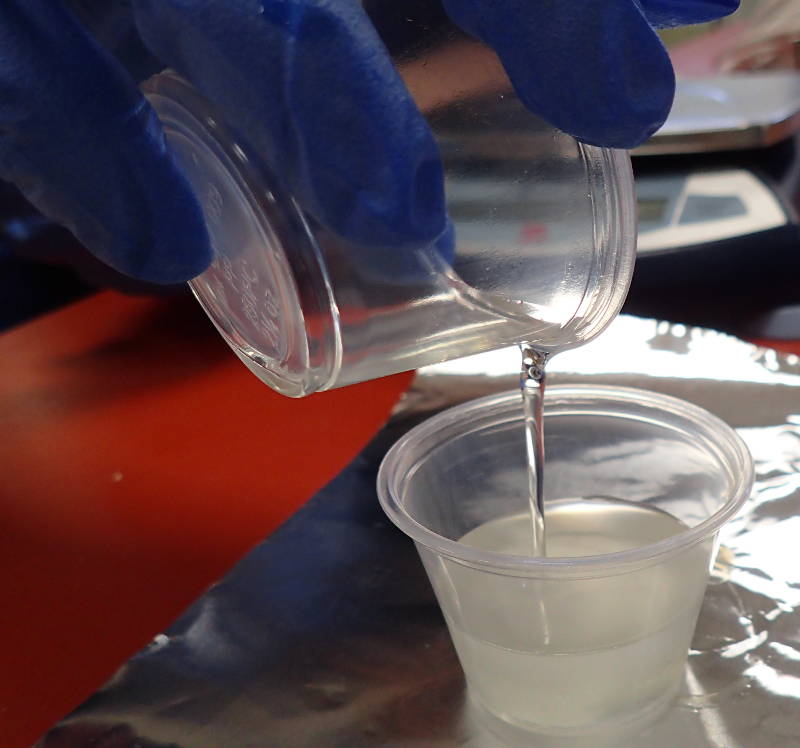
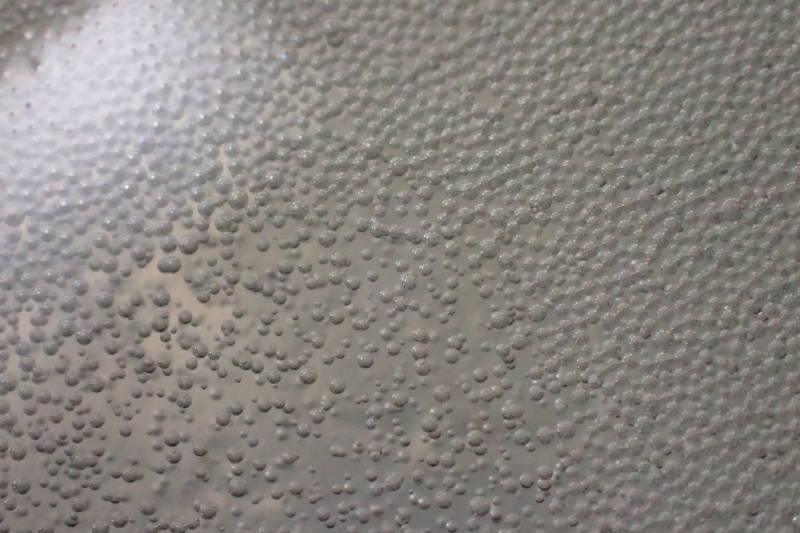
 Freshly poured samples hardening.
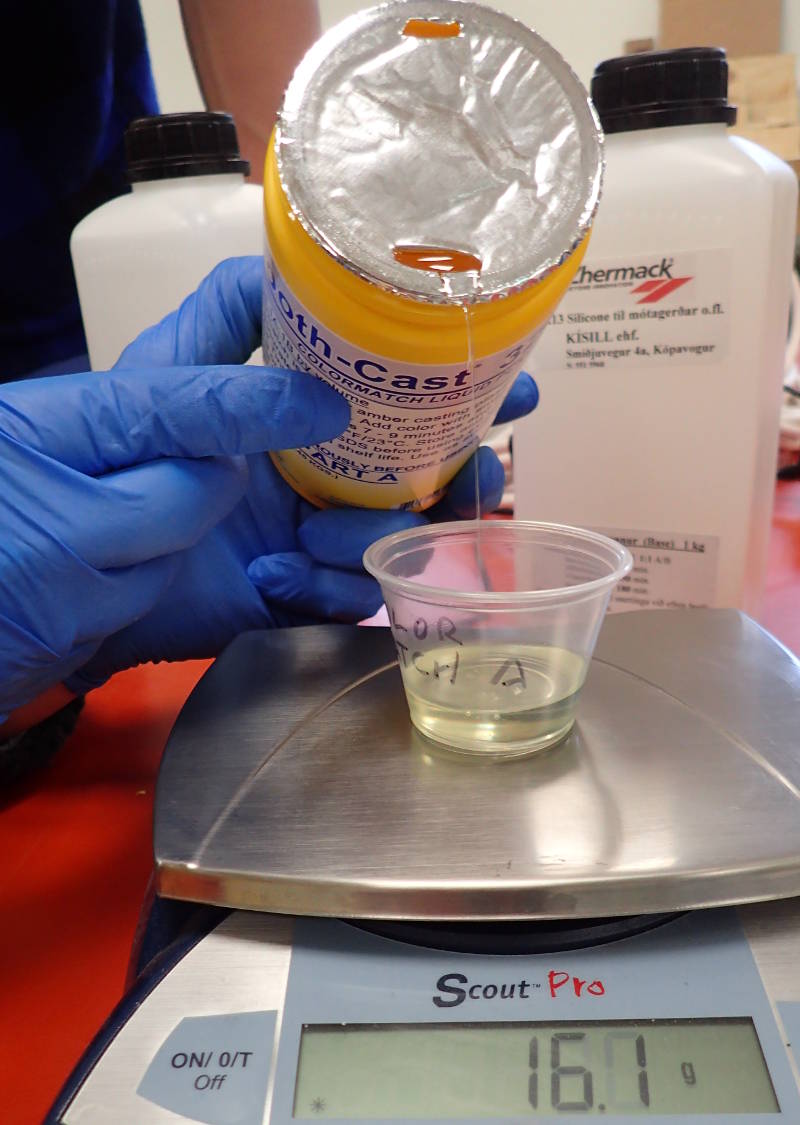
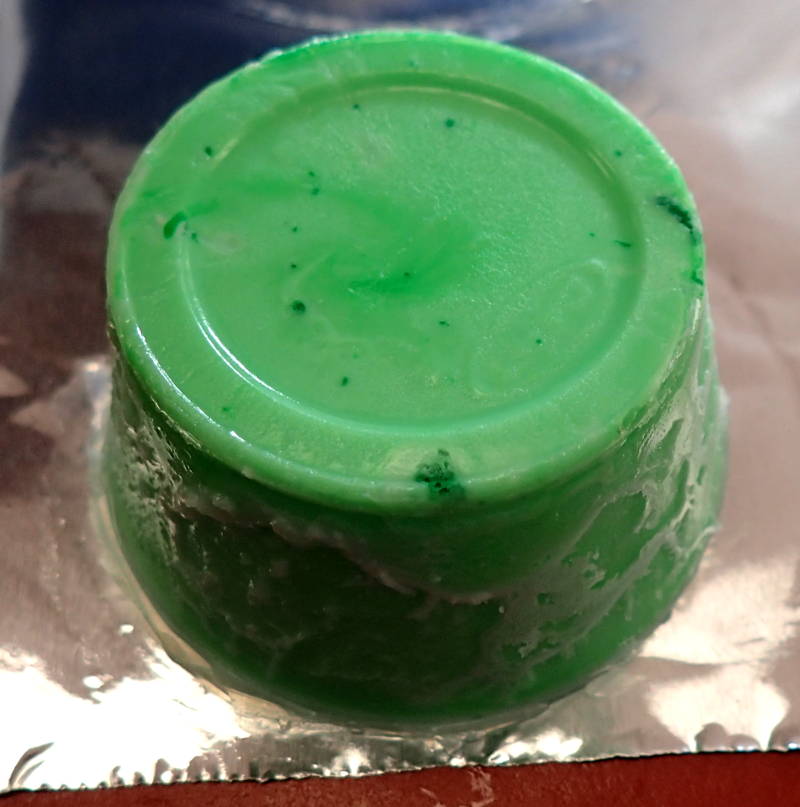 305 white last opened in 2016 sets overnight with pigment.
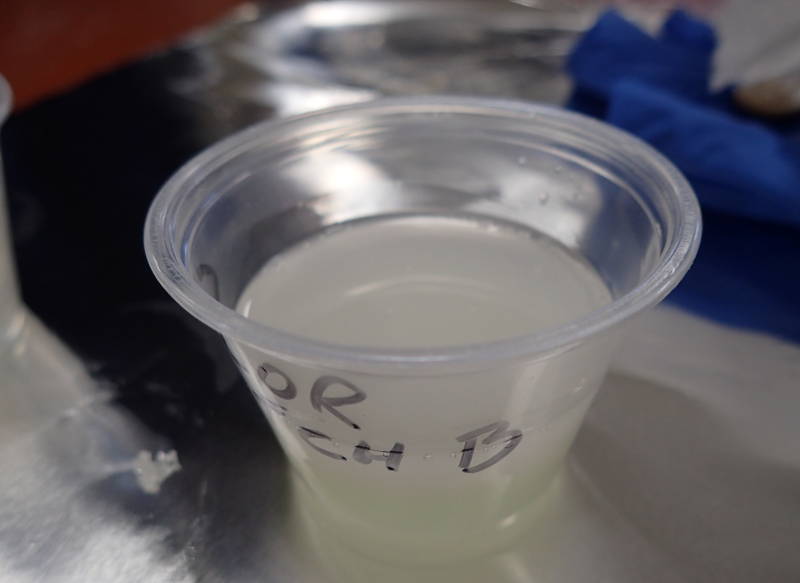
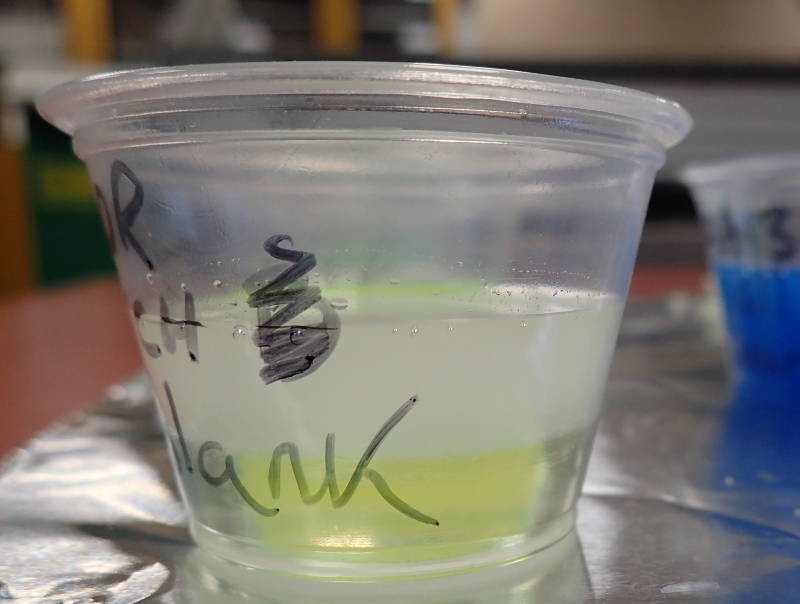
 Without pigment, it separates.
Second batch without pigment stirred for 5 minutes, started to form bubbles and set before bubbles precipitated out. I speculate that bubbles in first batch acted mechanically to separate mixture. As mixture cured, stirring introduced more bubbles, I left them for a minute, but they were forming a lump of foam on top, so I folded them back in. Now the setting accelerated and material achieved a rubbery, solid consistency in less than 13 minutes from initial mixing and has set hard in 25 minutes . The data sheet says it is supposed to set in about 40 minutes.

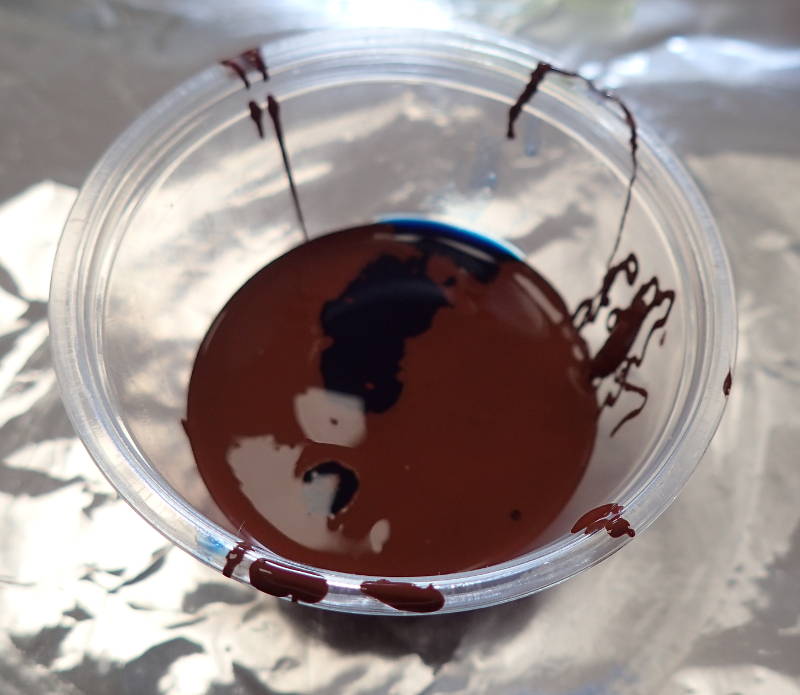
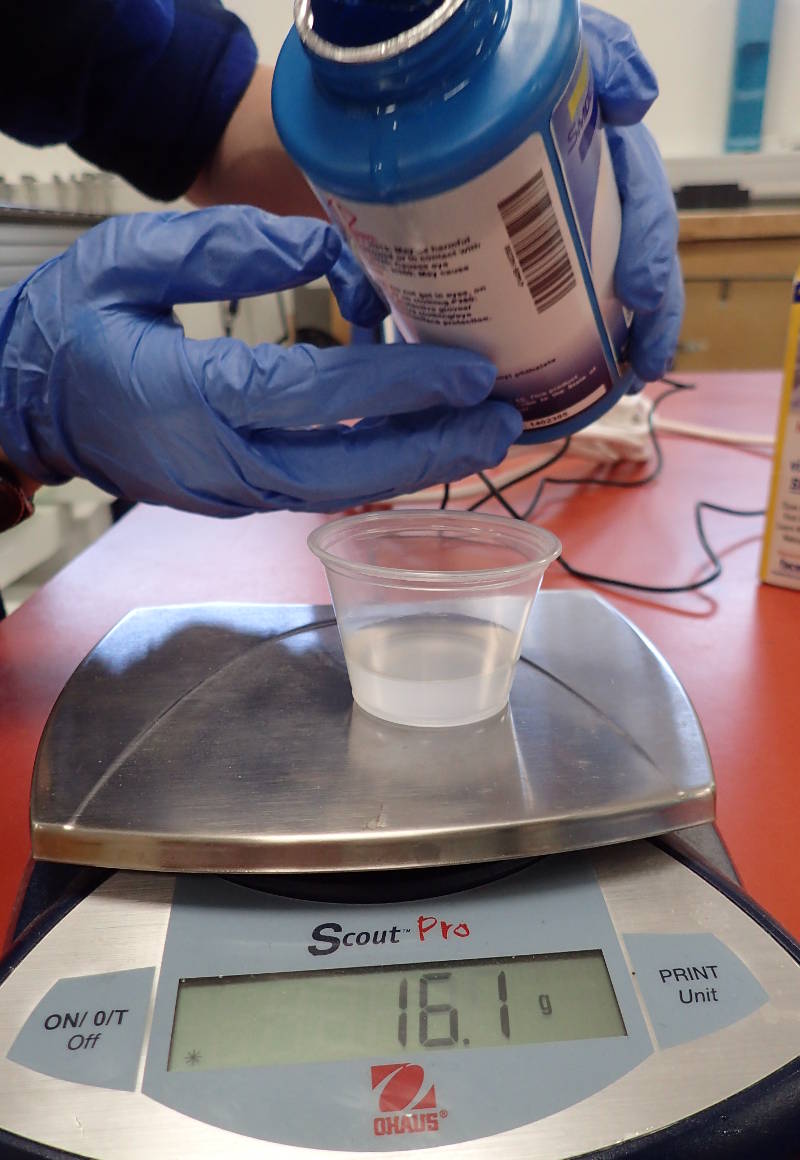
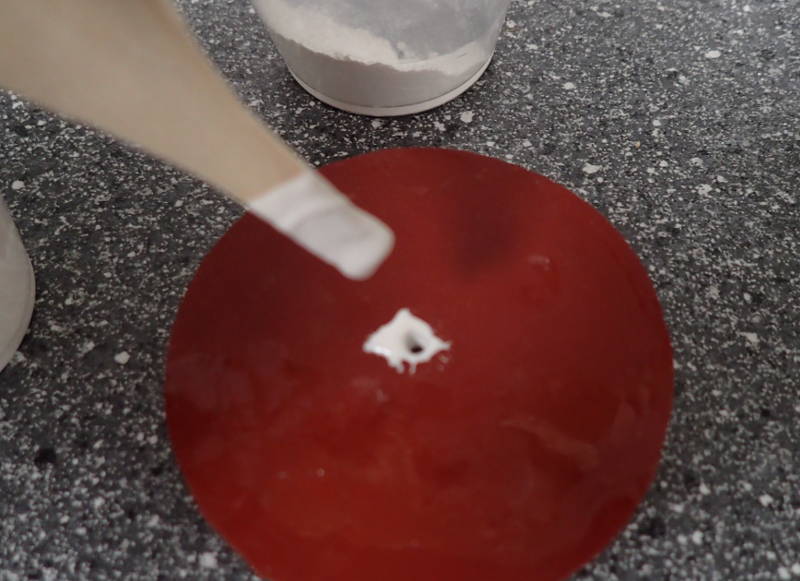
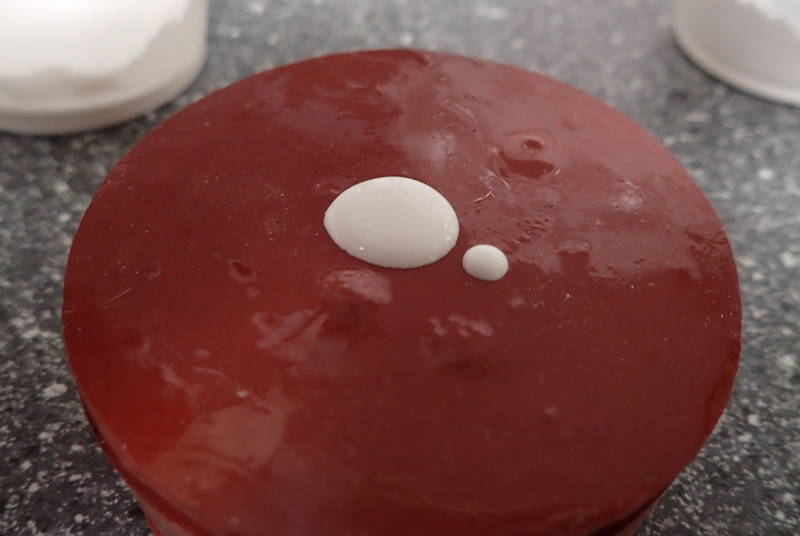
Mold max 60 red silicone rubber compound. This had never been opened before, but the rubber part had to be stirred up, as there was a layer of clear liquid on top. I measured 33.3g and added 1g of blue catalyst.
 The next morning it had set nicely, there is a sticky area around the rim where my stirrer had not reached, so it would be a good idea to use a vessel and stirrer that match better.
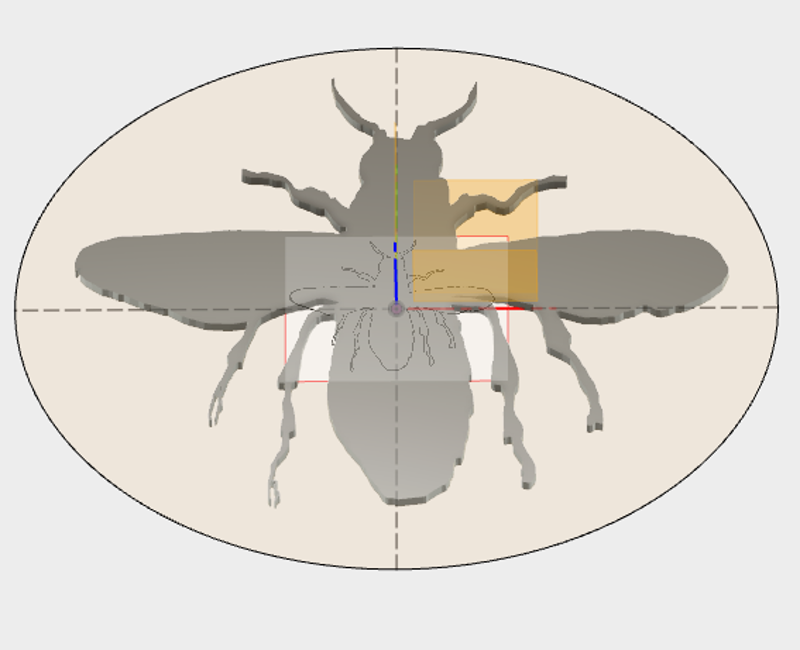
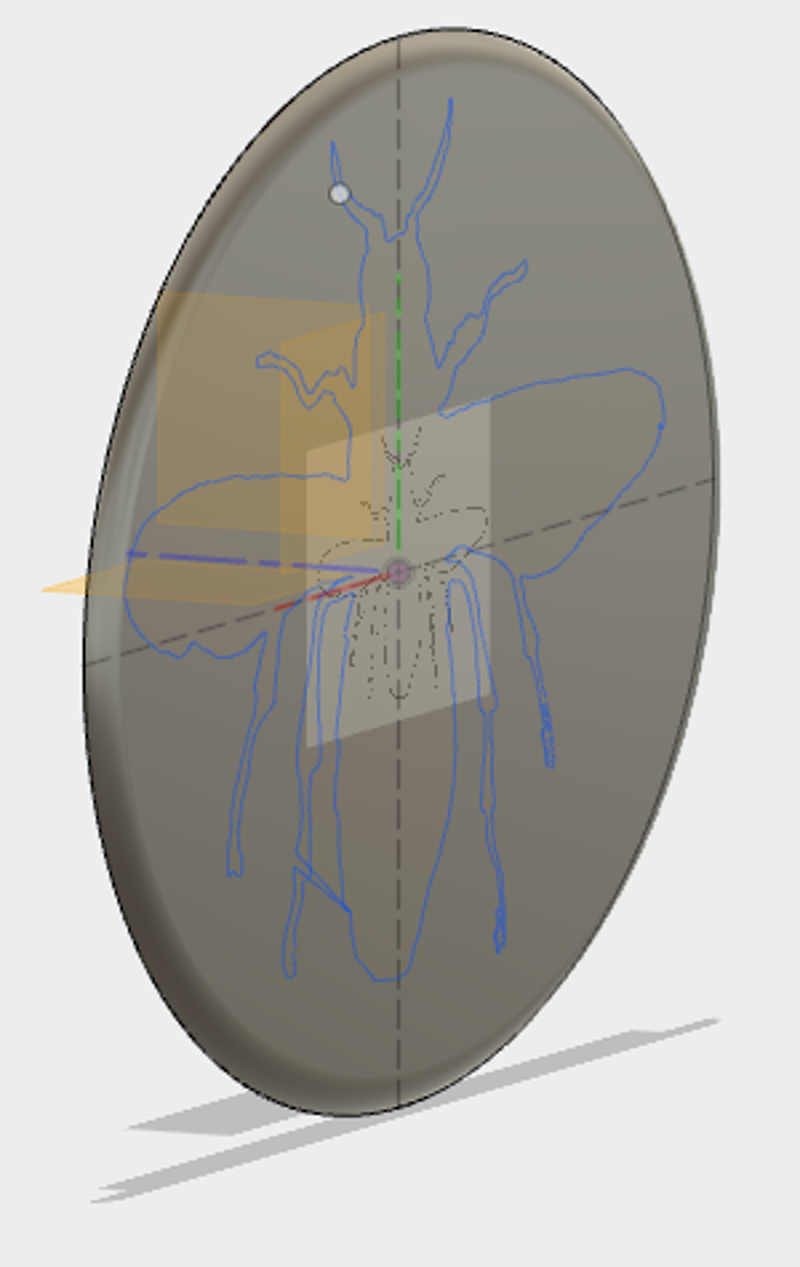 For a design, I had the idea to make a shield with a bee silhouette on one side, but then I remembered that we will be using a 1/4 in. bit to mill the mould, and I would never get the amount of detail on my design, besides which it had a lot of sharp corners that would trap air bubbles.
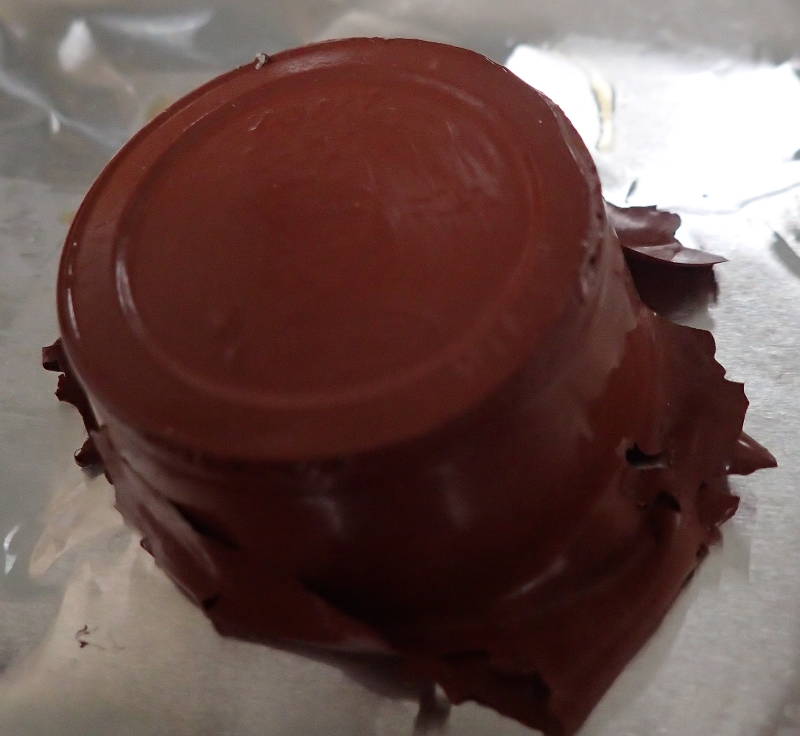
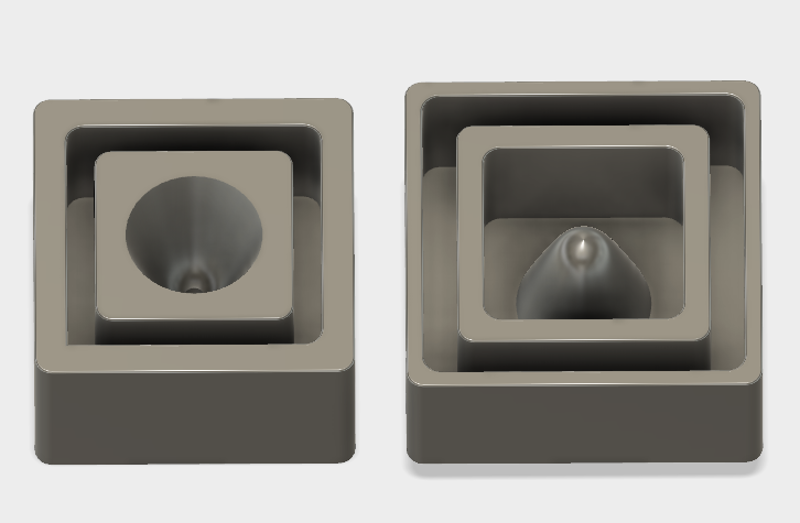 Instead I decided to make a small bell, which is a very simple design. This model is 40mm deep, which may be stretching it when it comes to the thickness of the wax block and the reach of the bit.
I will include a downloadable file of the mould, but at the moment I can not, as Fusion 360 suffered a crash and will not start up again. I tried deinstalling Fusion and reinstalling it, to no avail.
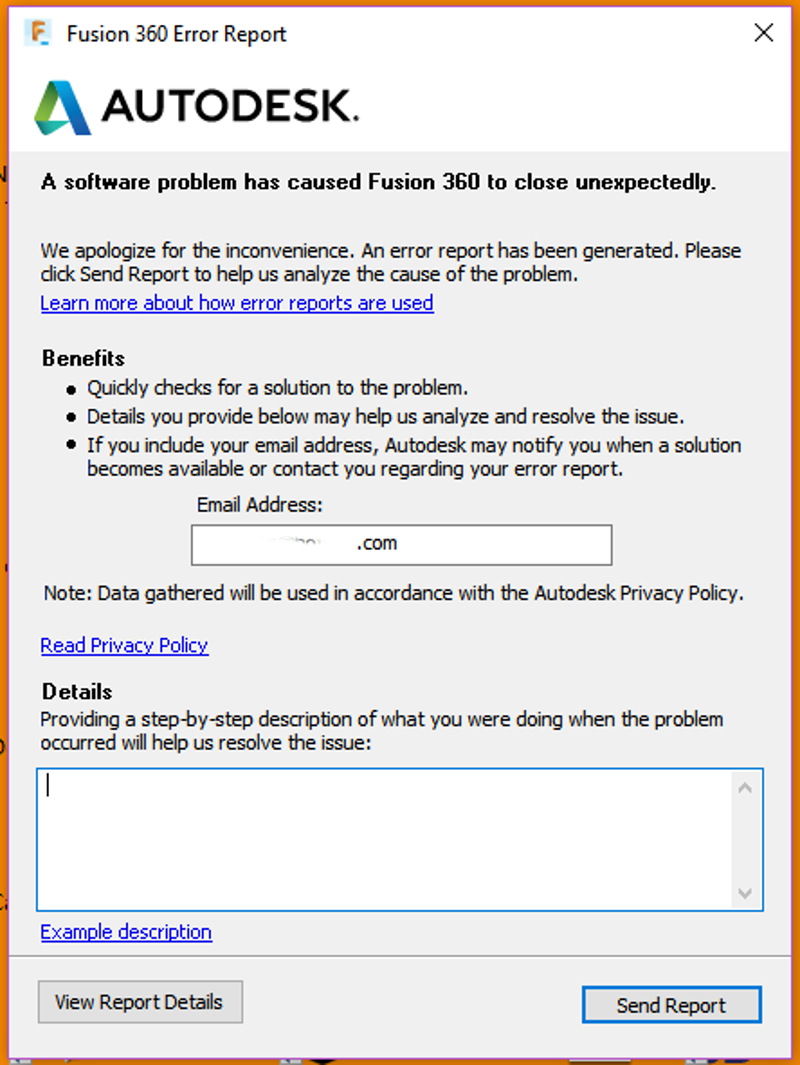 It turned out to be a "grey screen" issue, that required a cleaning tool from Autodesk to uninstall Fusion, when reinstalled after that, everything worked again.
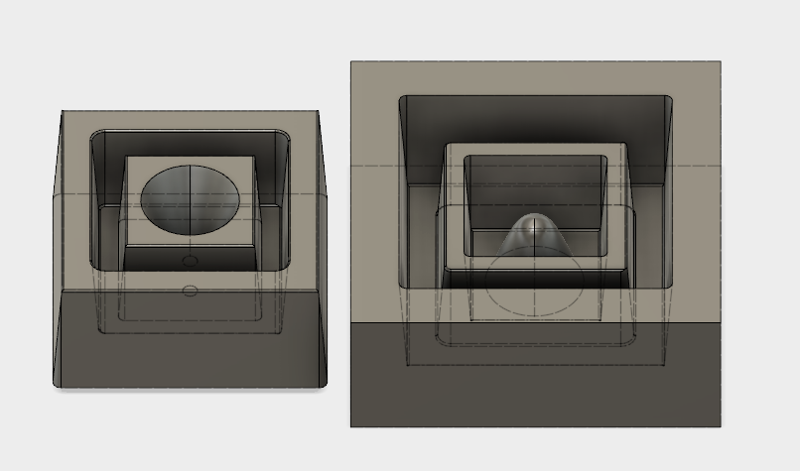 This model is slightly improved, now there are tapers so one has some chance of pulling it apart after casting.
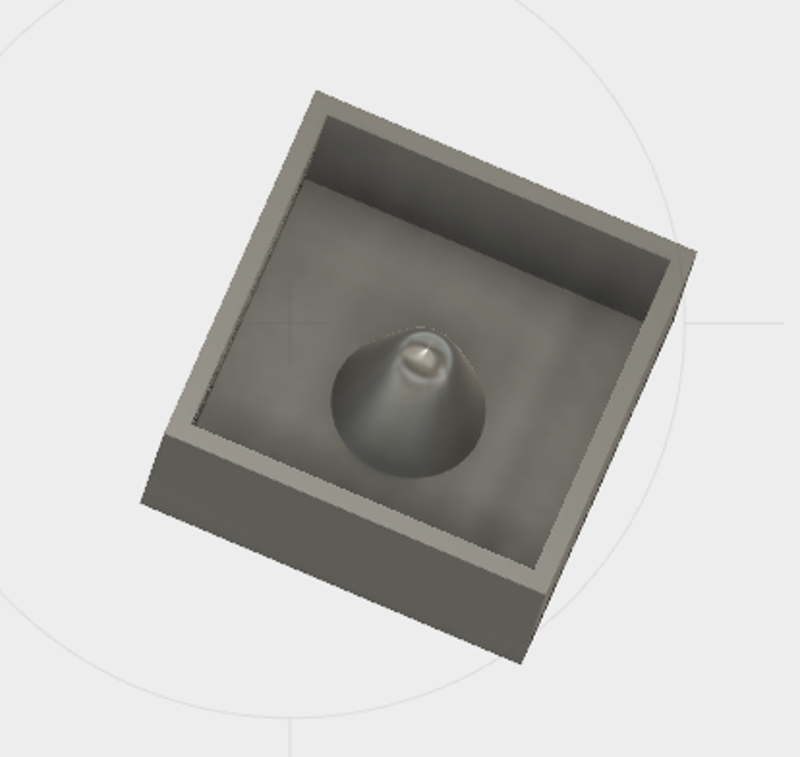
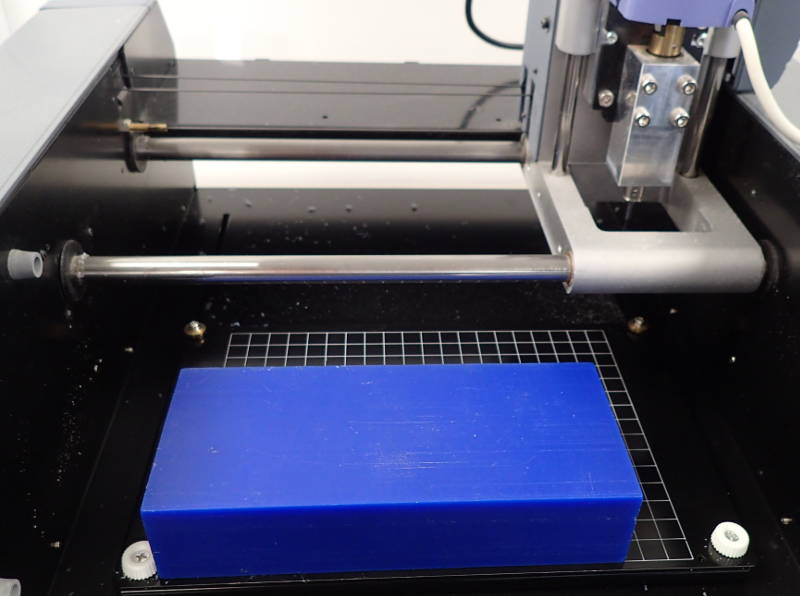
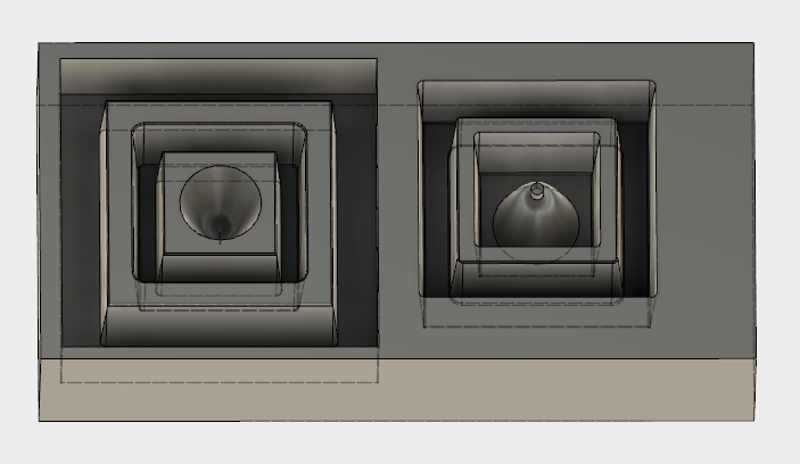 Here is what it should look like milled into a block of wax. I changed the design from square to round, as I could not get Fusion 360s CAM function to make a simulation in the square one without colliding somewhere. I had expected to be milling the block of wax in the ShopBot with a 1/4in bit, but it turned out it is possible to mill with the Modela, in my case using a 1/32in bit, using software called Dropout.
The Modela I used has a USB adaptor and can be directly connected to my laptop. Some time was spent trying to install the RolandDG driver on my laptop, which refused to admit that Roland's driver would work with Windows 10 and also came to a halt and would not work for about an hour and a half. Then, after mutiple restarts, it started working again and I downloaded a driver from RolandDg's website and managed to send the roughing toolpath I had made in Fusion 360 to the Modela and it began milling.
Here is what it should look like milled into a block of wax. I changed the design from square to round, as I could not get Fusion 360s CAM function to make a simulation in the square one without colliding somewhere. I had expected to be milling the block of wax in the ShopBot with a 1/4in bit, but it turned out it is possible to mill with the Modela, in my case using a 1/32in bit, using software called Dropout.
The Modela I used has a USB adaptor and can be directly connected to my laptop. Some time was spent trying to install the RolandDG driver on my laptop, which refused to admit that Roland's driver would work with Windows 10 and also came to a halt and would not work for about an hour and a half. Then, after mutiple restarts, it started working again and I downloaded a driver from RolandDg's website and managed to send the roughing toolpath I had made in Fusion 360 to the Modela and it began milling.
 It immediately became apparent that something was amiss, the model was sideways and also in the wrong scale. I was now out of time and the milling had to wait while I struggled to keep up with my other assignments.
 In Fusion 360, I turned the model 90 degrees.
 In Setup, I picked the corner from which the Modela should start milling.
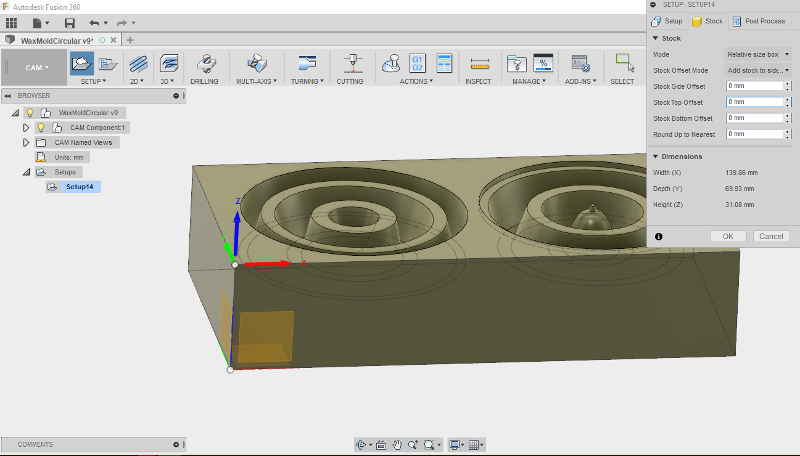 In the Stock tab, I set the stock offsets to 0mm.
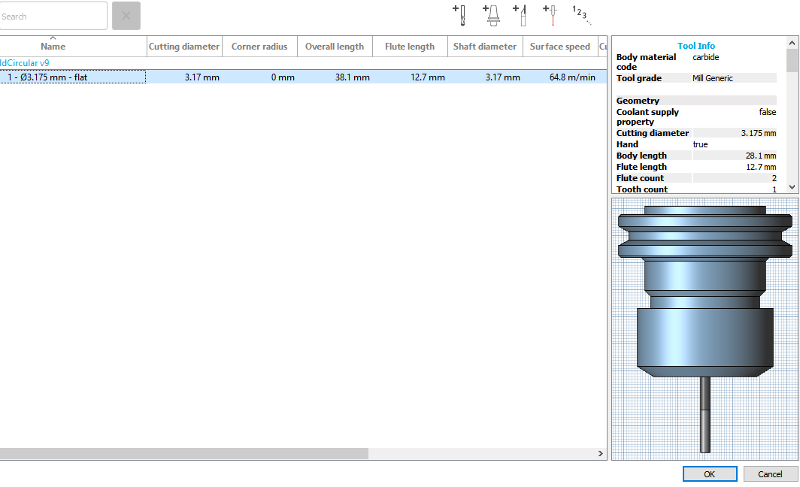 I used the same bit for both the roughing and smoothing cuts. I measured a 1/32in bit and entered the measurements into Fusion 360. The feed and spindle speed was the Modela's default - 6500rpm.
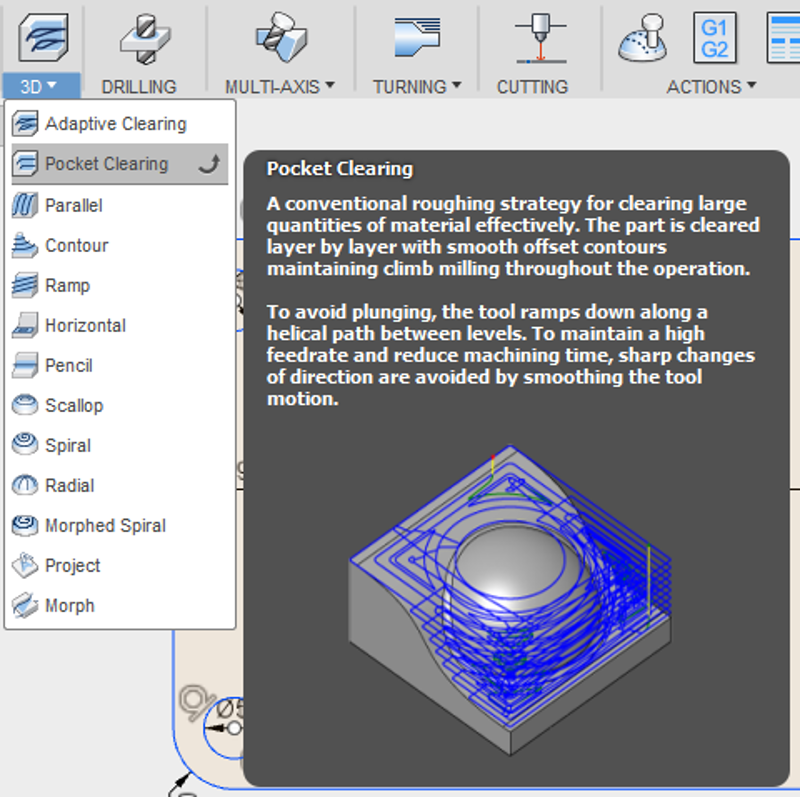 For roughing I used a Pocket clearing cut.
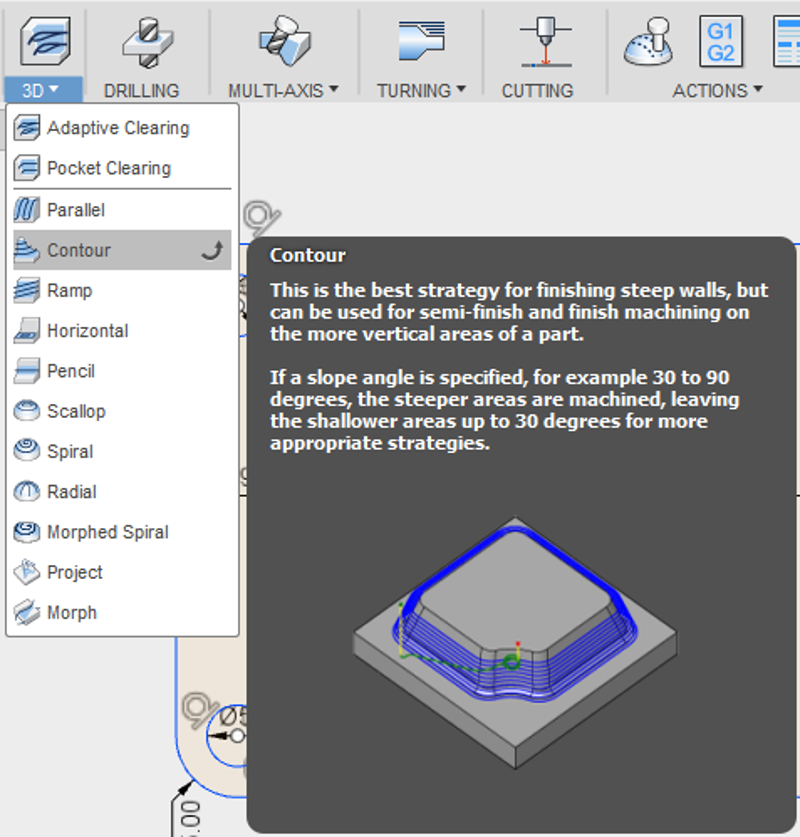 For smoothing I used a Contour cut.
 With some trepidation, I flipped the block of wax over and sent the roughing toolpath to the Modela with the bit safely milling air above it, this time it hovered over the right places.
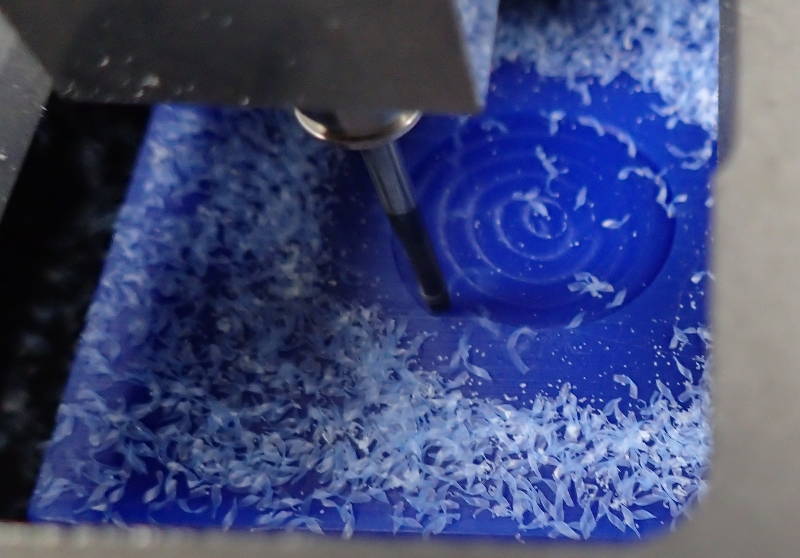 Initial touchdown looks promising.
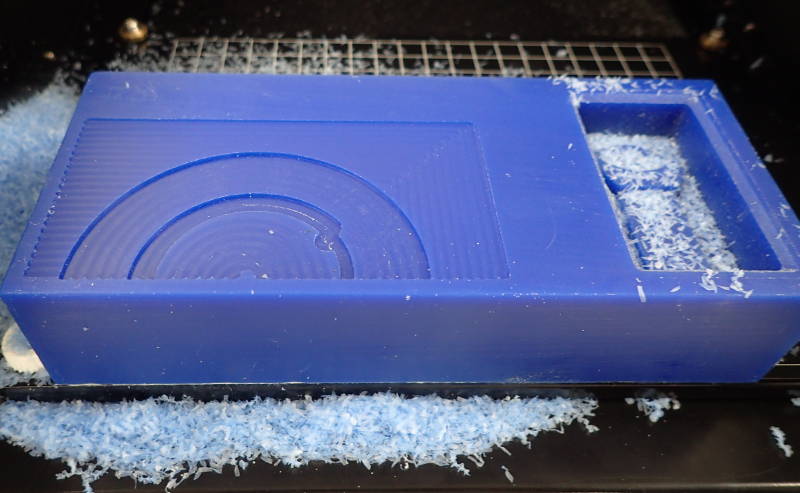
 That is how it should look.
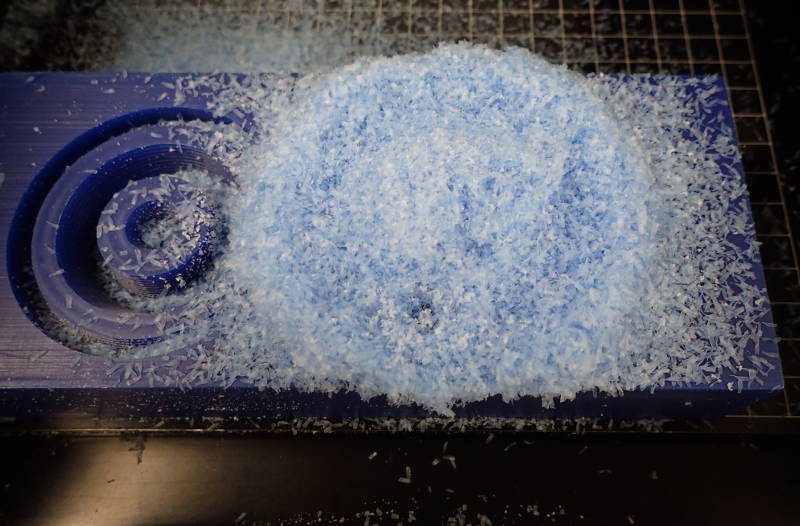 Every couple of minutes I pressed the Modela's view button and swept away the wax chips, so they would not make too big a mess around the work area and so they would not bunch up under the bit, causing the workpiece to melt. I kept the chips safe for remelting into a fresh carving block later.
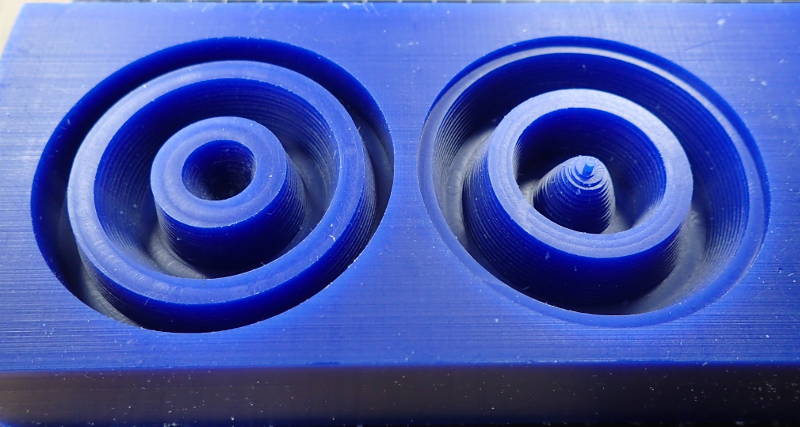 That came out as well as I could have hoped for.
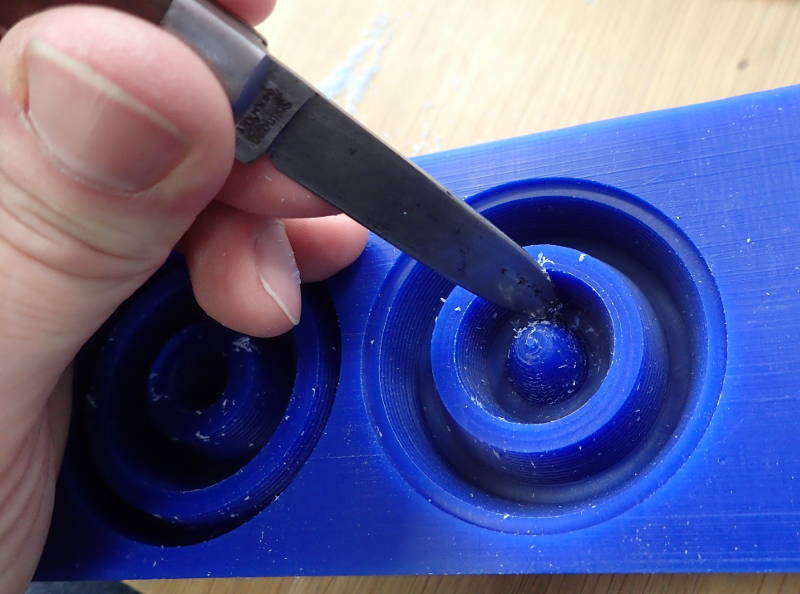 There were still ridges in the wax from the bit, so I smoothed those down.
 I managed to mostly get rid of them.
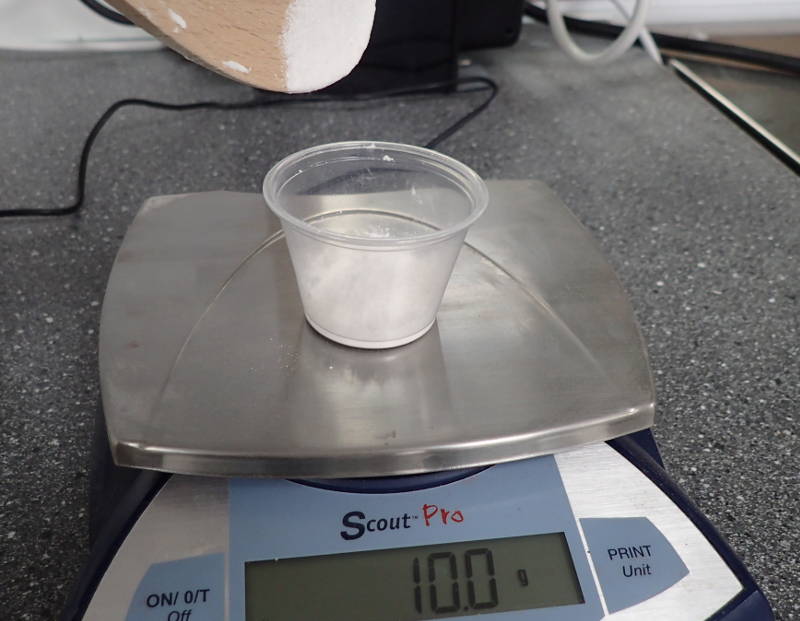
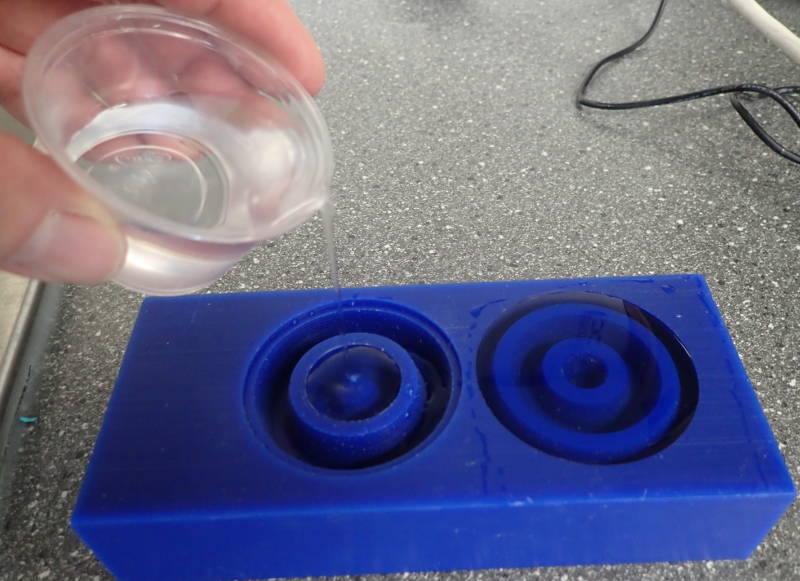 I filled the mold up with water to estimate how much Mold Max 60 to mix up.
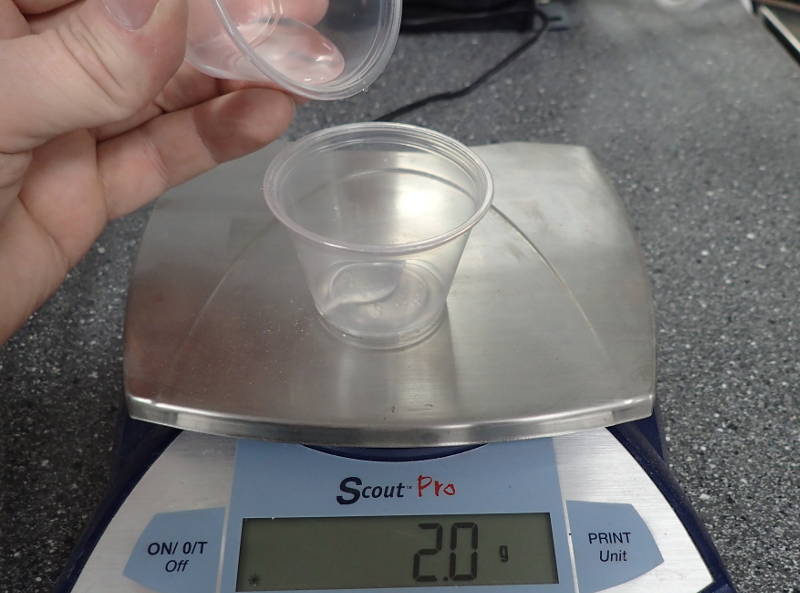
 I poured the water from the mold.
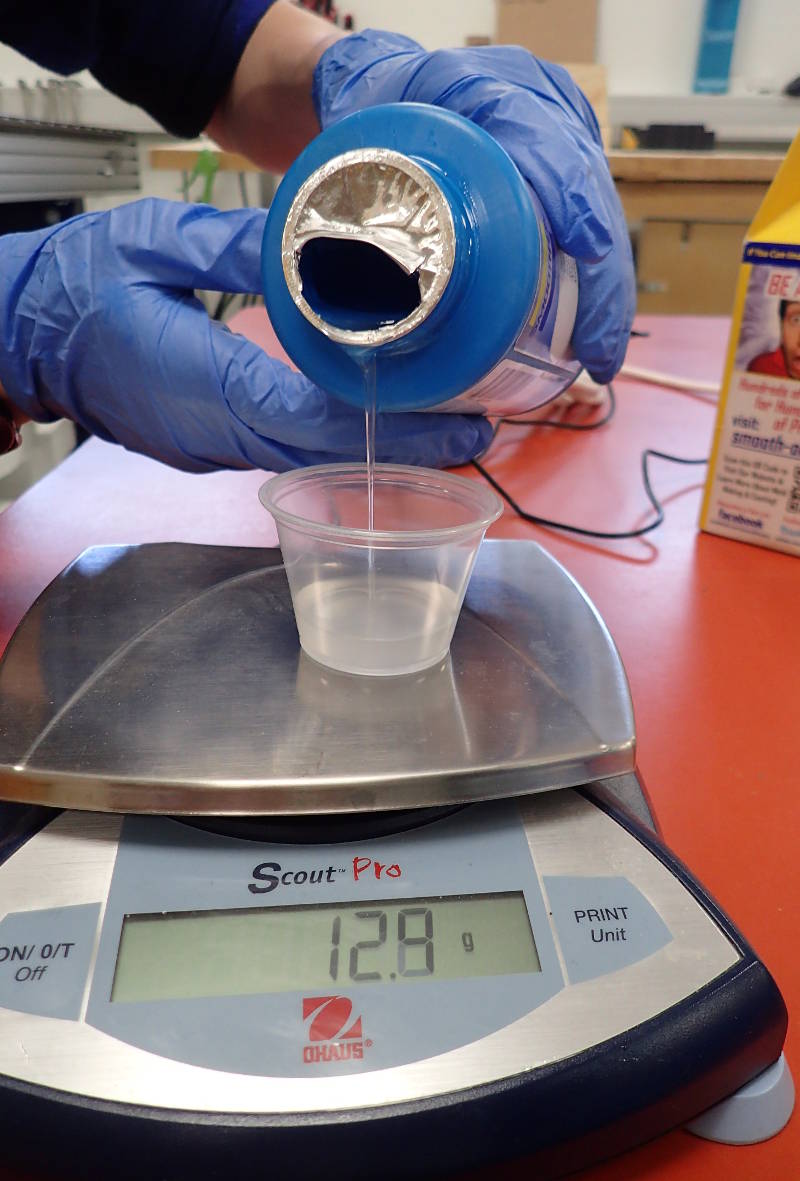
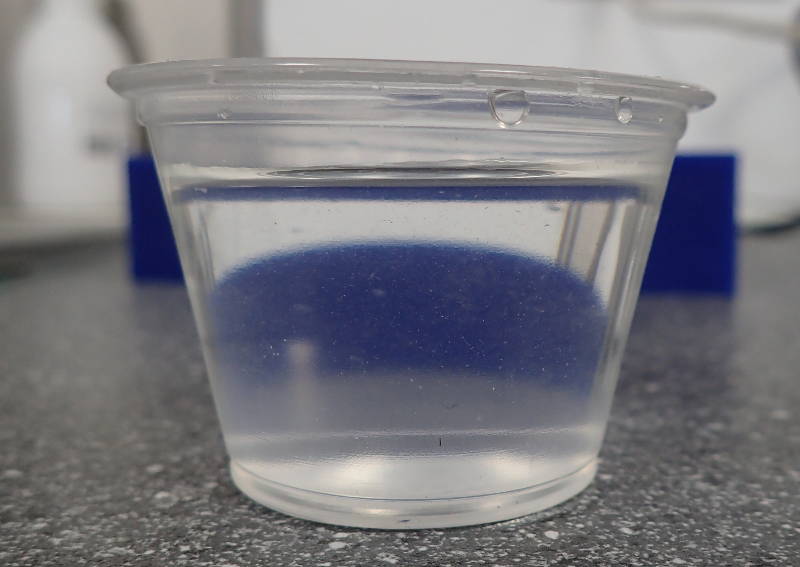 This is the amount of material needed.
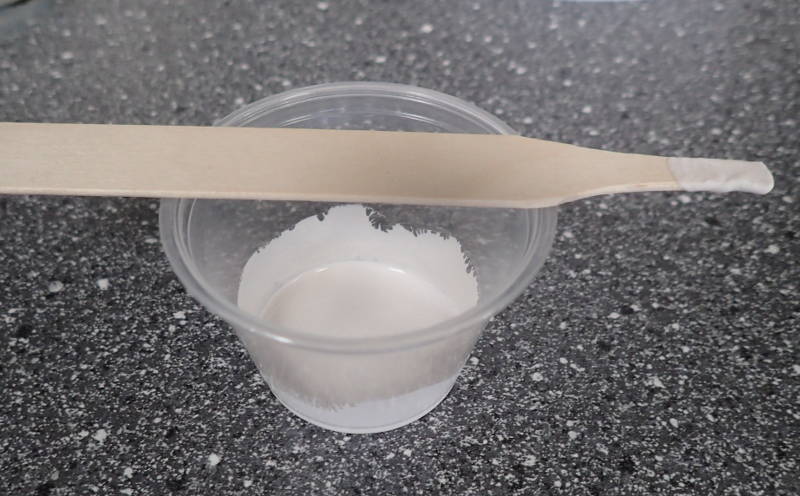
 I fashioned a stirrer by whittling the end of a tongue depressor to fit into the edges of the cup and mixed together the silicone and catalyst in a 3/100 proportion. It felt like it was starting to set right away, but it actually gave me plenty of time to let it settle in the wax mold. I slammed it repeatedly down on a solid surface to chase out air bubbles and quite a few came to the surface.
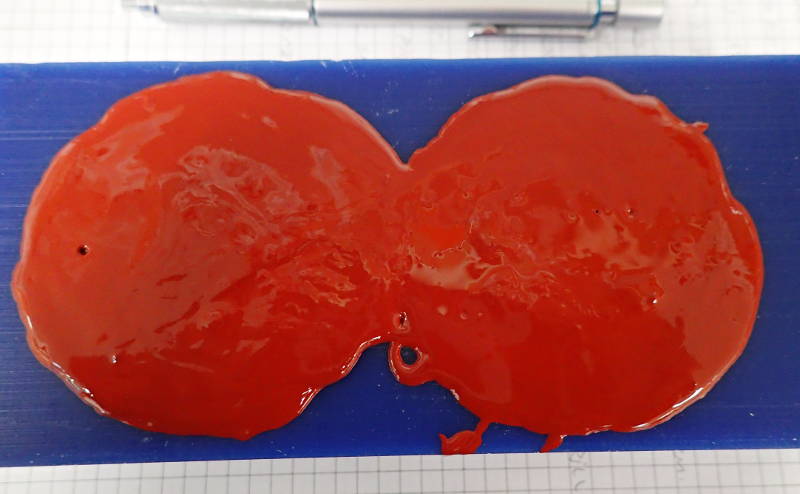
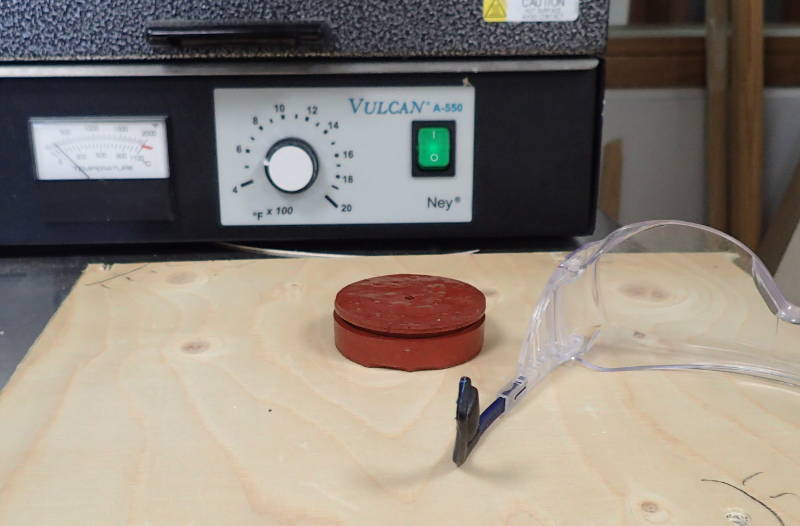
 When it had set, it came away easily.
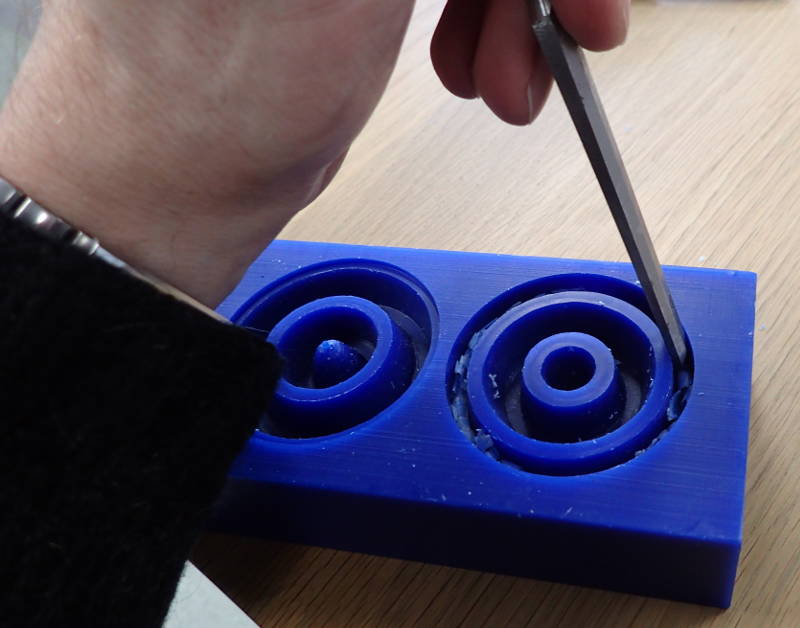
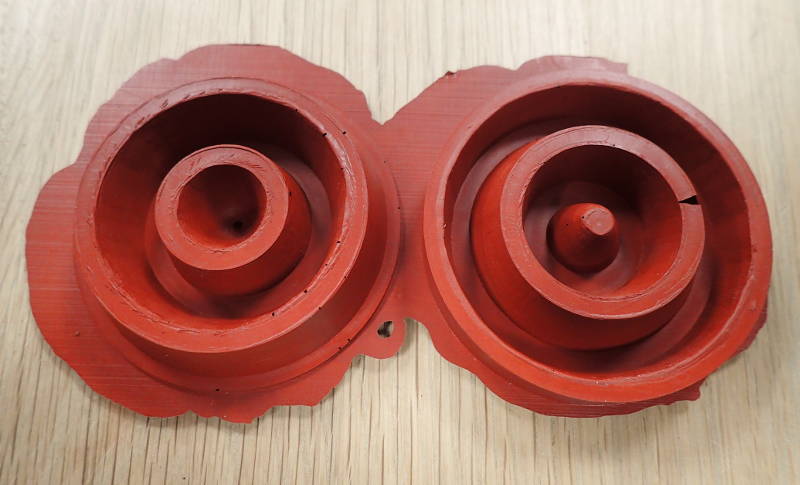
 I trimmed off the flashing with nail scissors.
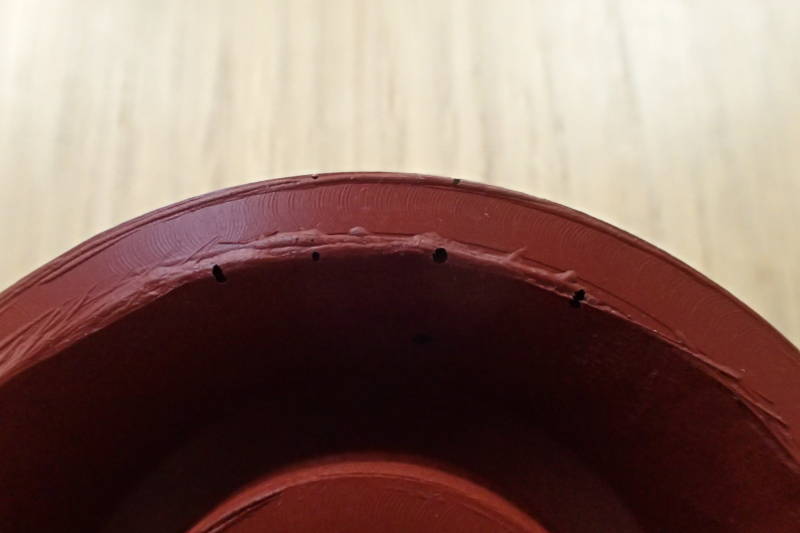 There were still a few small bubbles in the mold.
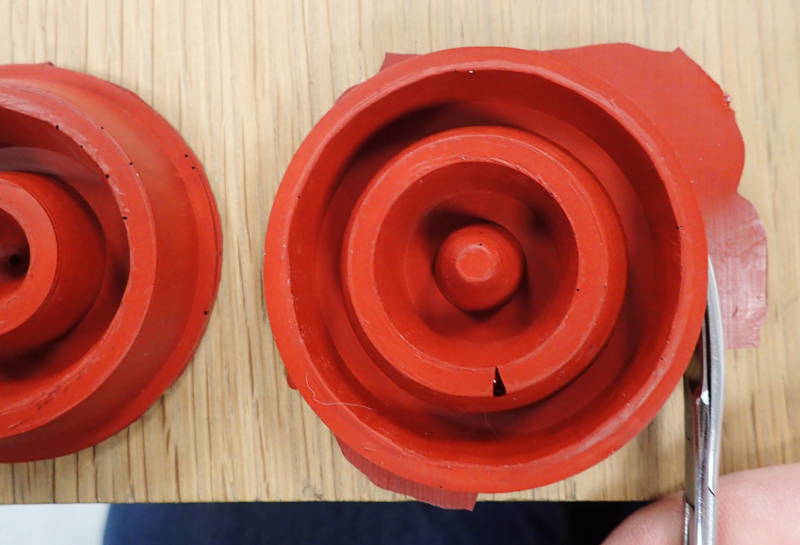
 And one large one.
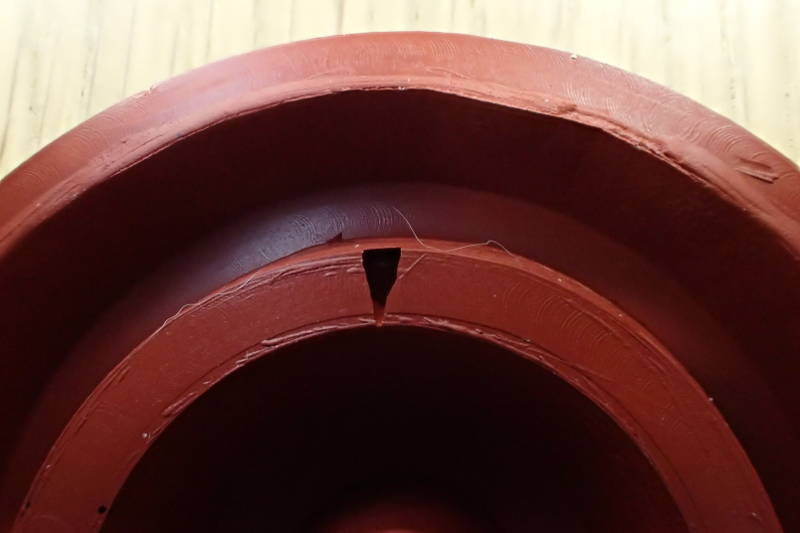
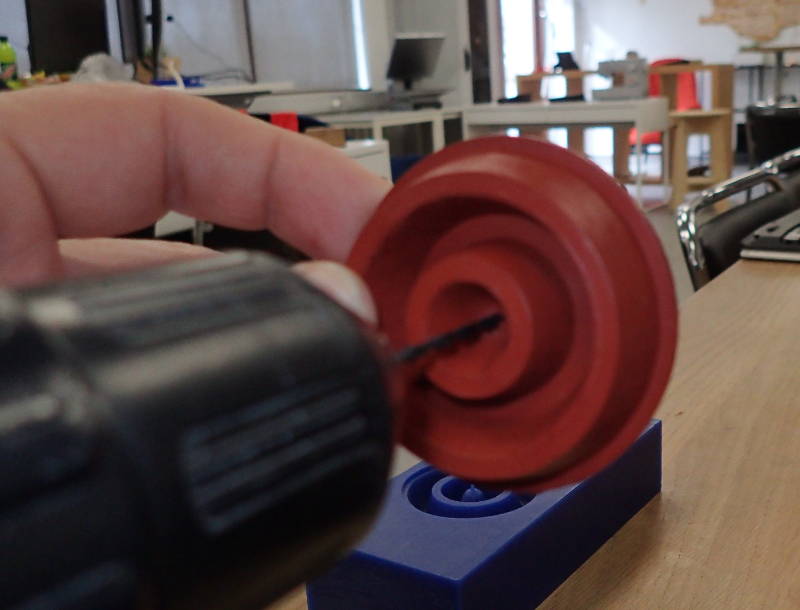 As the bubbles did not intrude into the area where the pour would take place, I decided the mold would be good enough. The hole I would pour through did not quite reach all the way through, so I drilled it out.
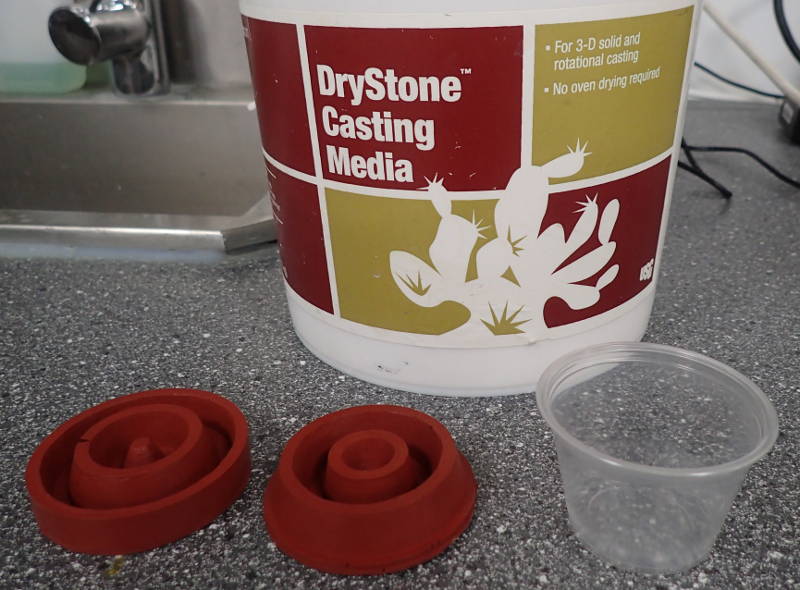 Time to cast a test piece.

 I mixed up the casting media to a thick creamy consistency and tried to coat the inside of the mold before pouring, but silicone being hydrophobic, it did not stick well.
 Dropping the casting media through the hole and then tapping on the mold got rid of air bubbles, hopefully all of them.
 I left the mold like this for about 45 minutes.
 I kept the leftover material to see when that had set, so I would not separate the mold prematurely.
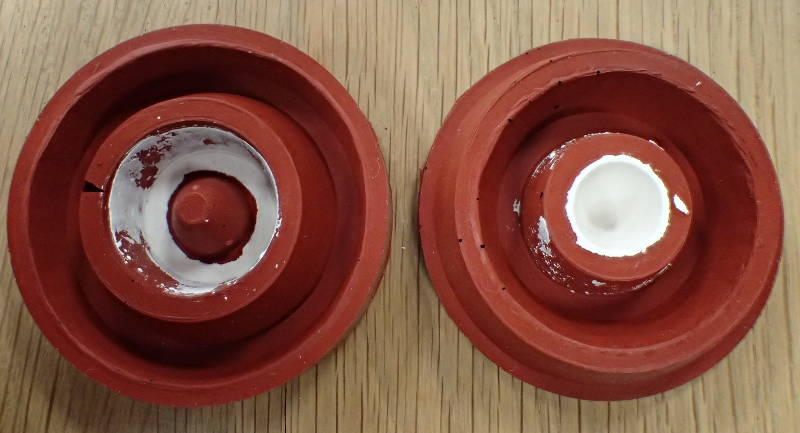 I managed to split it apart without breaking anything.
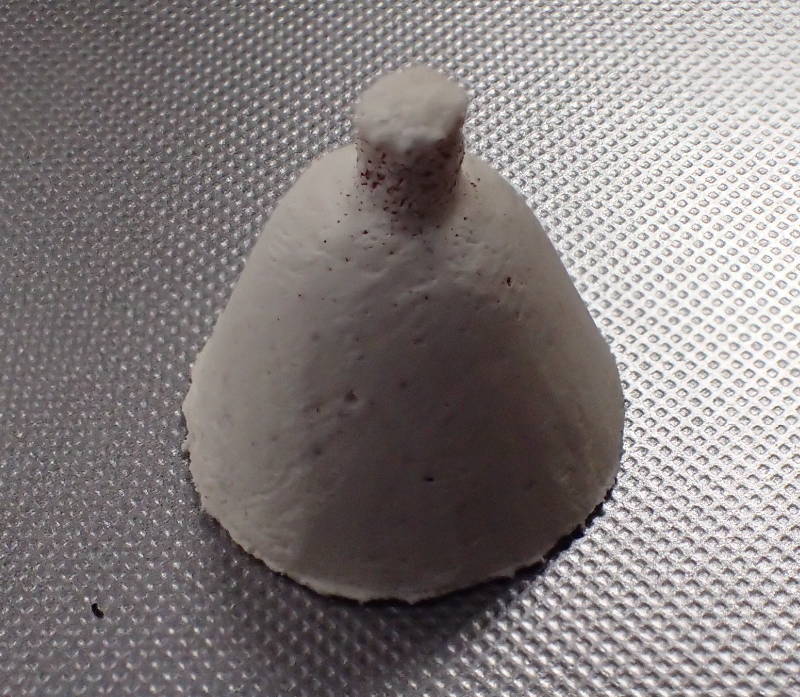 A tiny bell is born.
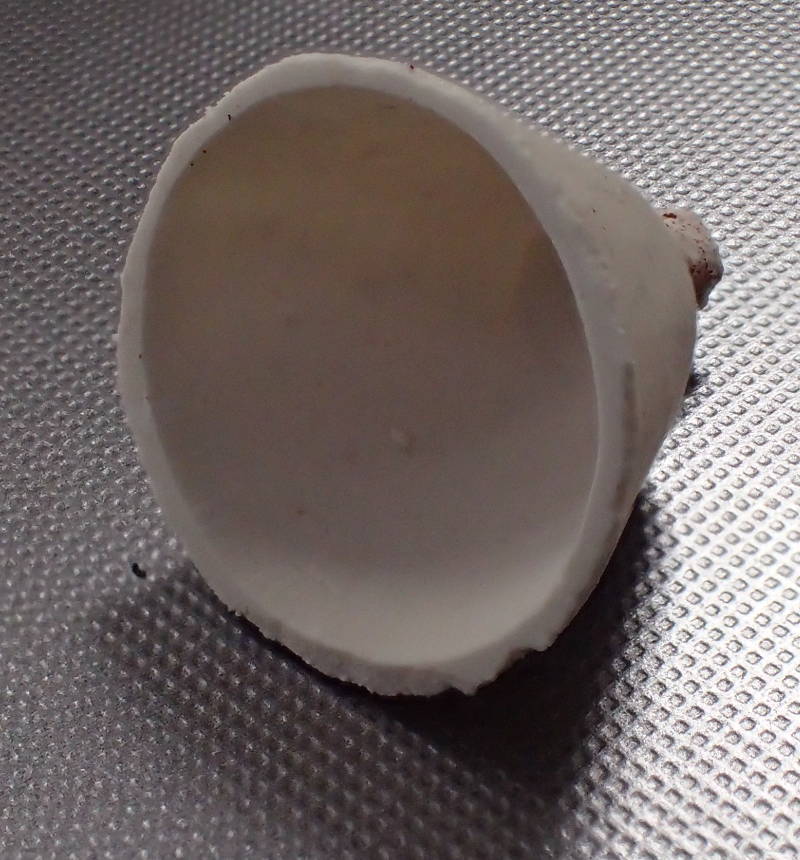 The walls are so thin, it's translucent.
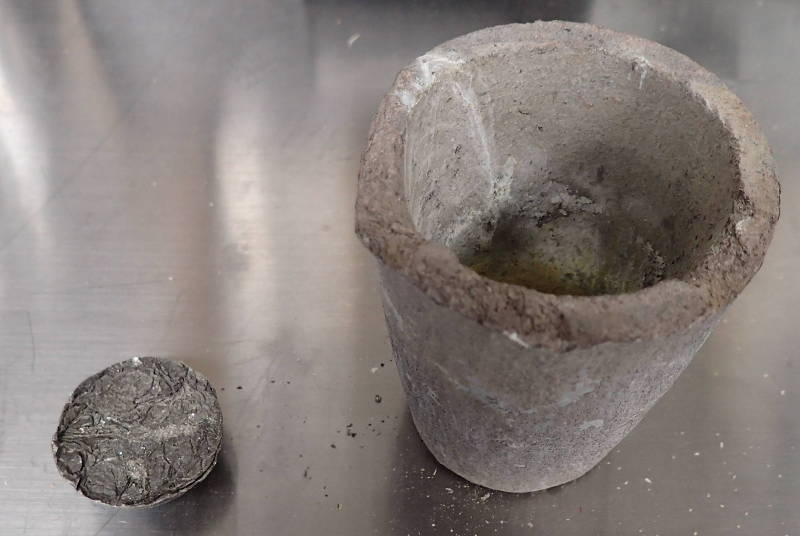 Now for the low temperature metal, I found a small piece of previously used babbitt, which I determined to be of just the right size.
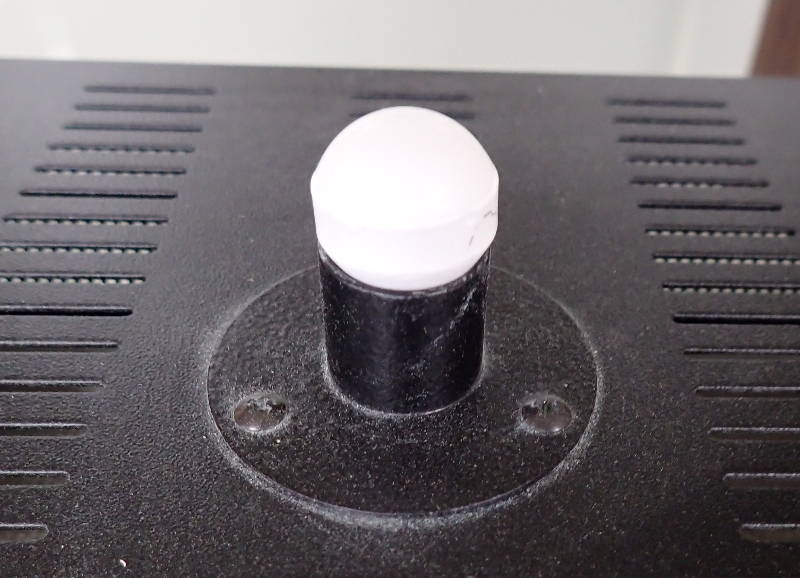 Place the stopper in the kiln's vent.
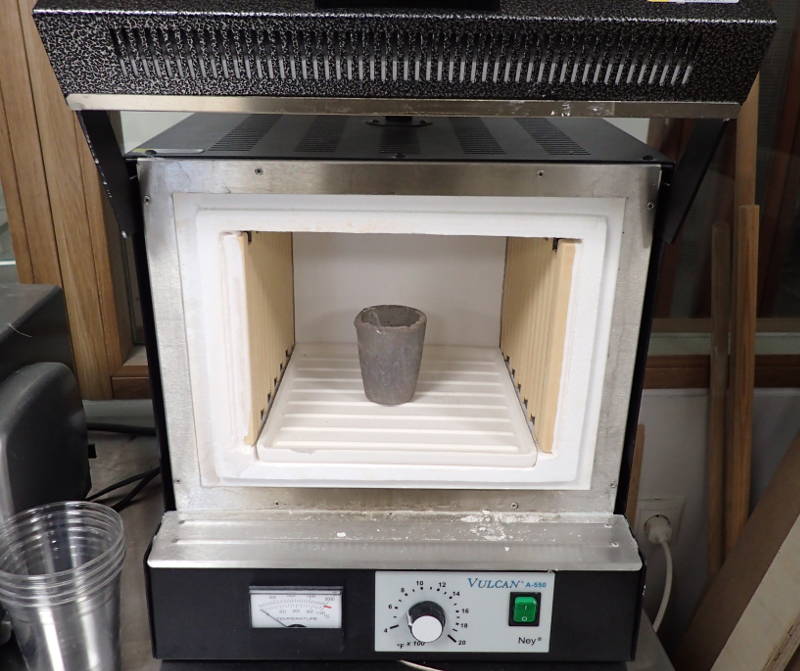 Time to turn up the heat.
 Gloves, safety glasses and tongs in the right place, going through the motions of picking up the crucible and pouring the metal in one quick movement.
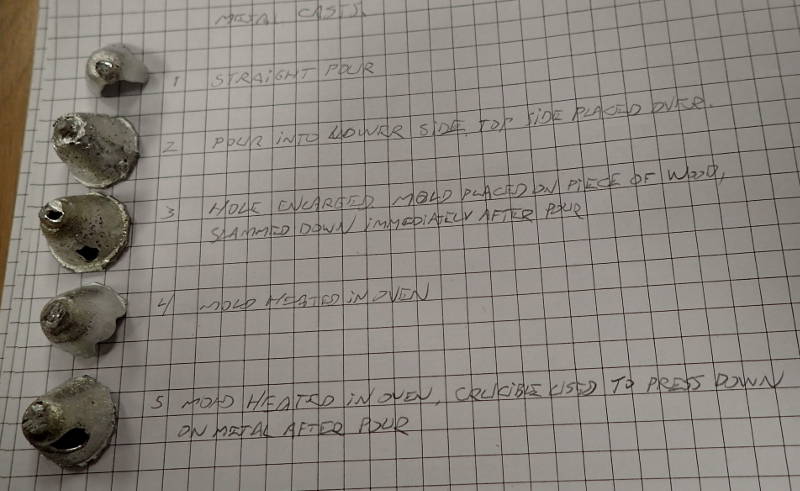 In this session I made 5 attempts at casting a metal bell.
 First, a straightforward pour at 450 degrees celsius.
 A smooth, shiny texture, but cooled in the hole before flowing all through the cavity.
 Behold; a tiny air bell.
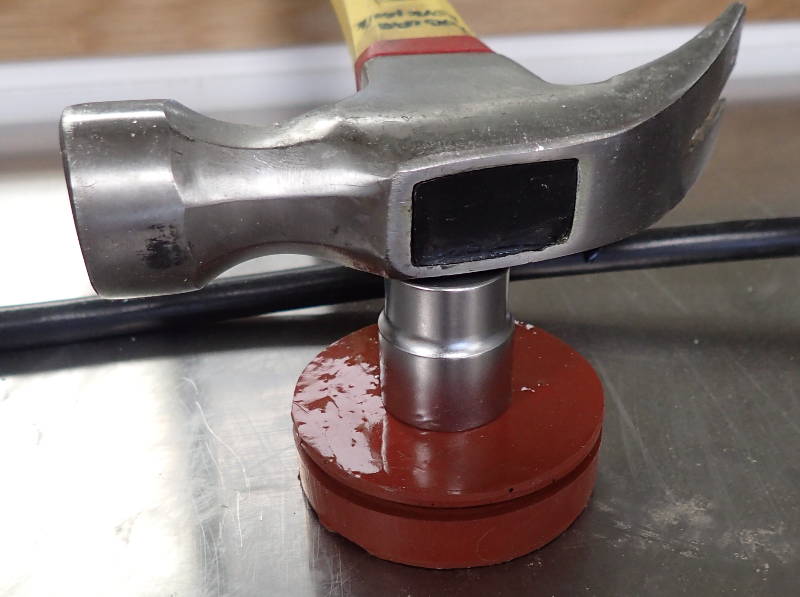
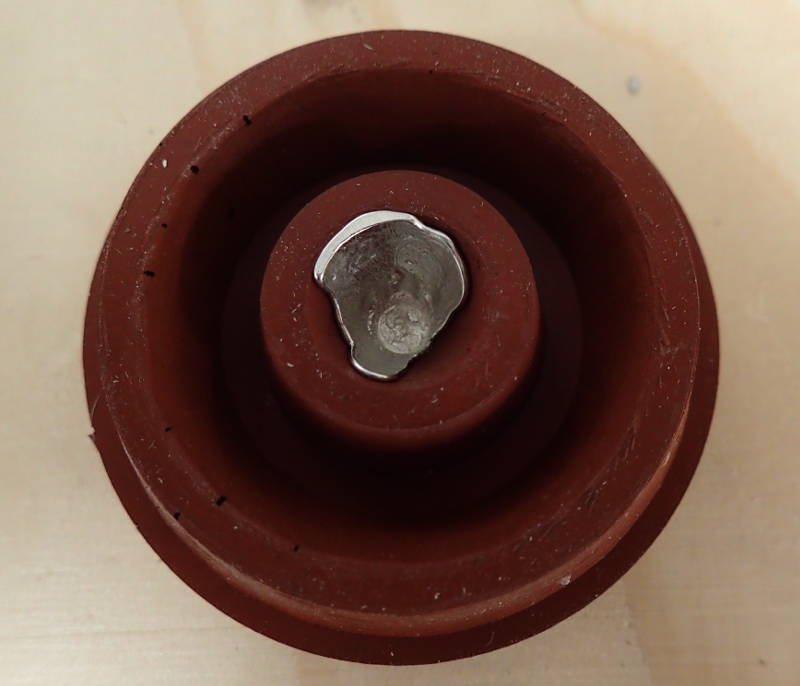
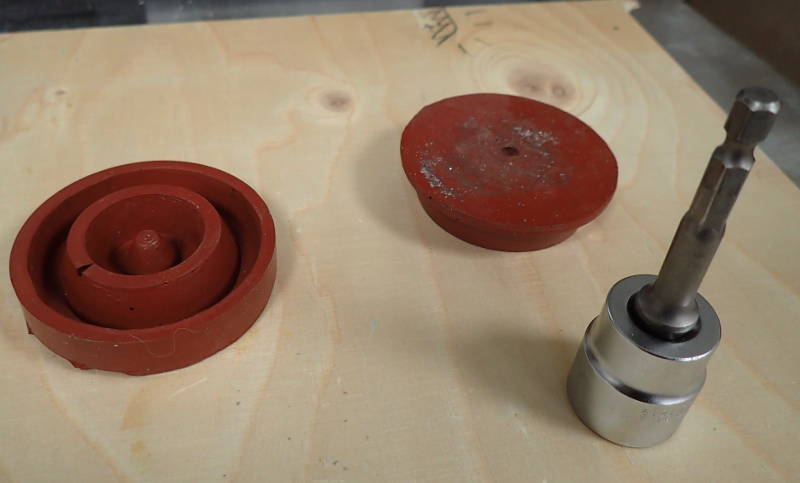 A radical approach - pour into lower part of mold, place upper part on top and press down on it with socket.
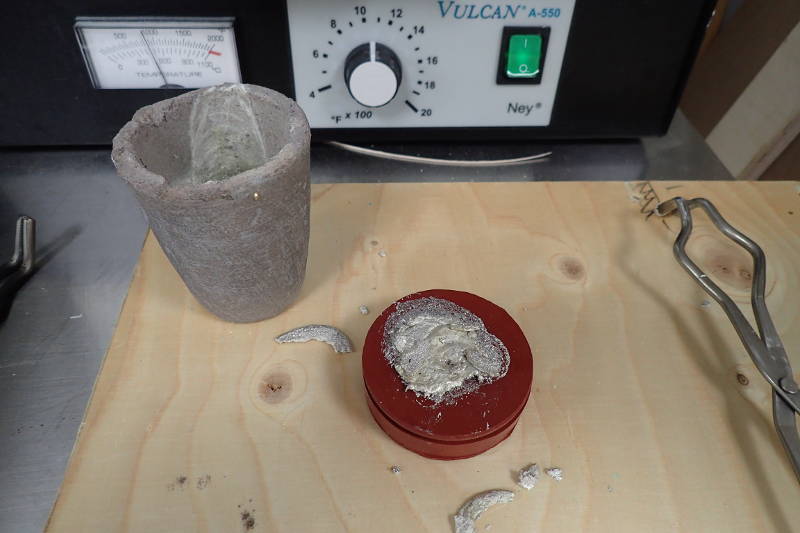
 That one is solid, with no holes in it.
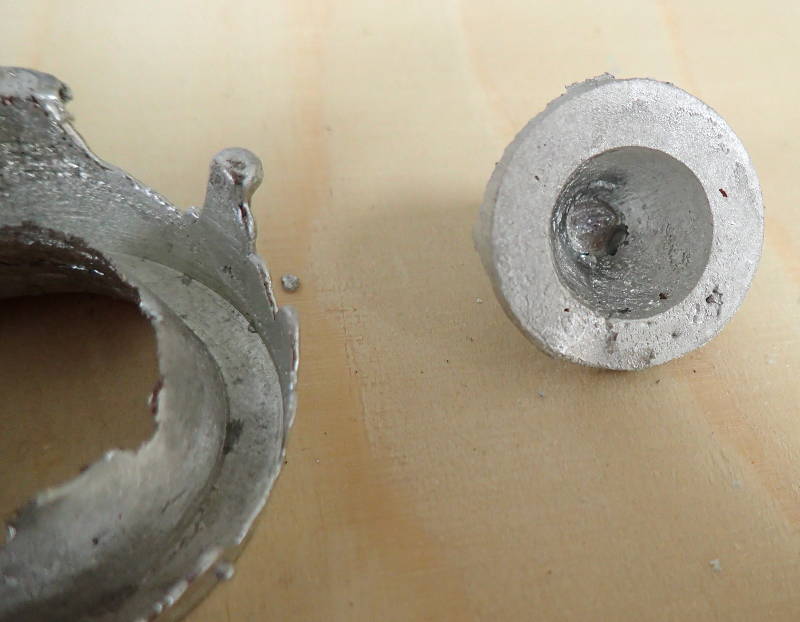
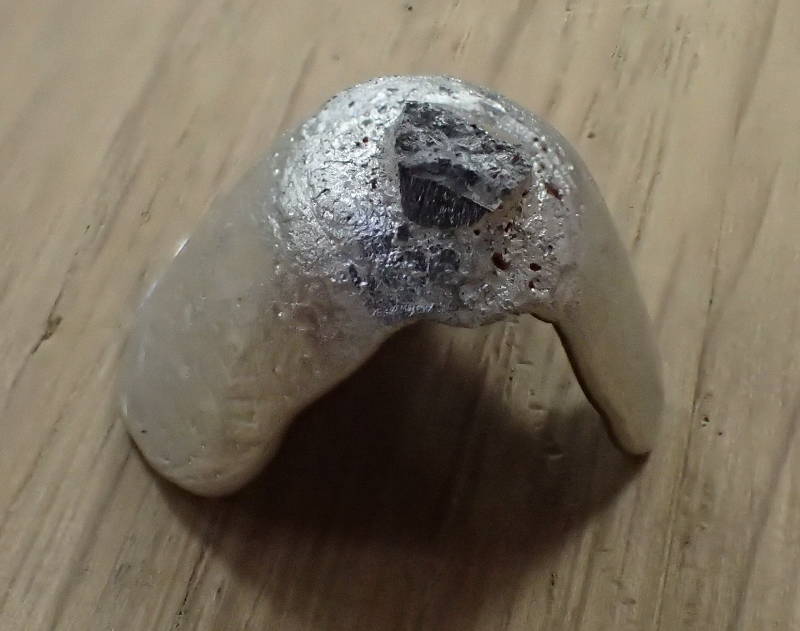
 Up close, though, the surface finish is atrocious.
 Enlarging the hole to enable a quicker pour.
 The idea is to place the mold on a piece of wood and slam it down on the table as the metal is being poured, in the hope of shock loading the mold and forcing the metal down into it.
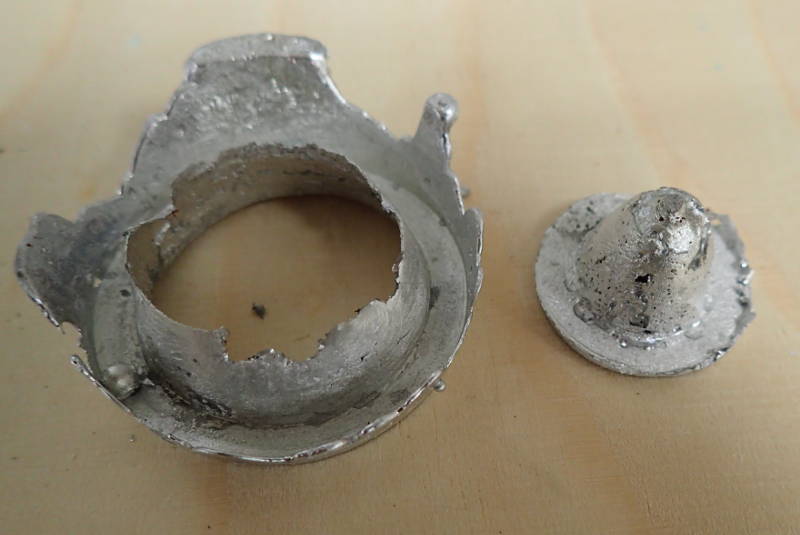
 But, those pesky laws of physics are hellbent on proving the need for designing proper vents into the mold..
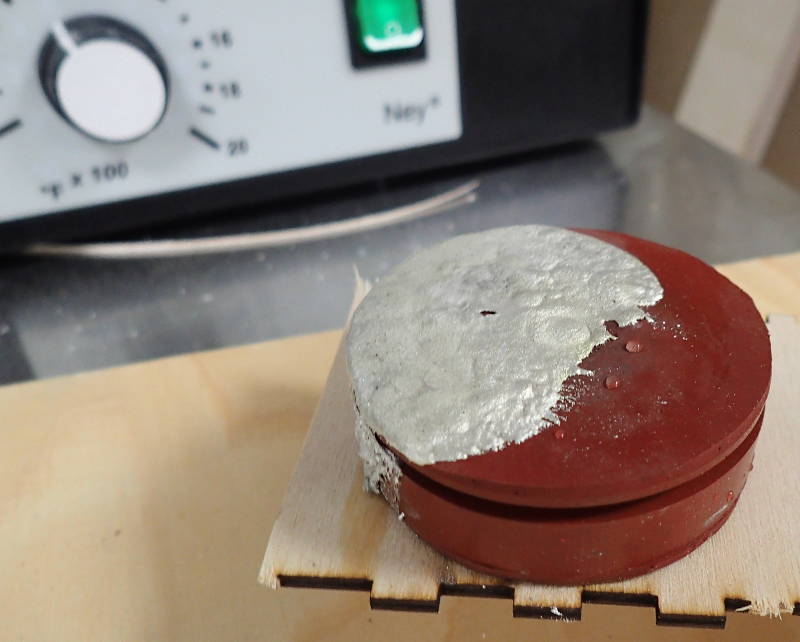
 For this one I placed the mold inside the kiln to preheat it, but the silicone would have overheated if it would have stayed there long enough to make a difference.
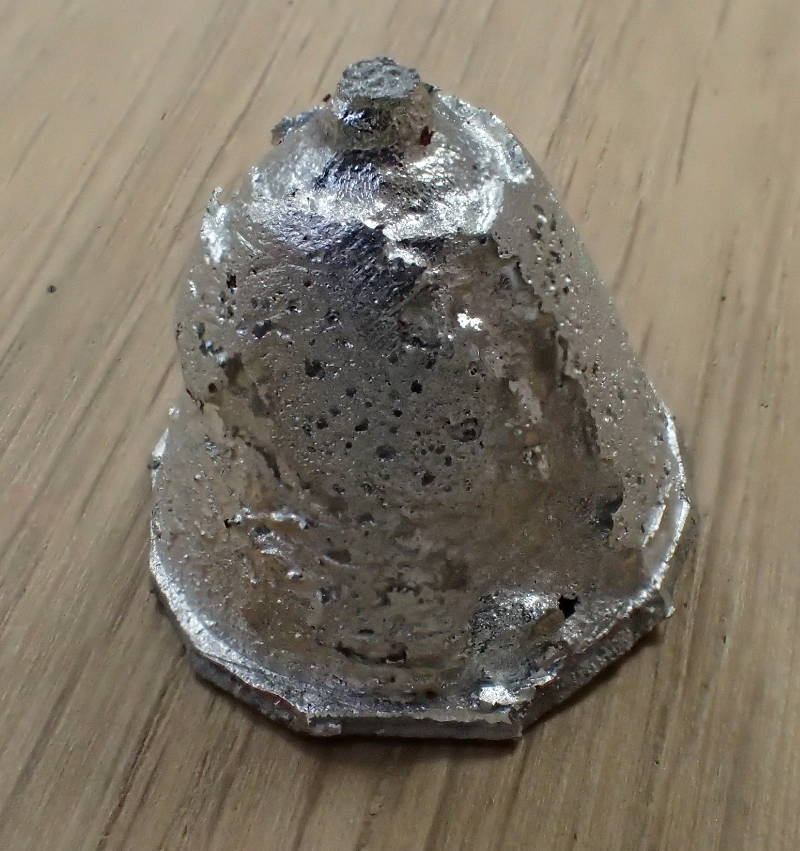
 Here, I placed the mold inside the kiln until it began to smoke, poured the metal with the mold inside the kiln and tamped on top of the poured metal with the bottom of the crucible. But, it is becoming increasingly apparent that I will have to drill vents into the mold for air to escape.
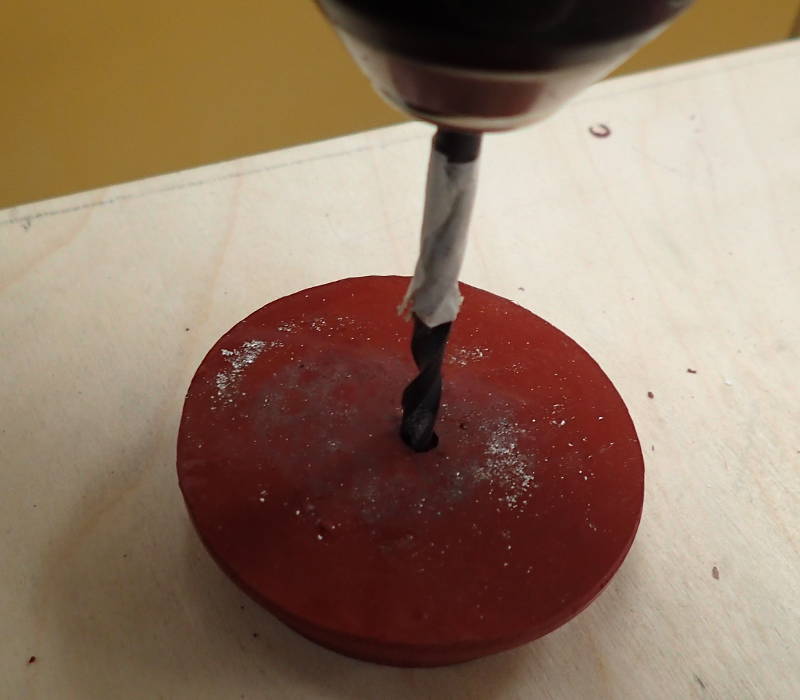
 I picked a 2mm drill.
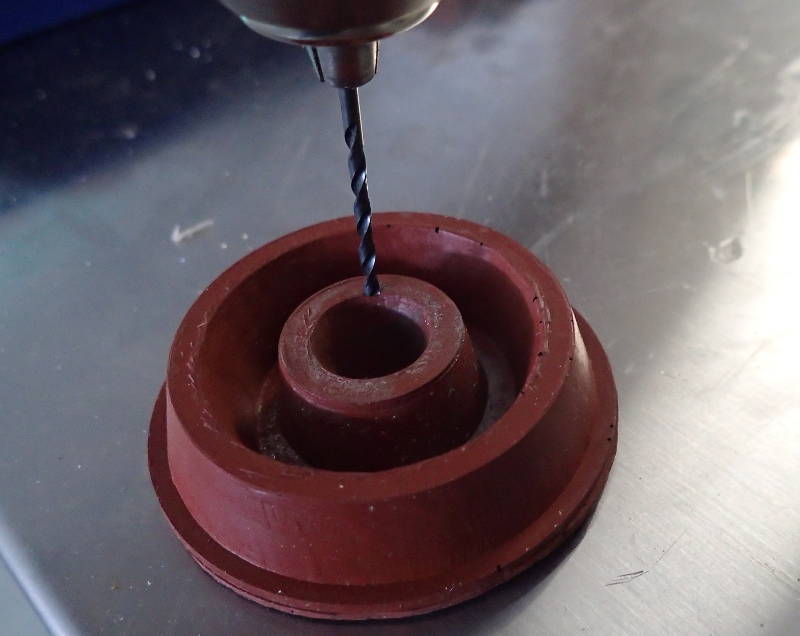 Ready to drill an air vent.
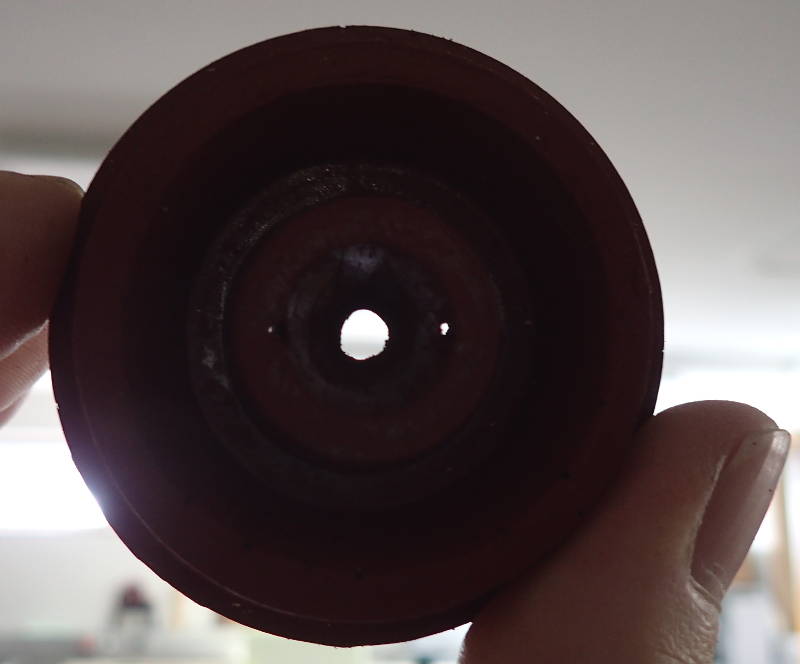 We'll see if those two holes will suffice.