17
Wildcard
What I learned: I decided to make jewelry, melting silver.
Sources and inspiration used:
What I did:
I set myself the task to convert my 3D wax print (from the 3d printingassigment) into a silver pendant. I wanted to learn how I can make jelry, what are the steps to make it and test how easy or hard it is. I did learn the steps to make jewlry, sadly it didn't end up the way I expected. I also learnt that is is very important to make sure that the cast is rightly made and that it absolutly has no cracks... otherwise you end up with half a pendant (like it happened to me).
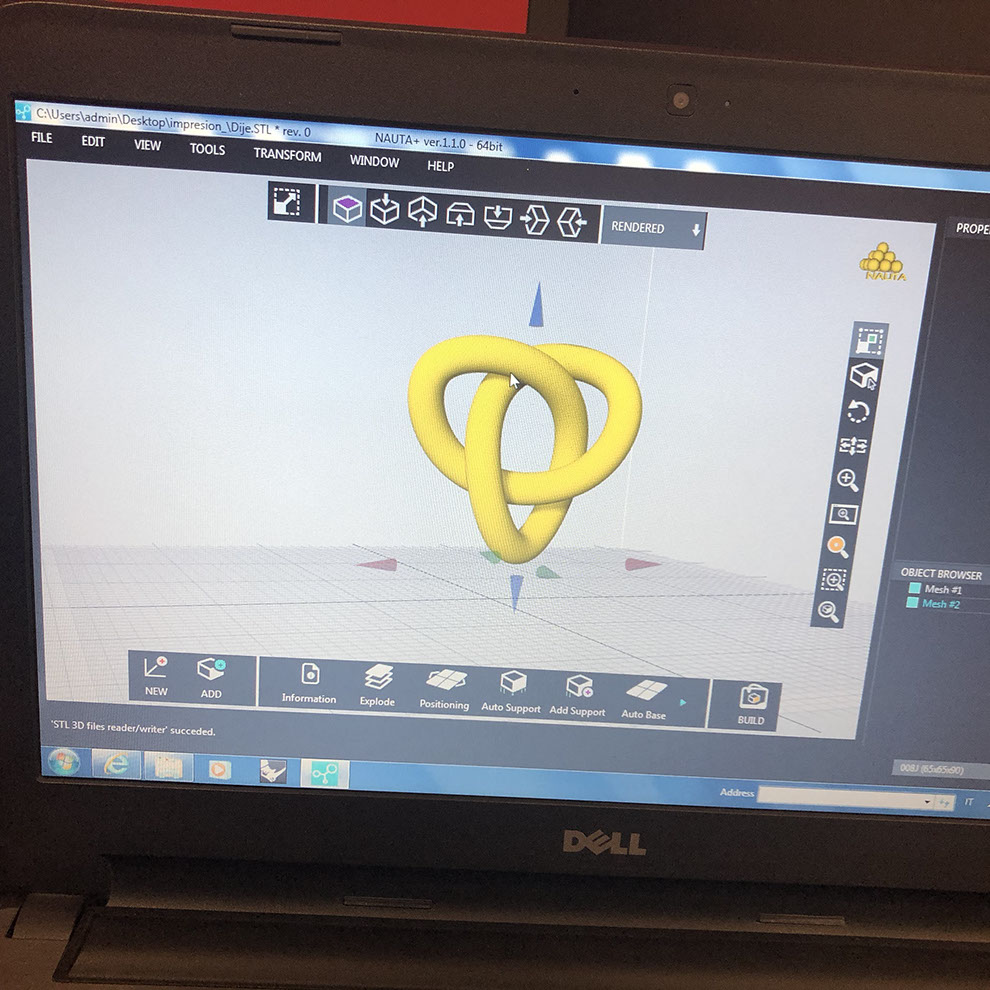
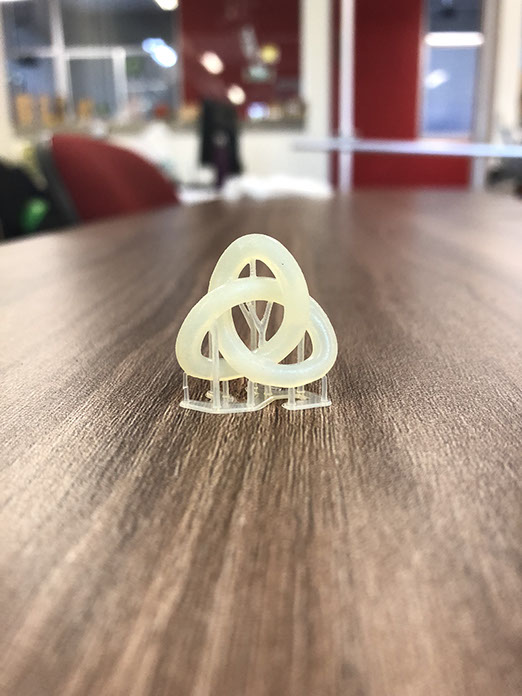
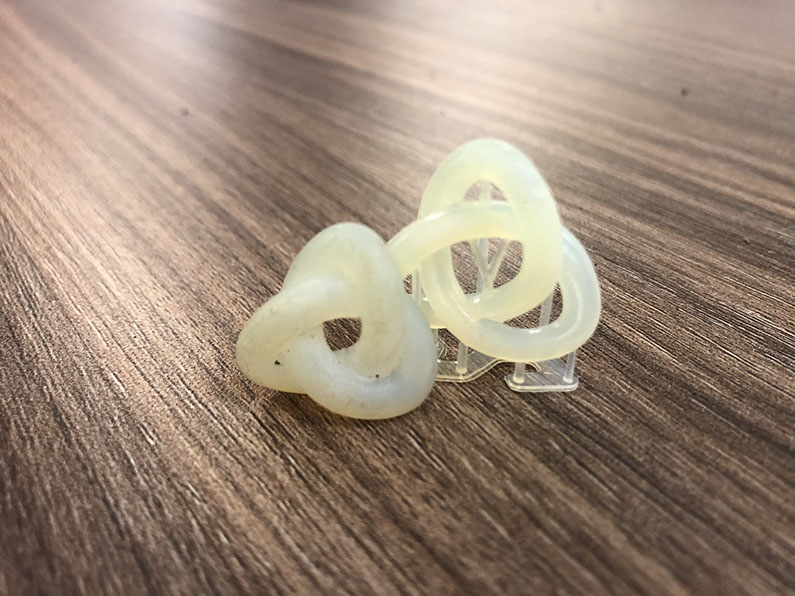
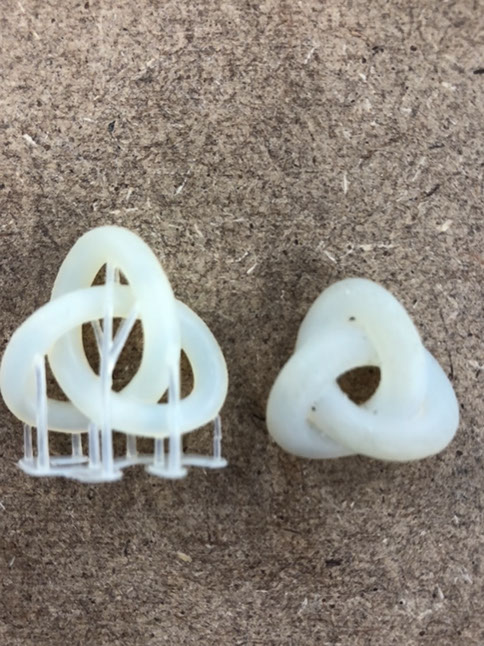
I re-designed the part I 3D printed in an earlier task. Below yuo can see both parts, one next to the other. The first time I printed the part I didn't like it that much because it was way to small and it only had one hole instead of four.
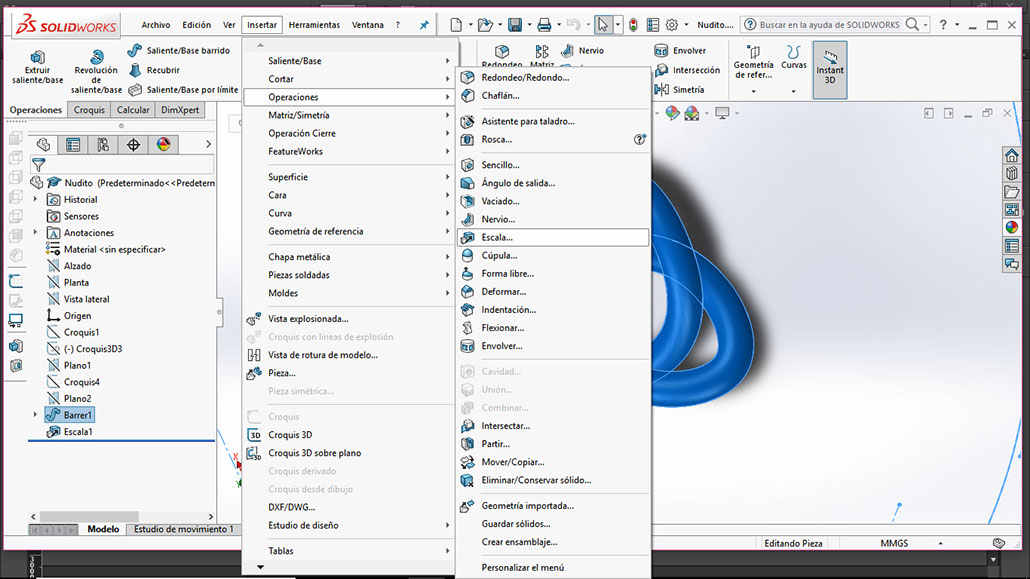
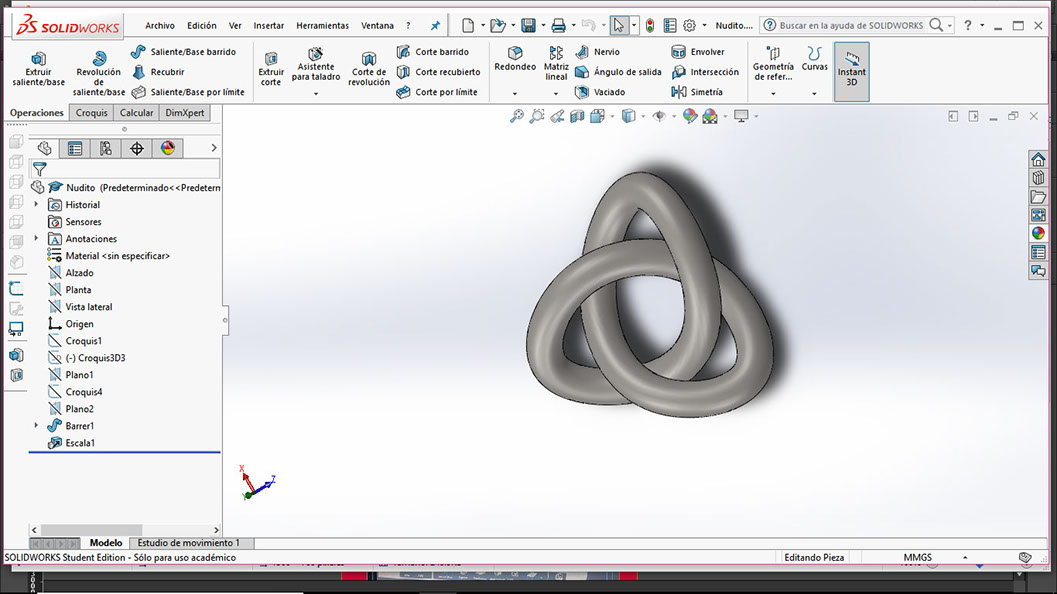
I wanted it to have four holes so I could pass a chain through any of those. To change the first deisgn I just used the scale option in SolidWorks.
Click on the image
to download file
Right click and save as here to download .dfx file
First I had to 3D print the piece, below you can see that.
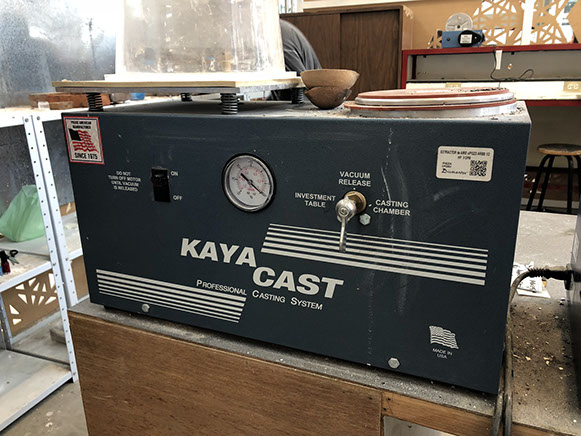
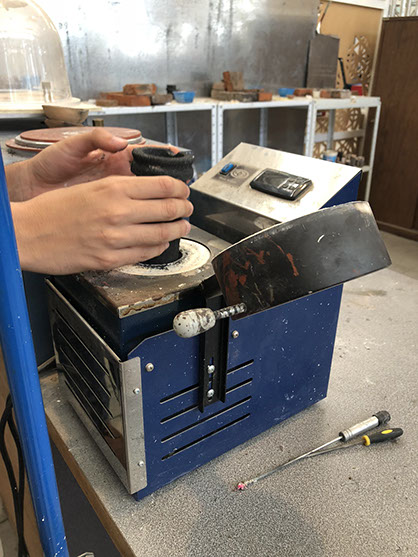
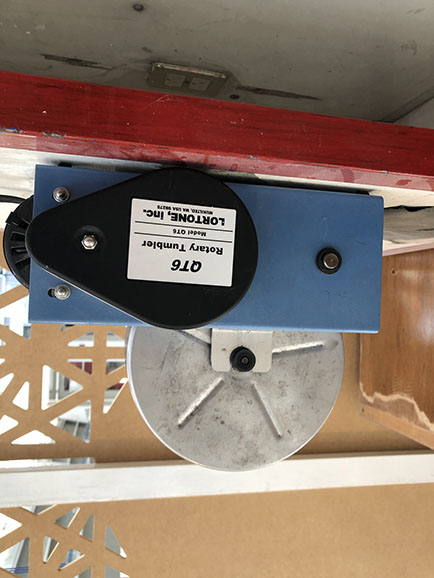
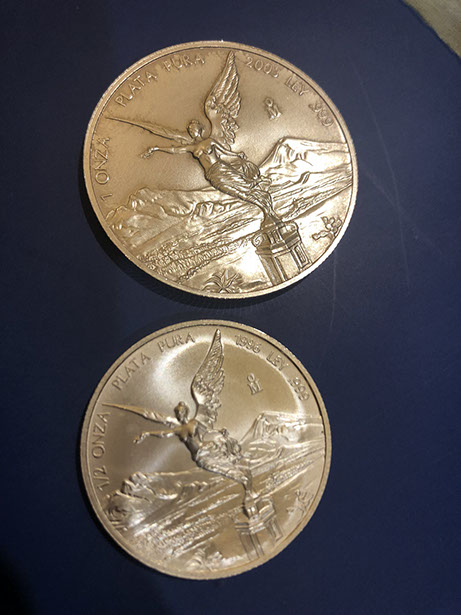
The process consists in placing the piece inside a stainless steel vessel. Later it is necessary to fill it with plaster. The machine that is seen below (Kaya Cast) is used, once the vacuum is had, the piece is baked inside the glass. Subsequently the metal is melted in the machine that is in the lower images (blue). In this case I decided to melt silver. Fill the mold with silver and wait for it to cool. I used a silver coin to melt the silver and use it for my assigment. At the end I used a machine with small stones to polish the piece.
It is very important to uses glasses, gloves and a lab coat. In te picture below you can see I'm not wearing gloves because I just wanted to show how the machine looks (it is a cup were you can melt the silver, but in my case, because I melted a small amount of silver I didn't use that machine I just melted it right in the centrifuge machine. With the vacum machine you also need to use the coat, globes and glasses in case it explodes or something.


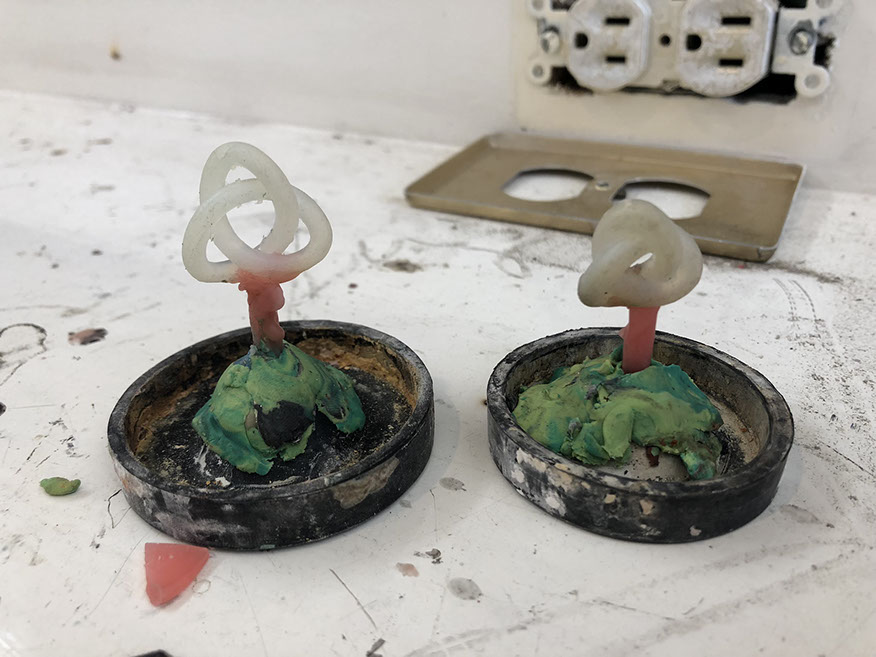
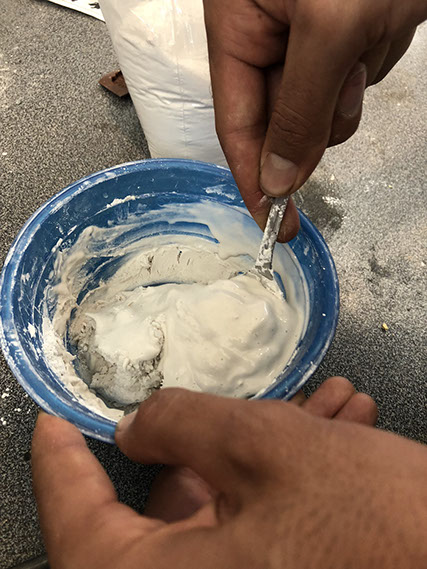
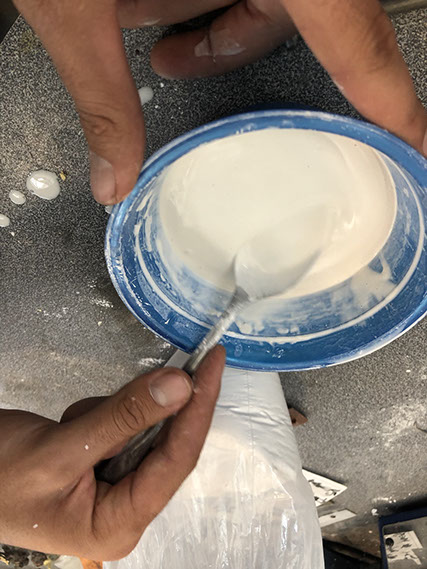
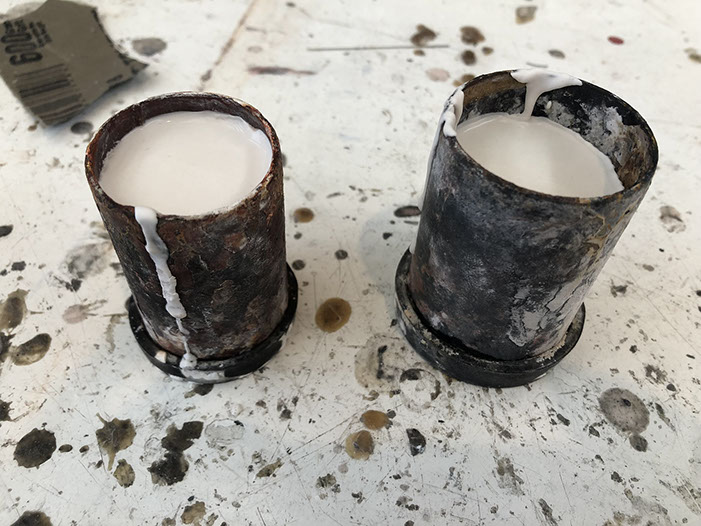
I placed my molds in the cover of the steel cup, I used a bit of dough to make sure they wouldn move. Then, as you can see in the pictures below, I mixed the cast with watter until it had a runny consistence. After that I quickly poured the cast in the steel cup, and just as quickly I used the vacum to get rid of any air bubles there culd be. I let them get dry for abput two hoers and later on I baked them in an industral oven for over 3 hours.

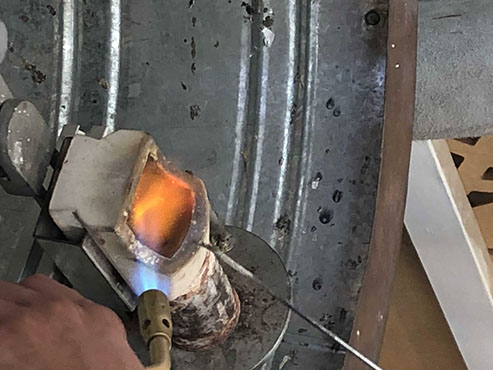
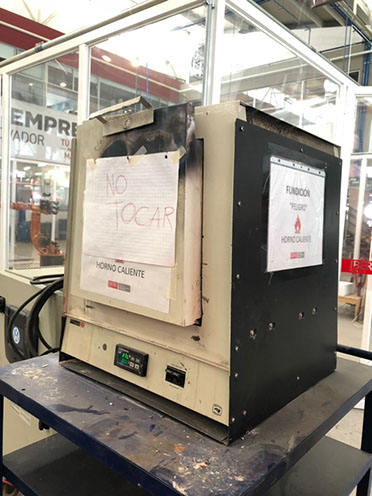
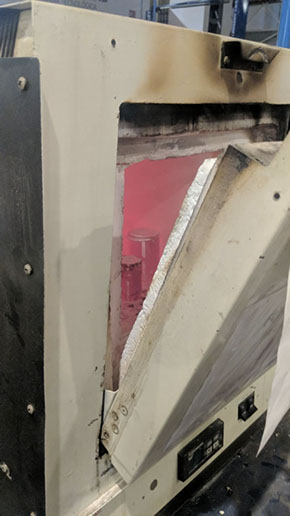
The 3d mold is made of resin so once it was bking all the resin evaporated nd left a hole with the shape of the hole. Saldly as ypu can see in the picture in the left, on of my molds broke. That happened because I din't use enough mix to cover the piece.
Then I had to melt the silver with fire after that with centrifugal force we made the silver get inside the mold. The silver got cold very fast. And I had to put the steel cup in water so the cast would brake and let my piece free.
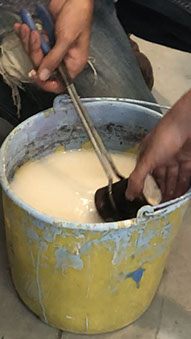
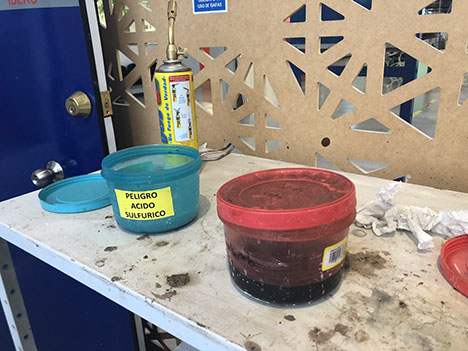

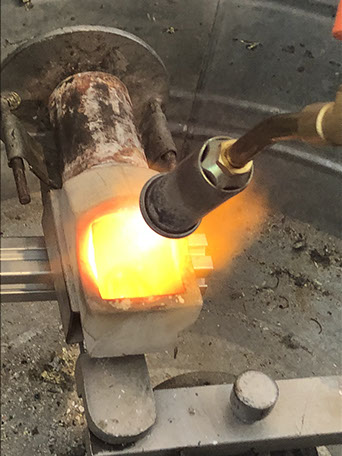

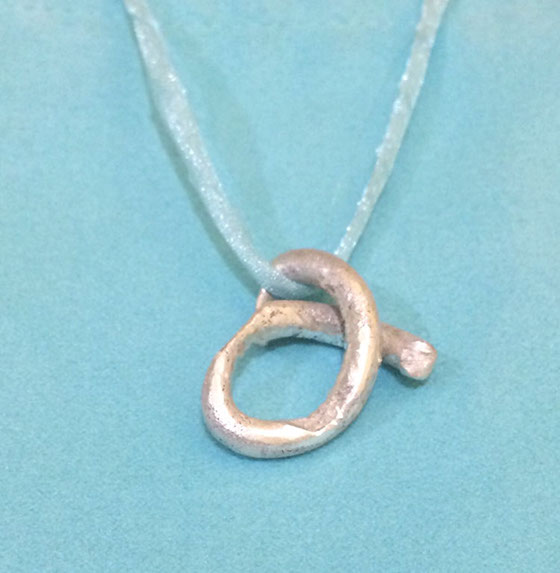
After I melted the silver and used the centrifugal machine, I had to cool it down by throwing it inside a bucket full of water. Then I let my pice free.. and sadly I saw it broke. It didn't come out the way it should have because my mold had a small rupture in the cast... son when I used the centrifugal machine, the silver came inside the mold and when right through the othe side and that's why it didn't work out. Then I had to place it inside sulfiric acide to make it white and get ride of all the oxide. Later on I polished it with a bit of soap in a special machine (as you can se above). Then I filed the piece so it would be soft.

To make sure this doesn't happen to you, you just have to take two thing into account. First make sure you cover completly the cup with the cast, it has to be completly full. The second thing you must do is make sure that once the cup is baked, you do not have any cracks. Even the smallest crack can ruin your piece. That's what went wrong with my piece and what you can do to avoid it.