Mechanical design
In the beginning of this week, we split into two groups. I formed a group with Megumi, Marta, Peetu and Behnaz. We started by taking apart last years student projects, and started ideating ours. The machine that we decided to build is a fruit peeler called FabPeel.
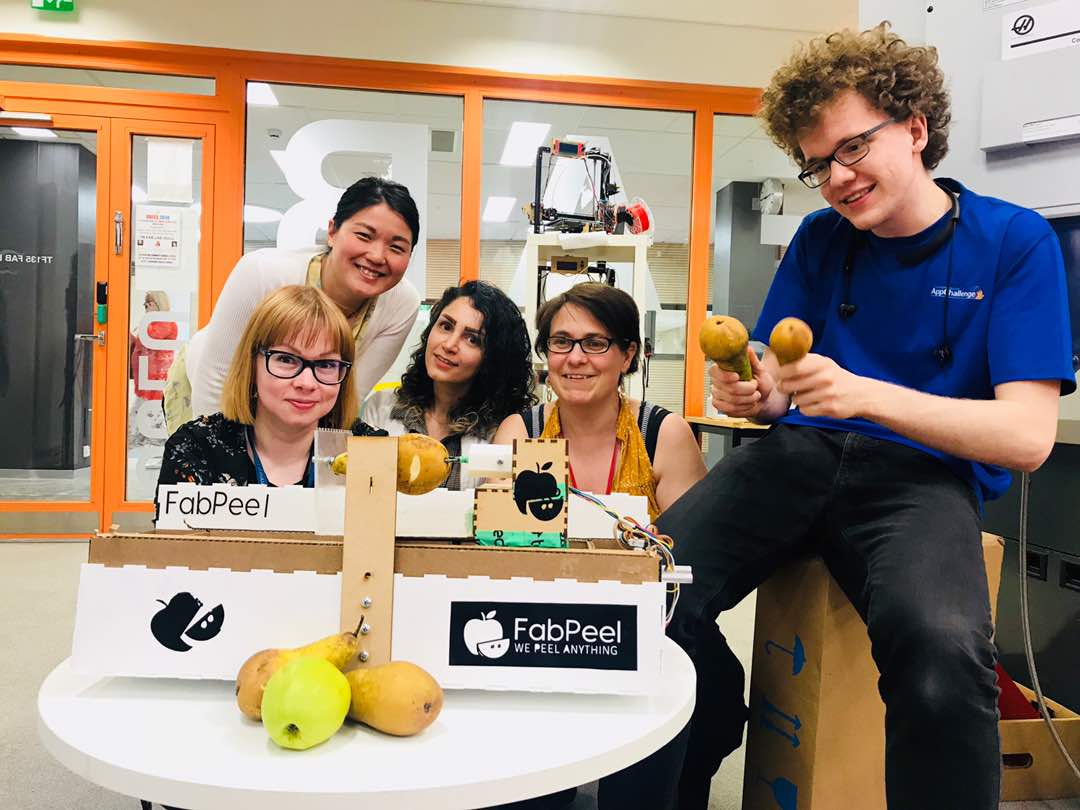 The idea for the project came from the FabLab staff had suggested that we build a mini lathe. Megumi liked the idea, and suggested that we simplify the idea a bit but use the same principle for movement --> A fruit is attached to a rotating stick that moves to one direction. When it meets our attached blade, the skin is removed.
We started by looking at videos from Youtube about different projects people had made, trying to figure out how the project would work.
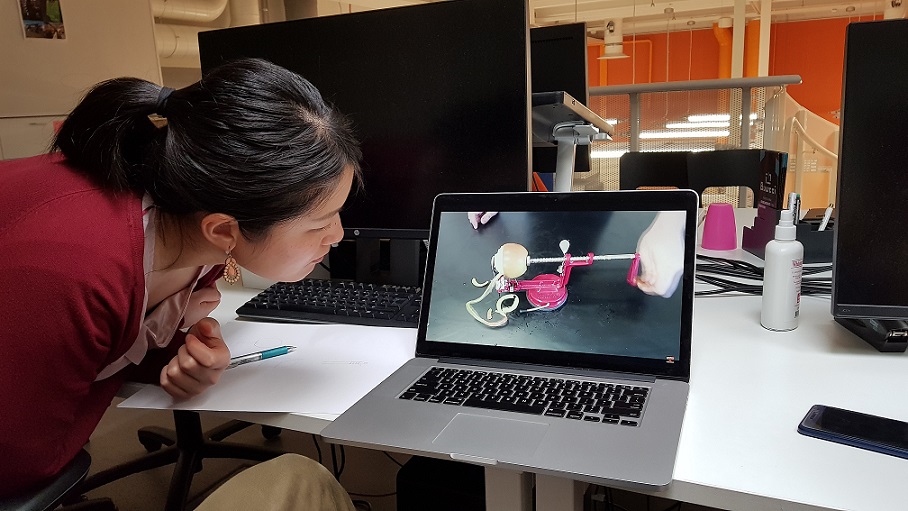
The next week days we were working really closely together as a group, building the machine, figuring out the kinks and brainstorming about how each part of the machine should move and work. All took part very enthusiastically and it was a really nice experience collaborating on this one. It was nice to see how we all had our own strenghts to contribute to this project.
Brainstorming on the first week...
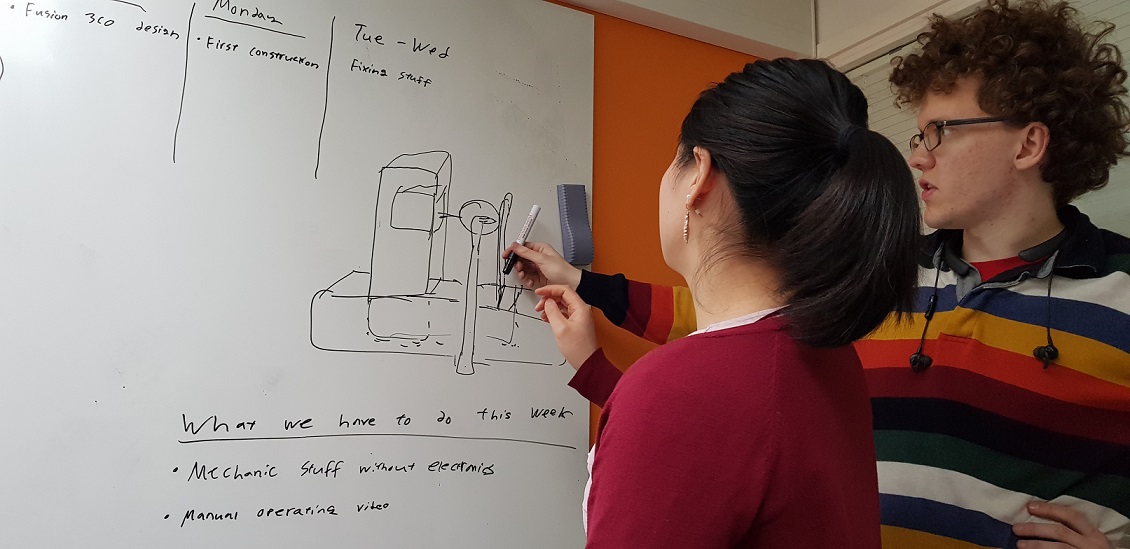
figuring out the timetable for building, the functionality we need to add
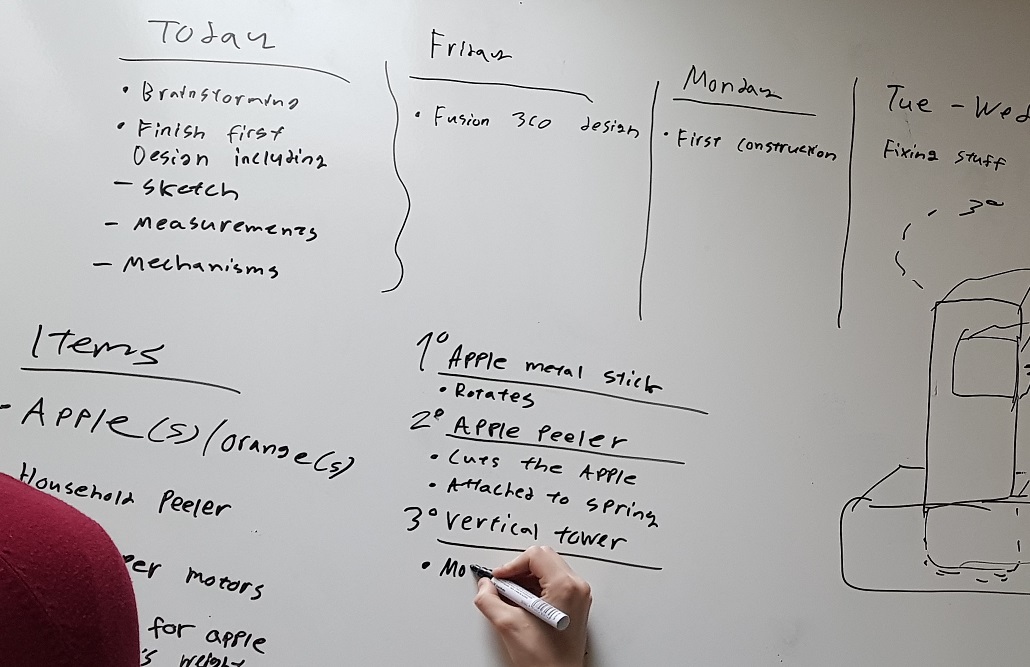
very rough prototyping with the ready parts
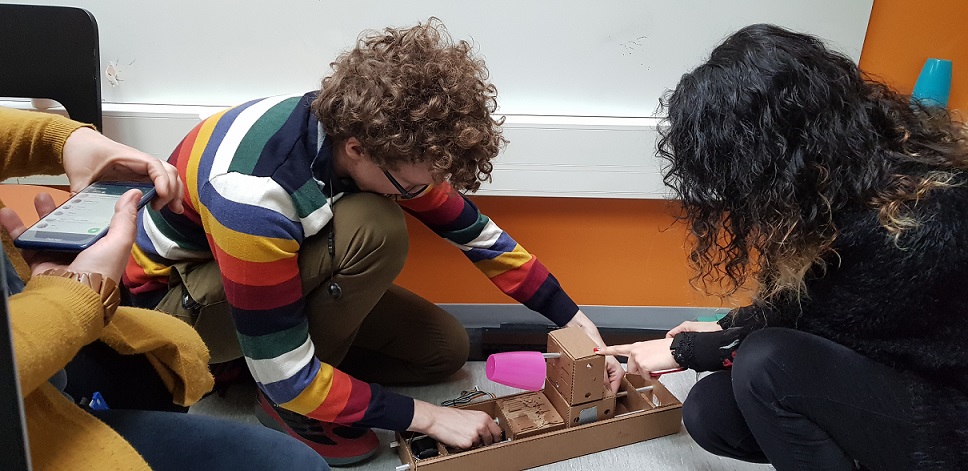
In the following days, the machine started to come together while everyone was pitching in. I cut the first version of the blade we used, and collaborated with others while thinking about how it should be attached to the frame.
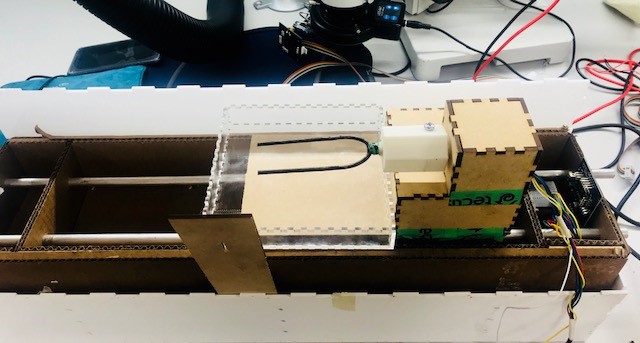
We tested it manually, and all seemed to be in order. Every part was moving as it should, even though the blade of the peeler was taking out bigger chunks than it was supposed to.

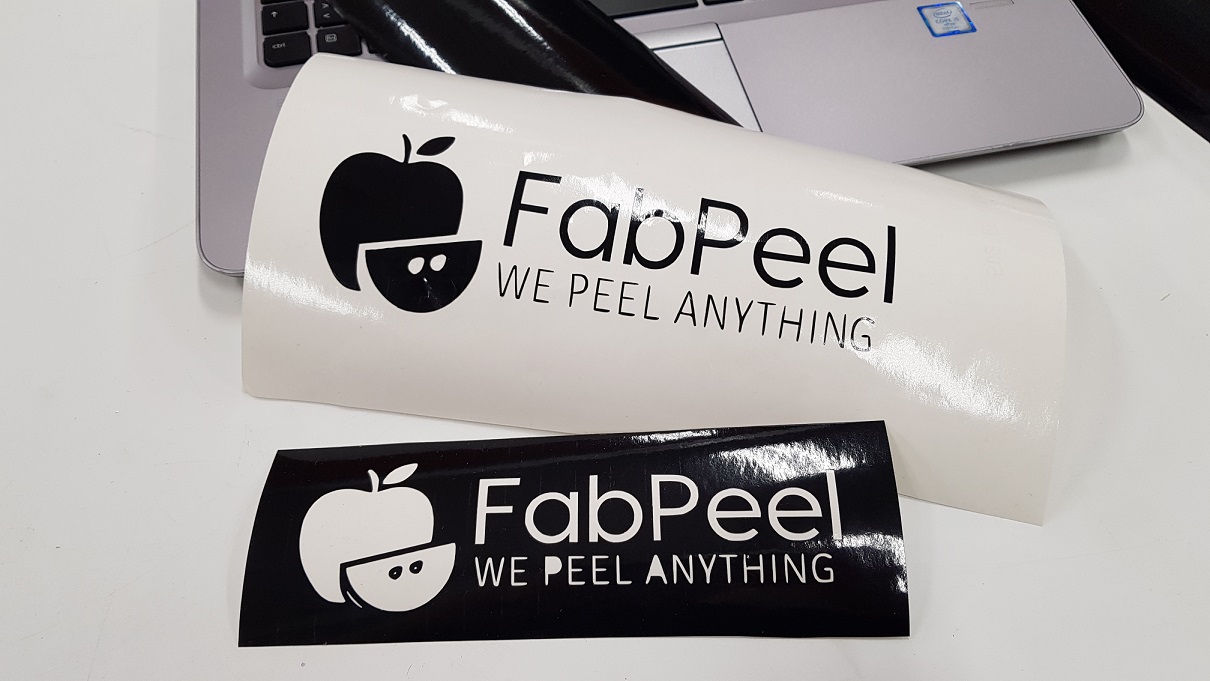
On this first week I also ideated and created a logo for our machine, worked with InkScape to prepare the file so that it could be printed into stickers, and then cut out the stickers using our vinylcutter. The process for InkScape and vinyl cutter are explained on my W4 documentation
Machine design
During the second week we then needed to make the machine work automatically. Marta was taking the lead in this phase, programming the motors, and trying to get them to work as she had most experience. Others were doing some odd jobs for the machine, taking pictures and trying to document the process.
Here is Marta's programming setup:

I was present on all groupwork days also on week2, and tried to pitch in where I could, but I was left with a nagging feeling that I could not contribute enough, especially when I saw how hard Martha was working on our collaborative project. SHe kindly tried to reassure me that the programming part was something where more cooks does not make a better end result. I am quite certain that is the case, especially if the other cooks do not have much experience.
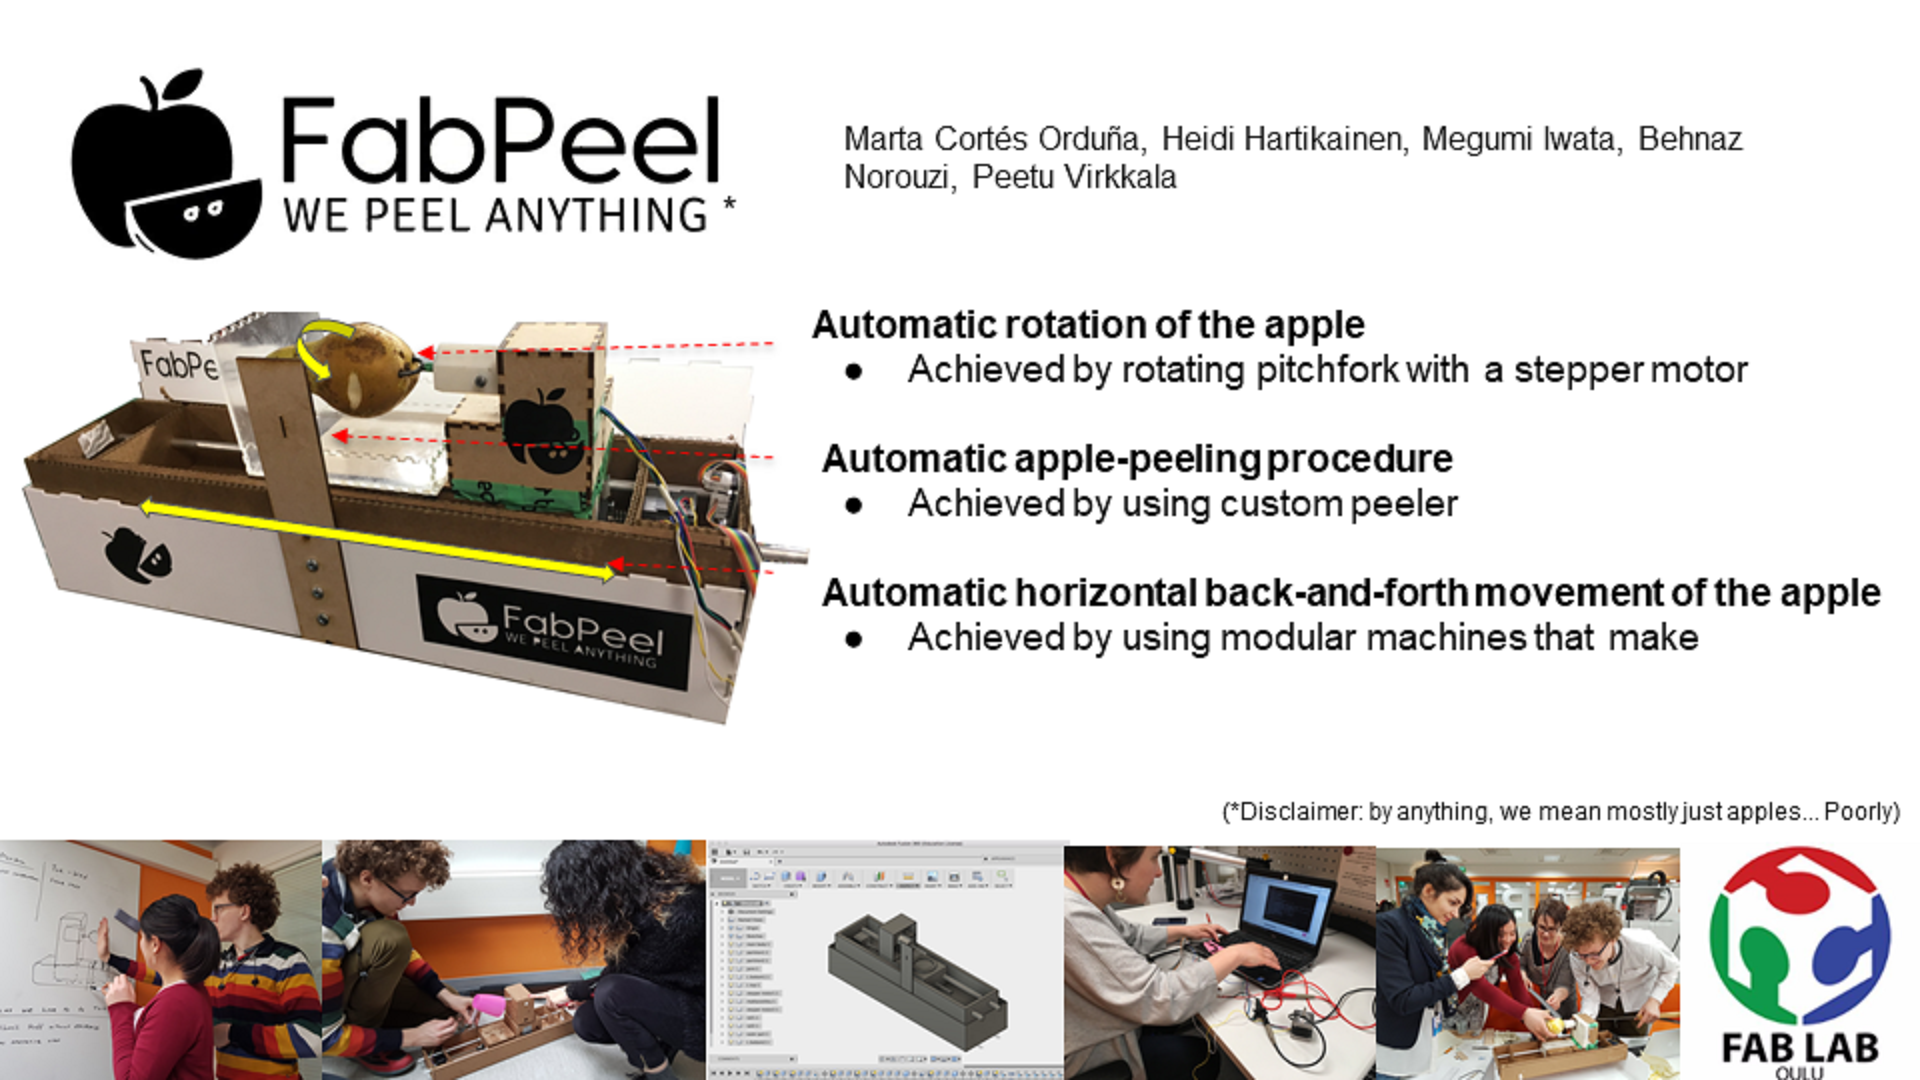
As for me, the only concrete design step this week was to build us the slide that would present our machine. So I collected our images, and went throught our documentation to summarize the main funtionalites - and did some sketching about how to best present what our machine does, and what we did during the couple of weeks.
Here is a video of the whole process:
Individual contribution
- Week 1: Participated in all project days as a part of a group, took part by ideating, building, documenting the FabPeel. Did the first version of the blade, designed the logo for the work and cut it out using the vinyl cutter.
- Week 2: Participated in all project days as a part of a group, took part mainly by standing around and hovering, trying to look busy while Marta was coding - Testing, jiggling with the machine. No bigger design tasks except gathering photographs of the process, summarizing the functionality of the machine and doing the slide for the final presentation. Used the time to troubleshoot my output week board which was not fuctioning.
Here are the files for the logo:
- The original logo image
- logo svg file
Here is the first version of the slide
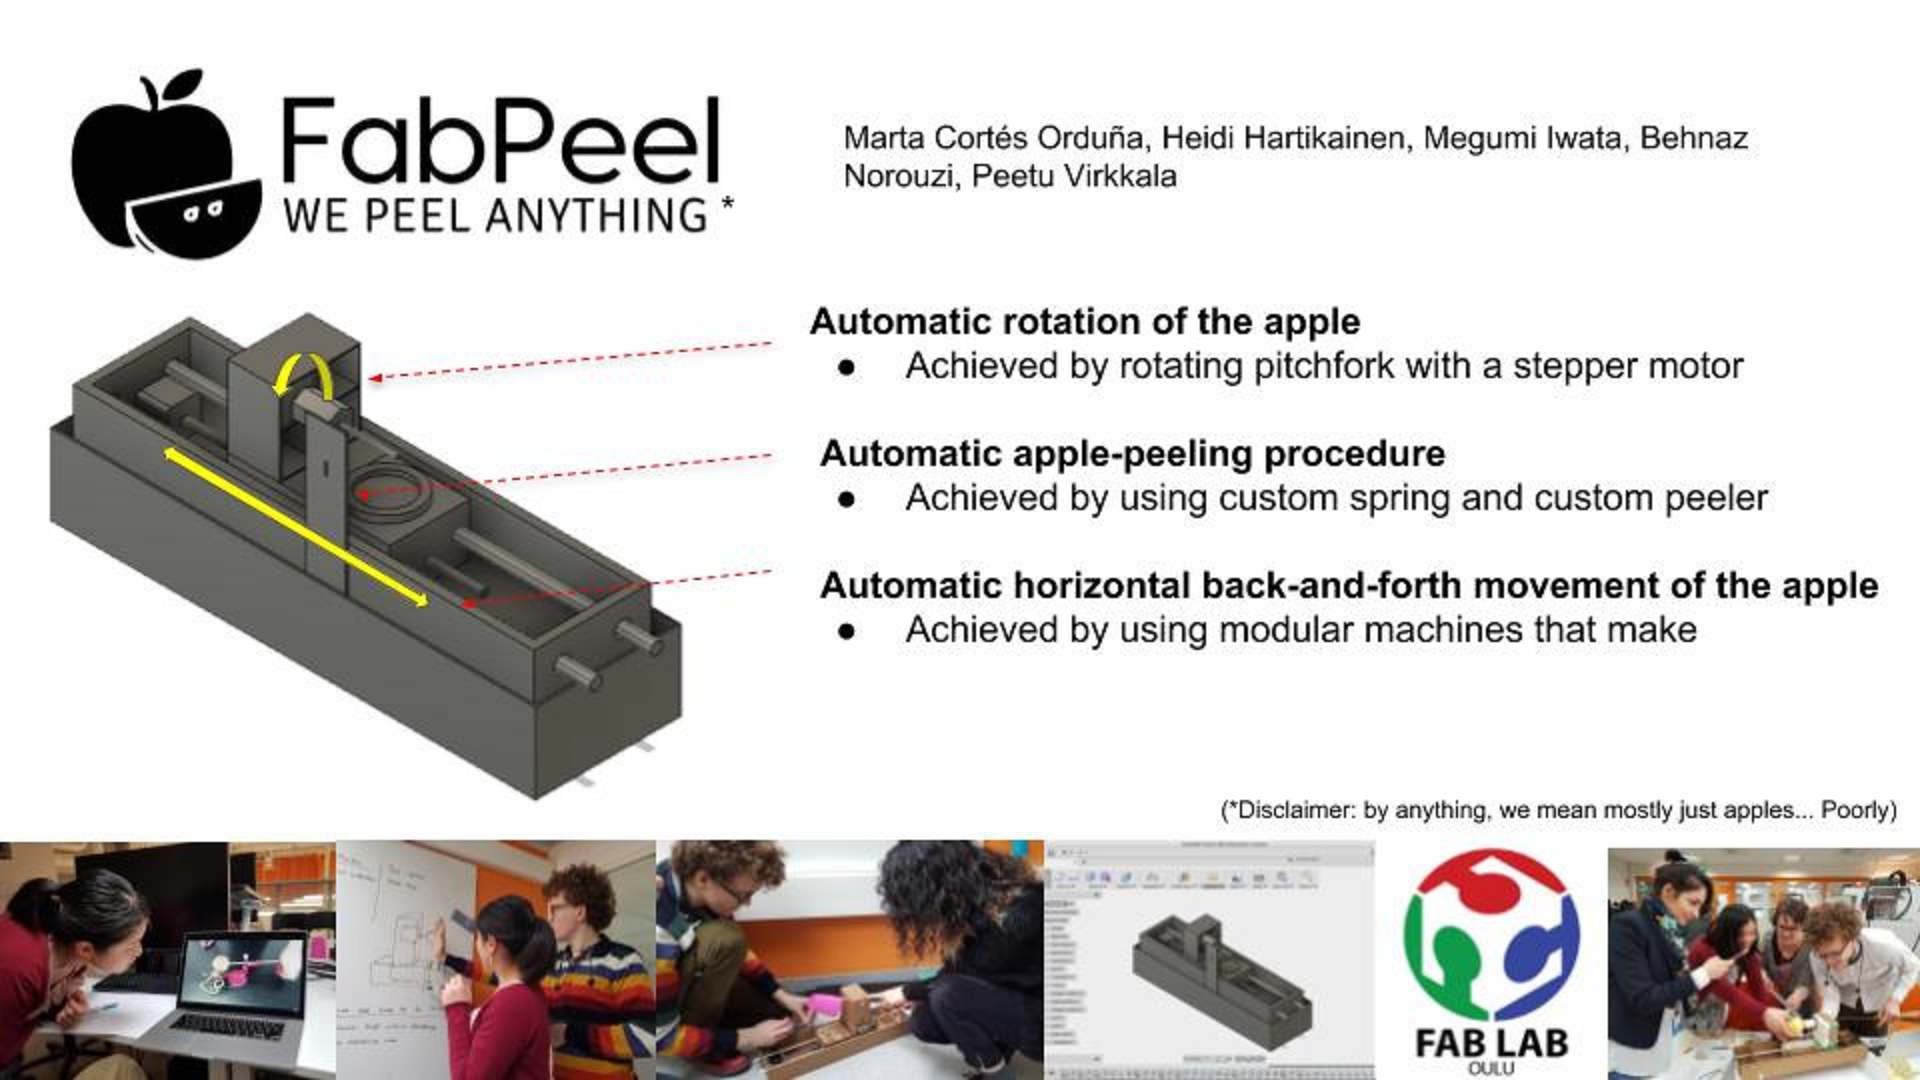
And the final slide used
Problems had and lessons learned
- The mechanical design week was really much fun, and the time flew by with all of us collaborating.
- The machine building week just flew by. Marta took charge of the programming part as she had the skillset needed, but that must have put her under a lot of pressure. I felt that a lot of the time the others were just hovering by, hoping we could do something, coming up with odd jobs and trying to look busy. Or maybe it was just me.
- In the next rotations of the course, it might be better for the local instructors to divide the students into groups - so that in both teams there would be more people who can contribute to the programming part of the task.
Copyright © Heidi Hartikainen 2018
Template copyright ©Blackrock Digital LLC 2013-2018

This work is licensed under a Creative Commons Attribution-NonCommercial-ShareAlike 4.0 International License.