Final project
Final Development
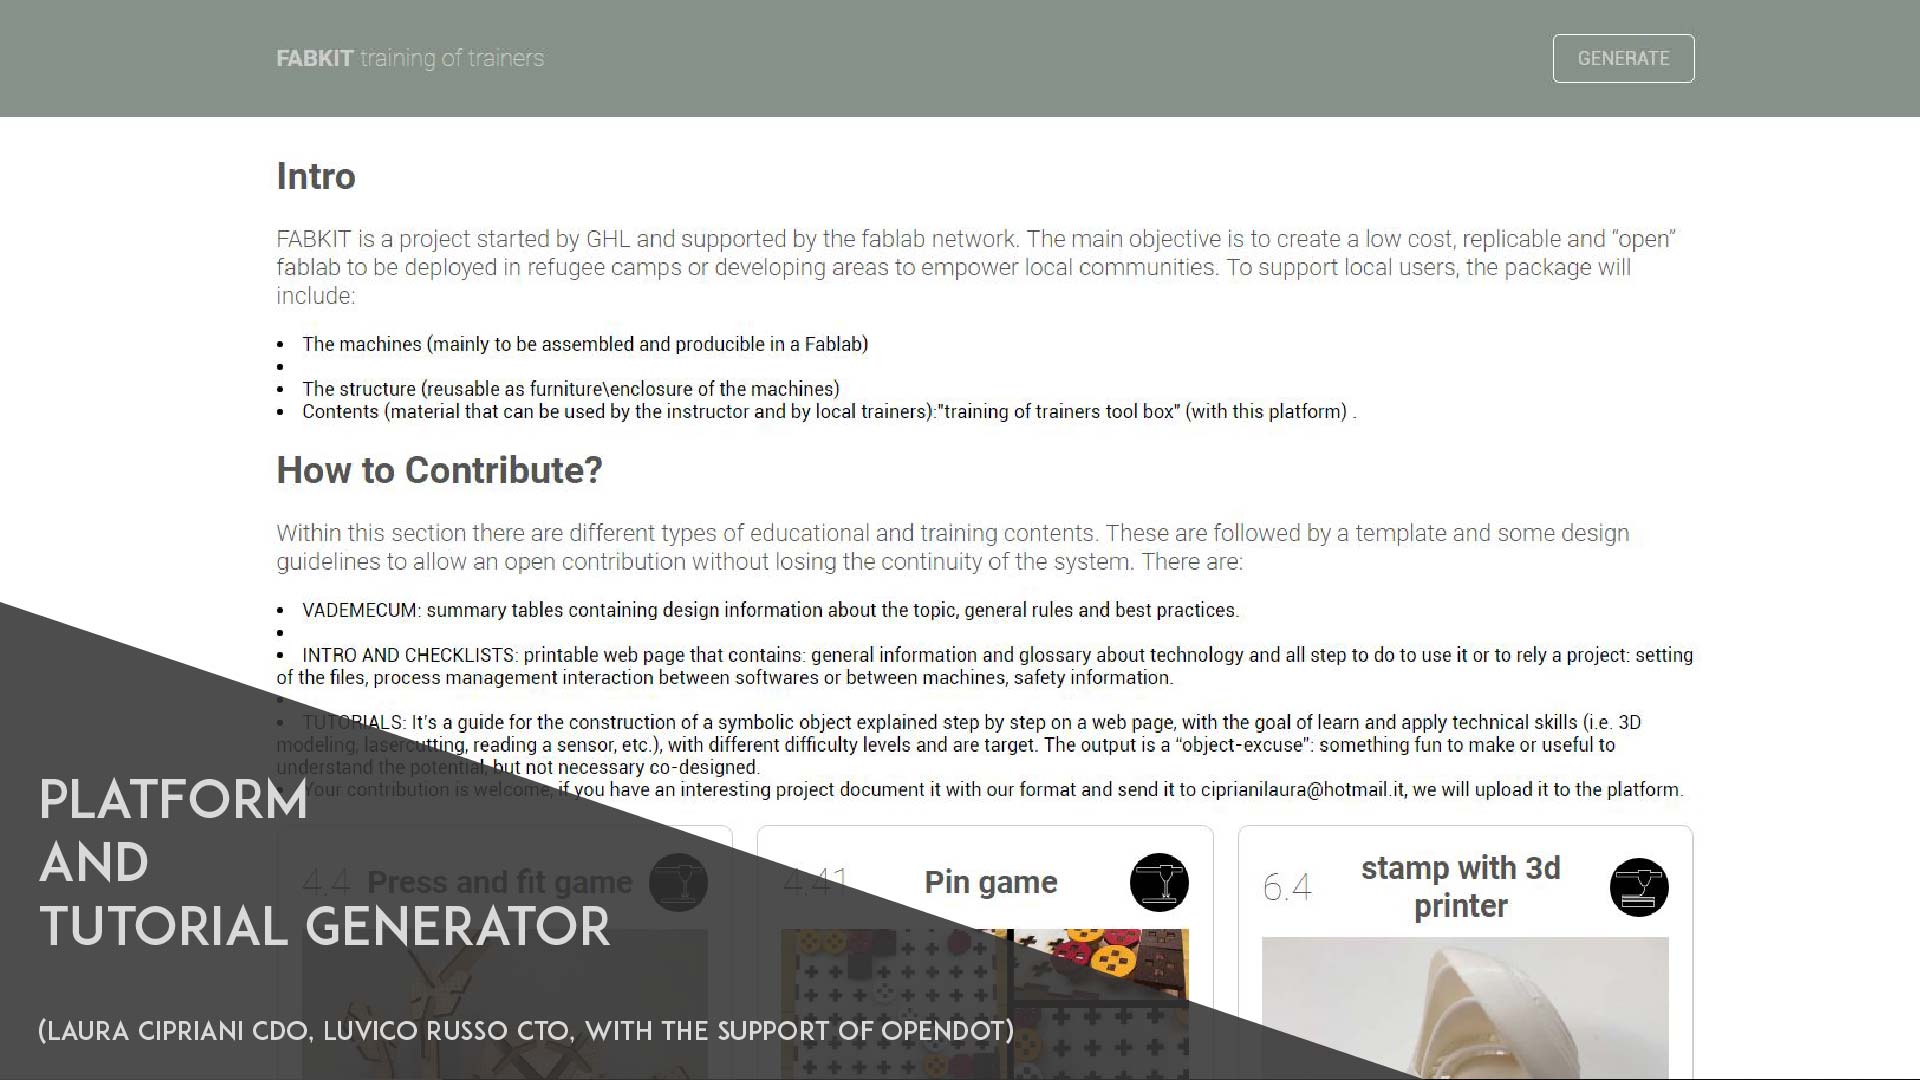
FABKIT Training of trainers
Intro
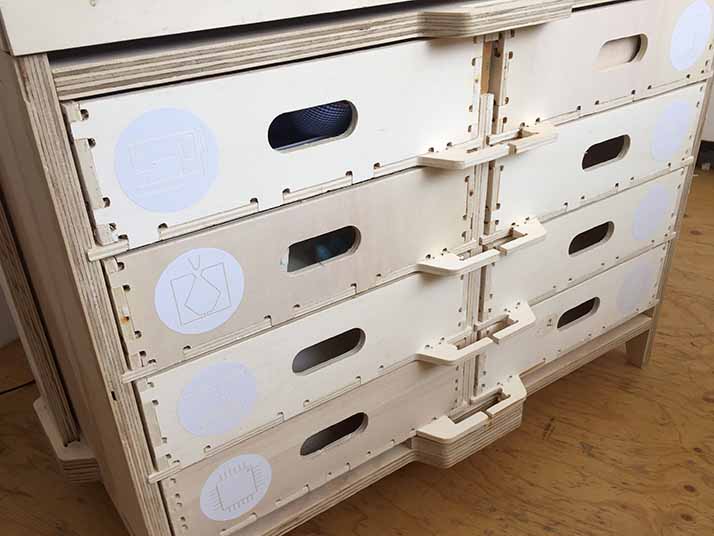
This last week was aimed at the construction of the final project. In this page I will focus on the making of the chest of drawers: from this draft the ideal would have been a tutorial for the platform on how to self-build it, mount it and test it. We divide it into parts to simplify the explanation.
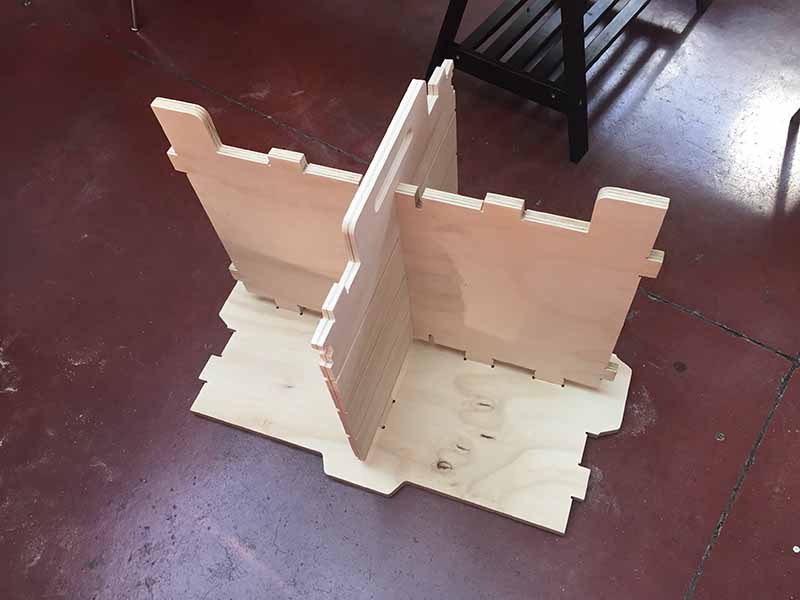
Chest of drawers
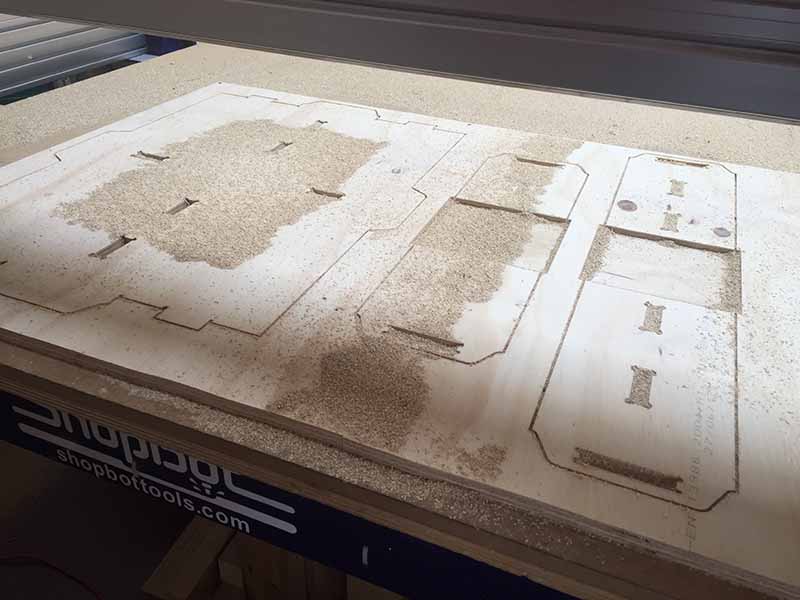
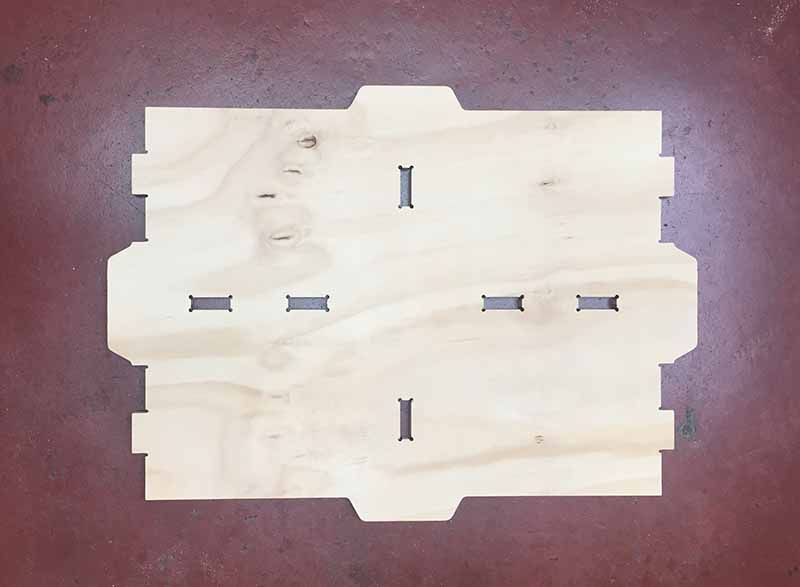
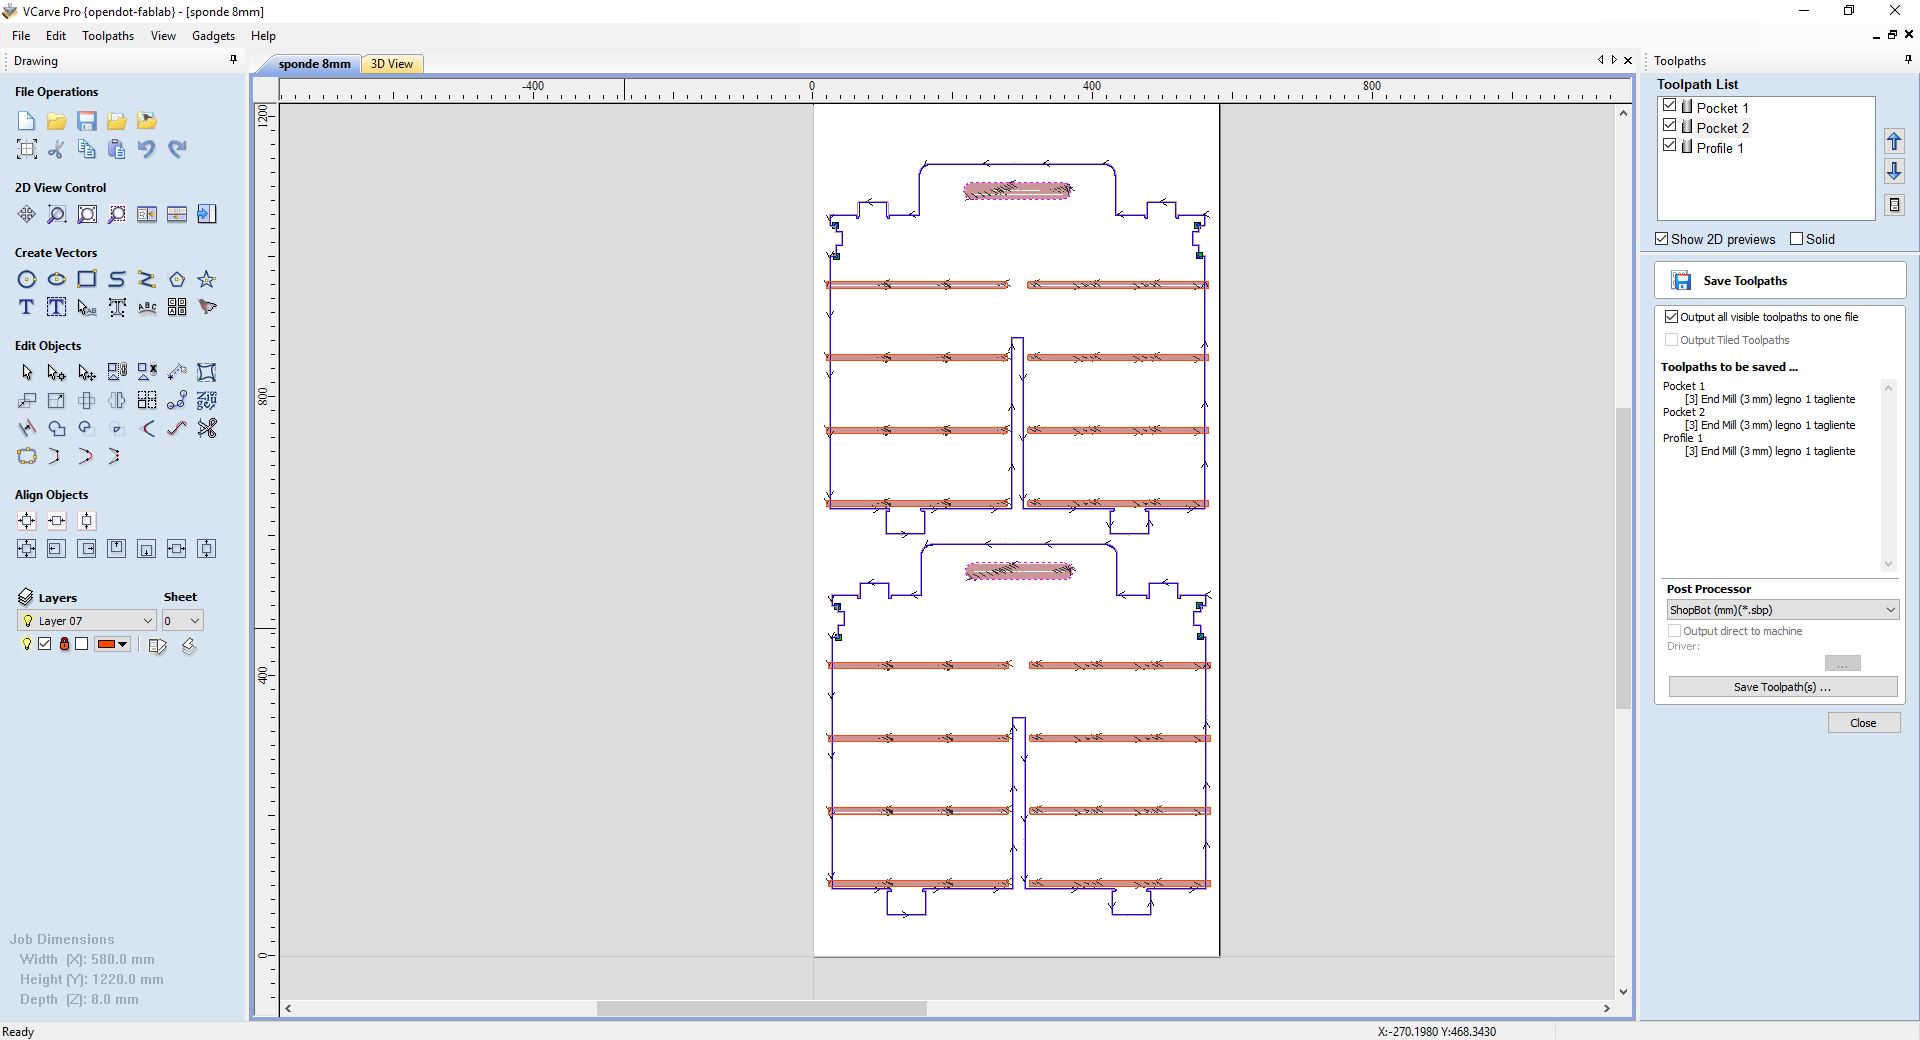
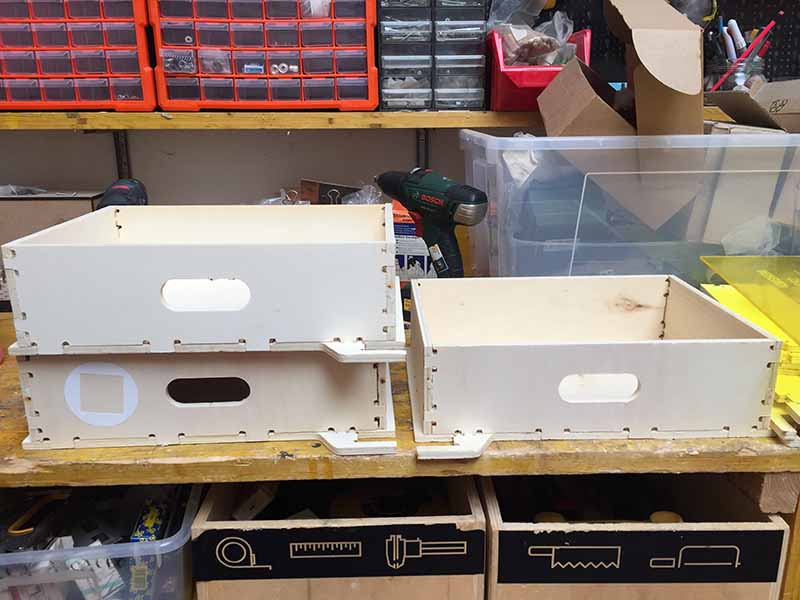
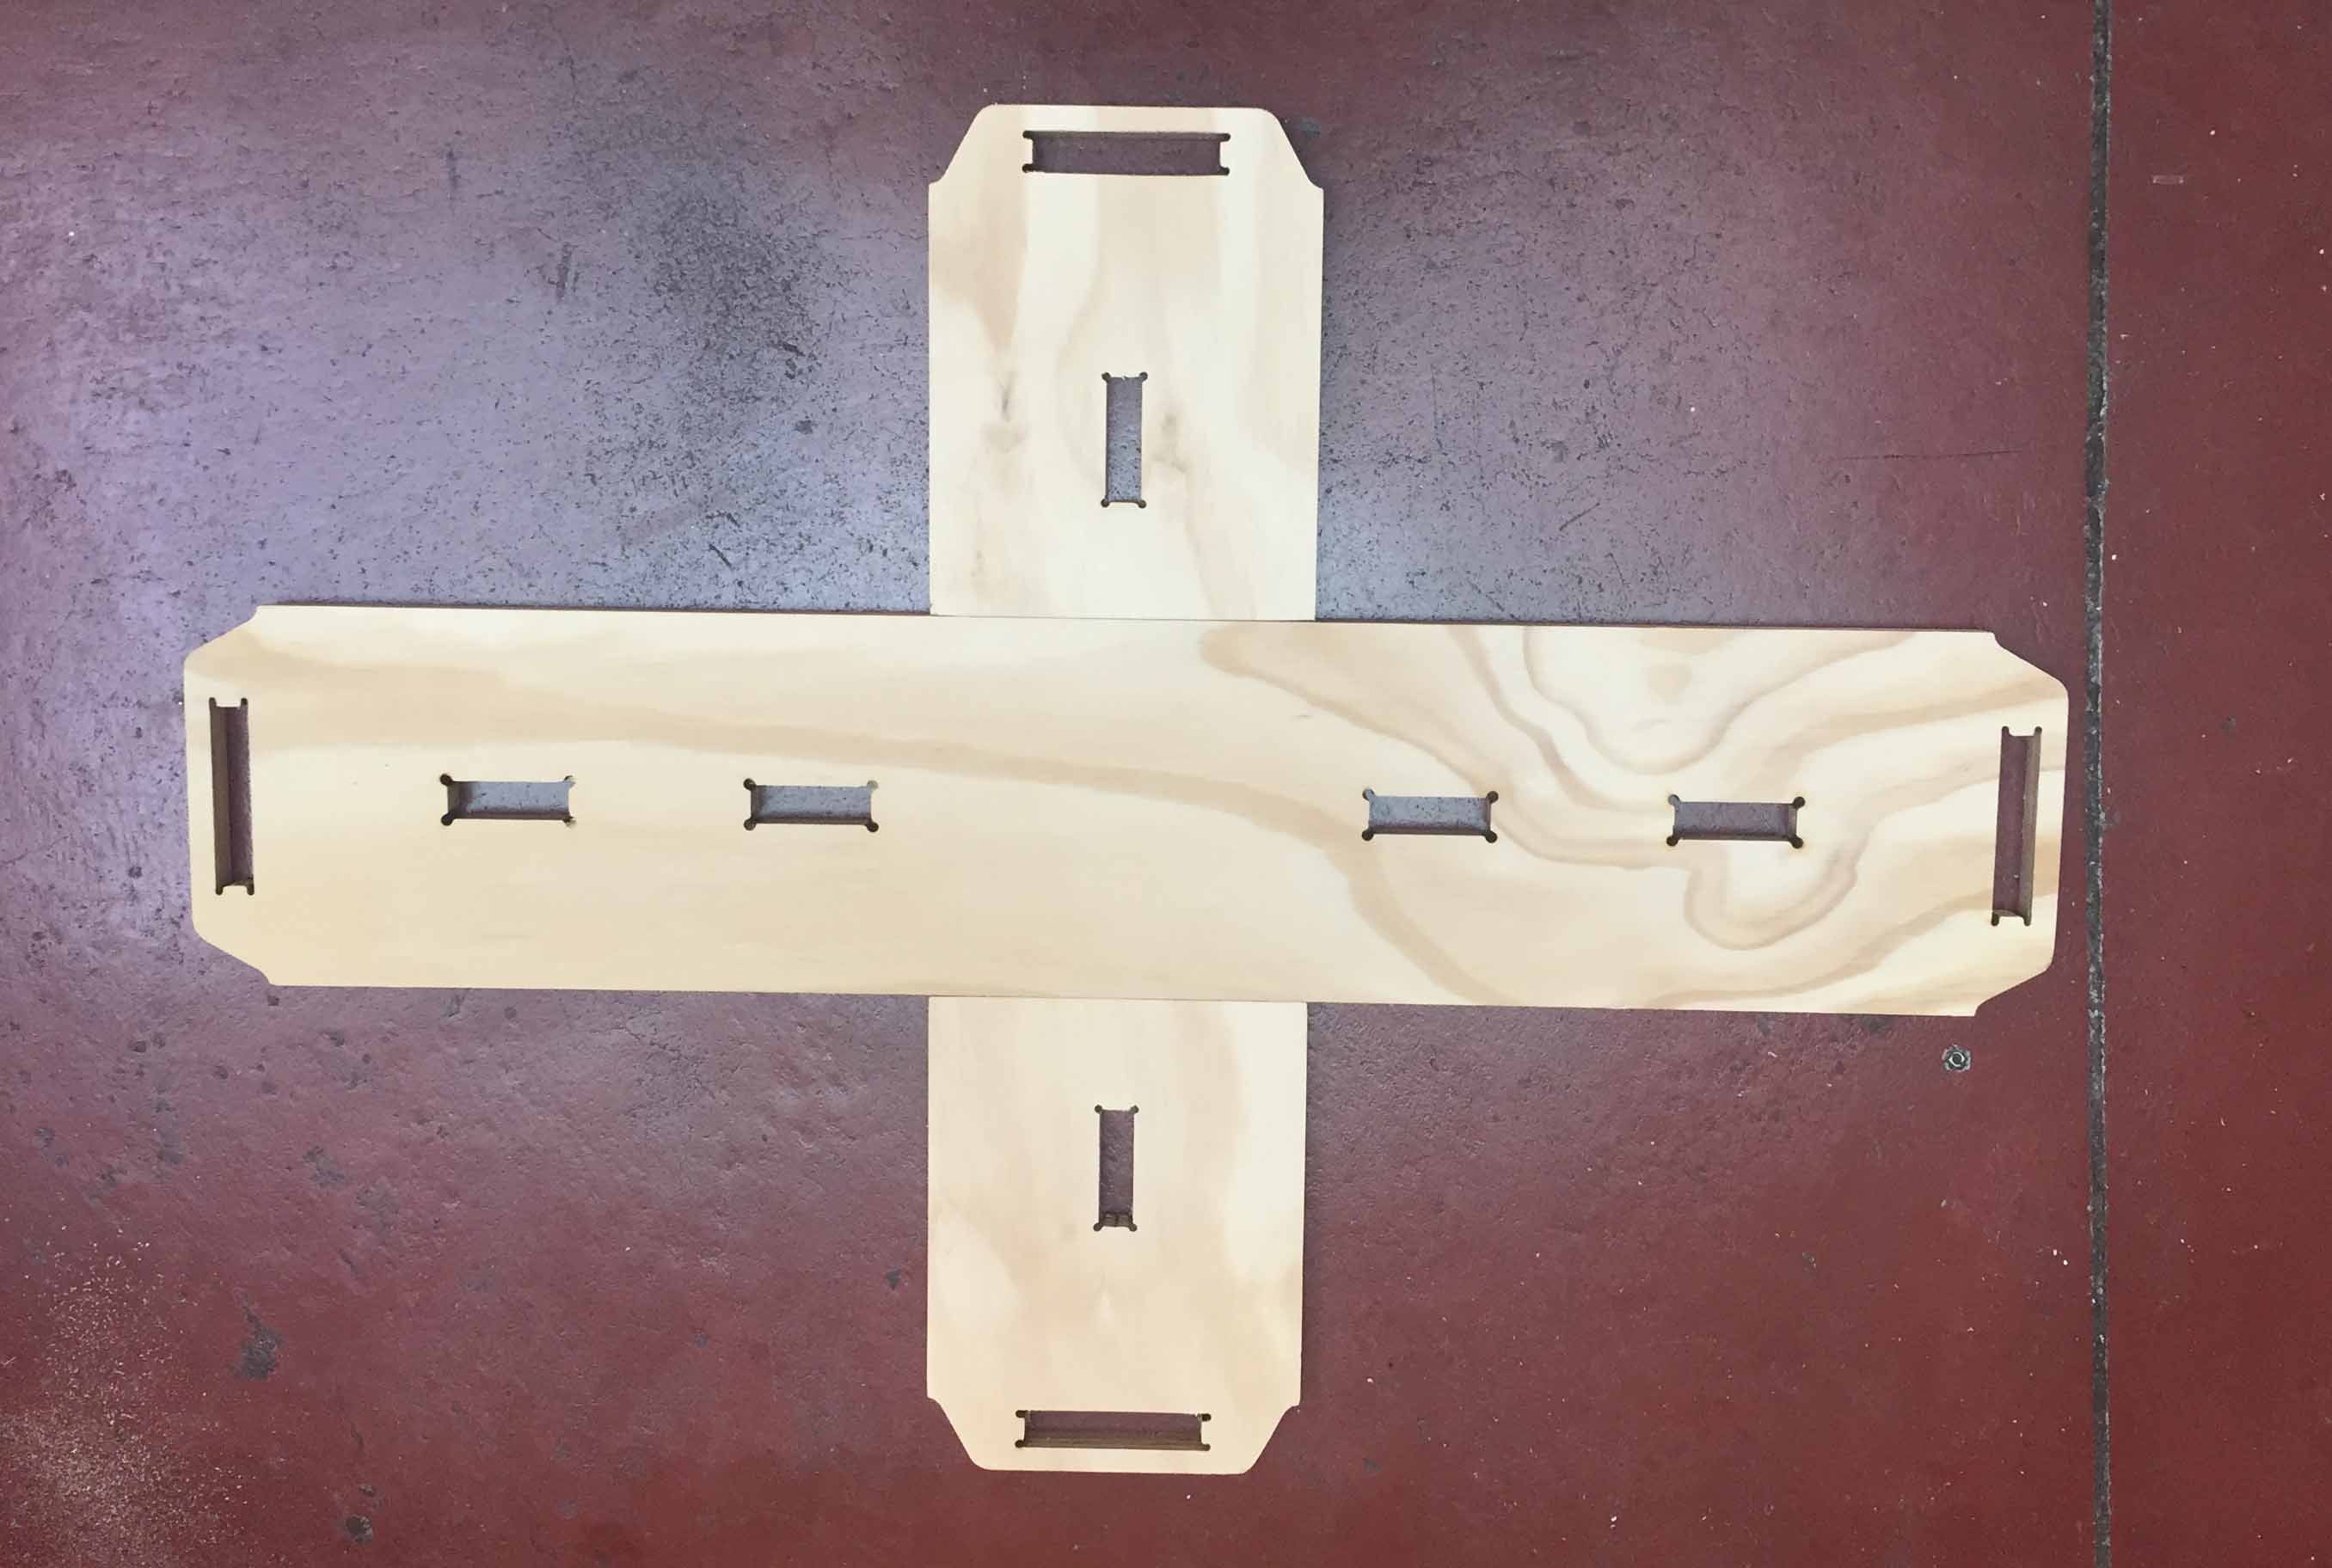
After completing the 3D model and checking that everything was working, I chose to divide the machining with the cutter into two parts: the structure, using a plywood board 2000 x 1500 mm thick 18 mm, and drawers: for 8 drawers I used 4 sheets of plywood 8 mm thick and 960x600 mm.
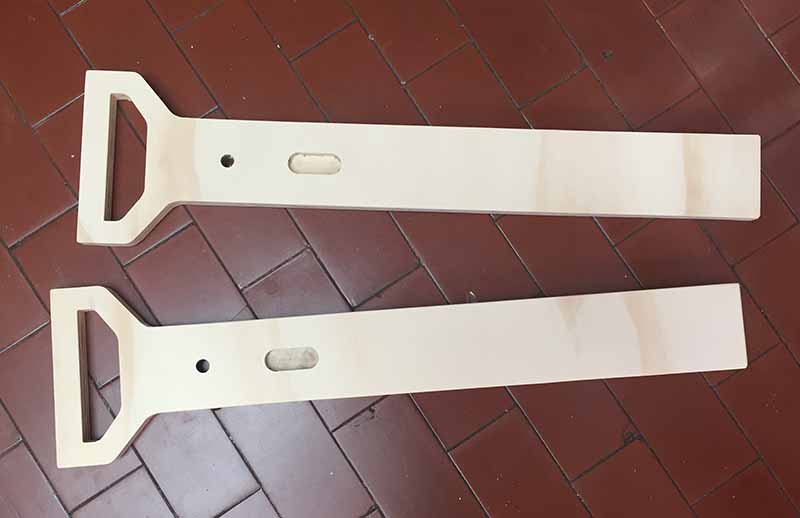
The central partition is an exception to this rule: it was made on two 8-sheet and then glued, as it has pockets on both sides, quite difficult to manage in milling.
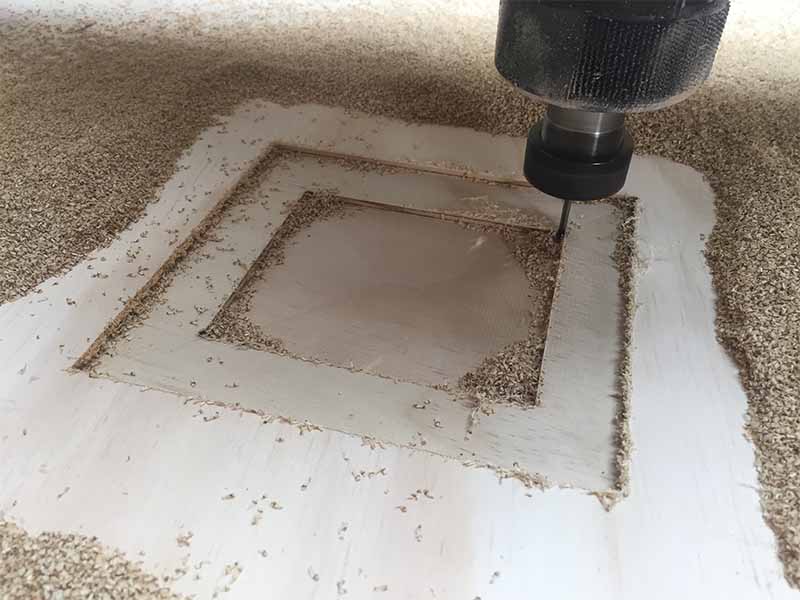
For all the work I used a 3 mm cutter with 1 cutting edge.
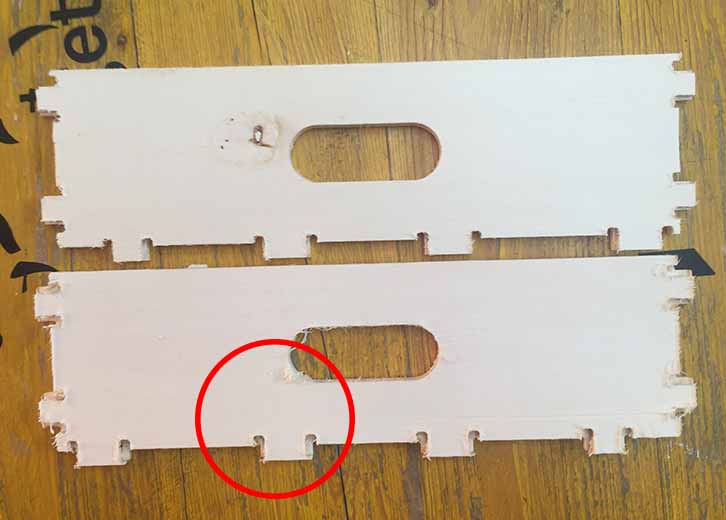
Some parts of the design risked burning the tip, so I made some changes to the file during construction. Something went wrong, the tolerances were not enough and I used a lot of time to fit the pieces. It would have been better to have 15 mm thick wood available.
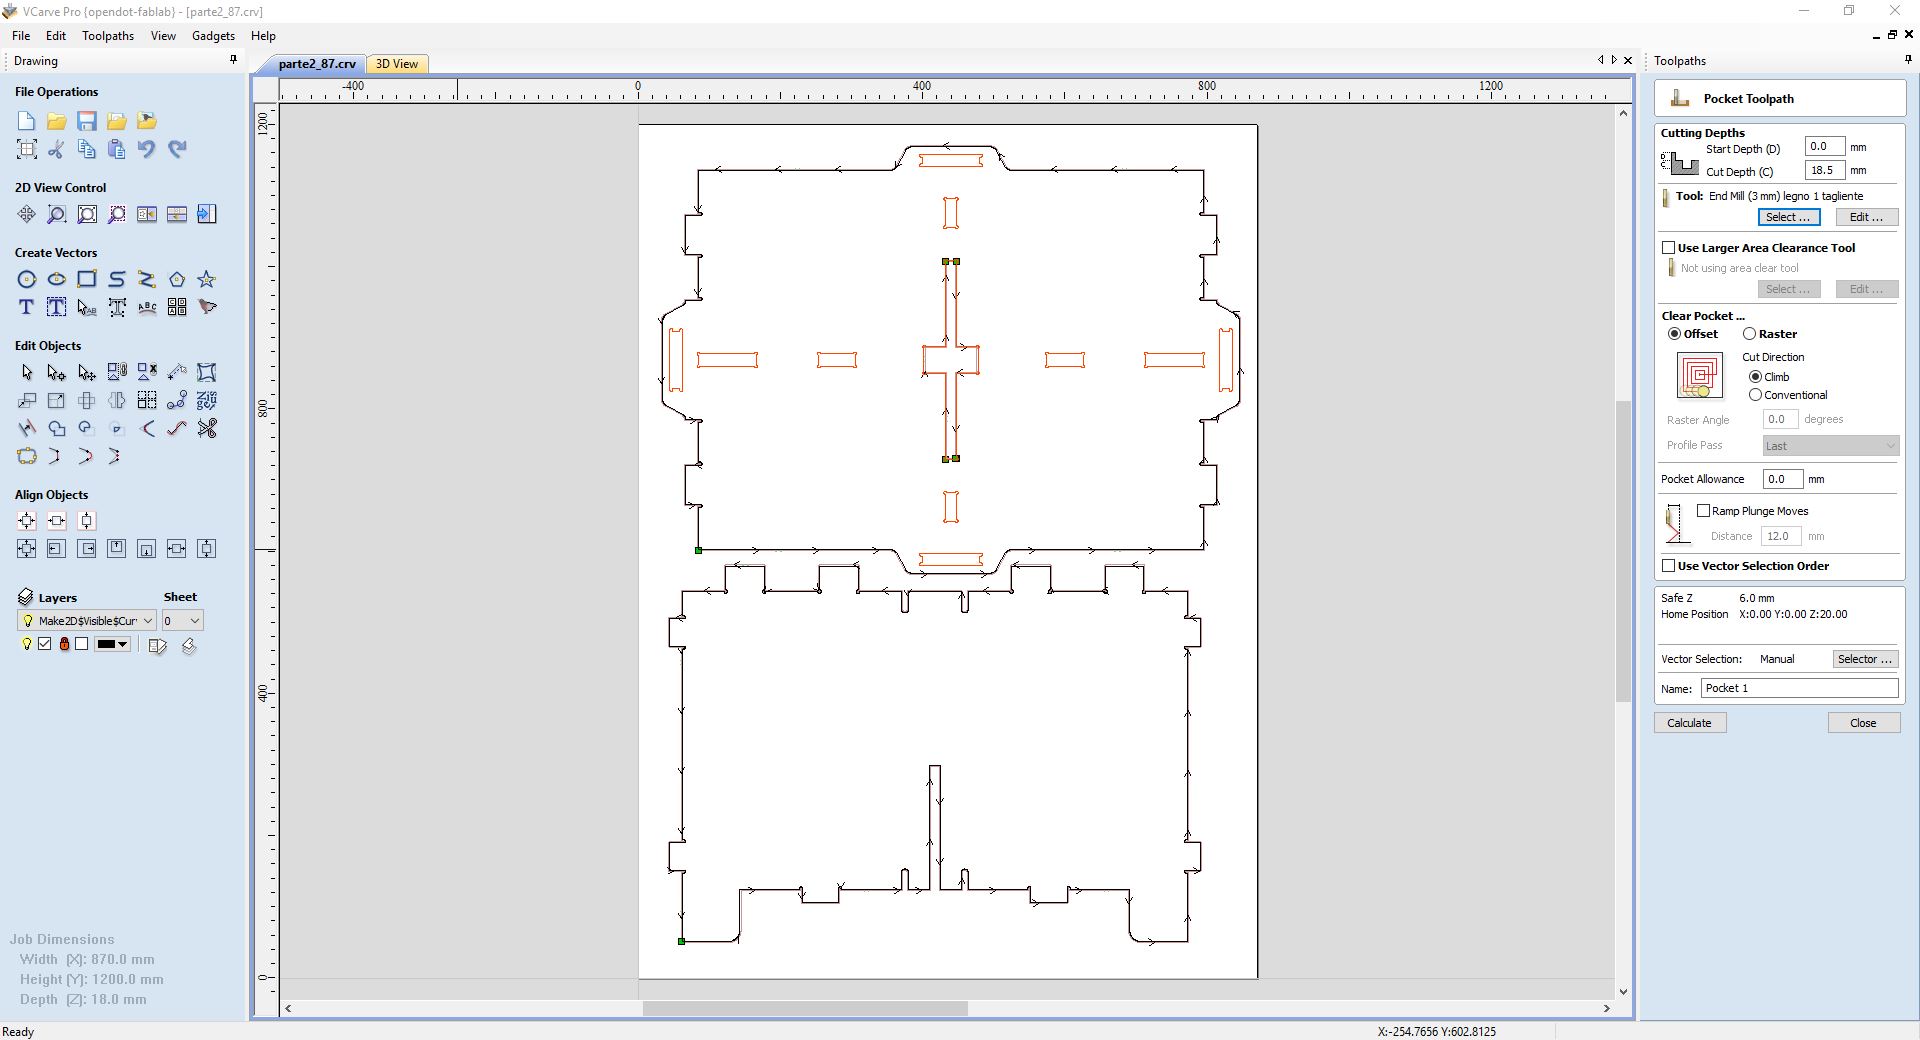
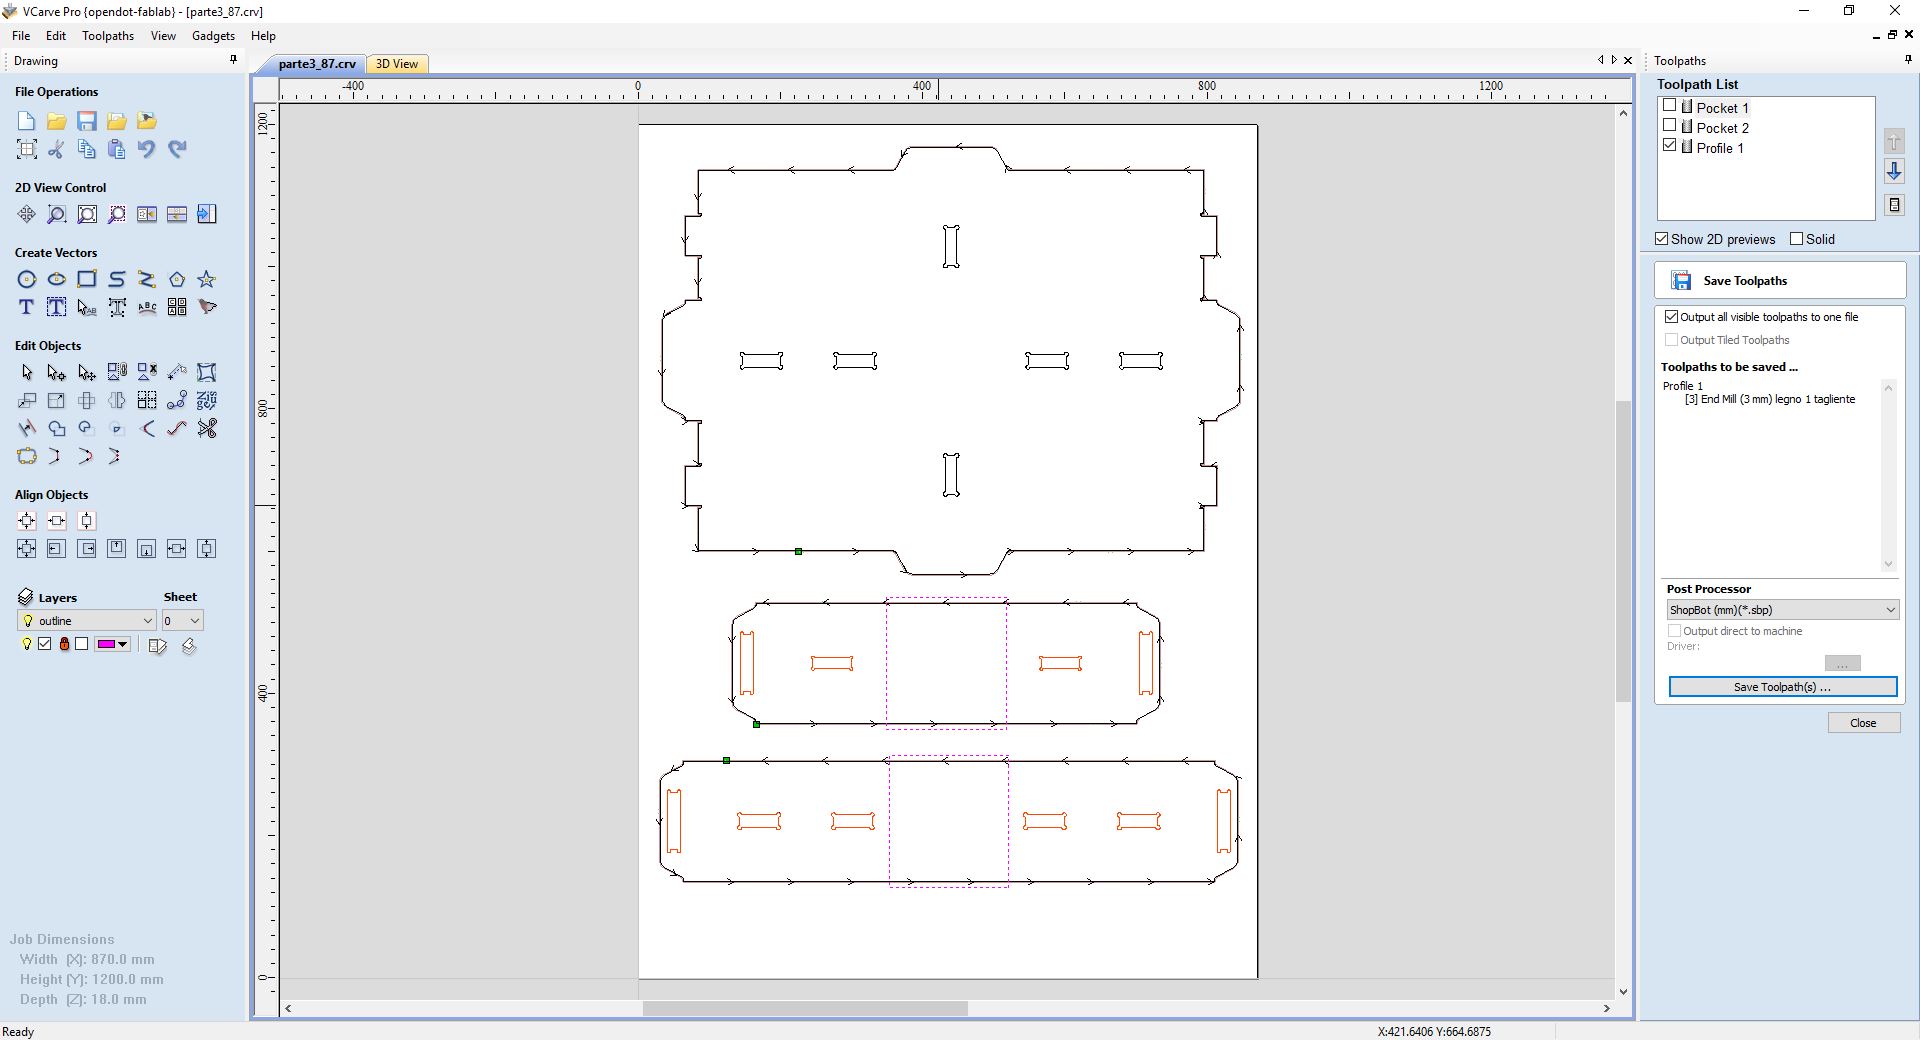
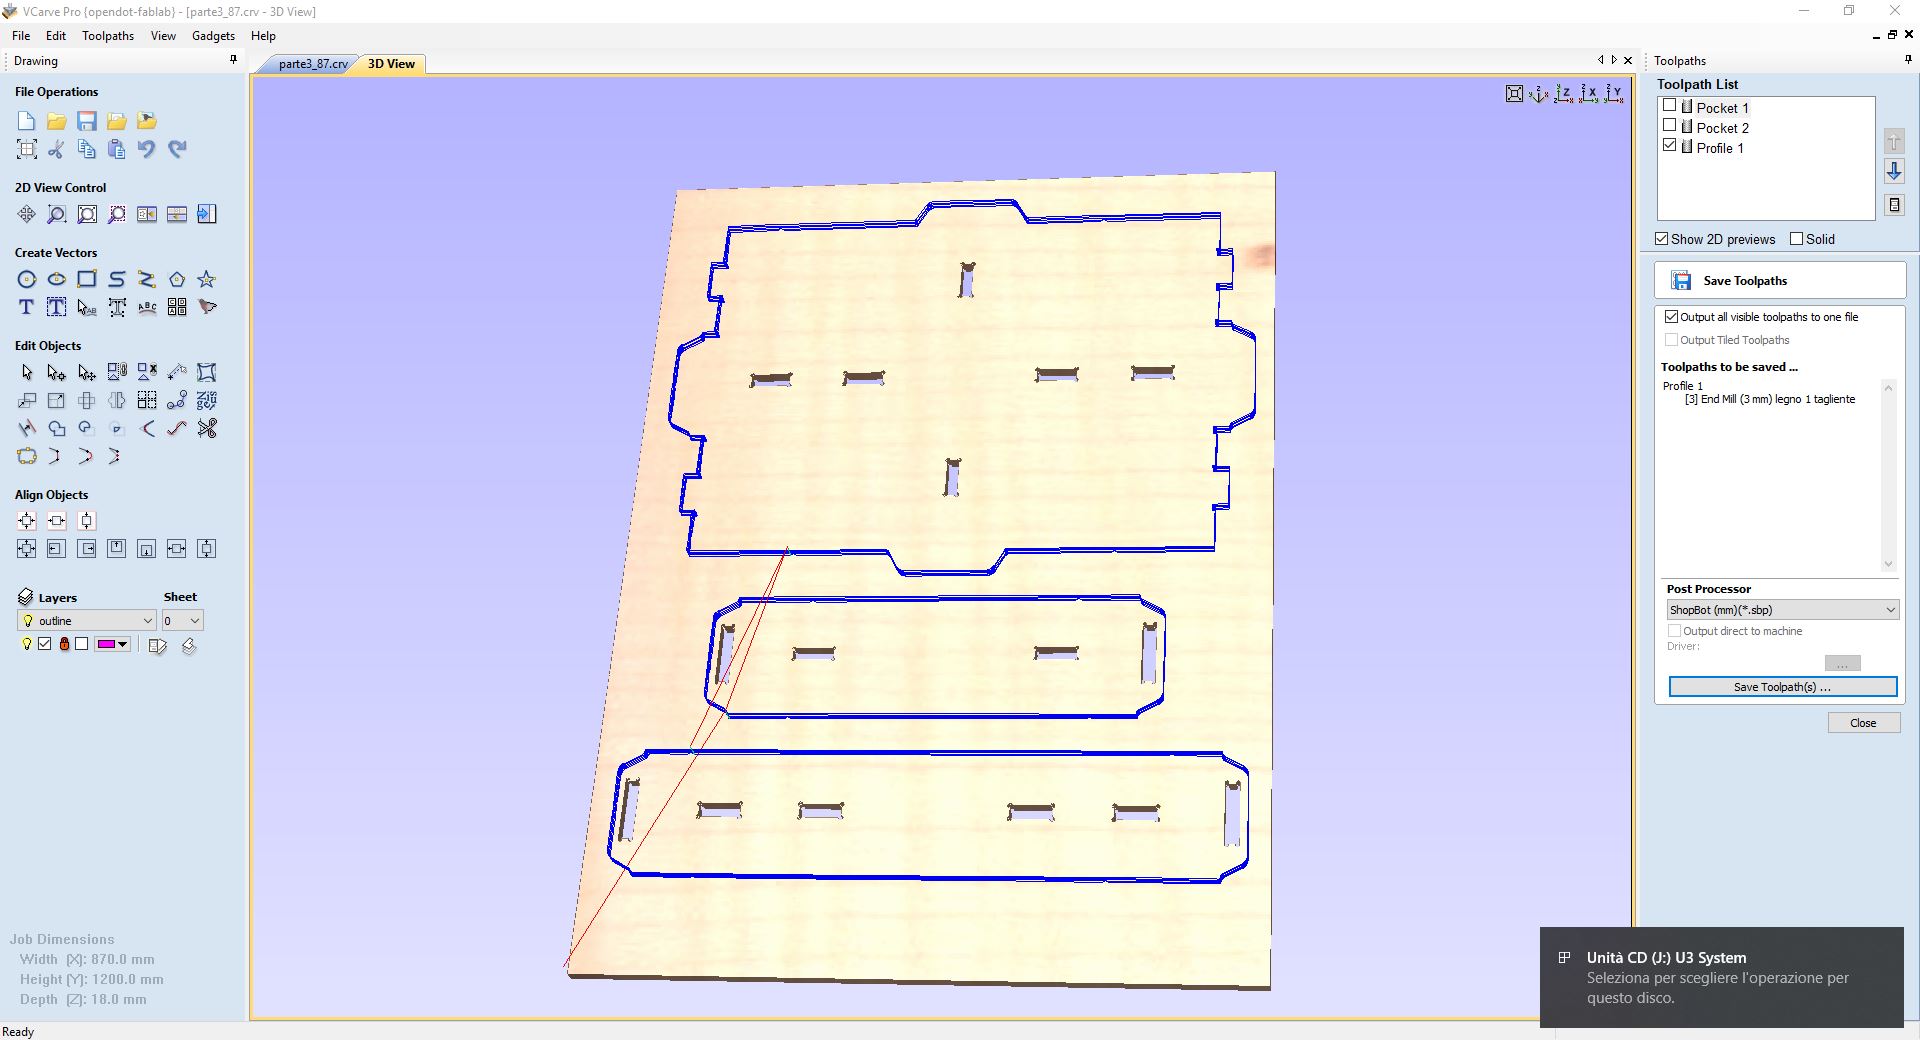
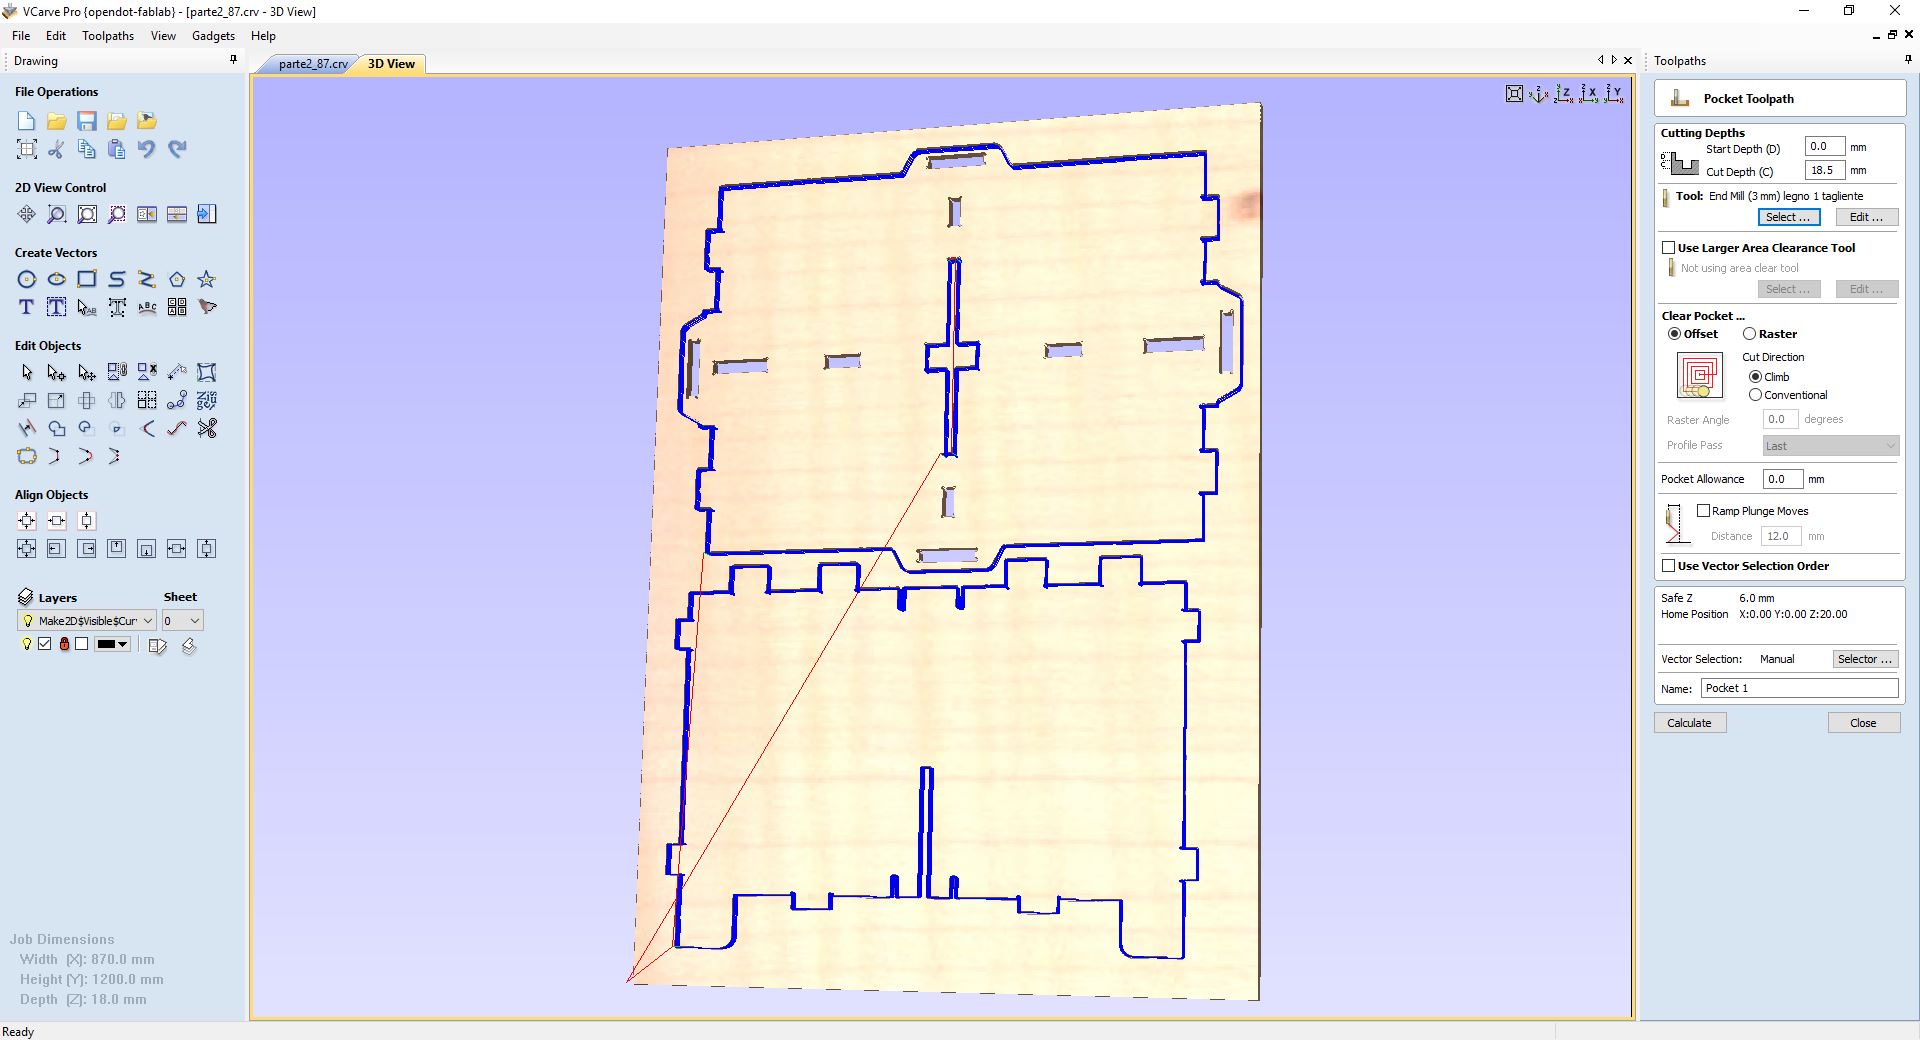
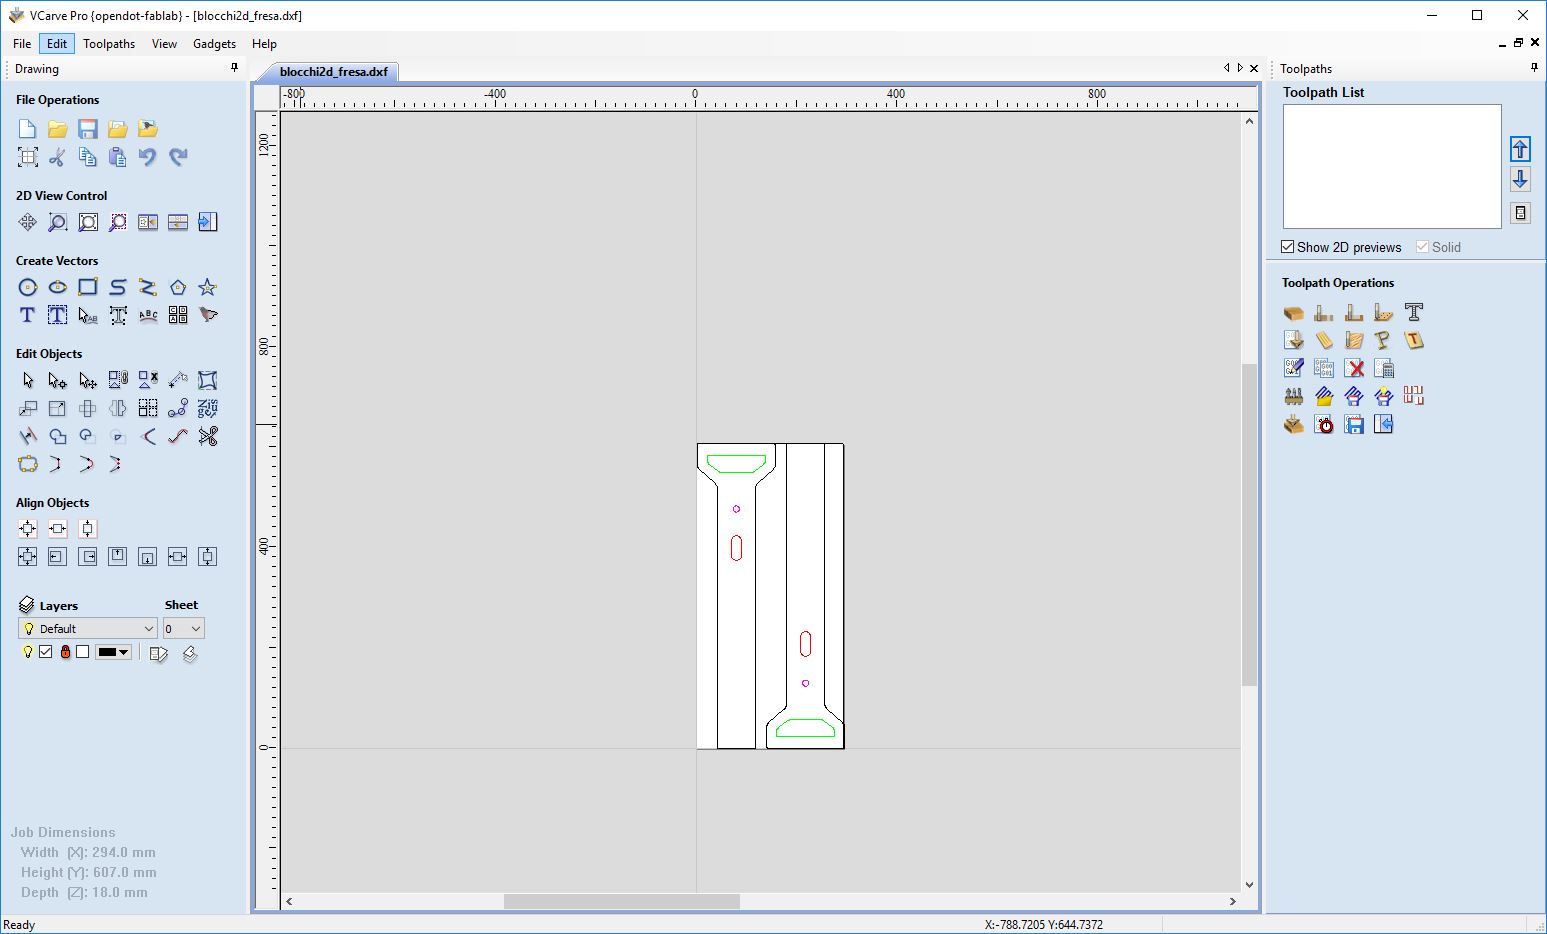
All CAM files were made with Vcarve, as it was the fastest tool for 2d jobs. I have exported the DXF files from Rhinoceros.
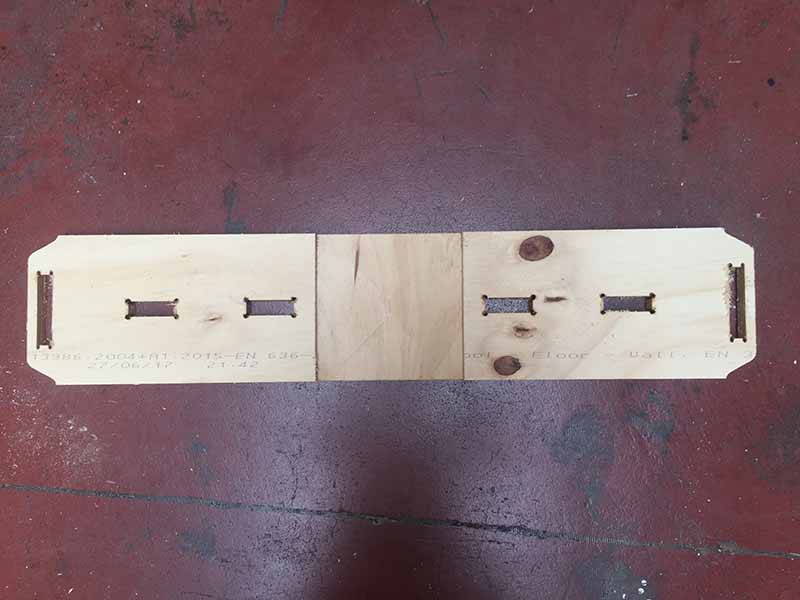
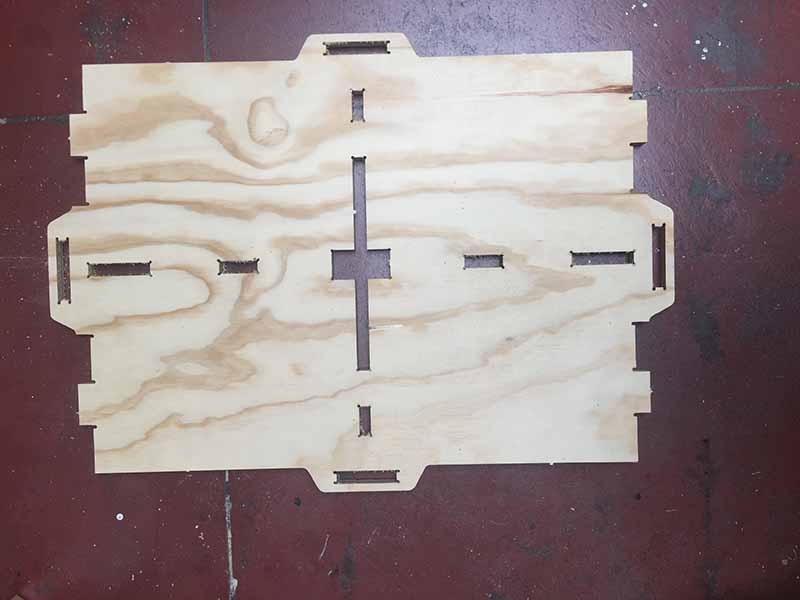
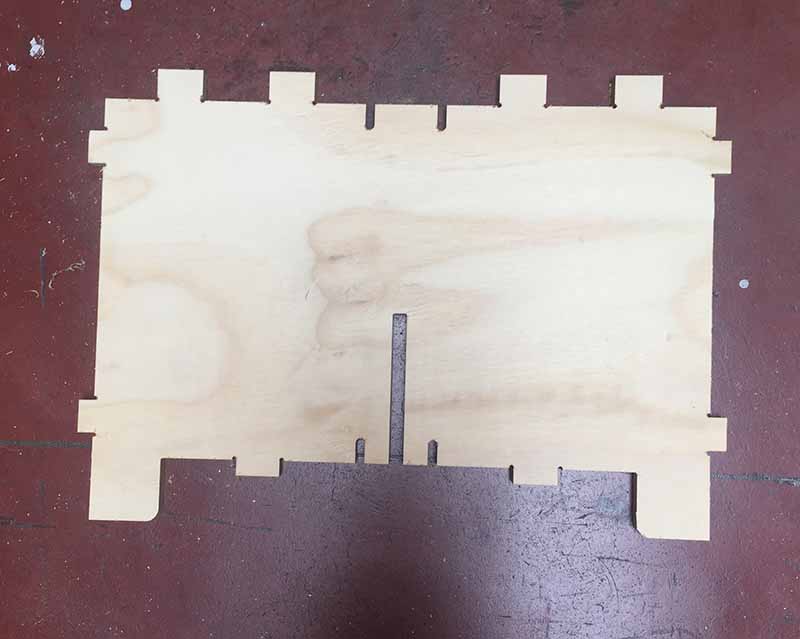
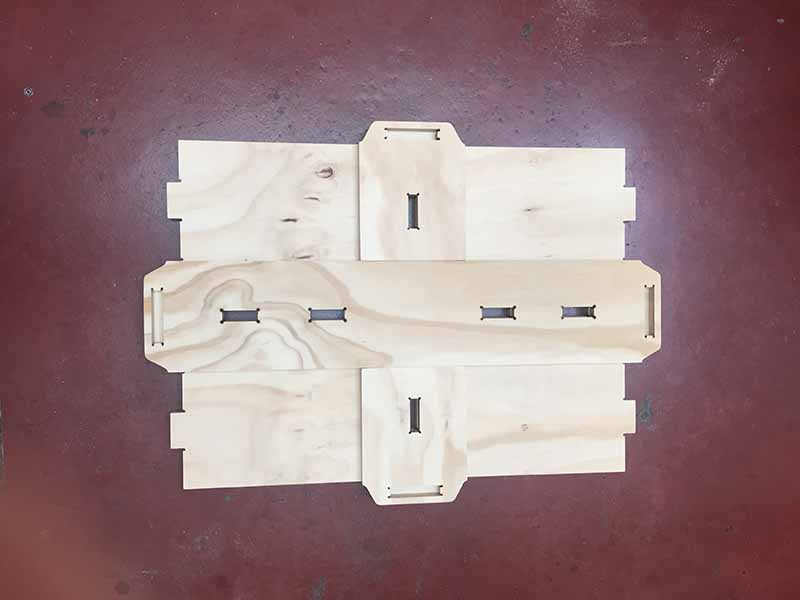
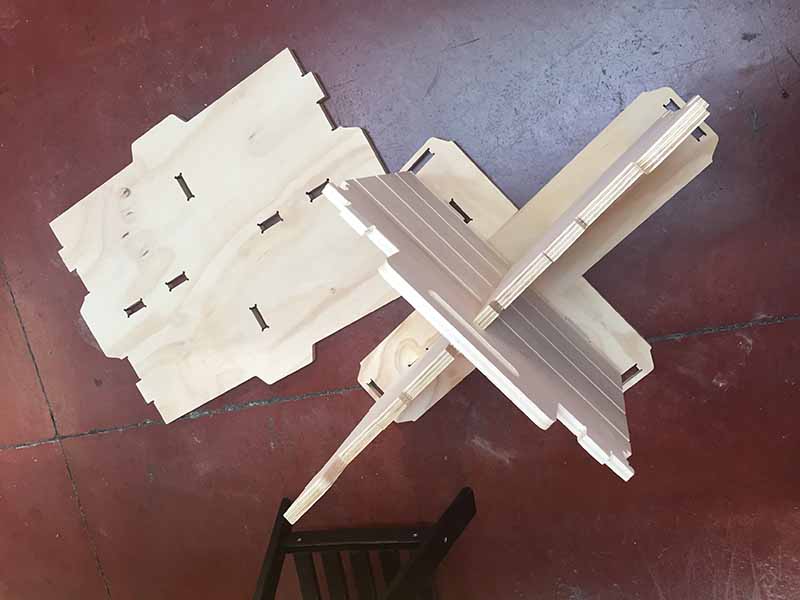
Central partition
This piece needs a series of pockets on both sides to act as a guide to the drawers, I decided to cut two 8 mm sheets on a single plate to avoid having to turn the piece to perform the double milled. At the end I glued the two pieces and it worked very well.

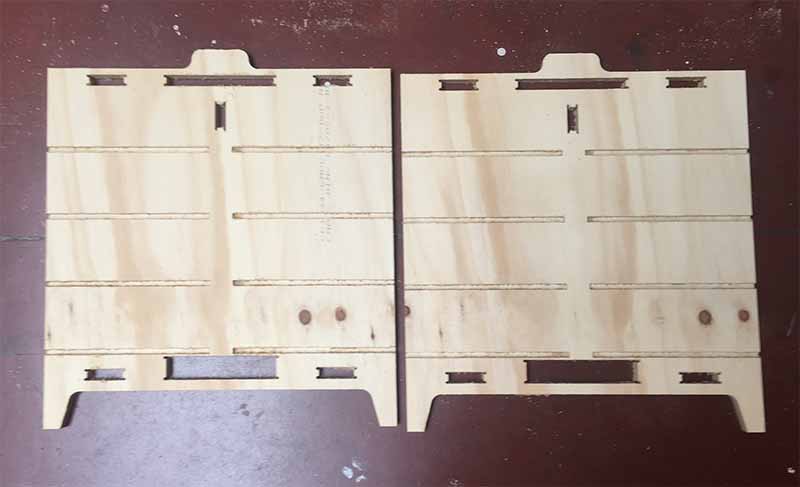
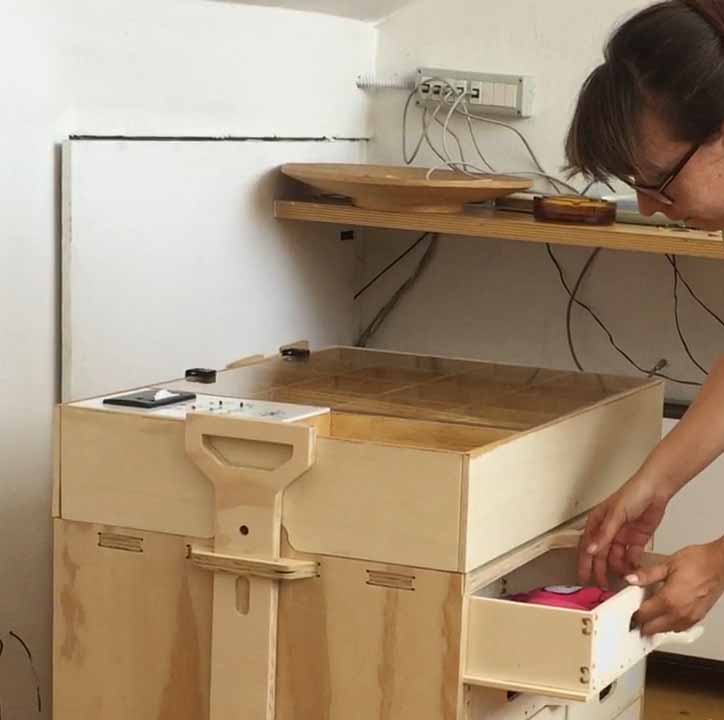
Drawers
For the drawers I used the same procedure that I used for the rest, the processing was quite fast but being 8 pieces, while making two per wood board, it took a long time to make them all, including that there was some inconvenience.
fresa drawers from lauracip on Vimeo.
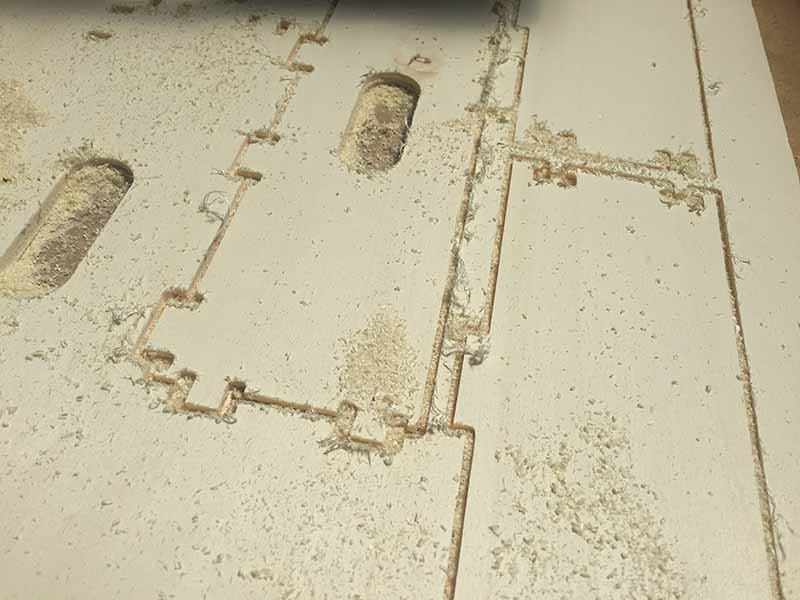
Wrong milling tip setting: to be redone.
Accessories with 3d printer
For the drawers I used the same procedure that I used for the rest, the processing was quite fast but being 8 pieces, while making two per wood board, it took a long time to make them all, including that there was some inconvenience.
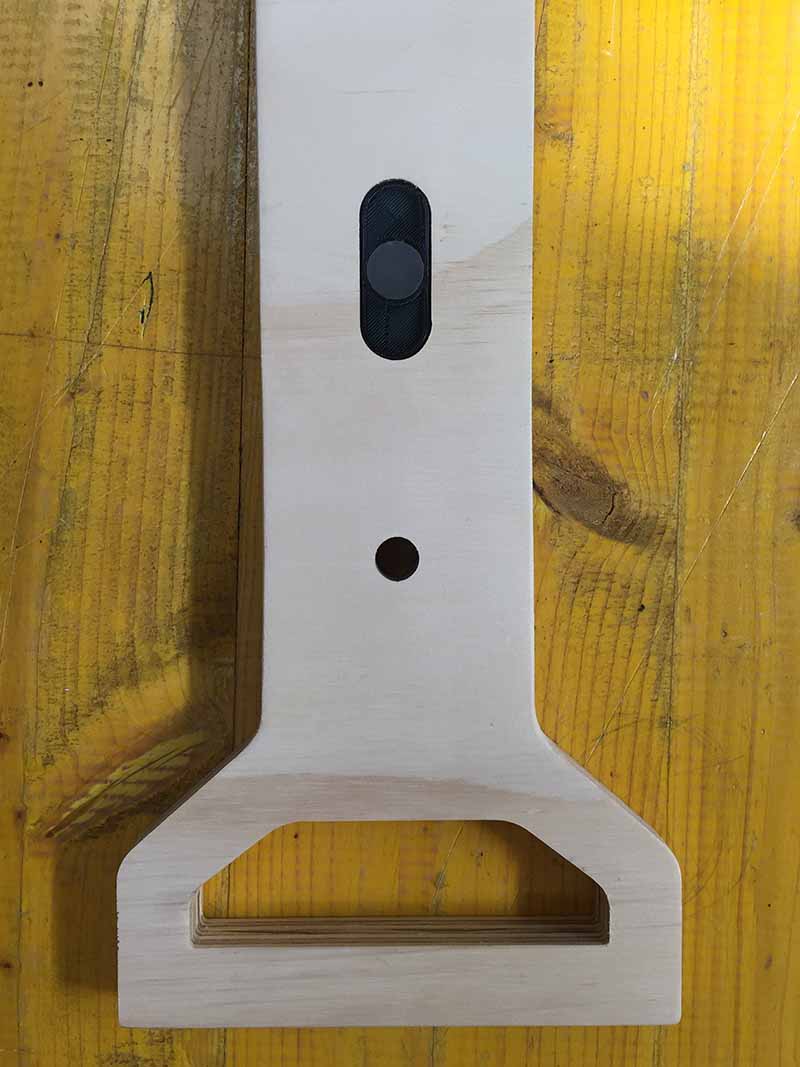
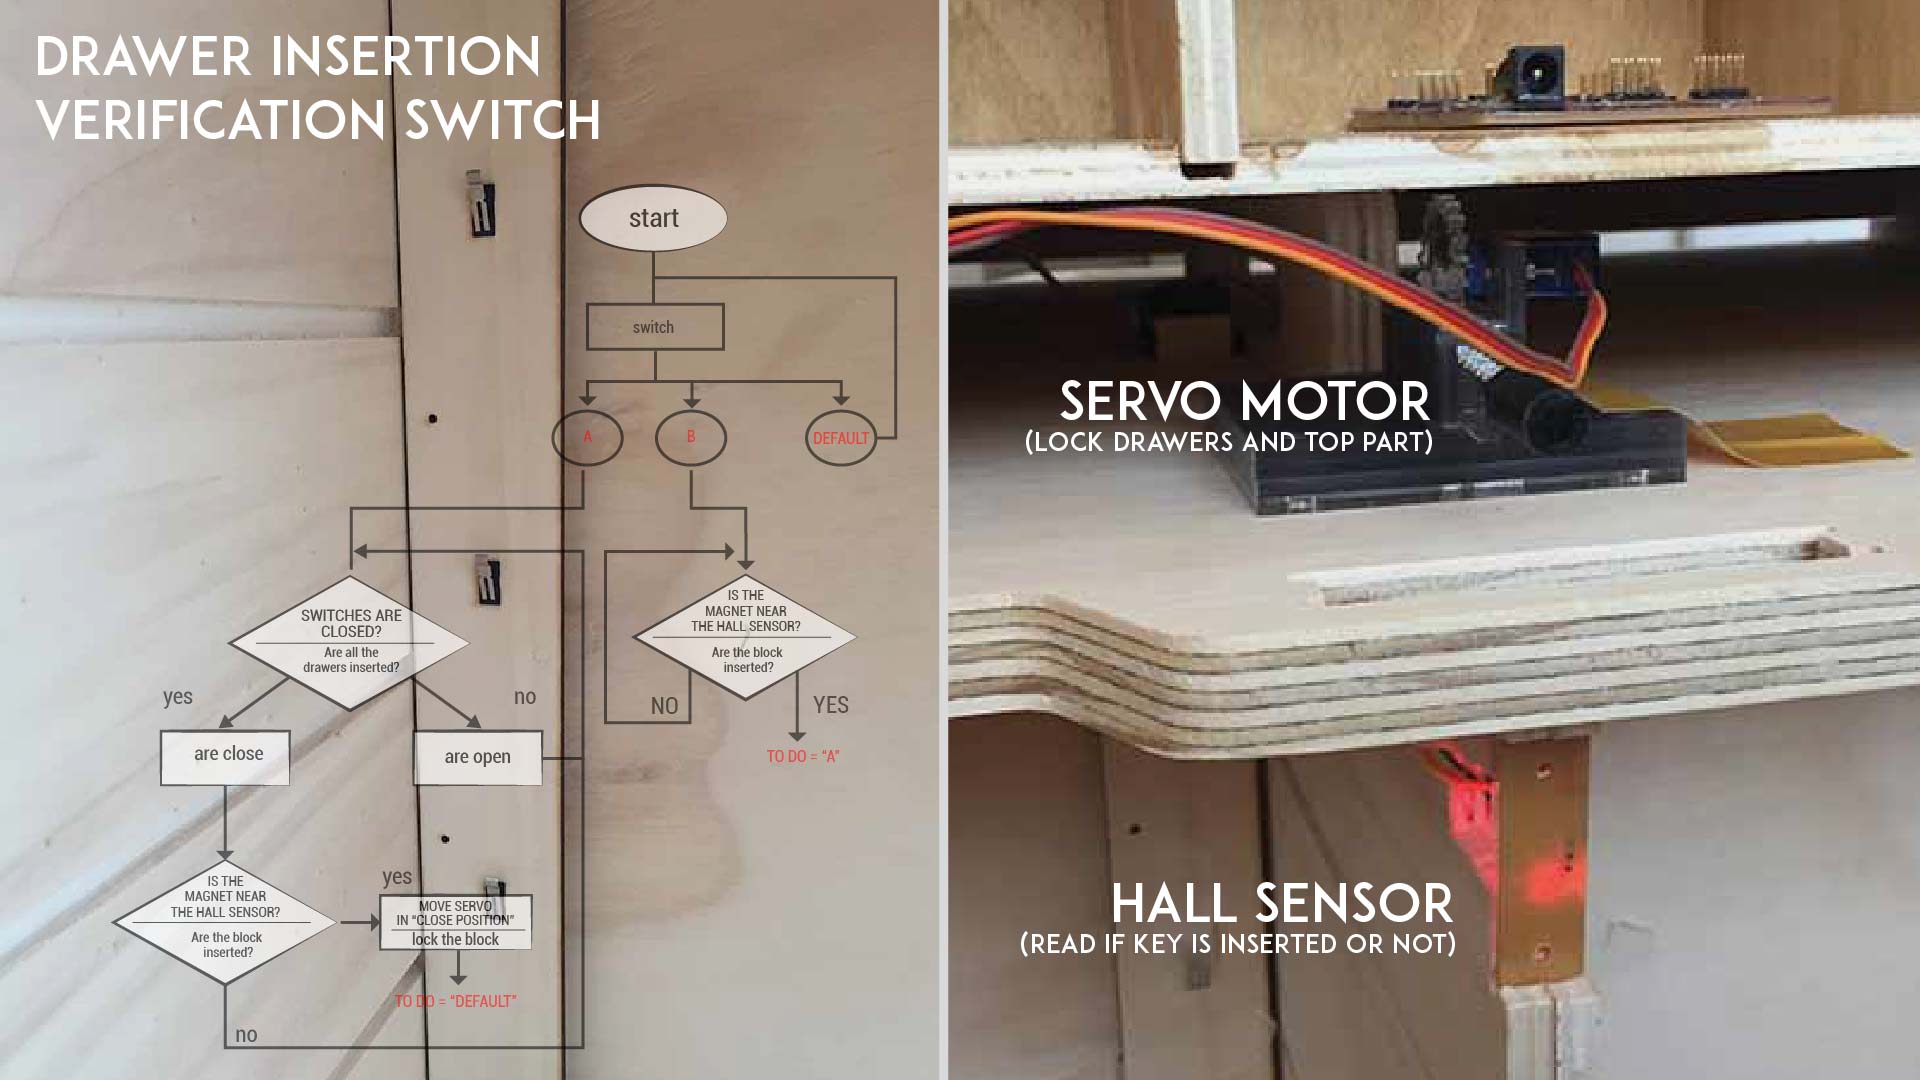
Wood key
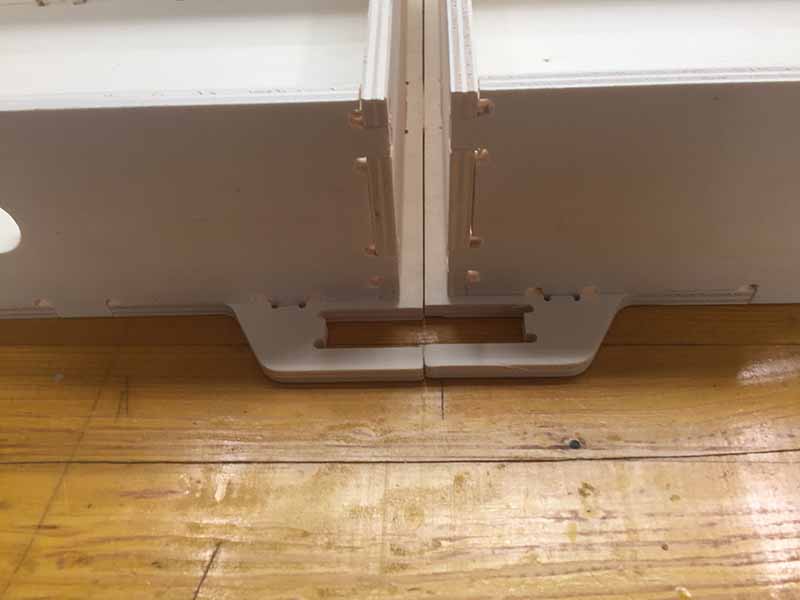
This piece is used to lock the drawer, it is milled with the other pieces, has a pocket where to place a magnet (which is read by the hall sensor) -the magnet has a printed support in 3D- on the piece there is a picture where the locking system moved by the servo will enter.
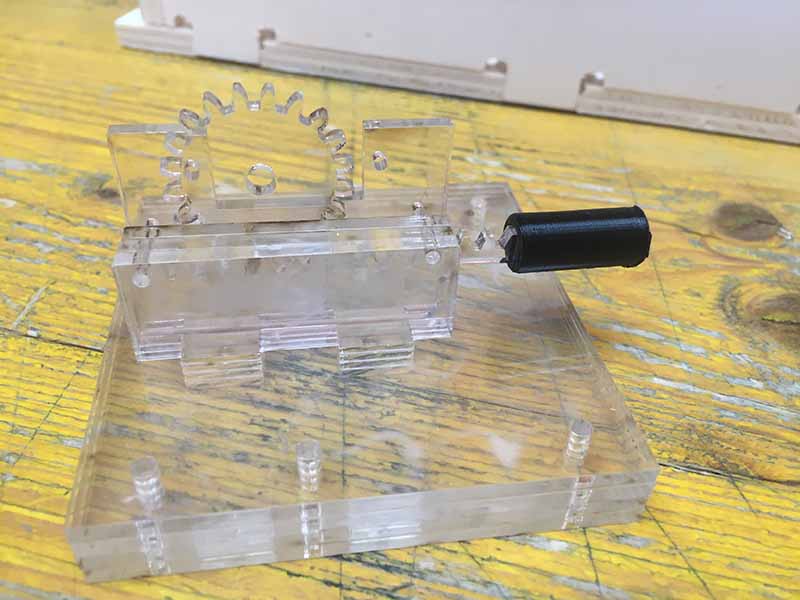
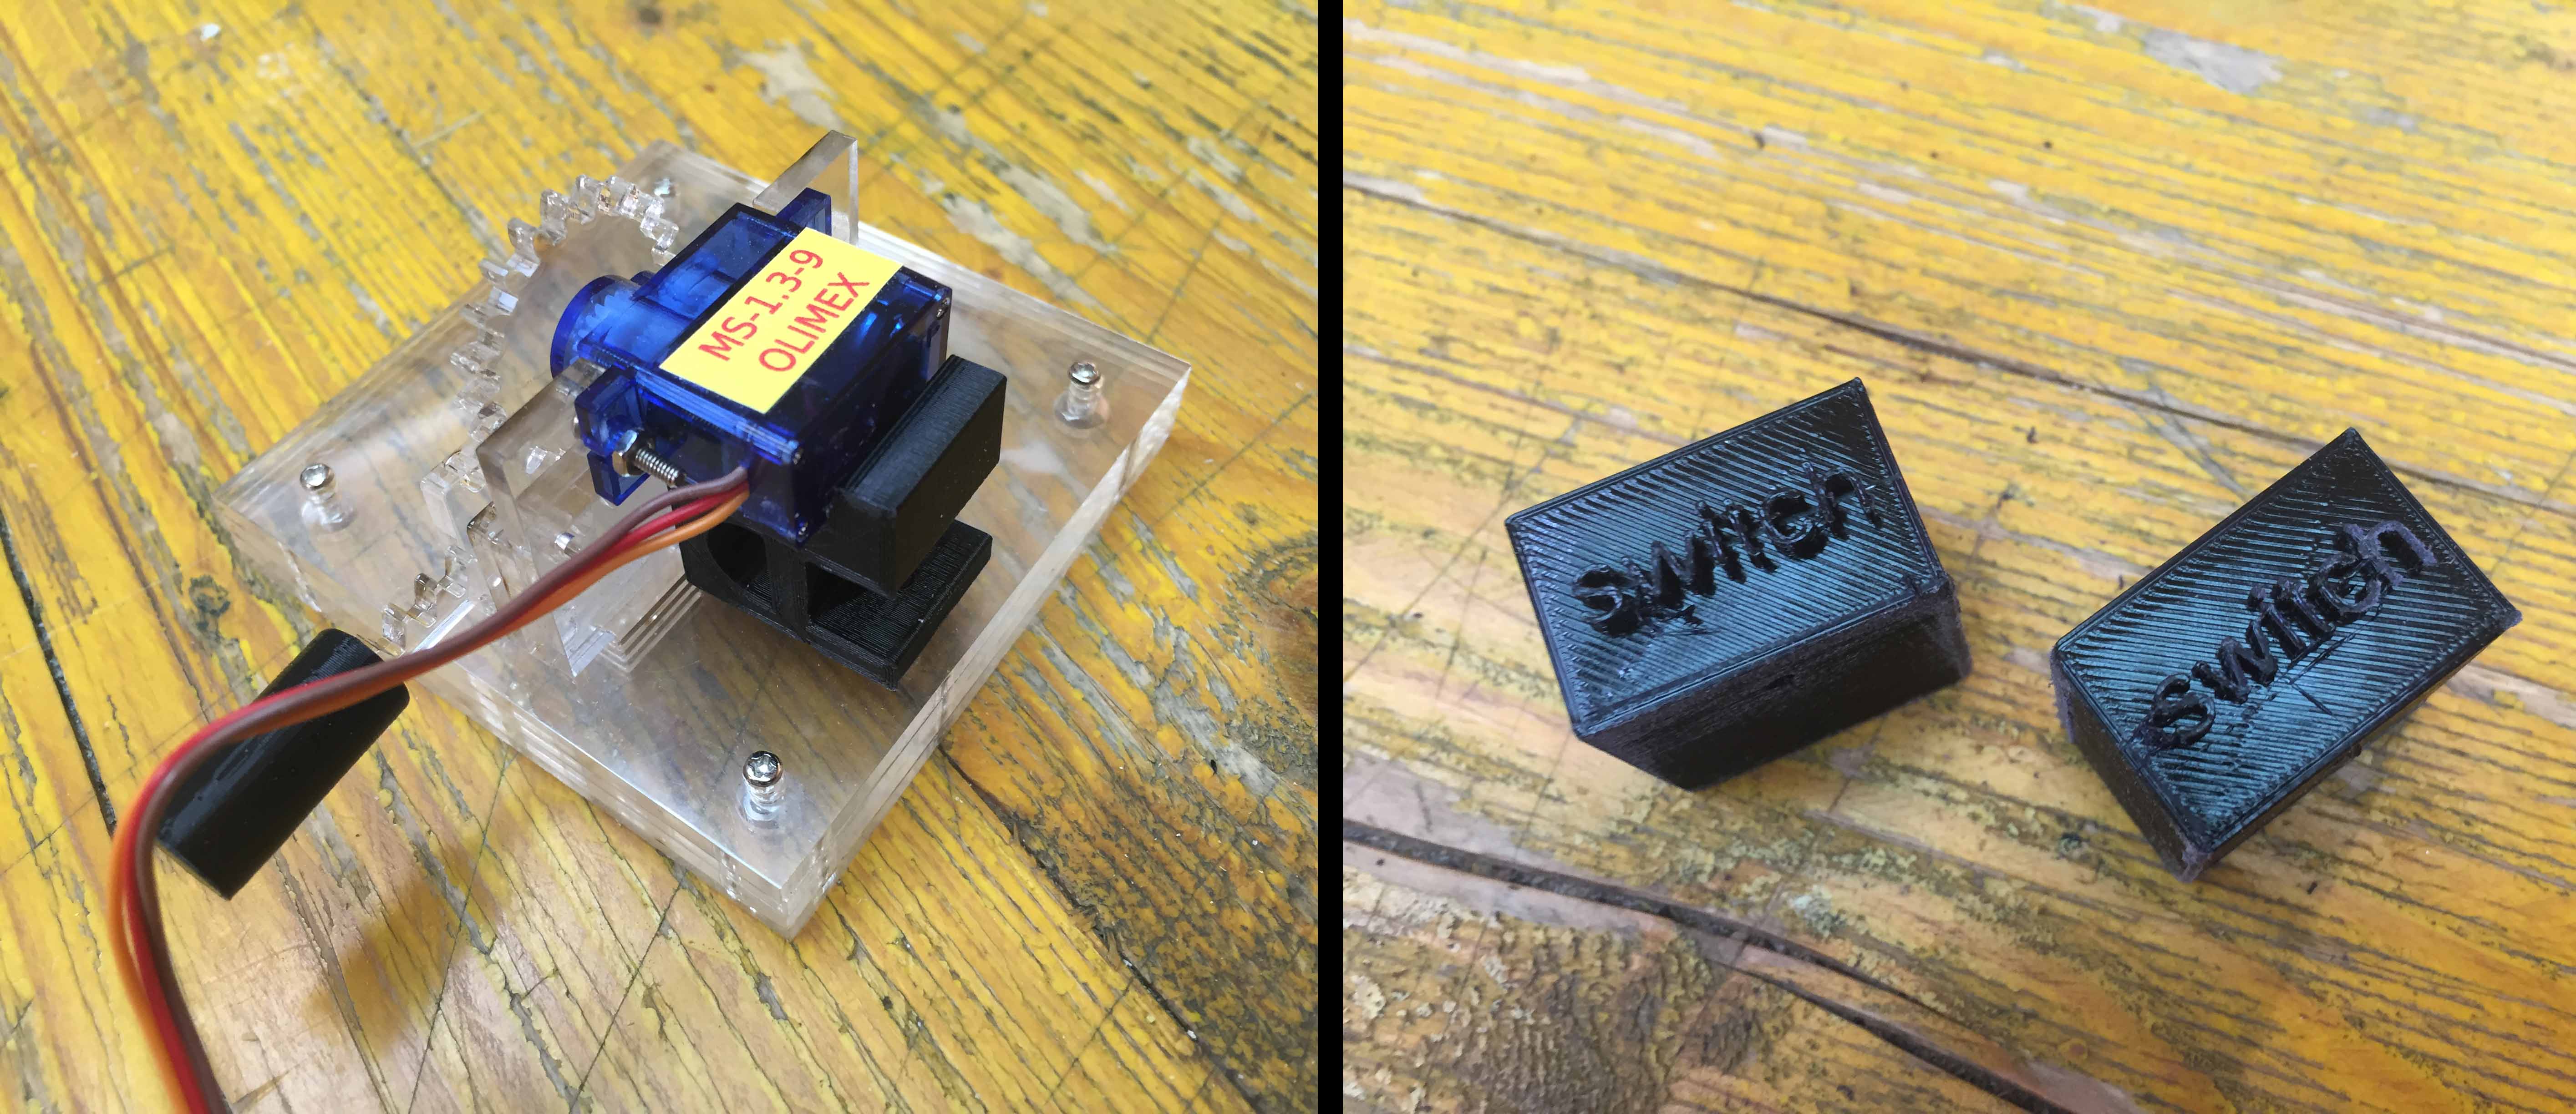
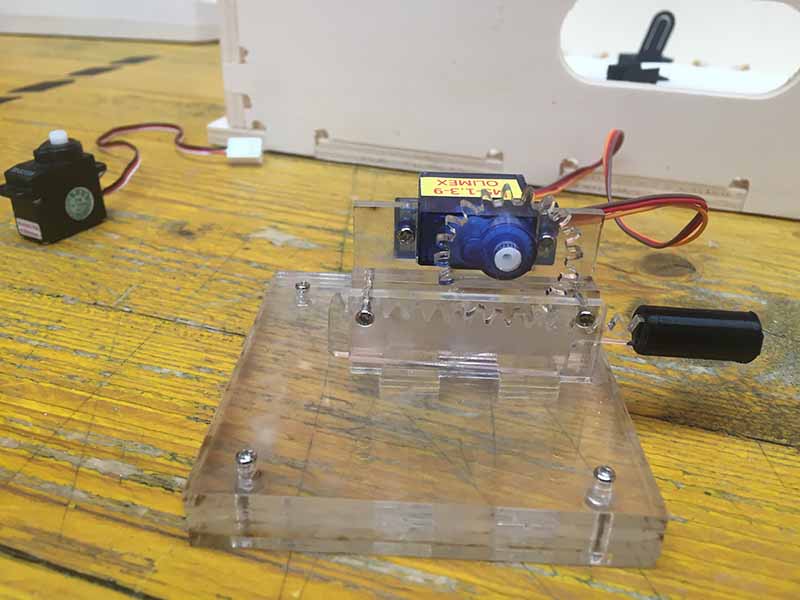
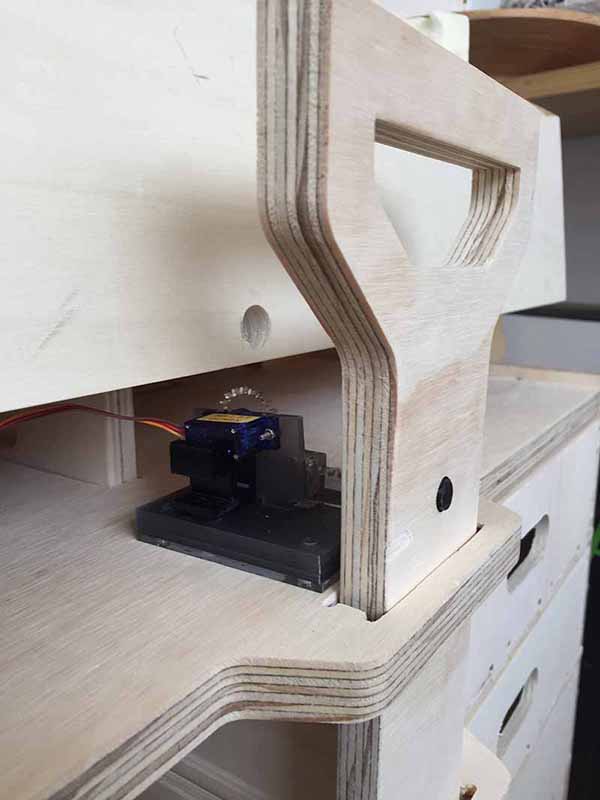
Lock part with Servo motor
For this part I used a piece developed during the week of the machine and with the help of Massimiliano I adapted it to my project to make sure that the gear worked. I added a small 3D printed piston of the size of the hole on the key.

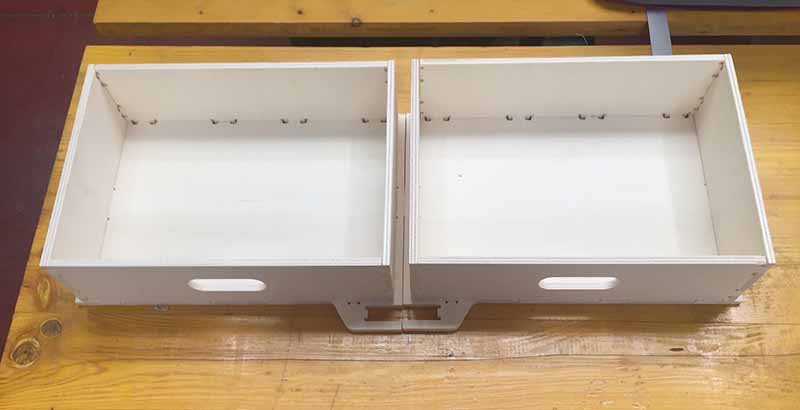
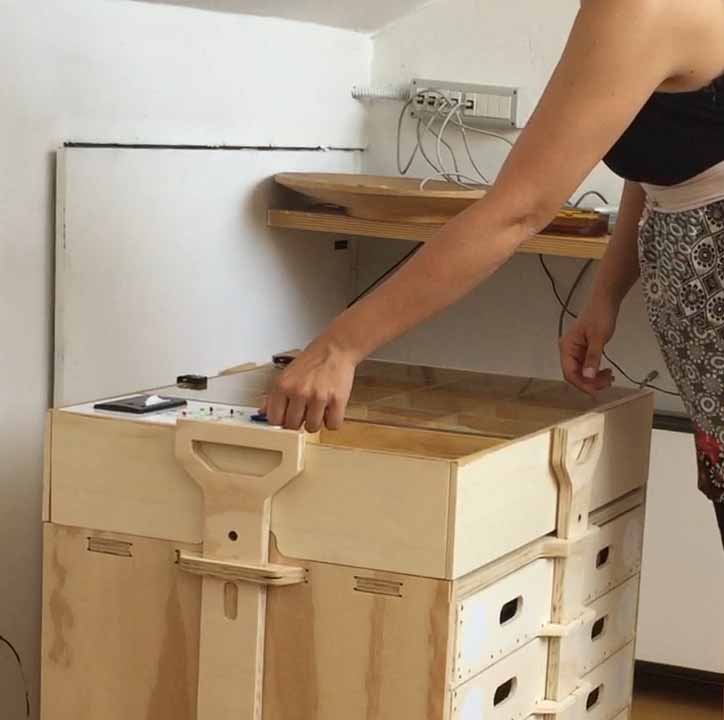
Assembly
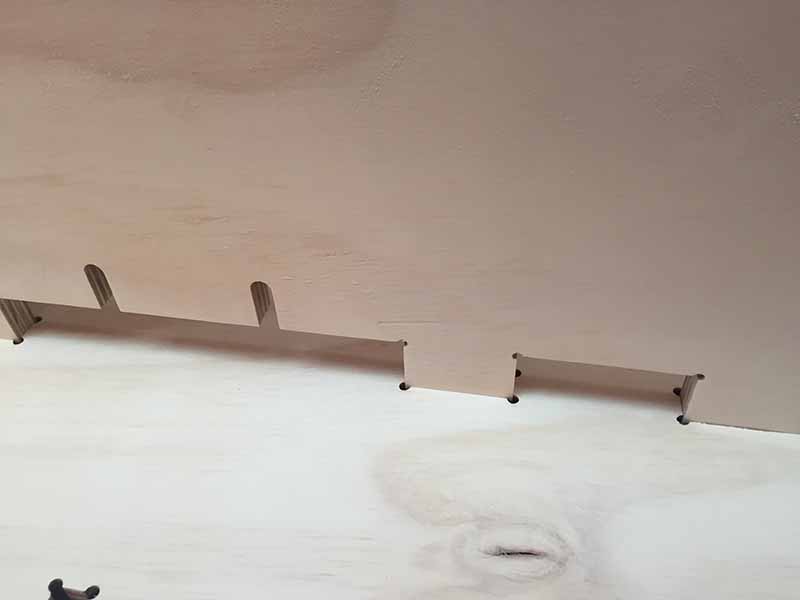
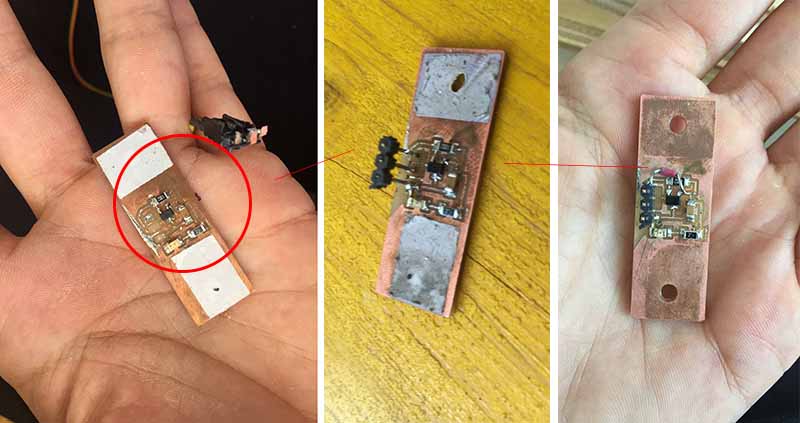
Assembly and calibration of the block system.
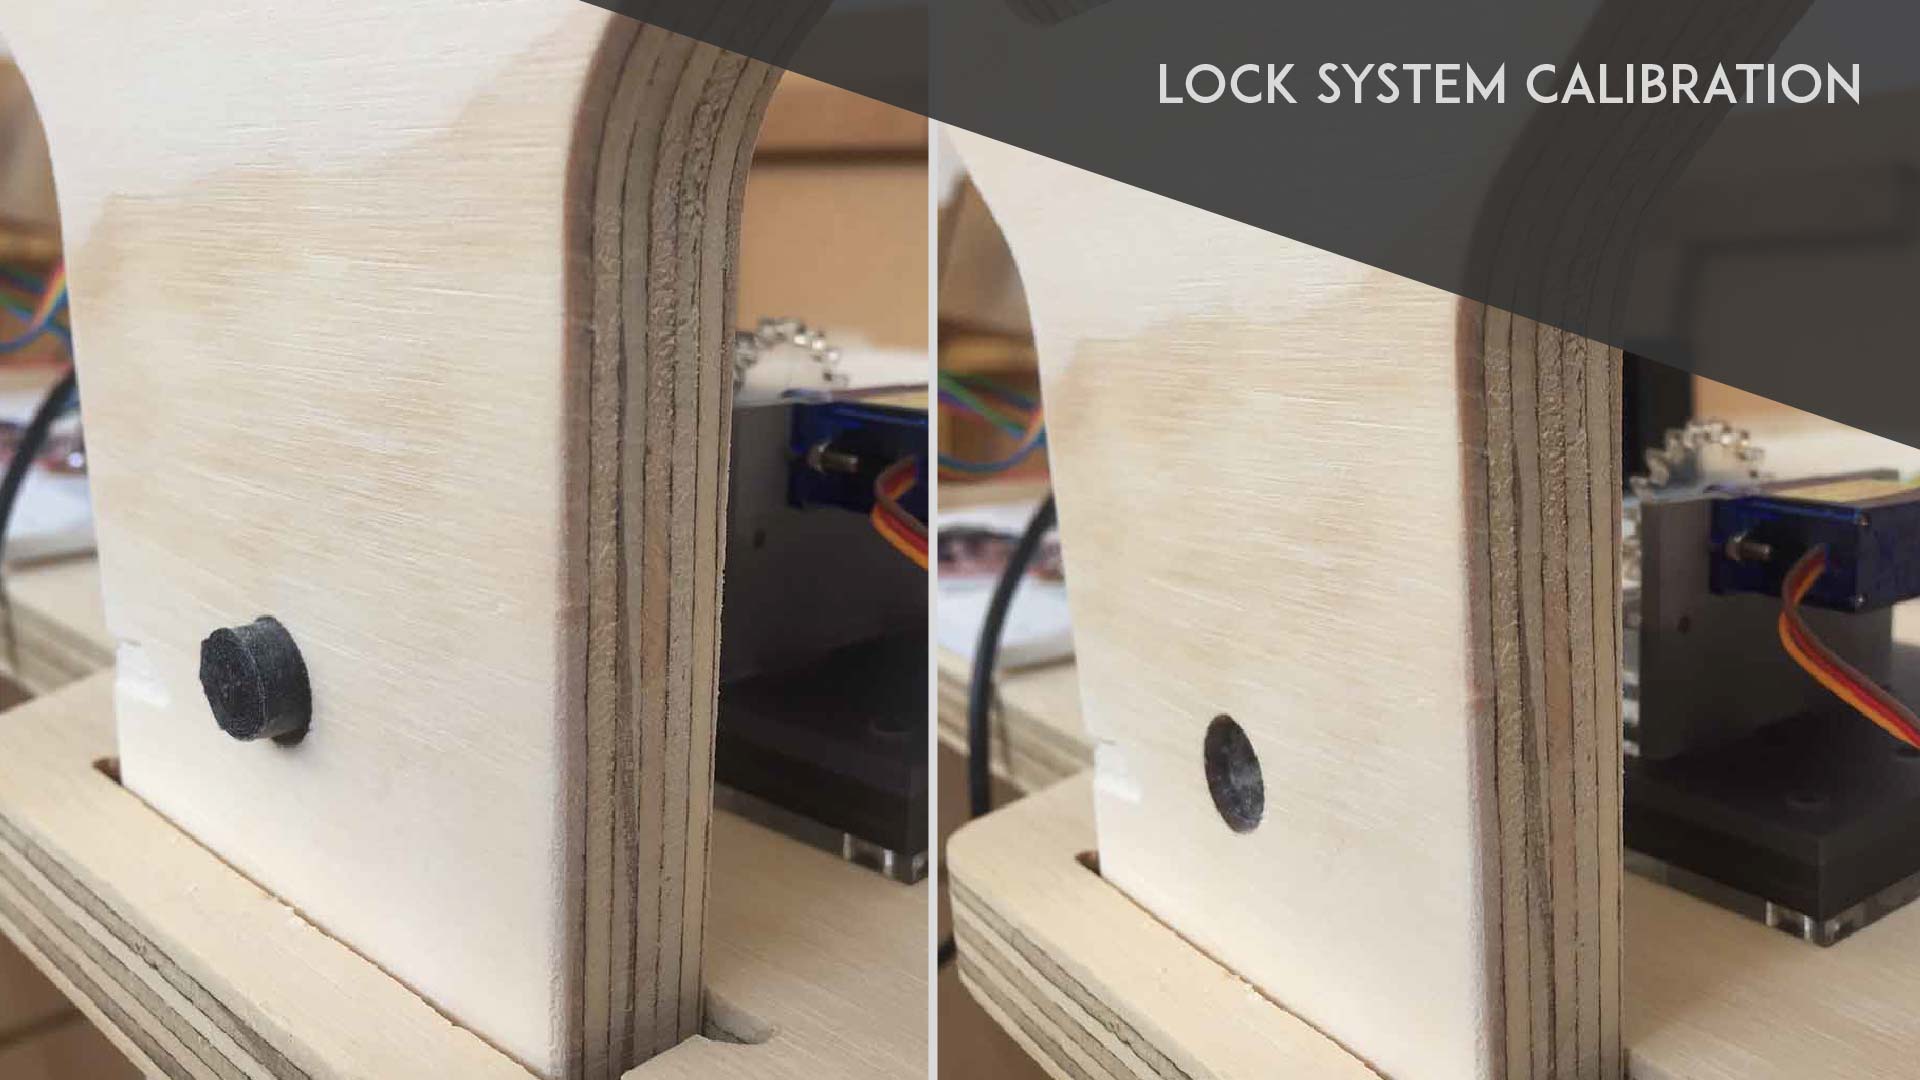
During assembly, the board with the hall sensor broke: a connector was disconnected, so I drilled it and I solder a different one, but when the plastic block of the component was lowered a traces came off, then with the help of Enrico we recovered the board by making a jumper. Not beautiful but it works.
testhall2 from lauracip on Vimeo.
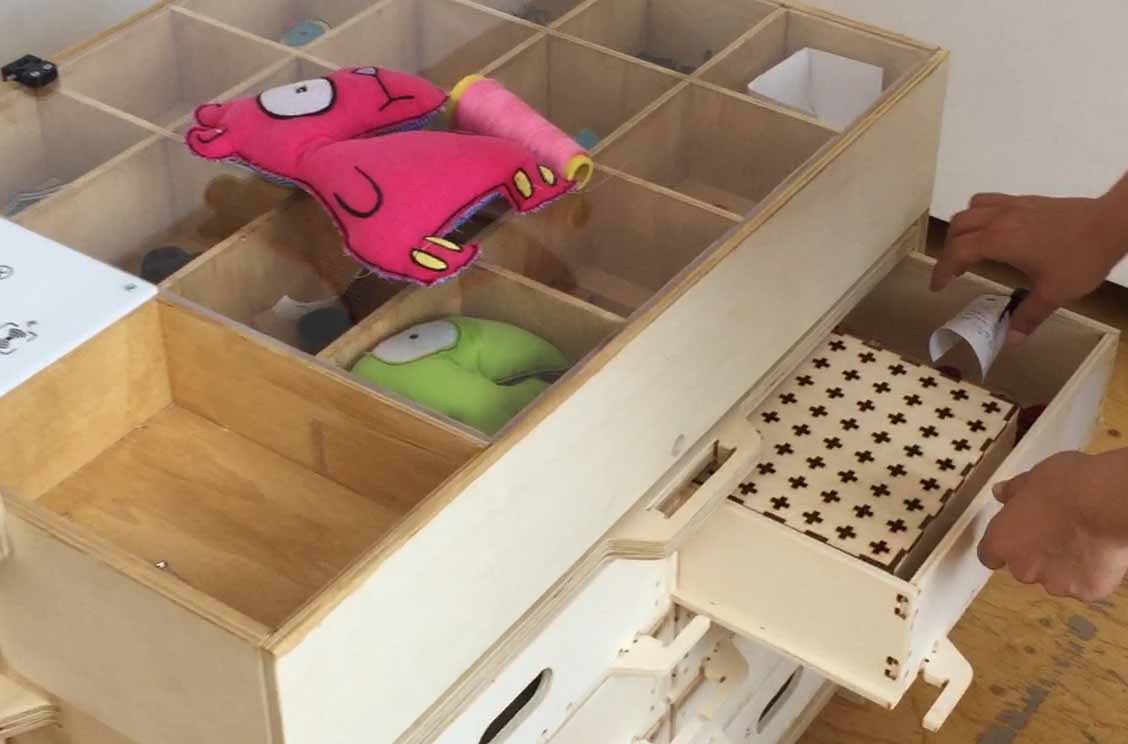
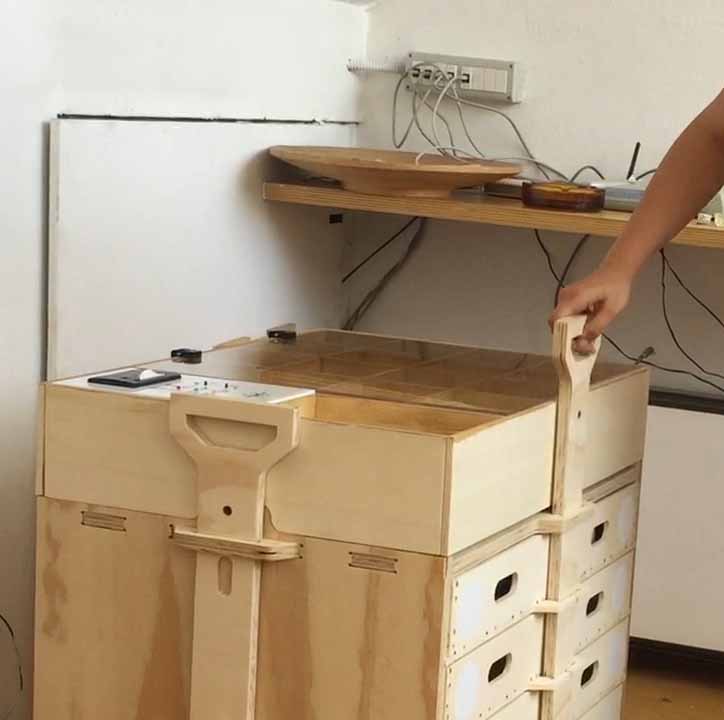
Tool box: use
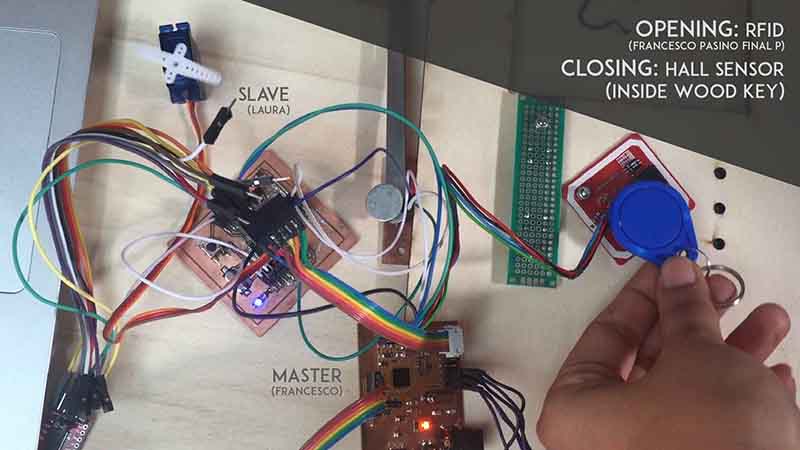
The complete piece of furniture also includes the part of Francesco Pasino, my board has been placed in its part of mbile together with the thermal printer and the rest of the electronics.
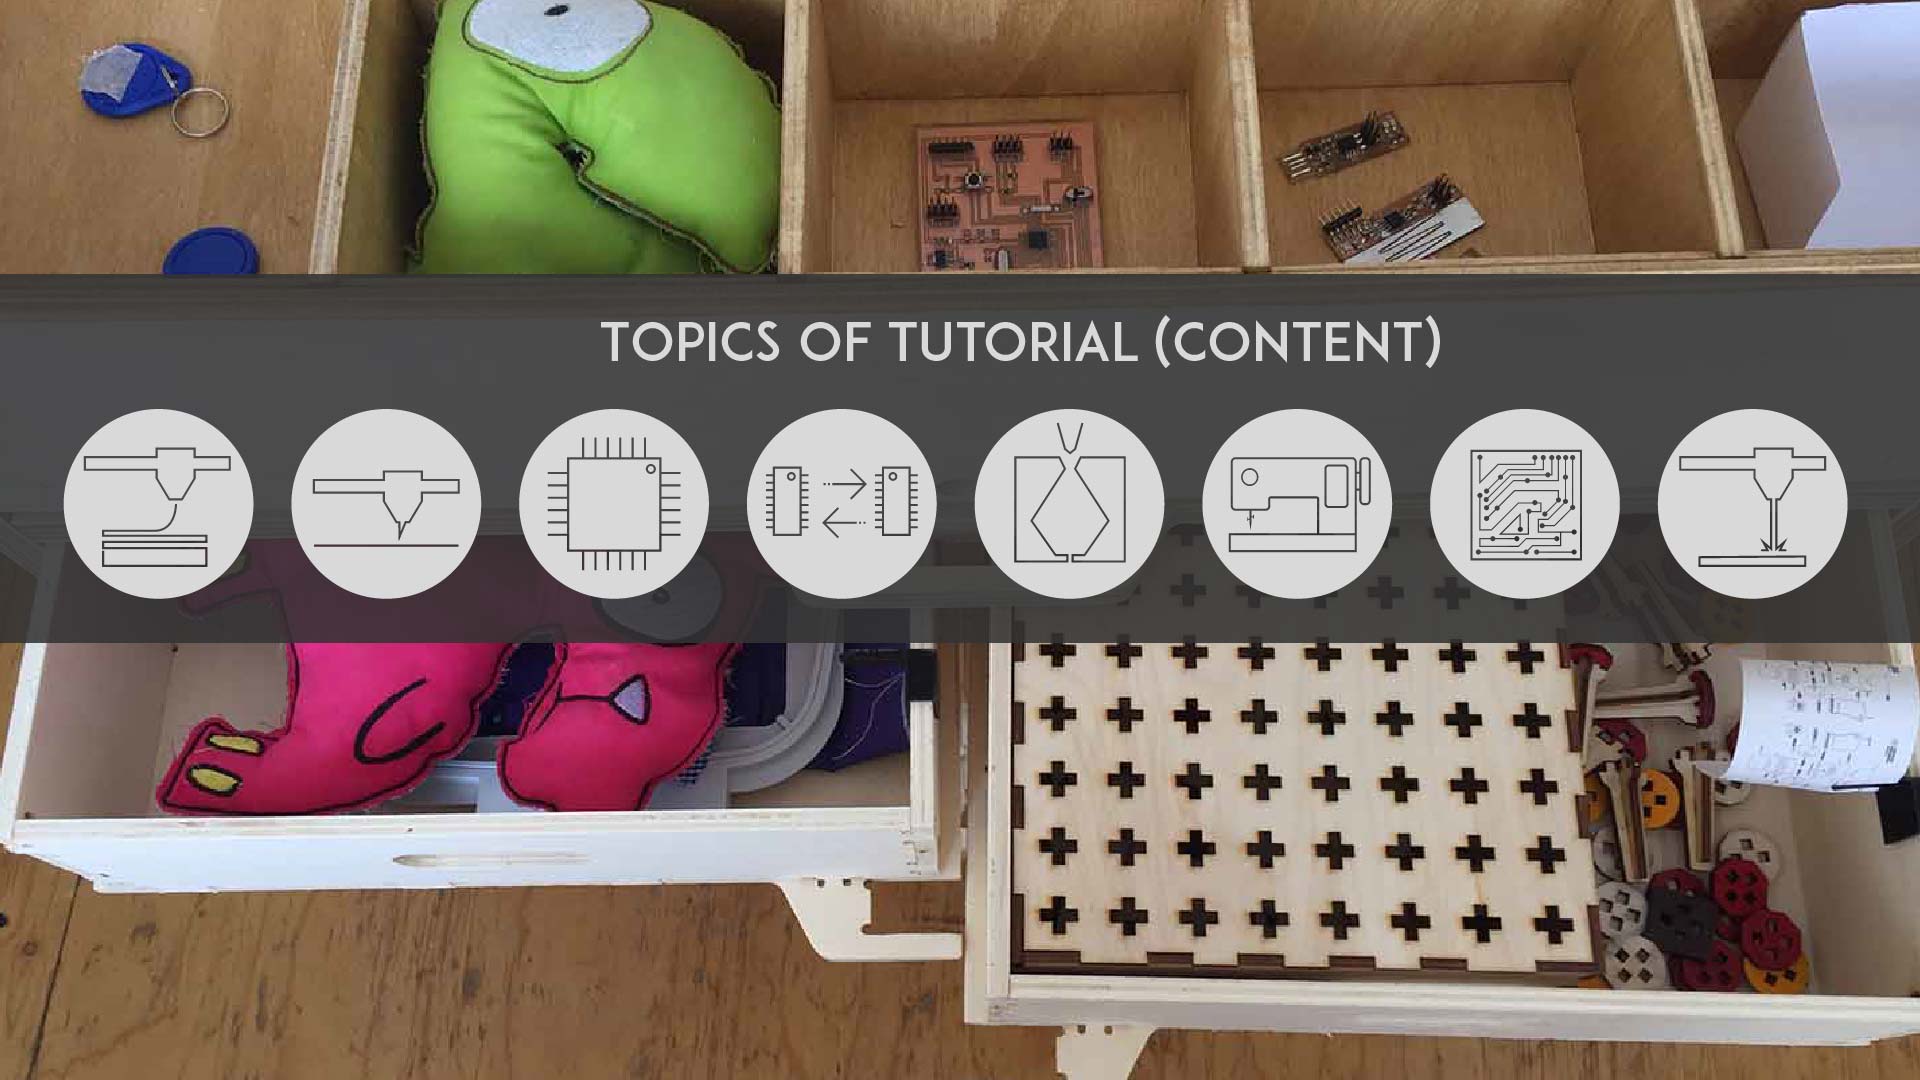
Content
For this system I created a series of specific contents, which will be inserted into the platform in the form of tutorials. The general idea is described on this site: WIP web site of Training of Trainers here, while the beta platform with tutorial GENERATOR HERE.
Platform
tot_forvimeo from lauracip on Vimeo.