- make something big
- test runout, alignment, speeds, feeds, and toolpaths for your machine
CNC Machine
CNC stands for Computer Numeric Control it is a process used in the manufacturing sector that involves the use of computers to control machine tools. Tools that can be controlled in this manner include lathes, mills, routers and grinders.
The process involves creating a CAD(Computer Aided Design) file of the desired object. Then a specialized CAM (computer aided Manufacturing) software is required to convert the 3D CAD file into a set of codes which the machines can understand. CNC machining language, called G-code essentially controls all features like feed rate, coordination, location and speeds. With CNC machining, the computer can control exact positioning and velocity.
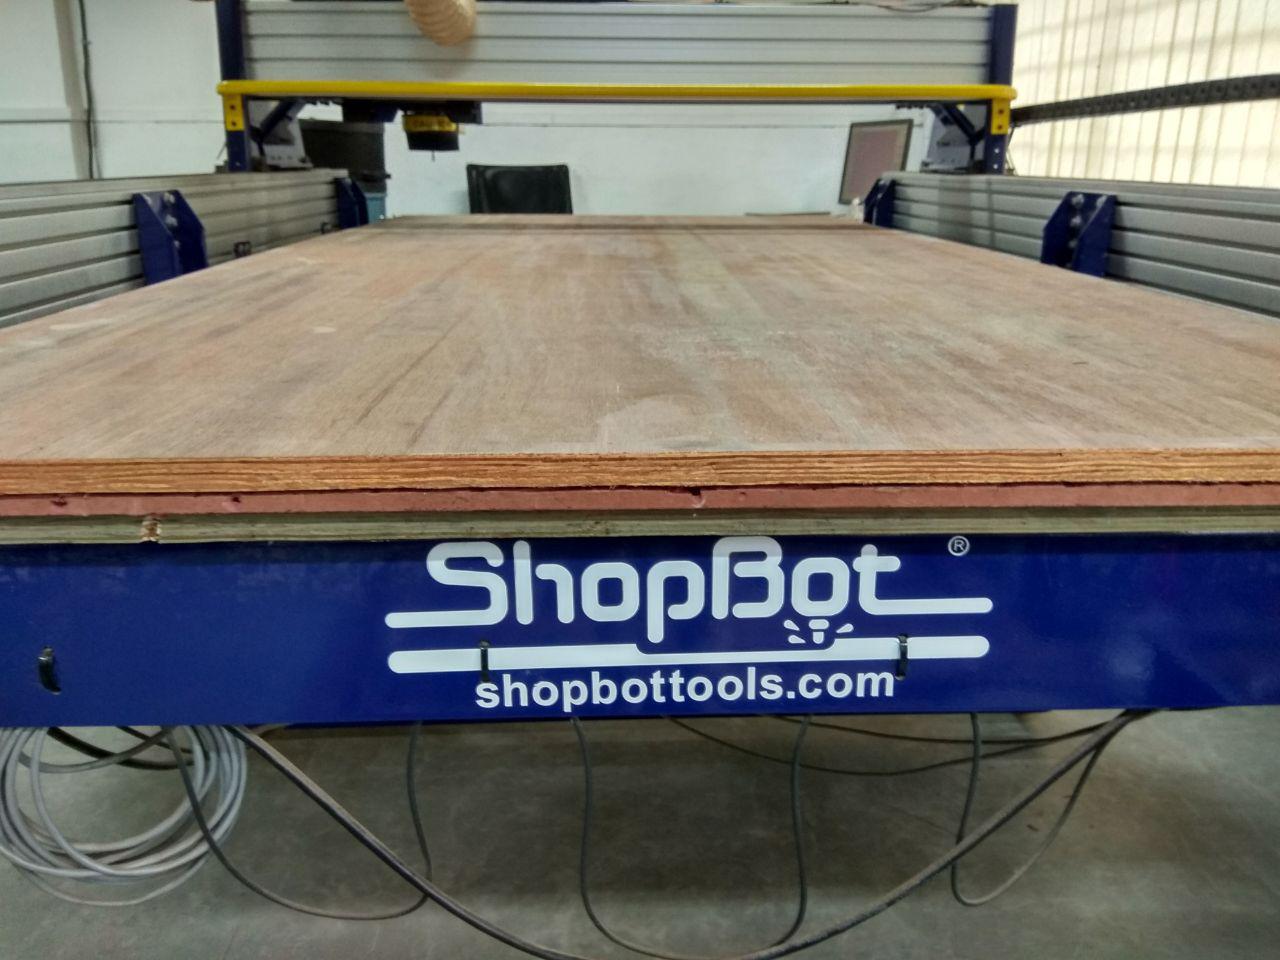
ShopBot PRSalpha CNC
In our Fablab kochi we have full Size PRSalpha CNC.
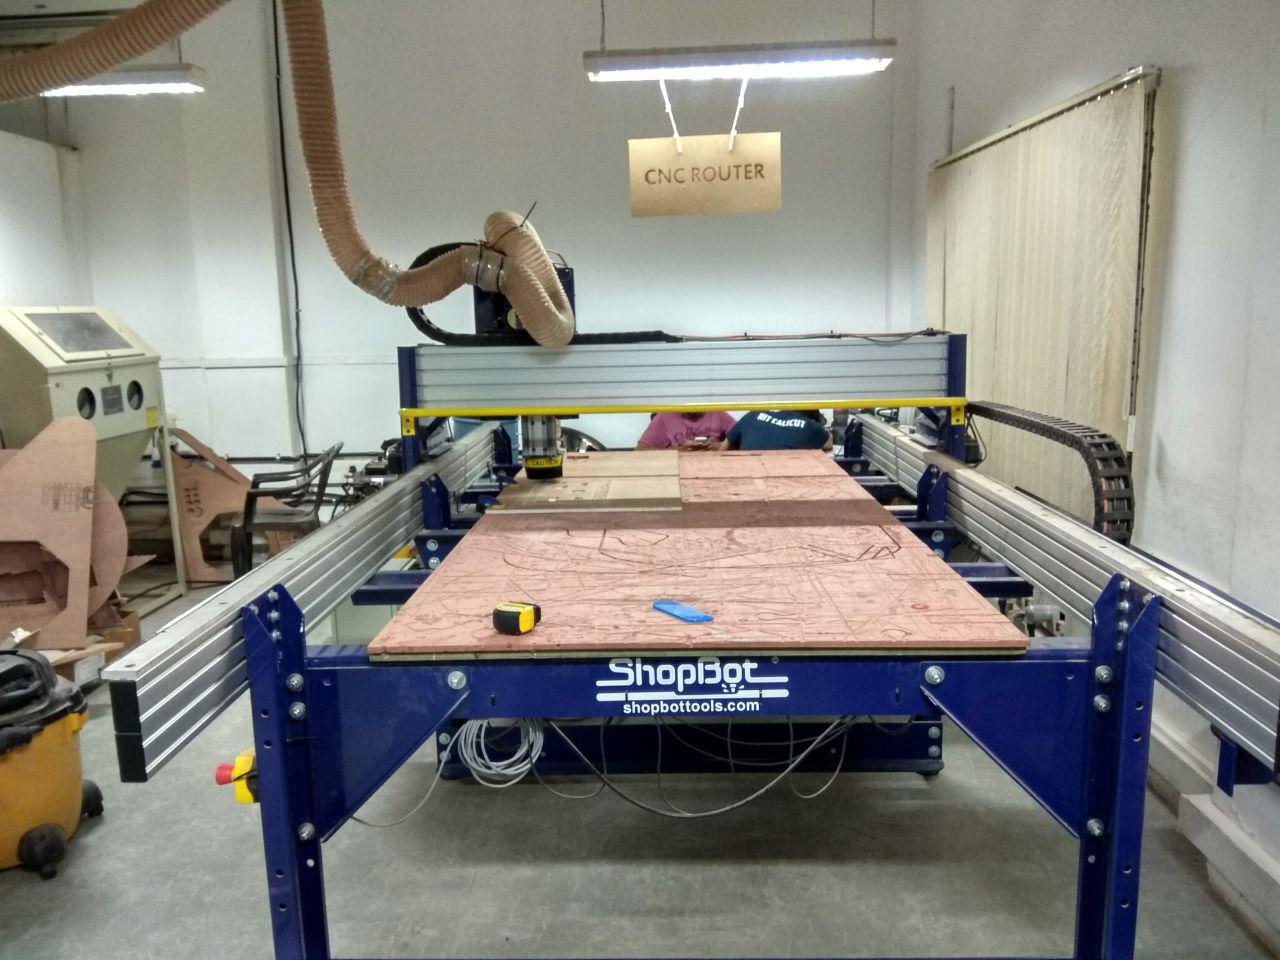
Shopbot is a large format CNC machine which can be used to cut timber, plywood, soft aluminum etc. It is a 3-axis machine and has a bed size of 4x8 feet
Parts
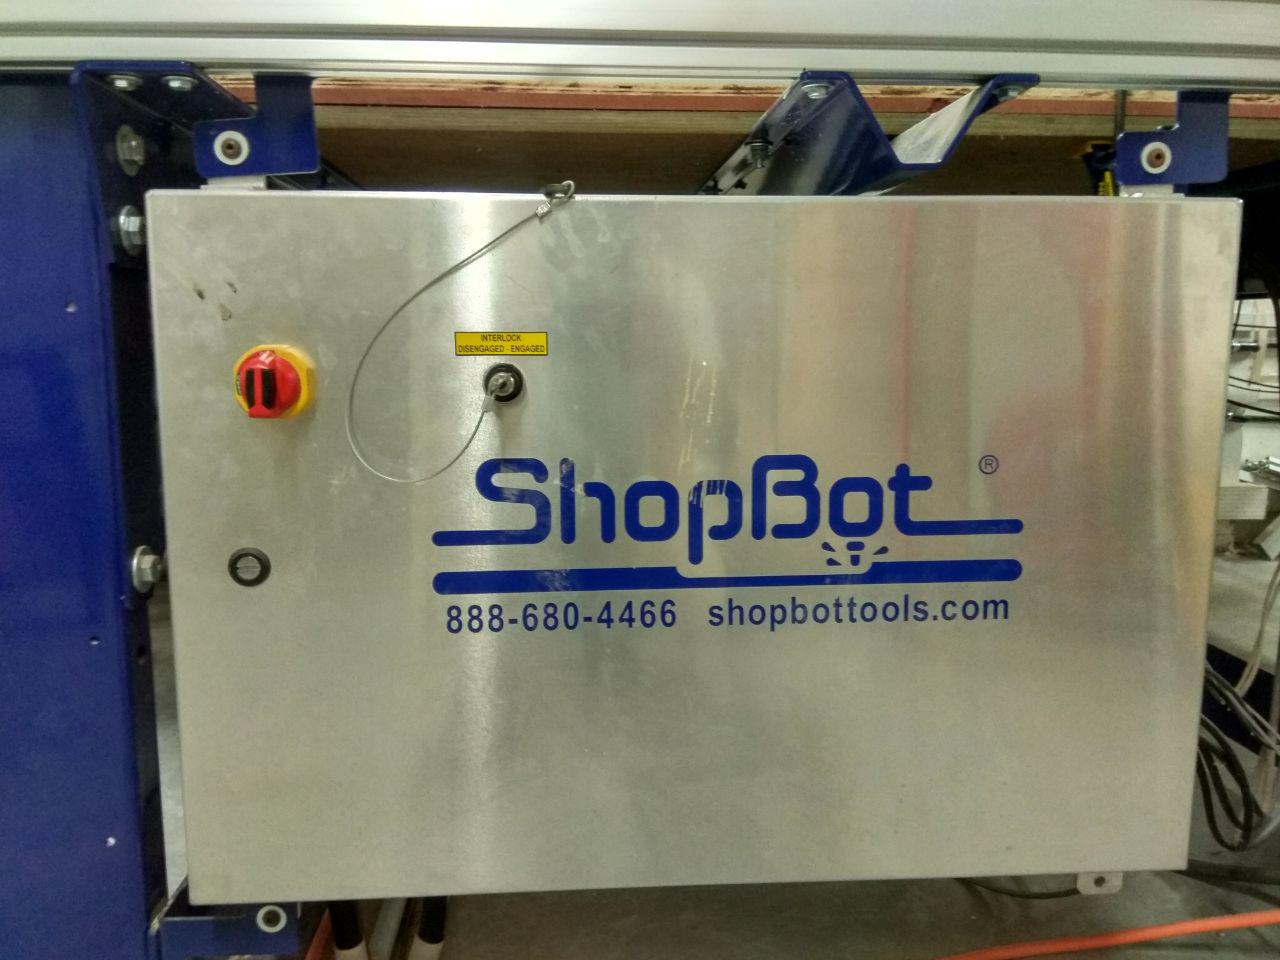
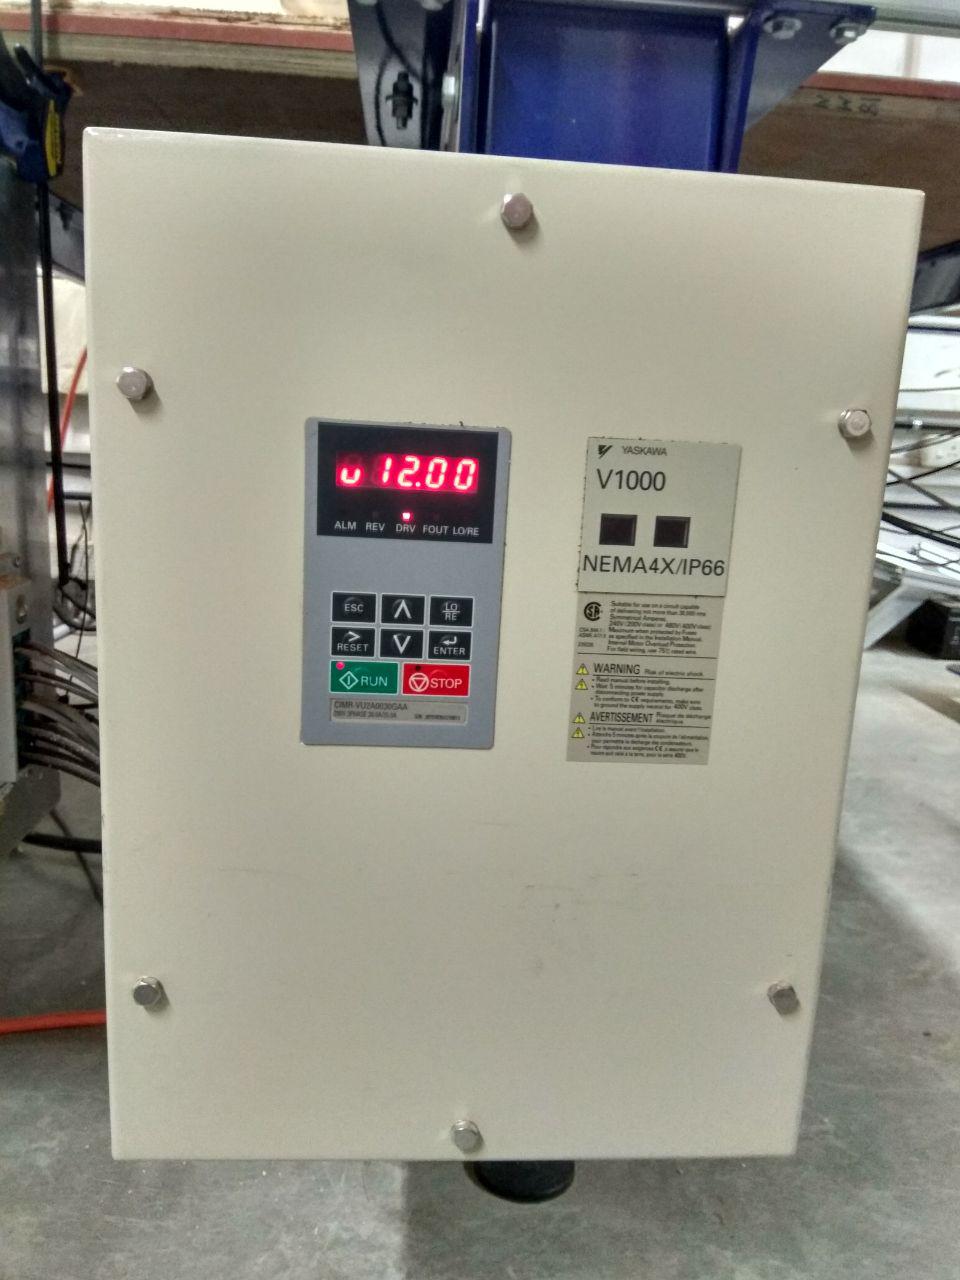
- Control Box
- Spindle Key and Spanner
- Power Distribution Box
- Vacuum Systems
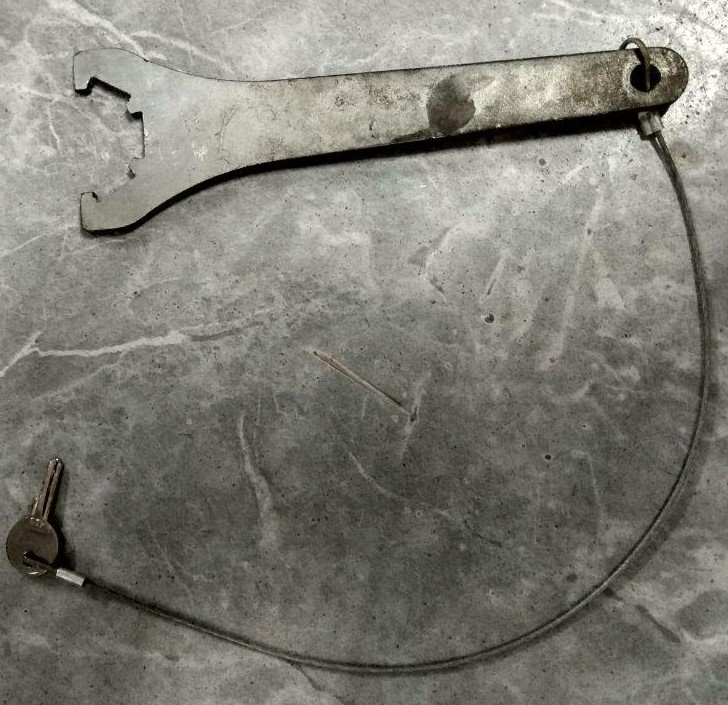
We need the Spindle Key to Start the Spindle without the key spindle will not rotate.
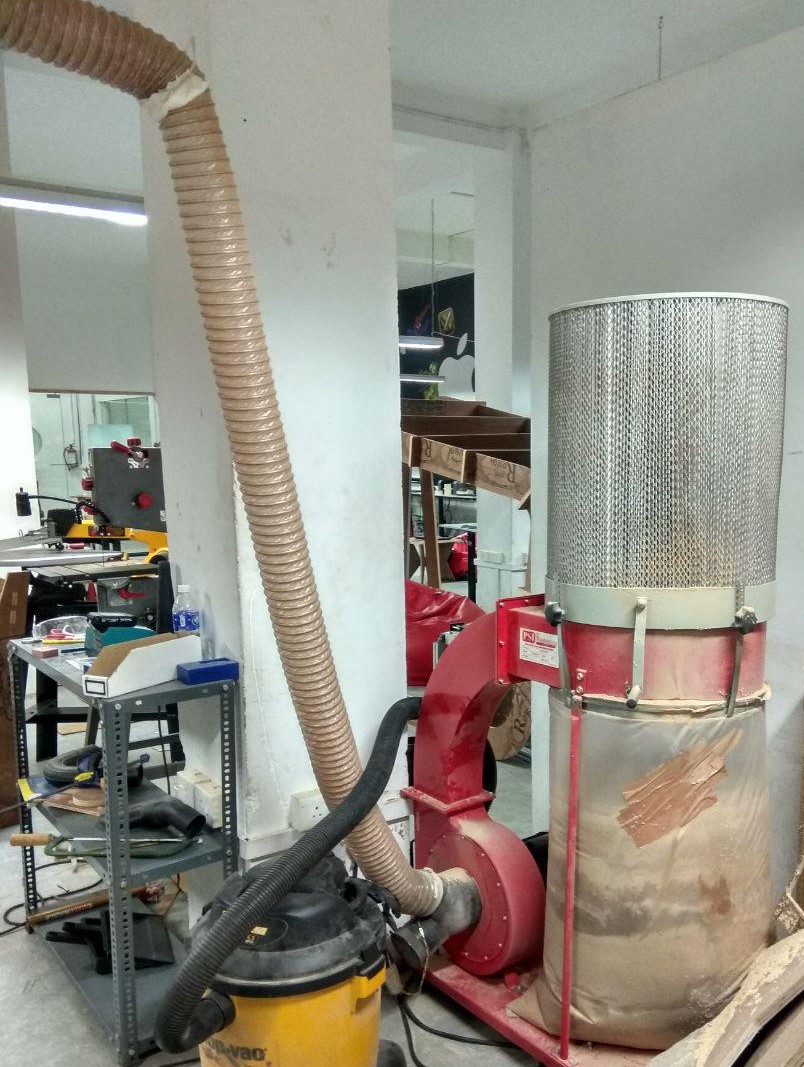
ShopBoat have a Powerfull Vacuum Clear to suck all dust that comes when we cut something , it's very helpfull.
Bits Specifications
Bit material:Router bits used in Shopbot are made from a variety of materials such as solid carbide, carbide-tipped steel, and high-speed steel.
Flute type : There are four basic flute types: Straight, spiral up-cut, spiral down-cut, and compression

Drill bit Vs End mills :A drill bit need to cut straight into the material hence will have teeth at tip. But an End mill needs to cut from the sides also, that means it needs to have a cutting edge spiraling all the way up to the flute.
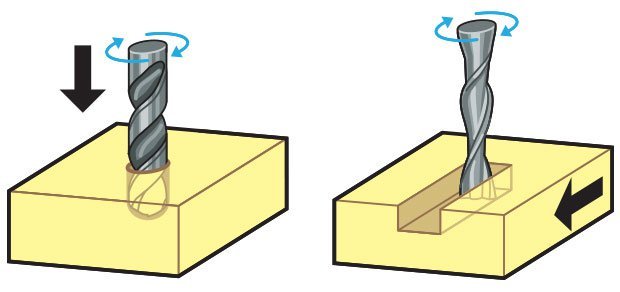
Upcut & Downcut

In an Upcut type end mill the teeth on the flute will point upwards. This means that the end mill is cutting and drawing out the wood through the flute. This is good for cutting deep into the stock. But this leaves a bad surface finish on the top of the surface.
A downcut type end mill has teeths that point downward on the flute. This means that the end mill will cut and try to push the material into the stock. This will give good surface finish on the top, but it is not very efficient at removing material.
Flat/ball end
flat end leaves flat surface profile on the stock and are good for removing large volume of material, but steps are formed when used for making curved surfaces. Ball end leaves curved surfaces and forms smooth curved finish while cutting cavities. They are used for finishing cuts.
Collet and Covernut
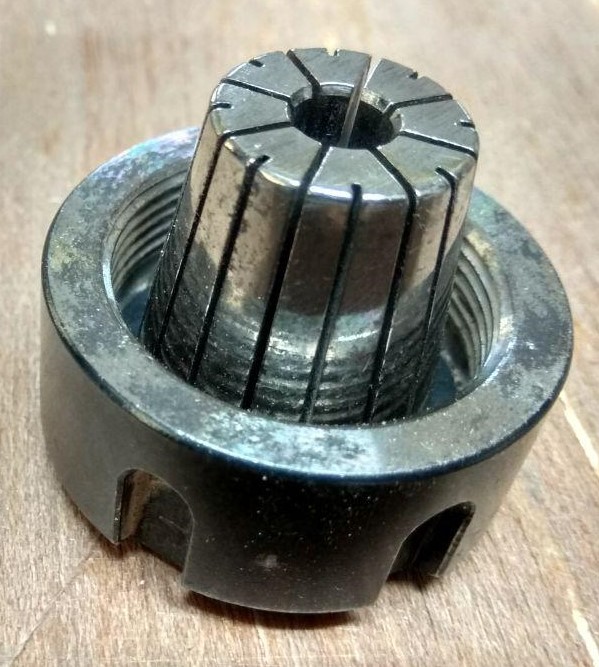
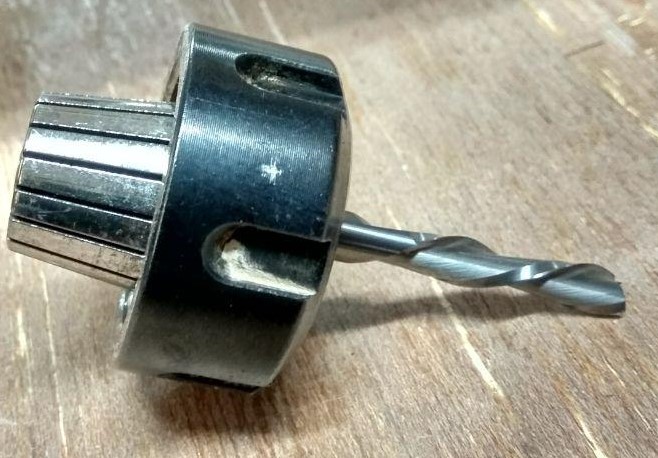
A collet is a subtype of chuck that forms a collar around an object to be held and exerts a strong clamping force on the object when it is tightened. It may be used to hold a workpiece or a tool. We are using ER25 collets, ER collets are slotted (alternately) from both ends and therefore compress onto the cutter along the whole length of the collet when tightened. This not only provides a better grip on the cutter shank but also allows some variation (typically 1mm) in shank sizes that may be used in a single collet. The smaller size collets are best used to hold cutters no more than 0.5mm below the nominal size. Collets are inserted into the covernut.
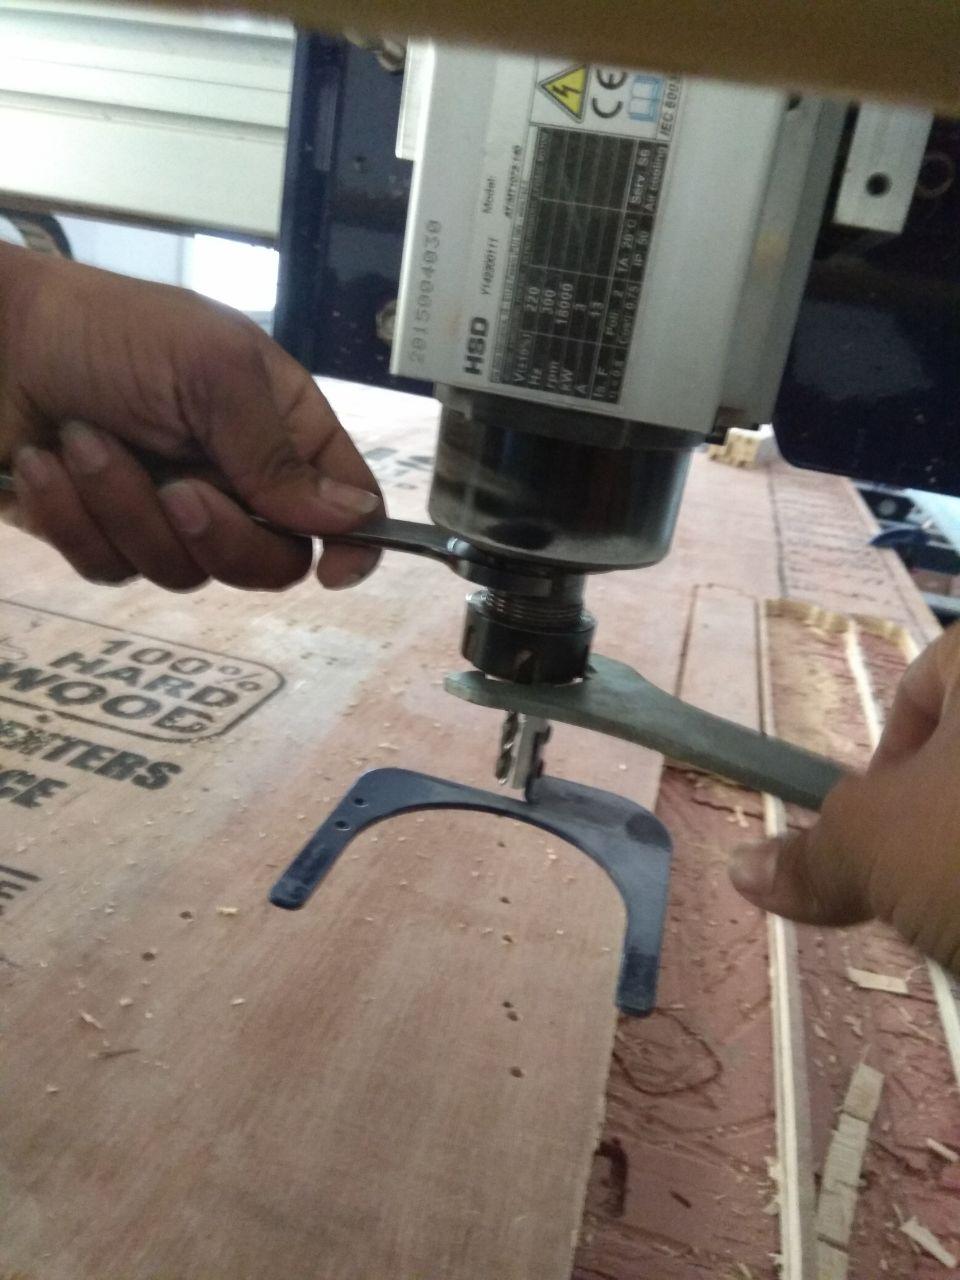
Changing bit
ESTOP Switch
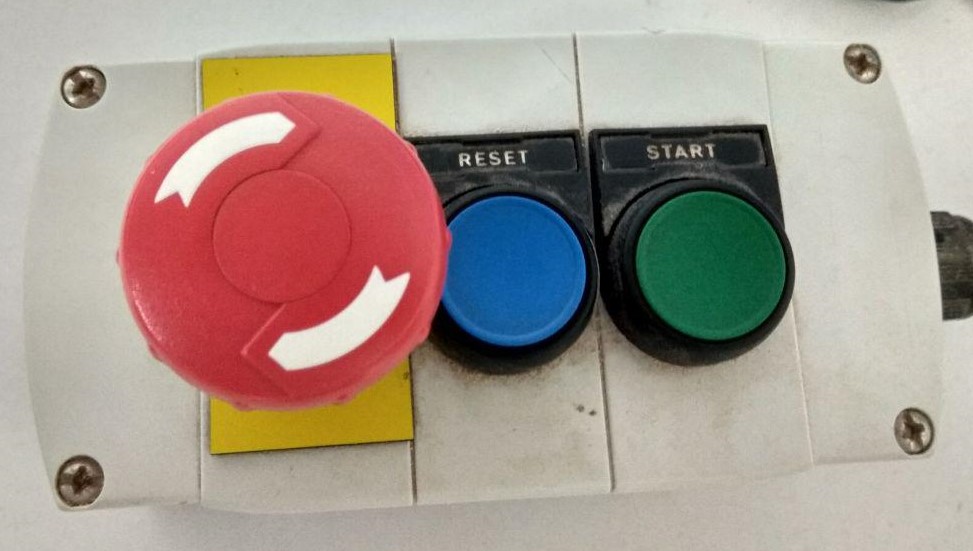
ESTOP switch is Emergency STOP switches are used for stopping the work during emergencies there are two emergency stop switches will be there, One is ESTOP box which contains two additional switches one for Starting the spindle and the other for Reset. Ensure these ESTOP switches are in the OFF position position by rotating the RED STOP button on the DONGLE COUNTER CLOCKWISE
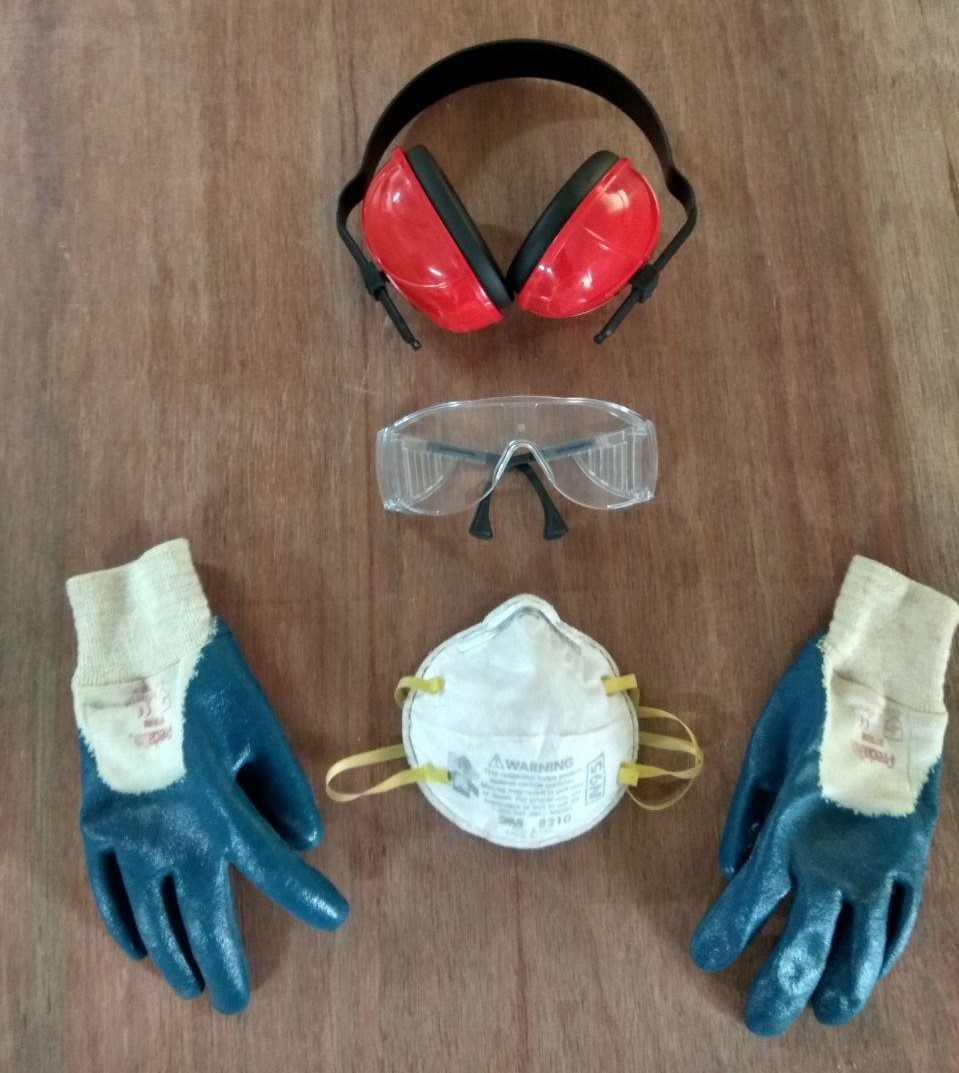
Safety First
Safety is very important while working with the big machines like Shopbot CNC.
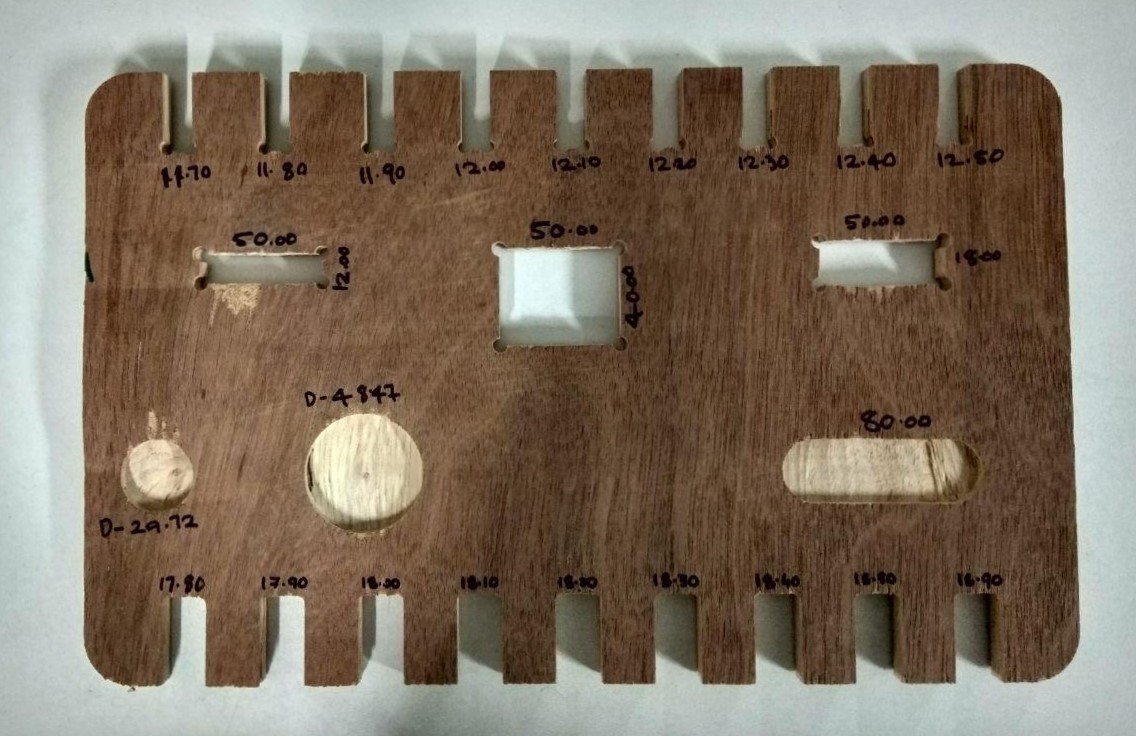
Test Cut
This week We need a test runout, alignment, speeds, feeds, and toolpaths for our machine by part of our assignment.
Deigned a test design to learn about the machine tolerances .
This was our Group Assignmnet.
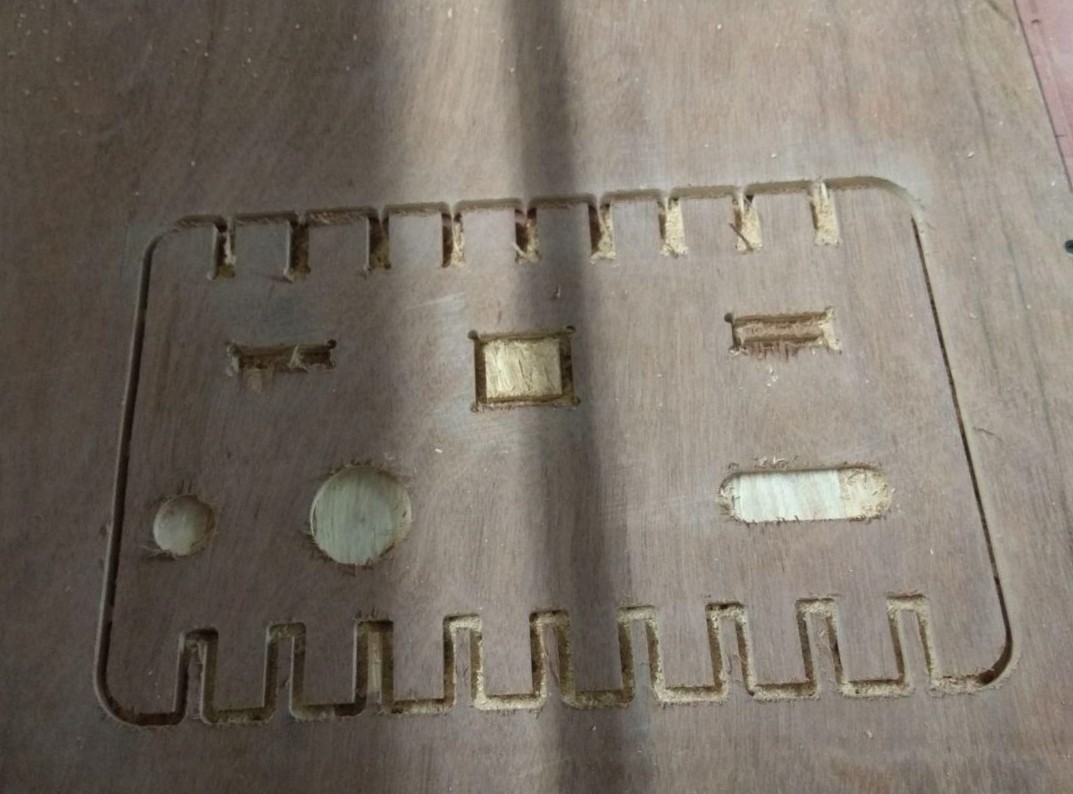
test cut hero shot
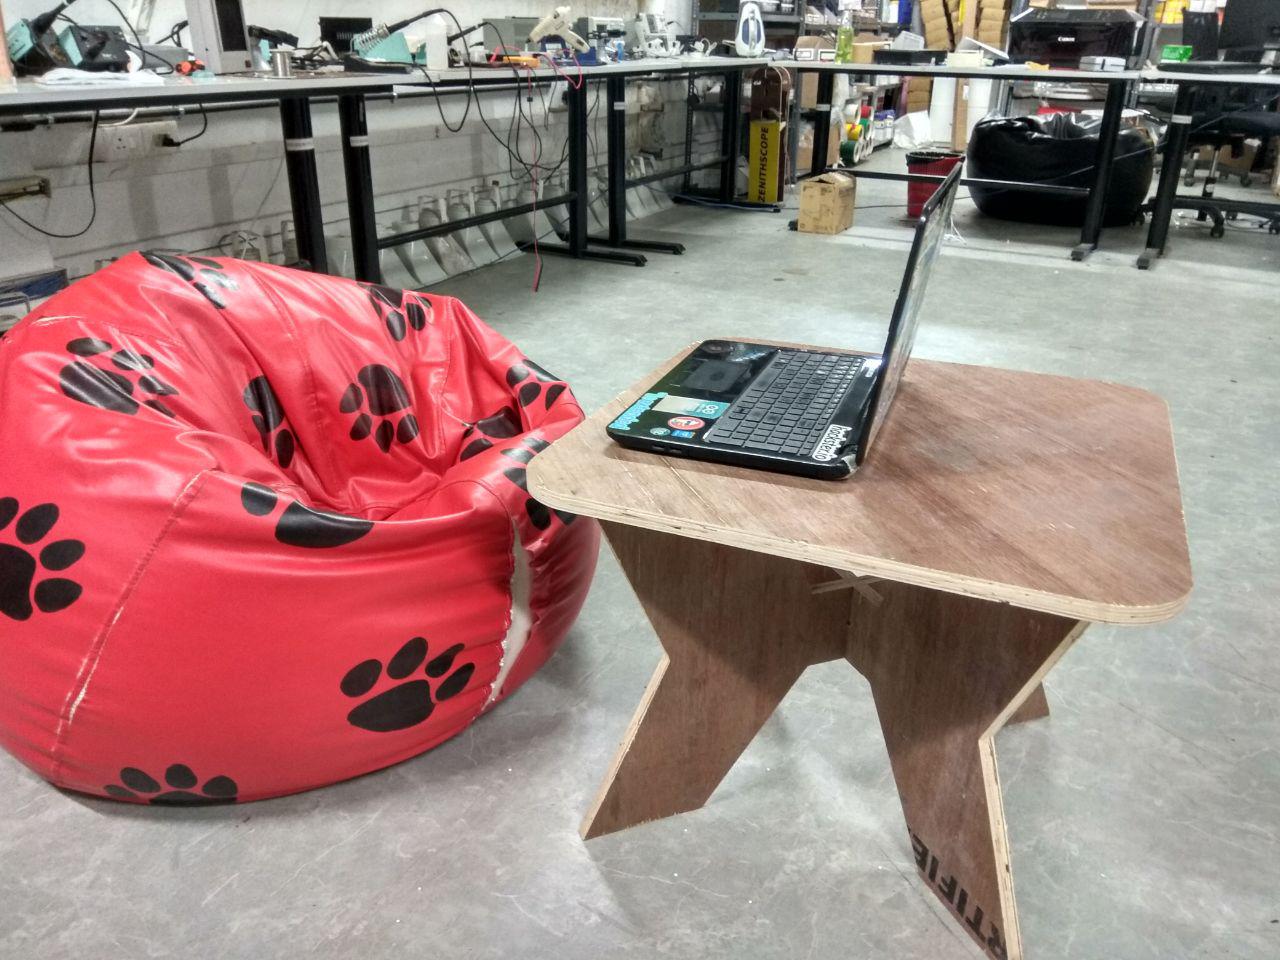
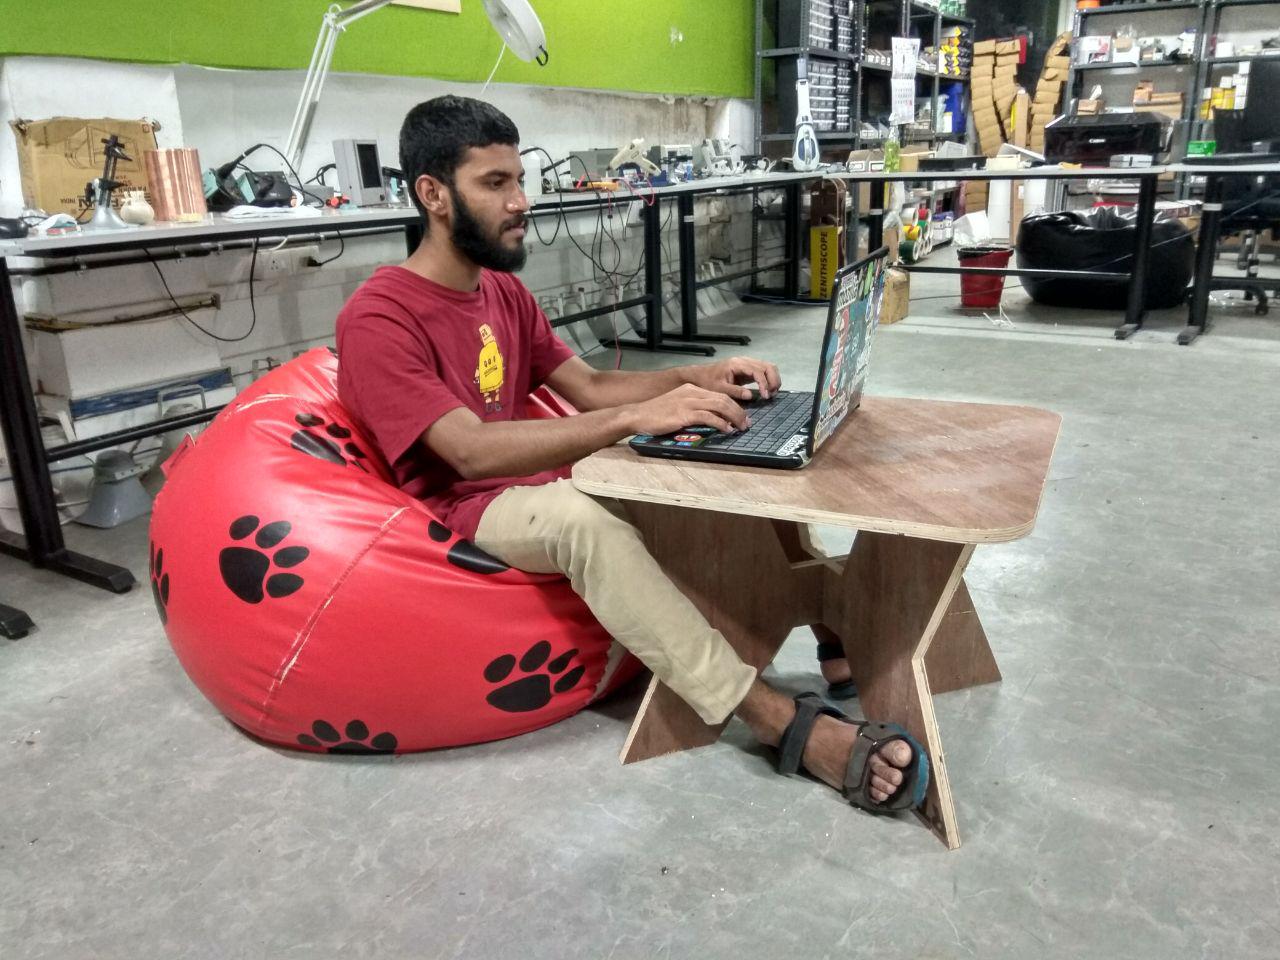
Bean Table
In this week our theme is to build something big and also useful, So i started to think for something big and useful . also am facing a problem while using the laptop in the beanbag , so i decided to build a table for beanbag table.
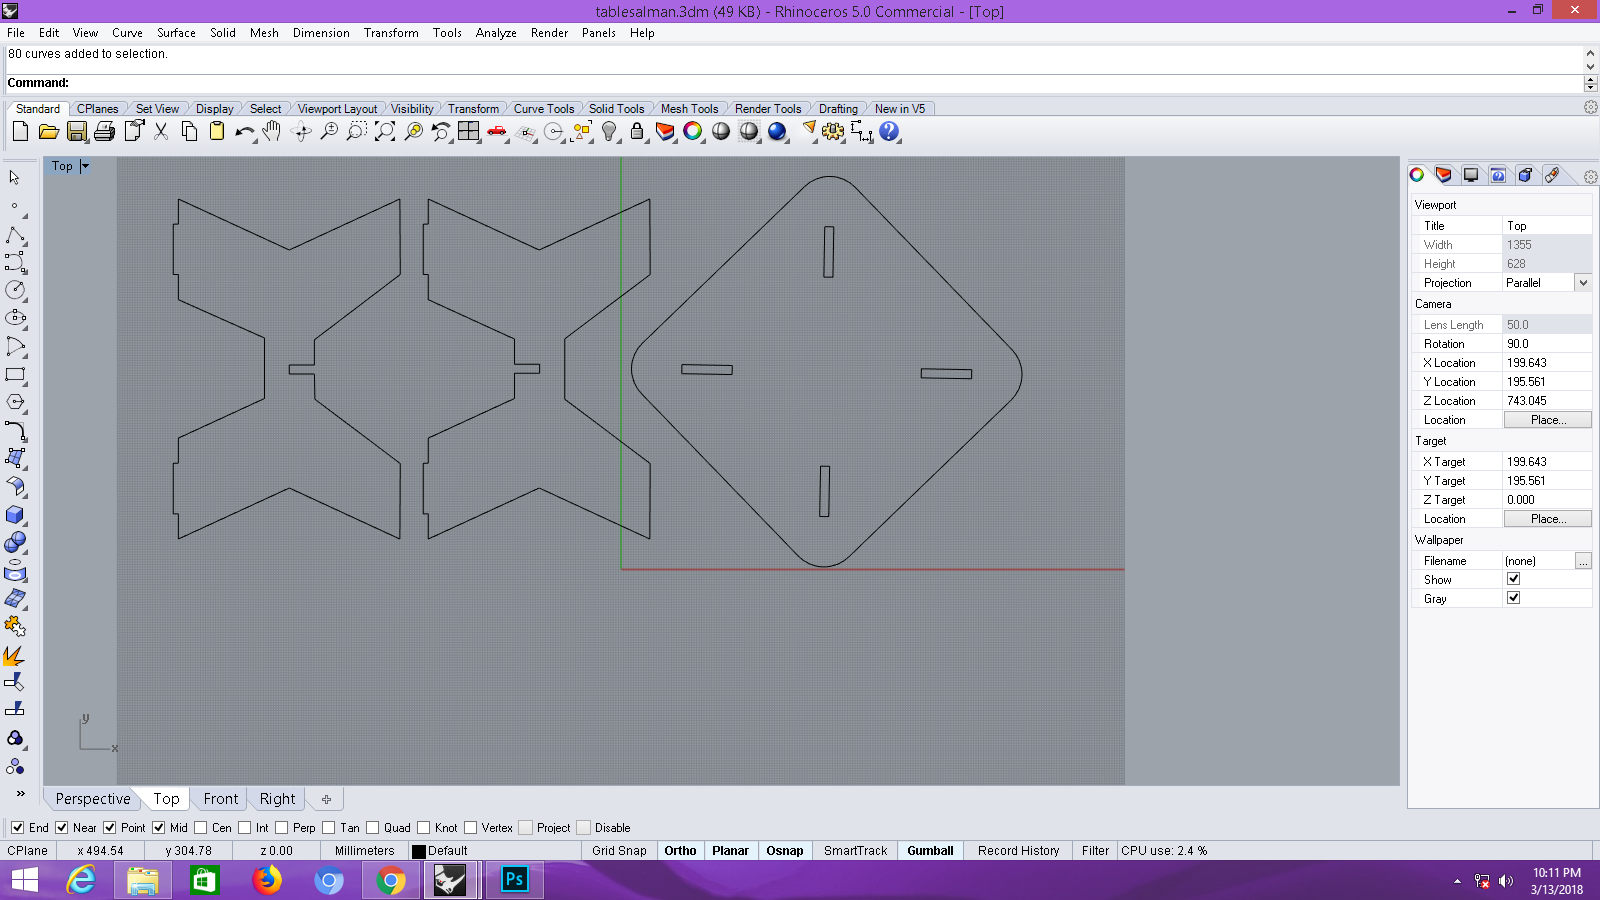
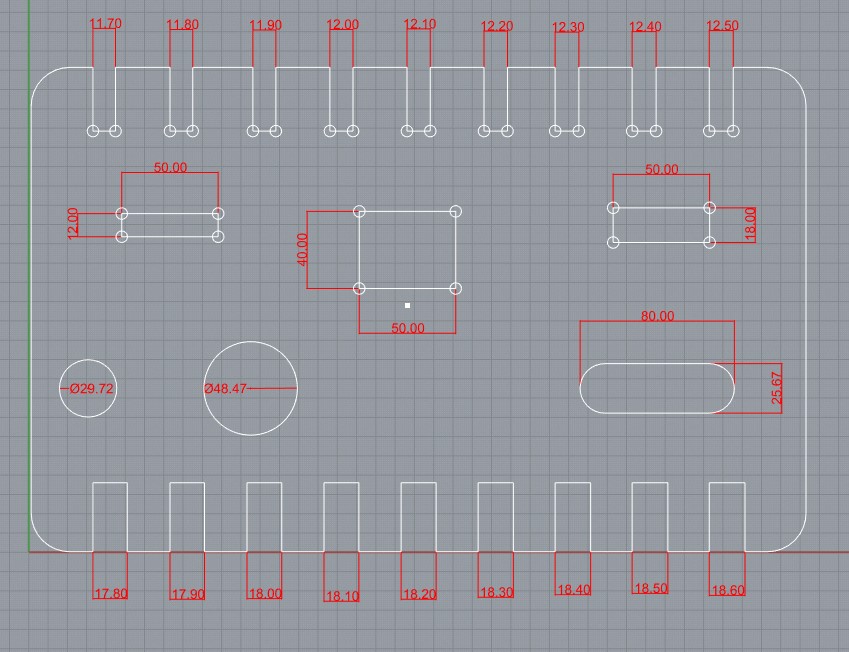
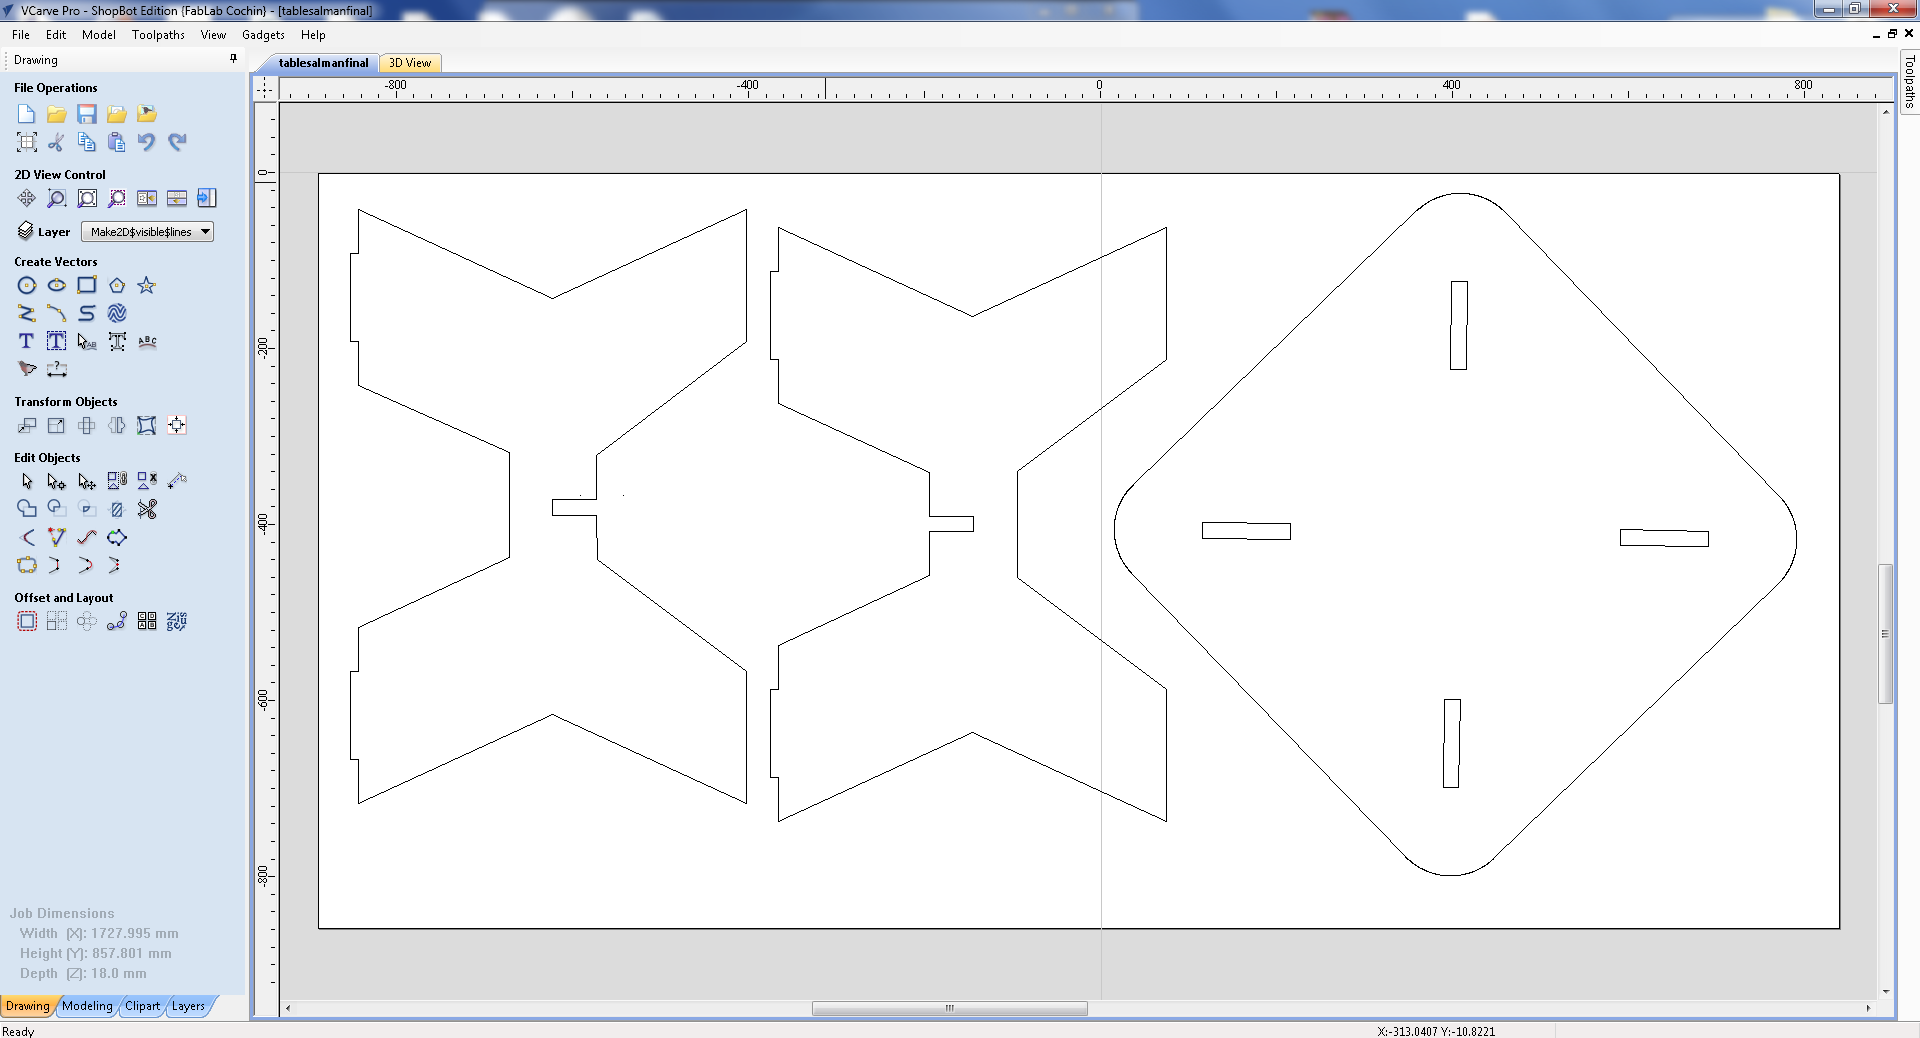
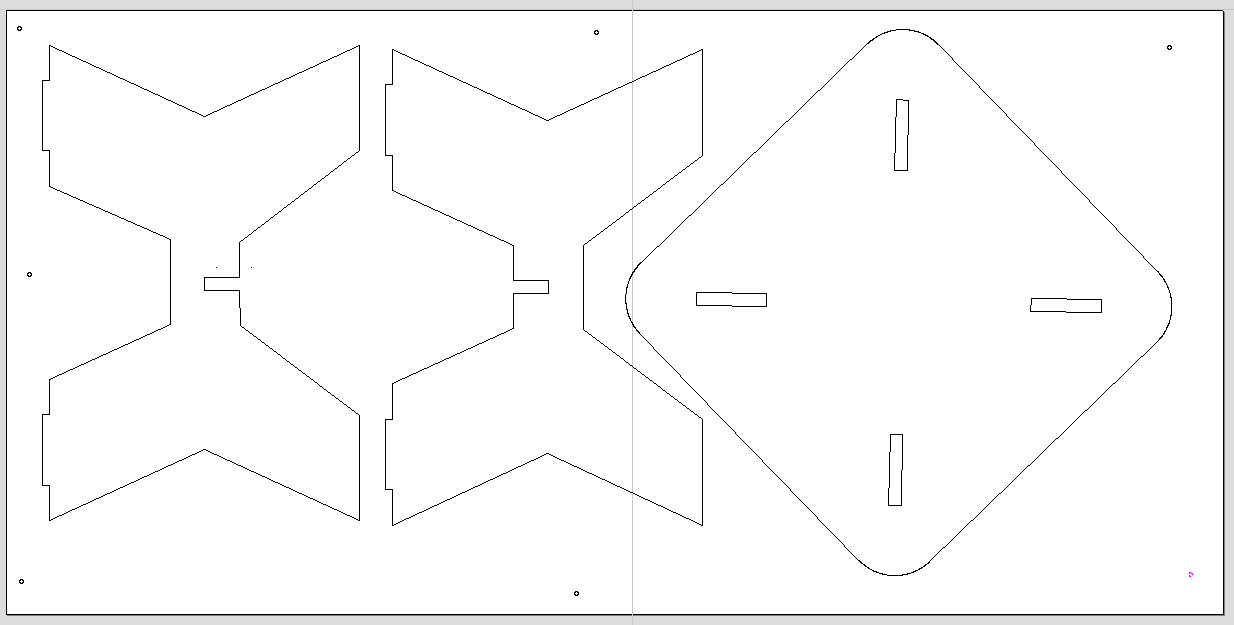
I Designed the 2D image with the help of Rhino.
Dimension Details
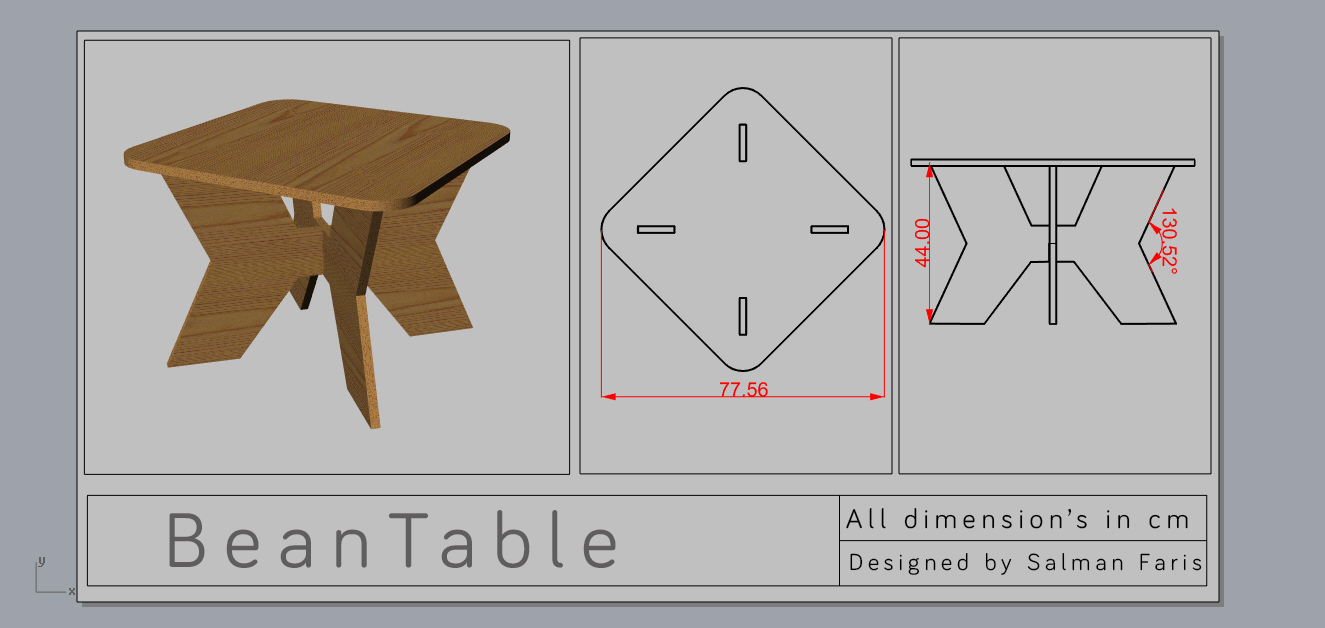
3D View
In default Rhyno will save as .3dm file but We need to save the file as DXF for the Shopbot,
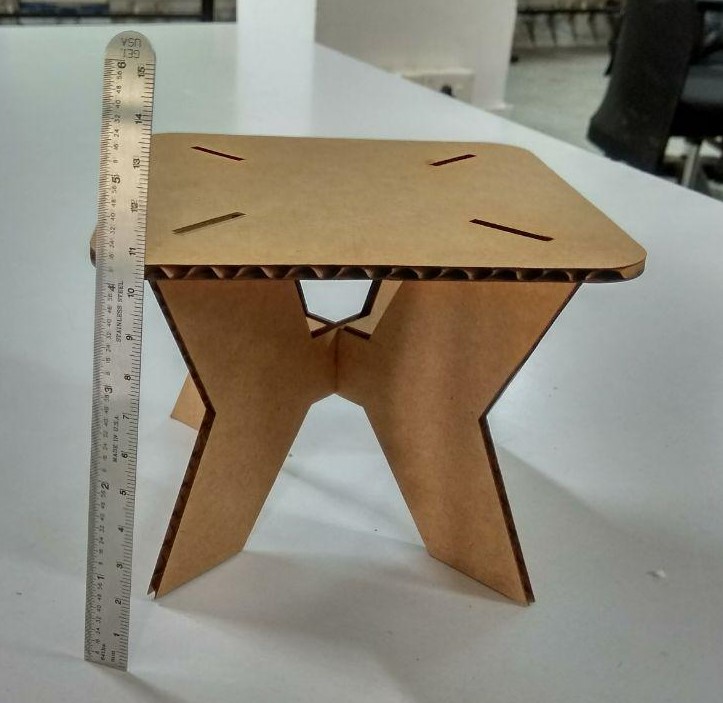
before cuting in the CNC machine i just builded a small formfactor using laser machine , i used Rhino Scale tool to Scale down to small version.
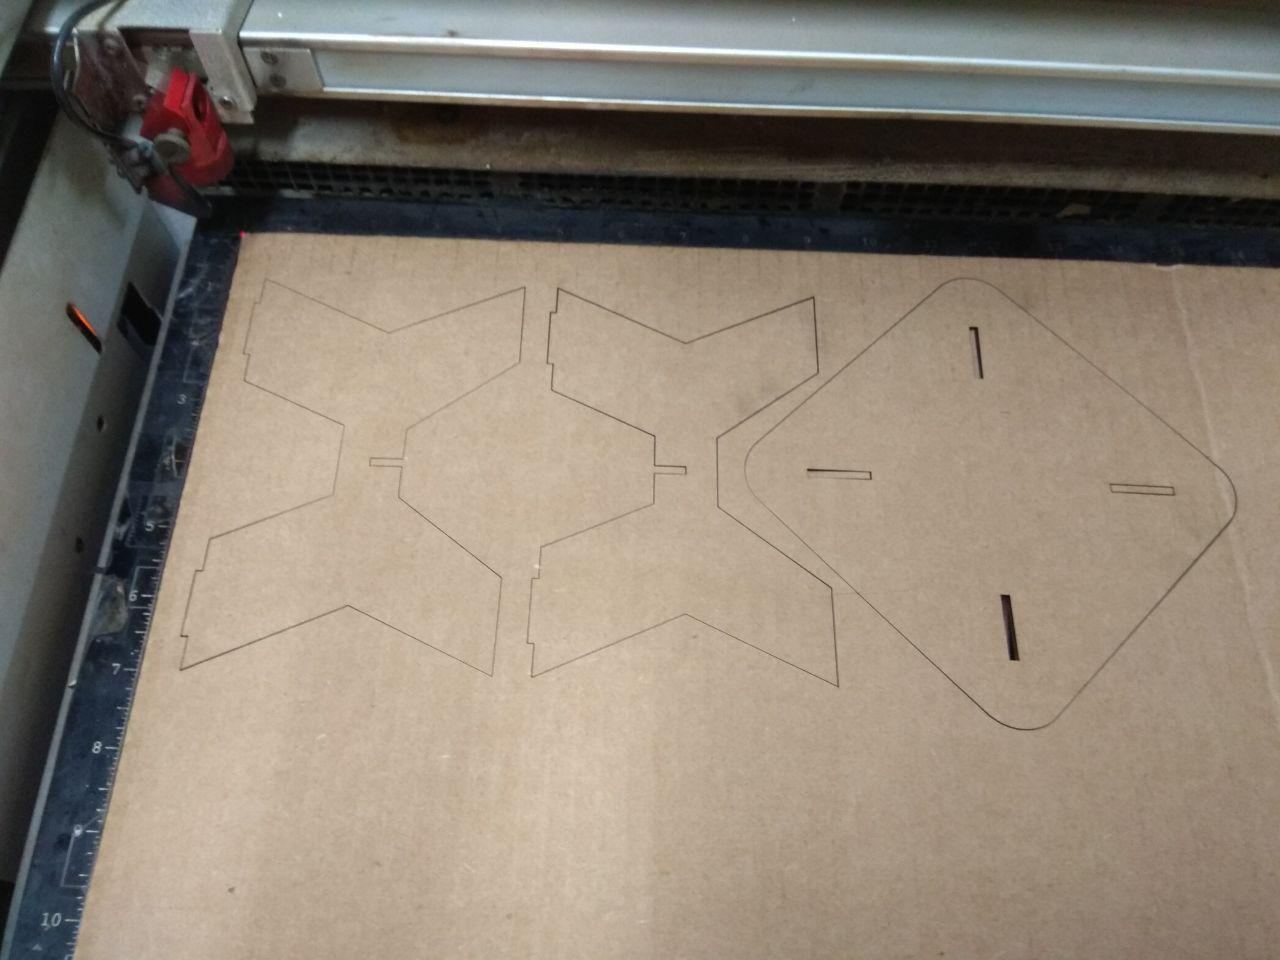
Now, we can confirm the it's fit perfect.
Now we can design it with CNC for Big Formfactor.
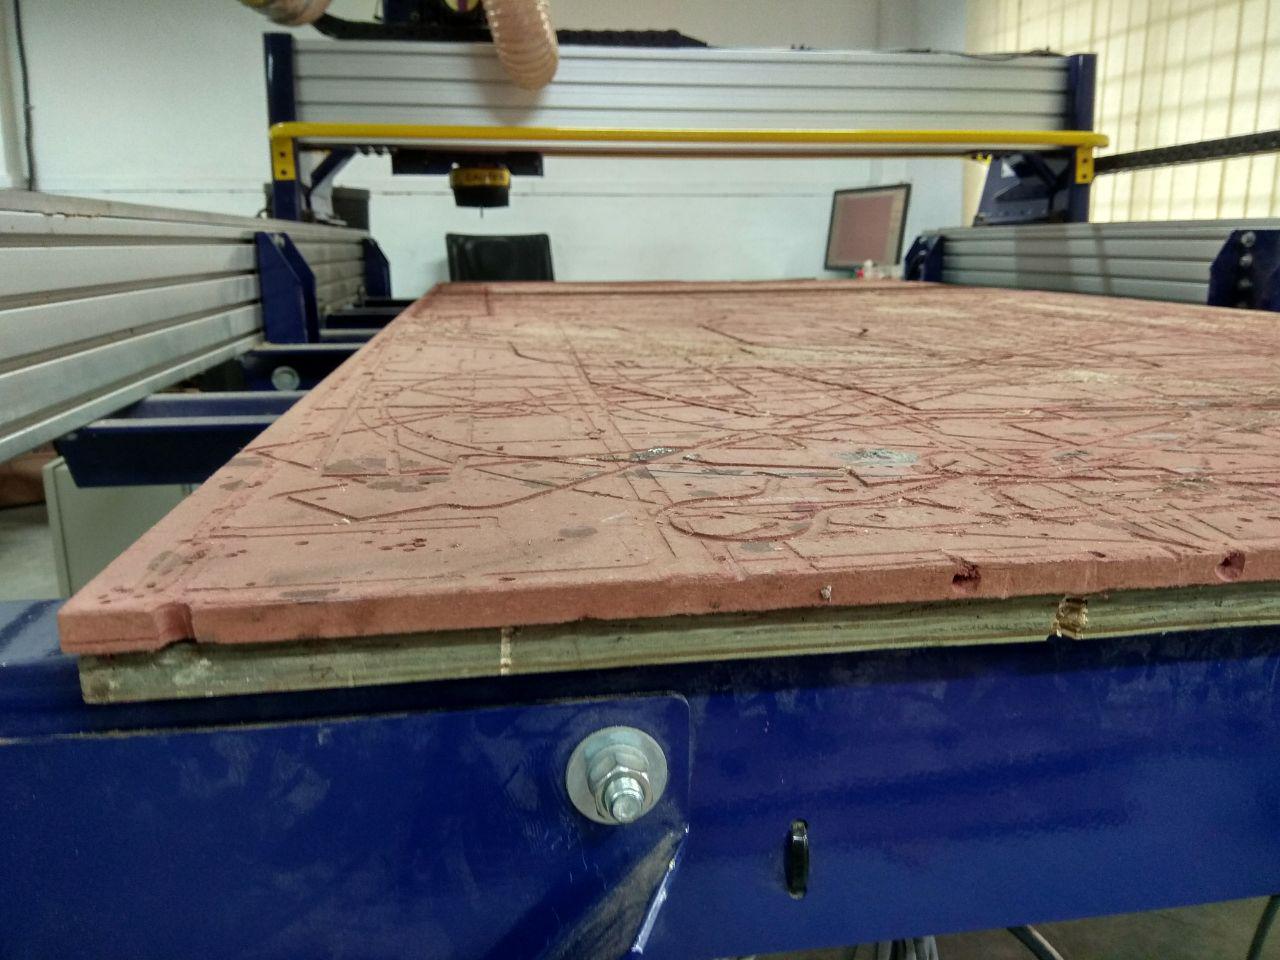
Machine Setup
We need to setup the machine before Cuting, so first clean the sacrificial layer and load a new Plywood.
I used 18 mm plywood
Next is start the Shopboat and Set the X and Y Axis/Orgins, in here we are using Officail ShopBot Control Software for this.
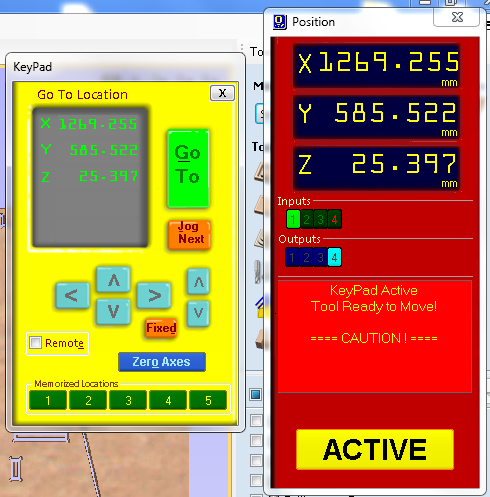
We can adjust the X and Y axis by usig the Arrows in the software, after that we need to set the Z axis.For setting the Z-axis we have a plate which is electrically connected to the machine. The way it works is that you place the plate, on the surface, below the bit.
The machine will move the z-axis down. When the bit touches the plate, a circuit is completed and the machine will set the origin. Now you can begin cutting.
Next we need to Generate the .sbp file from our design file, we are using V-carv Pro Shopbot Edition software for this, it's Great and easy to use tool for Shopbot.in Rihno i designed it with CM template but when i opend with using V-carv all the dimmesion in mm, so 44 cm is now here converted to 44 mm, so i Scaled the Rhino Design file to Multiply by 10 , so now i got the right Milimeter value.This is the only problem i faced
Next i used F-clamb to secure the wood in the scarificial layer.
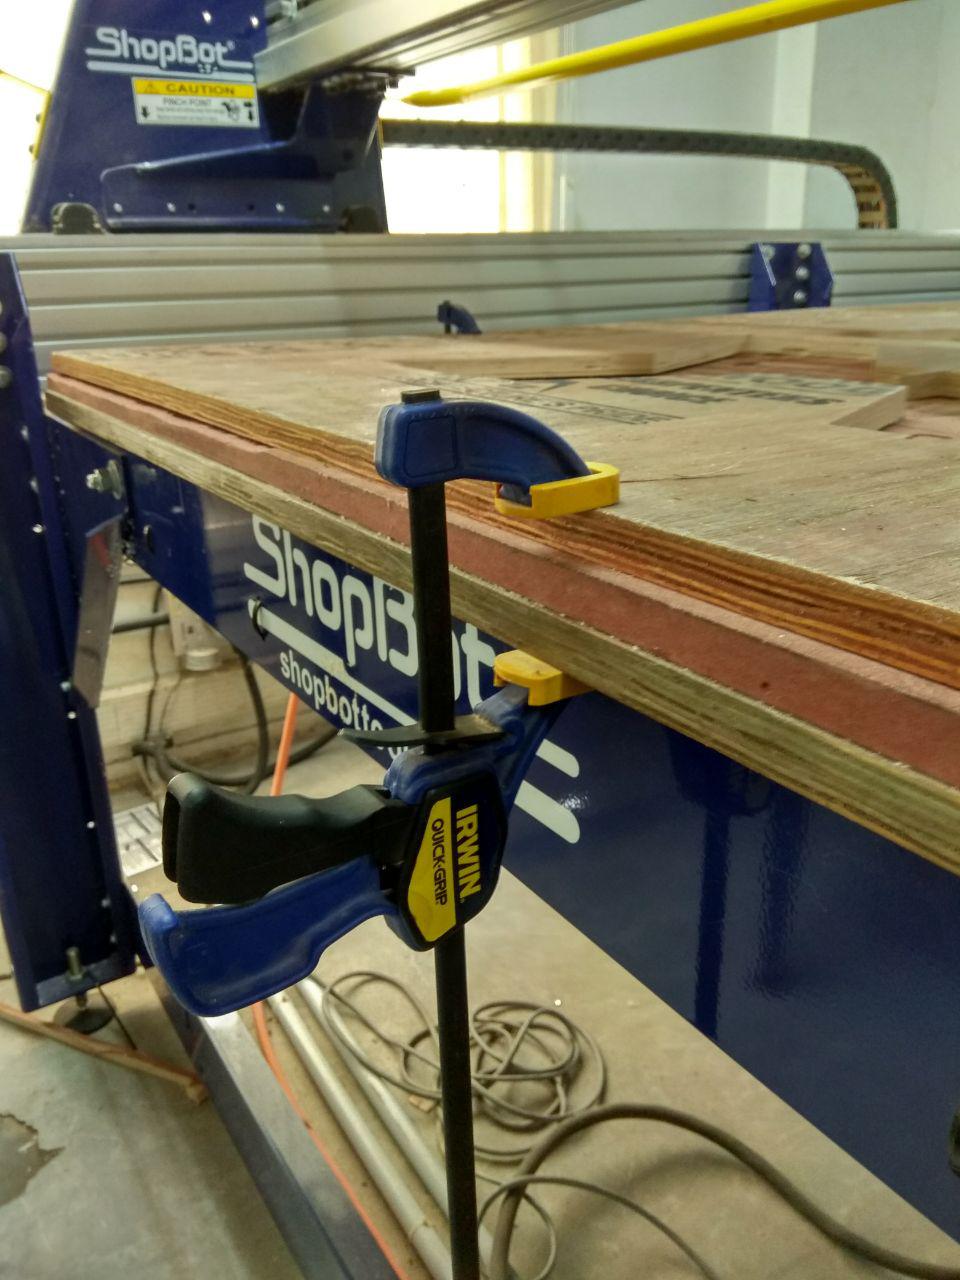
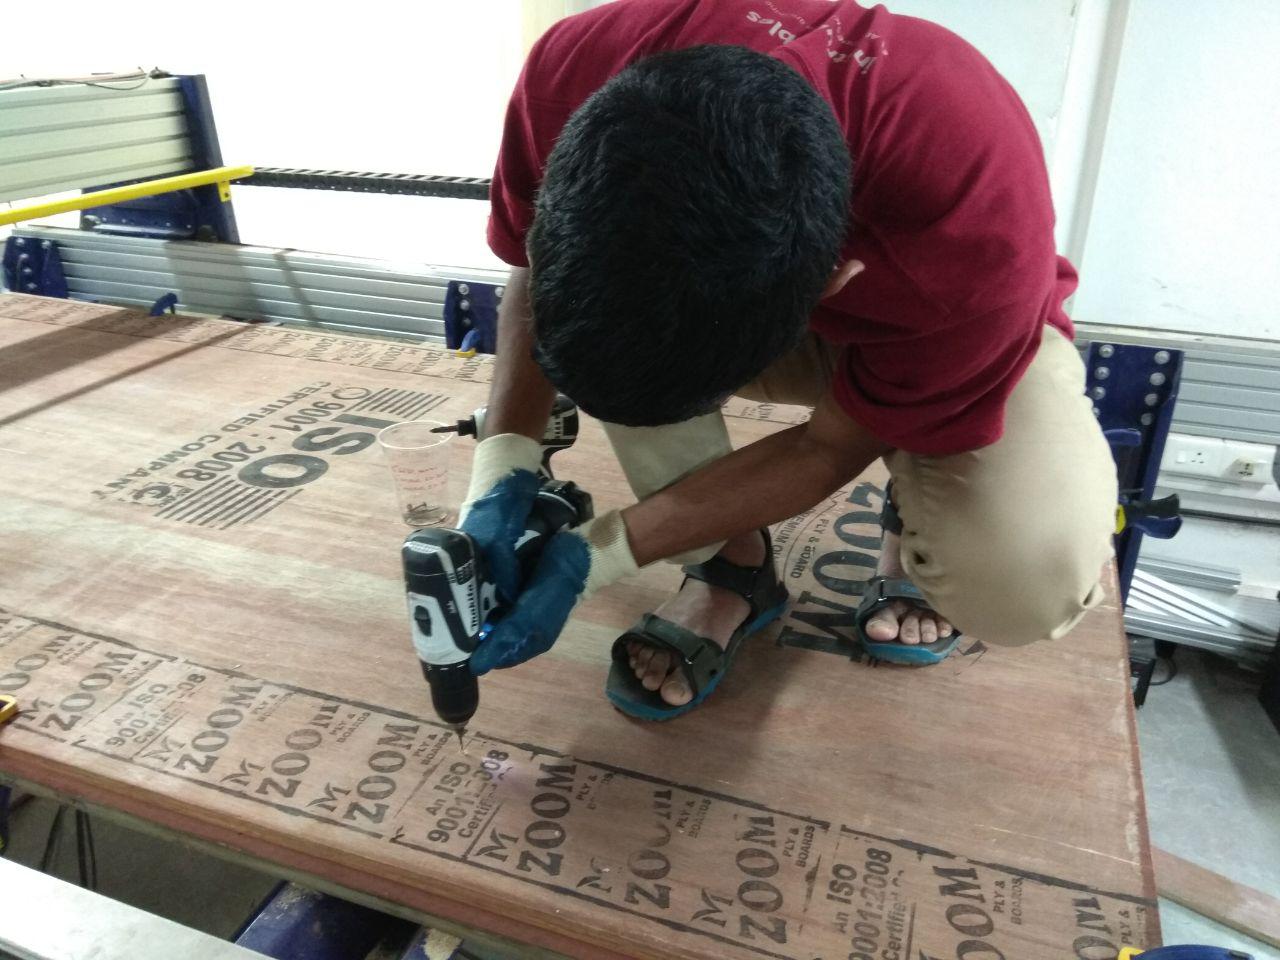
Also we need to fix it with screw , so first i designed the screw in my design so i can make sure that the Spindle will not hit the screw.
I Drilled with 1 MM depth and after that with the help of a driller i secured using screwed.
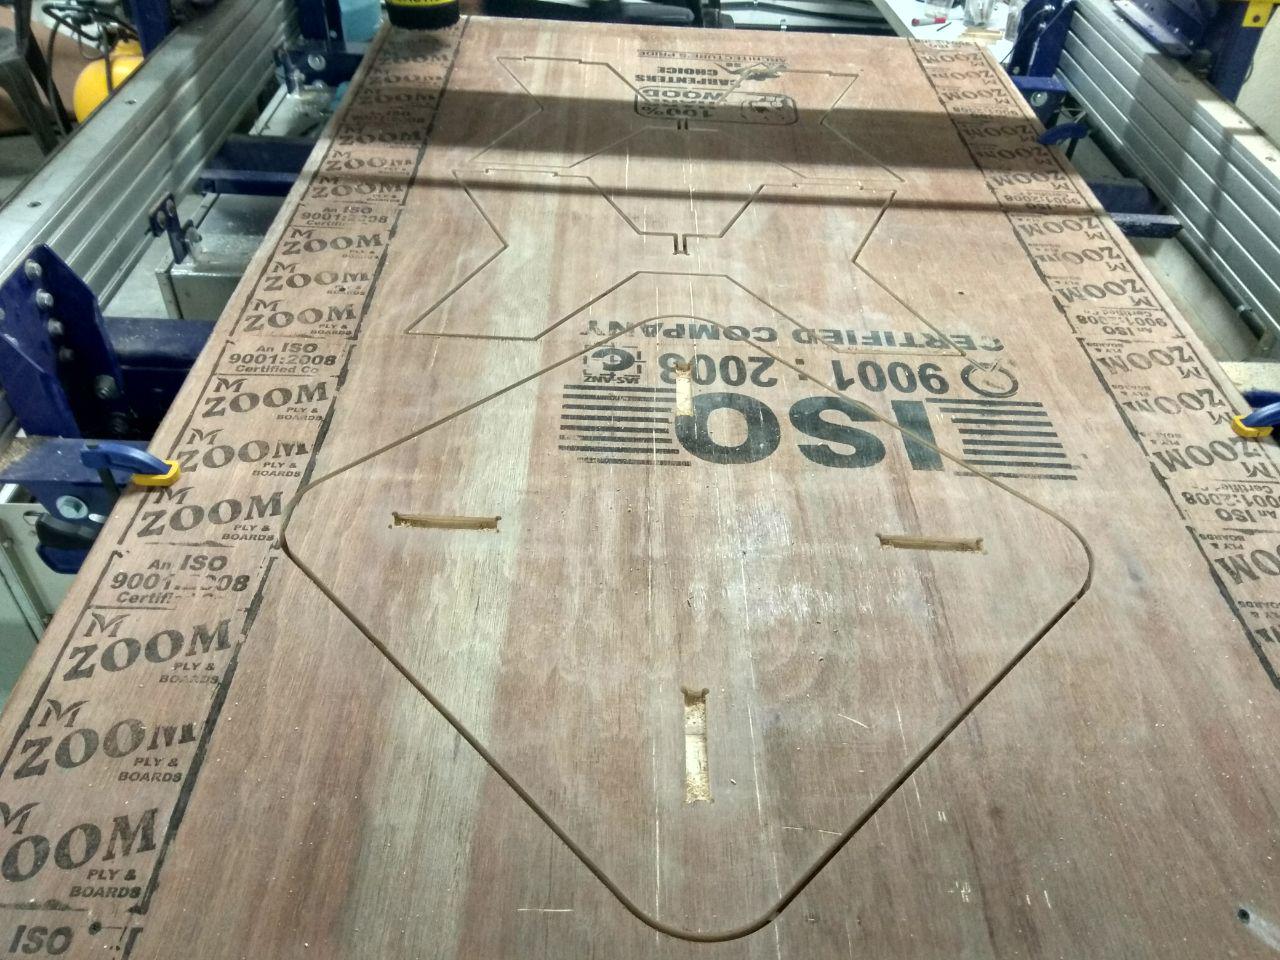
Next i added Dogbone for fitting the Pressfit and also added the Tab to fix the cut part so it will stay with the balance part.
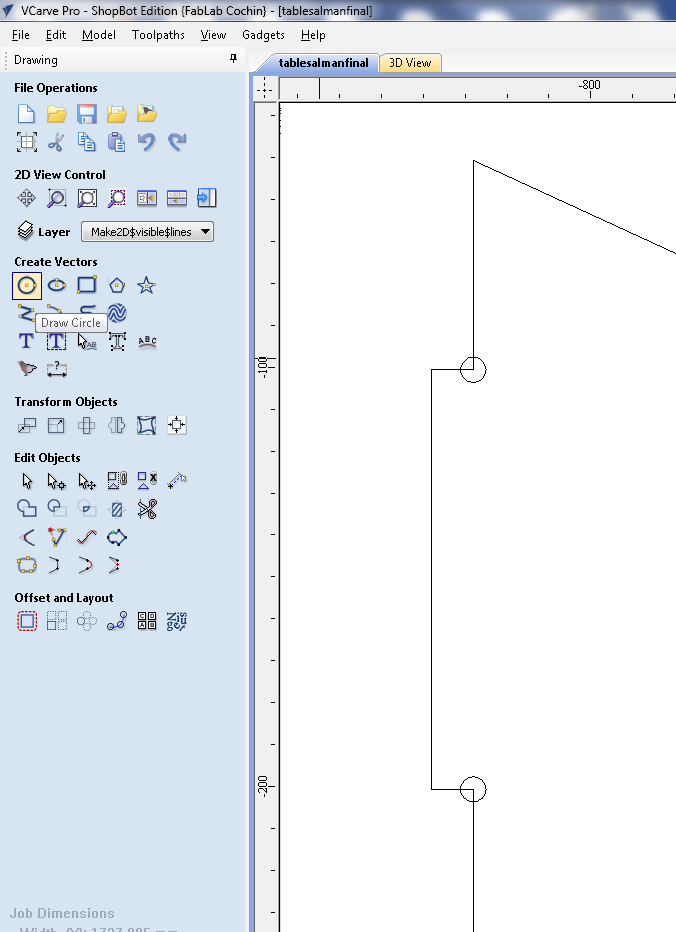
I used Draw Circle tool to Draw the Dogbone.
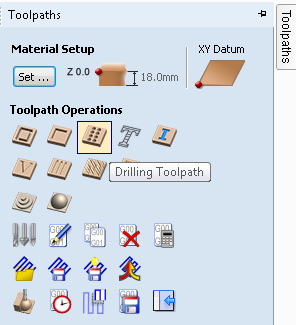
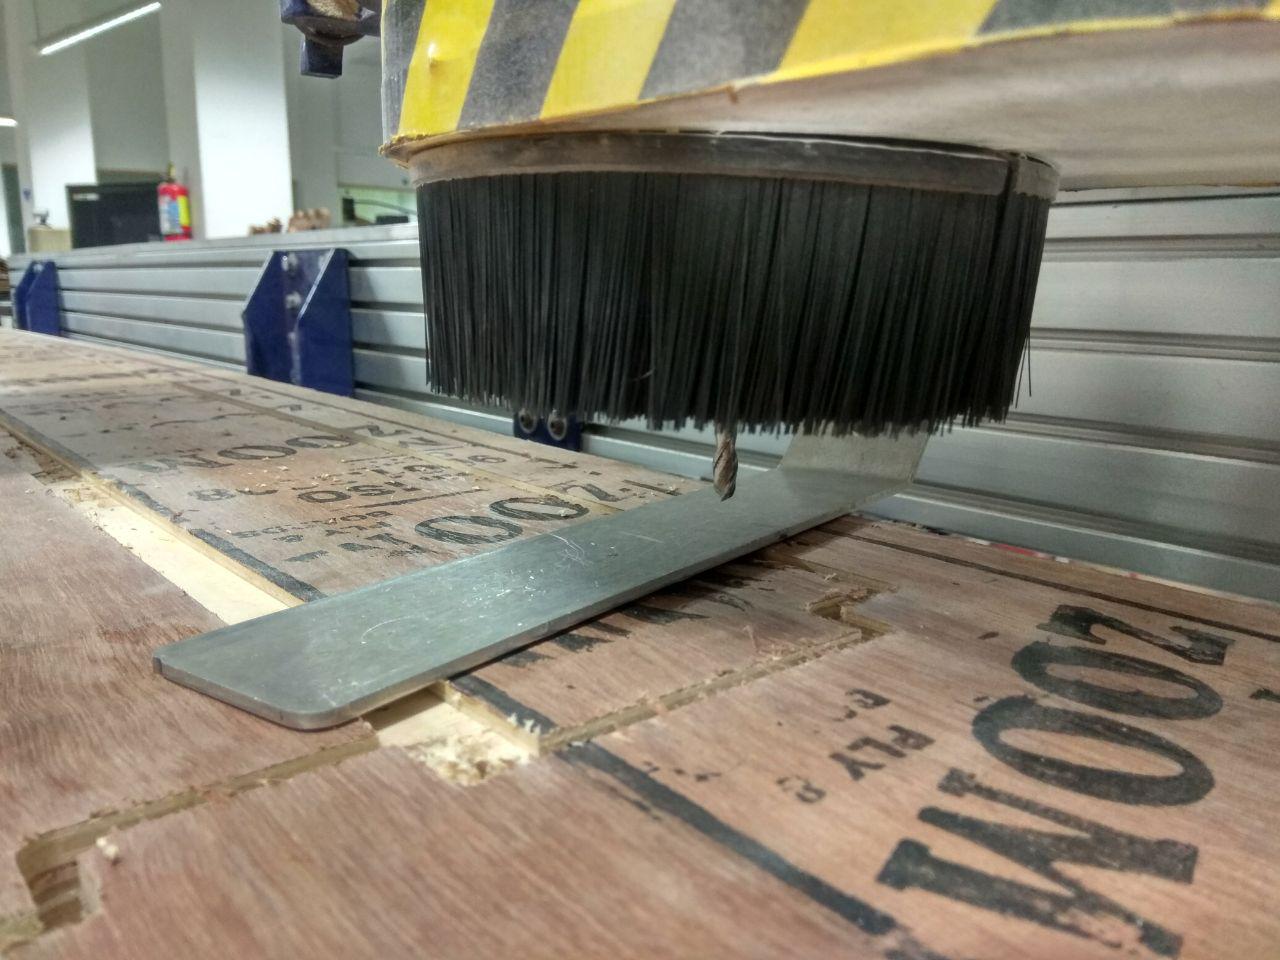
After that we need to set the Drilling Parameter's like how deep we need like that.
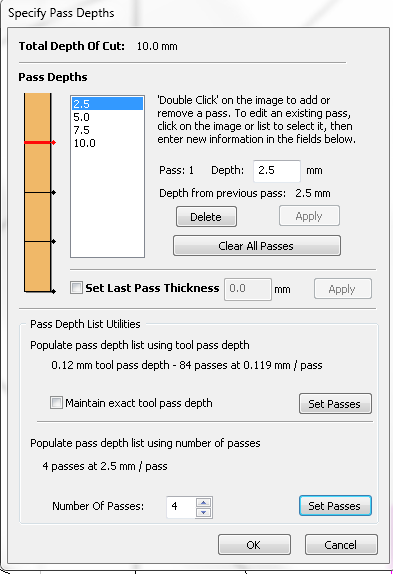
Next i configure the Profile tool for cuting the layout, and i used 4 pass for the Cut , so it will take 4 pass to complete cuting the 18 mm plywood .in here i set 18.5 as cuting depth.
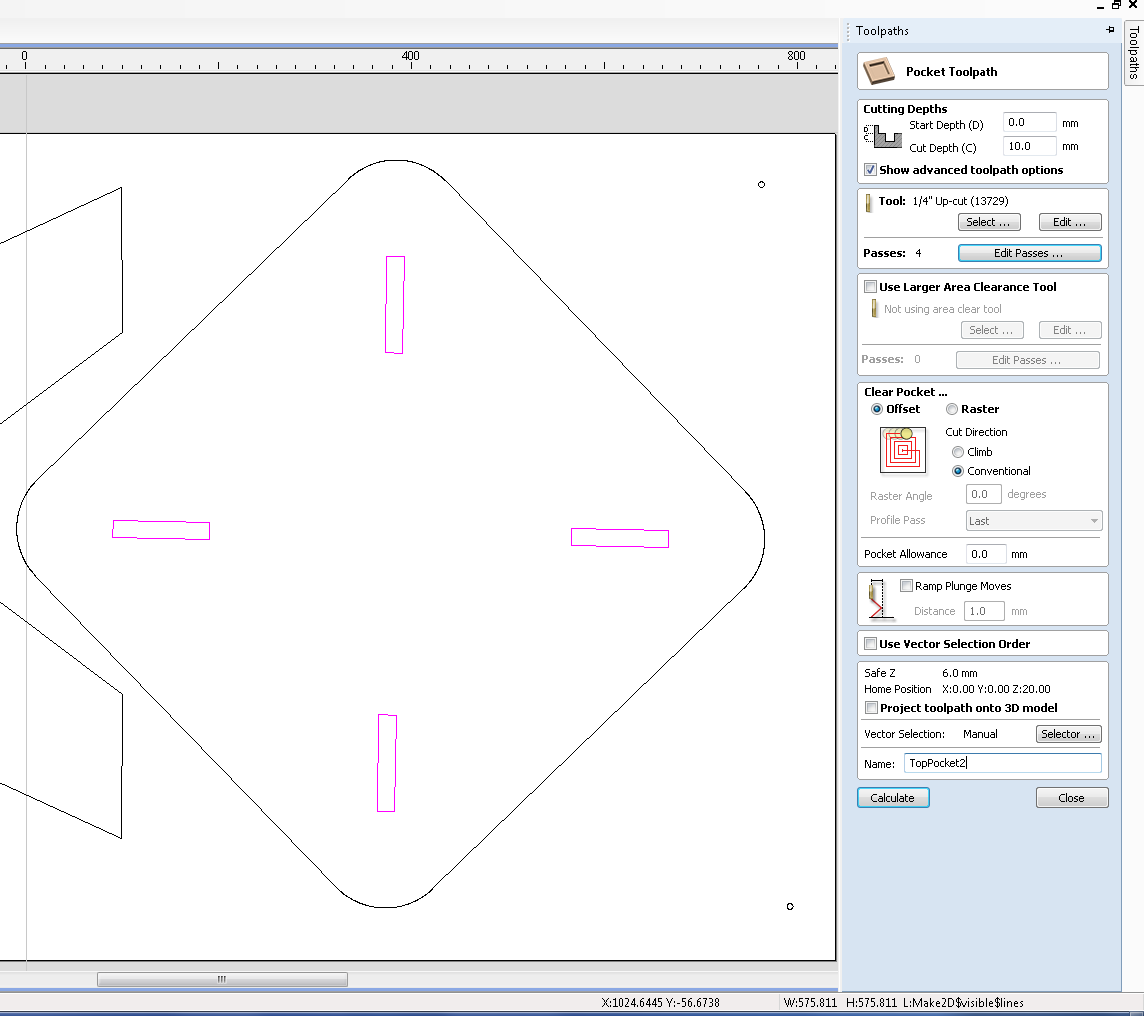
next i added the pocket for the top part by using Pocket Toolpath.
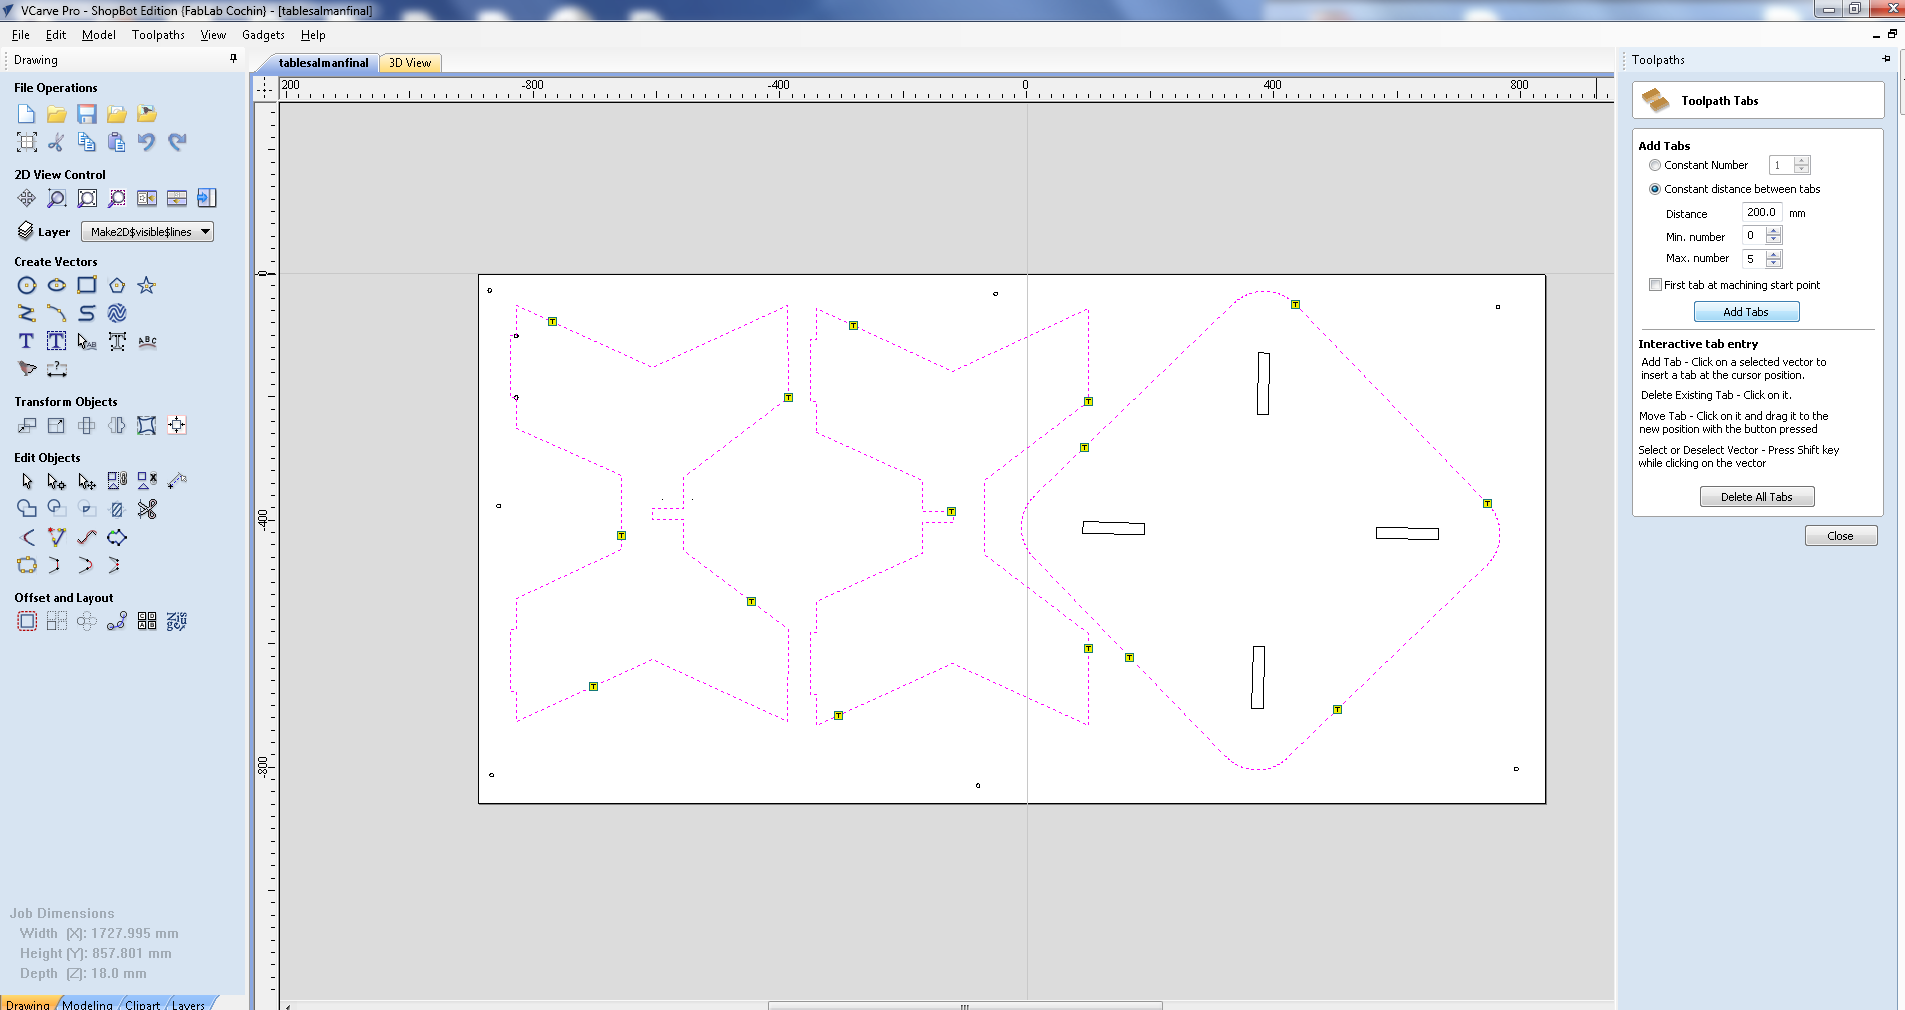
Finally i added tab using Toolpath Table.
Don't forget to save all the toolpath into a a folder with a appropriate name.
For complete Finishied cuting i used tool cuting depth to 18.5 mm for 18.00 mm plywood. when we save the toolpath we will get the Warning .
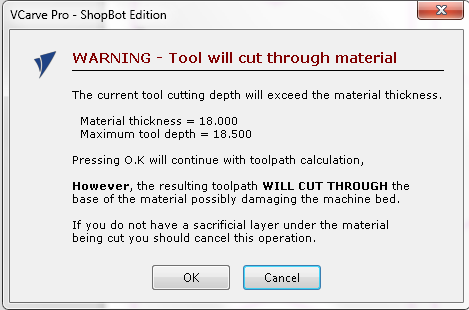
We can also see the Cuting Simulation by using the V-carv Software to make sure every thing working fine.
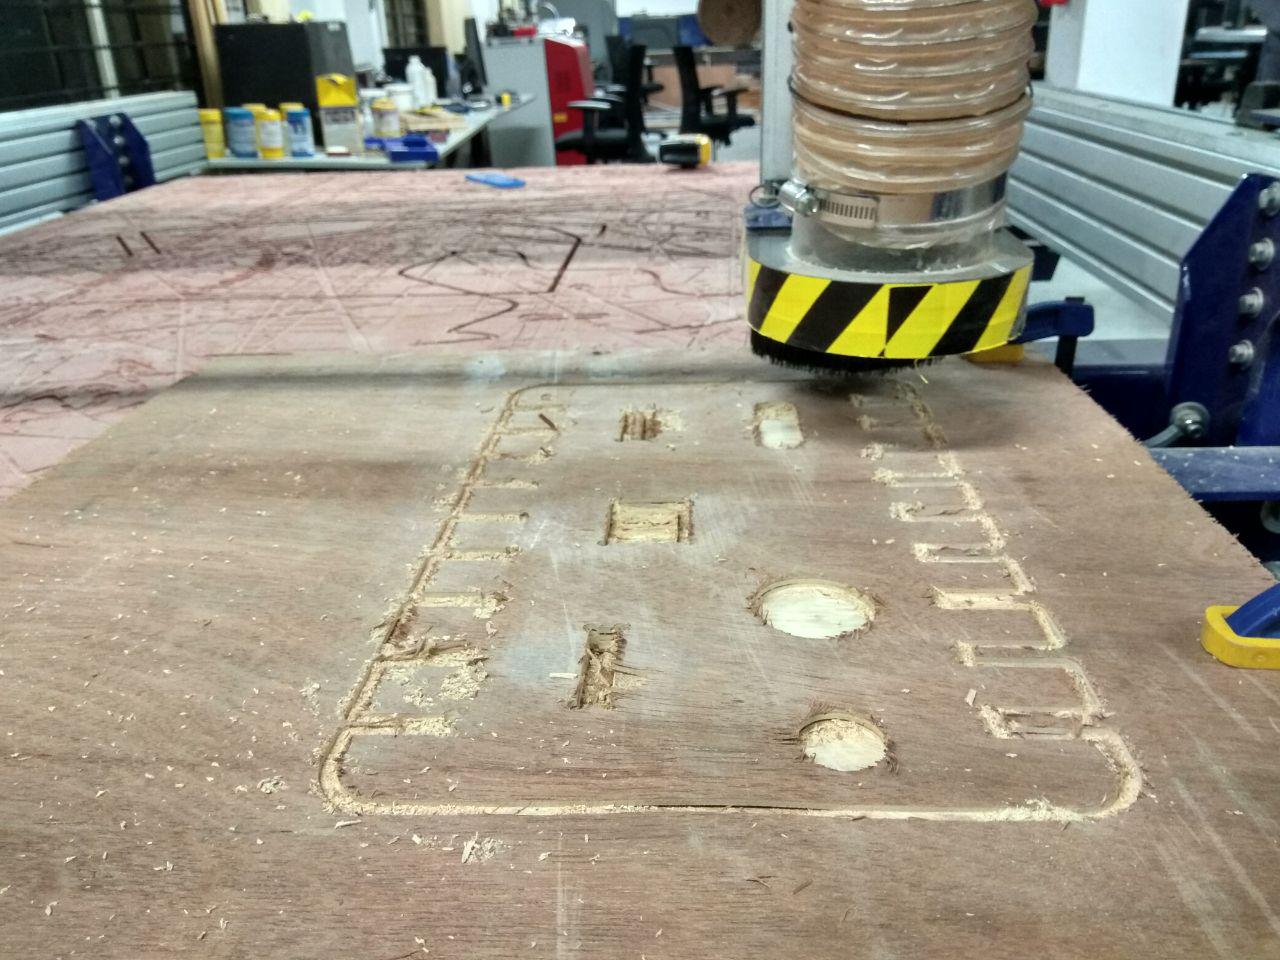
So,now we can start to cut , first we need to rotate the Spindle and Wait untill it gain the Max Speed befor start to cut. for starting the spindle we need press the START button on the E-top Switch.

Started
Completed
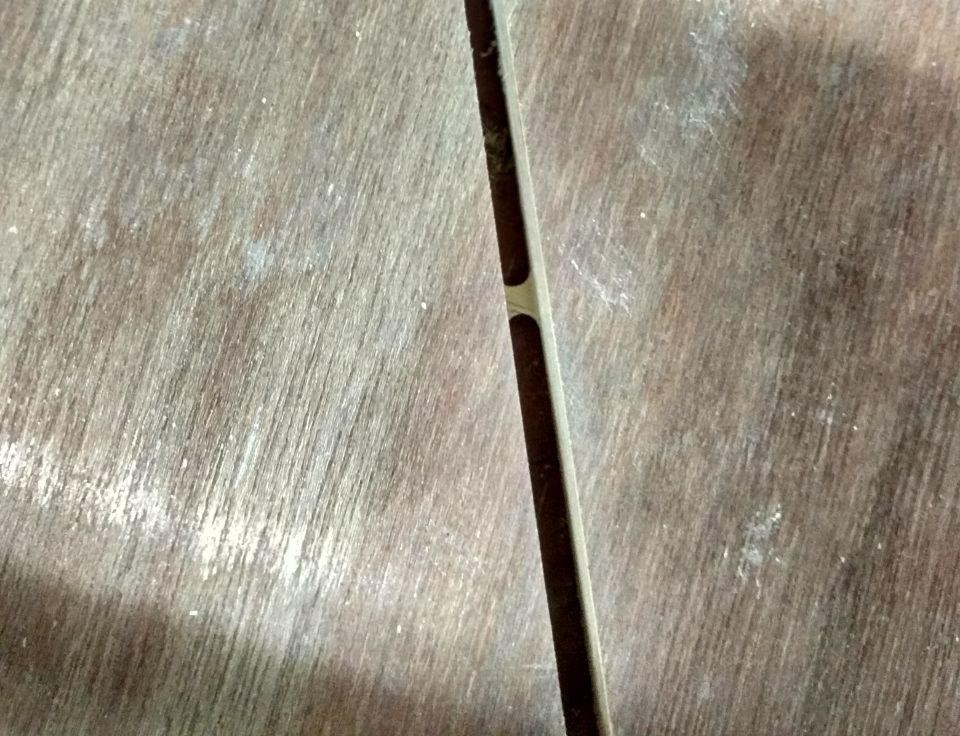
This is how a Tab look like, it will hold the base wood so the cutting part still same position.
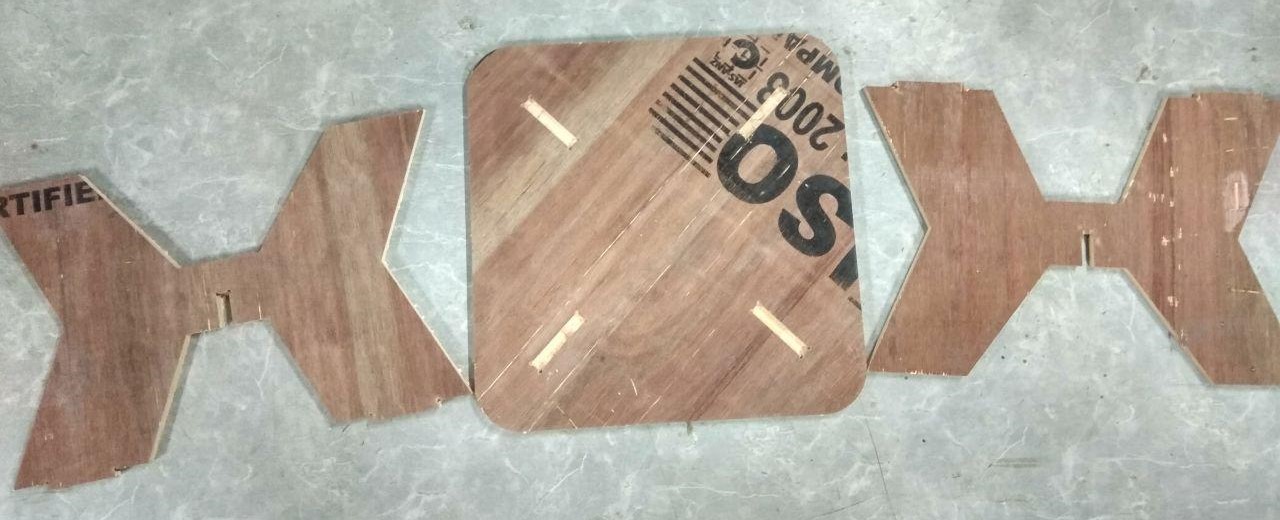
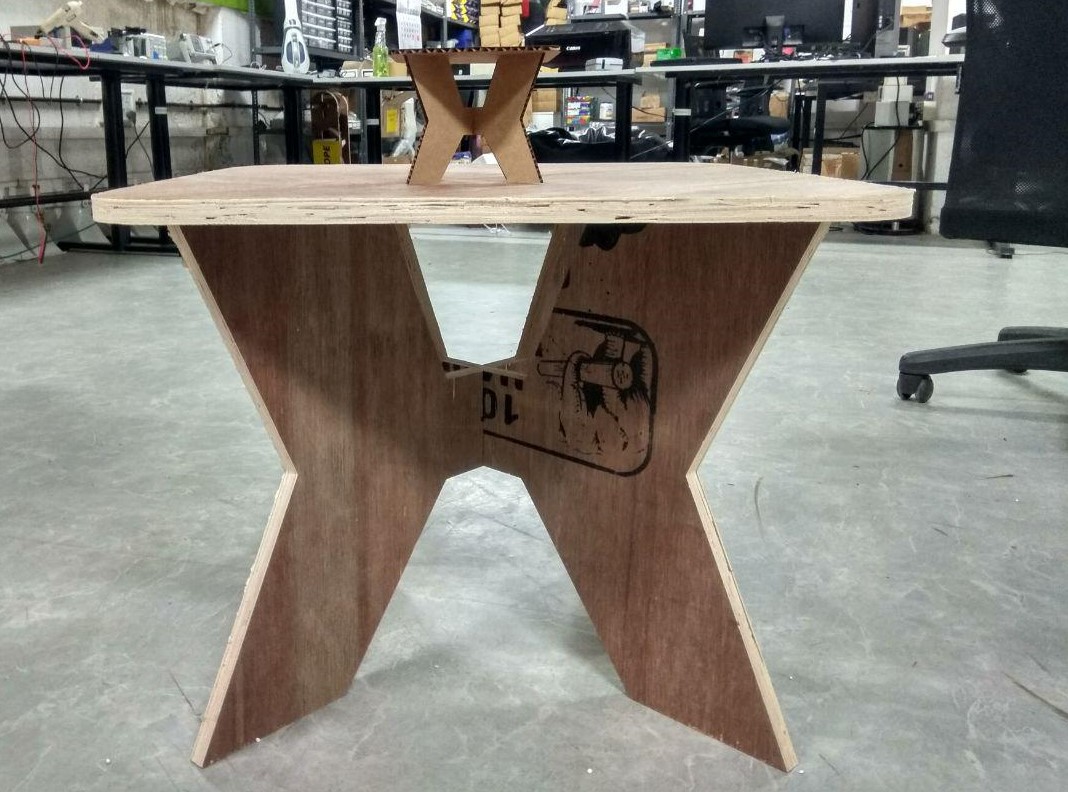
Assebling
We have mainly 3-part so it's very easy to Assemble.
Hero Shot
Gallery