- Evaluate and select 2D and 3D software
- Demonstrate and describe processes used in modelling with 2D and 3D software
- Model (draw, render, animate, simulate, ...)
Difference between Raster and Vector image
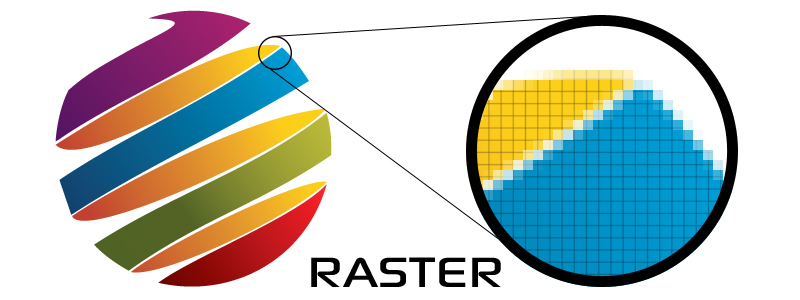

I just got the idea between raster and vector images by just looking at this picture, this explains everything
Raster image is made up of individual pixels. Each pixel contains only one colour and is arranged in a certain fashion to make up the image. This is how normal pictures are displayed. The problem with raster image is that the maximum resolution is limited by the number of pixels.
That means, when you try and scale the image into a larger size, the quality drops and the edges of lines become fuzzy (staircase effect). This is the major limitation of using raster images.
vector image is composed of paths, which are represented by mathematical functions. These mathematical function represents the actual borders and the different elements in the image. Hence the maximum resolution of the image is not limited by the number of pixels. These mathematical functions can scale easily giving lossless ability to zoom to any extent on the image.
You can erase pixels in a raster image using the eraser tool but, that is not possible in a vector image. In a vector image you can only trim the path according to some constrains.(I got this great explanation from the internet)
2D design
- Raster— Gimp, Mypaint, Photoshop, Kirita.
- Vector— Inkscape, Adobe Illustrator.
3D Design
- Rhino,Fusion360,Onshape.
Raster
GIMP
GIMP is Free and Open Source Raster Graphic editor used for image retouching and editing ,i feel like it's open source verison of photoshop.I just Designed a logo for Water level meter (it's a old project idea).
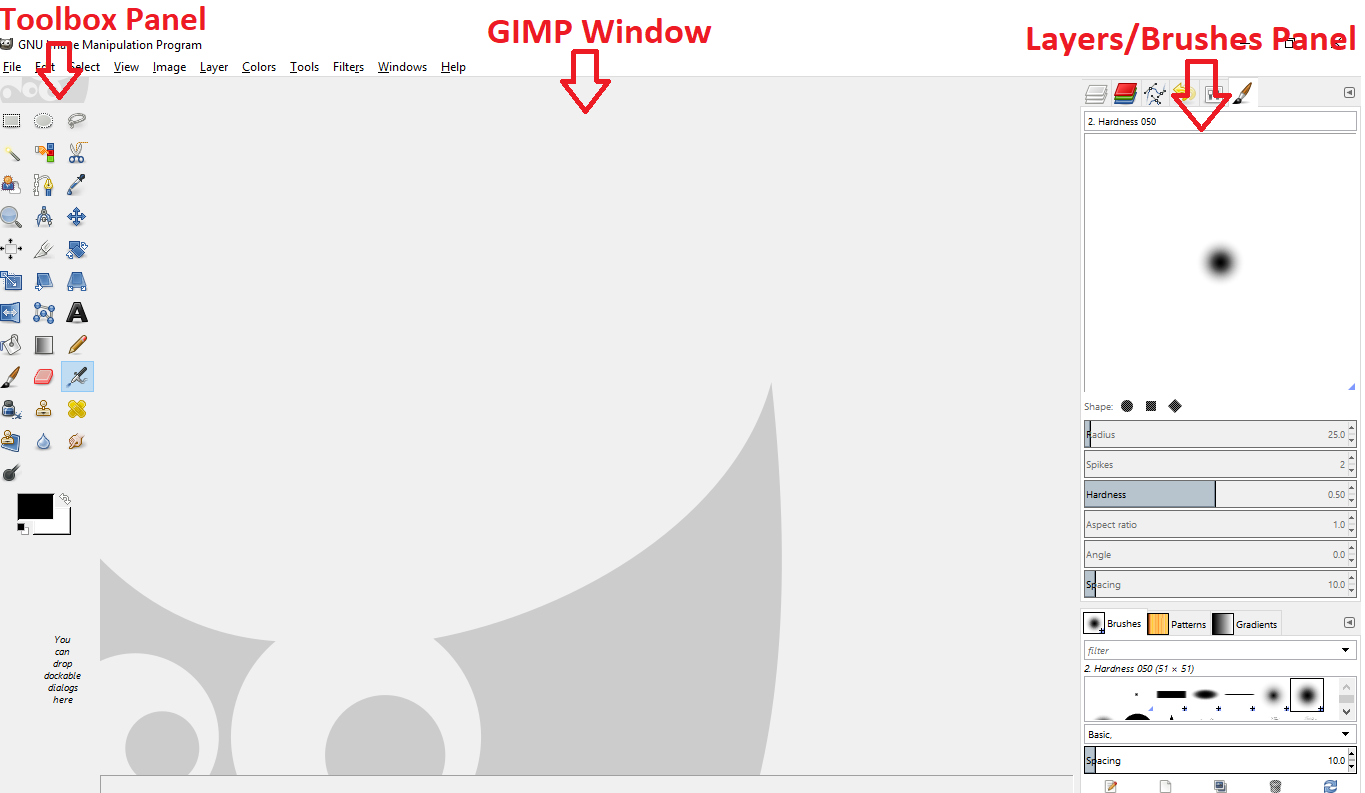
There is acutally Three main windows, Toolbox panel , GIMP Window and Layers/Burshes Panel, in default three panels are seprated , but we can manually dock three panels togther, i choosed docked window.i started to design a logo,
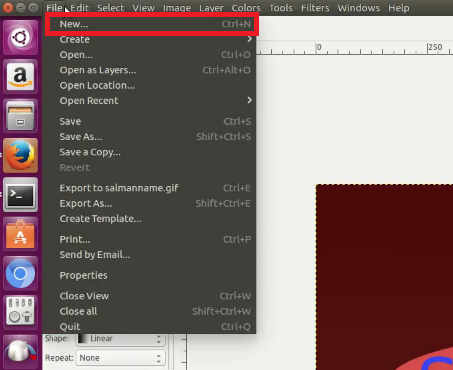
so first i started to create canvas with size 1020x1024 px in File --> New
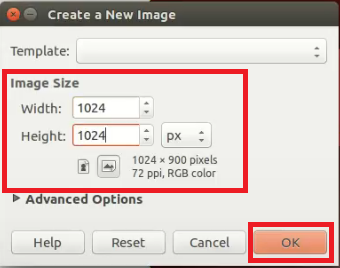
Here i created a canvas with size 1024 x 1024 , now we can start to draw , it's better to get guide lines when we draw or write something , so next am going to add a verticaland horizontal guide line. we can add new guide in Image => Guides => New Guide
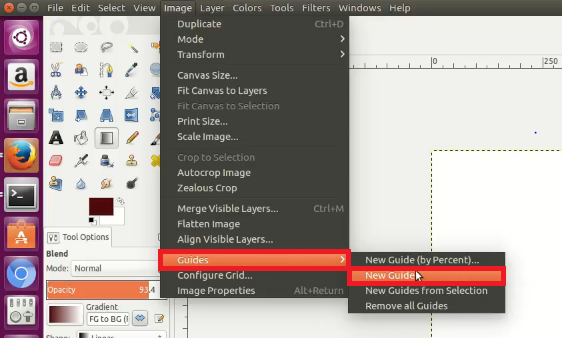
In the following winow we can select where we need to guide , Horizontal or vertical.

Here First i selected horizontal guide line in center position by selection 50% in position.after setting both horizontal and vertical we can see the window like this.we can actually set the guide line anywhere in the canvas , here we only need only two in the middle.
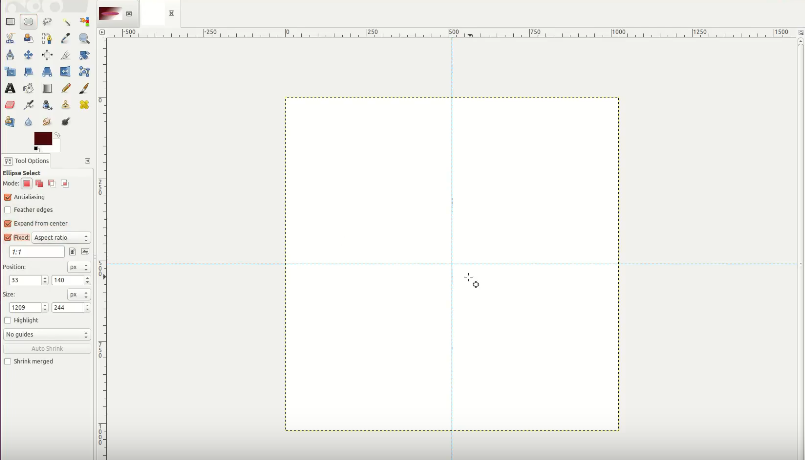
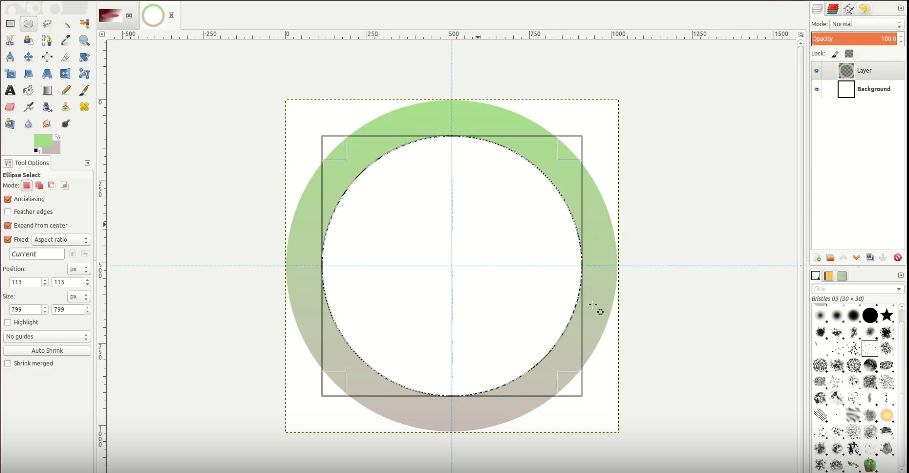
Now can see a light blue lines added as guide lines in the center of the canvas , Now we can start to drawing .I need to design a logo, my plan to design a rounded logo , so first i started design a circle , it can be easliy align in center with the guide lines.
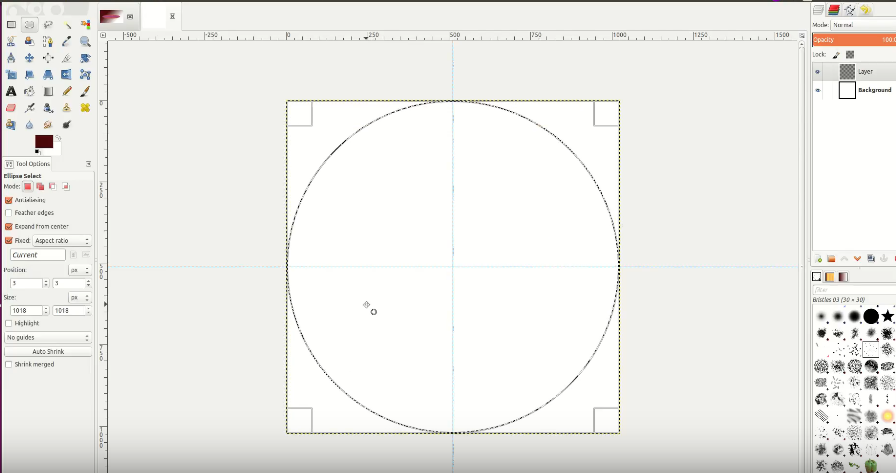
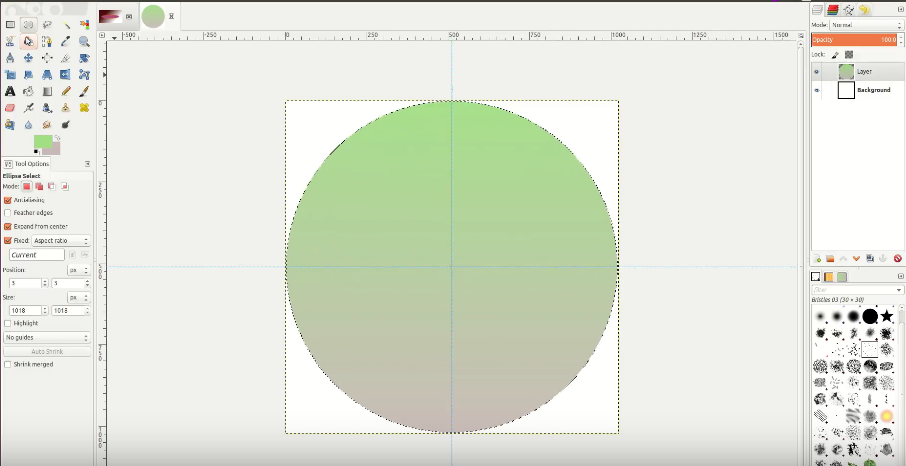
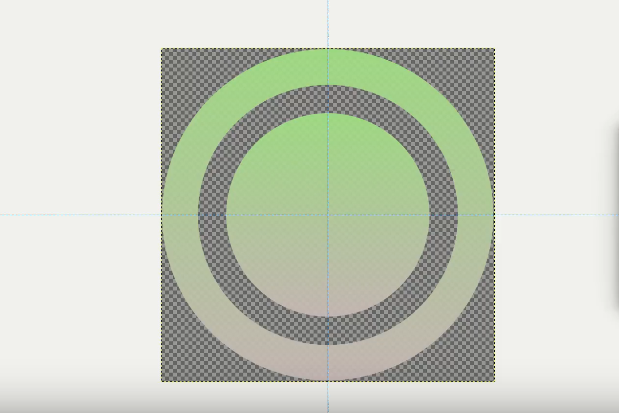
Here i utilized the guide lines to draw a perfect circle , and i also used gradient to color the circle .gradient is a color ramp or color progression, here i used green and hash color to make the logo color progression. I want to write the name on the center of the logo , i just created another circle the center and deleted the un-wanted portion from the drawings.

For deleting the Circle portion , first selected the inner circle and cuted part by right clicking and select cut part.next i added another circle inside the main circle and filled color in the circle gap between main circle and the smaller circle we just created now . next i added text "SENSE" the same light blue color .
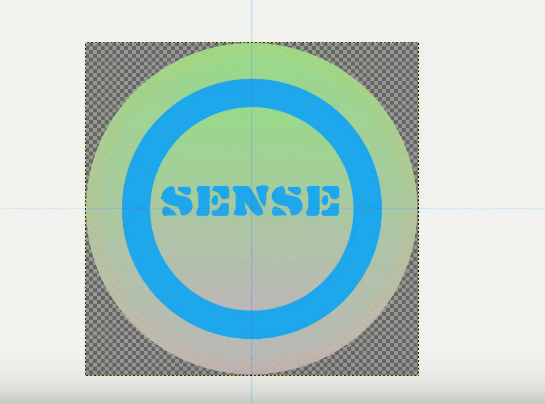
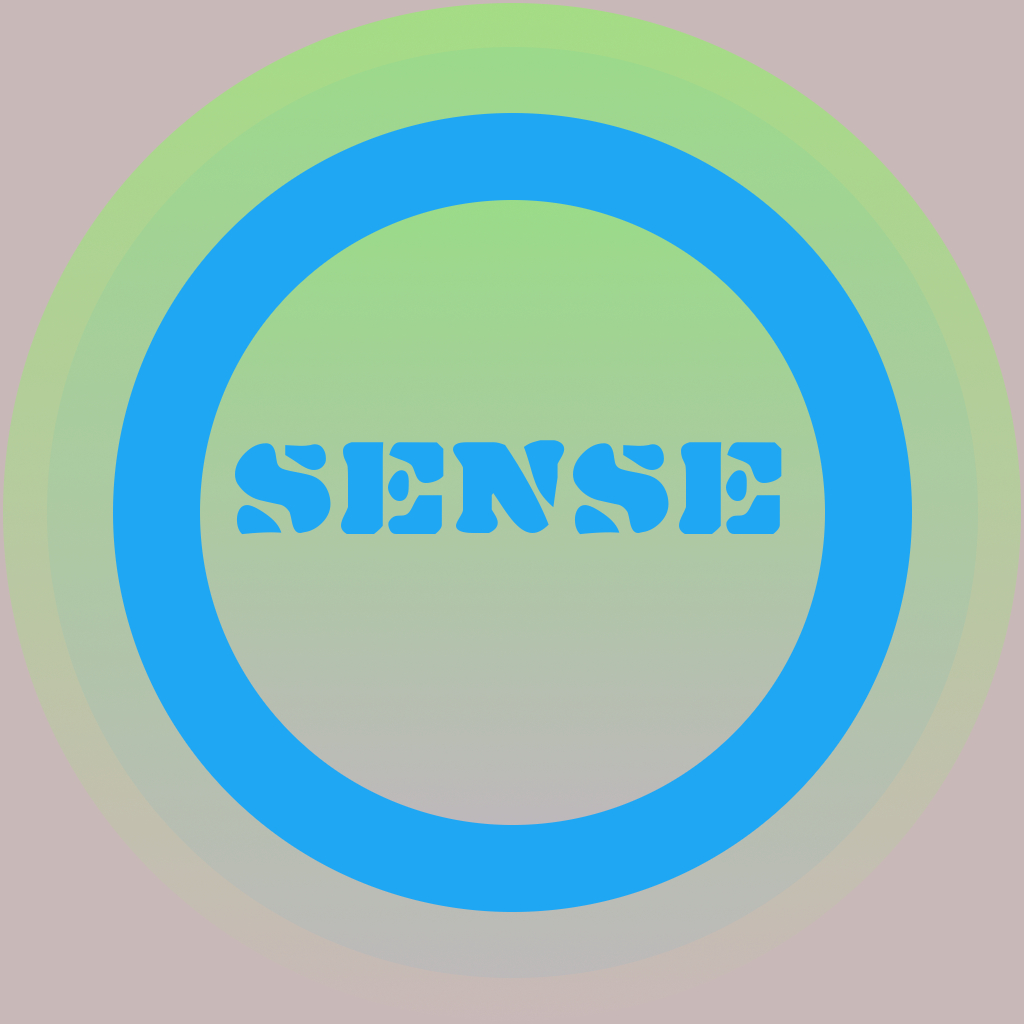
Now we got our completed logo, so next i exported image as JPG.here you can Download the logo GIMP Design File
i recorded my scree while designing the logo , we get better under standing when watch this about how to make a logo using GIMP.
My paint
Mypaint is a free and Open-source raster graphics editor for digital painters with focus on painting rather than painting image manipulation or post procrssing . it's actually a great simple software for drawings.i really love it .professor neil aslo using the my paint app when he draw someting . i just draw a animation character , software is working very smoothly in my computer .in the first look it's look like Micorsoft Windows paint. one think i like about this is it's brushes , cool collection of brushes for drawing .
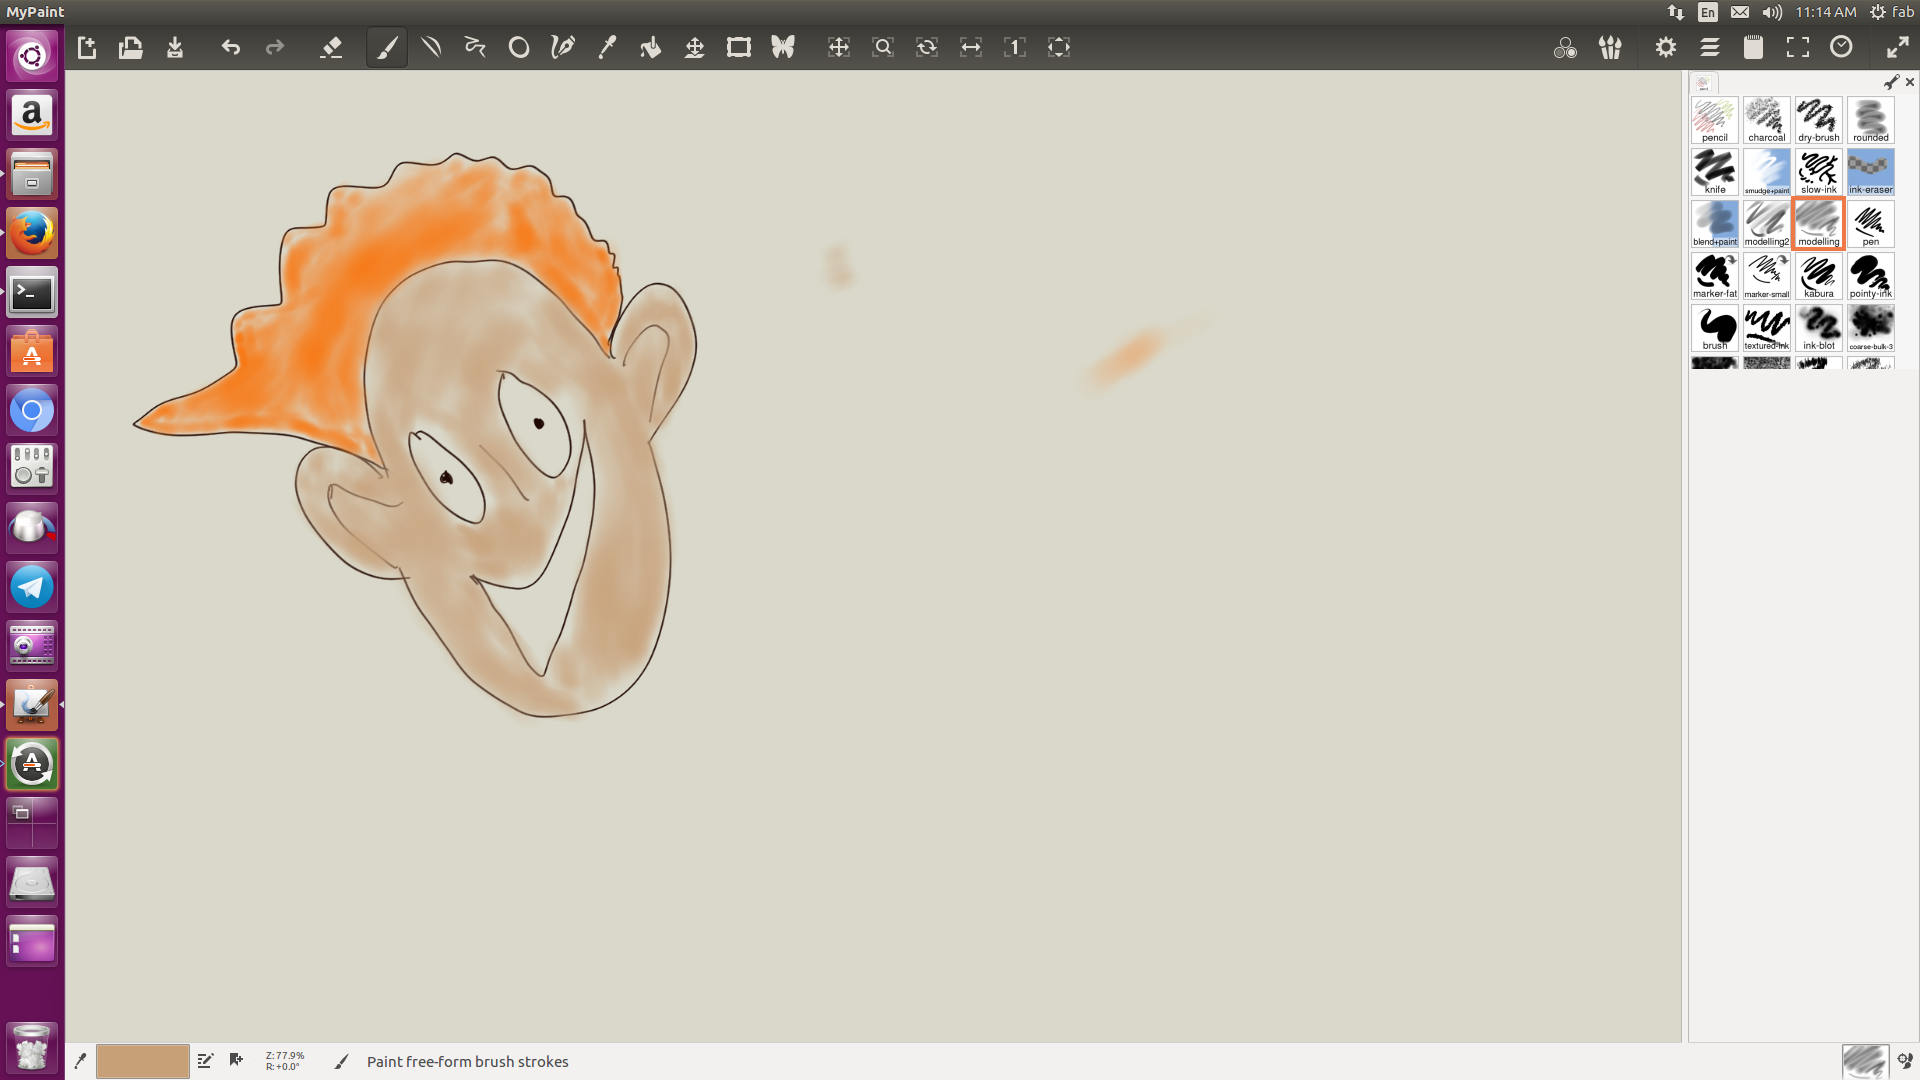
Here you can download the MyPaint Sketch Design File and here the myPaint github repo :- https://github.com/mypaint/mypaint
Krita
Krita is a free and open-source raster graphics editor designed primarily for digital painting animation purpose.I would like to do simple animation so i think this is best way.Now am going make a dancing animation . the animation is done by drawing pictures and it will play one by one we can feel that like a moving object , so here we are drawing imegs (yes multiple images )to make it move.Krita Download link :- https://krita.org/en/download/krita-desktop/
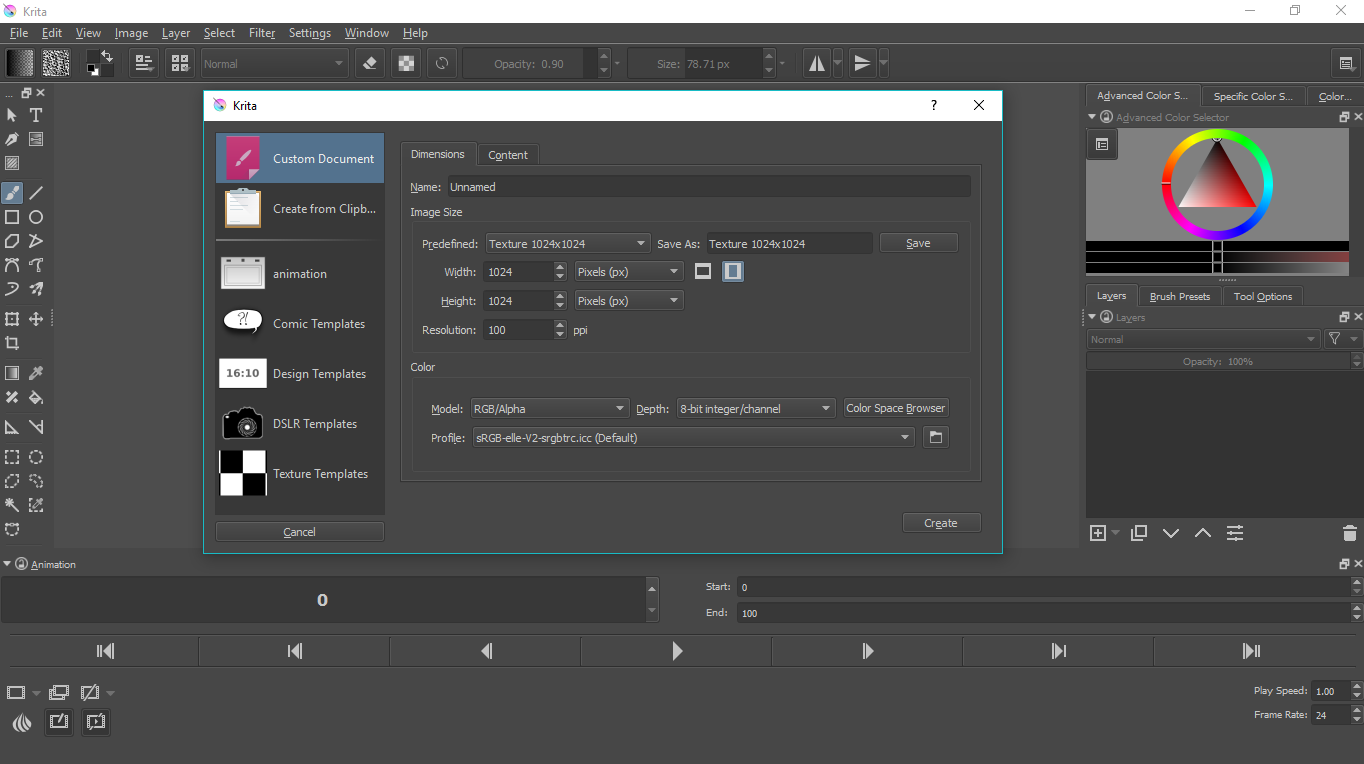
I downloaded and installed the krita app on my windows machine , but due to some problems i ued fab linux machine for this , first i created new file by File => New . and i selected Custom document and at clicked Create.

First i draw a face with using 3.40 px brush , just smiple face and after that i utlized Timeline section to create a new frame ,after getting new frame i draw other parts like hands up and down images.

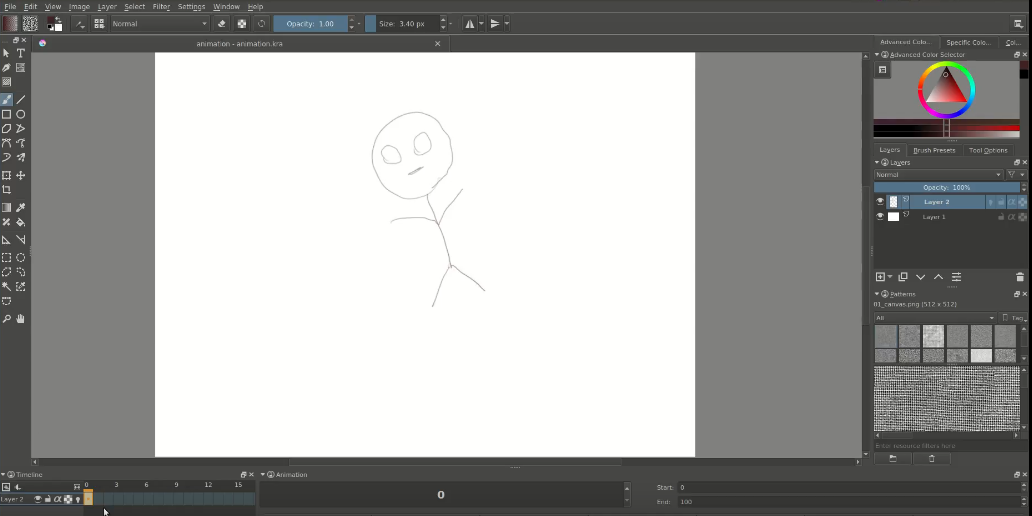
For each new image i draw i made that a frame , and at last i seted the image trasistion speed and other thing after i exported as GIF.here is the animation that i made
I was very much intersted to do this , after the dancing one i did another one , a smiling face.
Here you can Download the Krita Animation Design File . I also created a video that shows how i made this animation.
Photoshop
Photoshop is a raster graphics editor developed and published by Adobe Systems. It's a Proprietary software .I completed Water level indicator block diagram using Photoshop(it's my old project idea).
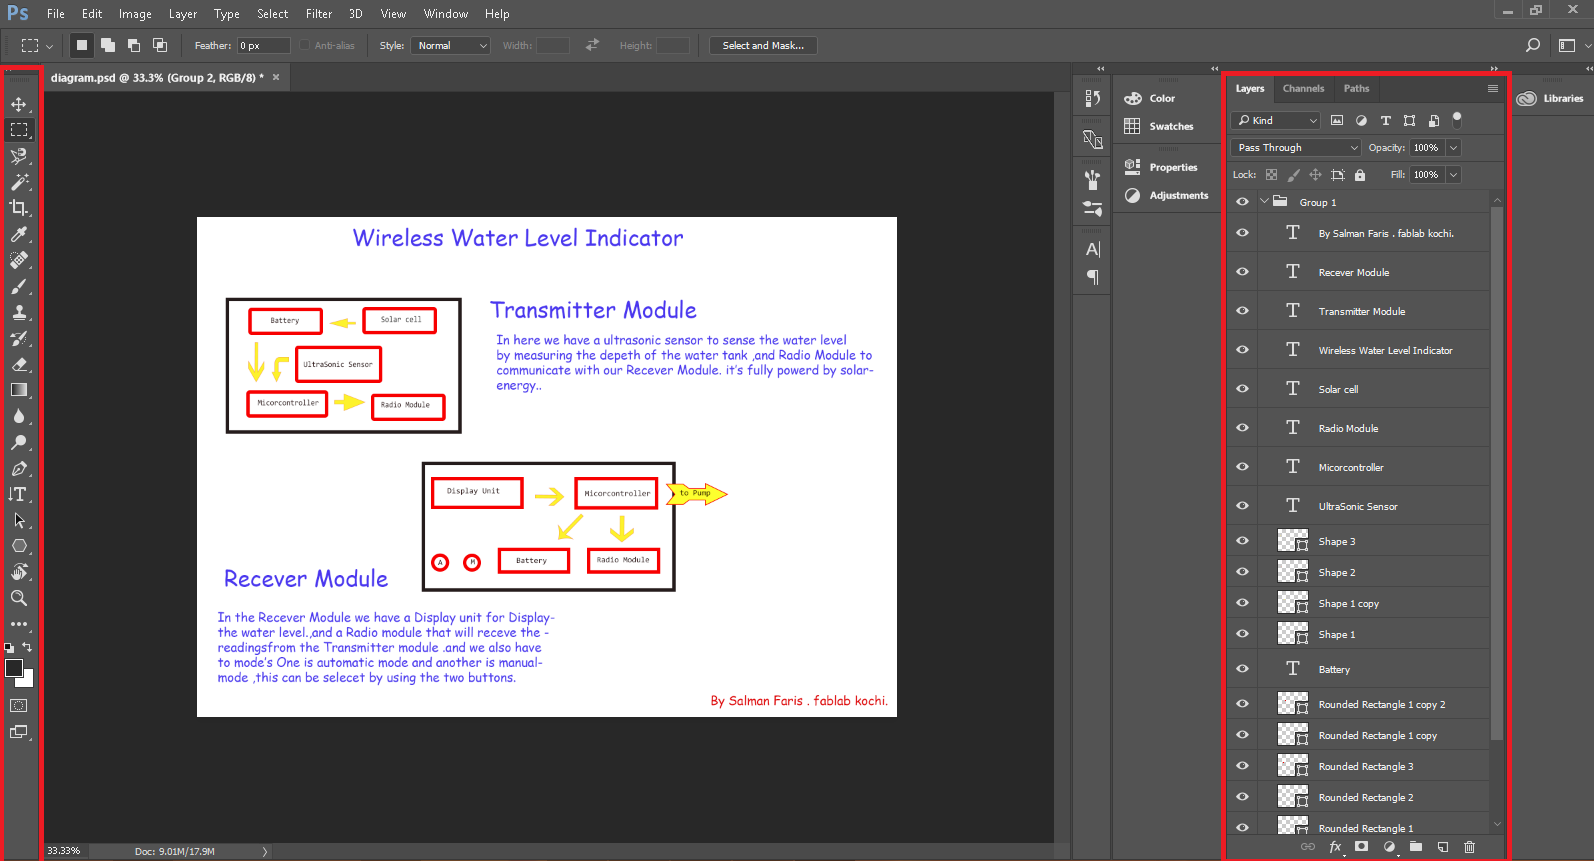
In Photoshop all things is based on the Layers, here in my design you can see Layers in the left side , each component have it's layer , it's make our works easy . it's like a object in programme, and we can call it any other design and modify that .

i used rectangles and arrow sign to make the diagram ,Here you can Download the Diagram Photoshop Design File
Conclusion
GIMP and Photoshop are for same purpose but main differnce is that GIMP is under free and Opensource but Phtoshop is Proprietary. and Krita is one of the awsome tool for Drawing and Render Animation. for simple rough drawing MyPaint is great
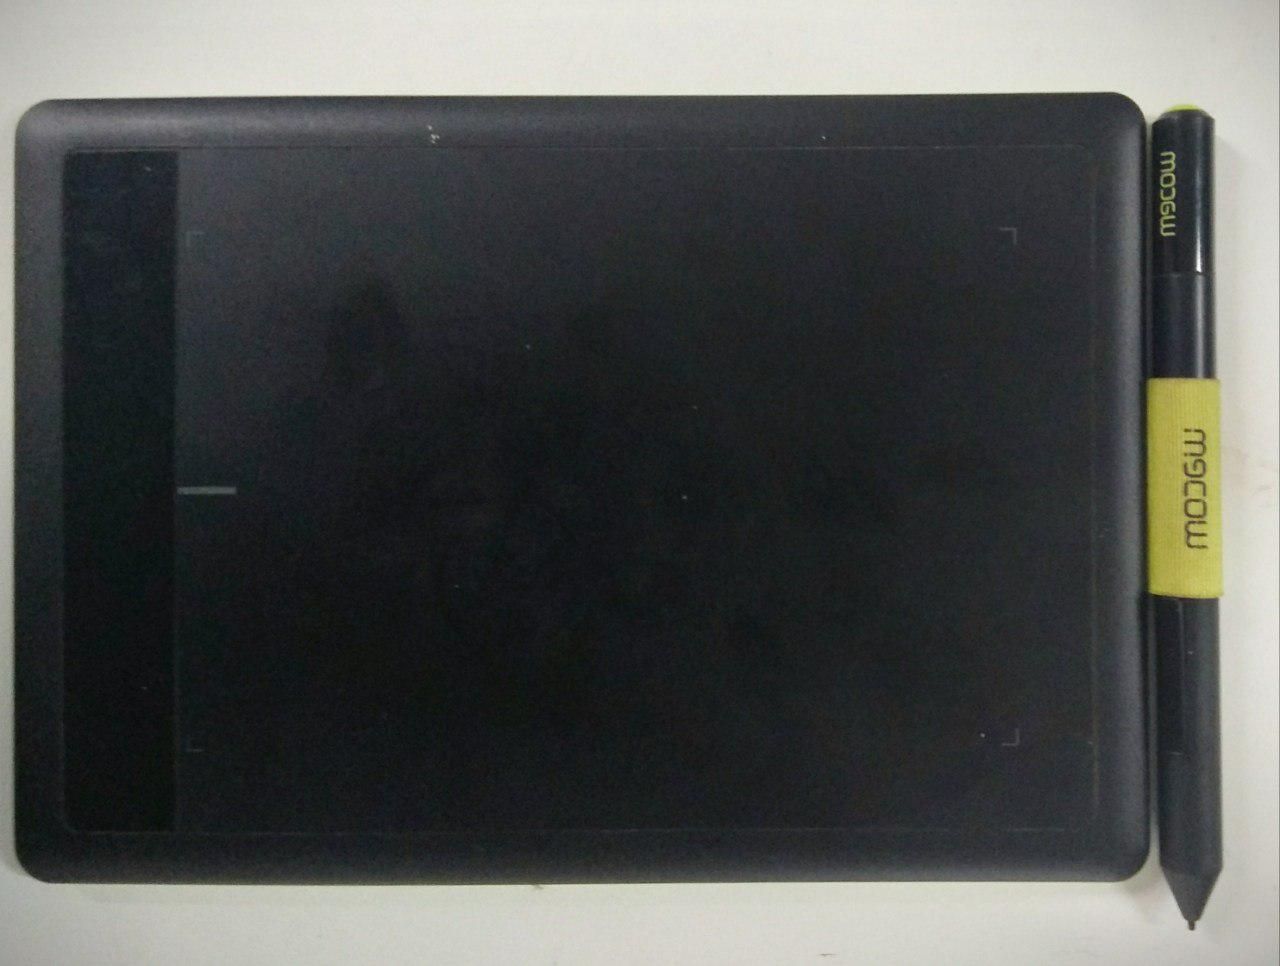
I used Wacom tab with mypaint,kita and it's worked perfectly fine.it's great tool to draw in natural way .
Vector
Inkscape
Inkscape is a free and opensource vector graphics editor.For Laser engraving we need a vector image , so here i convert raster image to vector.png,.jpg to Vector by using Trace Bitmap so i just did my favorite jpg image to laser engraving ready vector image

i used Inkscape Tracebitmap tool to create vector image , it can find under the Path tool bar.

Illustrator
Adobe Illustrator is a vector graphics editor developed and marketed by Adobe Systems. its a poppular software used by designers , I draw a robot using Illustrator.i used pentool to draw this Completely , it's simple process . first i created a new file from File => New and i started to do the work.
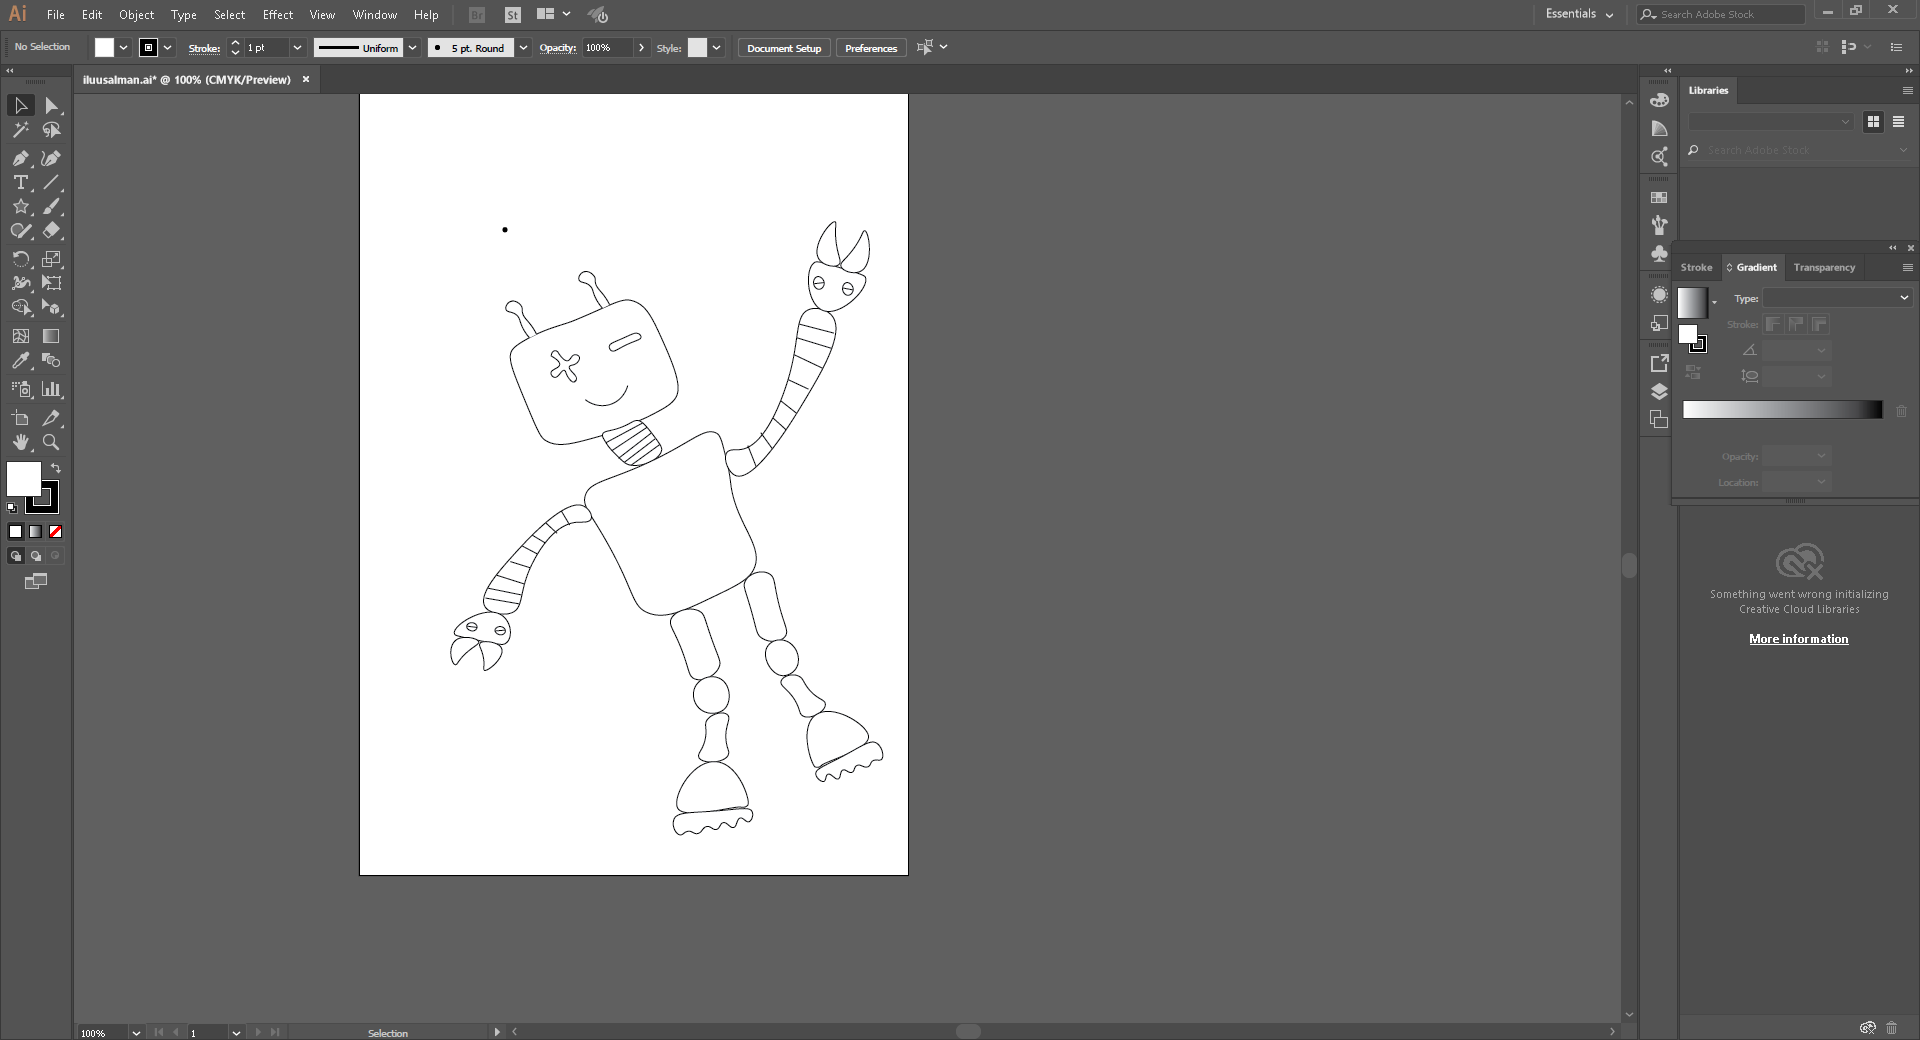
Here you can Download the Illustrator Design File
3D Design
Rhinoceros
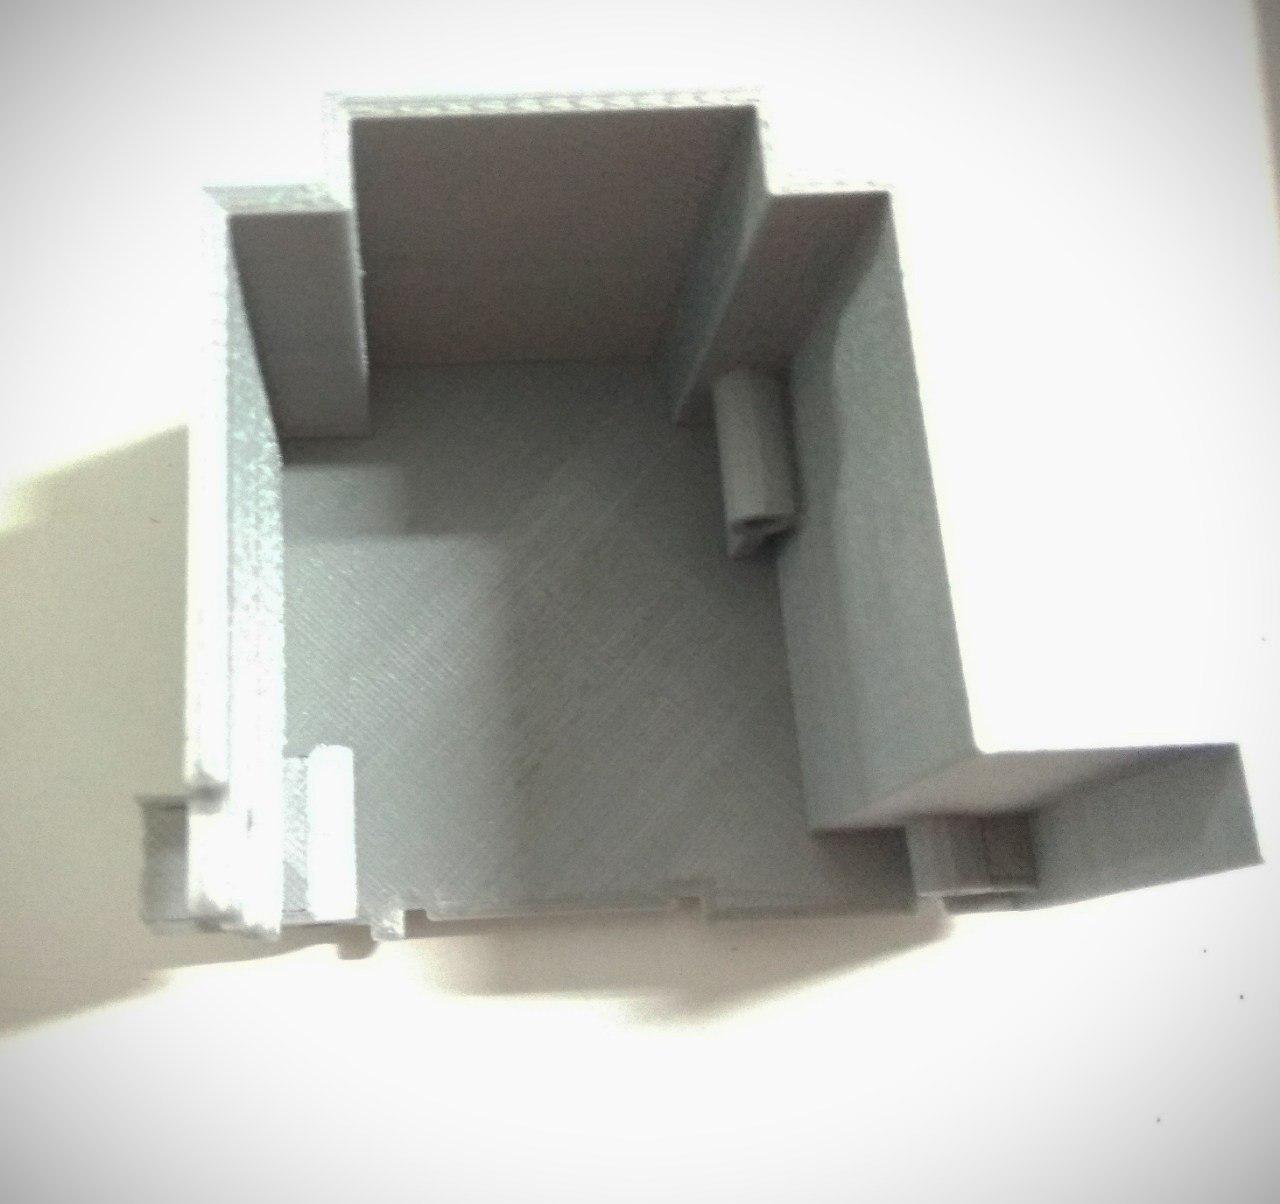
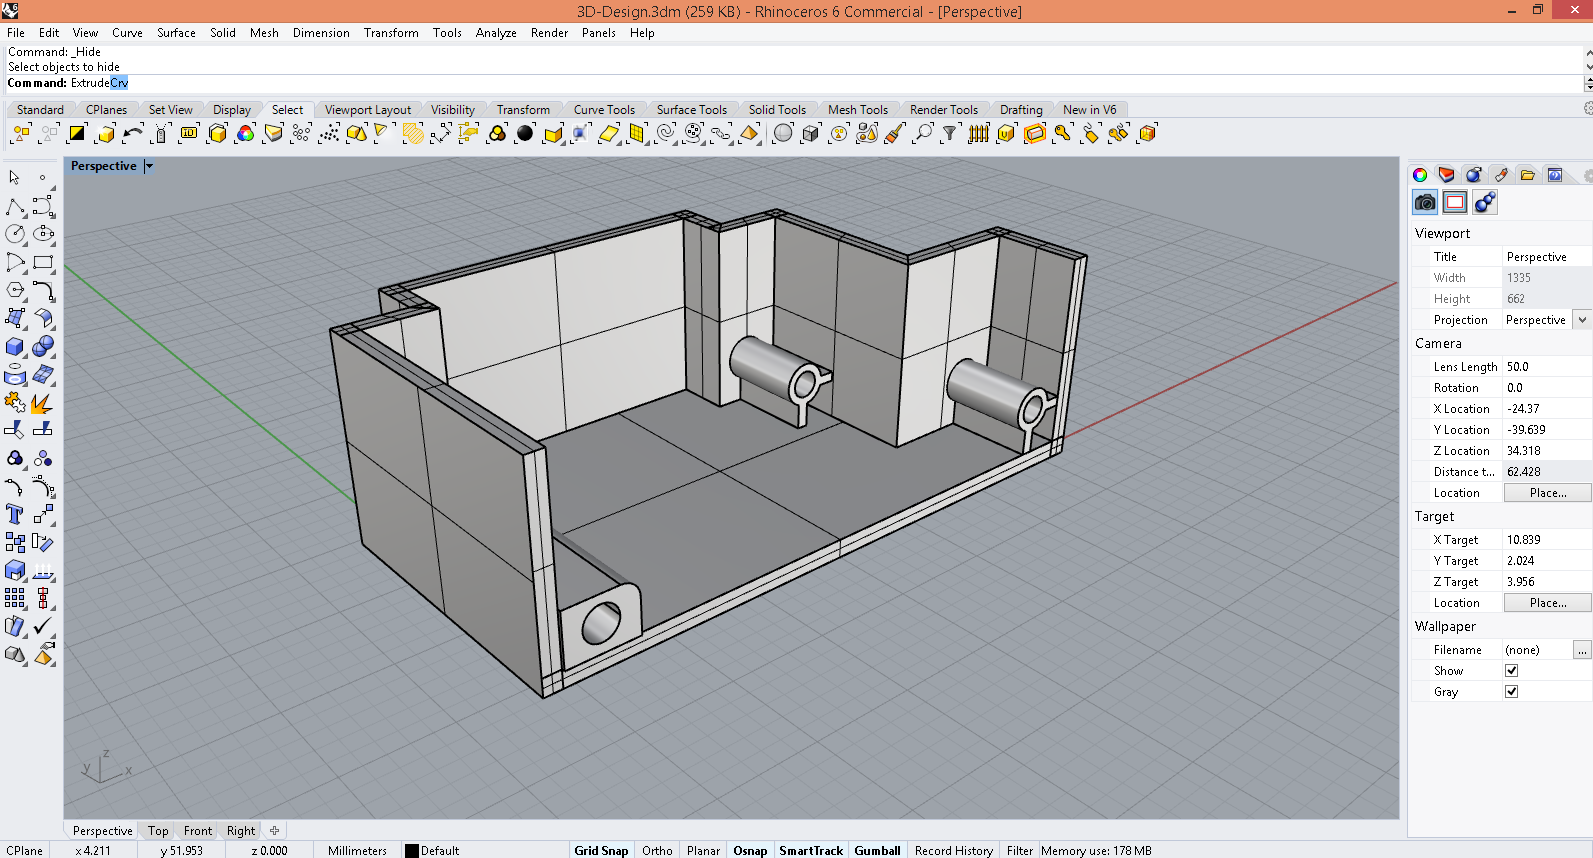
Rihnoceros is a computer graphics and computer-aided design application software.I don't have any experinece in 3d design.so i just started with rihno , i first tried to make a 3d model of a case that's i got from waste box.
SO firts draw the 2D Image , In Rhino we can simply switch between views ,and better to draw 3d in Top view . we can use left corner dropdown
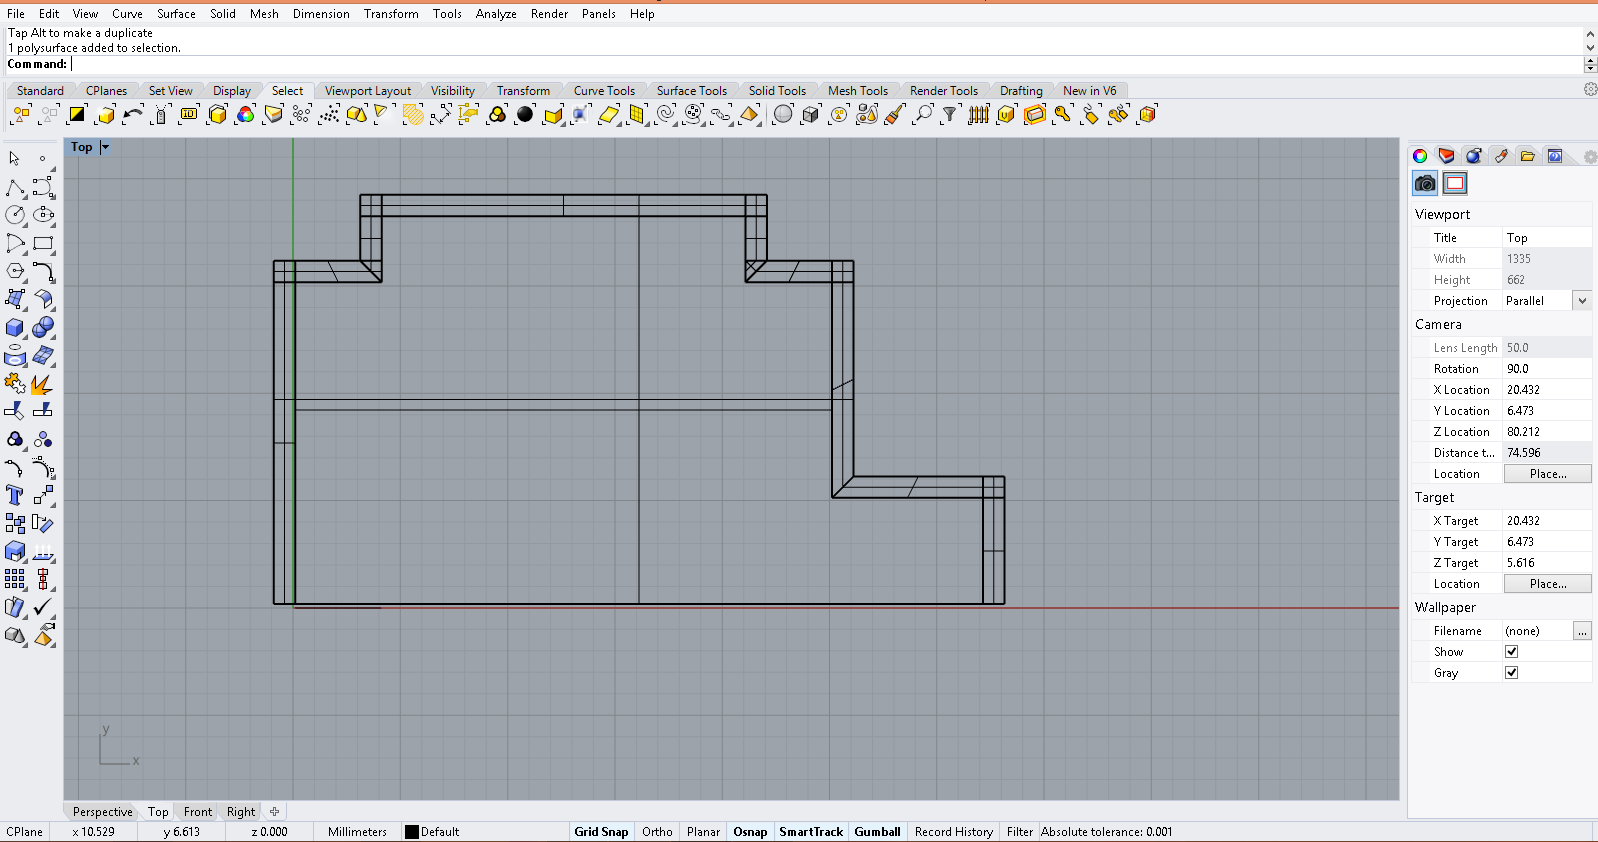
i just try to make a 3d design of this 3d printed case.this is what is designed
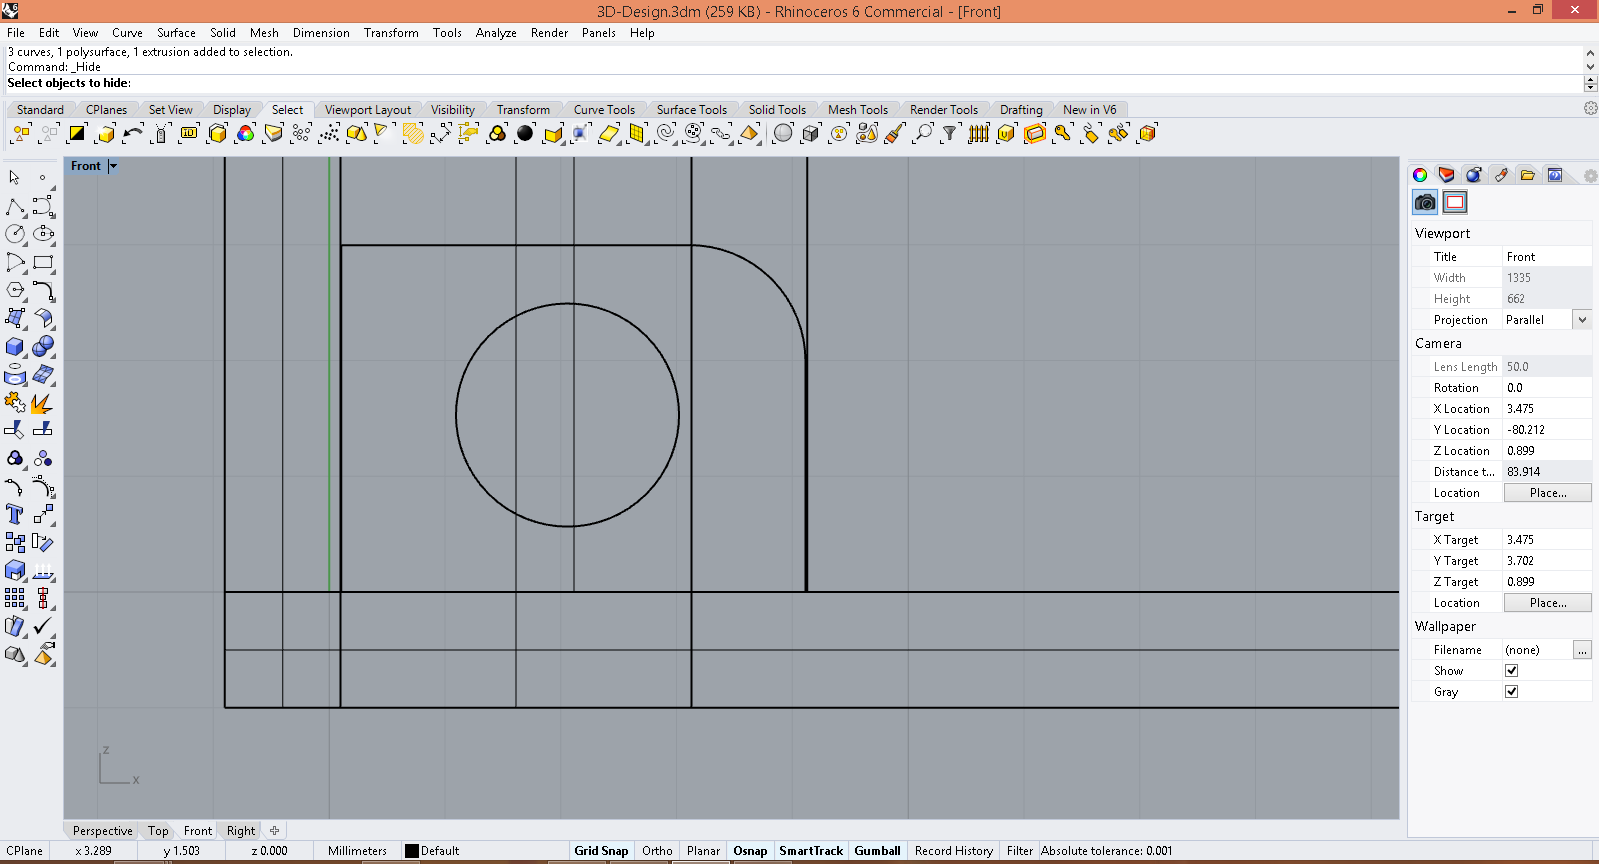
I did the screw hole in Front View using circle tool.
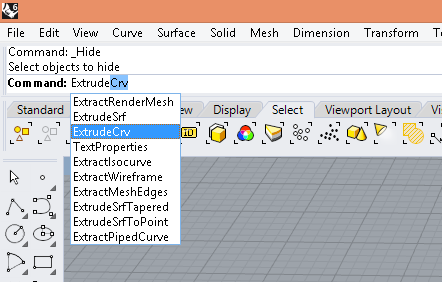
I used Extrude Crv tool to extrude the curves in Presepectice View.I extruded the whole 3d in to height of the actuall part.actually in Extruding Crve we are converting 2D in to 3D.
Resource
Here you can Download the all the Design File's