Assignment 06
- Group assignment: Test the design rules for your 3D printer
- Individual assignment: Design and 3D print an object (small, few cm) that could not be made subtractively
- 3D scan an object (and optionally print it)
Group Assignment:
The purpose of group assignment of this week was to understand the characteristics of 3D printers available in our lab. Currently we have following 3D printers in our Lab:
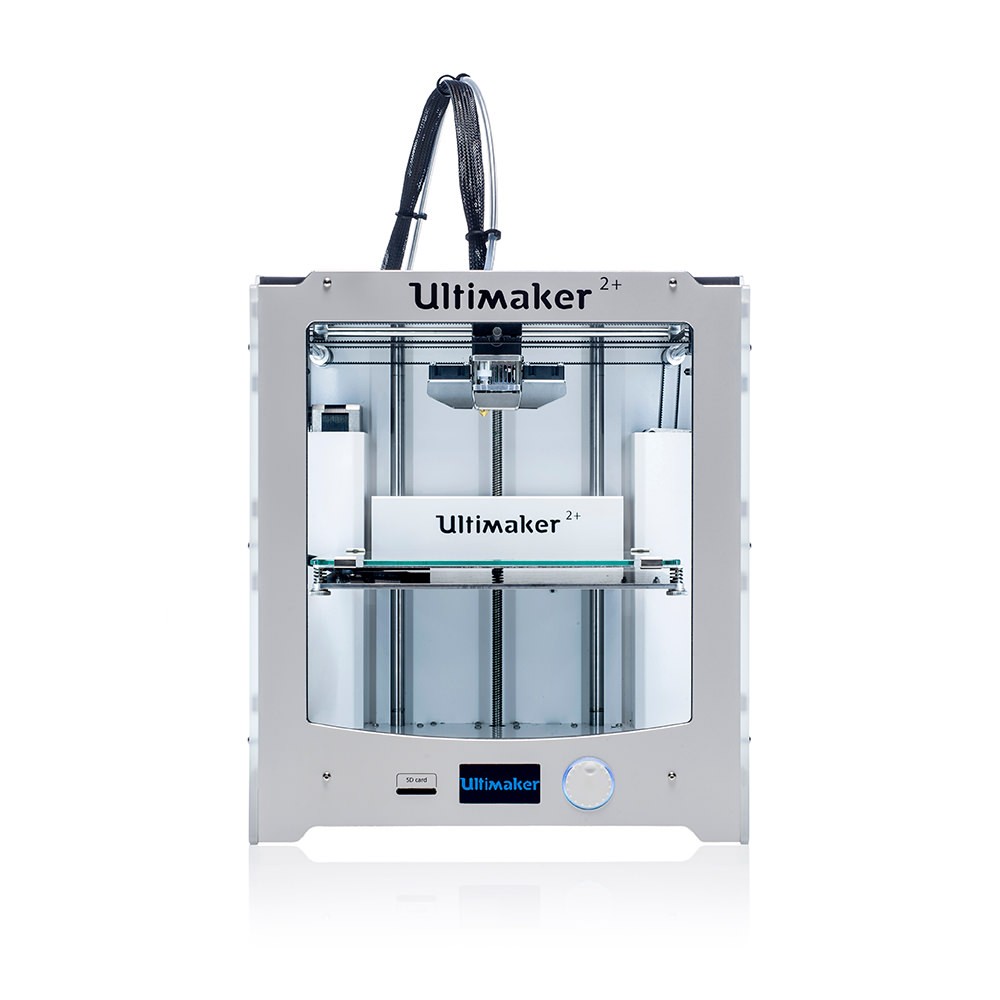
- UltiMaker 2 +
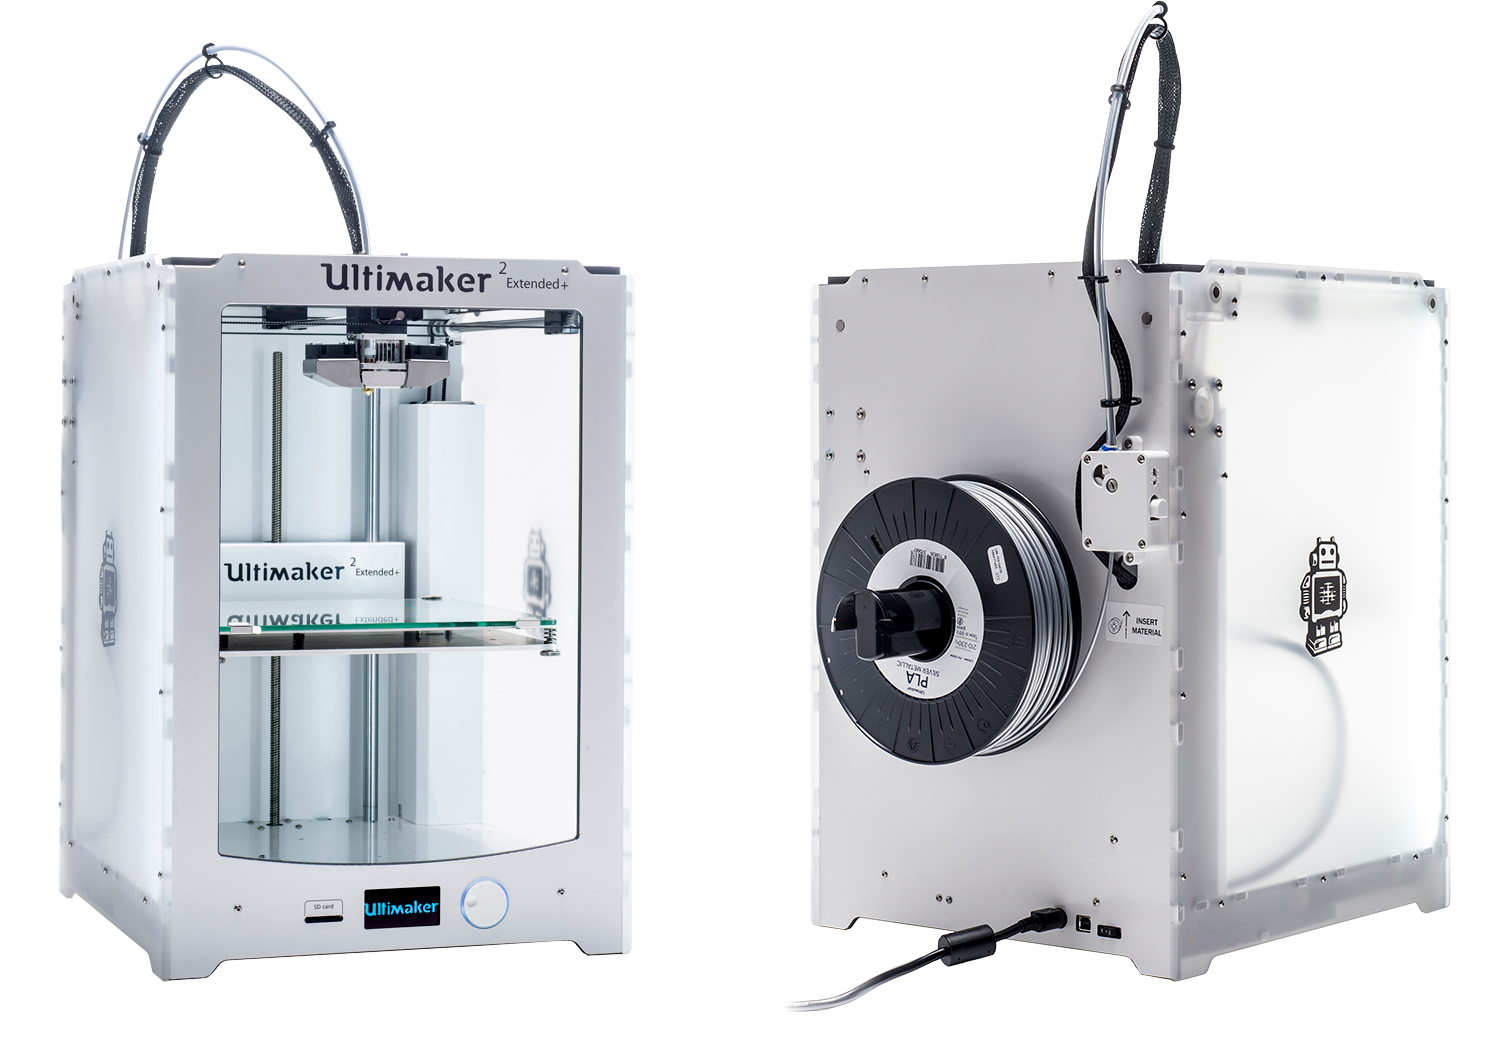
- UltiMaker 2 Extended
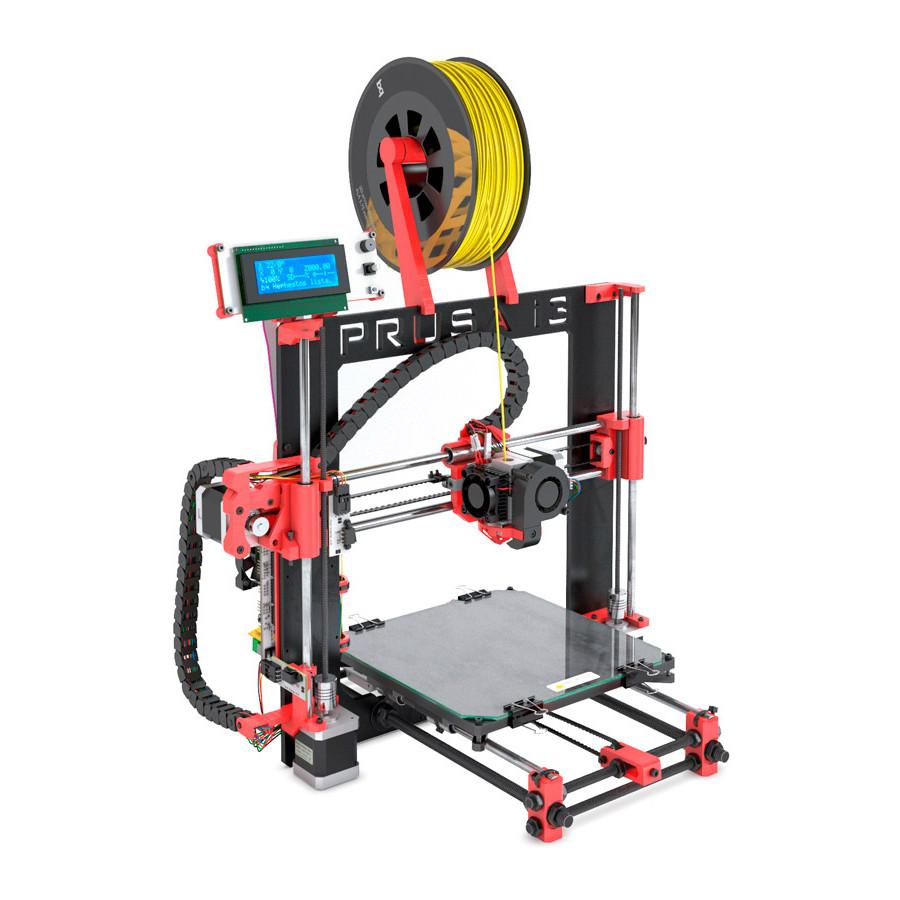
- Prusa i3
In order to complete this group assignment, we used the test object available online that can be downloaded from Here
The image of test file that we downloaded is shown below:
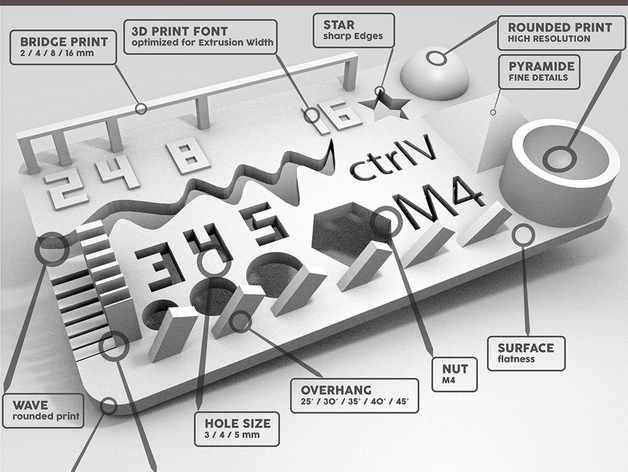 Test Object Image
After printing this test file on both printers, the results for both of them are shown below:
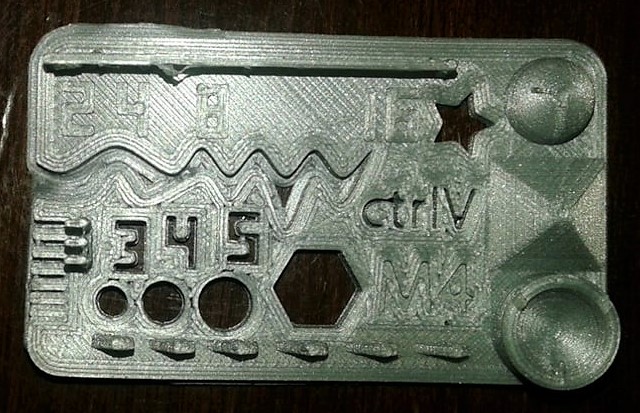 Printing results from Ultimaker
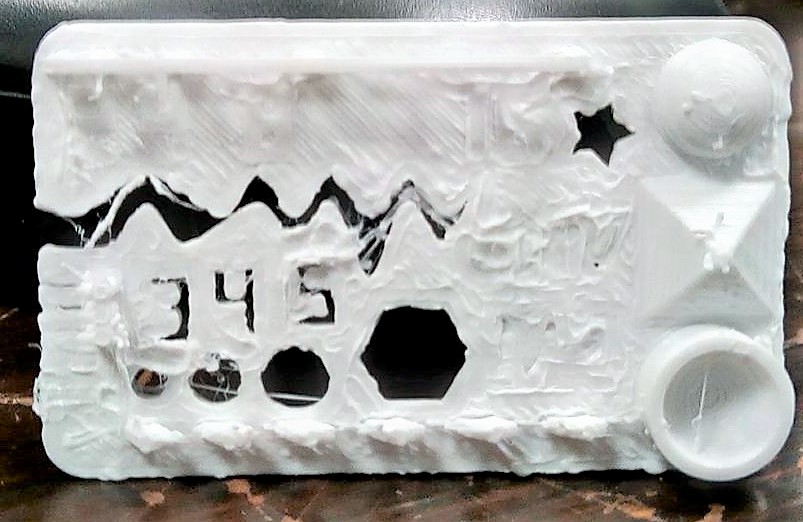 Printing results from Prusa i3
Individual Assignment:
3D printing an object
The task of this week initially looked very easy that you have to design an object and 3D print it, but once we started working over it and designed a few models we felt like these can be made using subtractive techniques as well. We will have to look for something that can only be made using additive technique.
For making something using additive technique i first saw this Tutorial of Rhino Grasshoper in which they tell us about making a Voronoi sphere. Then i thought that putting something inside that sphere will result in an object that can be made using 3D printing.
So using Rhino Grasshopper, i made this 3D model which is shown below:
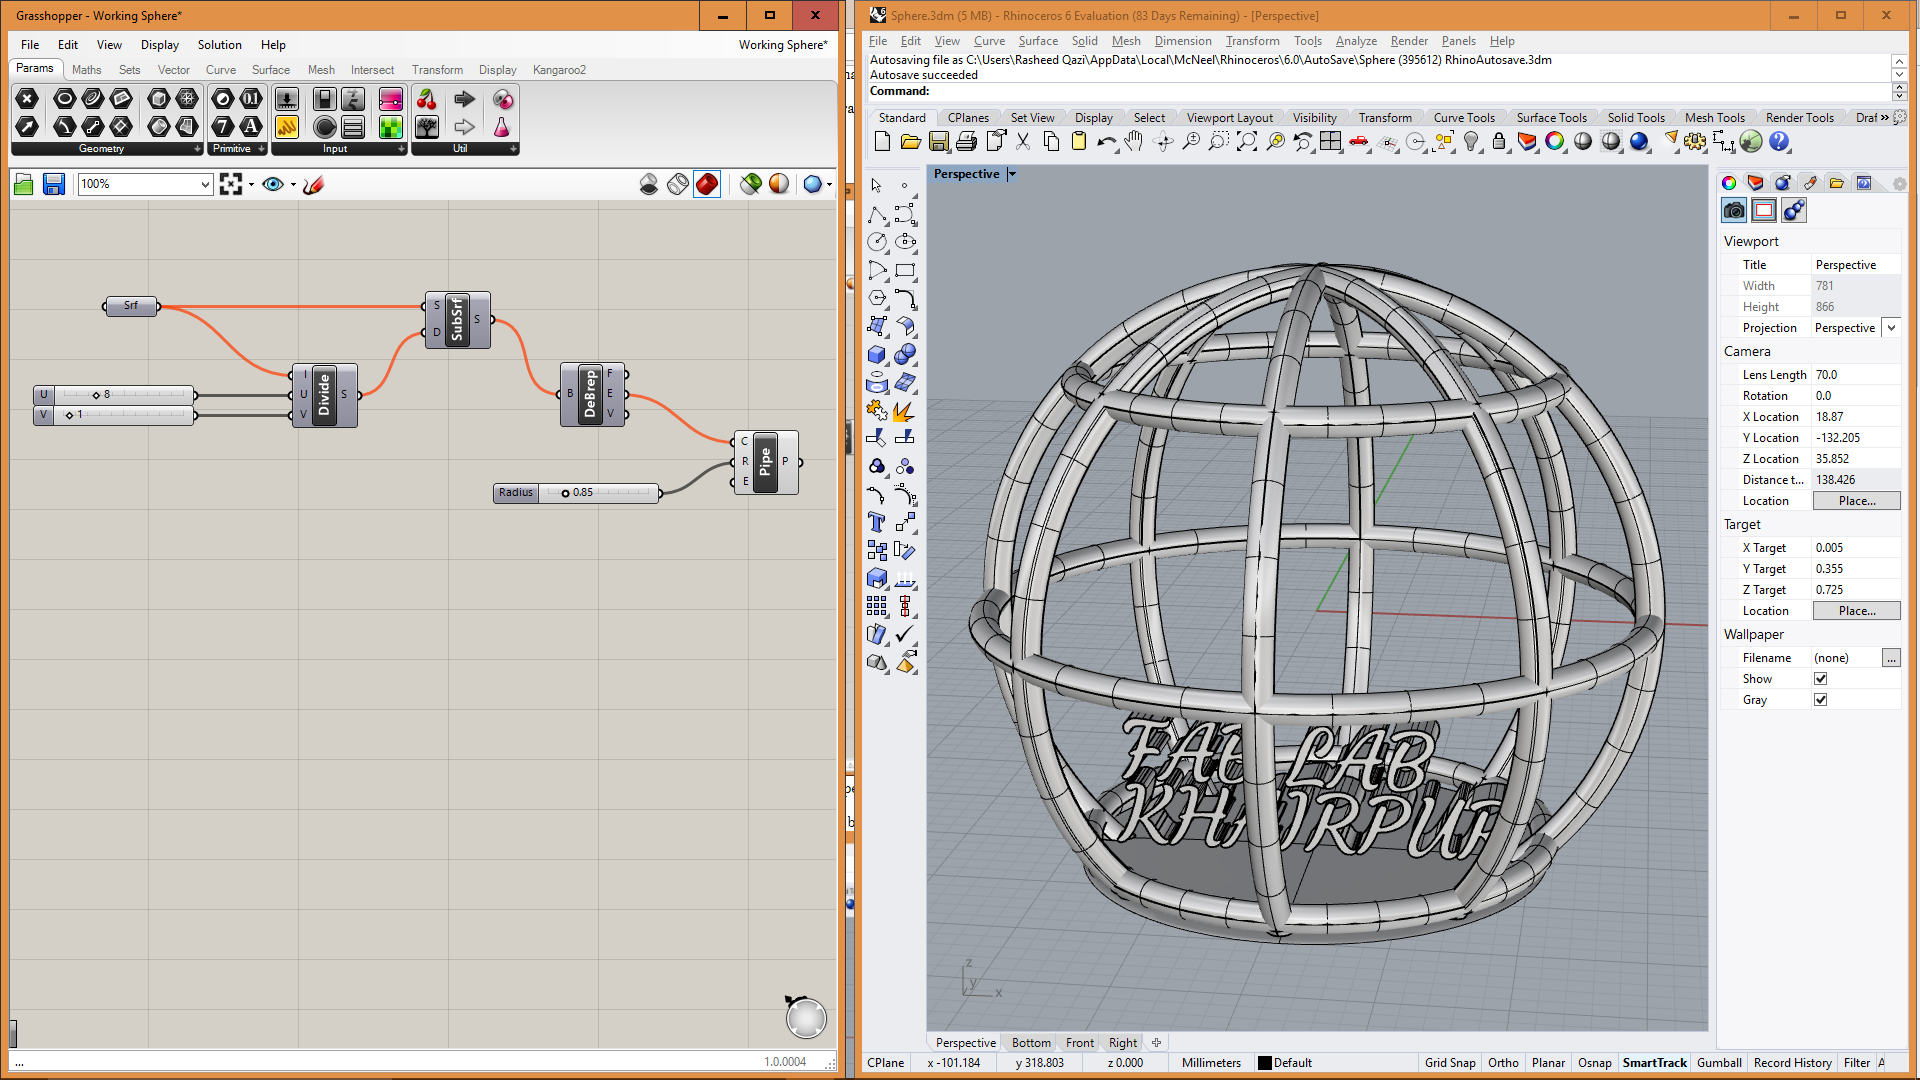 Grasshopper and Shaded view of 3D model in Rhino
After designing the file now it was time for printing, so for that we need a .gcode file but before that our object must be exported as an .stl file. Steps for exporting a .stl file from Rhino are shown below:
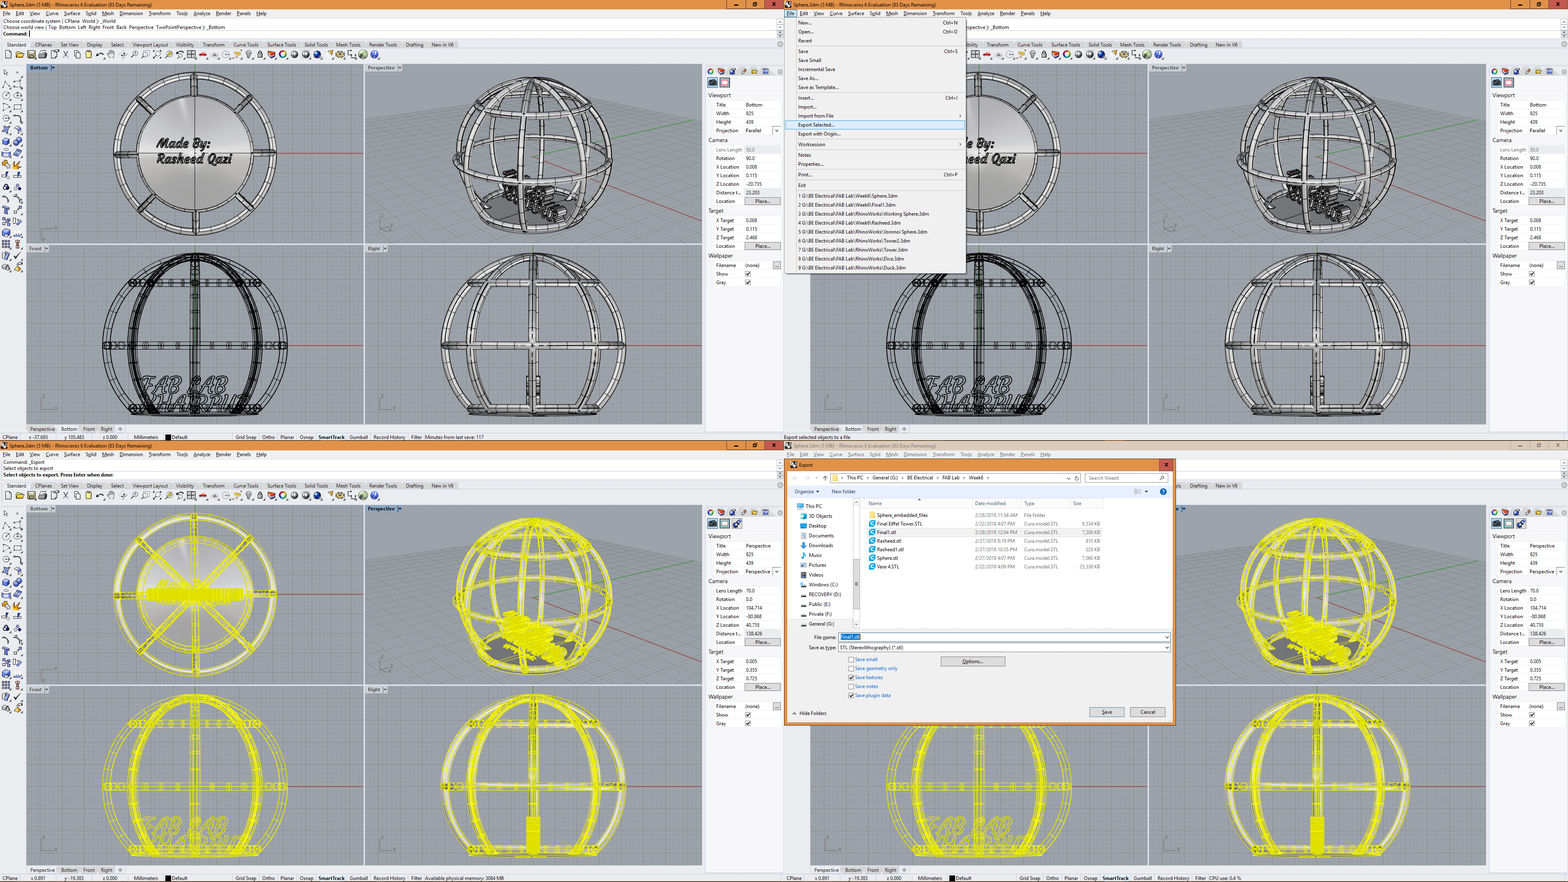 Steps for exporting design
To generate .gcode file from .stl file, I opened the document file in
CURA and performed the steps shown below:
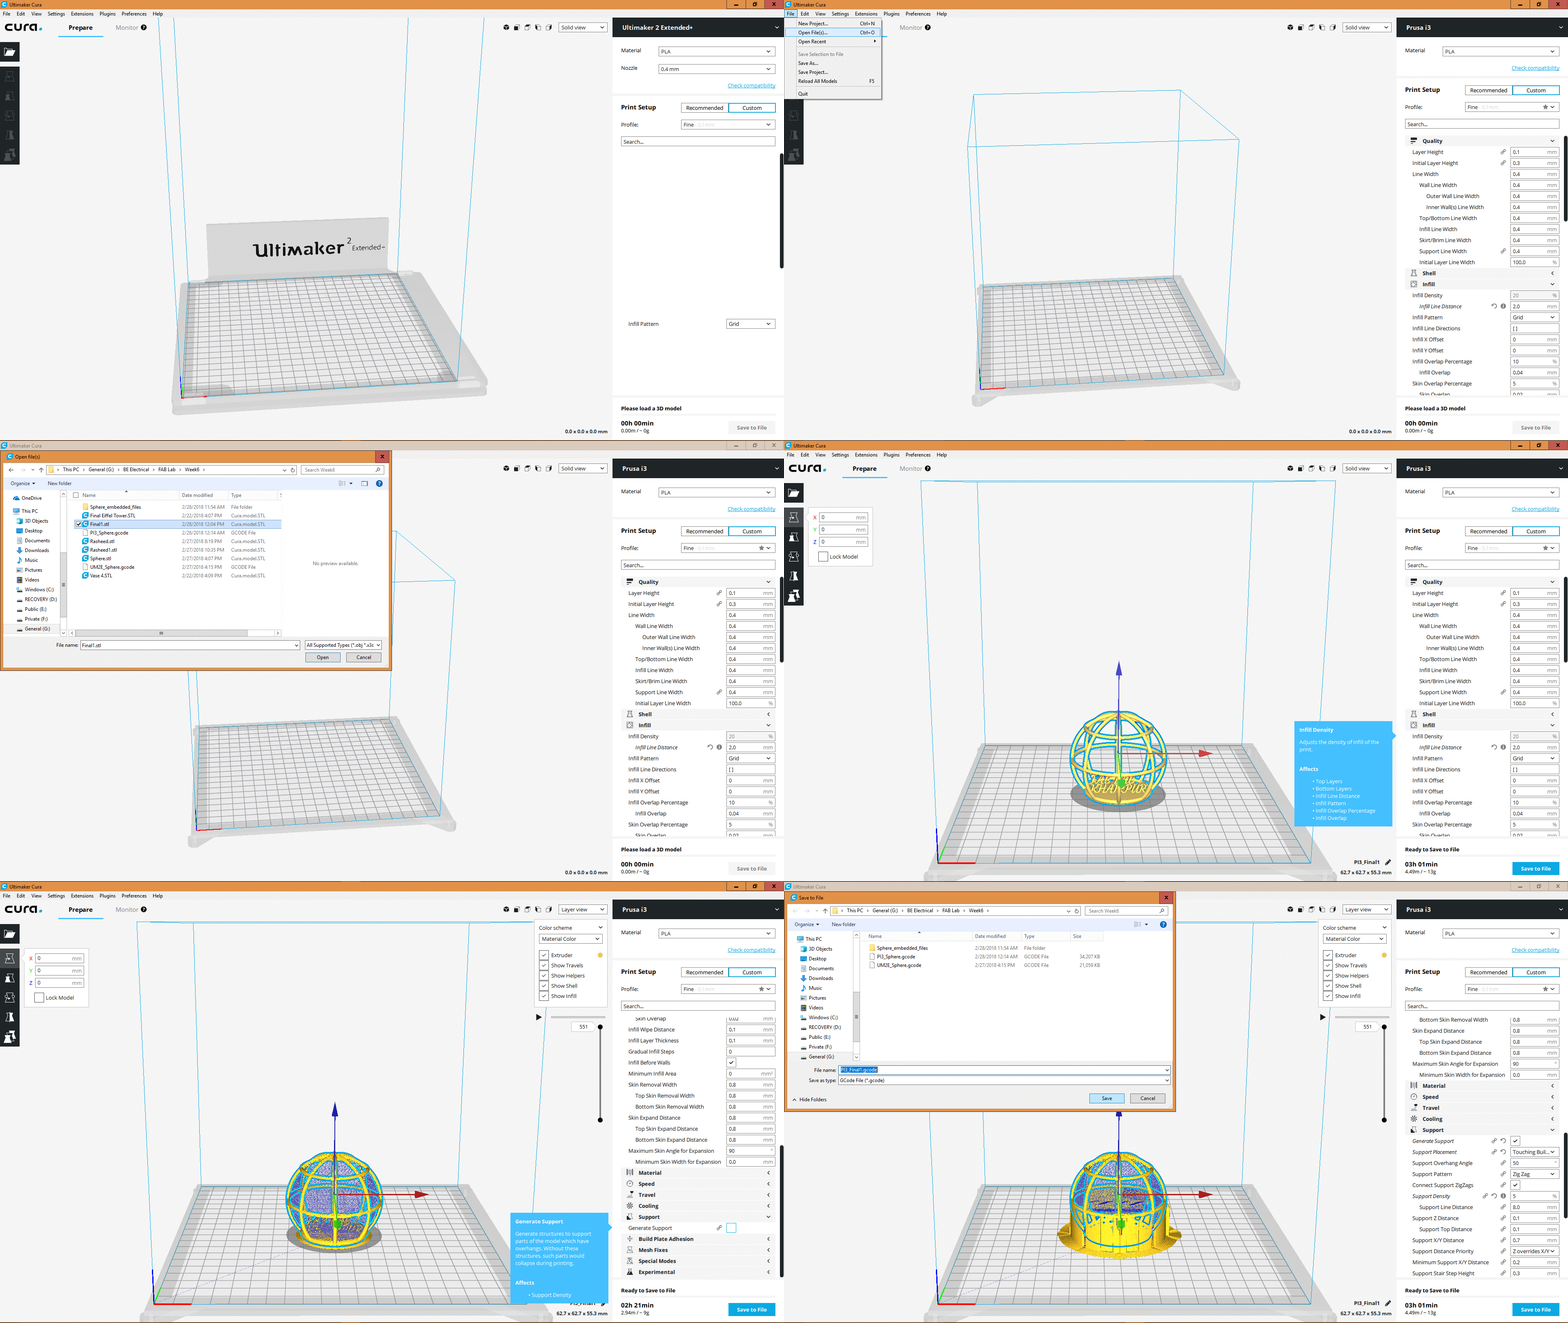 GIF image showing the steps performed in Cura for generating stl file
The results after printing the model by using the .gcode file generated by Cura is given below:
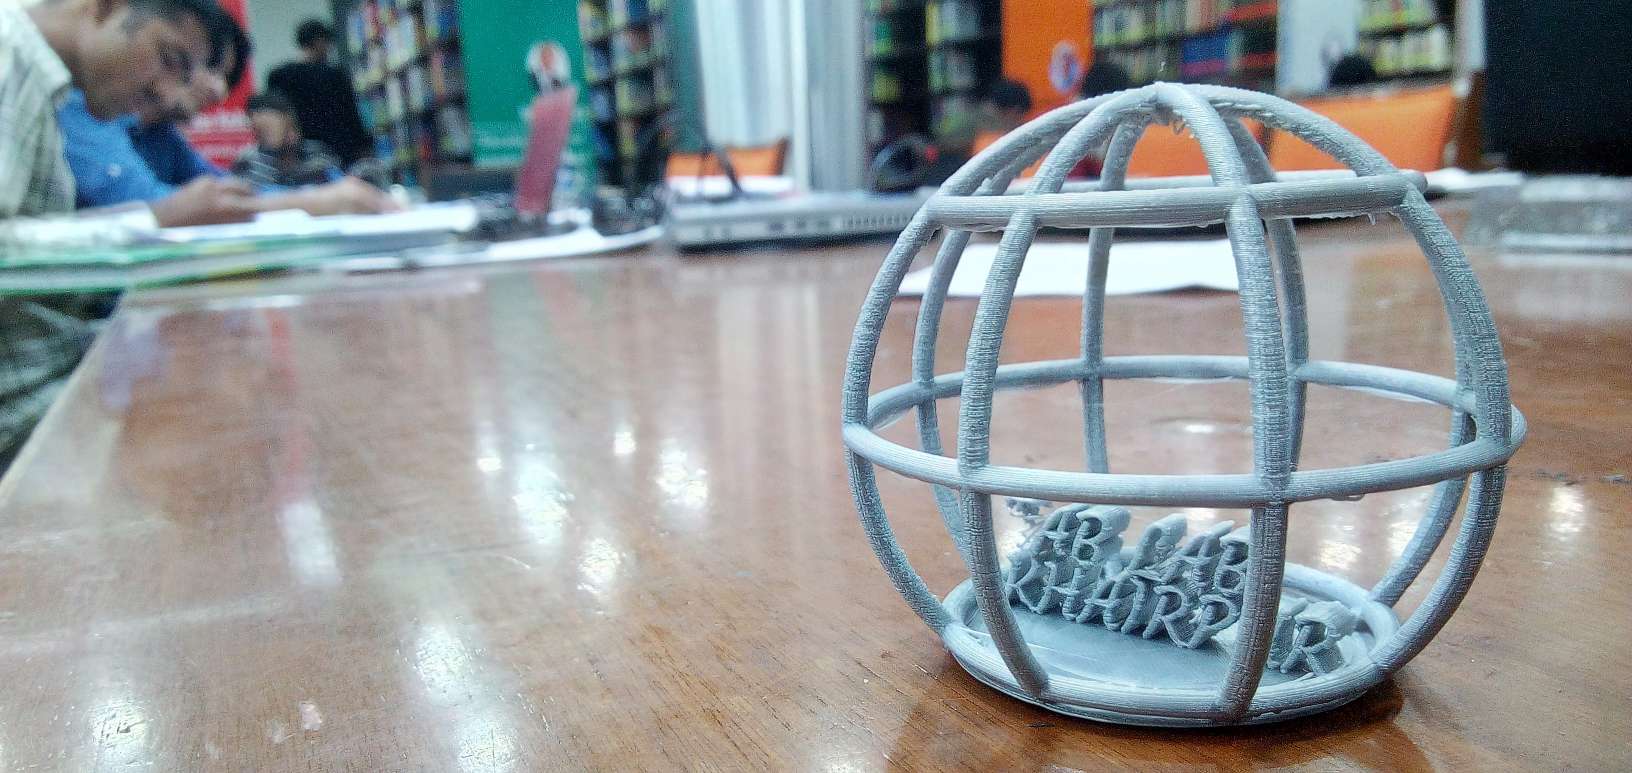 3D printed Sphere
In Cura, we define some values for printing such as "infill density","printing speed" and many other parameters that can be varied according to your requirements.
3D Scanning Objects
There were different approaches for scanning an object in 3D, some of them are mentioned below:
- By processing the images from mobile in a software
- By using Kinect device to scan an object
I decided to go with Kinect for scanning the objects, for that i went through this Tutorial of how to use Kinect.
Initially i was unable to connect the Kinect device with my PC, so I googled the issue and came to know that first we must install drivers for Kinect to operate properly. These drivers along with their download link are mentioned below:
After installing the software and drivers, open Skanect software and perform the following steps and generate a .stl file in the end:
- Open Skanect software, on top right check if the Sensor is connected properly
- Go to "New" tab, click "Start" button
- Position yourself accordingly while looking at the bigger screen of the 3 screen shown on right side
- Press the "Record" button
- Once it starts recording, rotate yourself in either Clockwise direction or Counter Clockwise direction
- Make sure that image is showing "Green" markers for most of the scanning area
- If some is left unscanned, stay in that position for a while until the while portion becomes "Green"
- As the scanning completes, press the "Stop" button to stop recording
- After recording, go to "Process" tab and select "Fill holes" to make the model more appropriate and press "Run"
- Now export your model as a .stl file and make sure to keep the units in Millimeters.
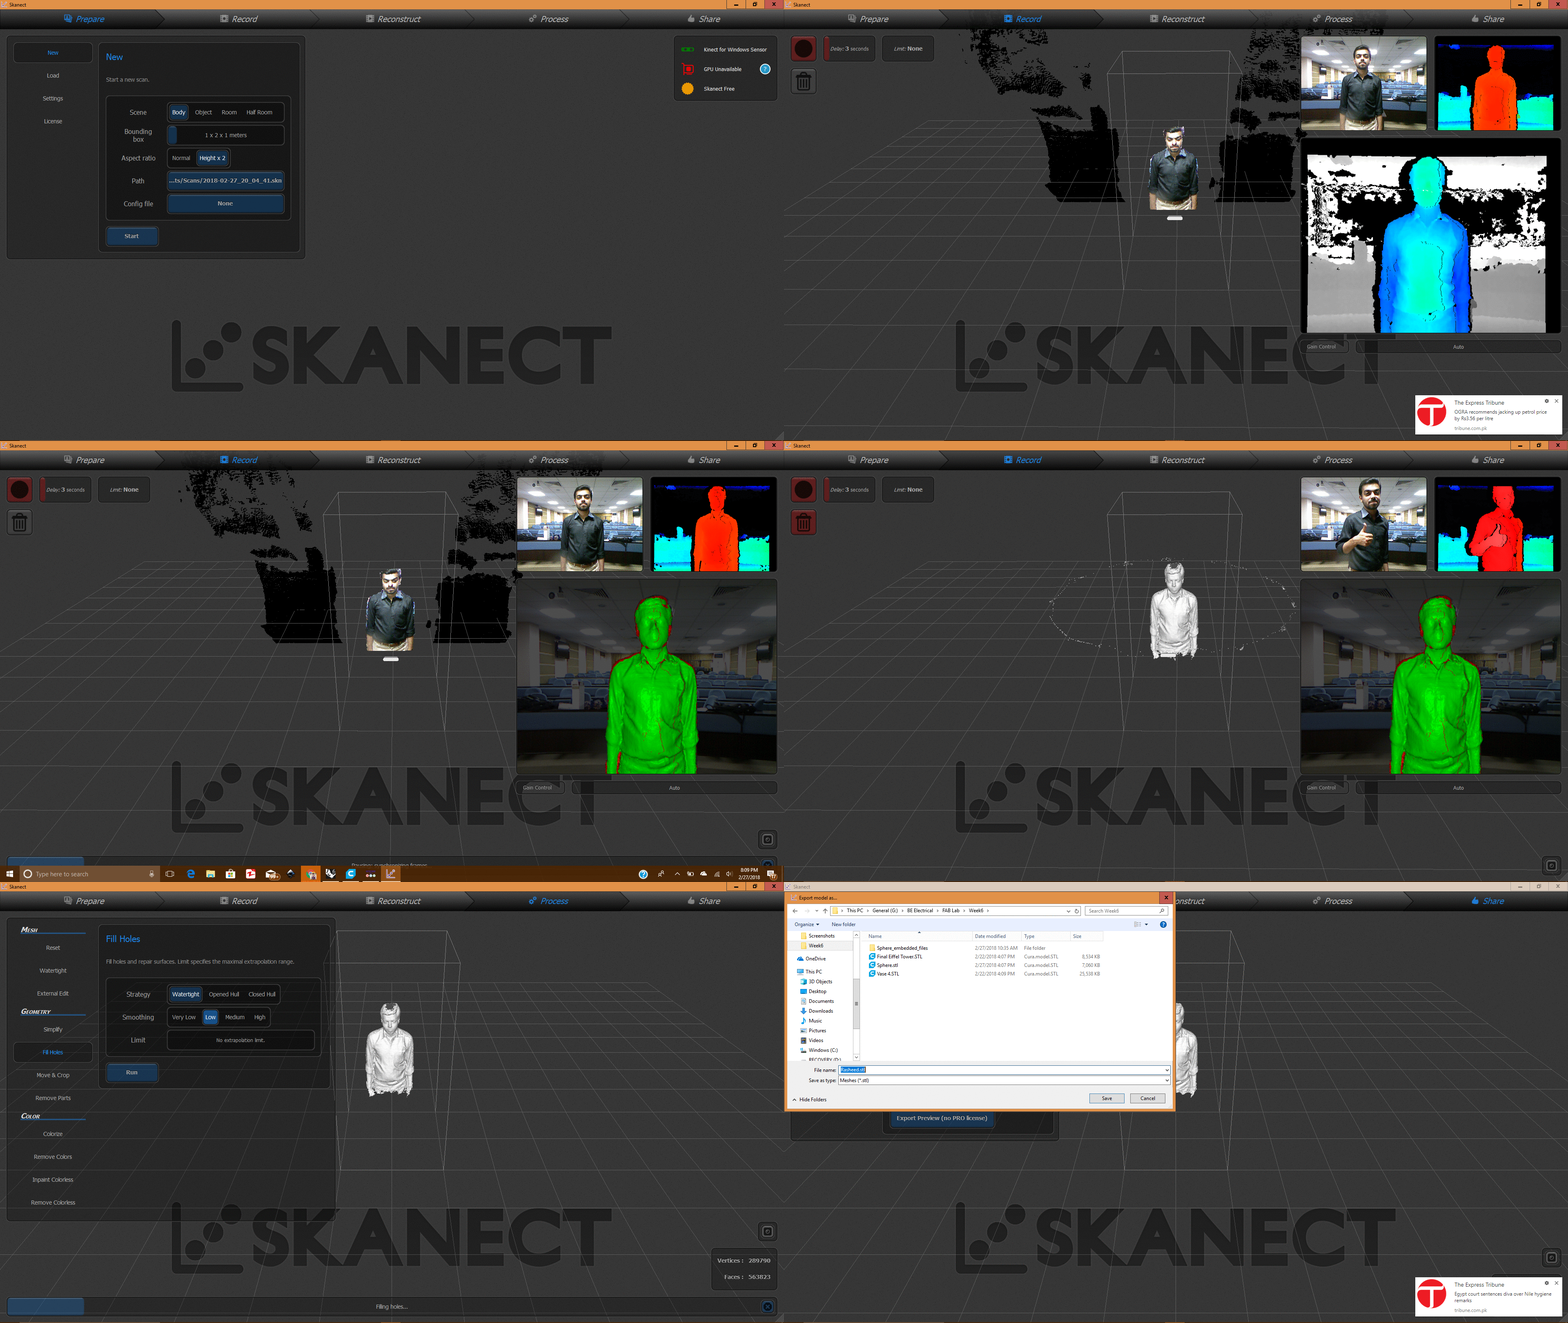 GIF image showing the steps performed in Kinect for generating stl file
Then I opened the file from Kinect in Rhino for any further changes or editing required, which is shown below:
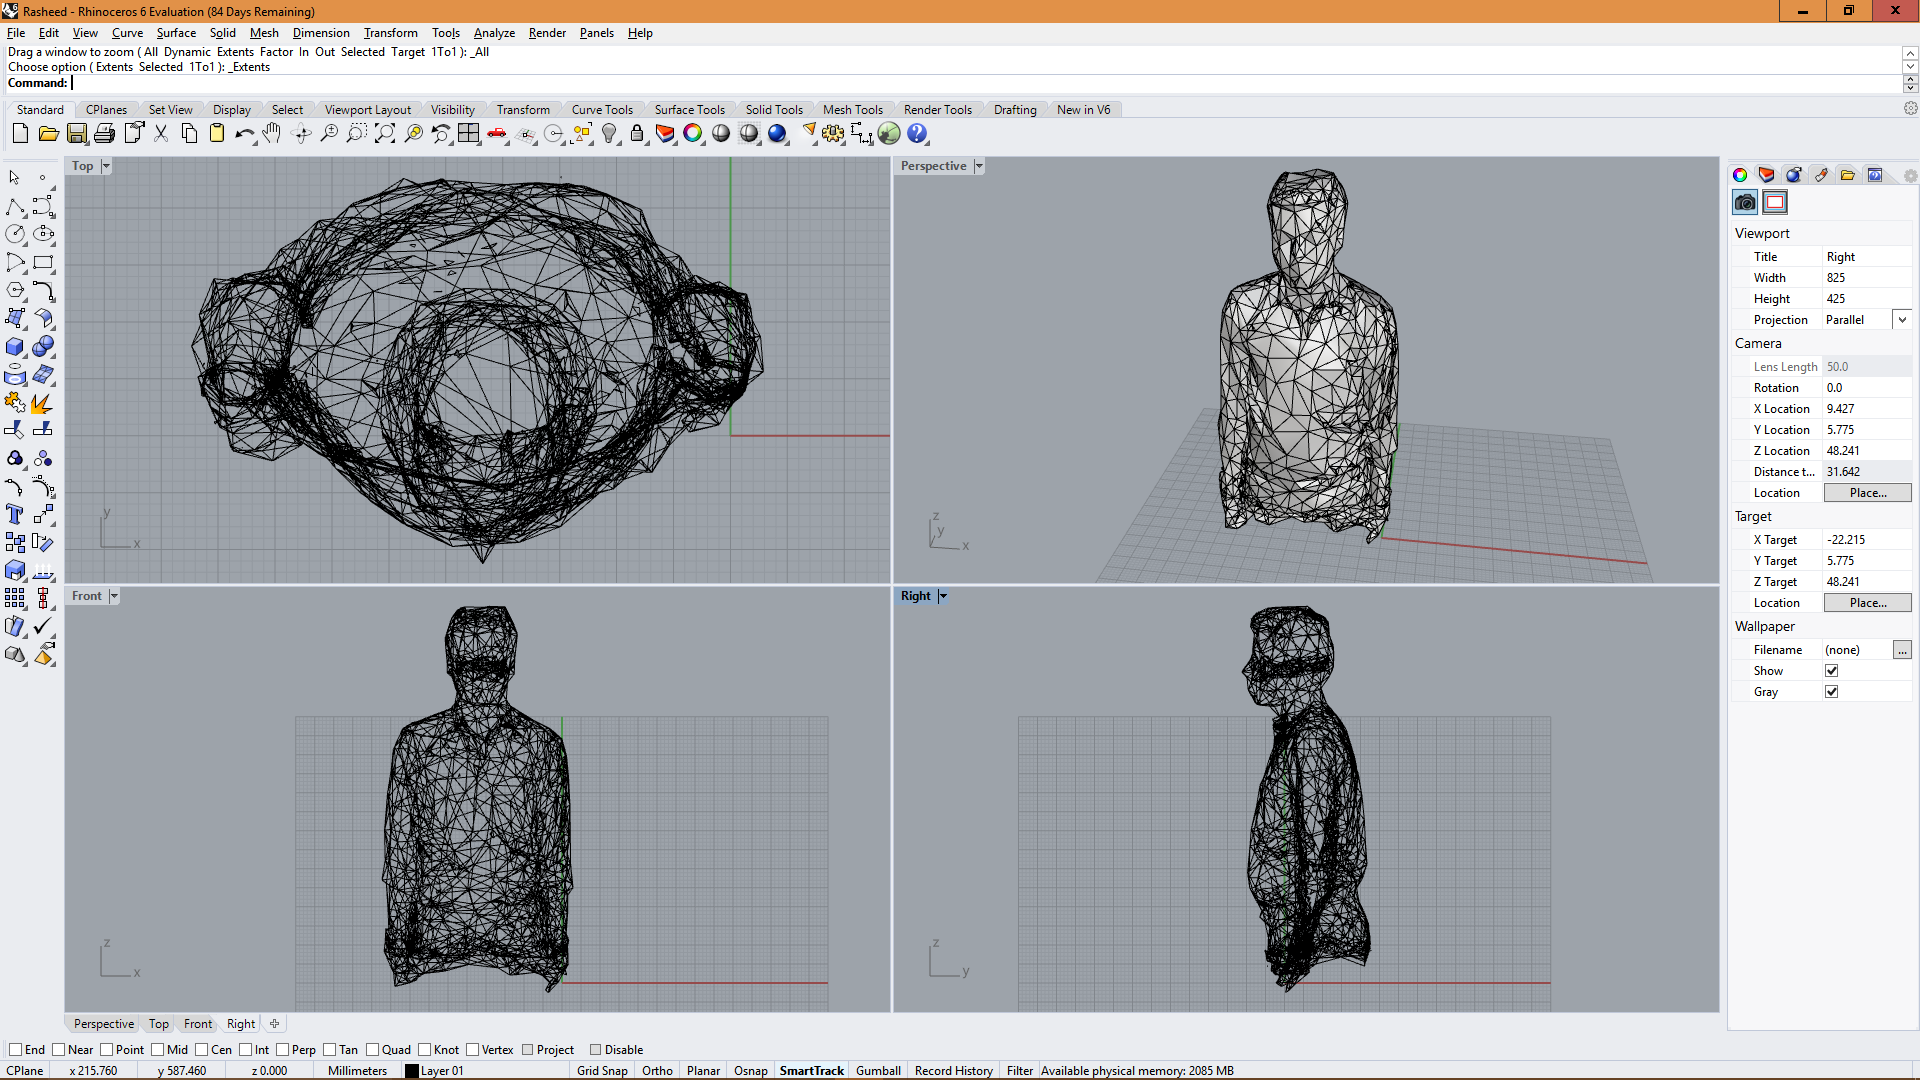 Model scanned from Kinect, Opened in Rhino
This model was ready for 3D printing, just open .stl file in Cura, generate a .gcode file and give that file to 3D printer:
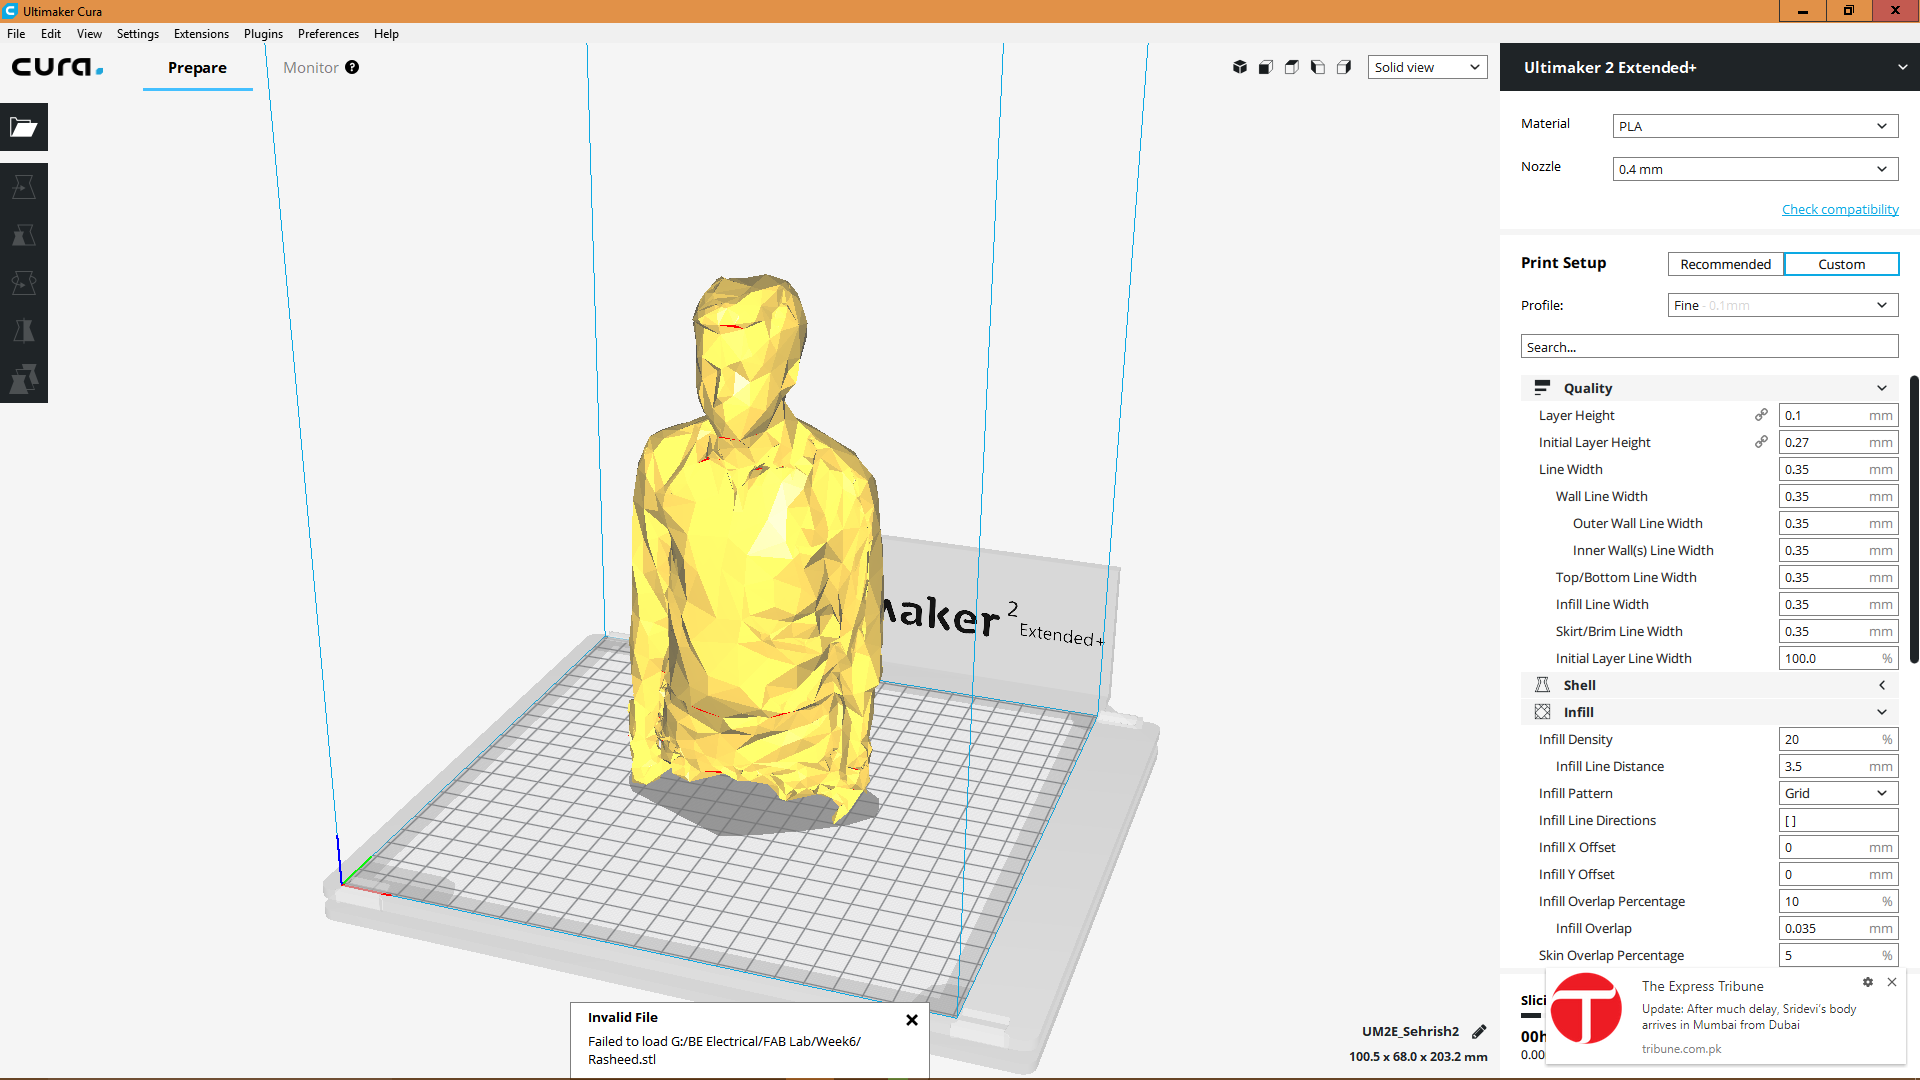 3D scanned model in Cura
The results of 3D printed model of myself, that I scanned using the Kinect Device is shown below:
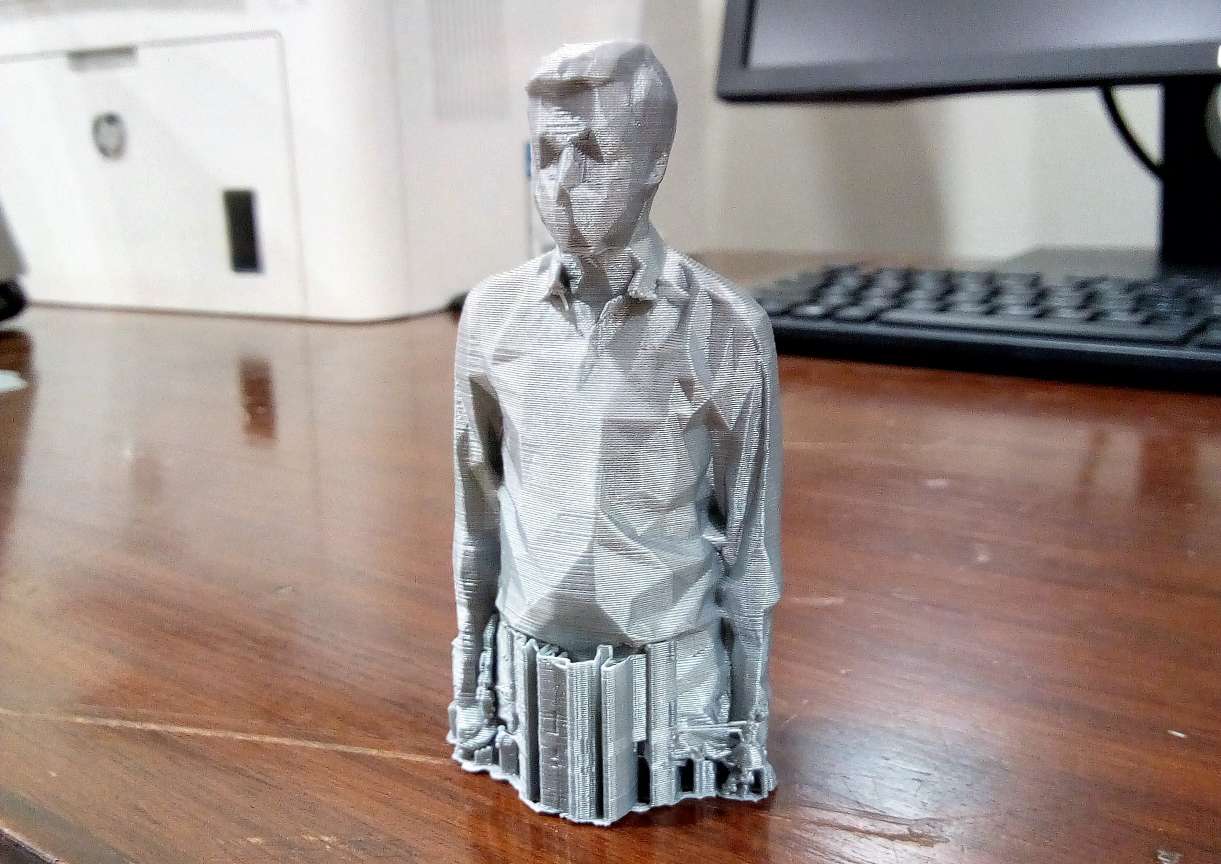 3D printed model of me
This is where you got a 3D printed model for yourself :D
All the Files of Week 6 can be downloaded from Here.
« Week5
Week7 »
 Contact
Final Project
Assignments
My Lab
About Me

