FINAL PROJECT
Smart Inventory System for Small Components
Problem Statement:
Proper placement of components, make them categorize and keep inventory update is the difficult task, it is the process which is better to be done when changes occur. Doing inventory was a difficult part of my previous job as Space Manager in TajurbaGah. To place small components we have cabinets with boxes, which are categorize and updated on excel sheets. But whenever someone needs any component from those boxes it takes time to find. As for my final project I want to solve that problem by making a smart inventory system which indicates the shelves in which desired components are present.
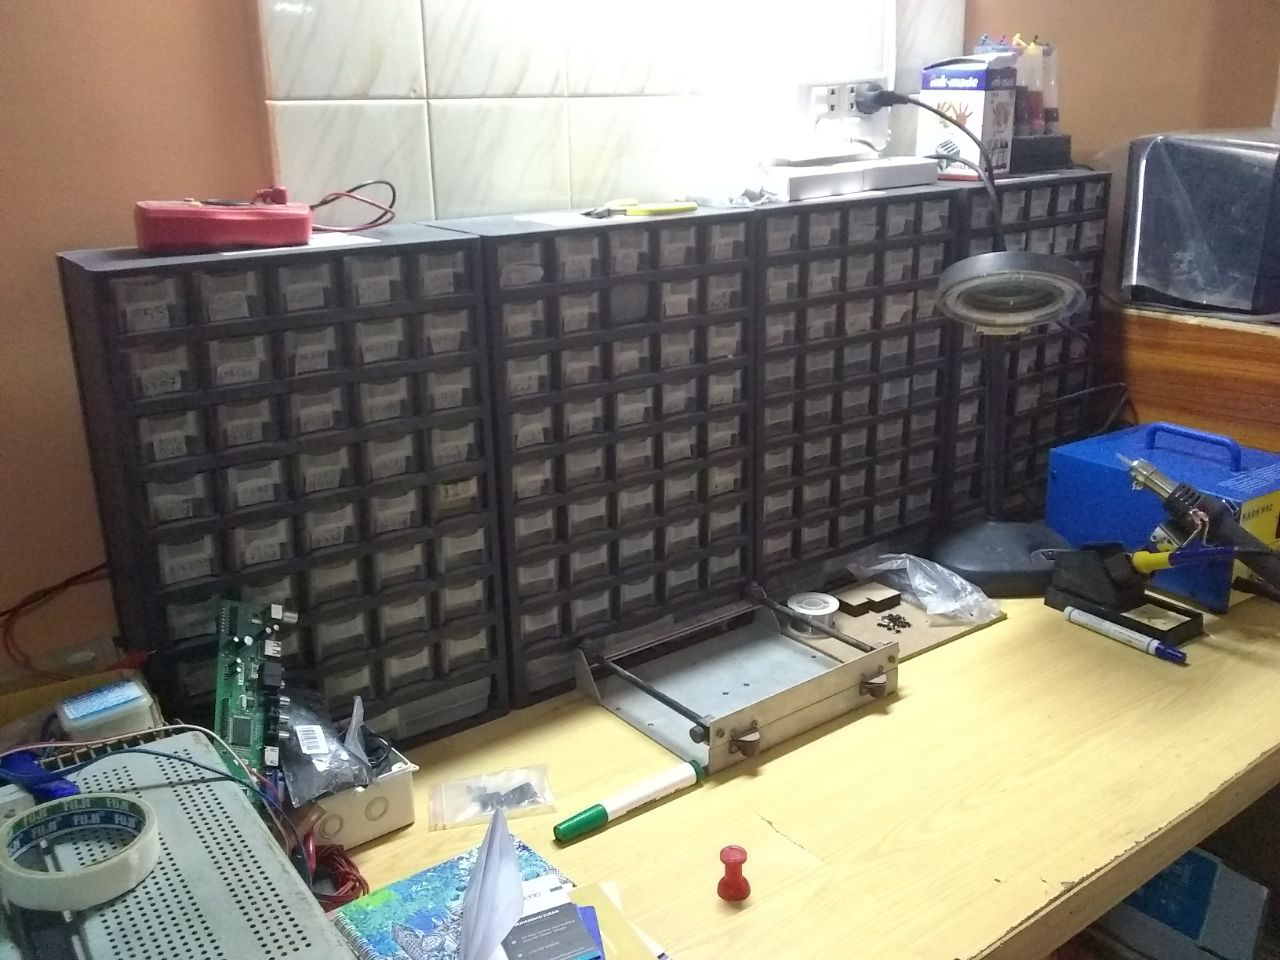
Electronic components placement at MAKERSPACE Tajurbagah Karachi
Ideation Phase:
To maintain inventory and to keep record about the presence of specific component and their no. of quanity some kind of mechanism is required. My idea for the final project is to make a shelf in which different components are present in boxes and when someone need any component it indicates that box and then update the present quantity in the inventory.
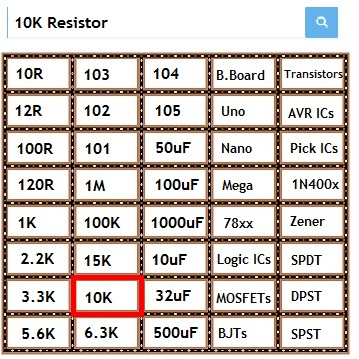
2D Raster sketch of my final project Idea
After discussion with my local and regional instructors about my final project. They point out that to make this idea as my final project I need to mention why my project is different from existing inventory projects. They shared some past students webpages which already propose ways to solve this problem as comparision of my project with them problem statement is same but method to solve the problem is different I am sharing inventory projects below and then I describe in another section about my project
First Project: Inventory Bot
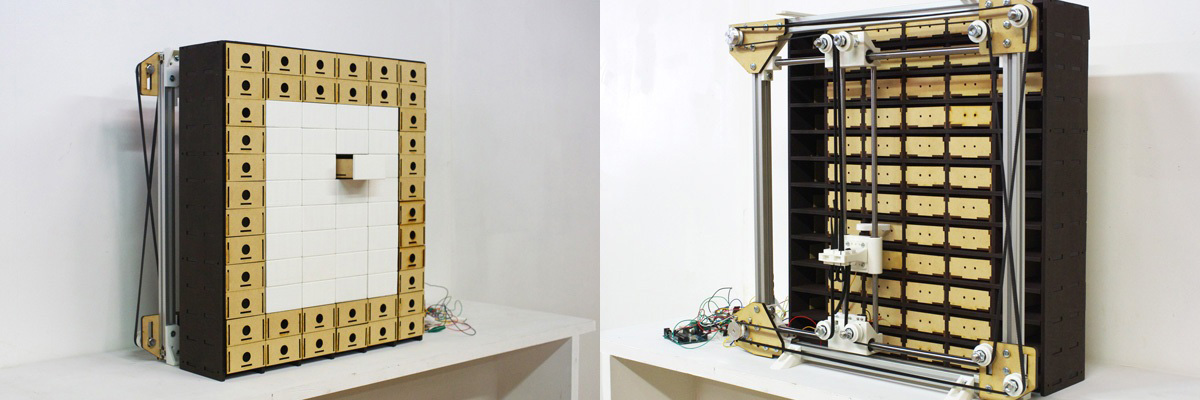
Inventroy Bot Front and Back View
Here is the link of this project page. This project is made by Kohei Morimoto from FABLAB Kitakagaya Japan in 2017. The mechanism is based on core XY sytem which is made and attached on back of the cabinet a shaft with servo motor is attached on the head which pushes out the desired drawer, when a person need any component he/she has to give two inputs to machine a name of component and no. of quantity after that if the component is available the core XZ system move toward that box and push it out. The arduino is used to control the core XZ system which gets instruction from PC and act according to it.
Second Project: Wally
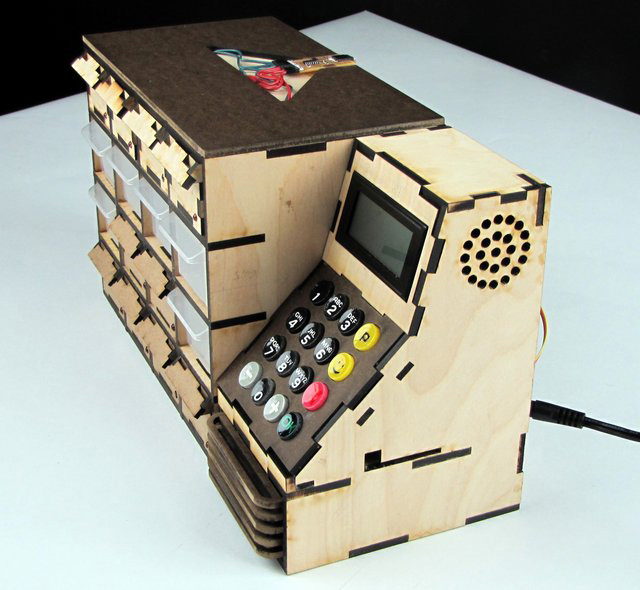
A look to Wally
Here is the link of this project page. This project is made by Kenzo Prada Abiko from AS220 FabAcademy in 2015. This project also designed to maintain the inventory for the specific projects. To interface with machine, LCD is placed alongside buttons which are also fabricated, a person needs to input a number of project and the boxes which have component of those project light up to mention. After taking desired component a person need to enter the number of component he/she tooks. and inventory updated with respect to it.
Planning Phase:
Project is consist of two main parts so in planning phase I planned both parts individually which are:
- Mechanical Structure
- Electronic System
Mechanical Structure
In planning mechanical structure I need to determine the size of my box, no. of boxes and the size of shelf which contain those boxes. After some calculations and discussions with my instructors regarding "size and structure" I came on these dicisions:
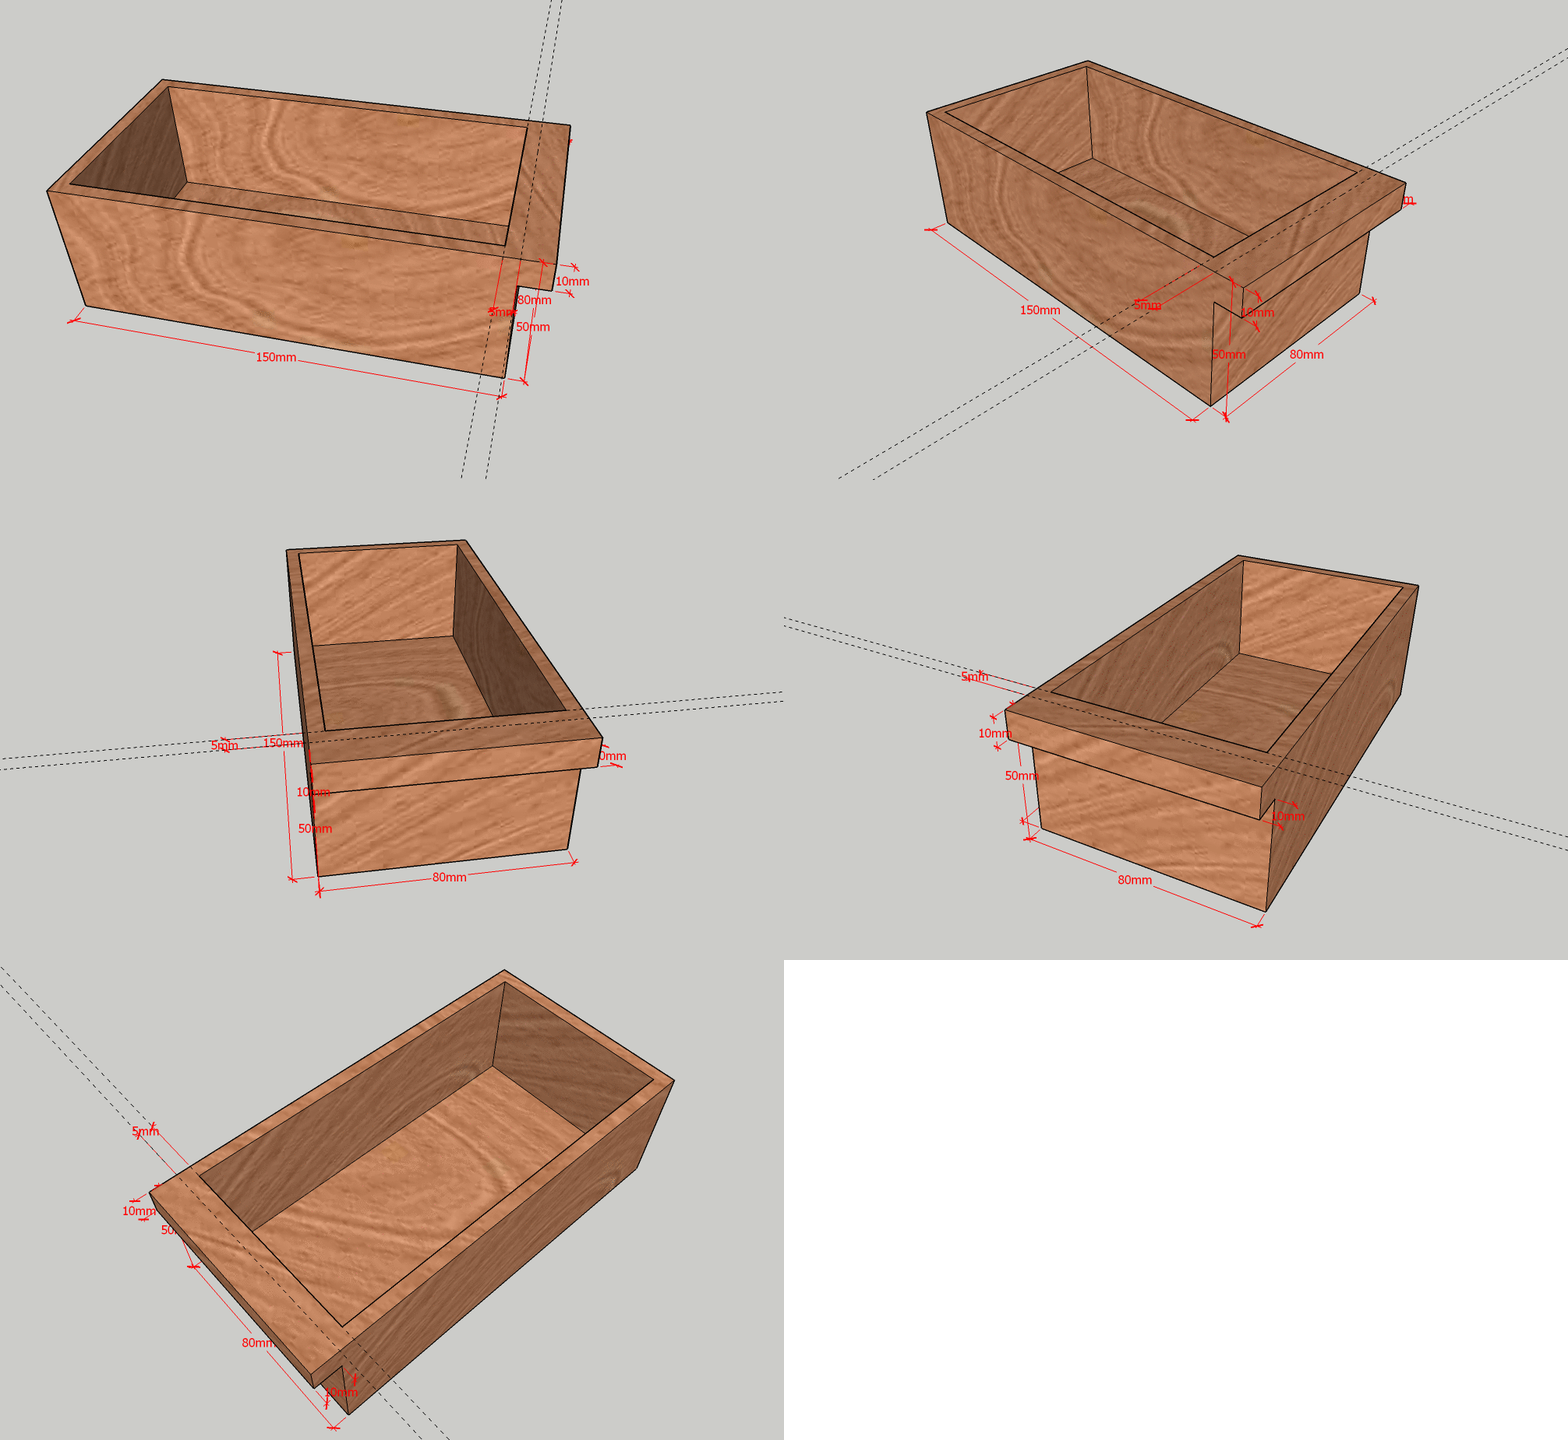
- Box inner dimensions should be bigger than "Arduino MEGA" (which is w=53.3 and d=101.52mm) because this is the fair size to store any component.
- Outer dimensions are:
- height =5cm
- width =8cm
- depth =15.5cm
3D Concept of a Box
- No. of boxes should not be exceed than 40
- The boxes are made of 3mm or 4mm ply wood which is easily made with laser cutting machine
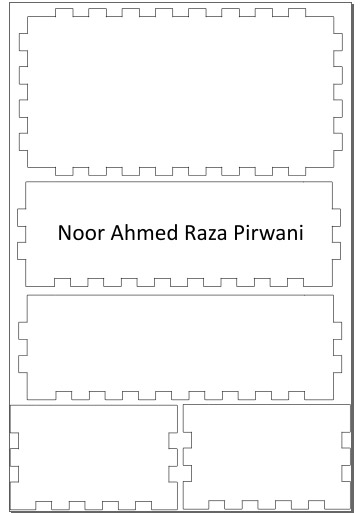
- The parts of box are join with press-fit finger joints, if the boxes are made with 4mm ply wood then the inner dimension of box is 4mm lesser than outer joints where press fit occur as per calculation from given file:
- height =4.6cm
- width =7.2cm
- depth =14.7cm
2D Vector design of box in InkScape
- A shelf is made with 10mm (1cm) wood the reason to to use thicker wood is that it is the big structure as compared to box and I need space to place some kind of indication on the boundaries.
- The shelf is also made with press-fit construction
- Calculation fo shelf:
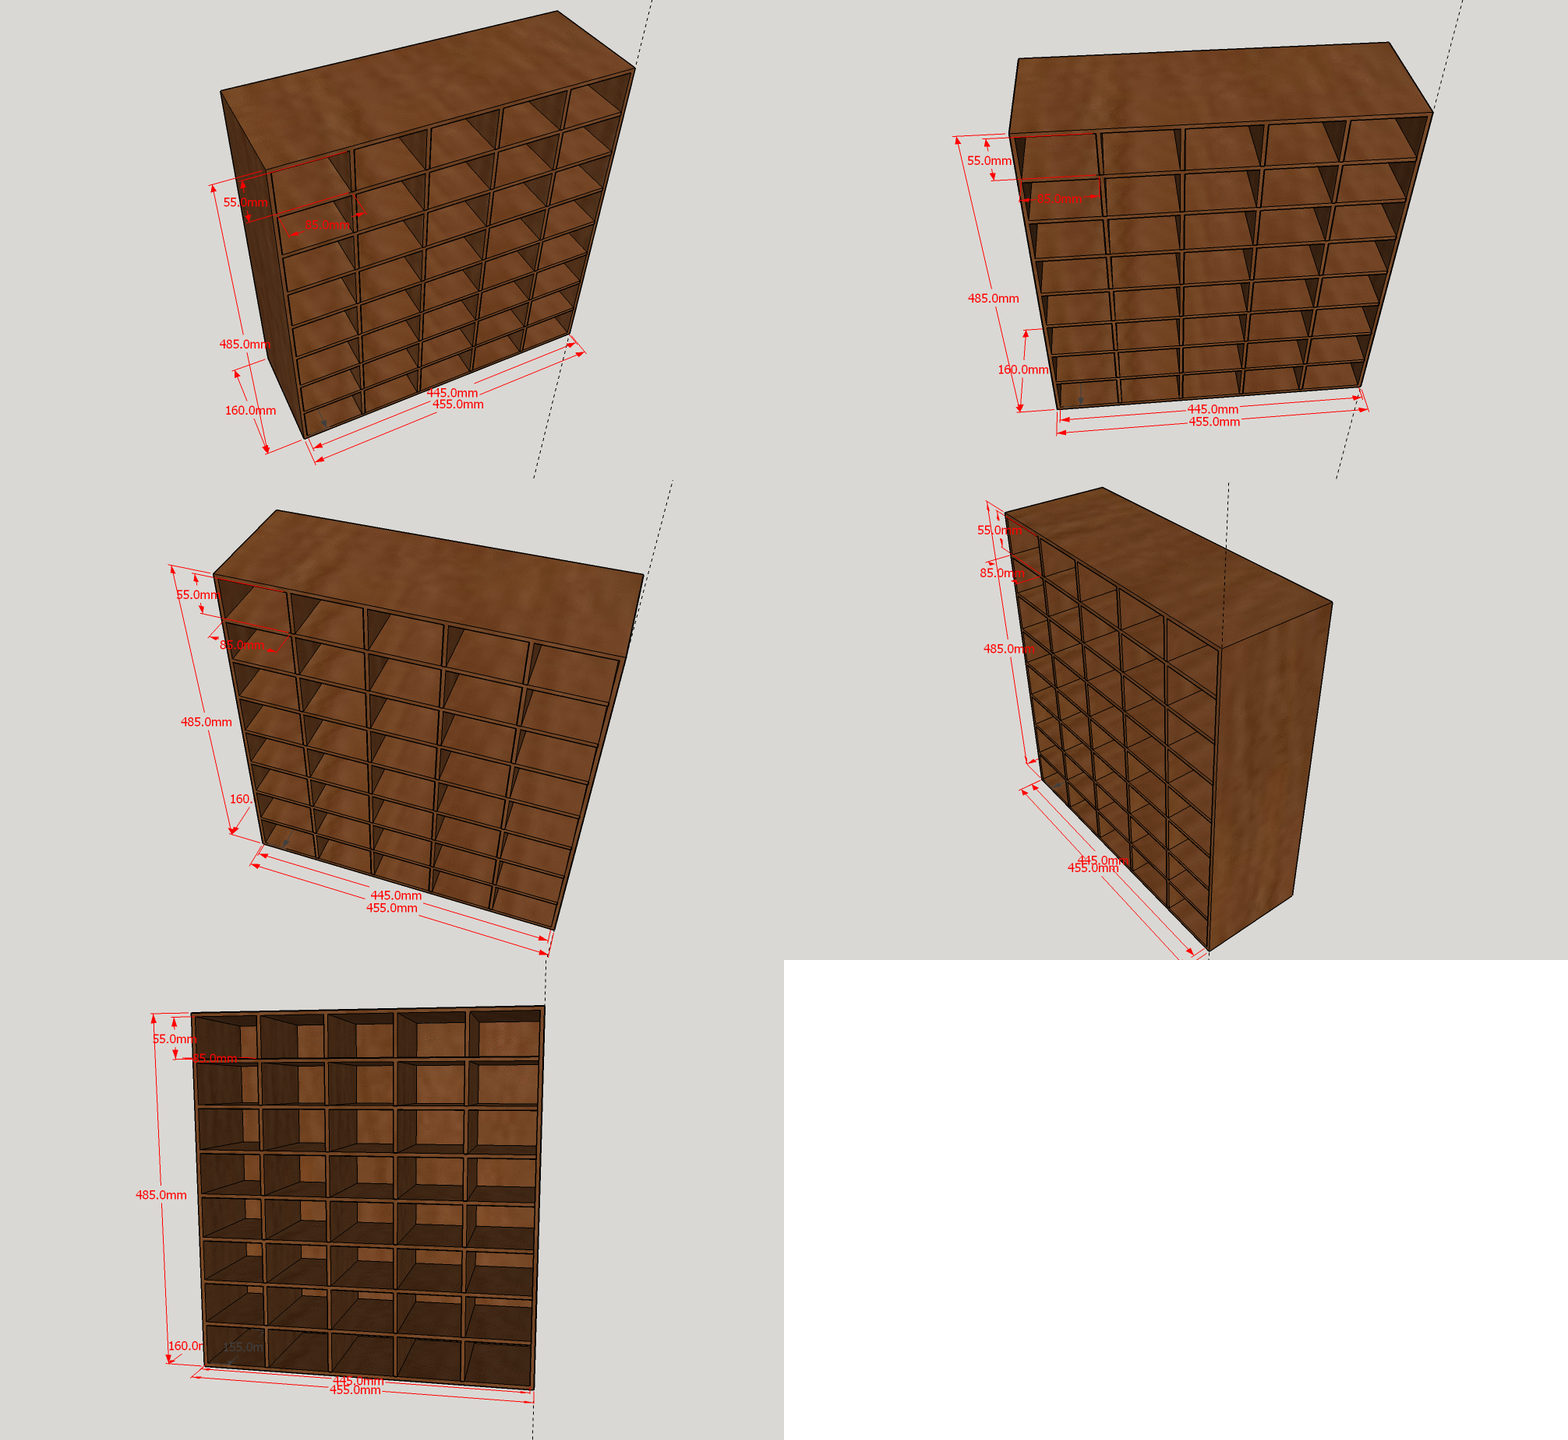
- The placement of boxes in a shelf are 8 Rows and 5 Columns
- Calculation for Row: If the thickness of wood is 1cm, box width is 8cm and if 5 boxes are present in each row then 6+(8cm x 5) =46 cm in length and 17 cm in depth wood 9 pieces are required to construct rows of shelf.
- Calculation for Column: If the thickness of wood is 1cm, box length is 5cm and if 8 boxes are present in each row then 9+(5cm x 8) =49 cm in length and 17 cm in depth wood 6 pieces are required to construct columns of shelf.
- Calculation Result:
- Wood thikness 10mm
- 46x17 cm wood, 9 pieces are required
- 49x17 cm wood, 6 pieces are required
3D Design Concept of a Cabinet
Electronic System
Generally I want to make a smart cabinet system which is operated by mobile app. Inventory is updated on a server which is excess through Wi-Fi. A search box is accessible from local webpage which helps to find desired component in the shelf, a quantity is also input by user to maintain inventory
Input Device
A mobile or PC is used to connect with ESP module wirelessly to give input to cabinet.
Output Device
RGB LEDs istalled on a shlf outer boundaries which blinks or illuminate to mention the desired box.
Process
I am going to use Arduino NANO in this project as controller (which I going to make in week-9) which is further attached with ESP -12E wifi module, RGB LEDs are addressable LEDs which connect together and gives only 3 wires to connect with system one for address and two for power. RGB LEDs are connected with Arduino Nano, An inventory is set on local server and when a user need to find any component he/she has to connect their device with esp module and goto specific address. A search box is displayed on that address to search the component after writing name of component RGB blinks on specific shelf which has that component present. It asks for quantity as well which help system to maintain inventory.
Experimental Phase:
I make a sample of inner part of cabinet on cardboard of 16 boxes in week-4, here are some pictures of it.
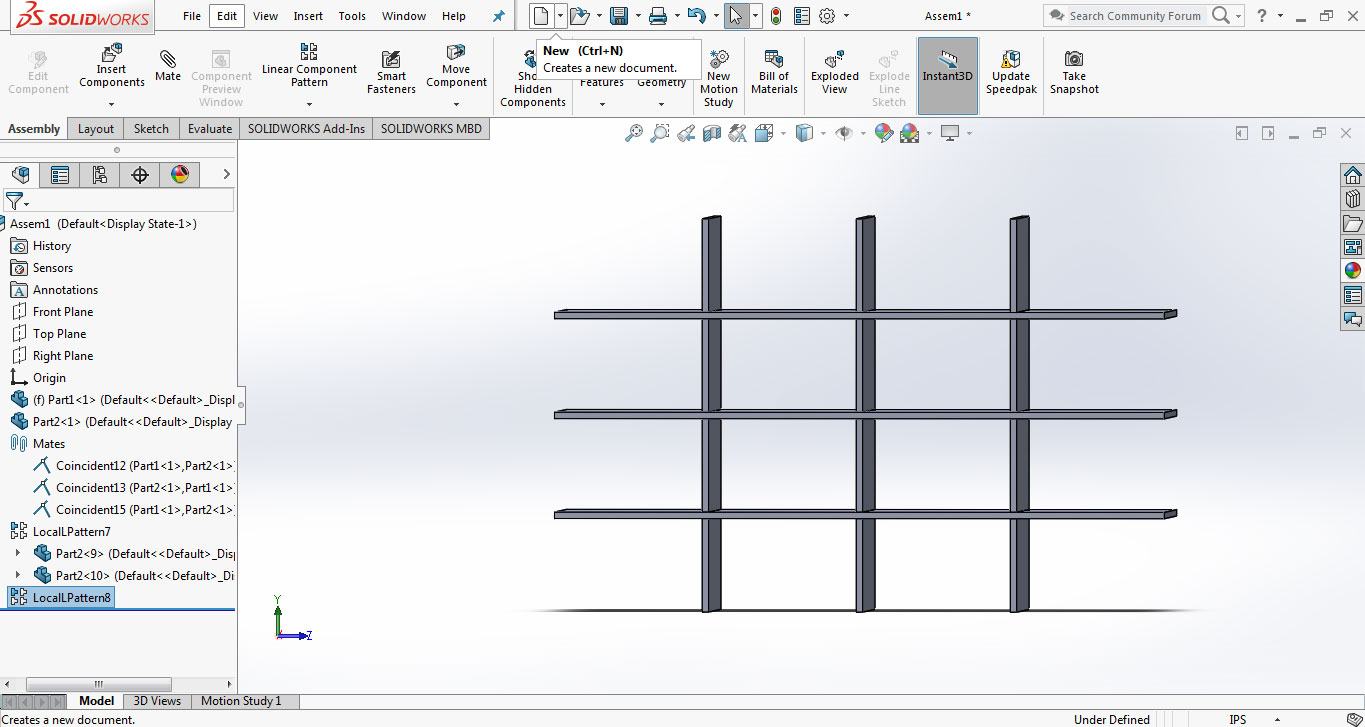
Modeling on solidworks
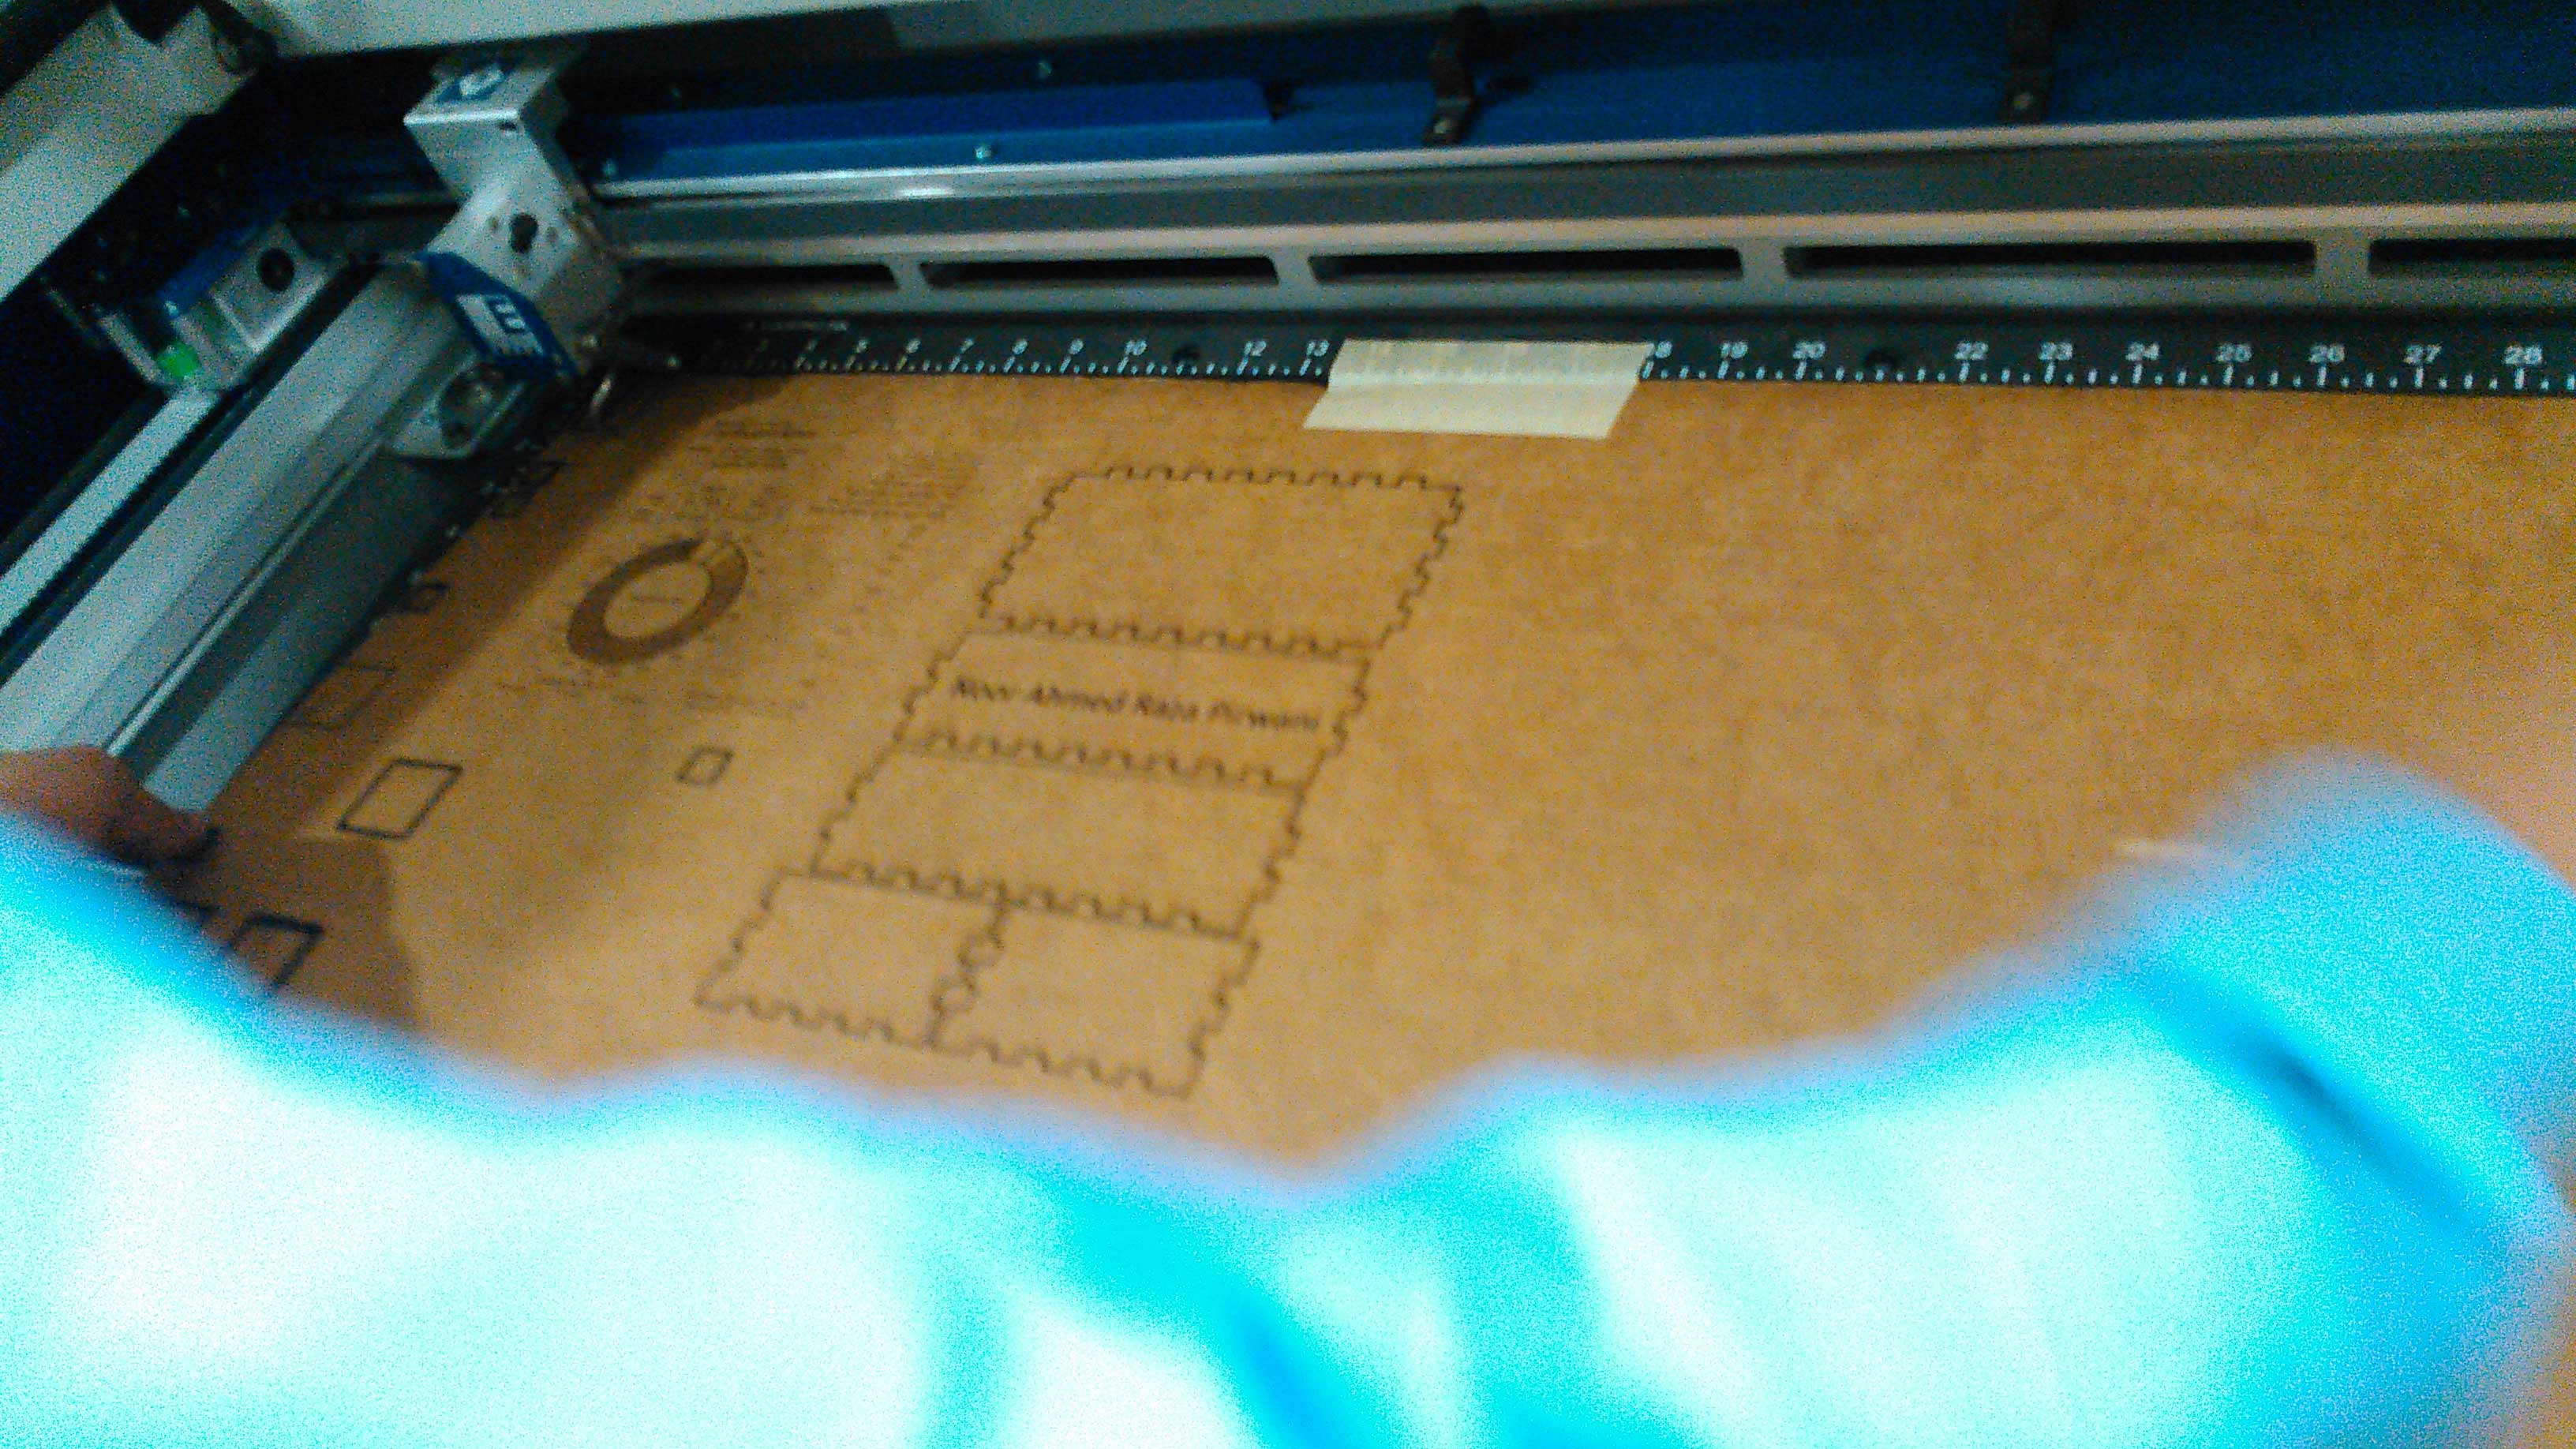
laser cutting of sample box
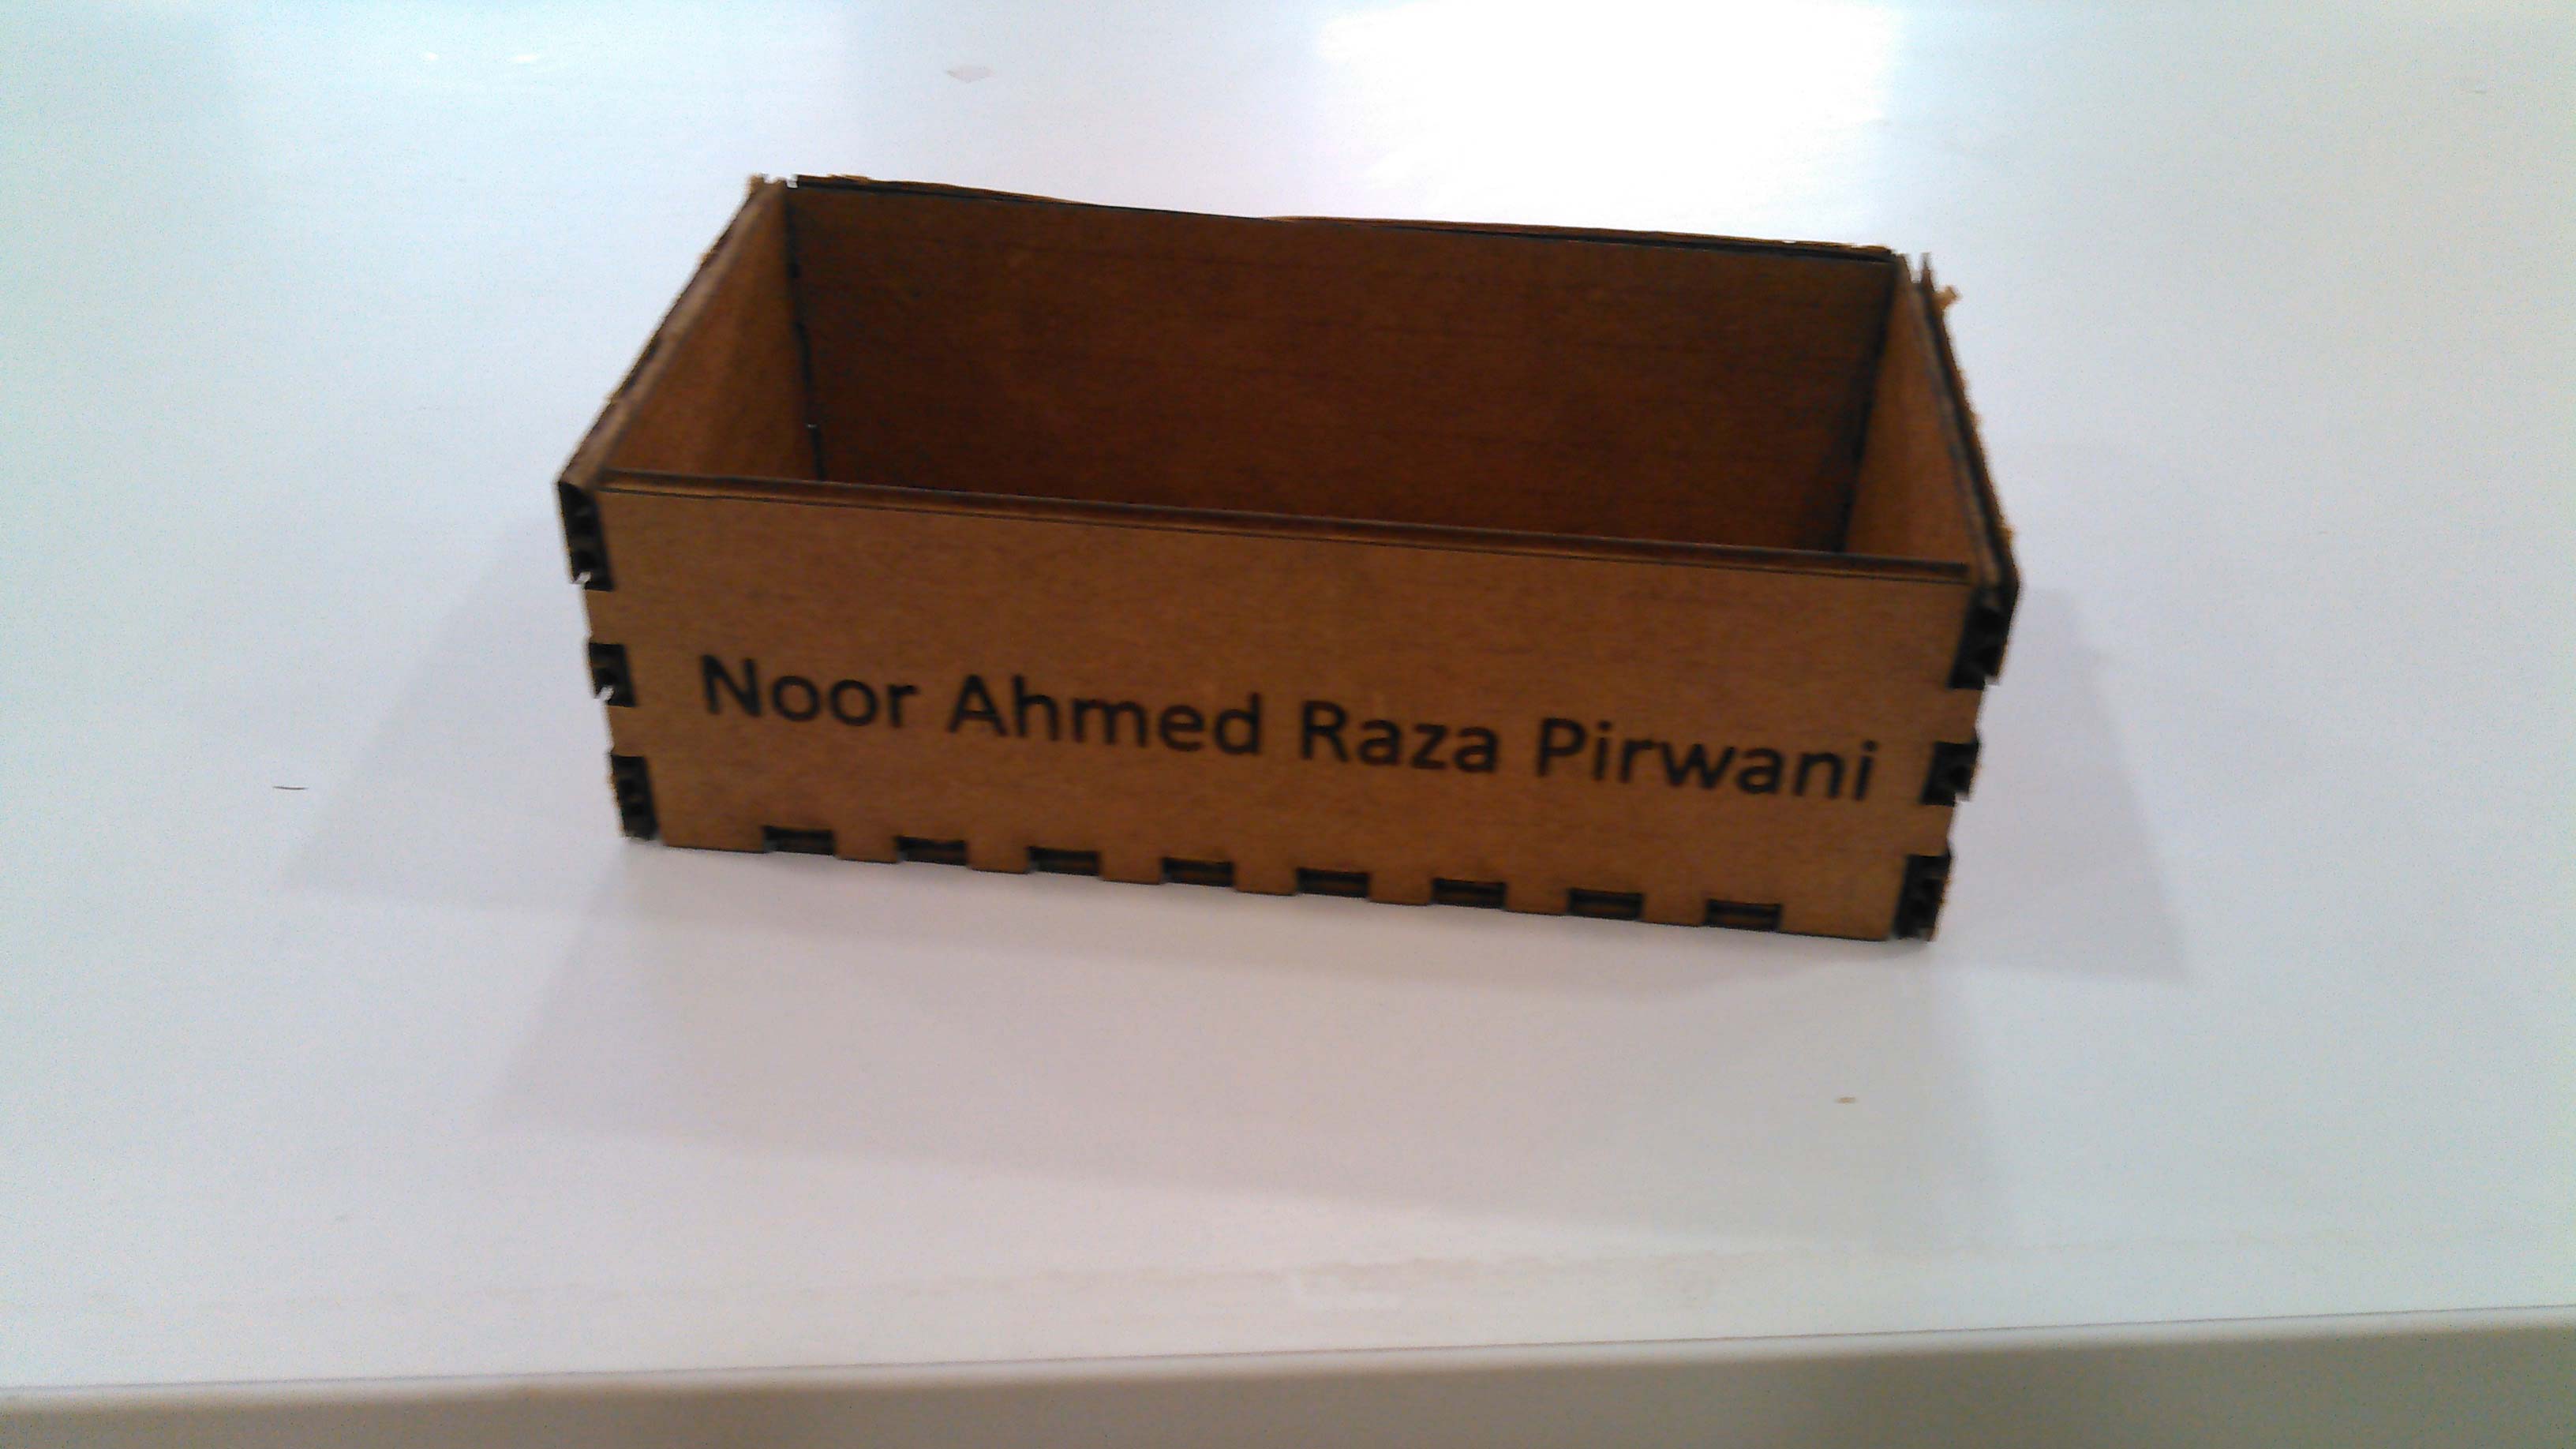
laser cutted cardboard sample box

laser cutted inner part of cabinet
The project is in process please visit next week for more updates.

