Week 04: Computer-Controlled Cutting
The starting point for my introduction to computer-controlled cutting (ccc) was yet again the struggle with DraftSight first, then with Fusion360 (F360). After some trial and error I managed to make a parametric design of one single piece of a press-fit kit (Fig.01); the width of the intentations are adjusted to the 4mm thickness of the cardboard. I exported the sketch from F360 into DXF-format which allowed for smooth import into Rhino on our computer that operates the laser cutter (Fig.02). For the cutting I chose previously documented vector settings of 90:50:70 (Power:Speed:Frequency). The first cut looked alright, thus I continued with a second run of 24 pieces with the same settings. Unfortunately, the cuts did not go through (Fig.03), I will have to repeat the operation.
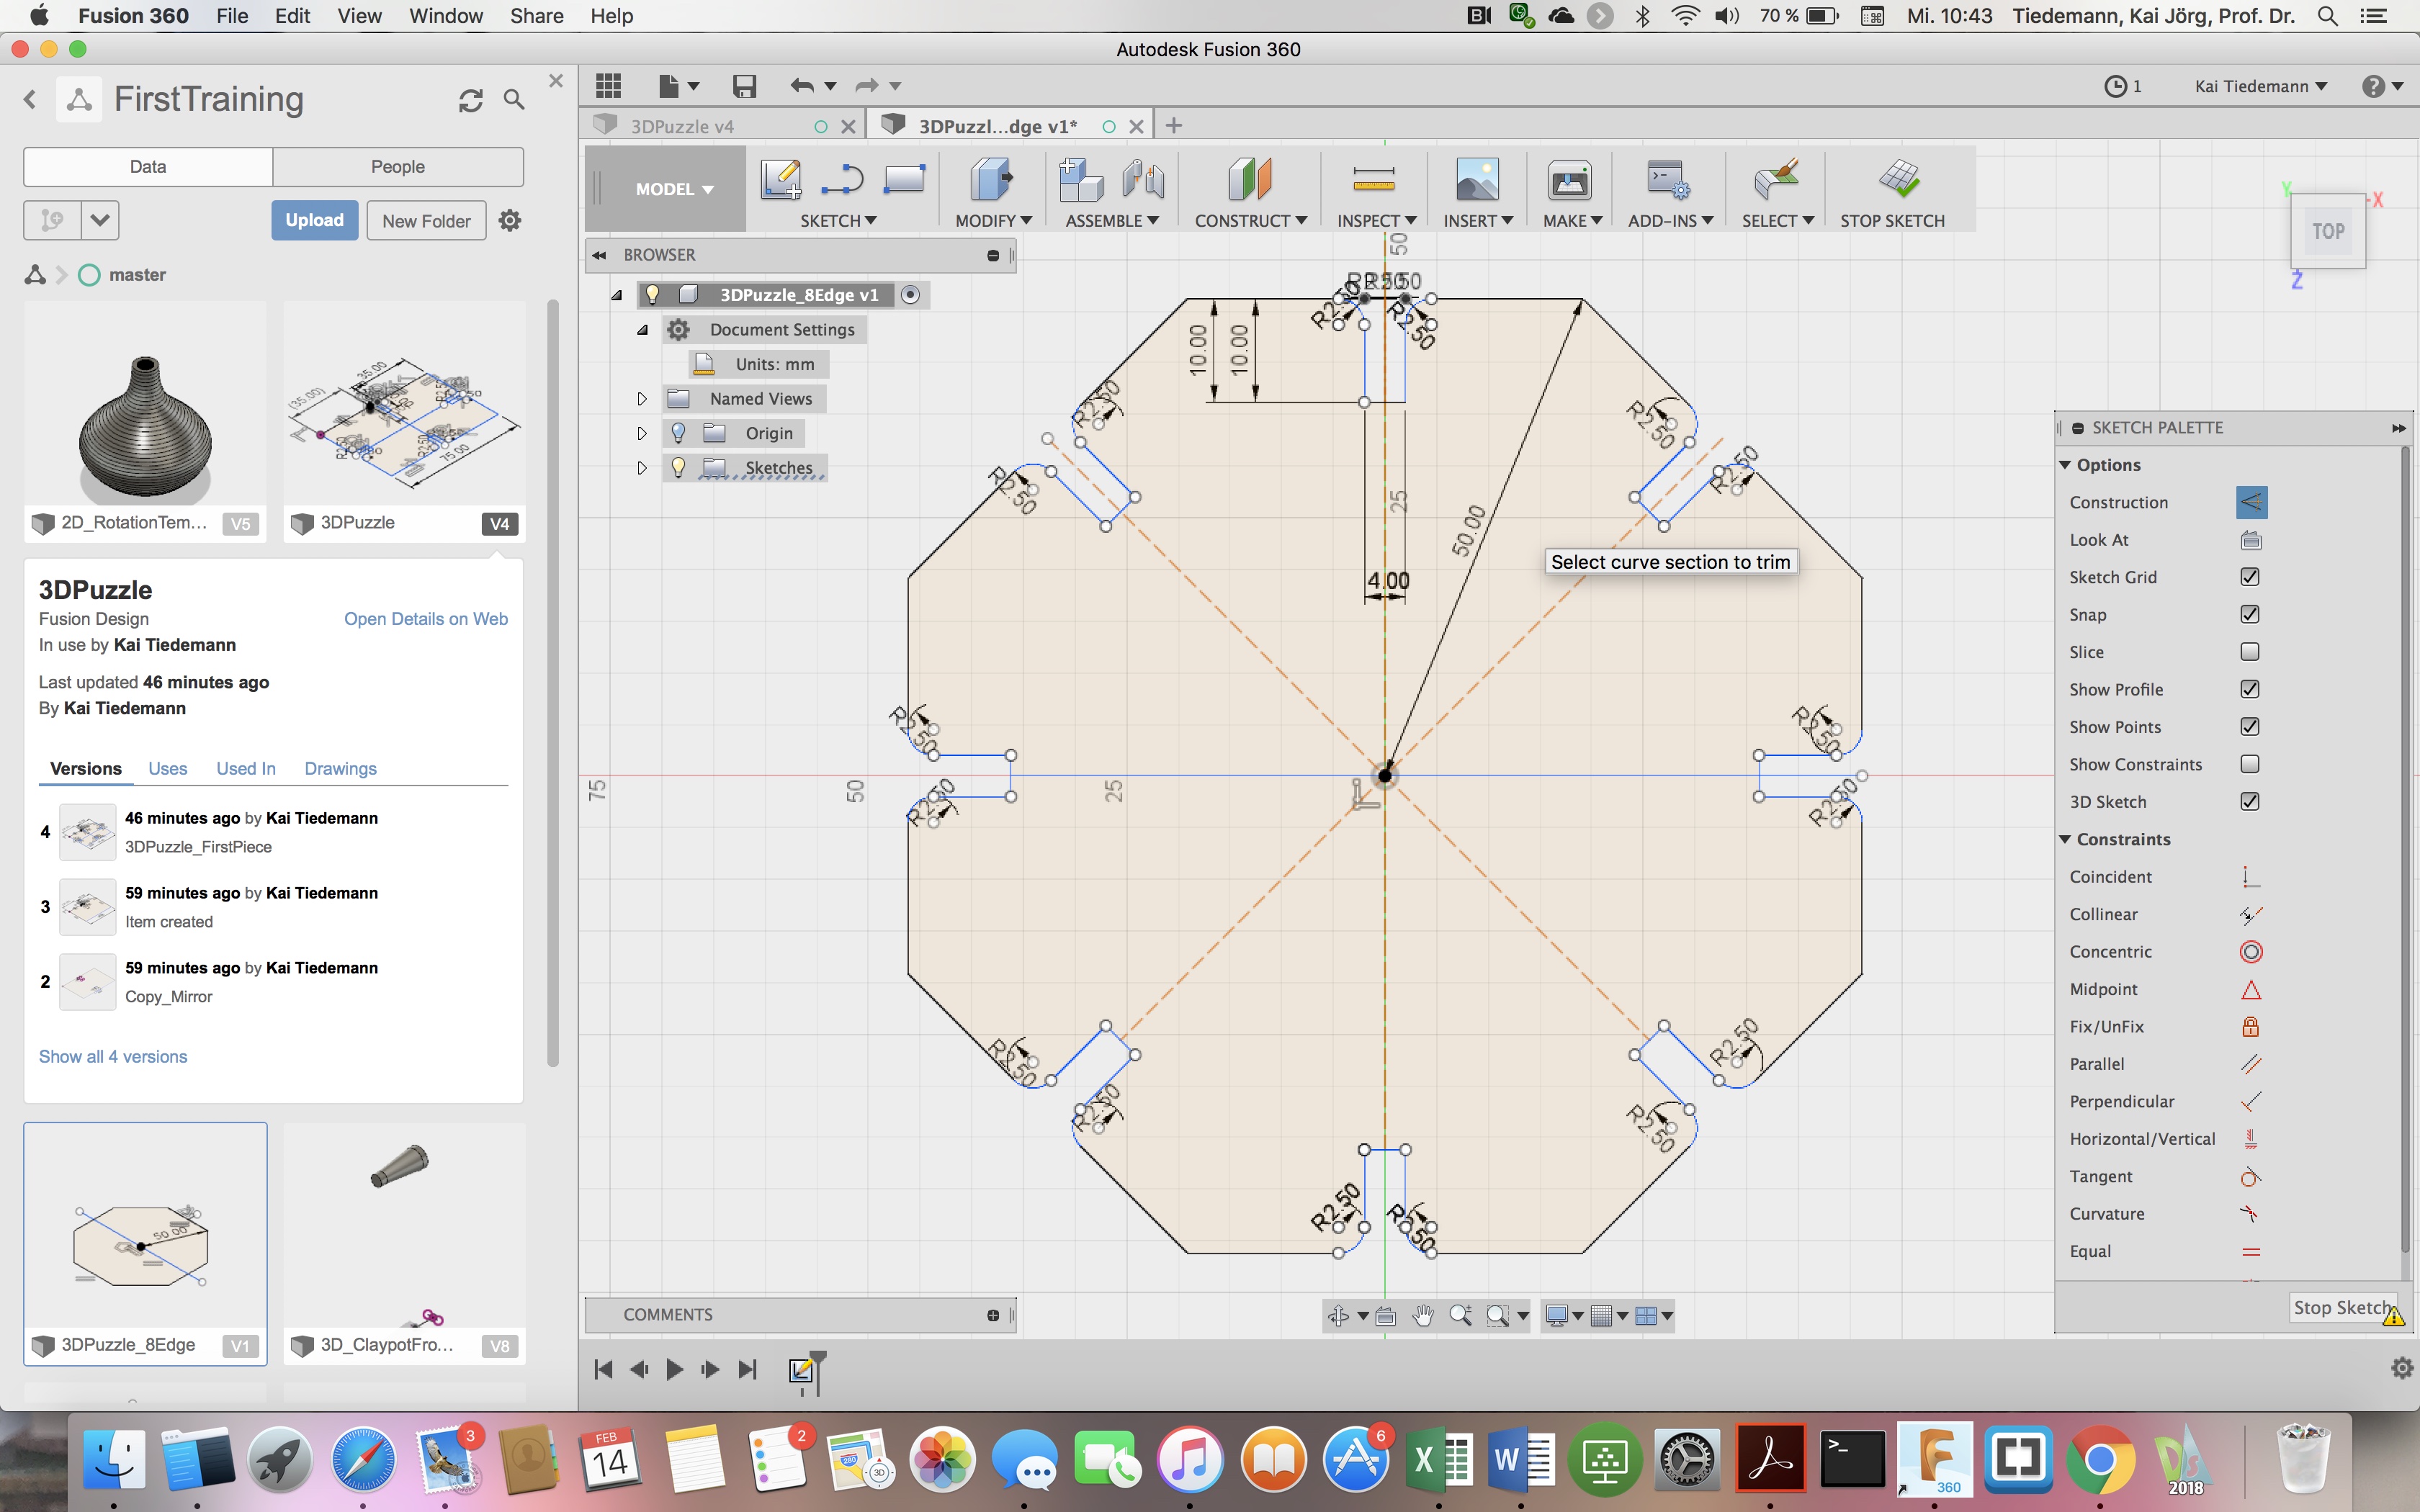 Fig.01: Parametric sketch for press-fit kit in Fusion 360. |
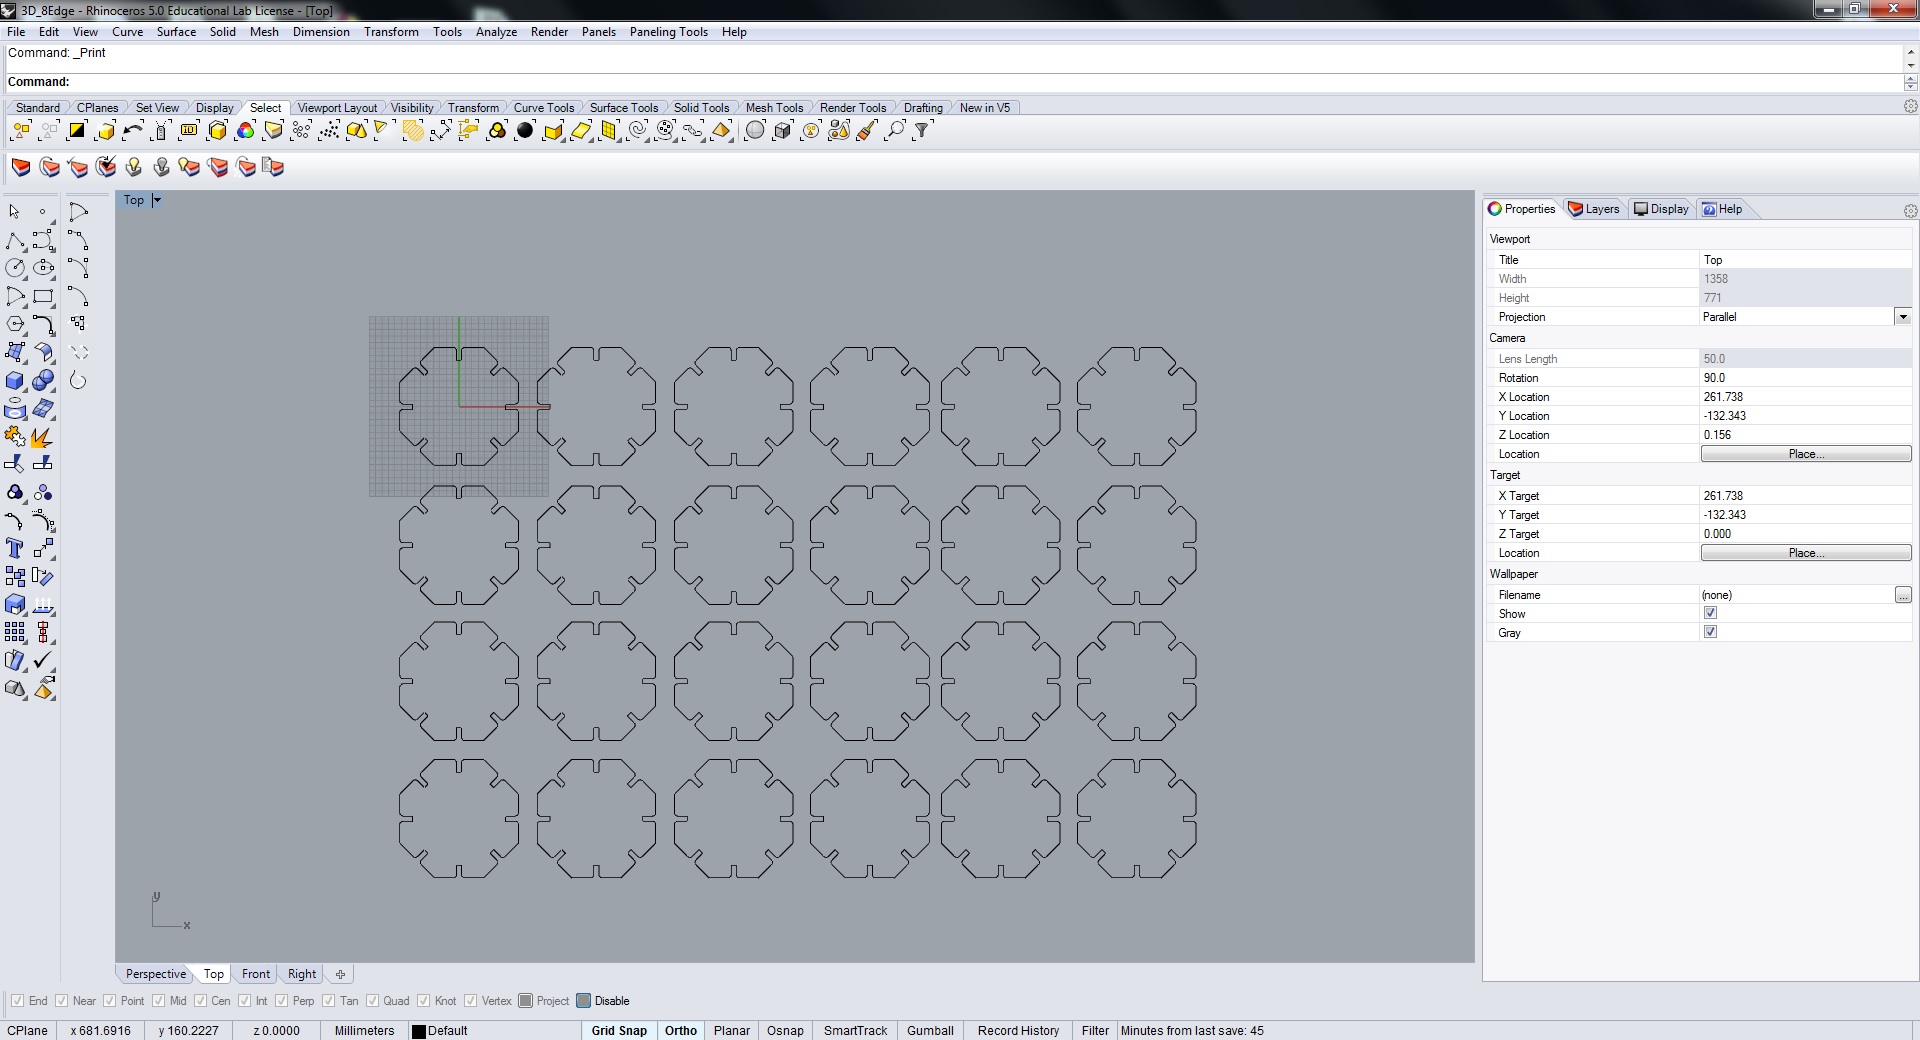 Fig.02: Rhino screenshot of the laser cutter job. |
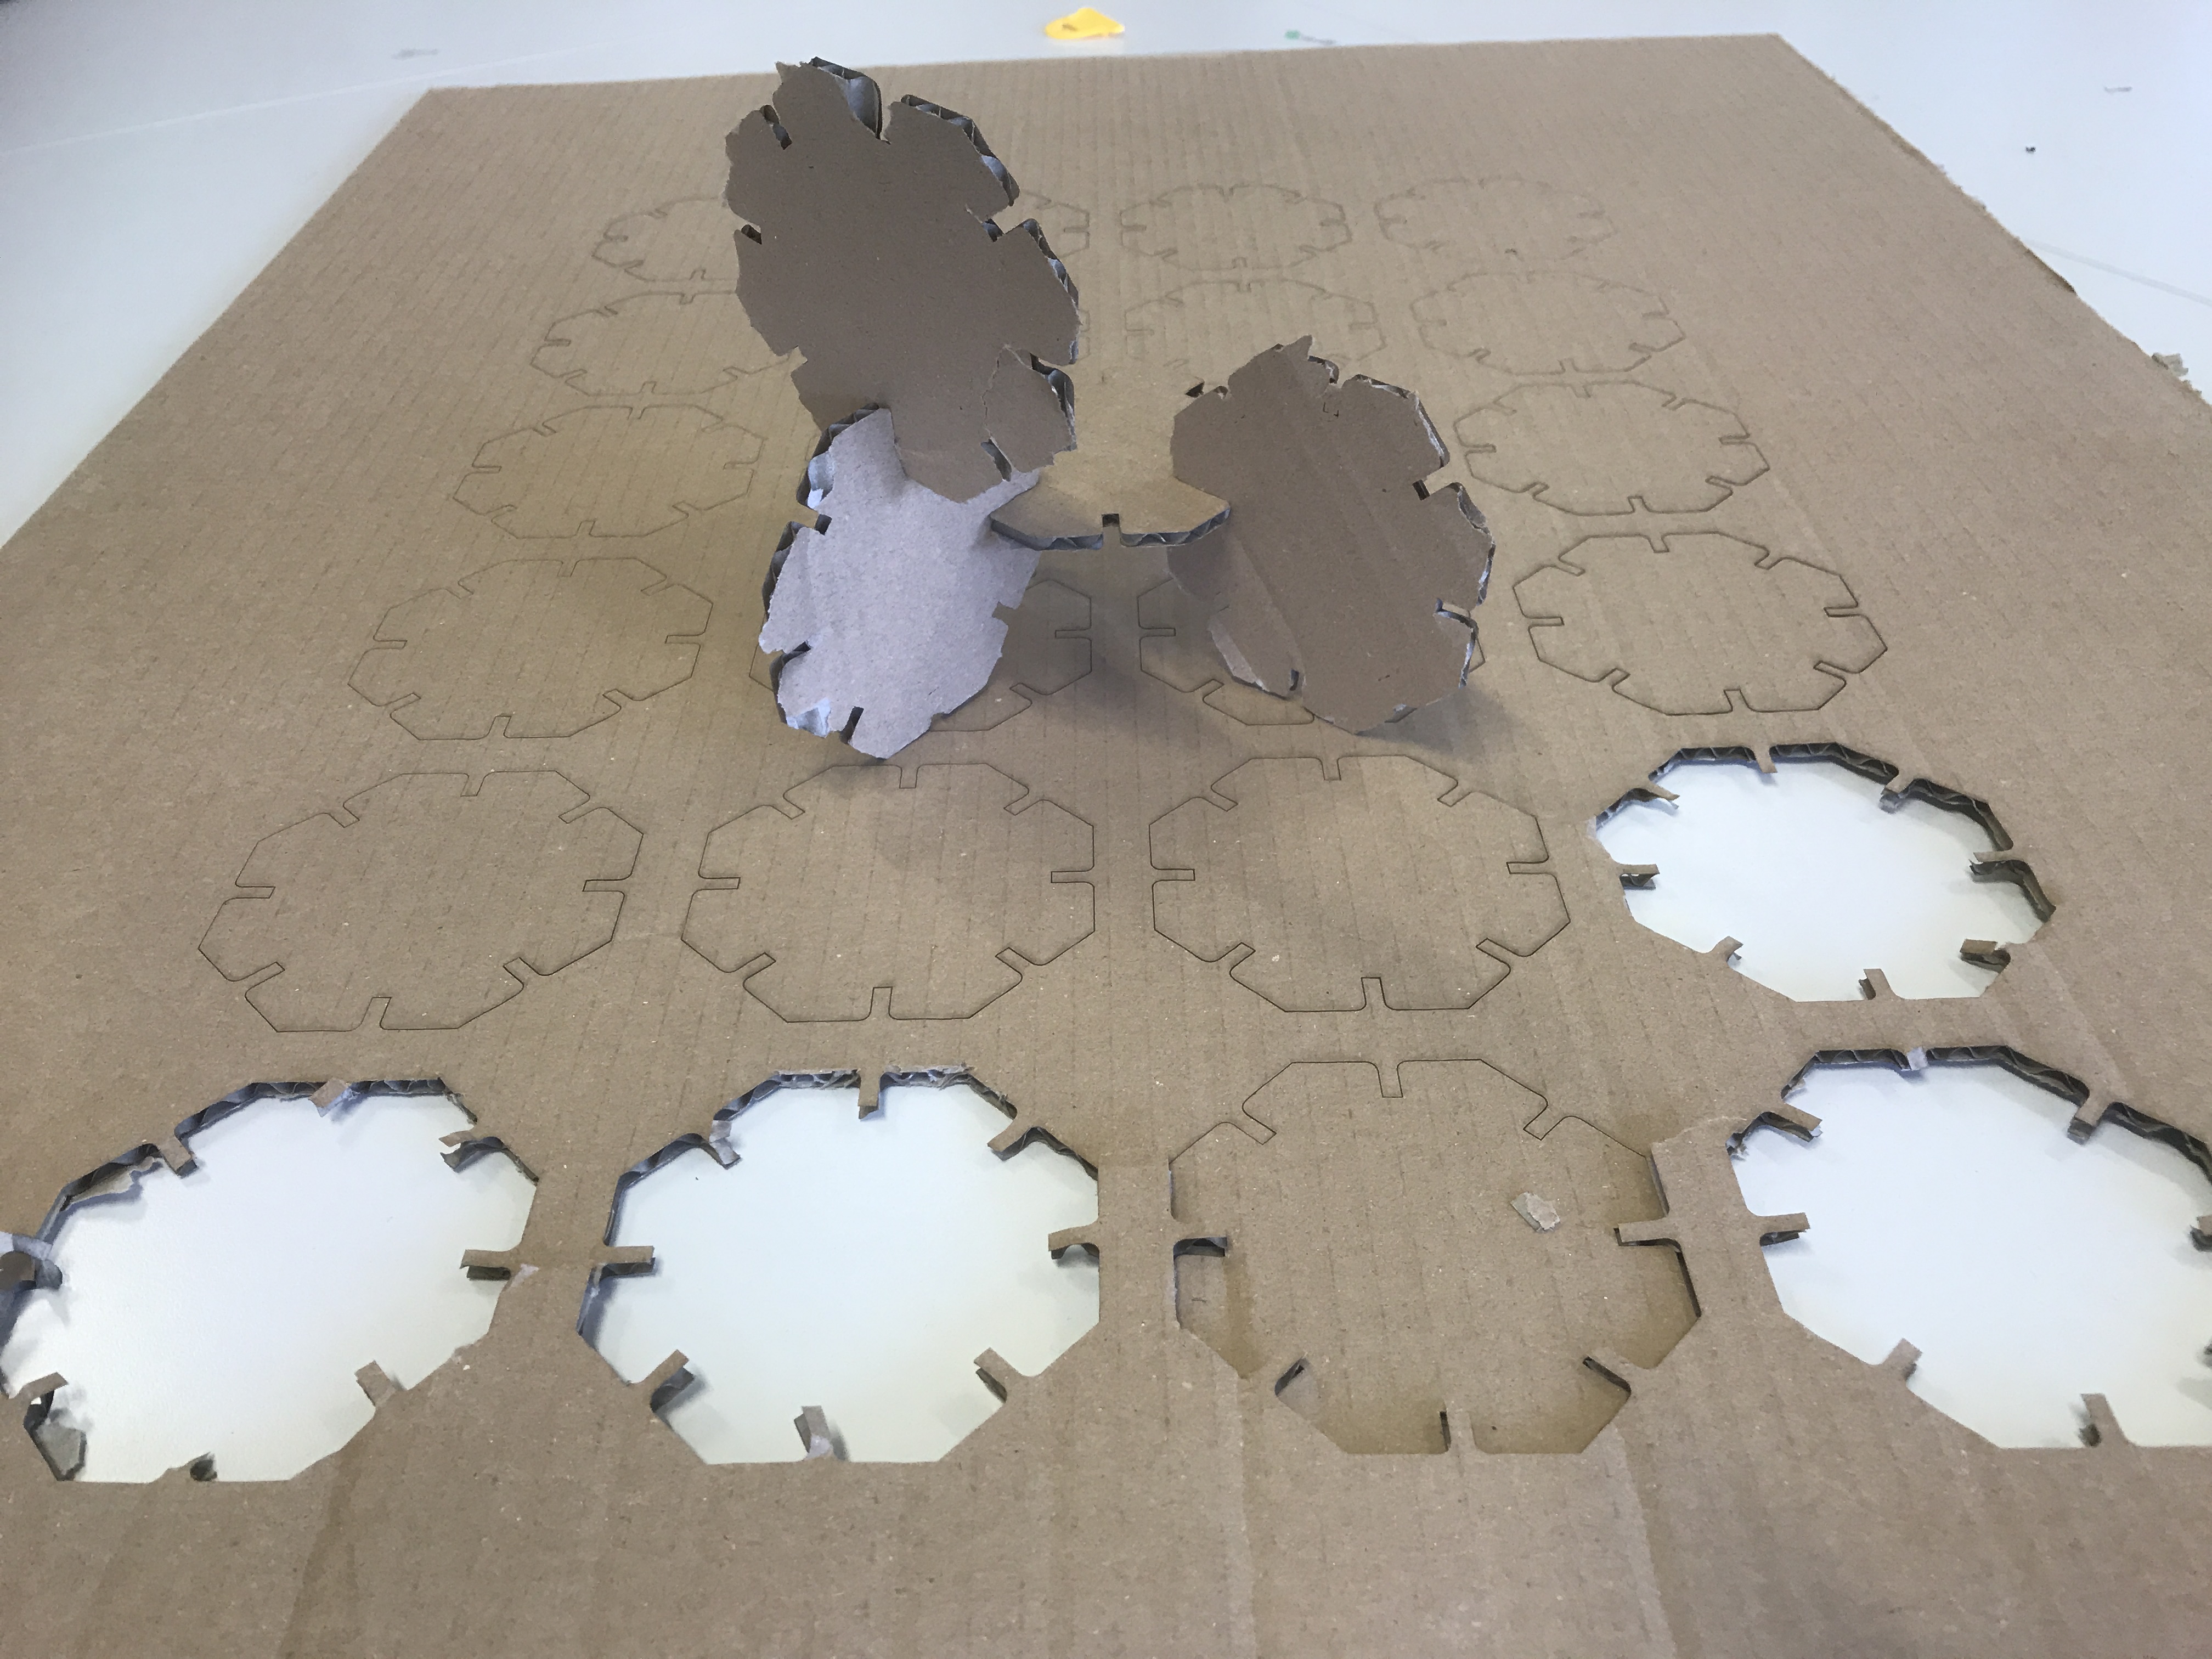 Fig.03: Unsufficiently cut press-fit pieces. |
Before the cutting actually started, of course I was briefed on how to operate the system. Figures 04 and 05 display the control panel and the device for adjusting the focus point. This knowledge allowed me to proceed with the kerf measurement for 2mm MDF as my part in our group assignment. I sketched a rectangular comb design with 10 perpendicular cuts and one additional horizontal cut in the center in Rhino. Figure 06 displays the result: I received one uncut rectangular piece as my reference (top) plus 11 small pieces from 10 perpendicular cuts, reduced in width by the kerf. The difference in width is visible on the left side of the foto; it amounts to 1.35mm, hence the width per kerf is 0.135mm.
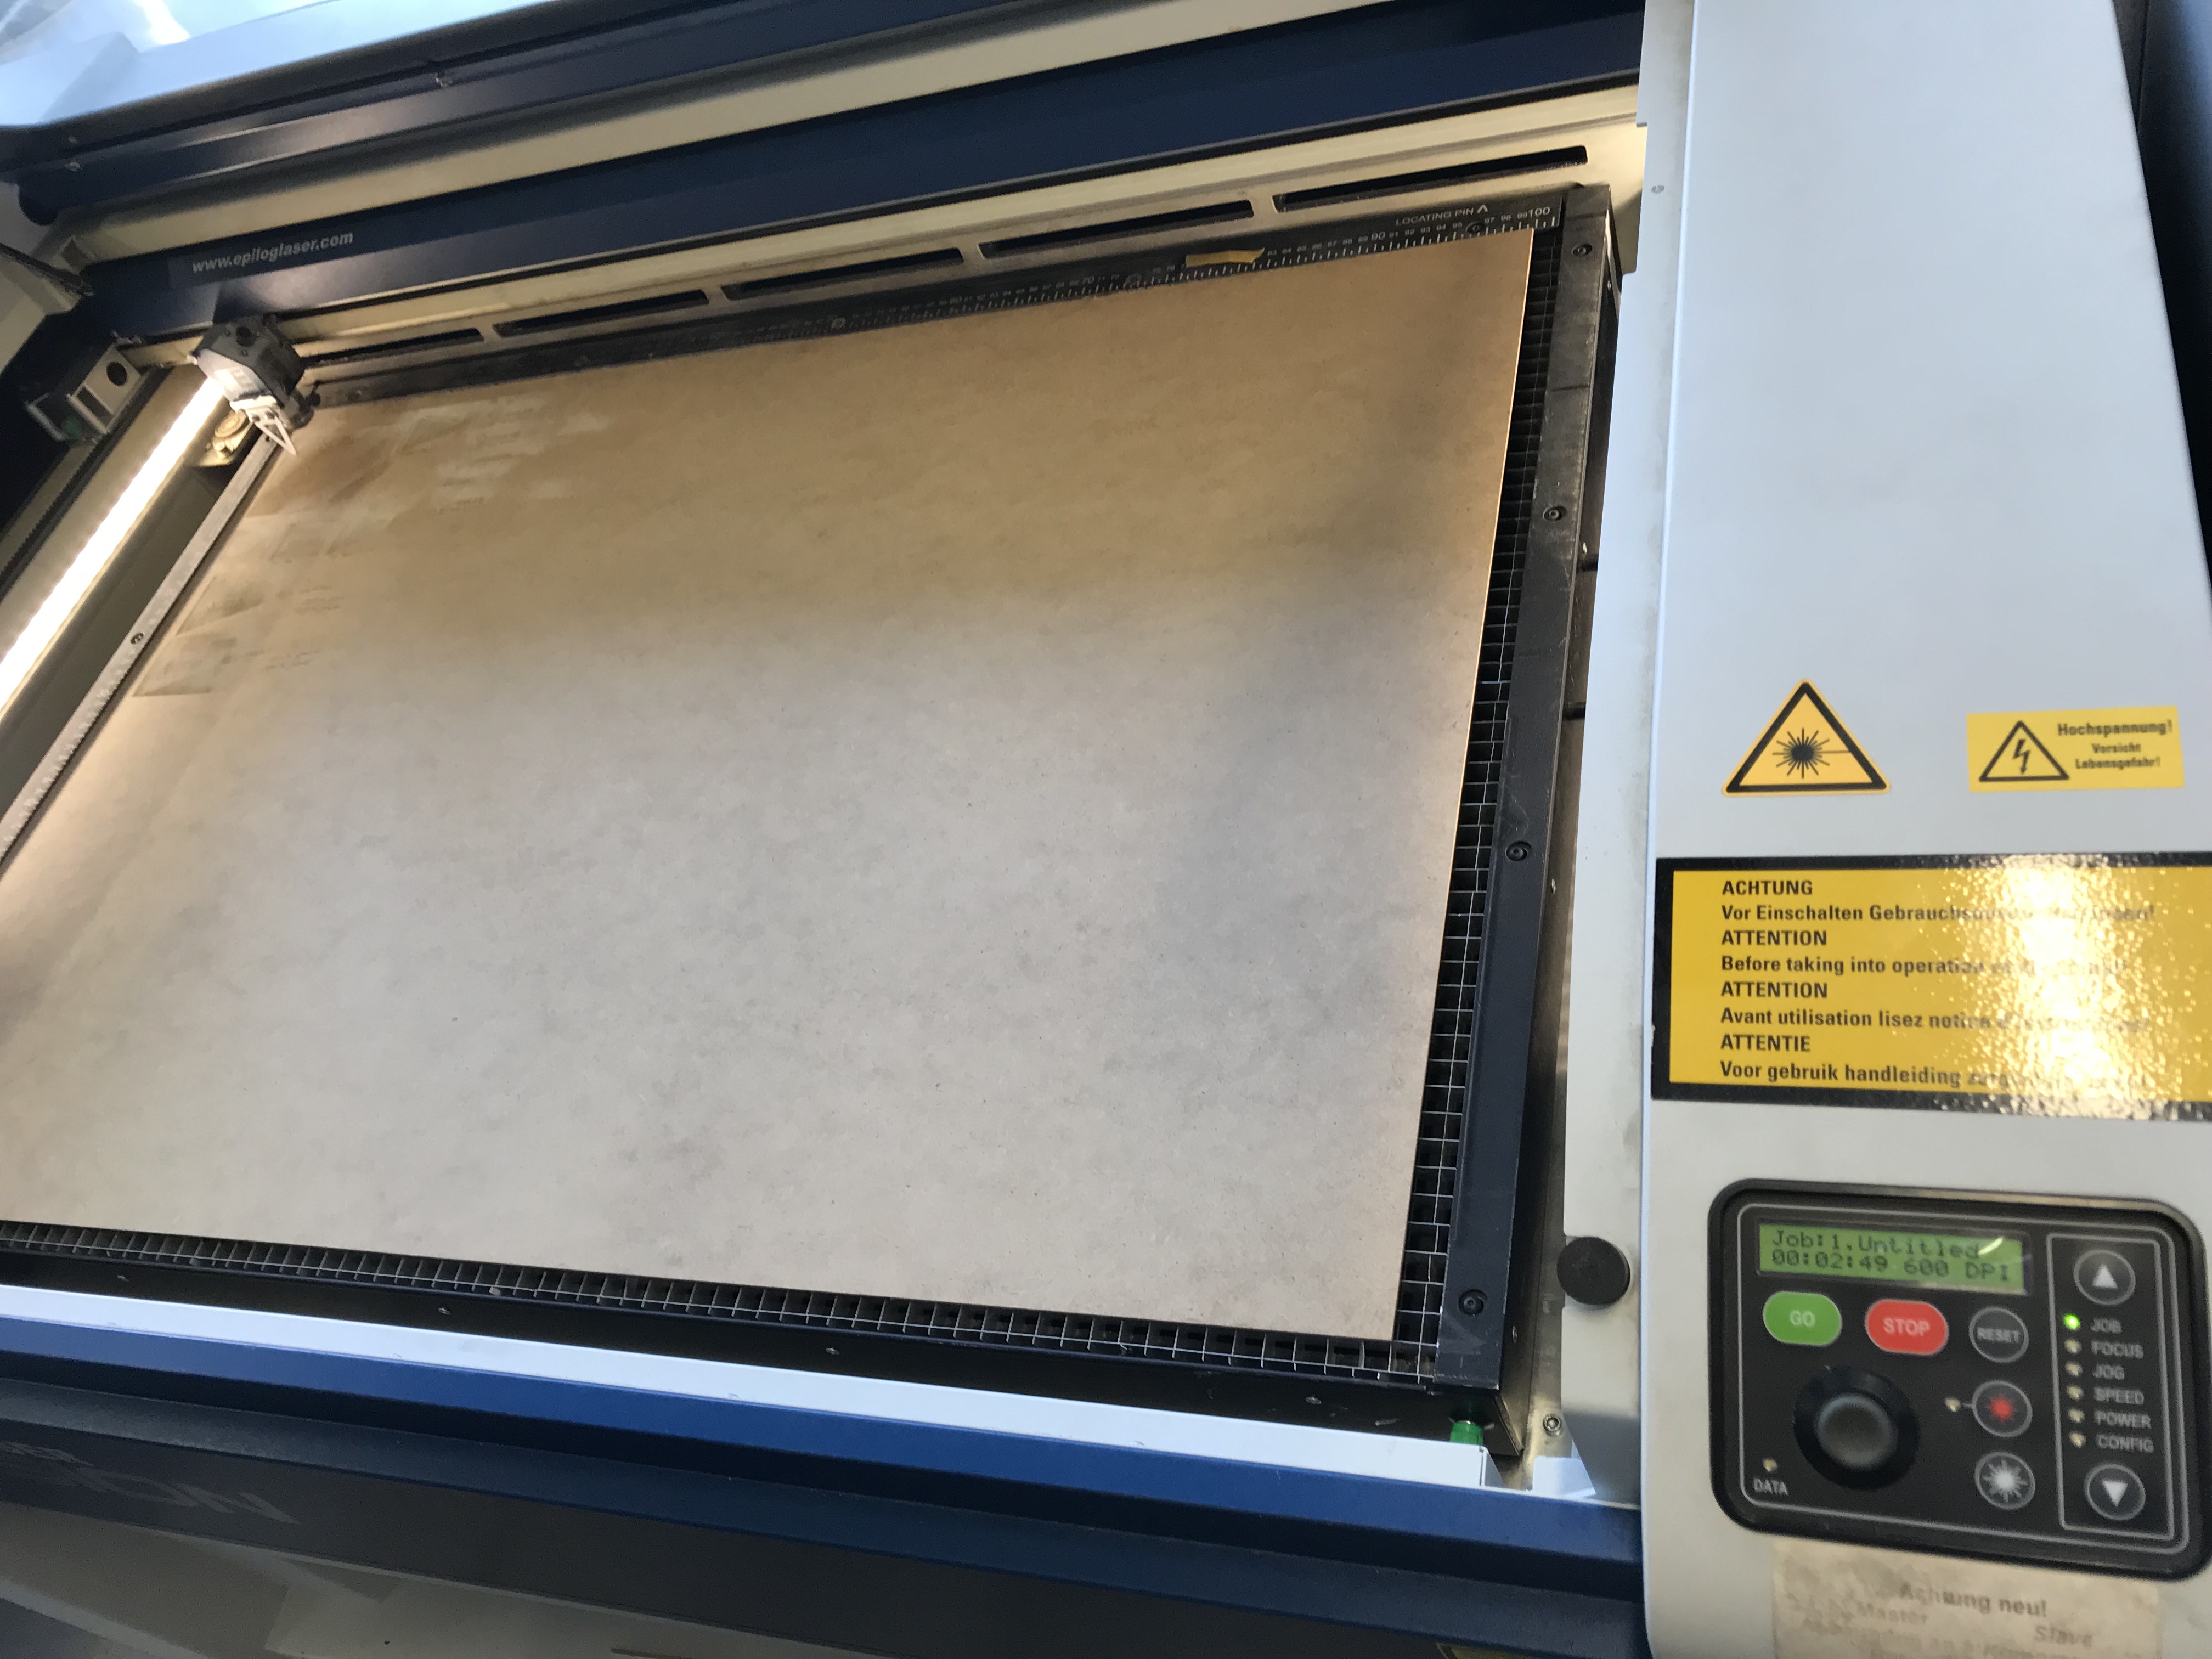 Fig.04: Laser cutter control panel. |
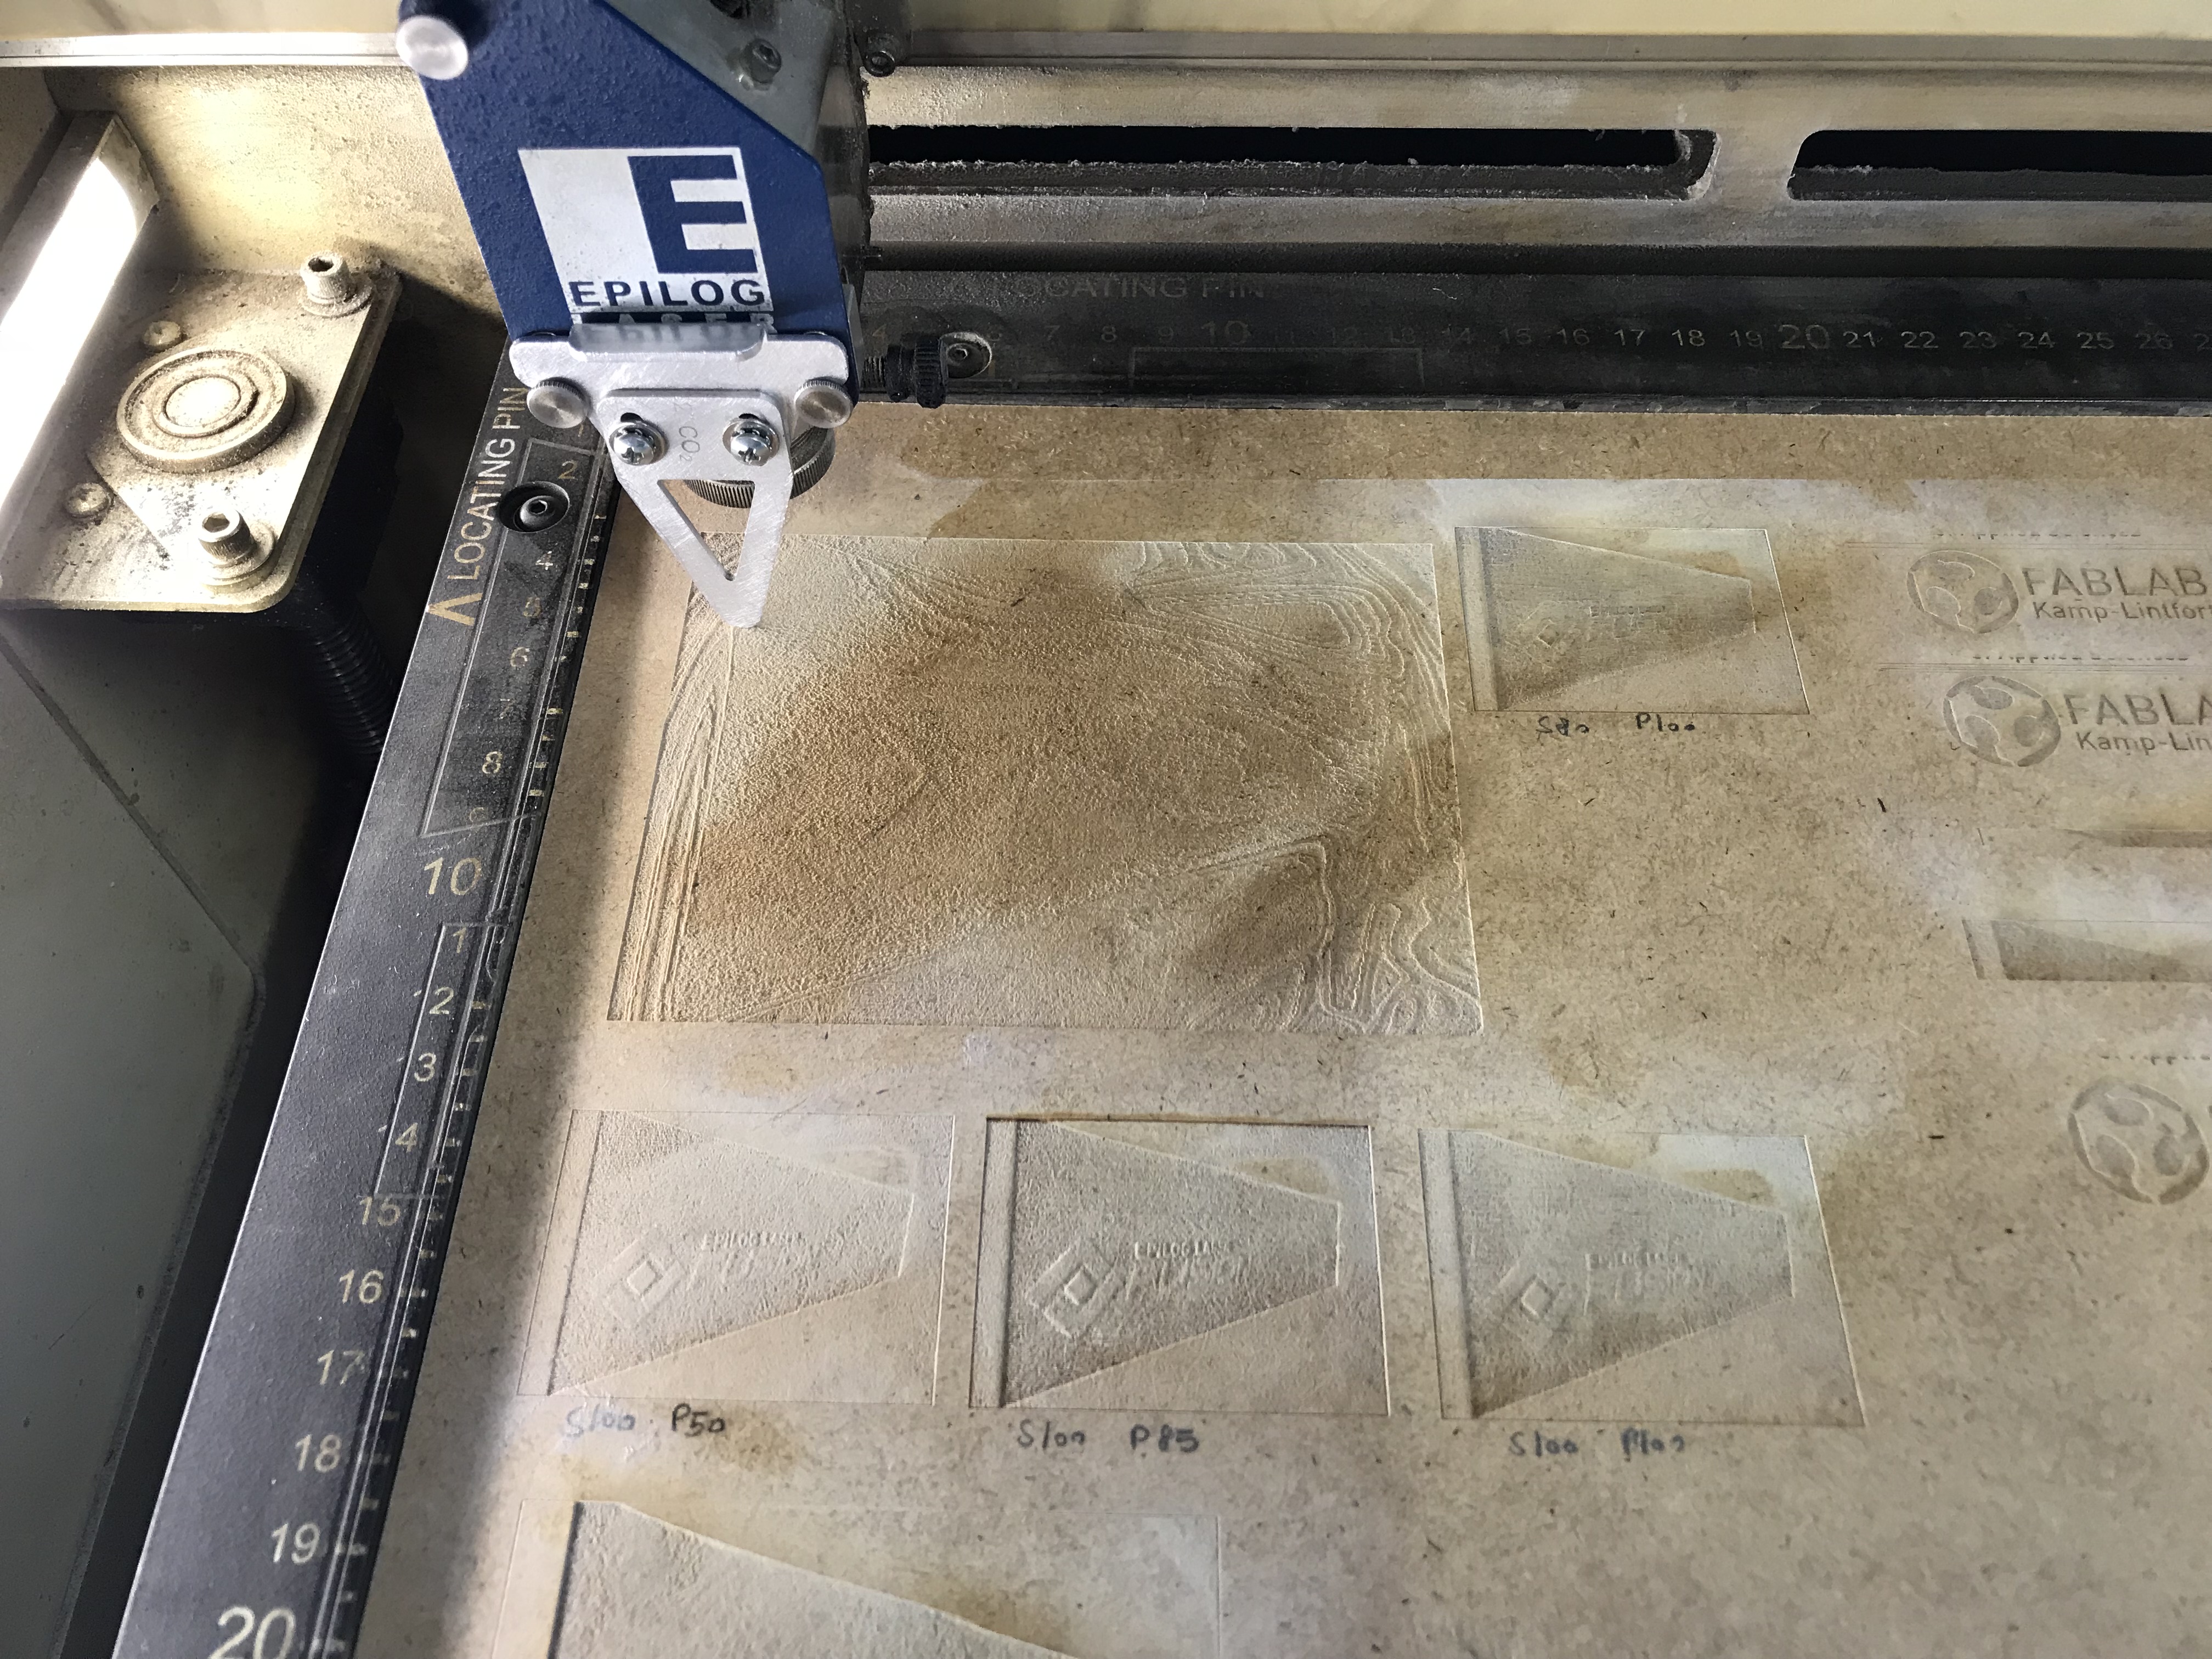 Fig.05: Adjusting the focus point for the laser cutter. |
 Fig.06: 2mm MDF cutout for kerf measurement. |
Last part of this week's assignment was a cutout from the vinyl cutter. I chose to sketch a simple self-made design as a sticker for the press-fit cutouts and stuck it on one of the cardboard pieces (Fig.07 and 08). For this I worked with Silhouette Studio with some minimal adjustments regarding the size of the desing page and the size of the underlying protetive mat.
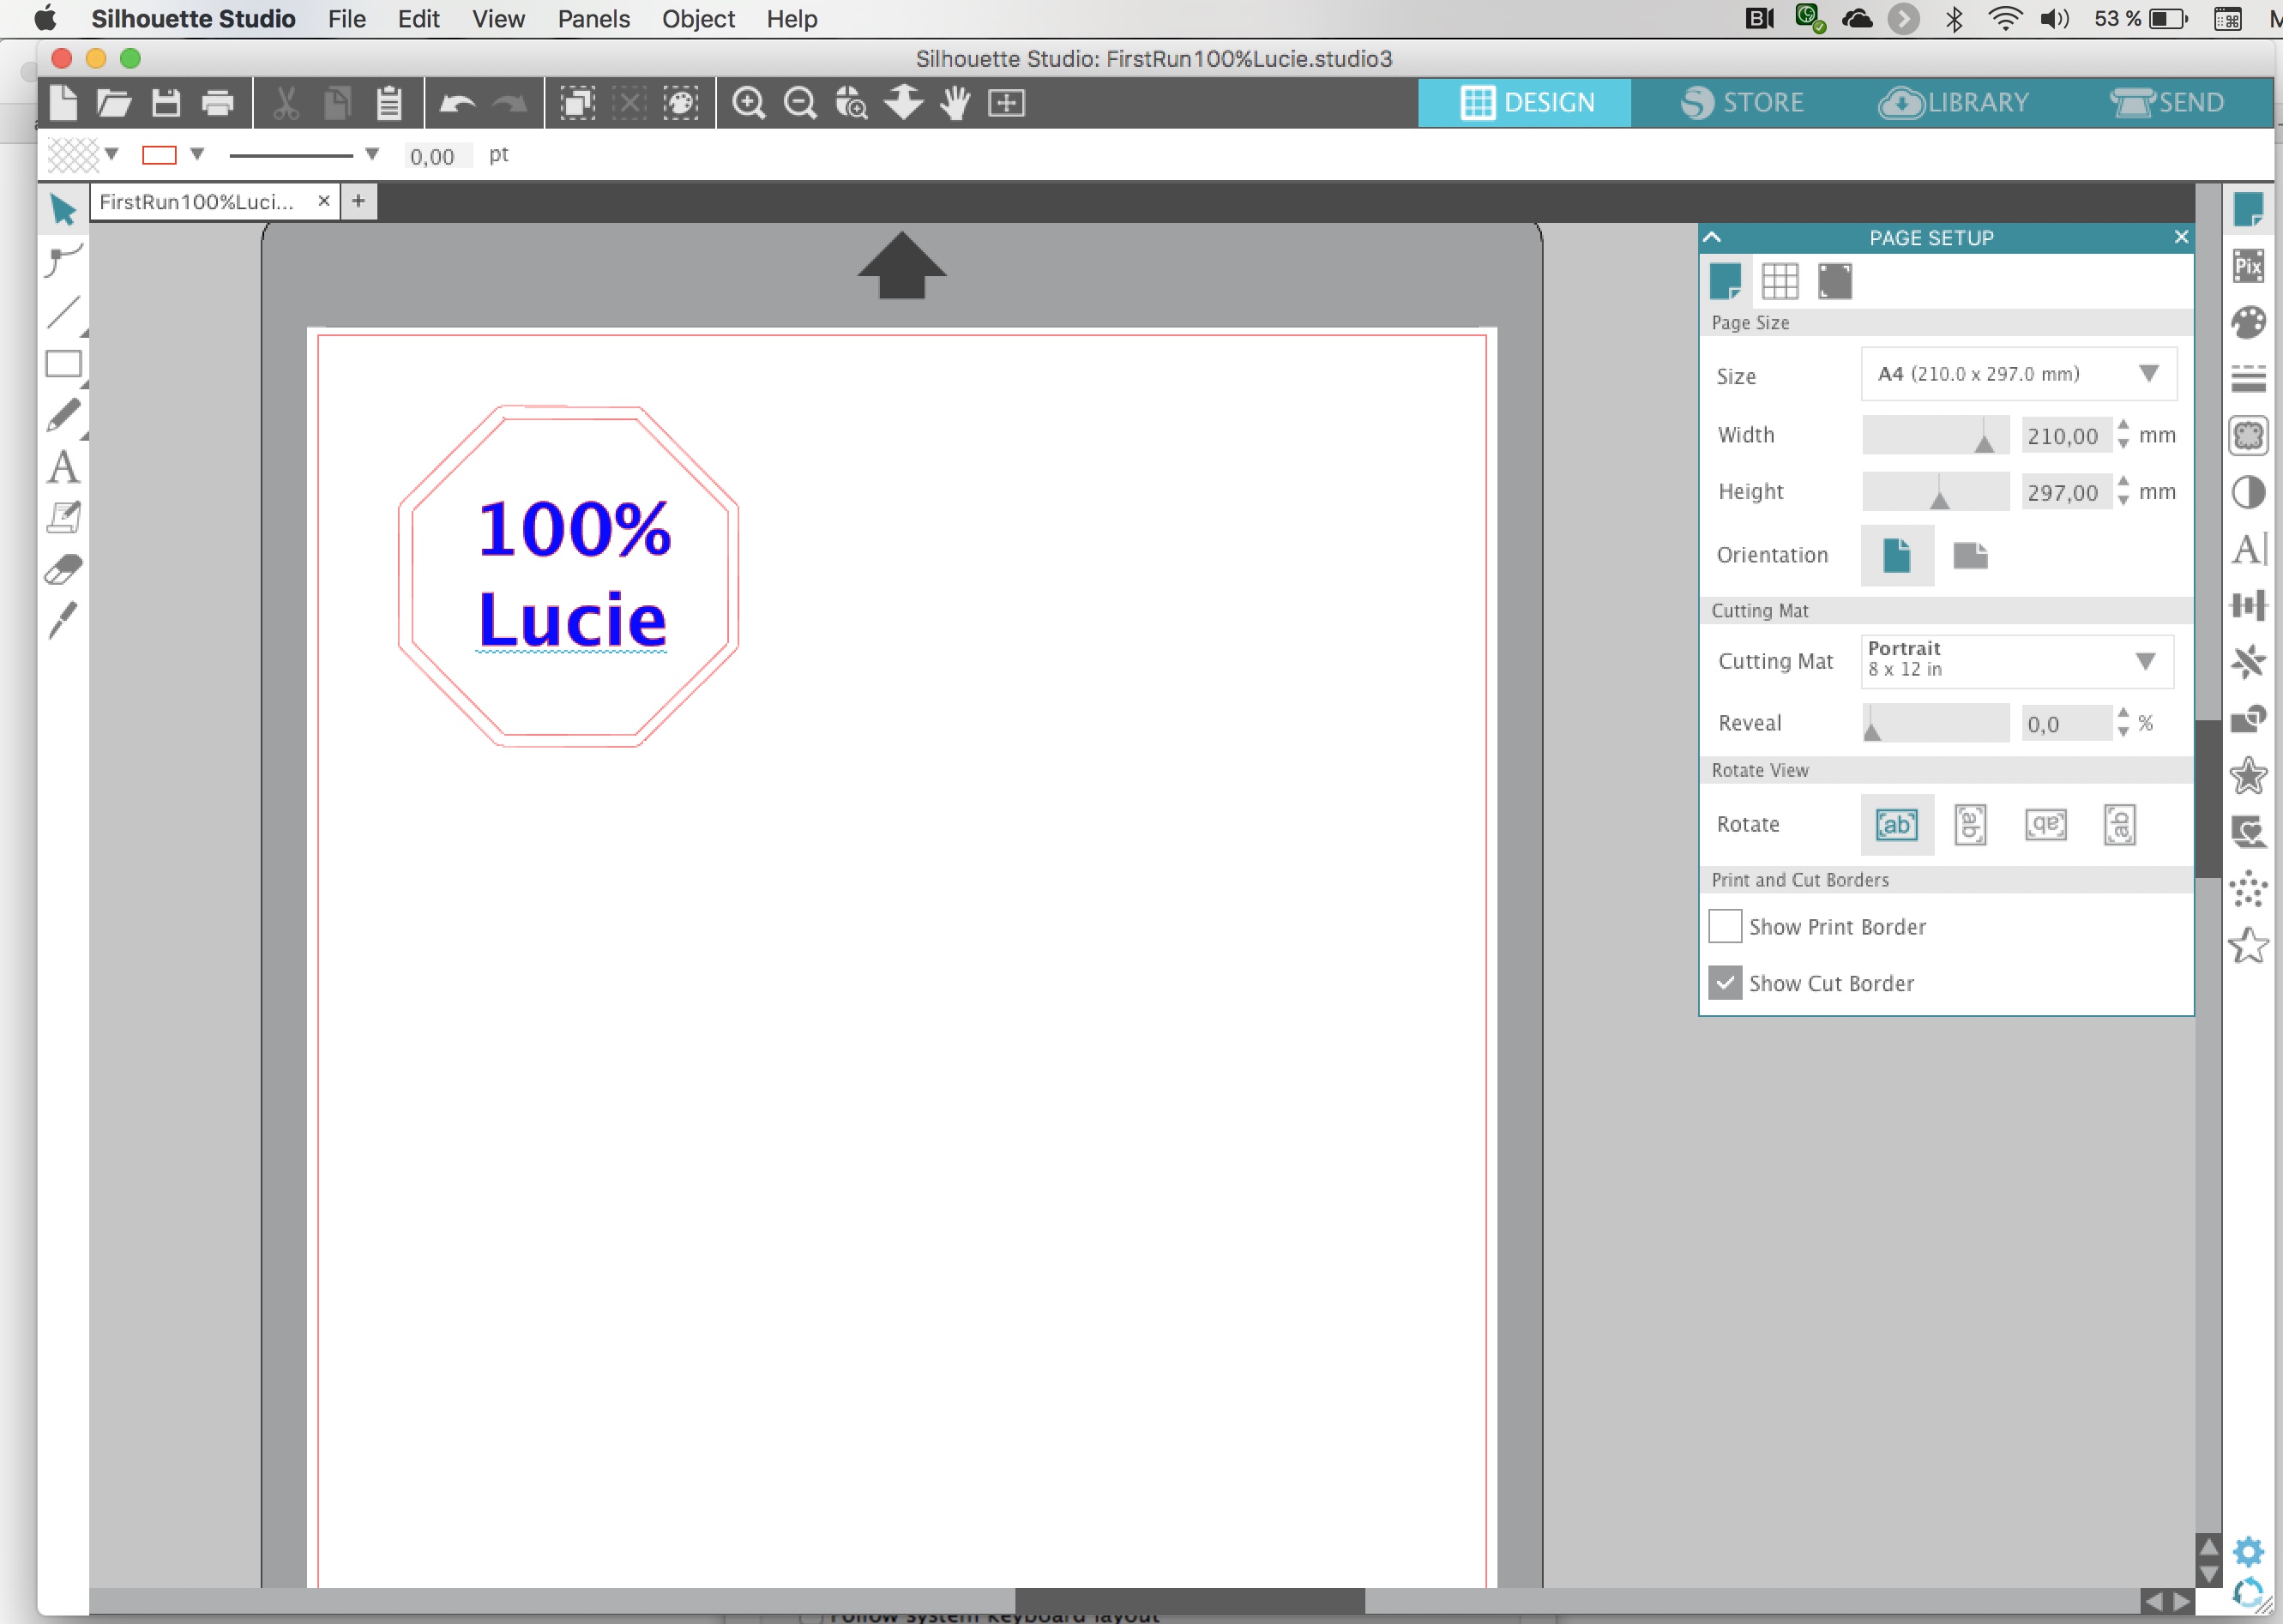 Fig.07: Silhouette screenshot of sketch for vinyl cutting. |
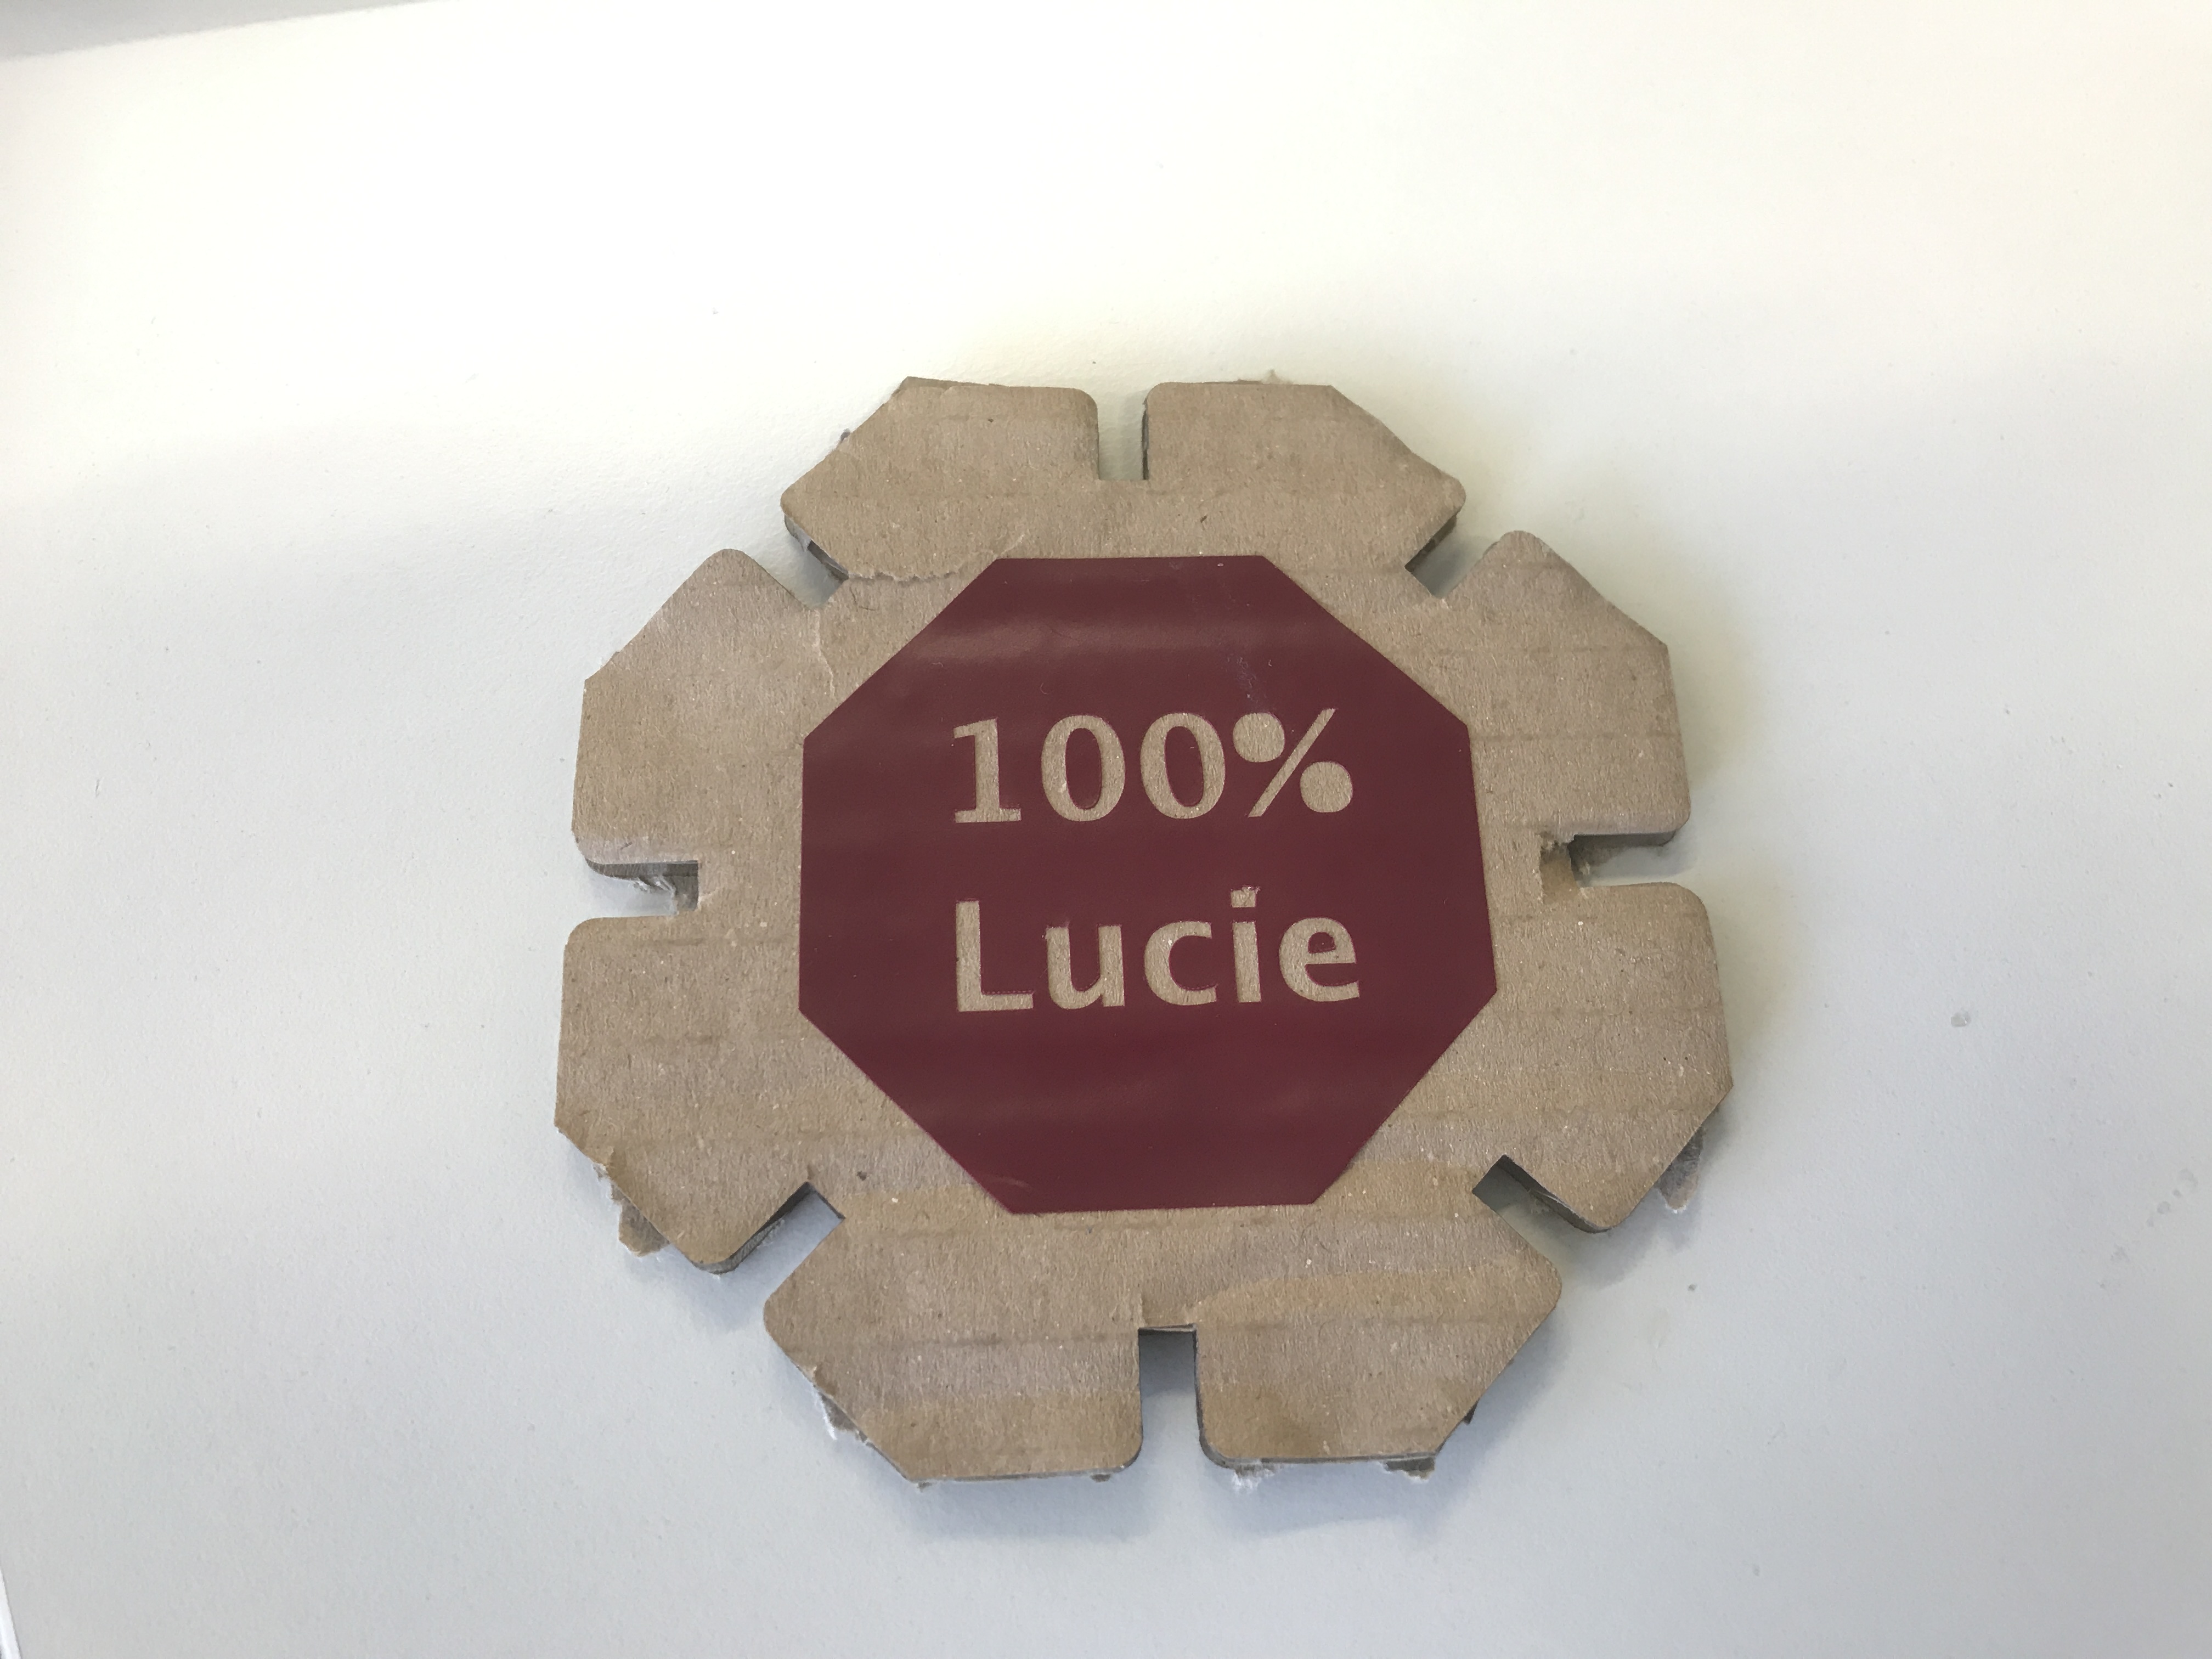 Fig.08: Vinyl sticker on cardboard piece. |