This is the sixteenth week assignment for the Fab Academy 2018.
.Wildcard Week
This week's assignment was the first of its kind to Fab Academy Wildcard Week. The assignment was to design and produce something with a digital fabrication process that includes composites, textiles, biotechnology, robotics and cooking. At first, things weren't clear on how to proceed with the task, however, the Lectures.
helped making things clearer
I had lots of things in mind in terms of textile, 3D printing, and musical instruments

I designed a solidworks fab 14 logo to be printed on a piece of fabric.
I opened Text, wrote Fab 14, extruded it, saved it as an STL file,

to Cura using the same settings used for PLA. The layer height was 0.2mm while wall and top thickness was 0.8mm. The infill density was set to %20

The tricky part was fixing the piece of fabric on the printer bed. I used 4 paper clips on the side to fix the fabric. I also modified the level of the nozzle to make it as close as possible to the bed in order to have the material stick better to the fabric.


Here we go, material printed on fabric. Now we can print on any piece of clothing or fabric
This is a video of the printing process of the logo print
Second thing I did was a 3D printed Maraca. A Latin and Caribbean musical instrument that makes a percussion sound when shaken.


I used my favorite software, Solidworks, and designed oval shape to be the base for the instrument, and designed a cylindrical shaped handle for the base.
Saved the designs as STL files and sent to Cura

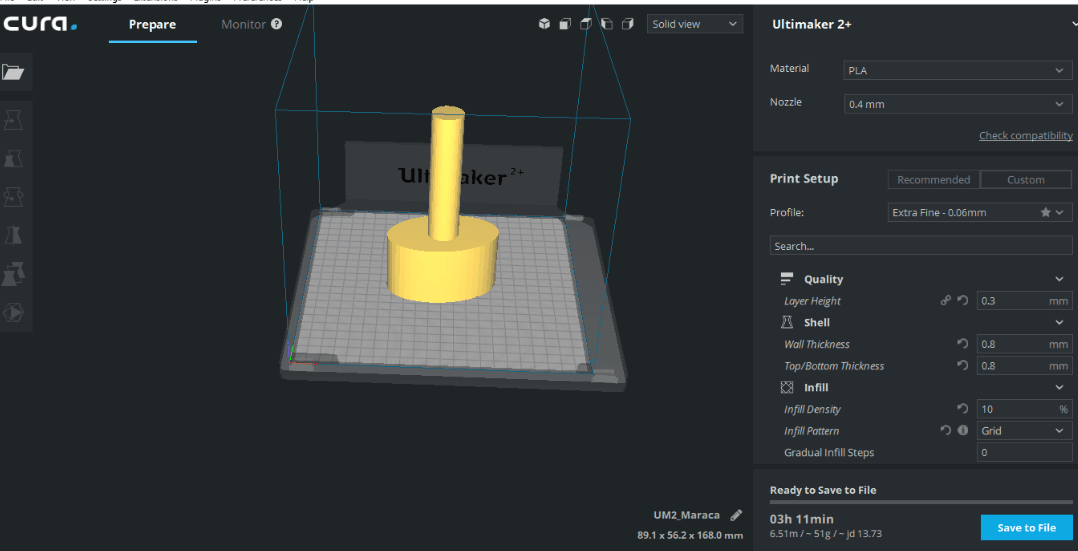
In Cura, the infill can be easily changed, so you can print it hollowed or a solid part. I printed a PLA filament and set the infill density to %10. There’s an icon button next to the infill setting that allows you to customize the infill pattern, and I chose a grid pattern to give the oval design holes which can be filled with nuts to provide the sound when the instrument is shaken.
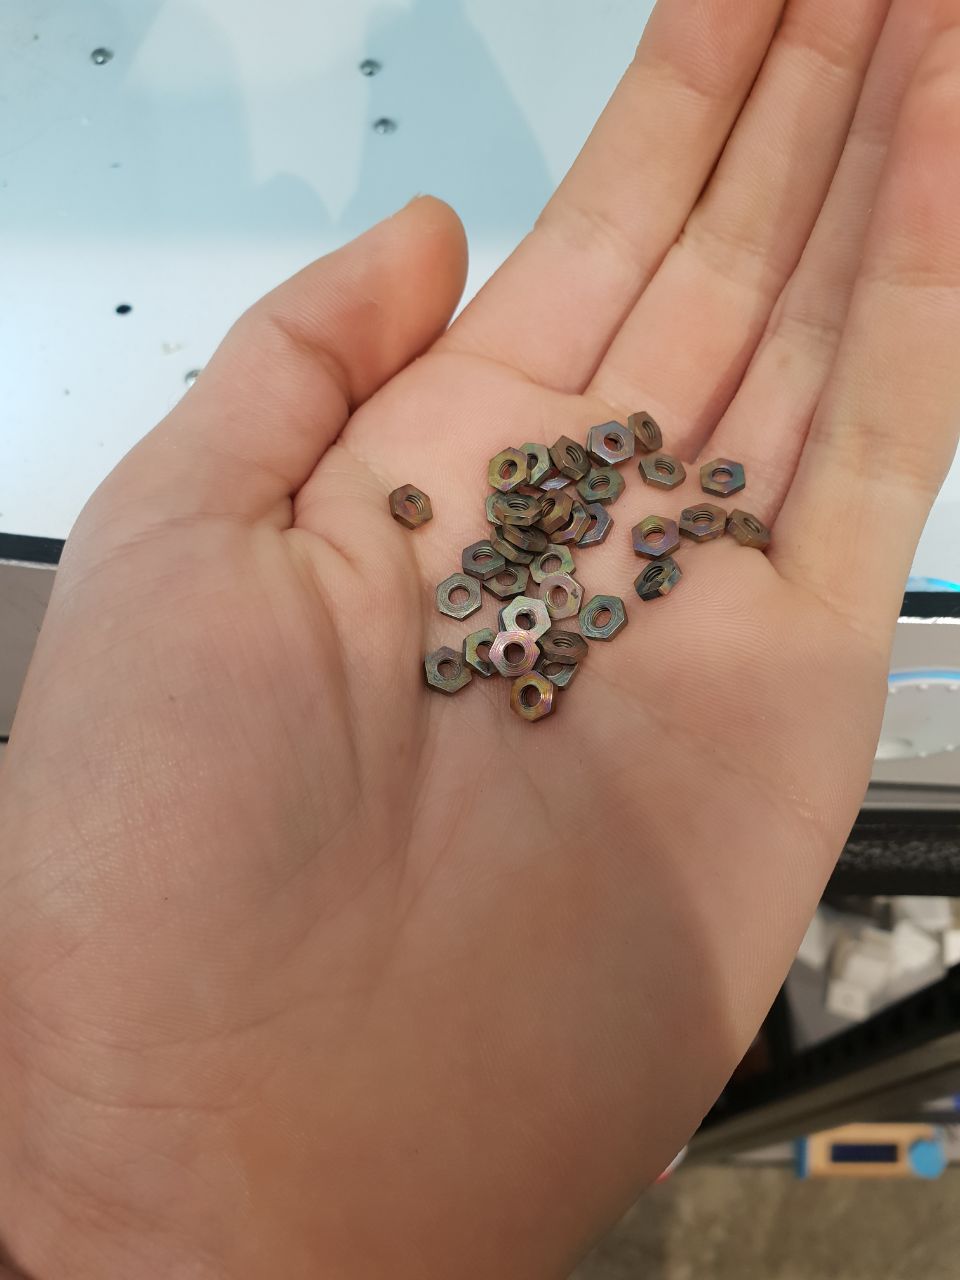

I paused the print in the middle and inserted the nuts to the oval base, then resumed the print.
This is the Maraca in action!
I have been hearing lots of projects on 3D printed shoes across the community produced by major brands such as Nike, Reebok and others. I thought of printing one myself.
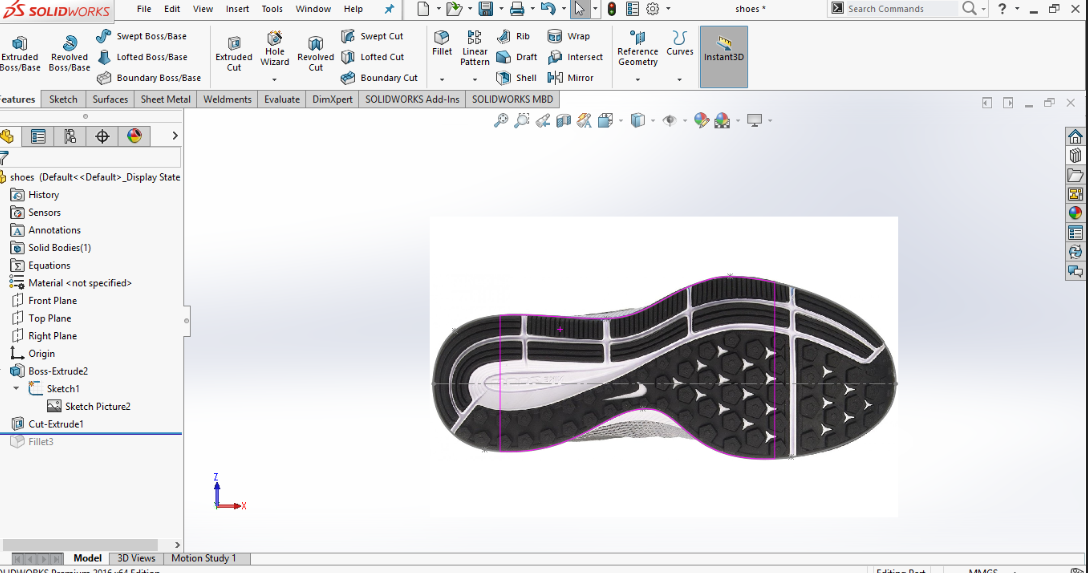
I took a picture for a shoes sole and autotraced it. This was the first time for me using the autotrace option on solidworks. This video was a very helpful tutorial on how to use this option
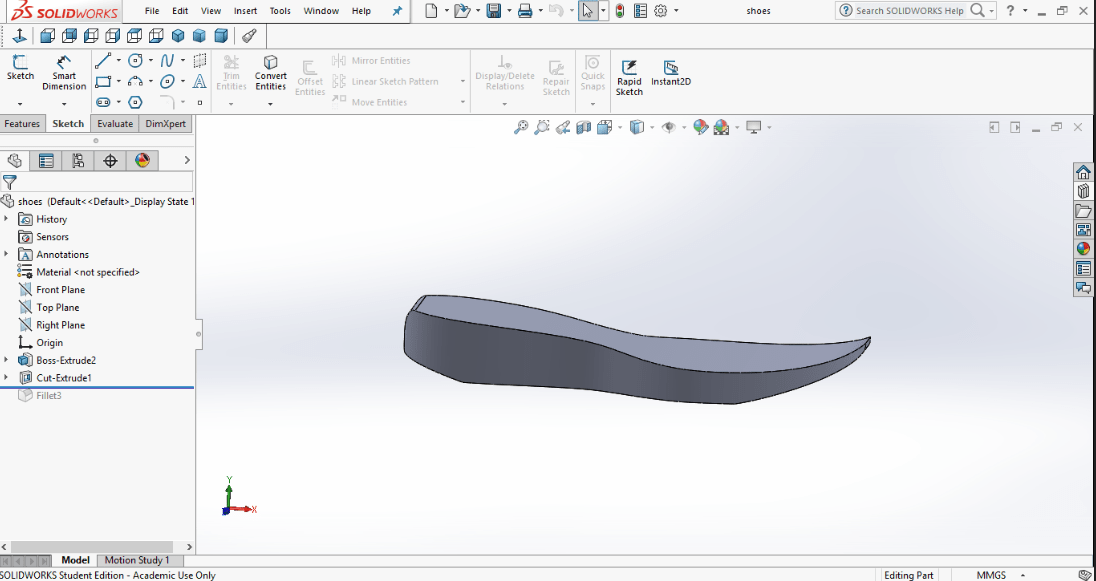
After autotracing the sole, I extruded it and had a 3D design ready
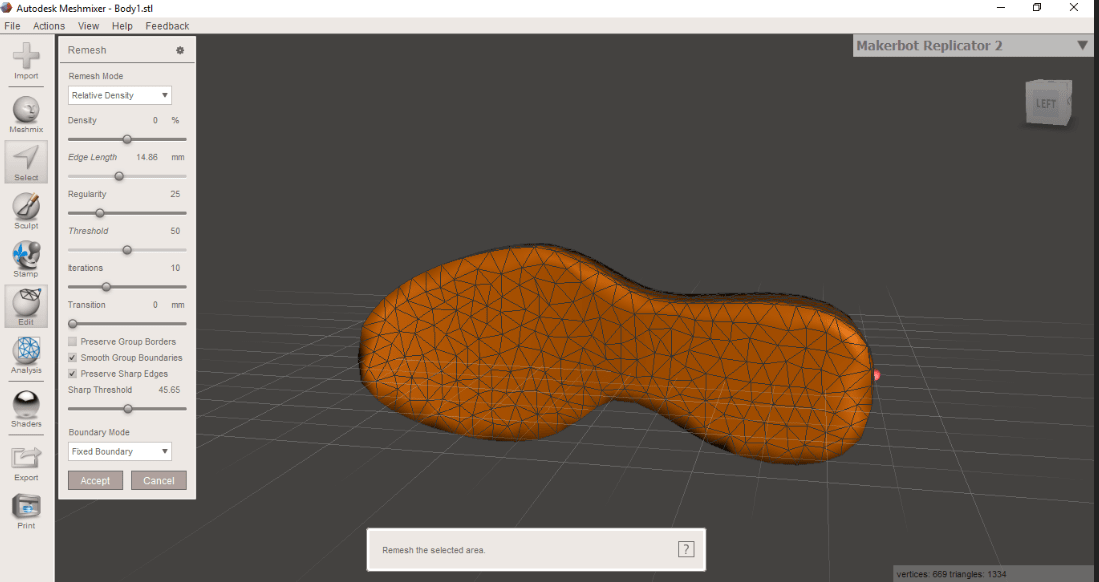
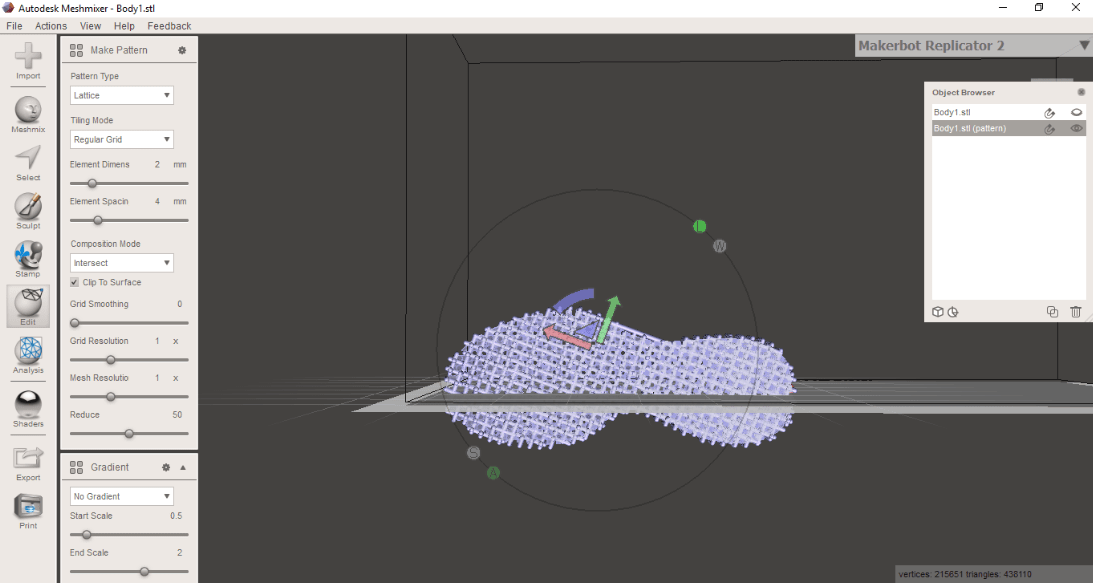
This was my first time using Meshmixer where I applied a voroni pattern. There were lots of patterns to choose from. As seen in the picture, I also changed the mesh. I found some This video that I found very helpful on how to do a voroni pattern

I used a Witbox 2 printer because I use filaflex material to have a flexible and comfortable shoe sole. I chose this printer, as it makes printing a flexible materials very easy. Note: Make sure you don’t set a print speed of over 30mm/s when printing a flexible material like the one I used.
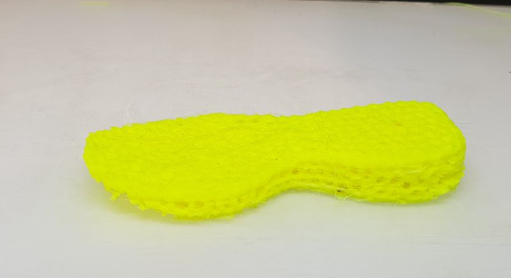
We have this shape for a flexible sole
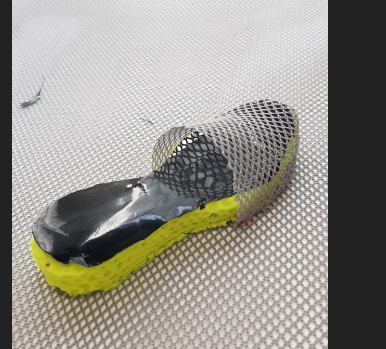
I had to sew the front fabric myself, as shown, but it was very difficult. After sewing the fabric, I ended up with a slip-on type of shoes.
This week's assignment was fun, however I faced some issues with sewing. I learned how to use autotrace.
Downloads
fabric FAB14Maraca
shoes
