Wildcard week

This week's tasks are:
- Design and produce something with a digital fabrication process (incorporating computer-aided design and manufacturing) not covered in another assignment.
As I was thinking to create something new and also ould be mixed with my Final Project, I decided to try the Lithophane using 3D printing.
All credits goes to my husband for the suggestion of trying this.
Step1: Getting introduced to some concepts
- What is Lithophane?:It is an etched or molded artwork in very thin translucent porcelain that can only be seen clearly when back lit with a light source. Modern Lithophanes are made by CNC and 3D printing.
- How is lithophane different fron normal 2D images:Lithophane are 3D images where the material is very dense in some parts so it doesn't allow light to pass and very light in other parts to allow light to pass. The difference in the amount of light passing through the image makes it visible. The normal 2D images or engraved images are tottally flay and doesn't change their charachteristics with light.
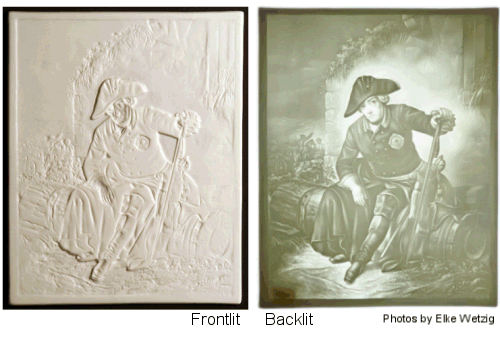
As I'm trying to make " the awesome lightning unit" In my final project, I thought that this might be so interesting to try it and integrate it in the project.
Step2: Trying Cura to creat 3D objects from images
Cura has an option to import an image into it directly and with some simple settings it will convert it into 3D object
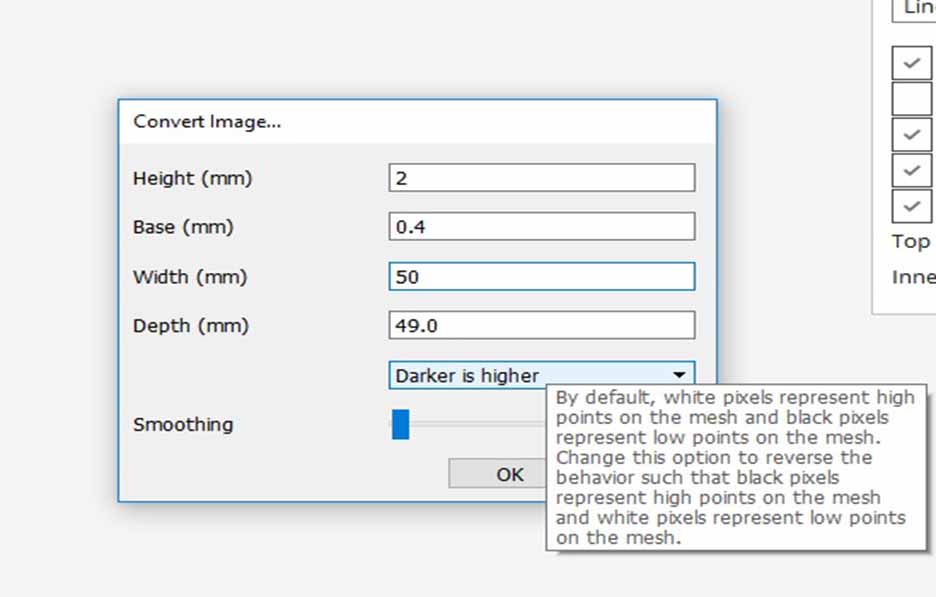
- Height: The maximum distance of each pixle from the base.
- Base: The base height from the build plate in mm.
- Width & Depth: Are the dimensions of the photo to scale it.
- Darker is higher option:The images opens with default of lighter is higher which is opposite to what we need. We need darker points to be higher and have more dense material to not pass the light and light points only pass the light so I chose darker is higher.
This trial is expiremental i used the flower image that I made molding and casting for in Week 9 and I didn't want the printing to take too much time to be able to expirment multiple options. I made the height only 2mm, The bas 0.4 mm the width and depth to be about 6 mm x 5mm.
- Layer height 0.2 mm
- Infill 10%
- Speed 80 mm/sec
- Skirt and no supporters
I printed using our new machine Prusa i3 MK2s using cura slicer,The settings I used for printing were:
I decided to try printing the same file with white color and any other color ( I went for blue) also to expose the result to white lightining (fluorescent lamp) and yellow lightining (Incandescent light) to compare between the results.
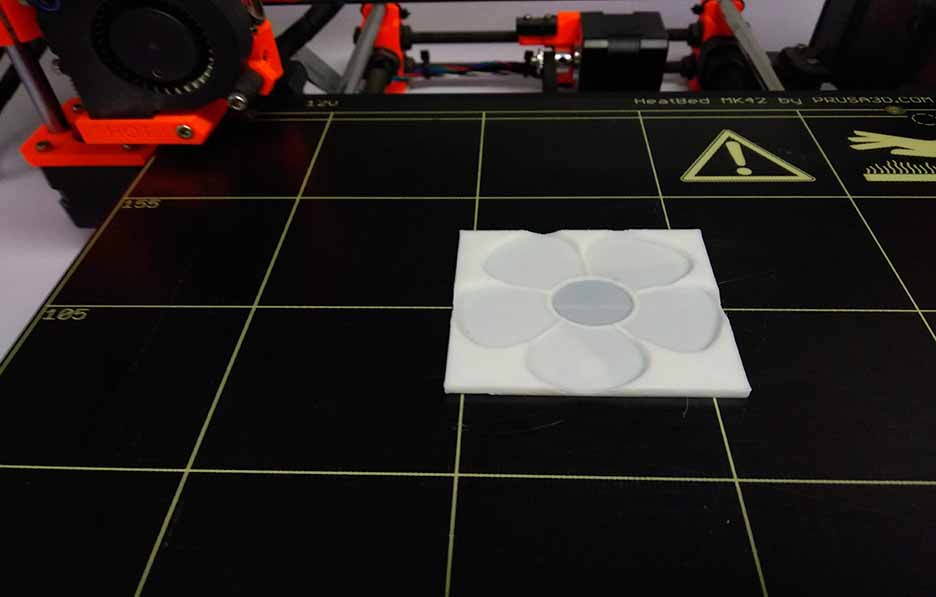
Printing white and yellow flowers
Results
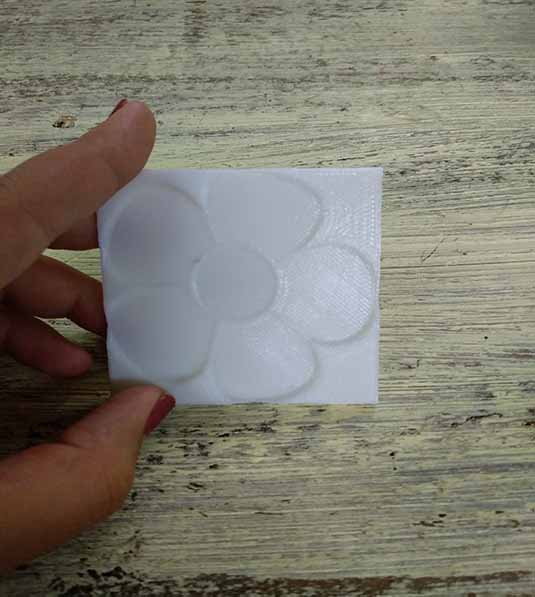
The printed white flower with no light on its back.
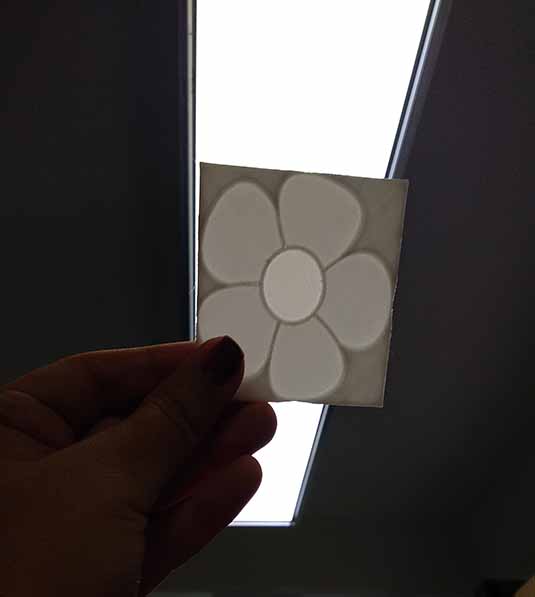
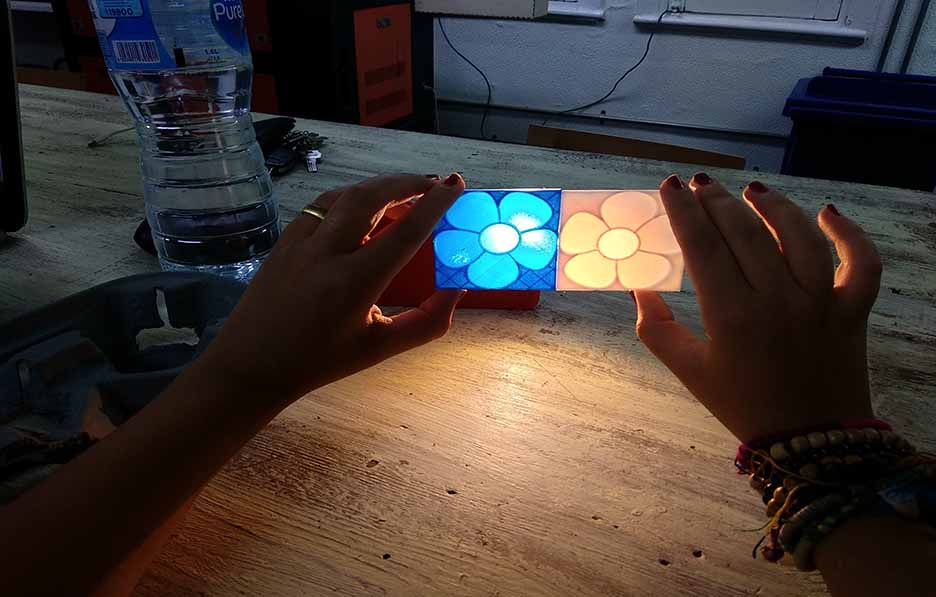
The printed white flower with white light on its back.
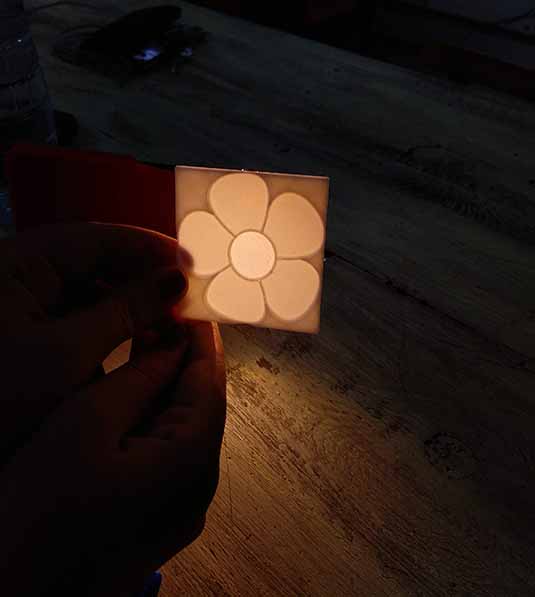
The printed white flower with yellow light on its back.
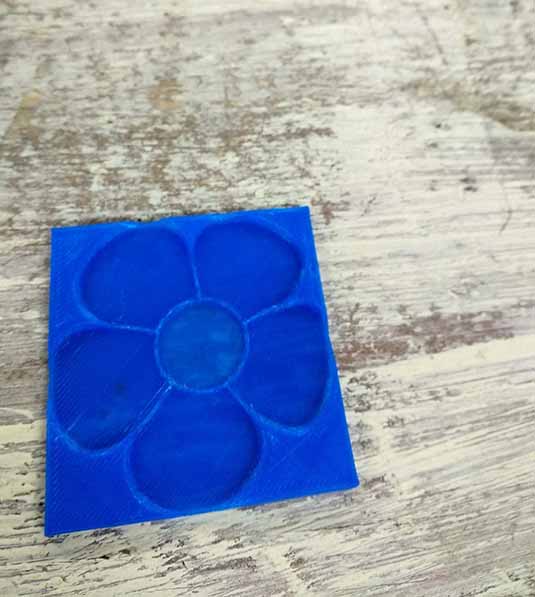
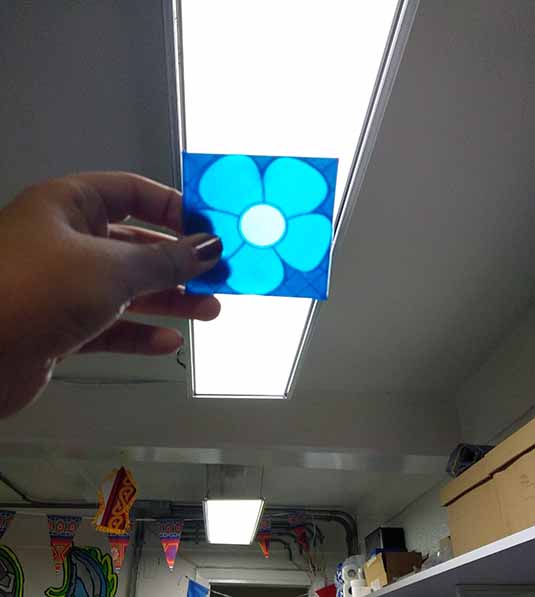
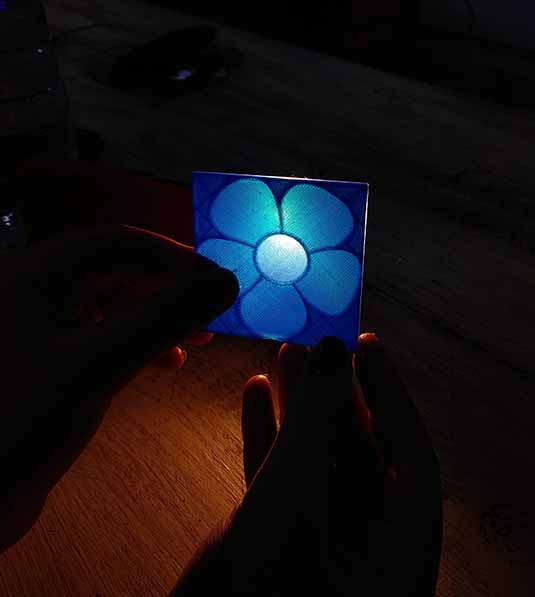
The printed blue flower with no light on its back.
The printed blue flower with white light on its back.
The printed blue flower with yellow light on its back.
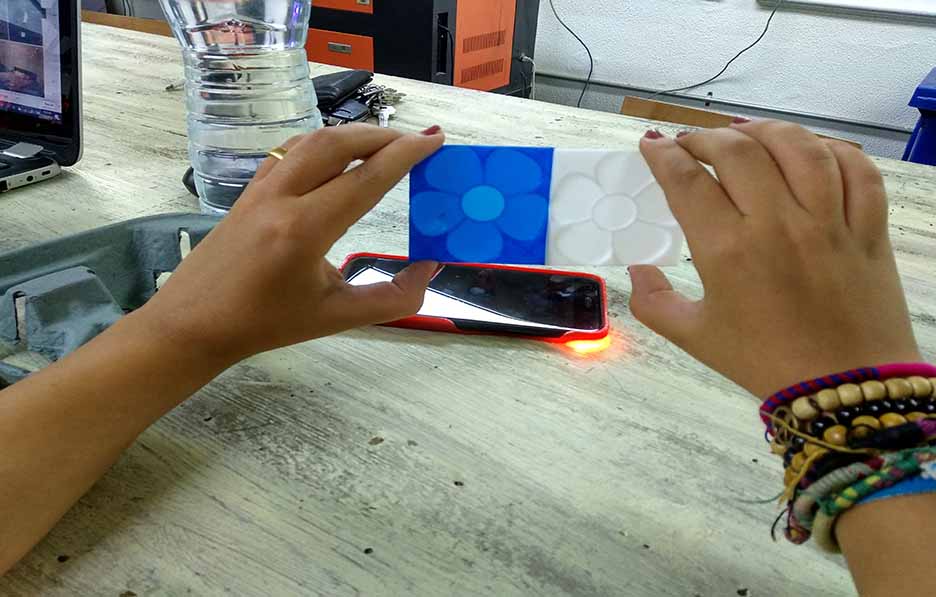
Conclusion
- Does the filament color affect the image quality?
- What is better for lightining the lithophanes (white light or blue light)?
I think white is better as shown in the above images for white filament the lightining is very well distributed and this was excpected as for example in light boxes which is used in photography to distribute the lightining and get images with no shadows. In light boxes white paper or textile is used to distribute the light.
For blue filament we can see the light spots and the light is not distributed well.
I think there is no major difference between both, but I prefered the white lighting as the result looks like a real black and white image.
Step3: Try virtual illusion
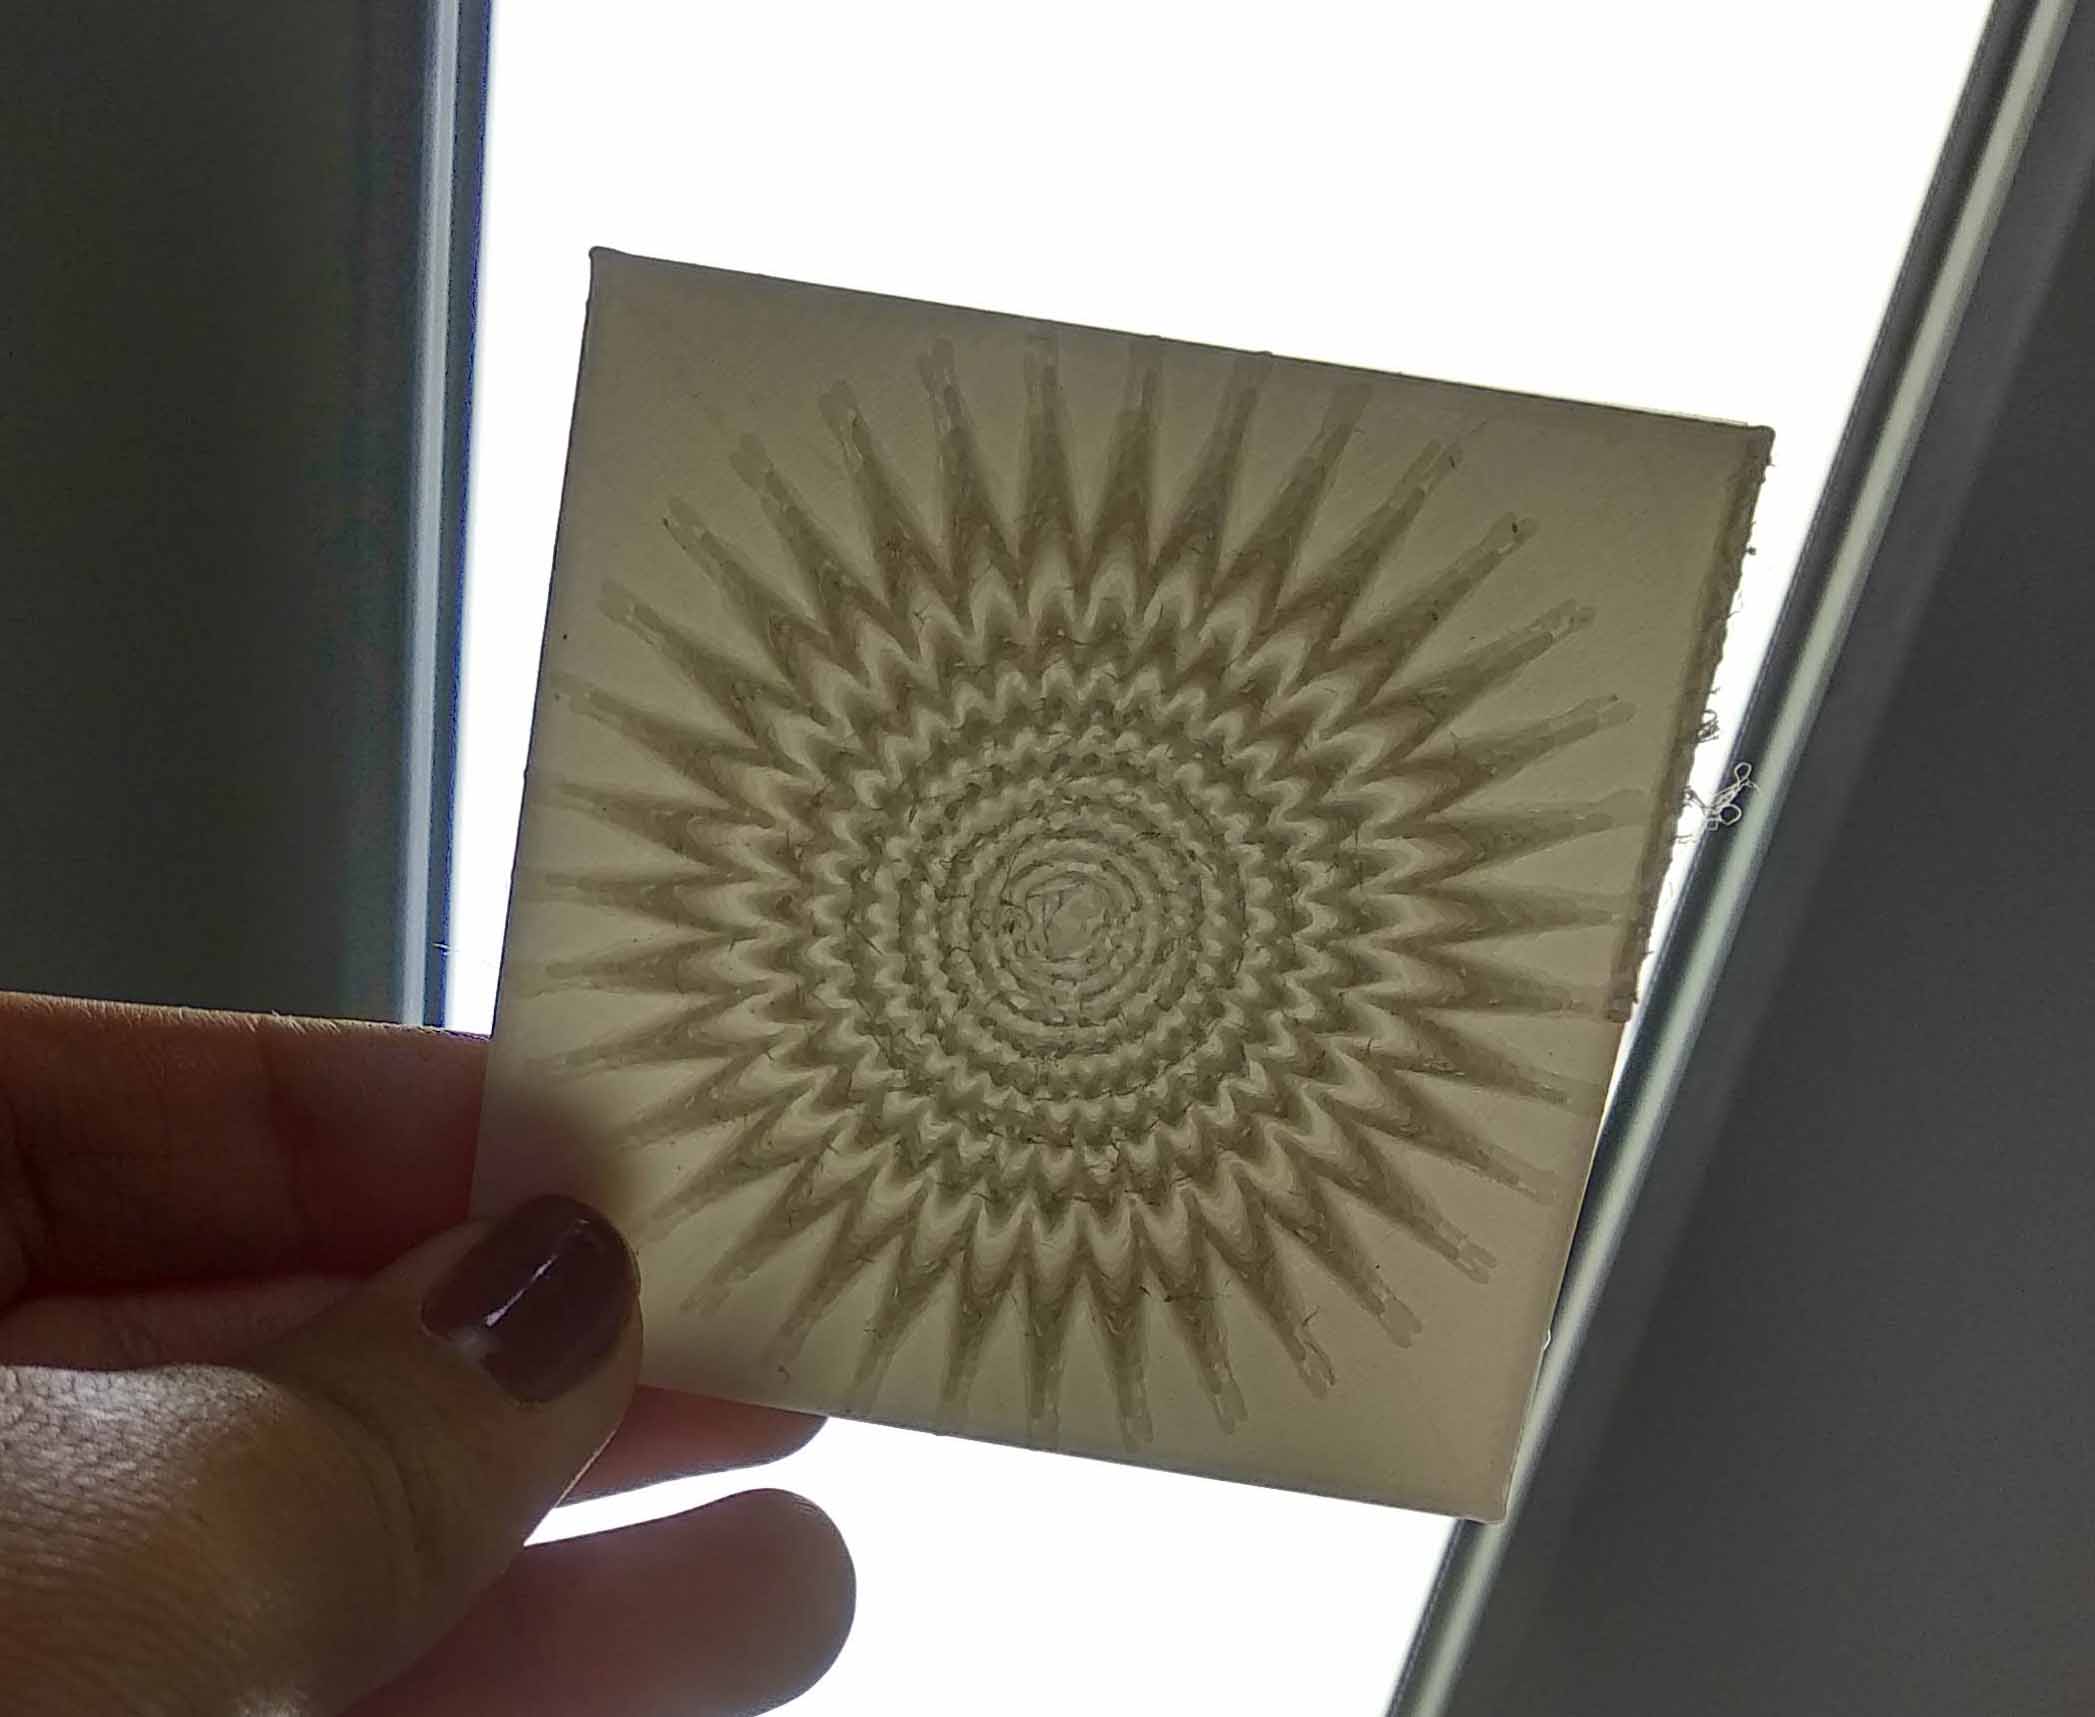
I wanted to try optical illusion pictures as it is really nice on the laptop and it might looks more amazing when it's lit from the back.
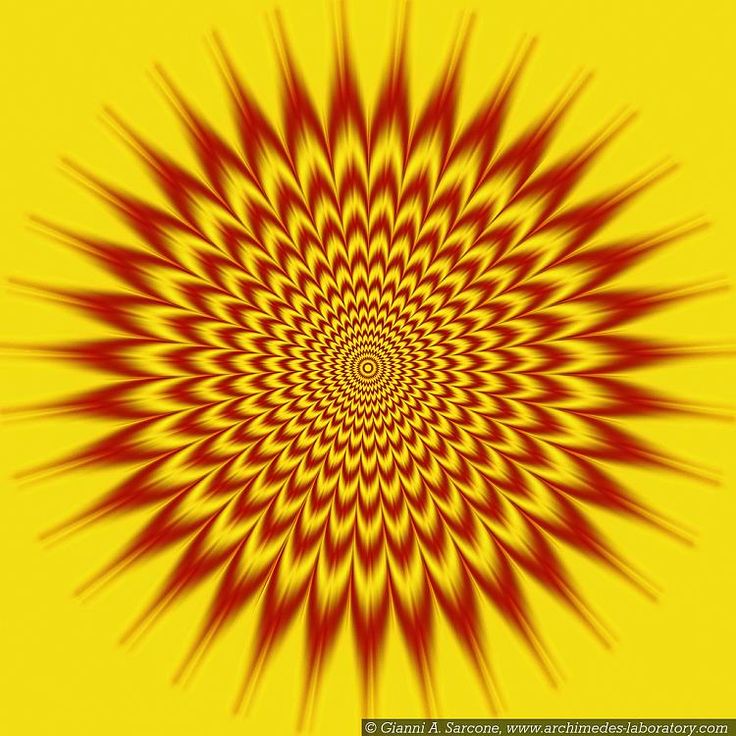
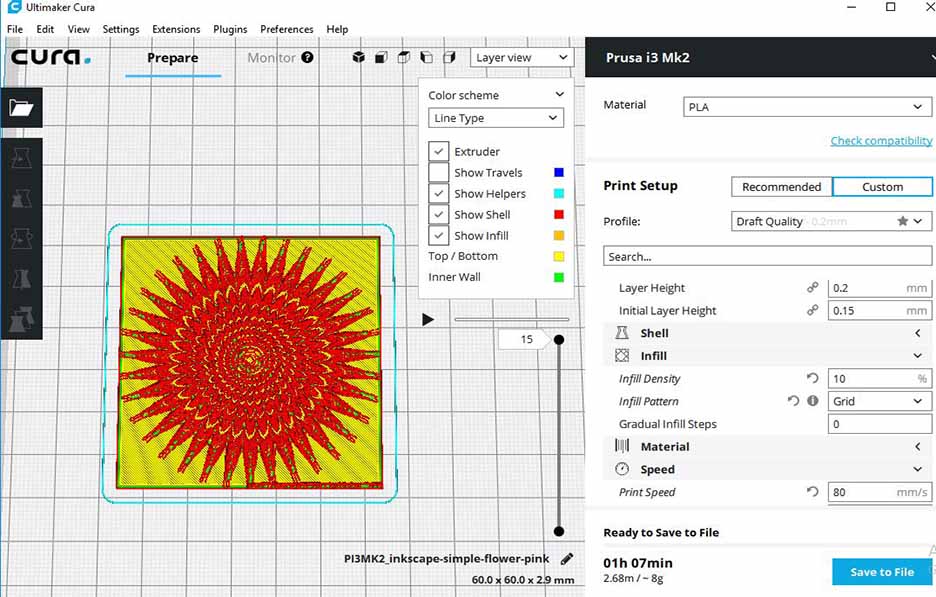
I followed the same steps mentioned above but increased the height to 3 mm and the base to 0.5 mm to let more difference between dark and bright points.
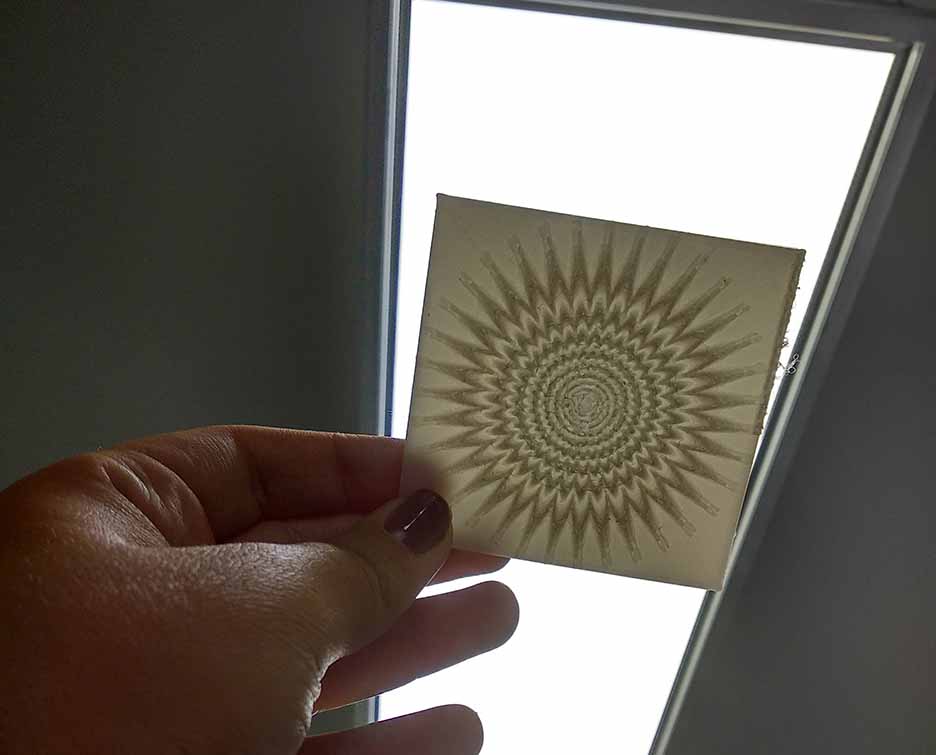
The result is really good, It gives the sam effect when you stare at it but not intense as much as the original digital image. I think it would be better for higher resolution and bigger size.
Resources I used in this week:
- How to create lithophane instructable
- using image to lithophane website tutorial.
- Using cura and meshlab to create lithophane.

