Week 9 - Molding & Casting
This week's tasks are:
- Design a 3D model.
- Create its tool path.
- Mold and cast the part.
Step1: Design a 3D model
I decided to make a flower necklace from exboxy resein for my self. I used inkscape and fusion 360 for creating the 3D flower
- Create a 2D flower.
- Create the 3D flower.
- Delete the milling request from the machine
- Delete the printing request on windows
- Molding:Is the process of manfacturing a mold by shaping a liquid or pilable material to have the same shape as the desired model.
- Mold:is a hollowed-out block that is filled with a liquid or pliable material such as plastic, glass, metal, or ceramic raw material.The liquid hardens or sets inside the mold, adopting its shape.
- Casting:Casting is a manufacturing process in which a liquid material is usually poured into a mold, which contains a hollow cavity of the desired shape, and then allowed to solidify. The solidified part is also known as a casting, which is ejected or broken out of the mold to complete the process.
- Flower DXF file
- flower 3D file
- Modella player settings(roughing & finishing) for direct usage.
- Bishope part 1 3D.
- Bishope part 2 3D.
- Modella player settings(roughing & finishing) for direct usage of first part of bishope.
- Molding & Casting tutorials on smooth-on website.
- Mohamed kamel tutorila
- Modela player 4 tutorial.
- Caputo Gianfranco tutorial
Instead of drawing a flower from scratch, I downloaded an image of a simple flower and traced the outline to get the vector file.
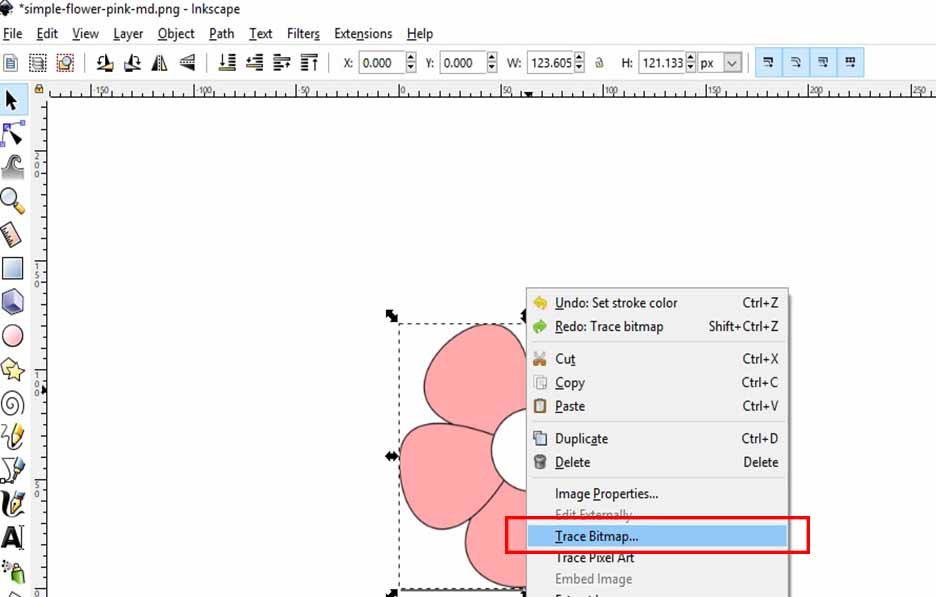
I downloaded a flower image and opened it using inkscape
Select the image>right click>trace bitmap
In trace bitmap window>select mode>then edge detection and press ok
The traced bitmap will showup witht he original image. We only need the reaced one so I deleted the original image.
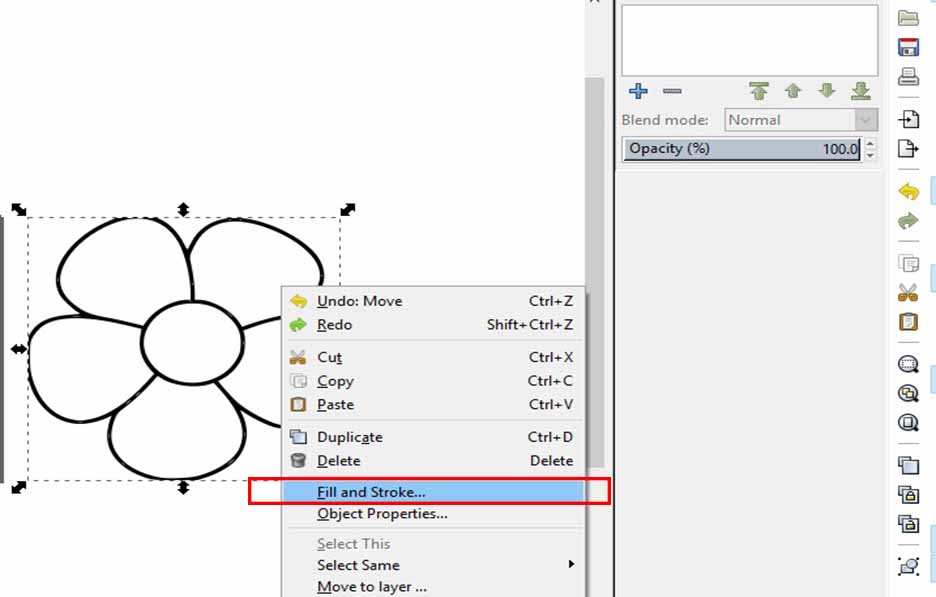
Righ click on the vector then select fill & stroke.
In the right a window will appear with the fill and stroke settings.
Select flat color stroke then left click on the vector to scale it.
Edit the width and height for scaling. I scaled the flower to be 4cm x 4cm.
I exported the dxf of the flower from file>save as and select file type (*.dxf)
The software that we will be using only accepts stl files which is 3D files so I had to extrude the 2D flower with the thickness desired to make it 3D and have its STL file.
In fusion create a project and select upload.A window will appear asking to upload the desired file. I uploaded the flower dxf and pressed on upload.
A progress bar will appear. When it is completed press on close.
The uploaded file will appear on fusion
Double click on it to open
Delete the internal outline as I need only one outline
The flower vector is not closed. In fusion closed vectors turn their color to orange like the inner circle of the flower, We need the design to be closed to be suitable for machining.
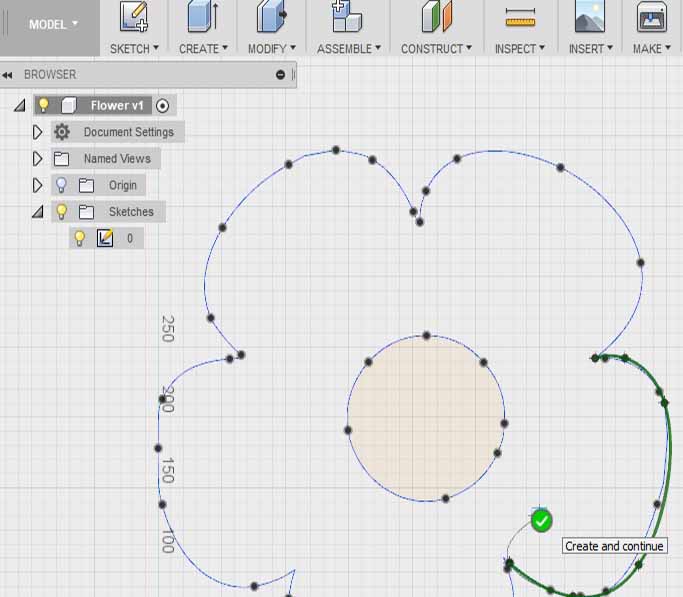
I had to redraw the flower leafs by selecting sketch>spiline then use the points to draw the same curve
After redrawing only 3 leafs the vector became closed.
Extrude the flower sketch to 5mm thickness.
Draw a 5mm hole on the top surface.
Extrude the circle to -5mm thickness
My design is finished, I then exported the STL file.
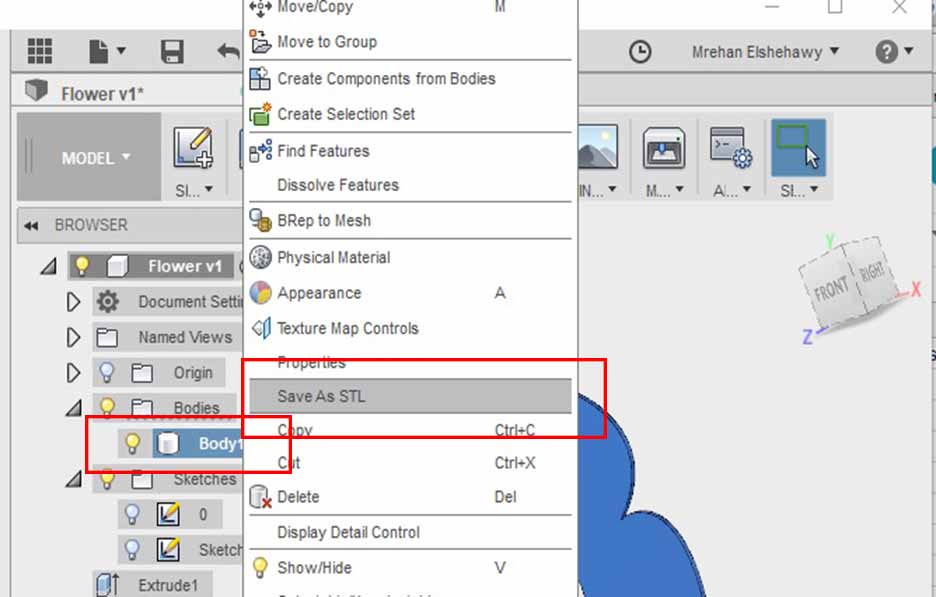
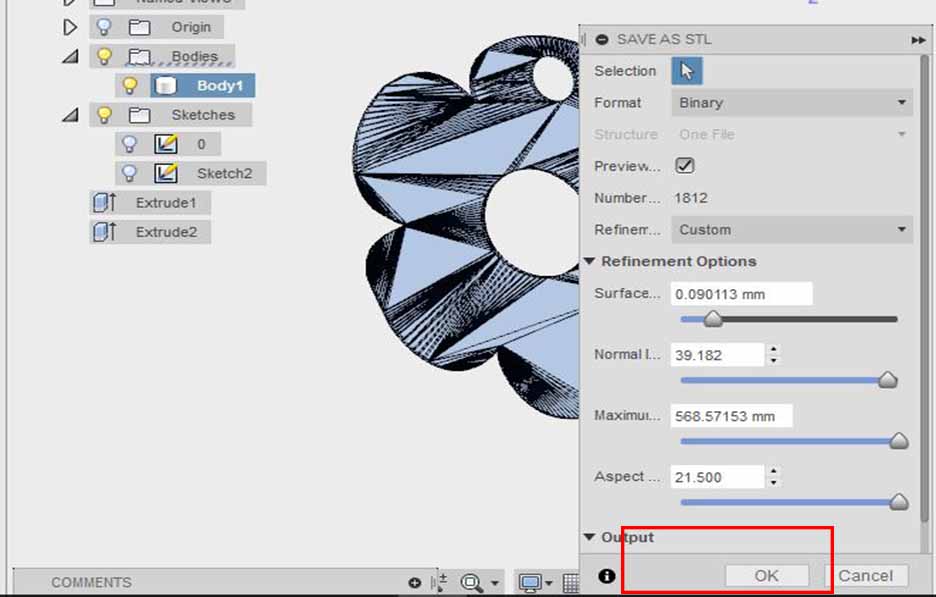
Rigt click on the body then select save as stl.
Press ok. The STL is exported.
Step2: Create the tool path
The Machine we have is roland modella MDX-20 and the software for molding is Modella Player4
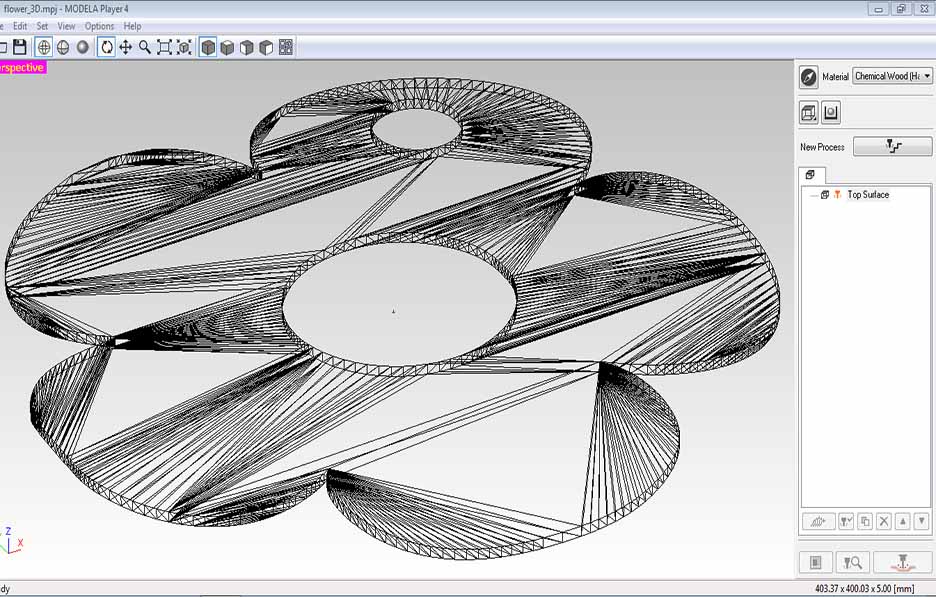
Open the STL file.
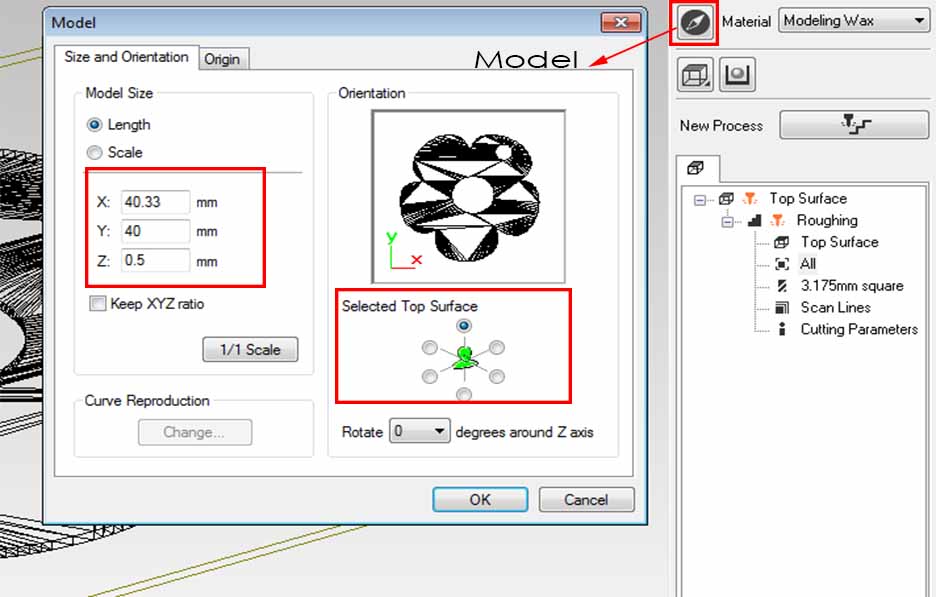
Click on Model to check the size if it is correct or ti scale it if needed. Make sure that the milling will be from the top by choosing top surface.

Click origin>Then select the origin to be from the left bottom of the top surface.
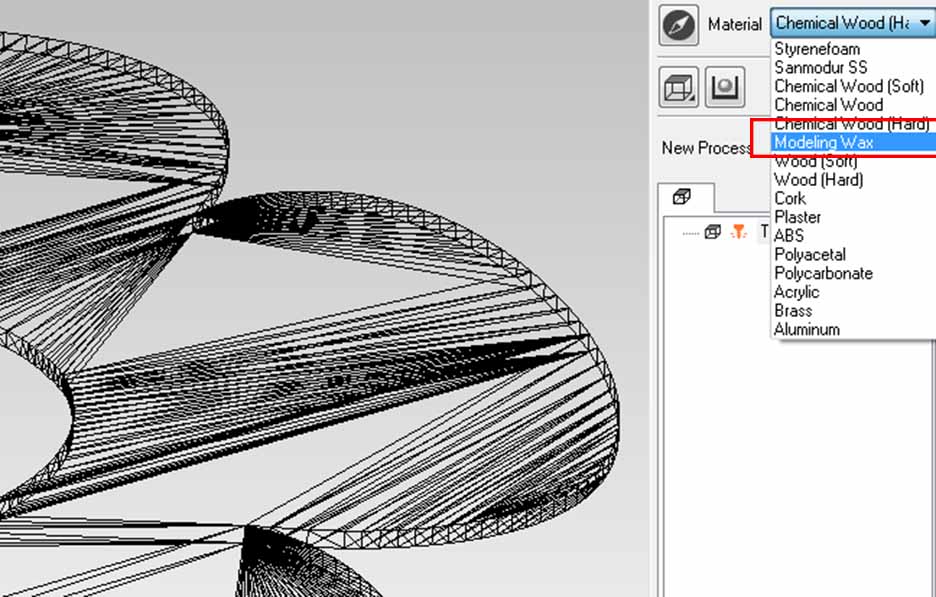
Select the material to be machinable wax.
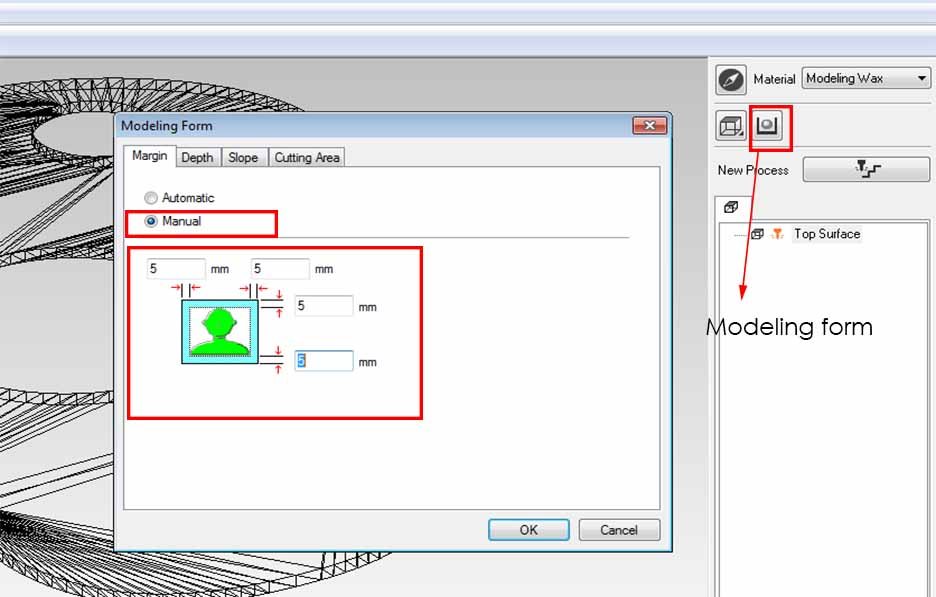
Click on modeling form> margin and select manual. Make the margin to be 5mm from each side.This margin is fr casting and can be increased or decreased if needed.
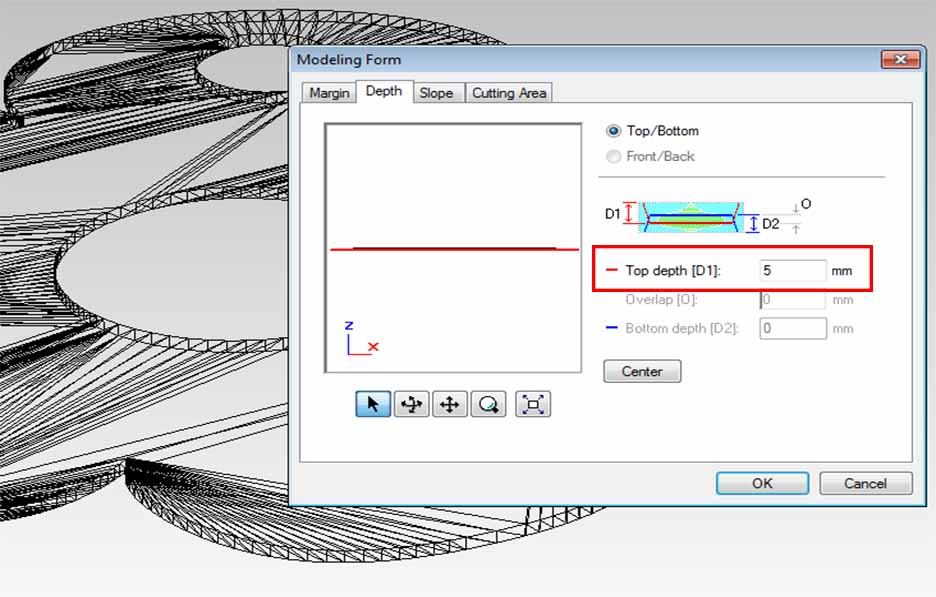
From depth>make sure that the cutting depth is 5mm as designed.
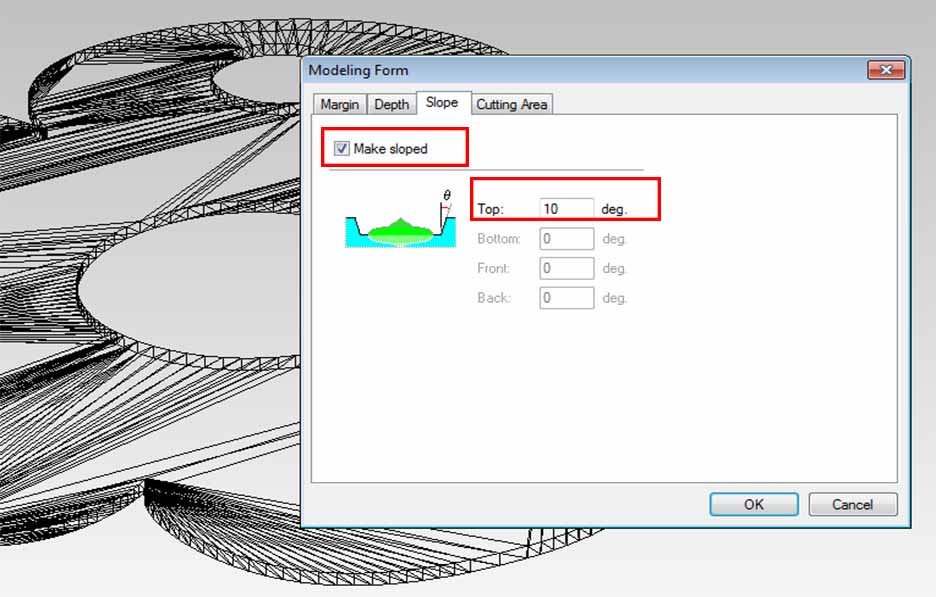
From slope>check mark on make slope and make it 10 degrees. This setting will make the edges sloped with 10 degrees for easy pouring of the mold and for easy remove too after it gets hard.After finishing press ok.
I will be using a milling bit of 3.175 mm and it is not included on the tools list on the software so I had to add it.
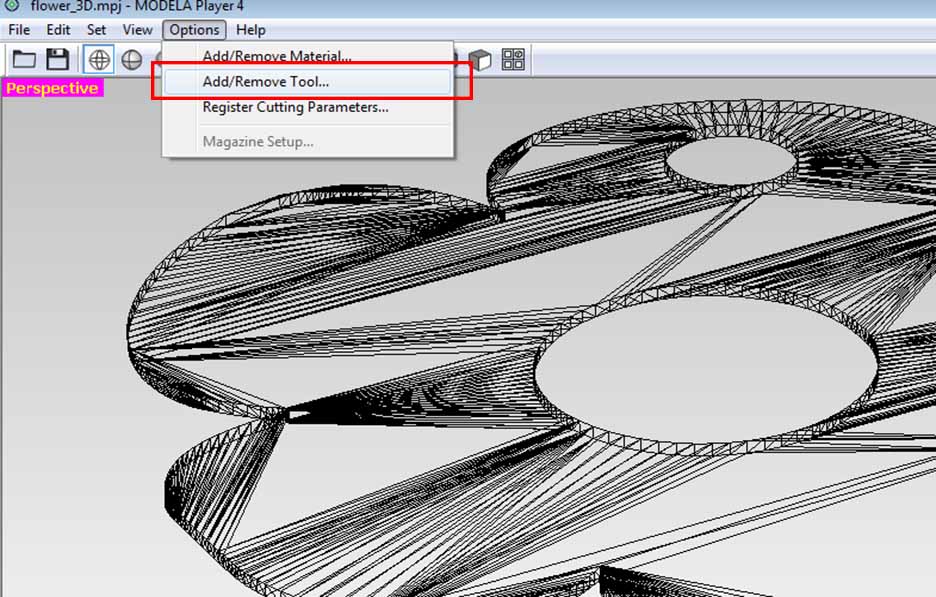
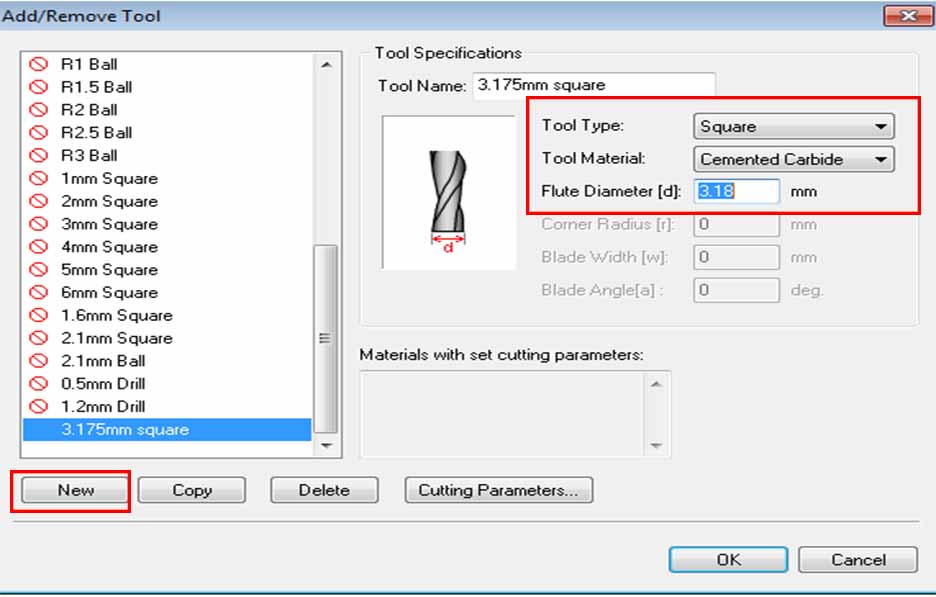
From options select add/ remove tool.
Select new then type the settings : tool type square, material cemented carbaide and diameter 3.18 mm.
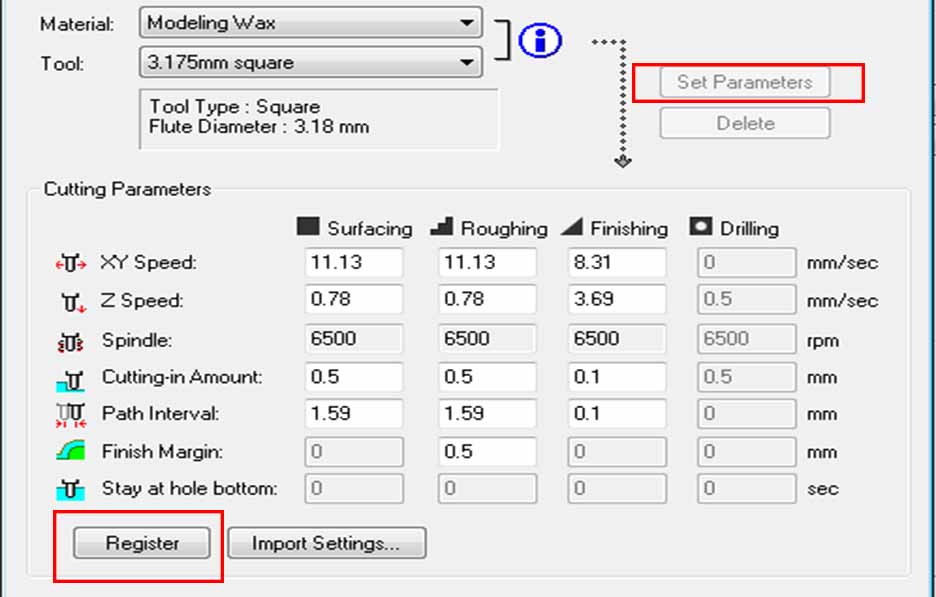
By pressing cutting parametersa window will appear where we can import certain cutting parameters or use the default. I set the parameters to default by pressing set parameters then register.
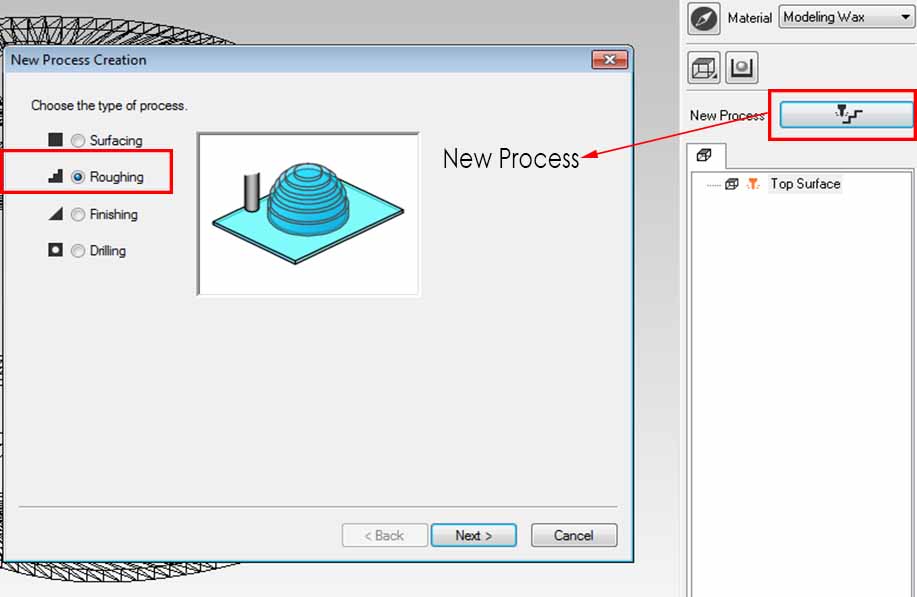
Select new process then roughing and press next.
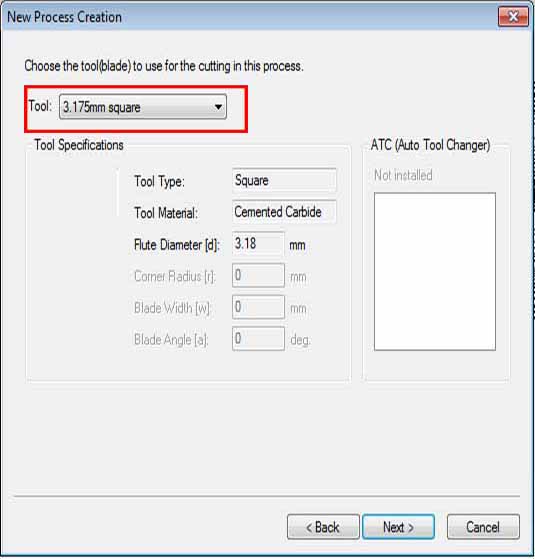
I selected the 3.175 tool I added and pressed next
Set the cutting area to all and press next
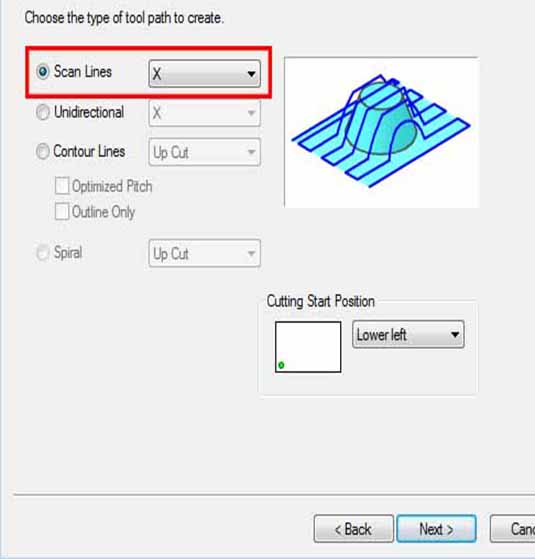
Slect the scan lines to be x only, If X and y it will consume more time and it's roughing anyways so it doesn't matter if the finishing is good.Then press next.


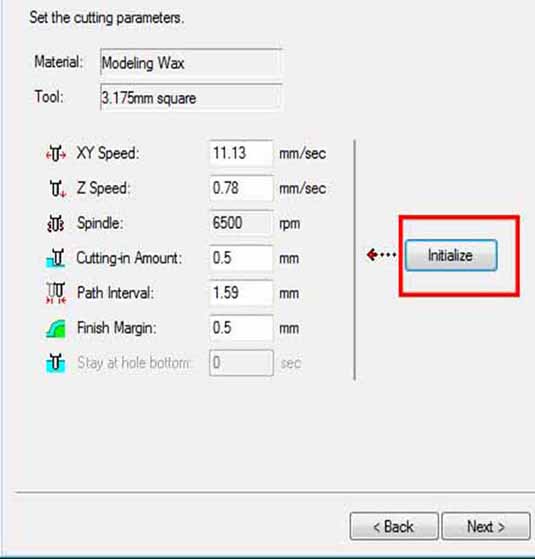
I set the parameters as shown in the image then pressed next.
Select create tool path now then press finish.
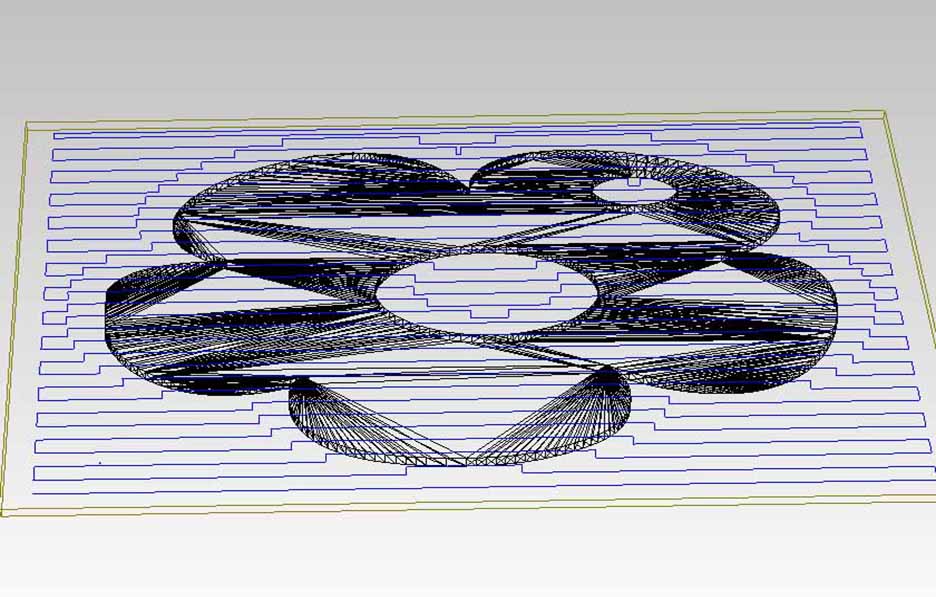
Generated tool path.
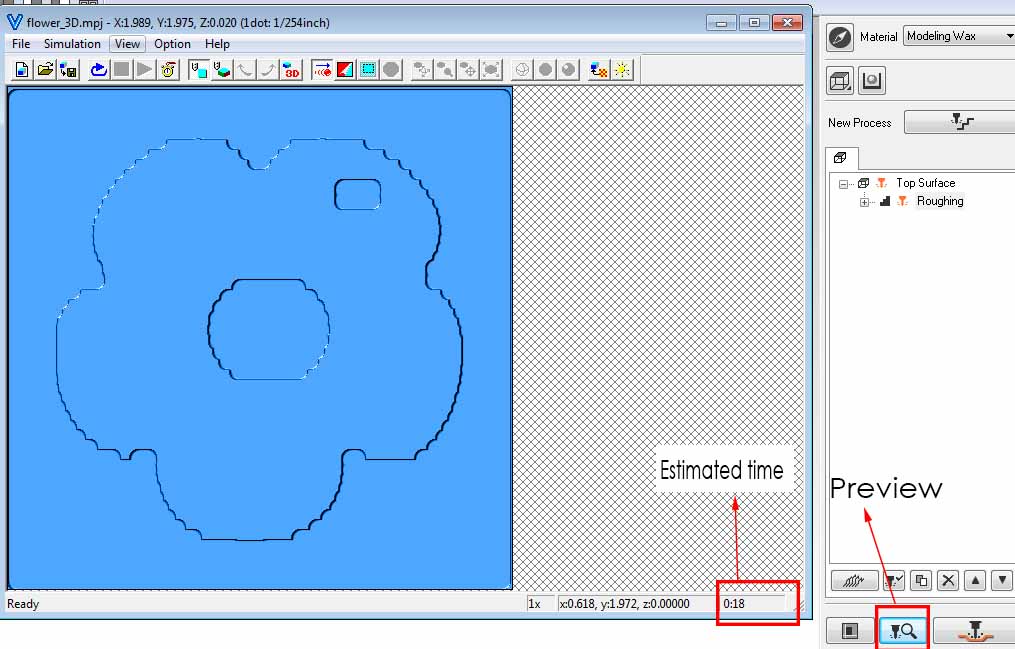
select preview to see the estiamated time and result.
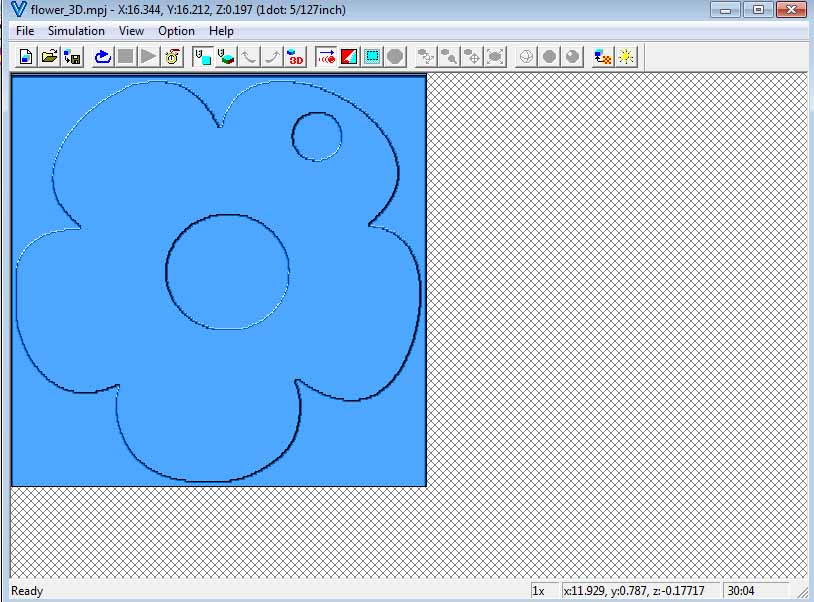
I did the same steps for finishing using the same bit but only changed the process to finishing.
When I made the preview the details was not clear enough so I repeated the processes steps using a 2mm milling bit it it gave the preview and time estimation showed in the pictures above.
I decided to make both roughing and finishing with the same bit and the both processes took about 45 minutes.
Step3: Milling the model in machinable wax
The material I'm going to make the model on is machinable wax, it's easire for high speeds and models on it consume less time than more hard materials like chemical wood. Also it's easir for removing the mold from it as it's very smooth.
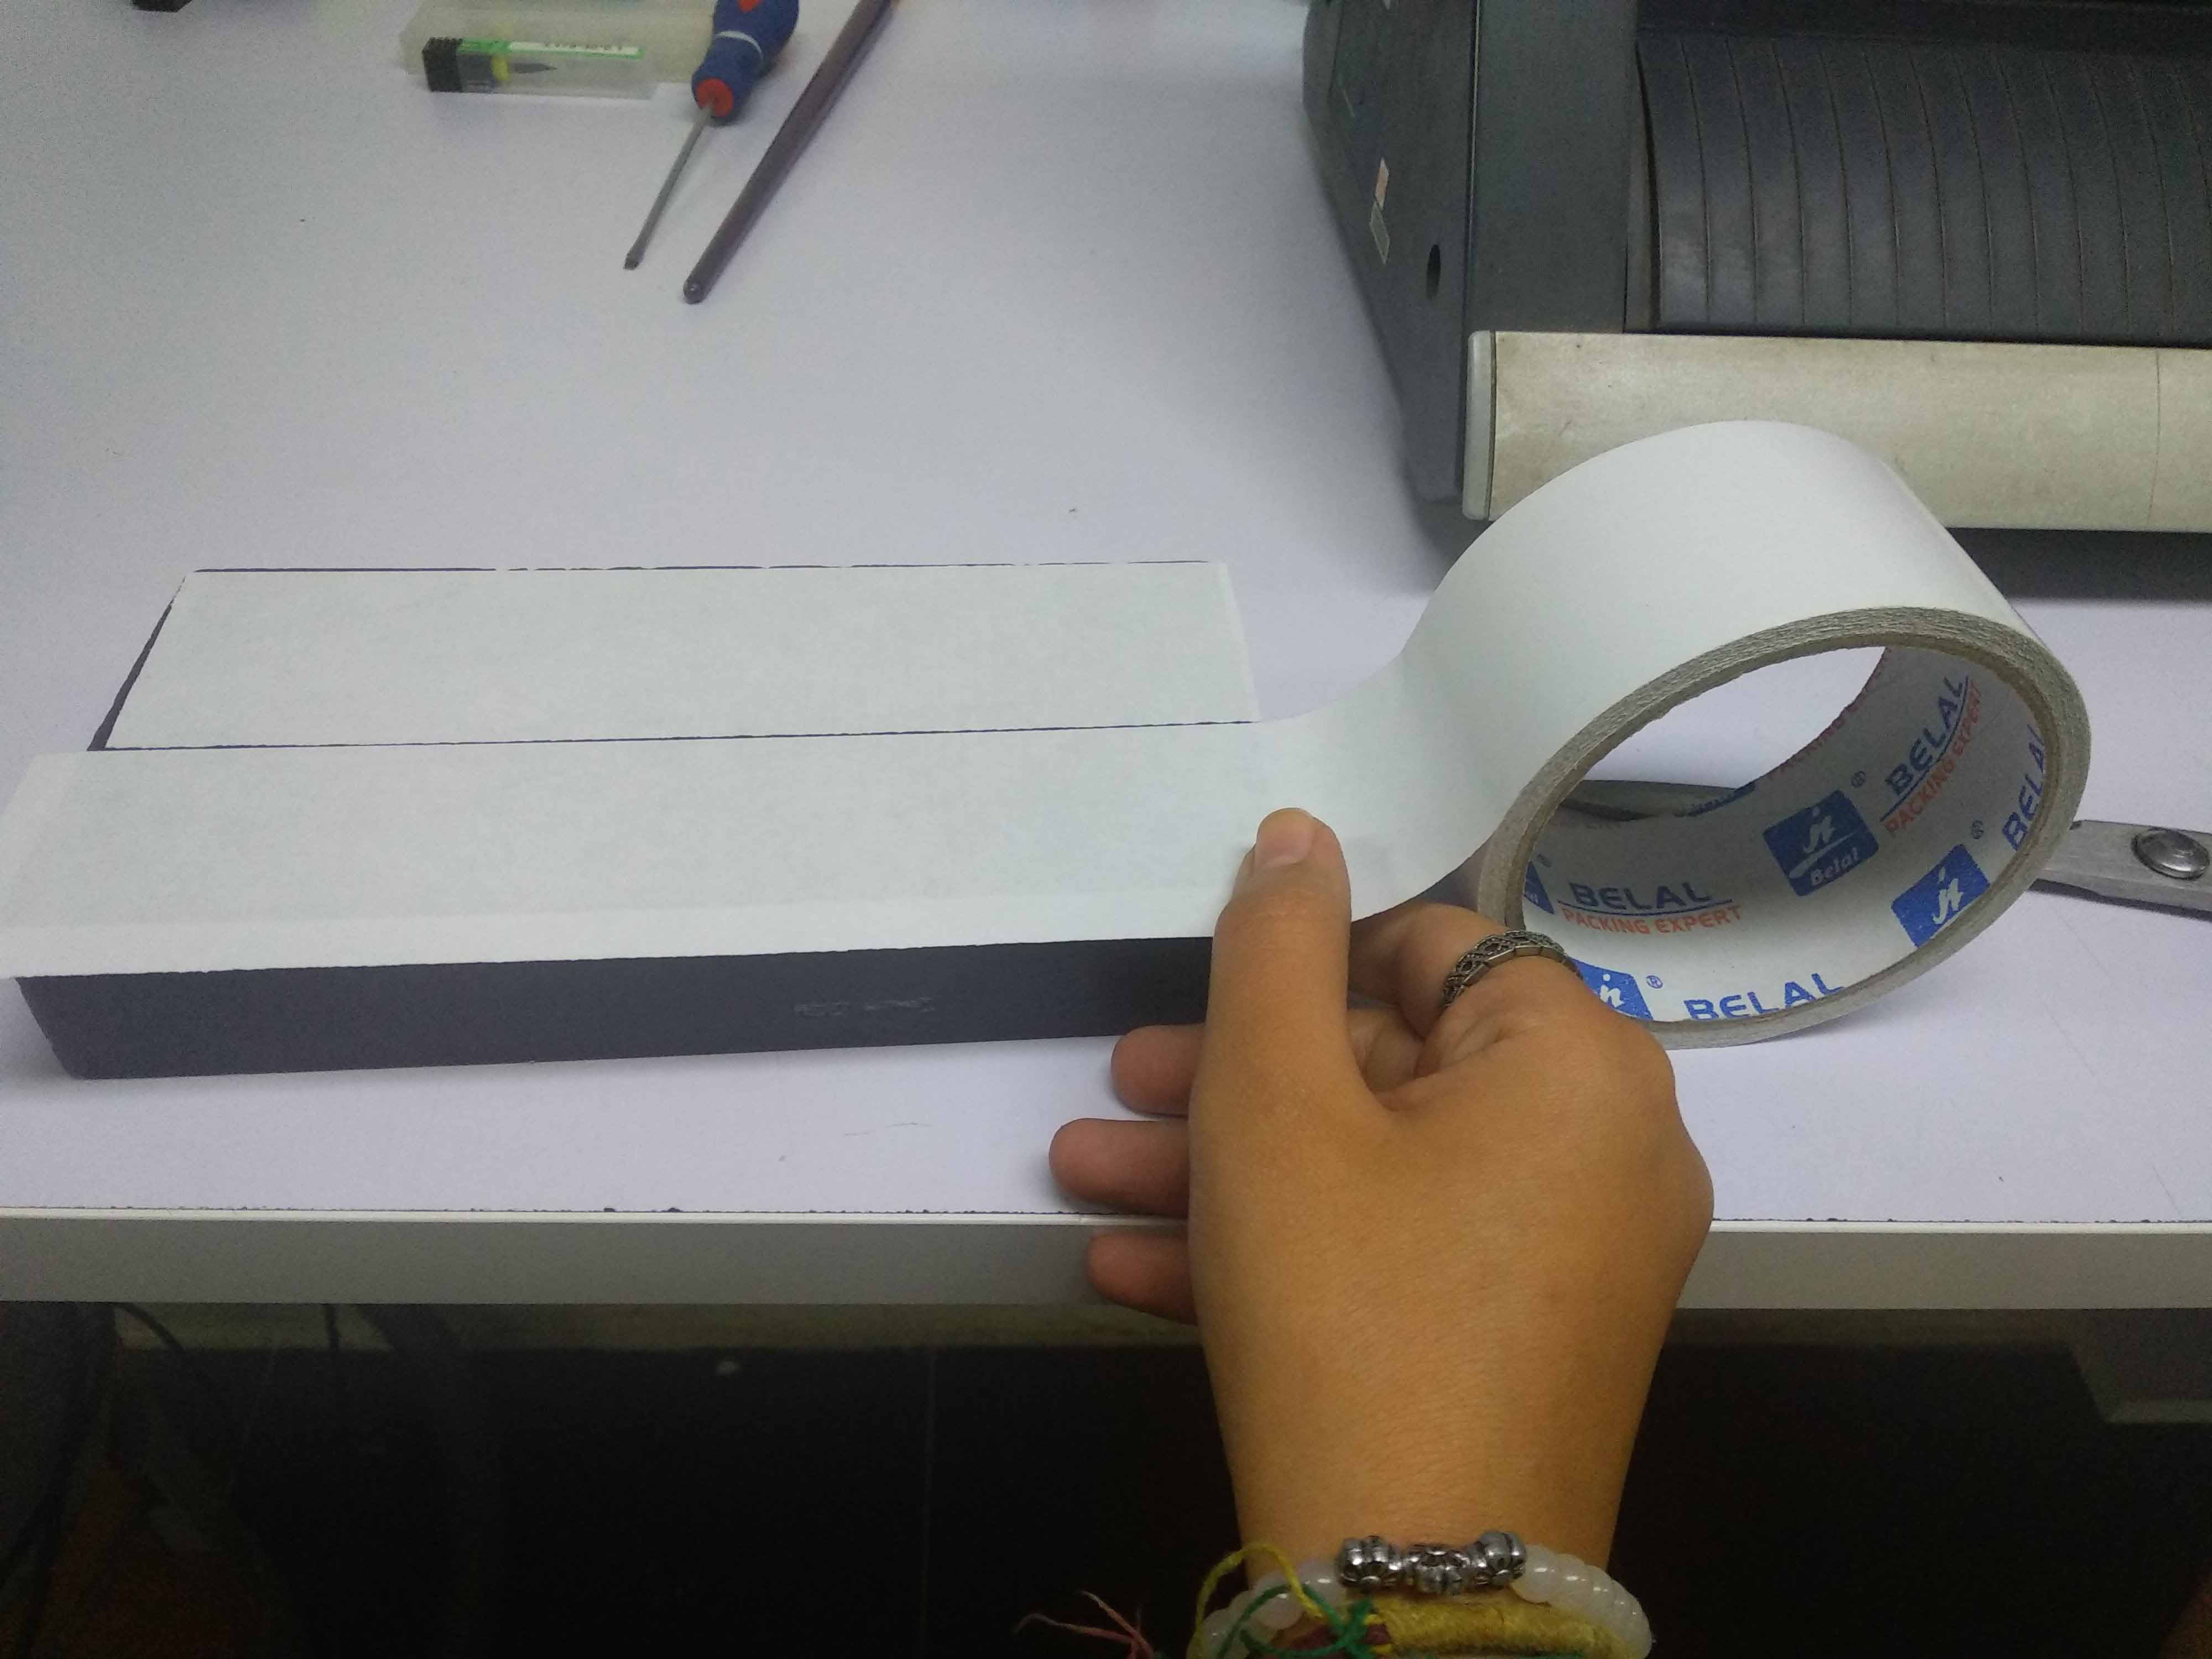
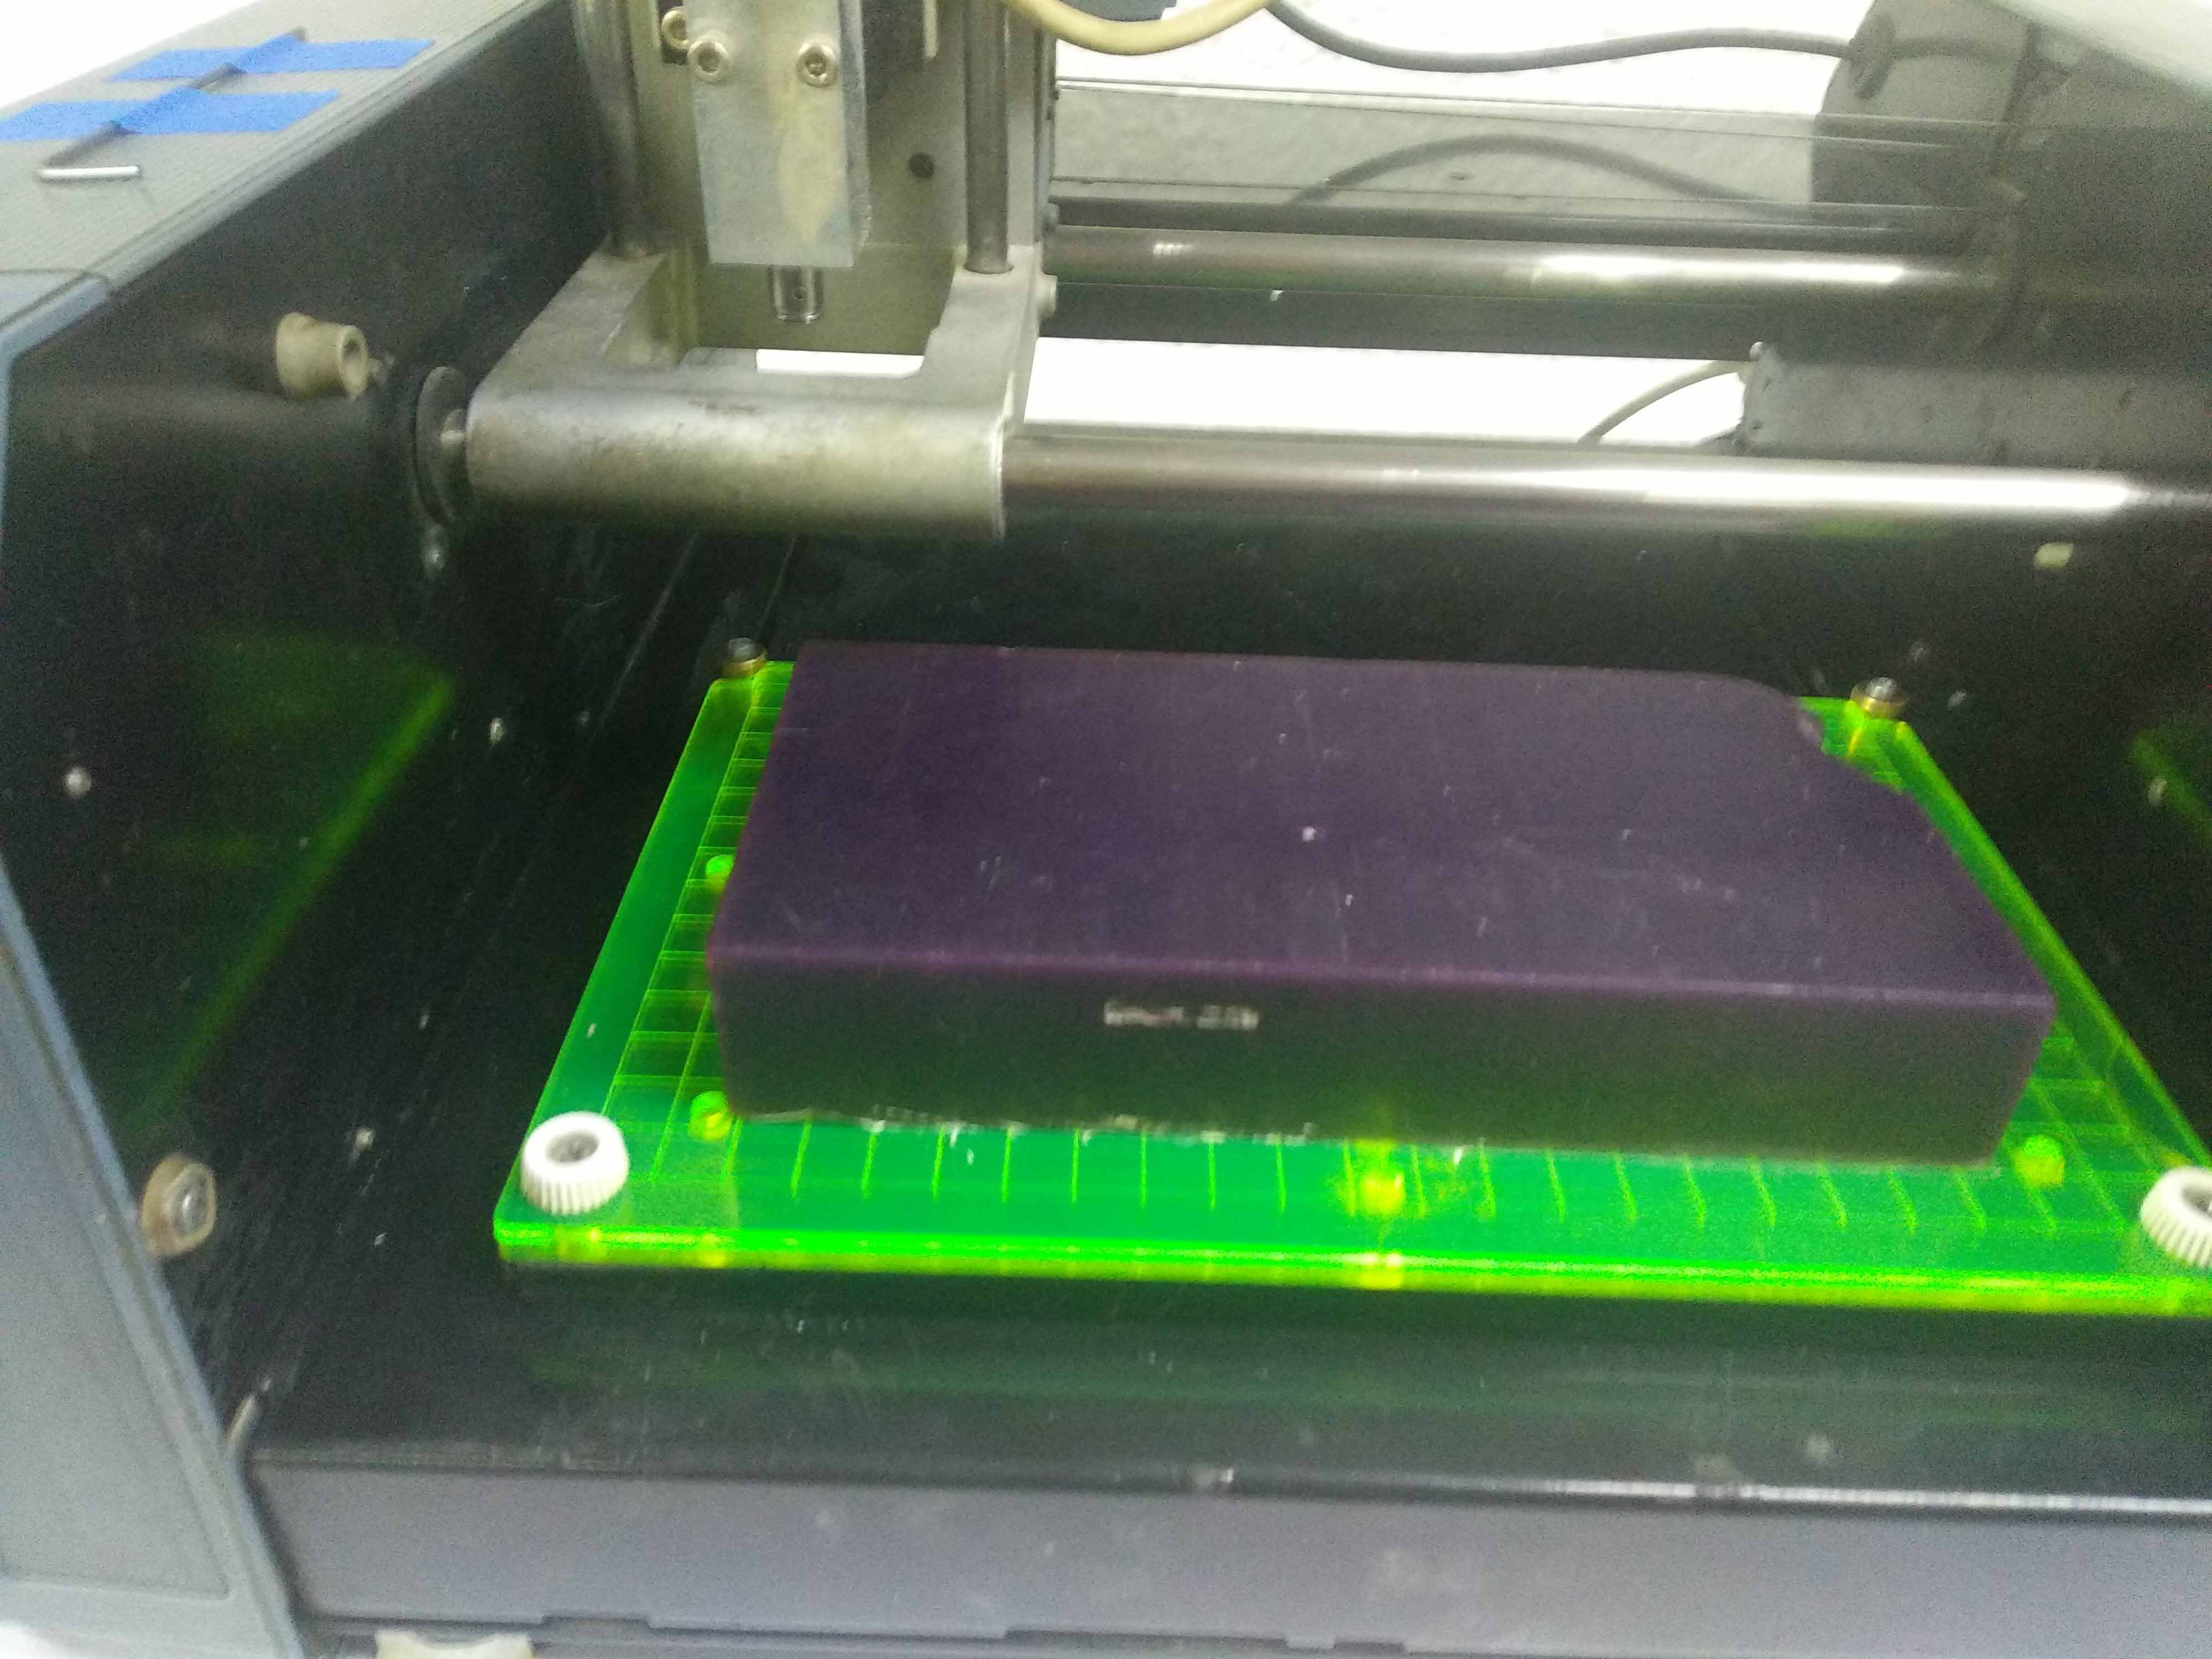
Fix the machinable wax on the bed using double face tape.
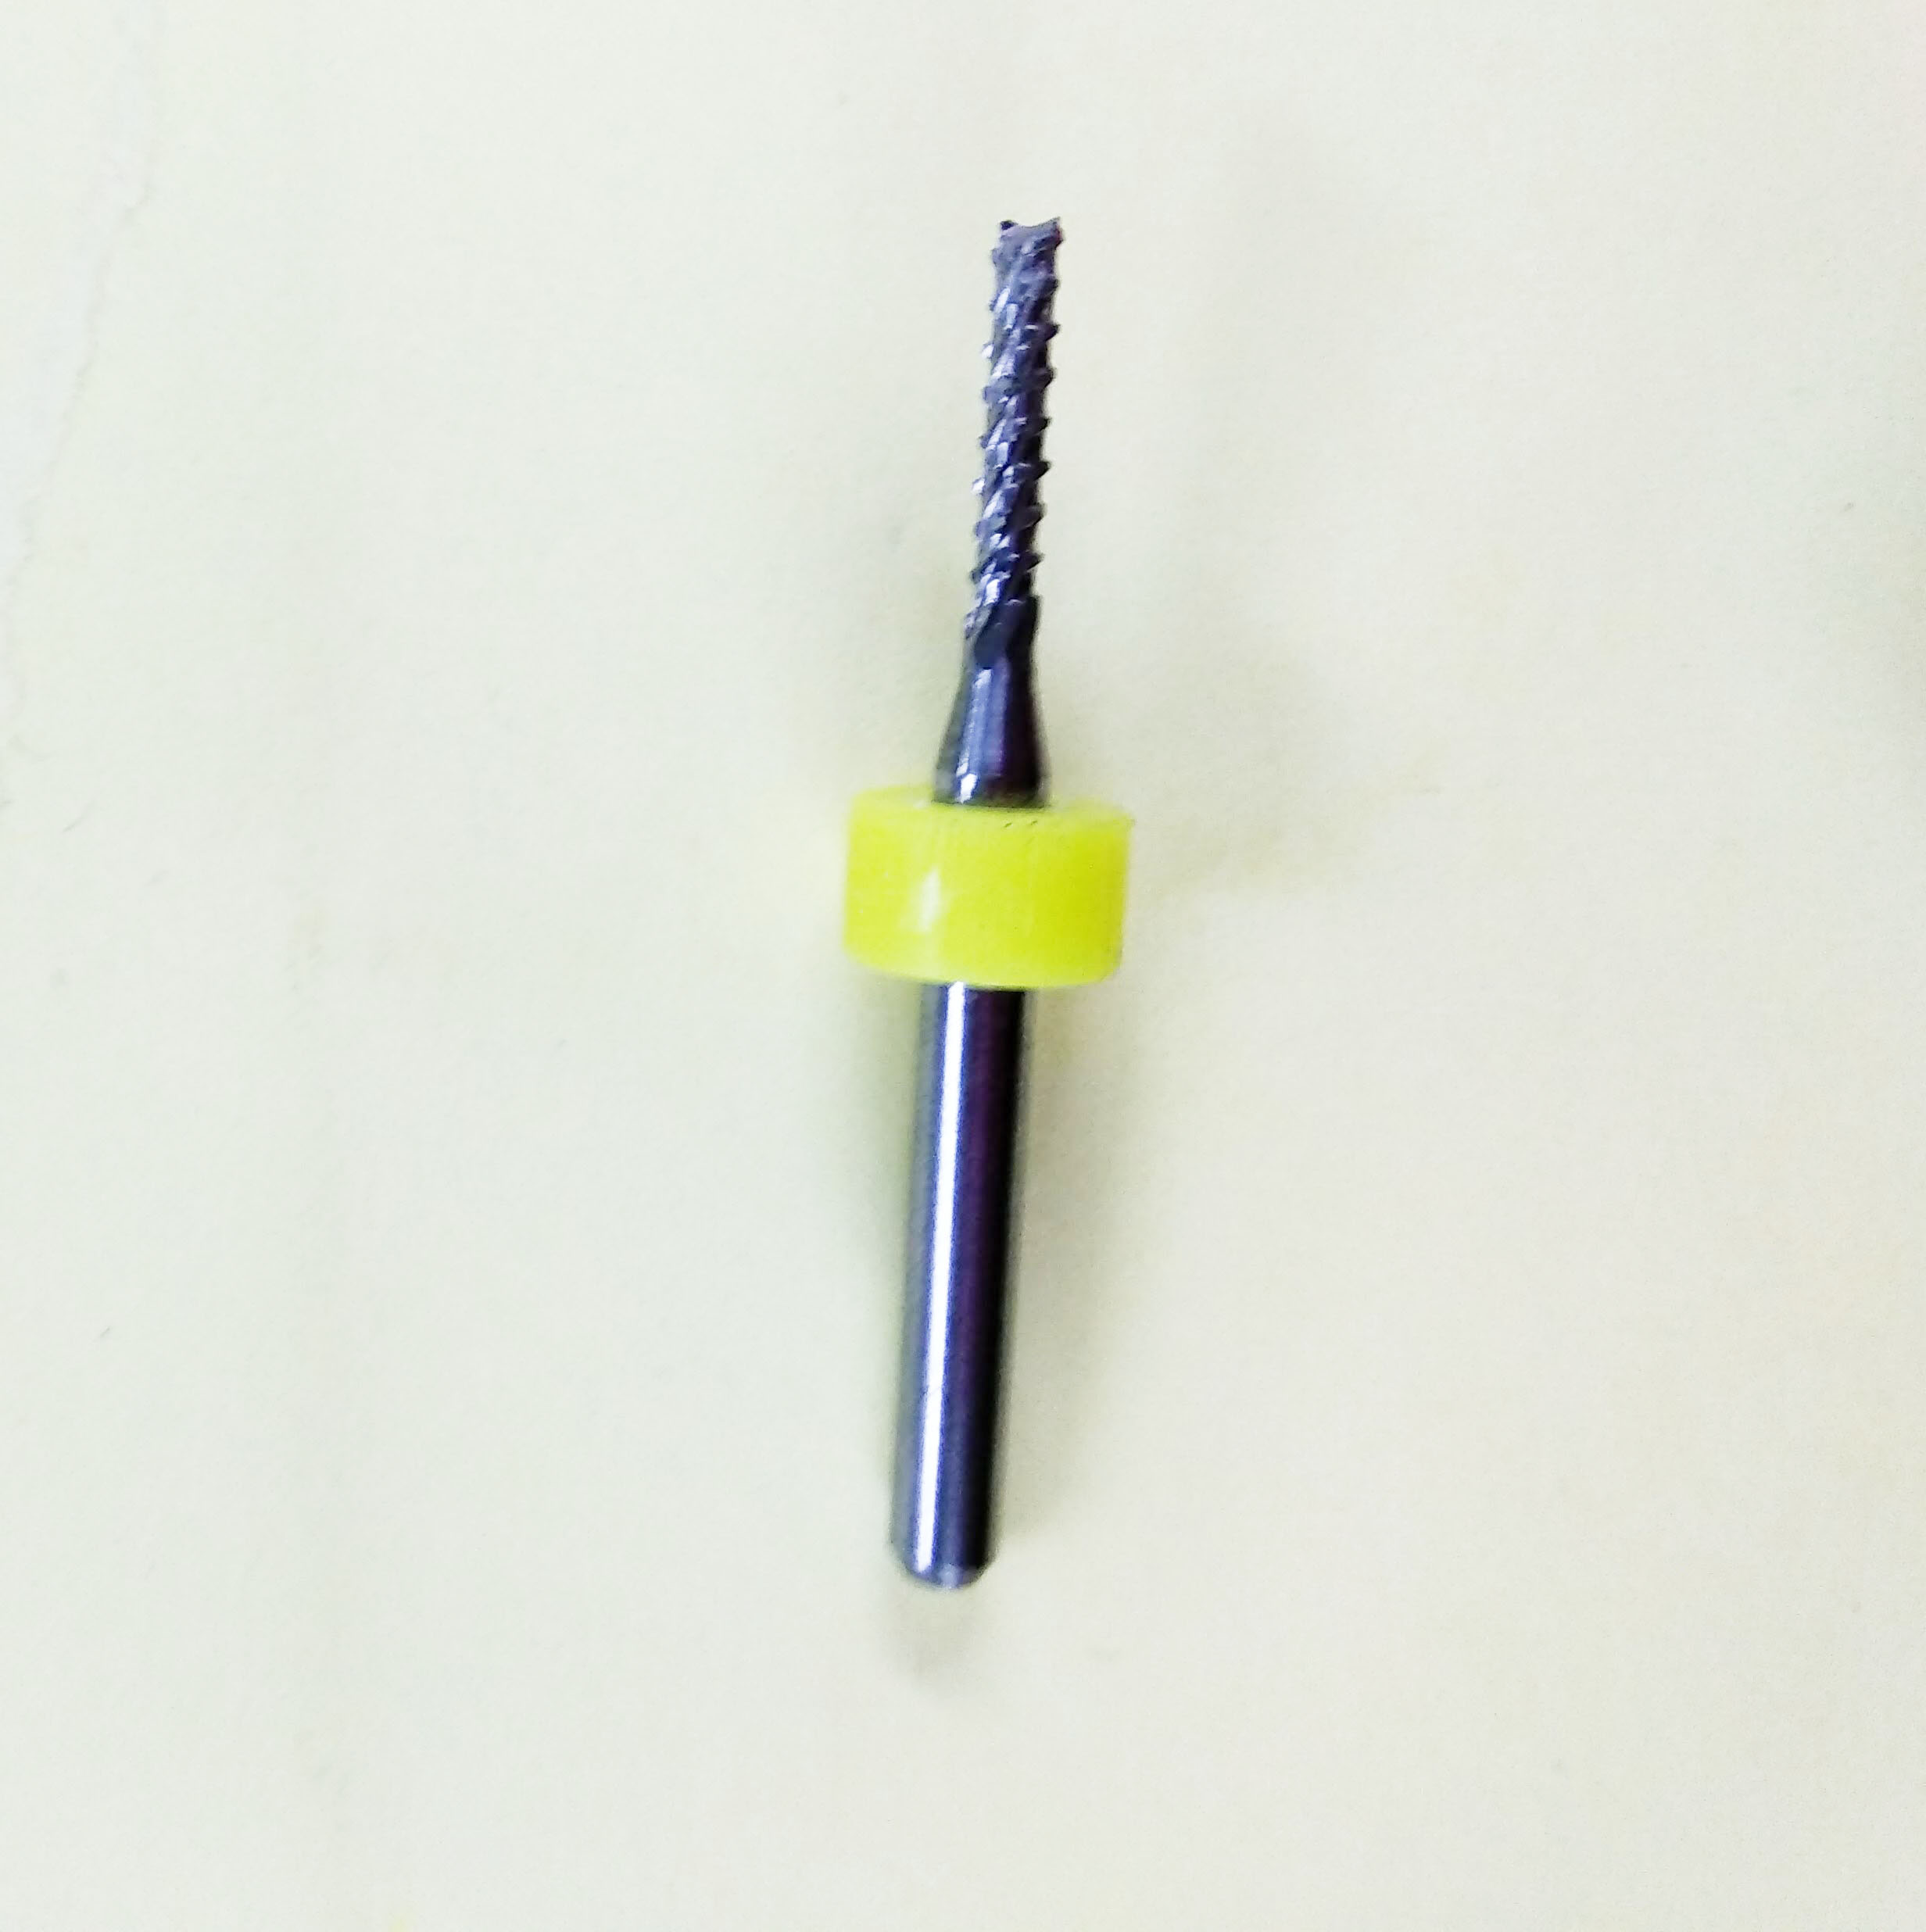
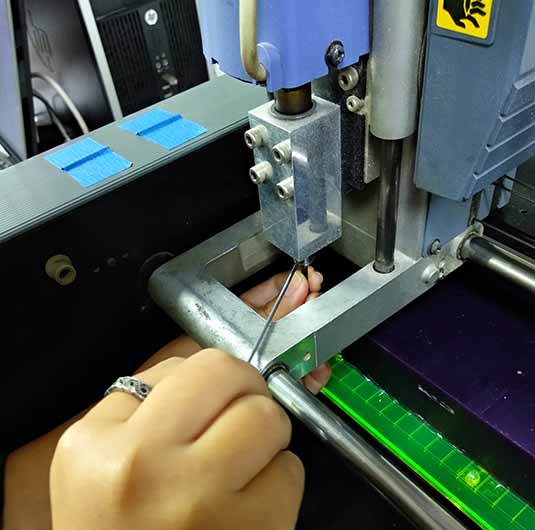
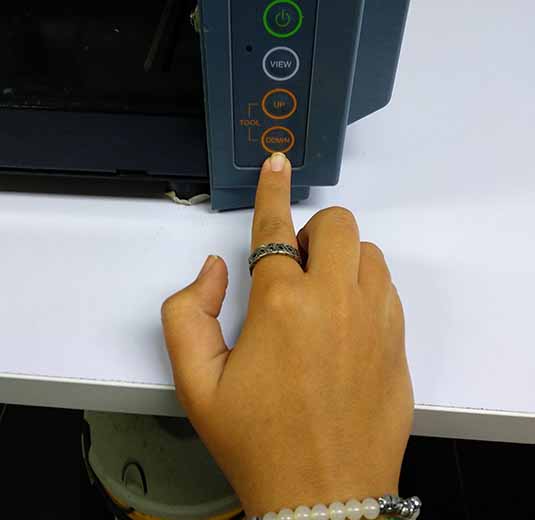
Fix the 2 mm milling bit and press view then press down till it becomes close to the wax surface but not touching it.
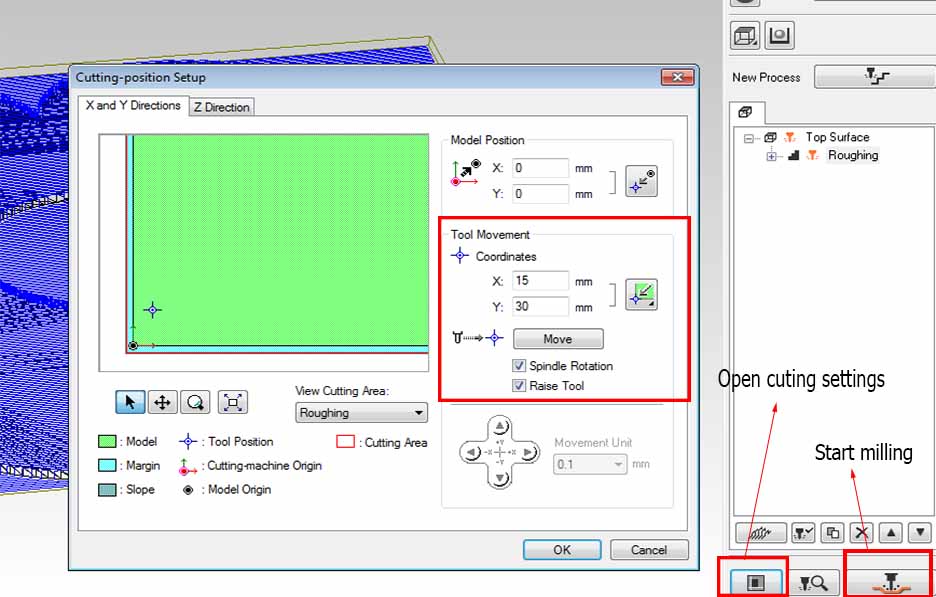
Open the cutting settings, move the tool to the desired x and y position then press ok.
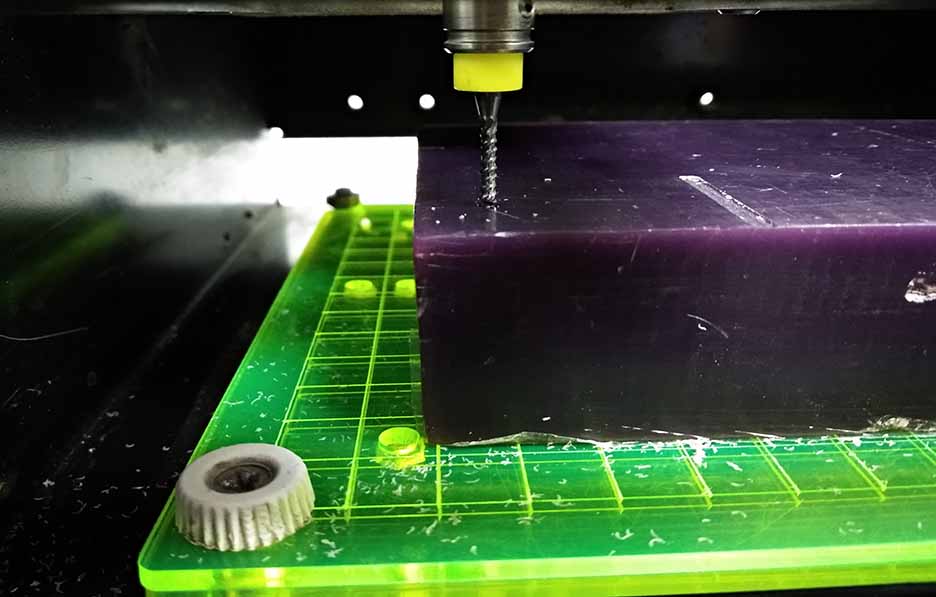
Fix the machinable wax on the bed using double face tape.After reaching the desired position, press down again till the milling bit touches the wax surface.
When I pressed start milling it was milling on the air! I realized that I changed the tool position but forgot to change the model position too!! the model position was (0,0) where there was no wax to mill. I had to stop the machine adjust my settings then start again.
How to cancel the milling on Modella MDX-20 and Modella player4
Modela player4 is working on windows and the milling machine (modella mdx-20) driver is defining the machine as a printer so every milling order is treated as a printing order!
Cancel the milling from the machine by turning it off then turn it on again doesn't actually cancel the milling. It's like a printer if you send a file to be printed then turned it off, when you turn it on back it will print the file you uploaded.
So we have to delete the printing order manually from the computer and from the machine
press on view then press up and down buttons together.
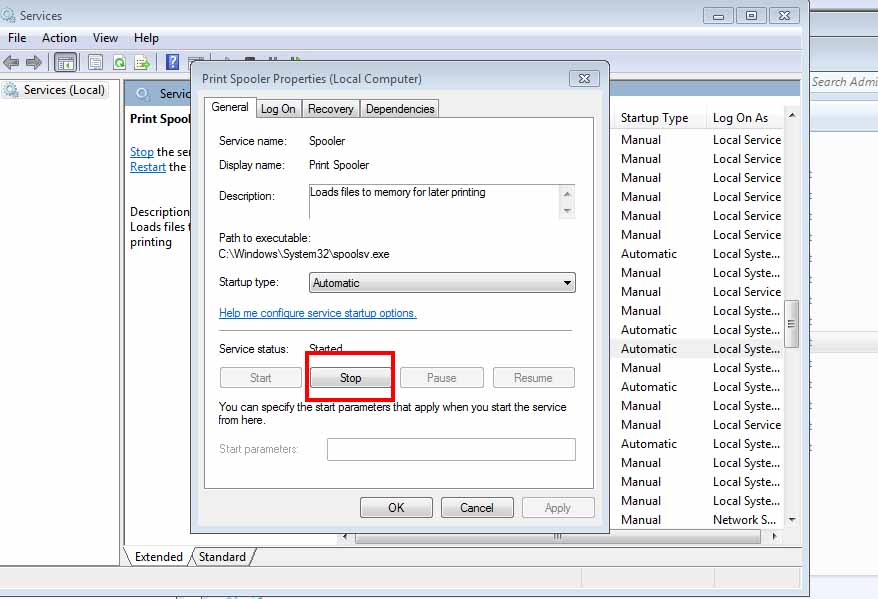

Go to "control panel>adminstrative tools>services>print spooler" then press stop
Go to "C>windows>system32>spool>printers" then delete the existing files.

Go back back to print spooler then press start
The printing request has been deleted now go to the modella machine then press view again
Go back to adjust cutting area and make the model position the same as tool position and start milling and it worked very well
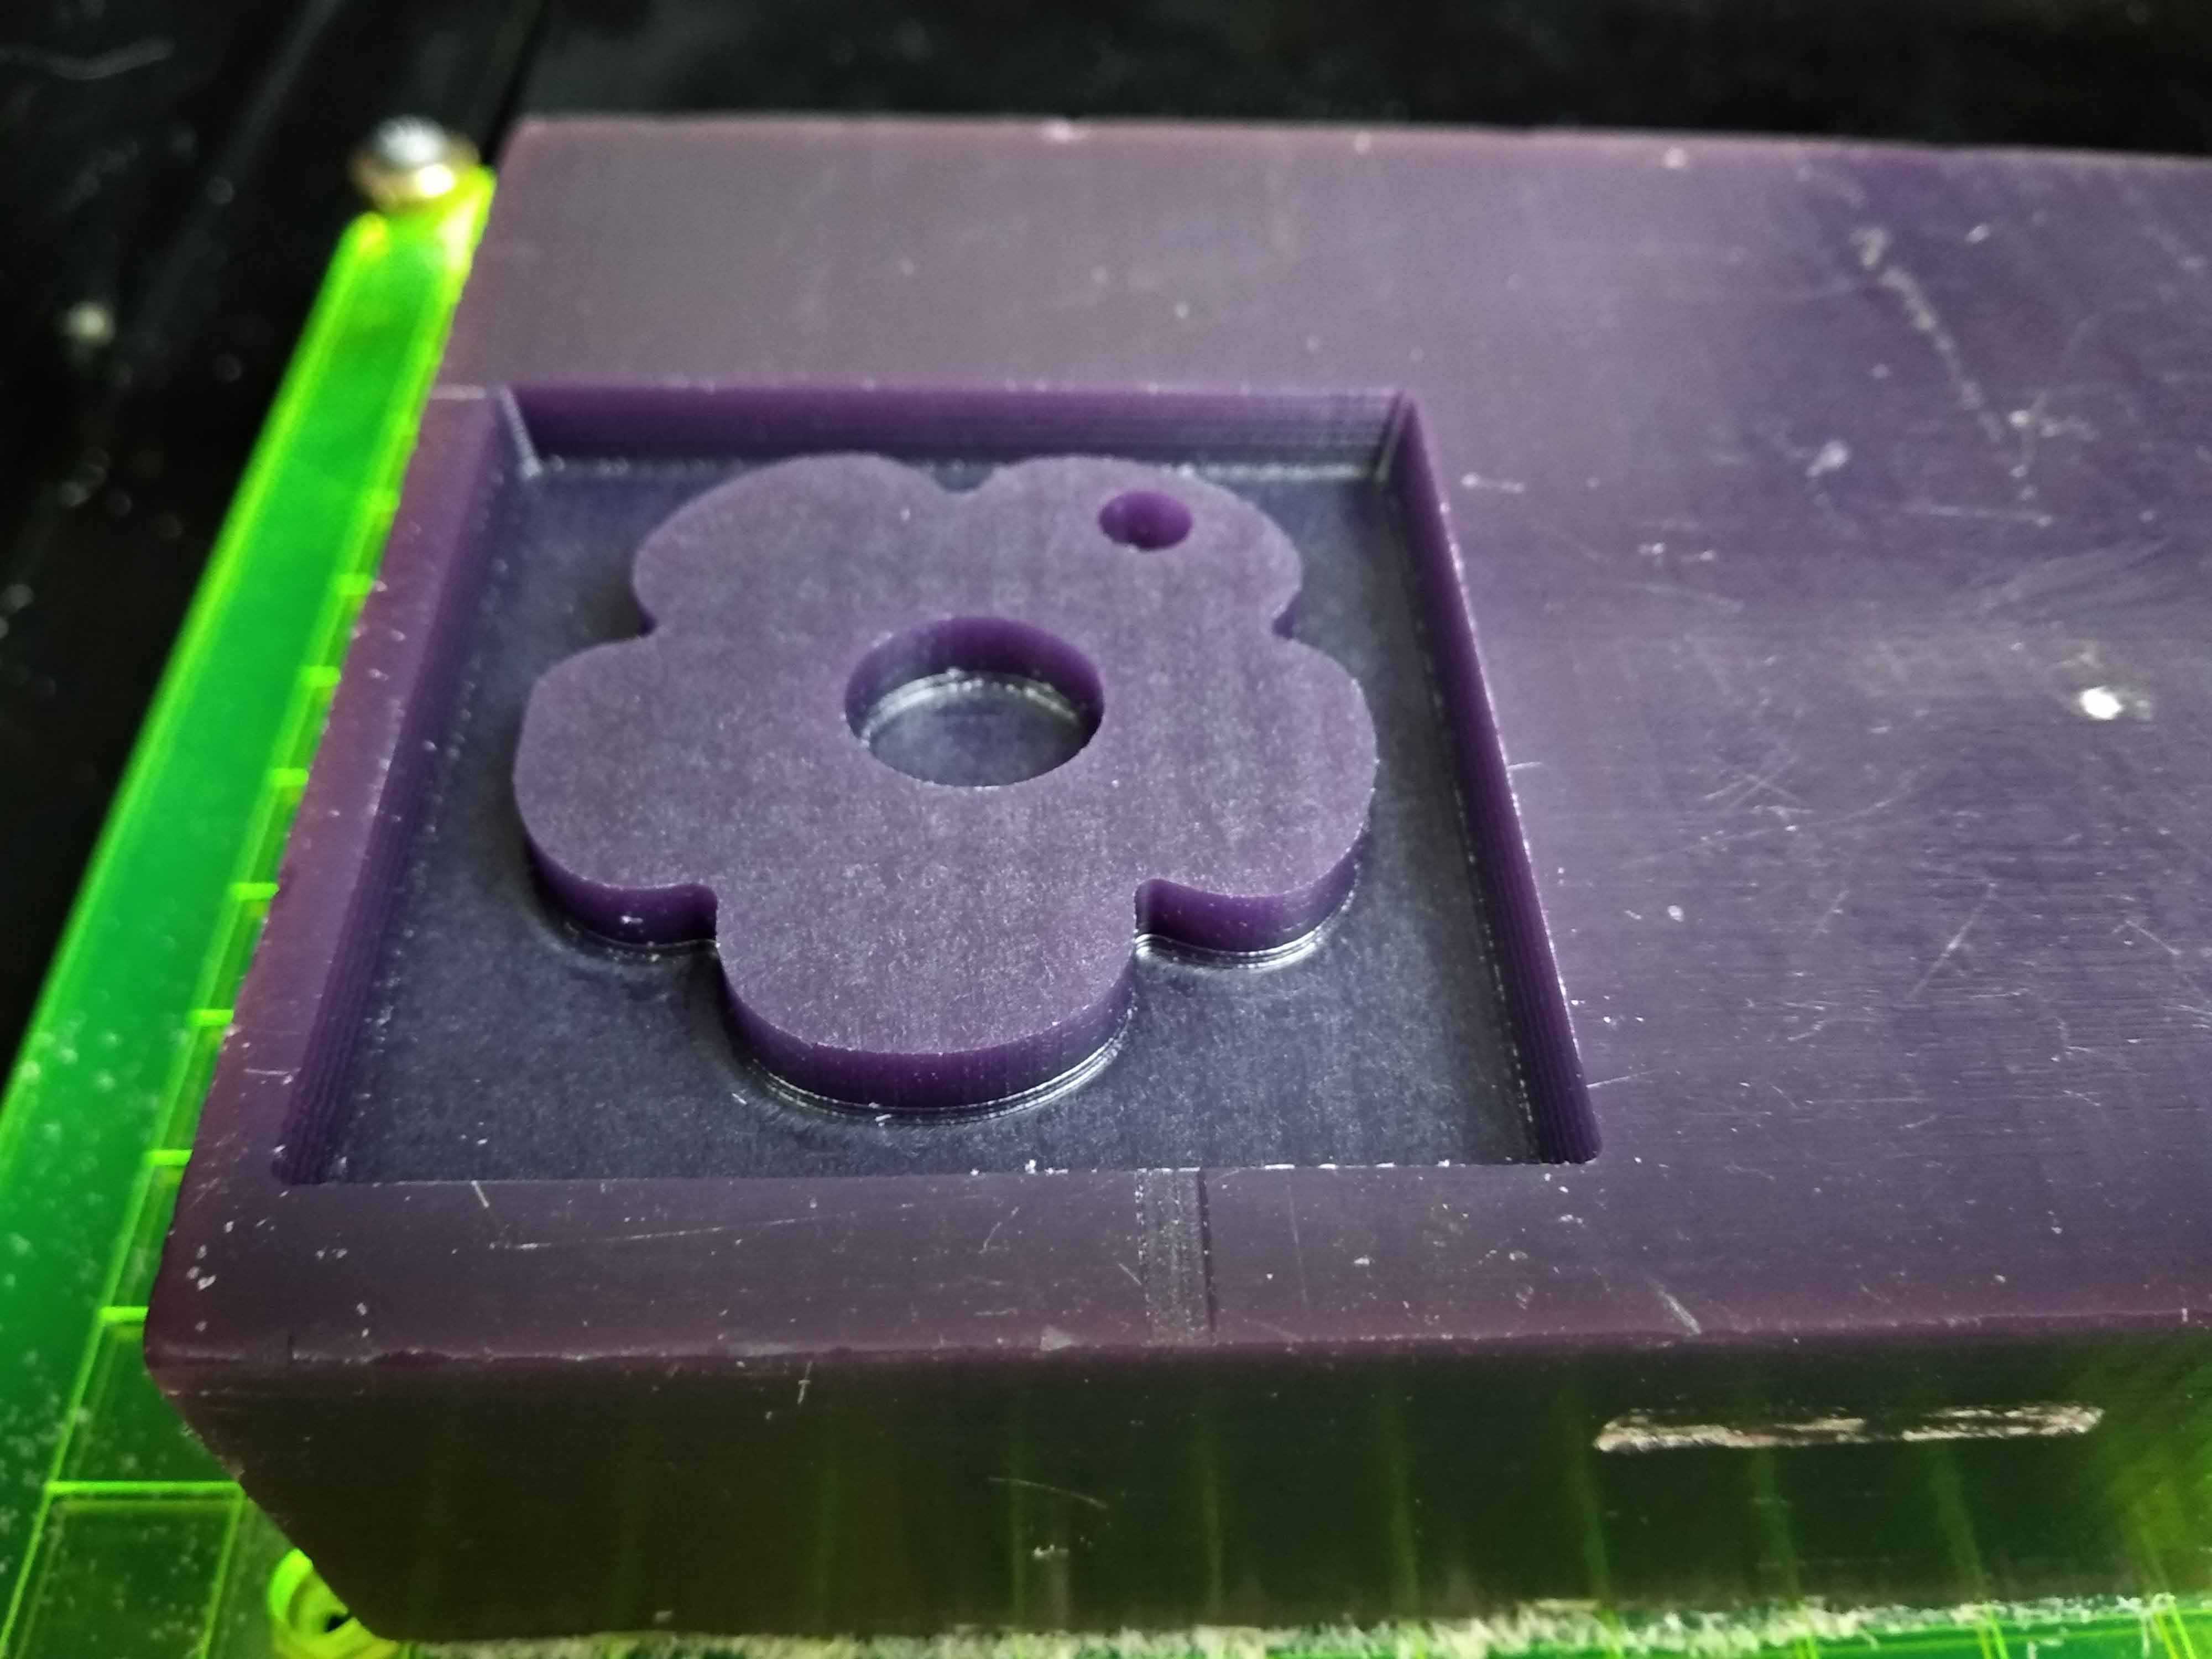
machine is milling
milling result
Step4:Molding

Get the materials needed,The silicon comes in two materials the silicon rubber and its hardner.
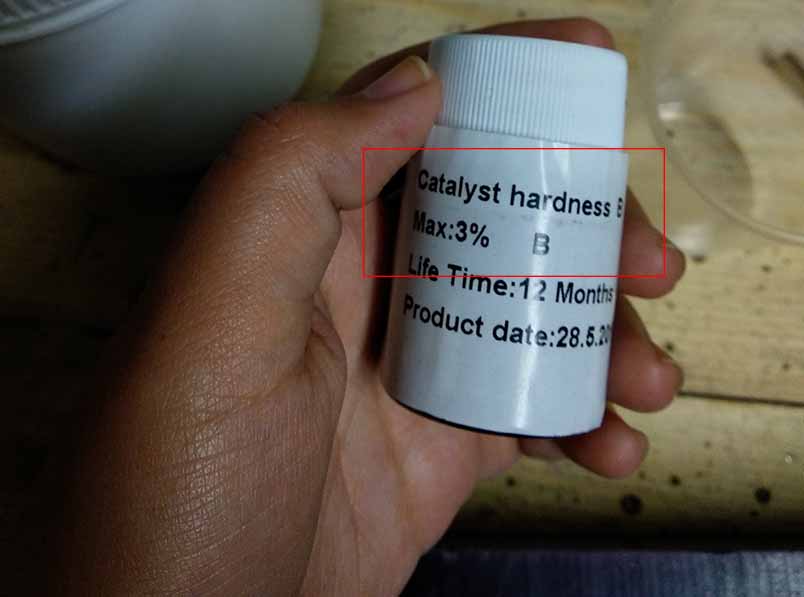
The silicon is material A, The hardner is material B and the percentage written for material B is 3%.
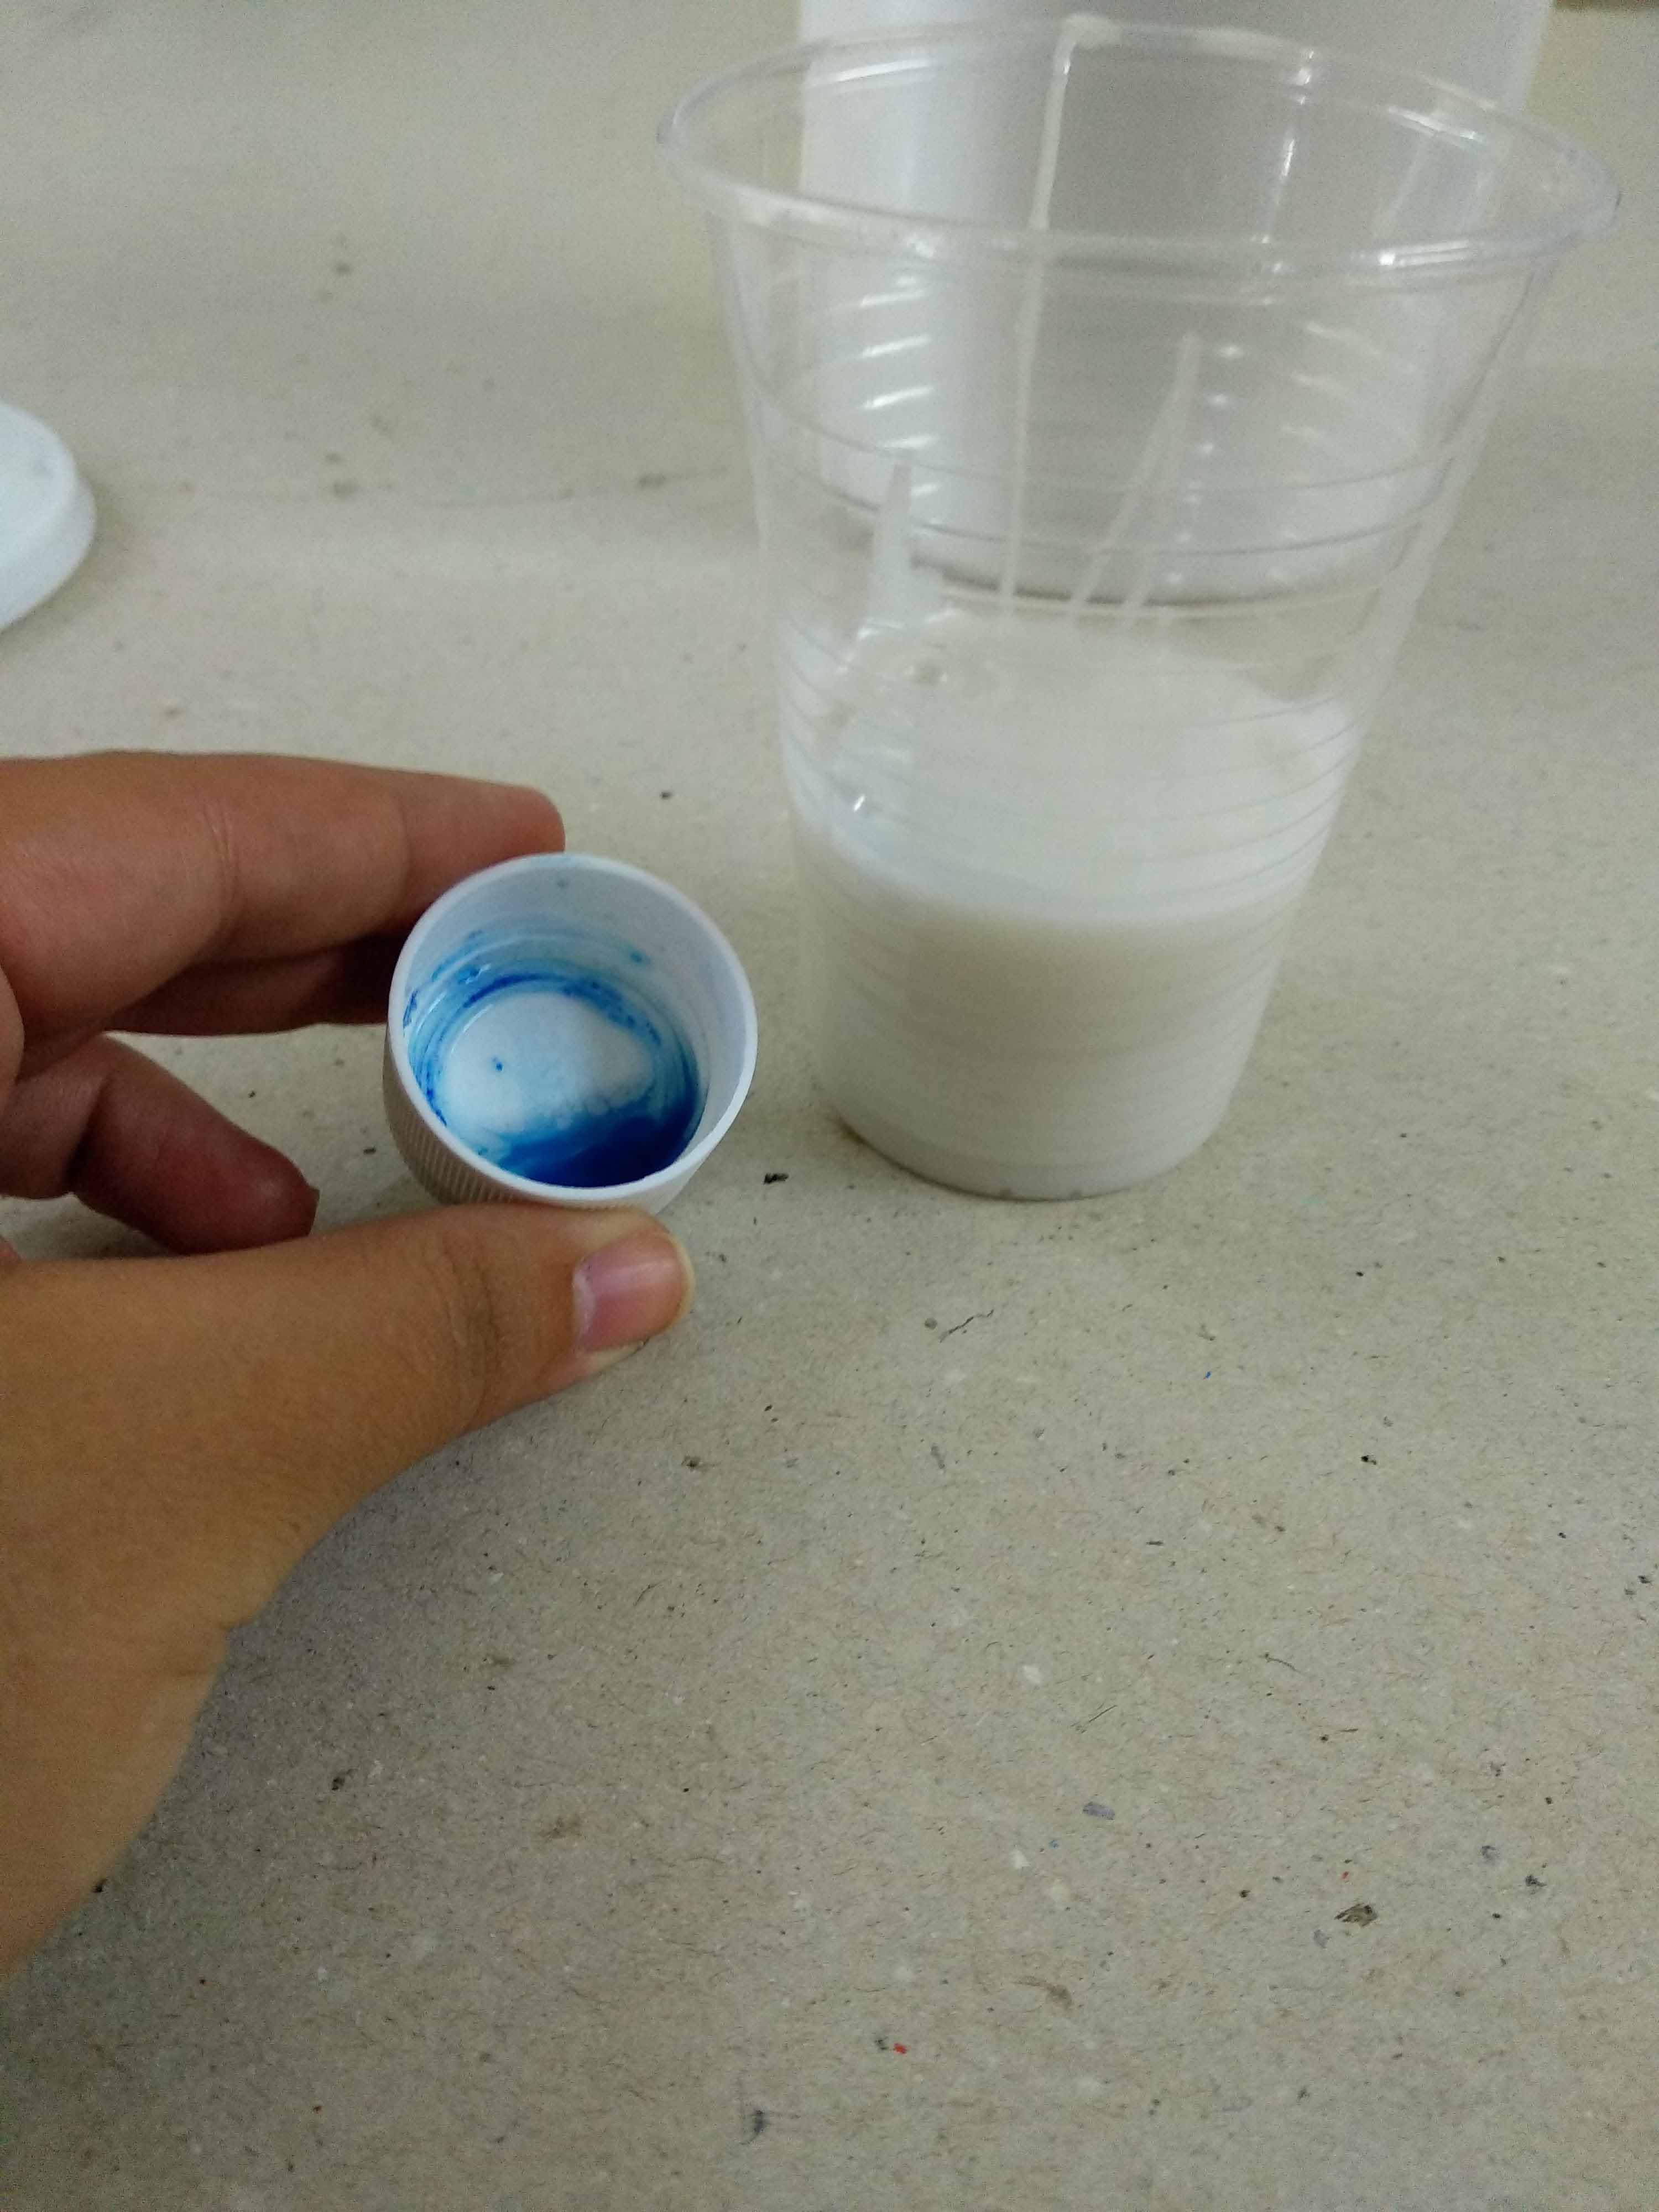

I put the silicon in the cup and picked a 3% from the hardner on its bottle cover. It was not really accurate but it worked fine.
I mixed then very well using the wooden stick.
I poured the silicon in the wax and made wooden fences for it to not over flow using some wood scraps and tape. Pouring should be very slow from one side with an angle to give the silicon the ability to spread in the area smoothly.
After couple of hours it dried and I removed it from the wax.
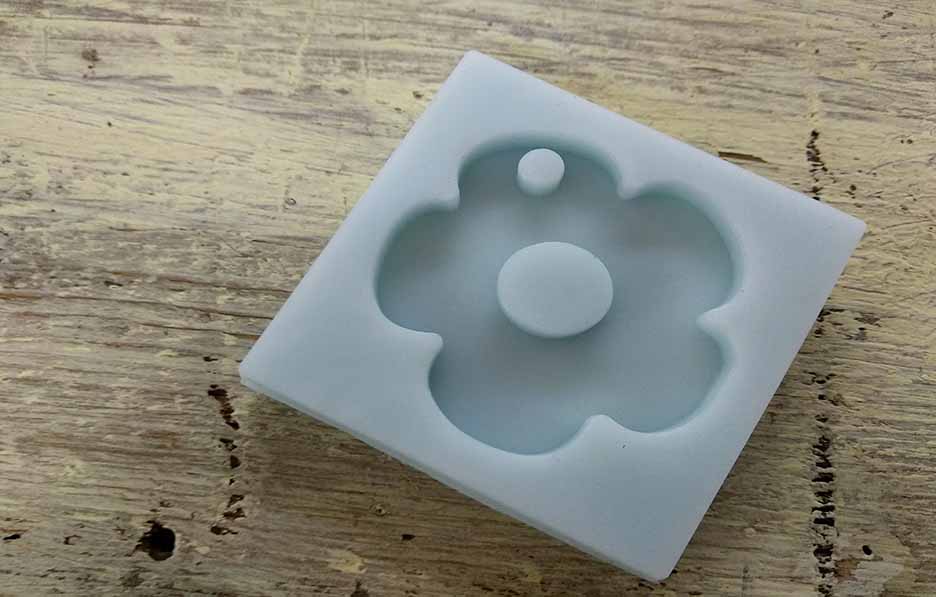
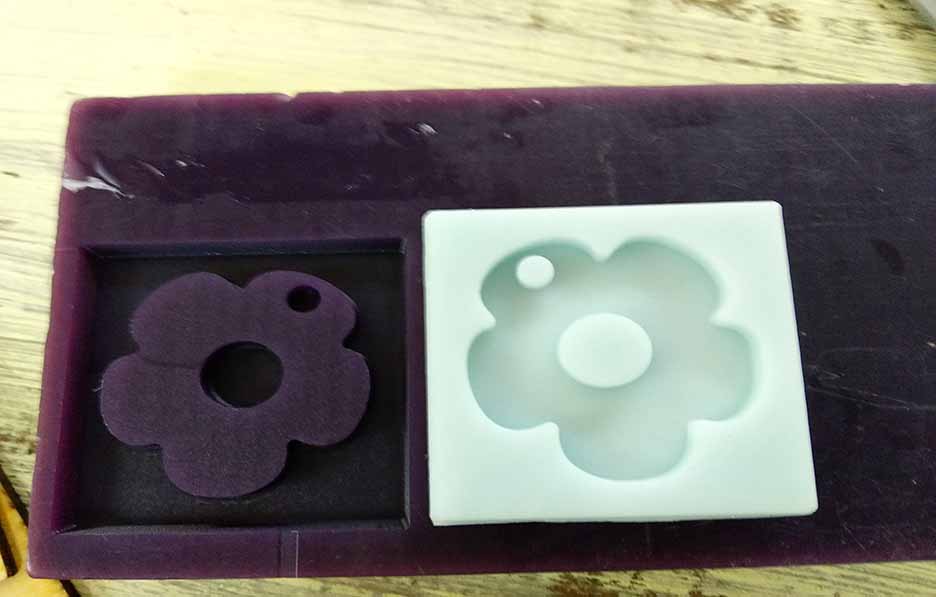
I removed the extra mold using sicissors.
Final mold result
Step5:casting
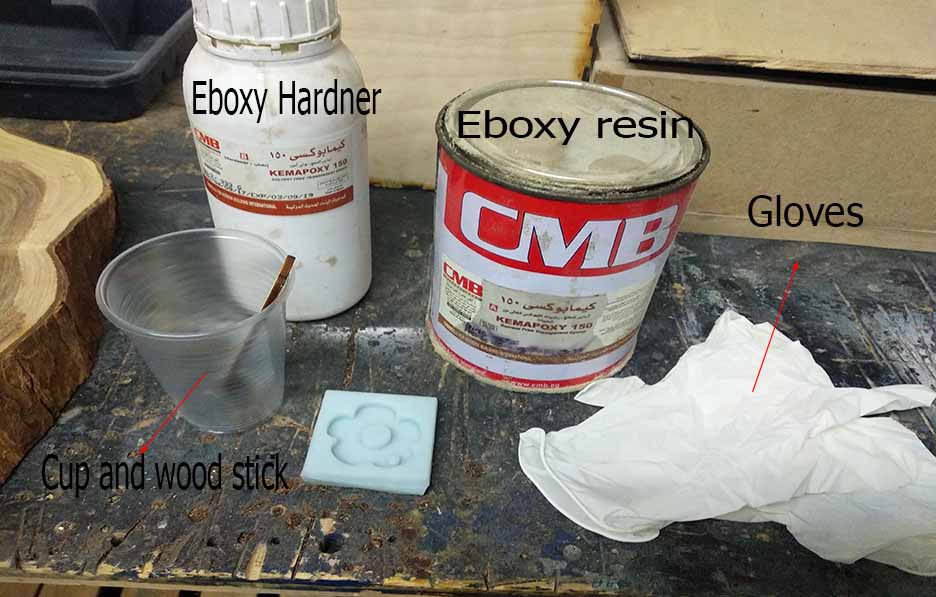
Prepare the required materials for casting, I got the resin from CMB Egypt
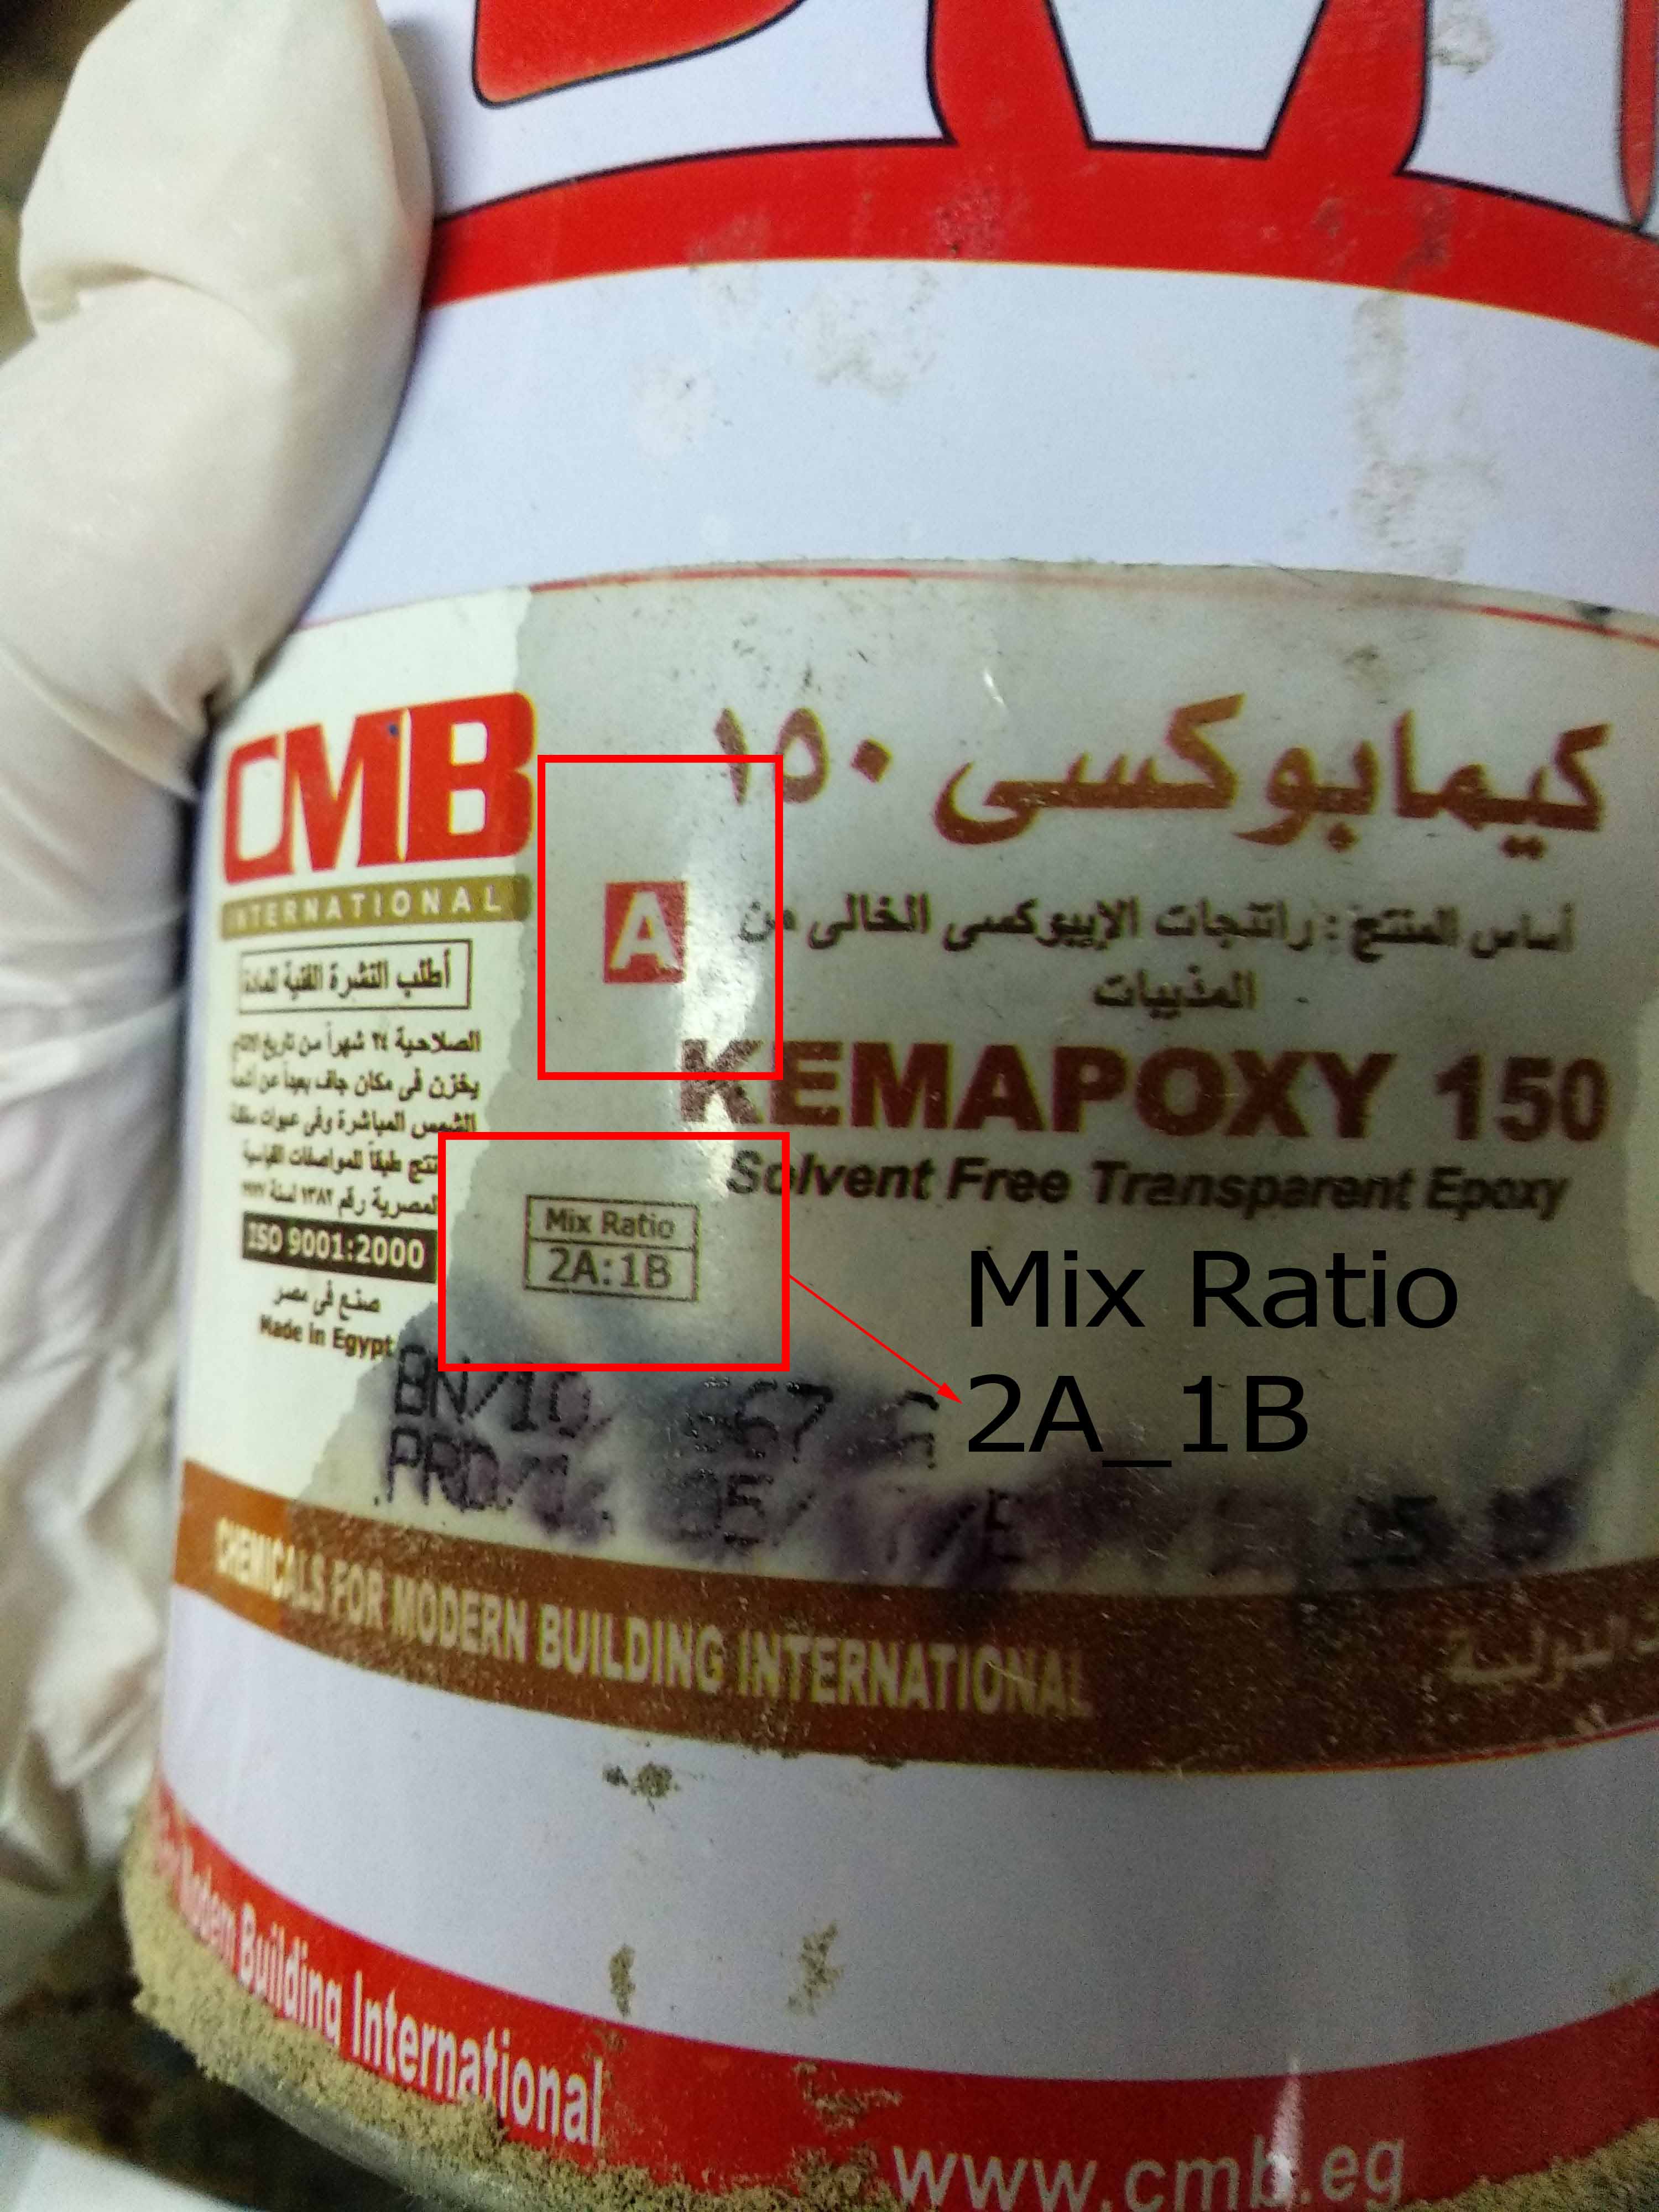
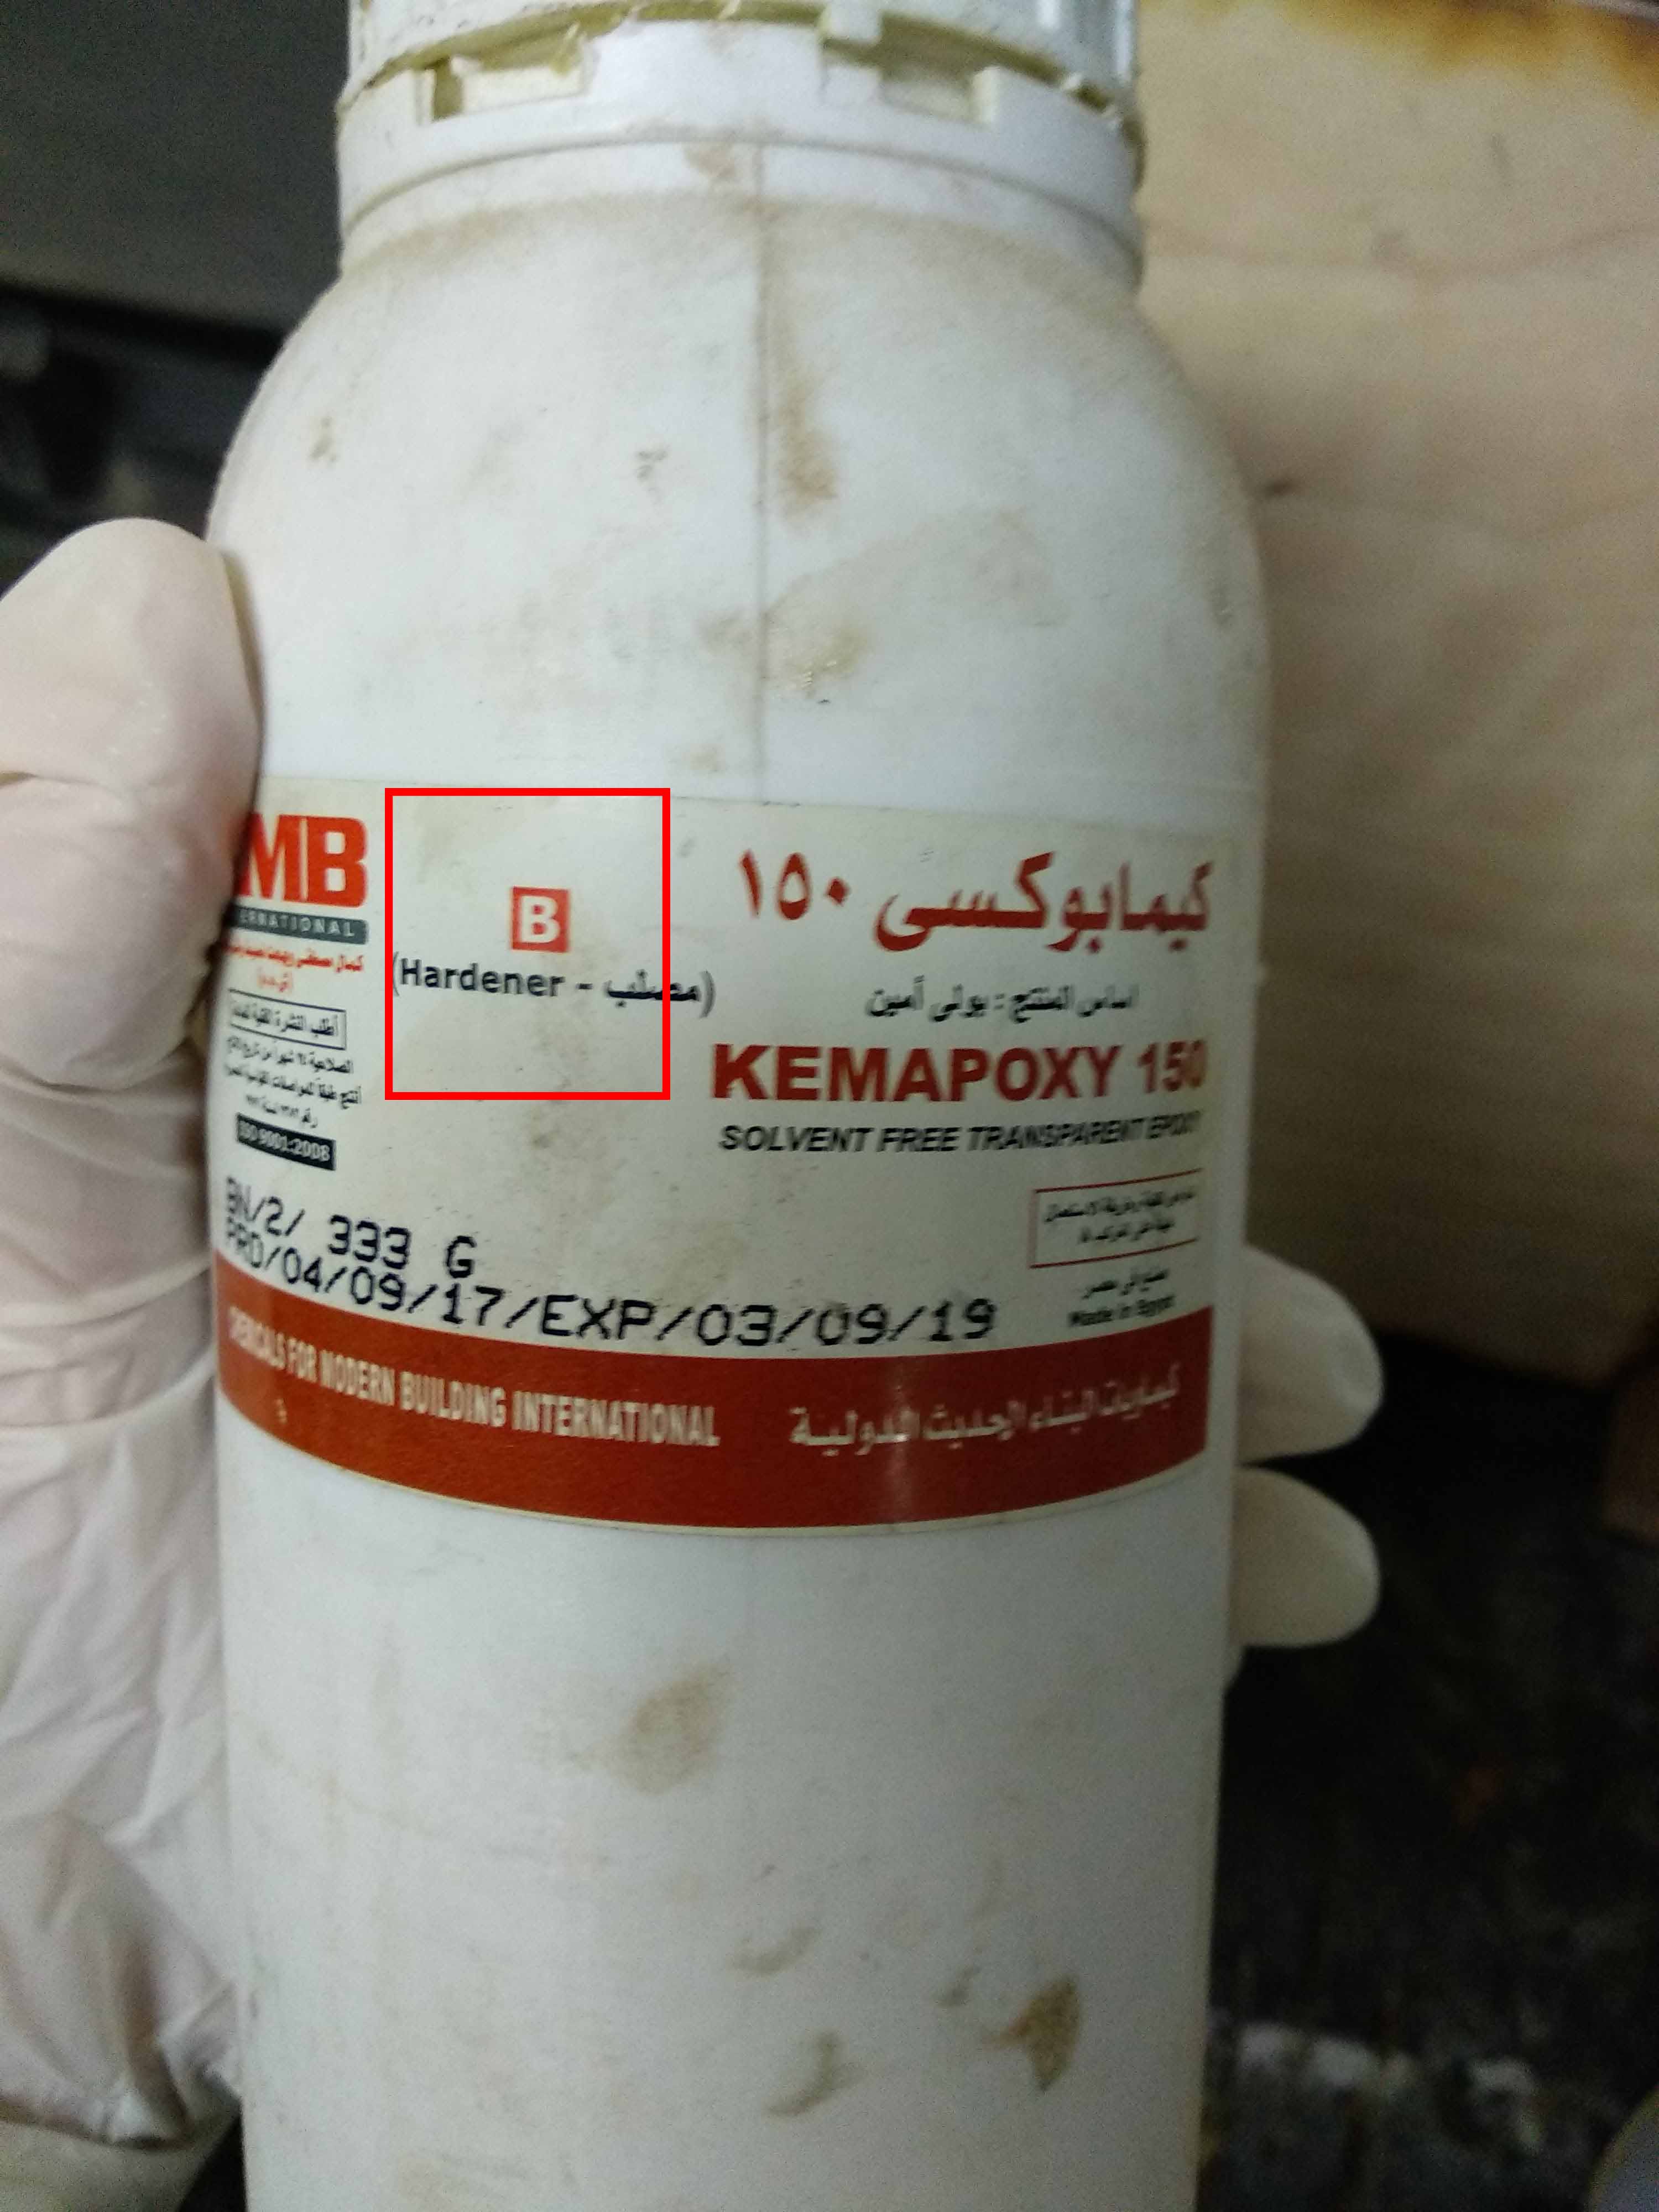
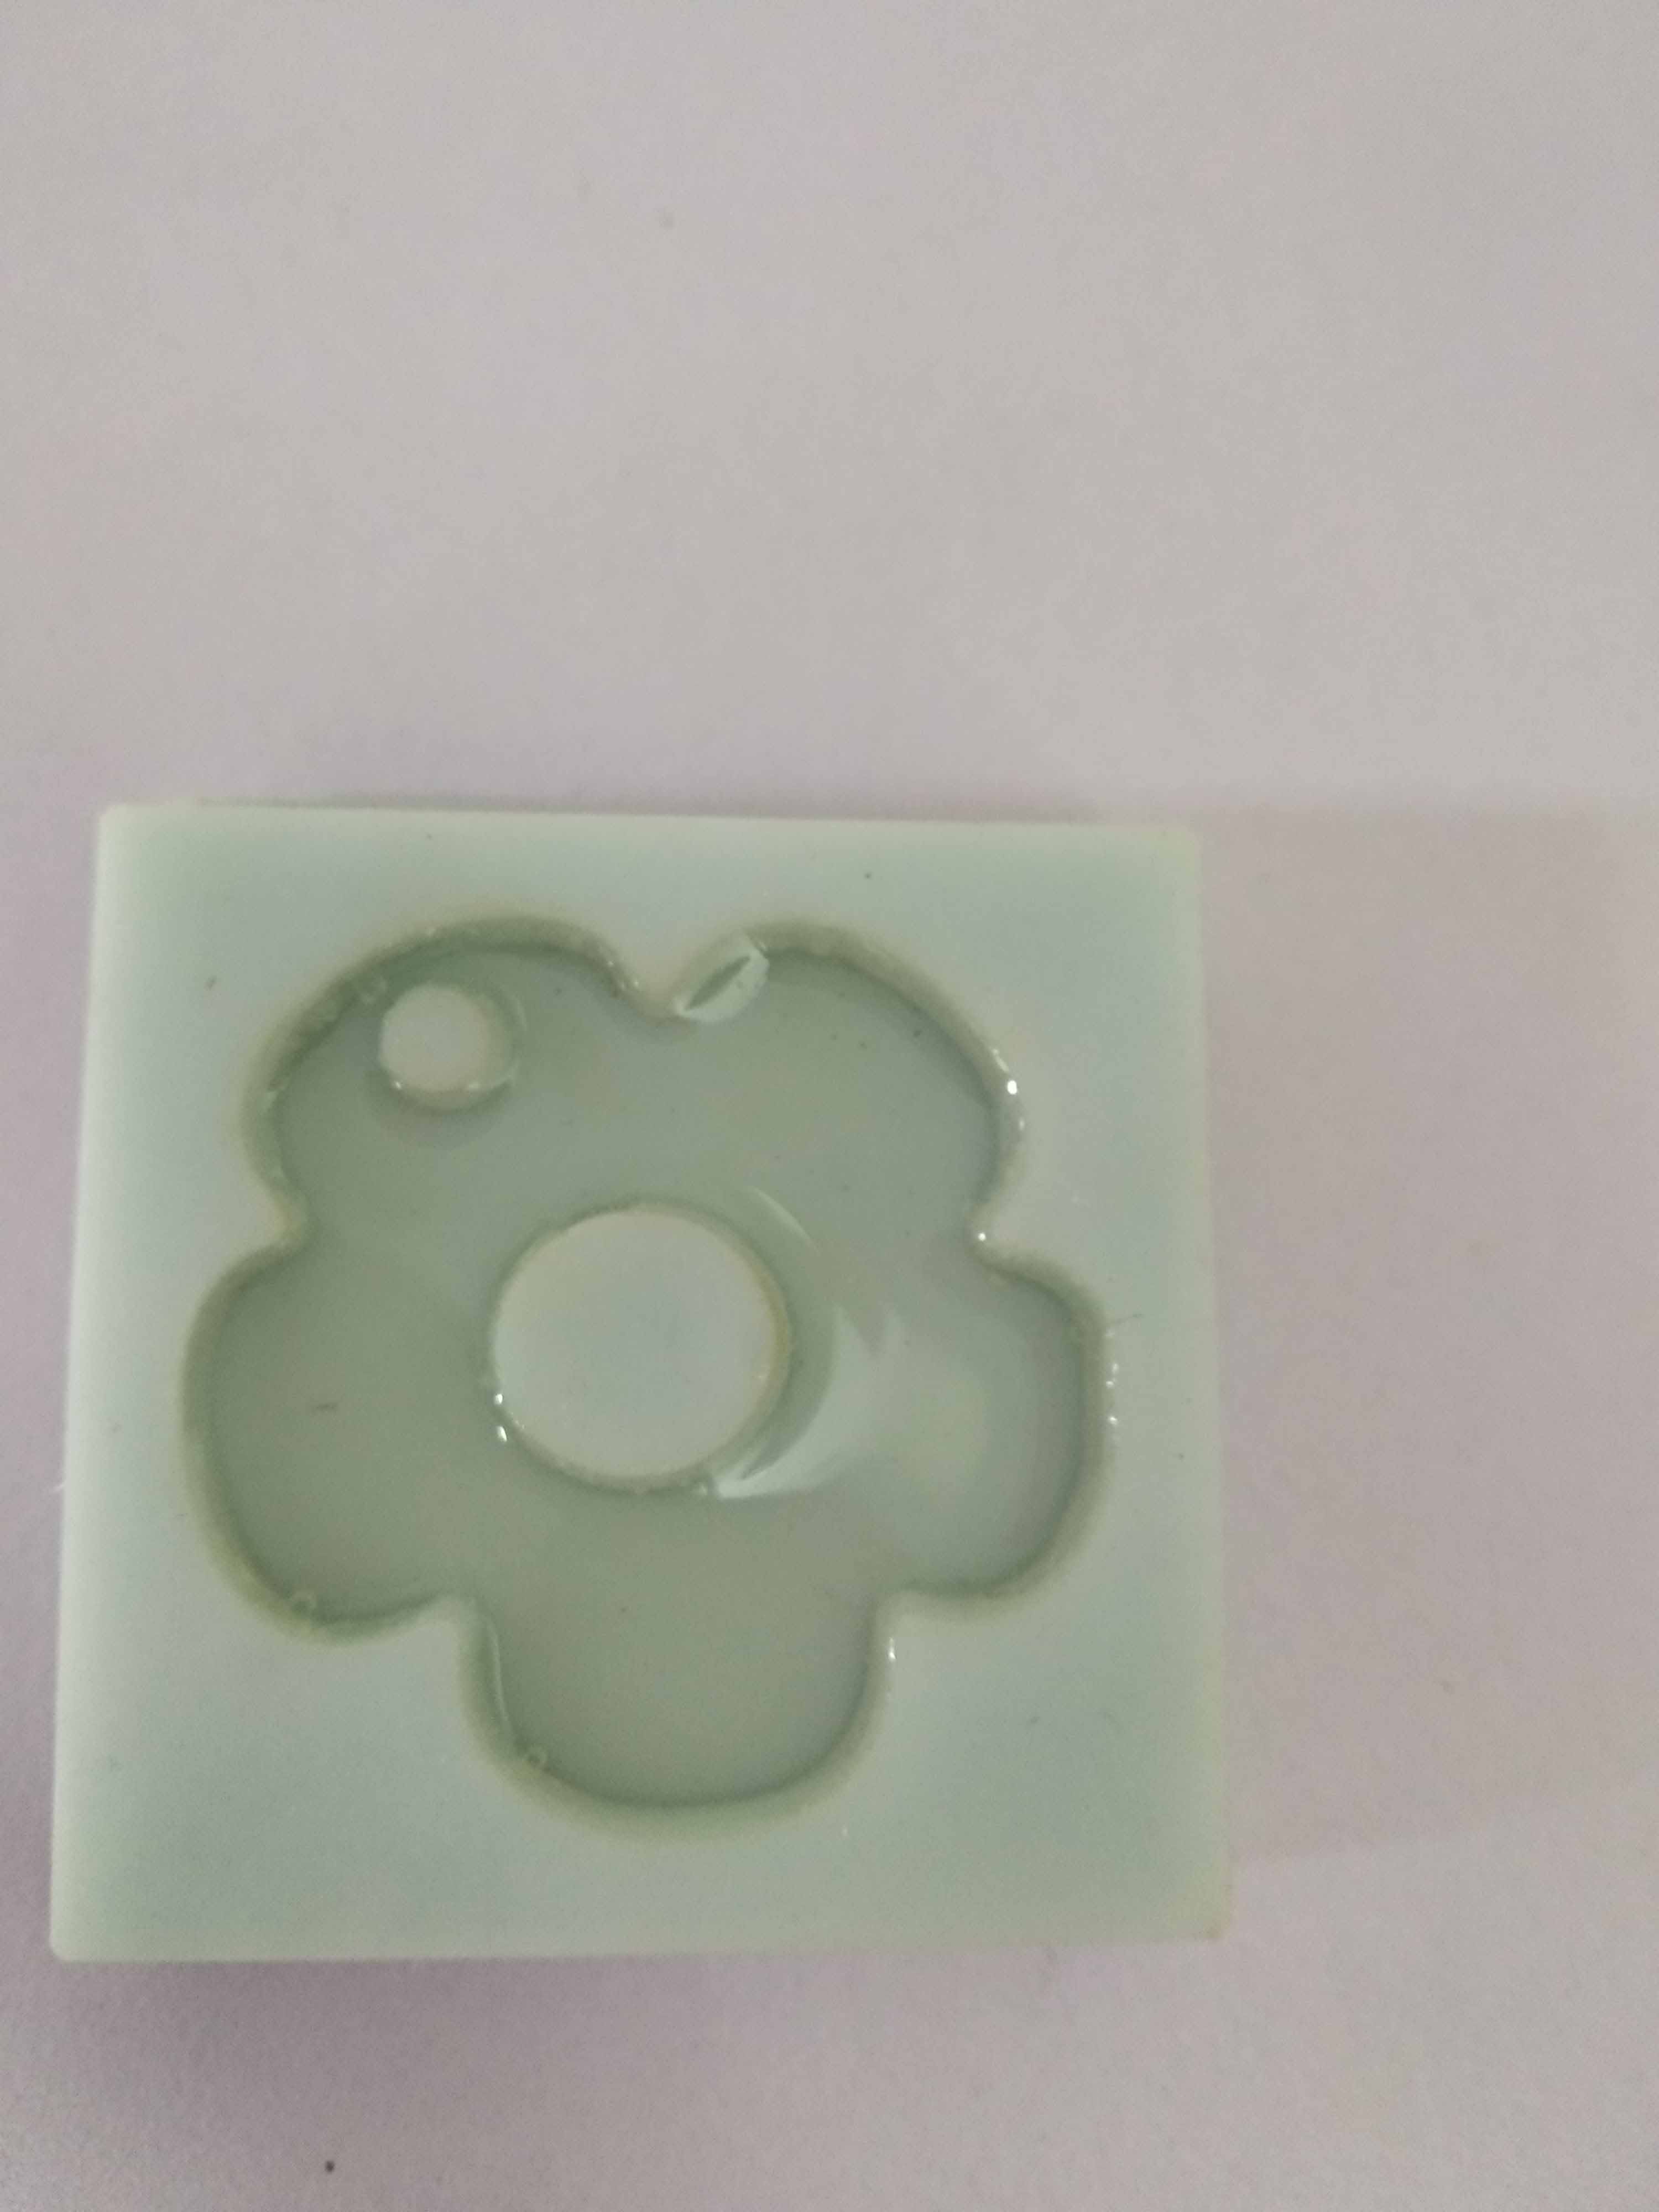
The resin comes too in two materials the resin and its harnder and should be mixed according to the percentage written.
after mixing I casted the resign slowely then applied air using the blower to get rid of the air bubbles.
Creating a tool path for a 3D object
I had prepared before a chess piece (Bishope) for making a mold but I never had the chance to create the toolpath for it or mill it.
Part1
Part2
I cut the 3D design into two halves and make spheric pin in one and speric groove at the exact size to the other so that the two silicon pieces could be fixed together using these pins. I also made a hole like a tunnel to pour the silicon into it after fixing the two parts together.
Open modella player 4 and then open the 1st half of the bishope.
When I clicked on Model I found that the orientation of the model is not correct as while marked top surface it is not really showing the top surface.
I moved the orientation to the position where the flat part is on the ground and the top surface really appears then I made sure of the dimensions of the model.
After pressing okay the orientation is now correct.
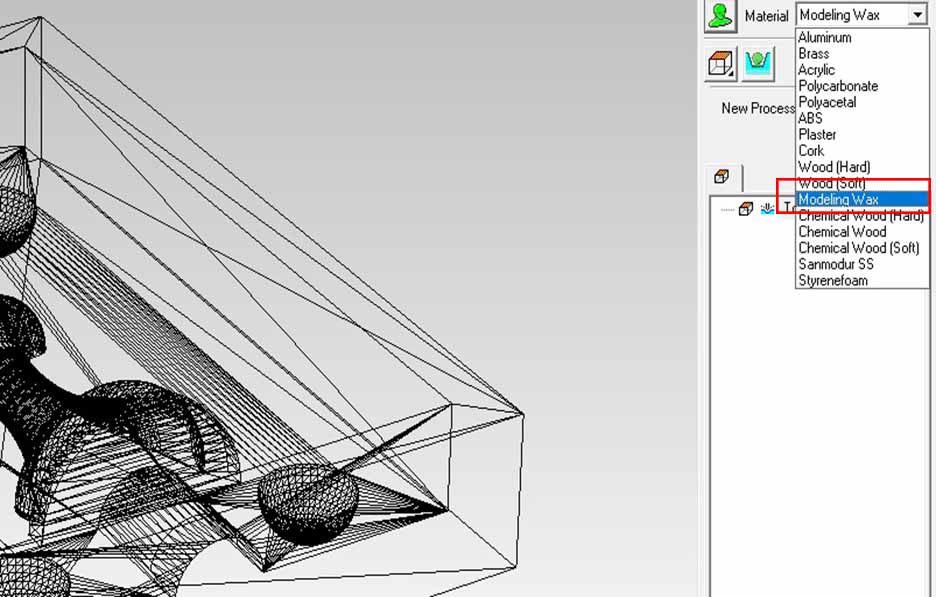
Choose the material to be modeling wax
Open model and set the margin manually to 5mm
make sure that the cutting depth in the same as the Z height
make a slope with an angle of 10 degrees
Select new process then roughing
Choose the tool diameter to 3.175 mm
select cutting area all
Select scan lines to x
Leave the cutting and milling parameters to default.
Press create tool path now and you will see the path in blue color.
Create another process using finishing
select the same exactly except making scan lines x+y
Press preview for each process and an estimation of the result and time will appear
The first half will take about 2 hours and 15 minutes for roughing and finishing
Follow the same steps for the second half.
I tried using a milling bit of 2mm but it will take so much time around 8 hours so I returned back to the 3.175 mm which will take only 2 hours 30 minutes and finishing it after casting will not be a big problem.

