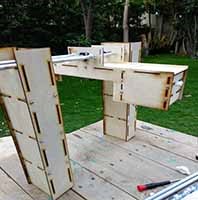
Mechanical Design & Machine Design

This week's tasks are:
- Work as a team to design a machine ( mechanisim+ actuation+ automation) to make it work.
- Document individual contribution
My individual contribution was manfacturing, assembly and dry run of the machine.
Step1: Laser cutting the chassis
I got the design from Ibrahimand cut it using 3mm plywood sheets and laser cutting machine
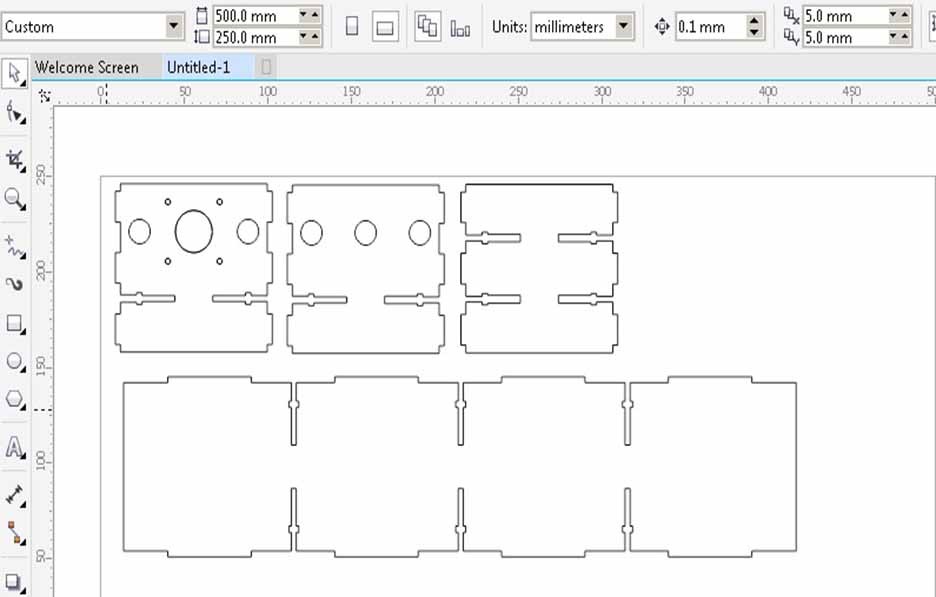
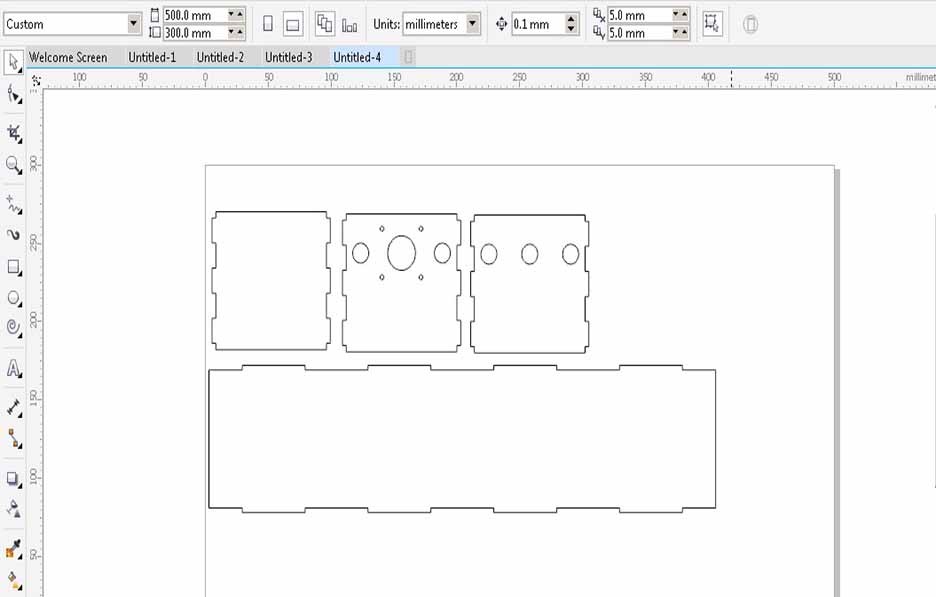
I opened the DXF files provided with coral draw program.
Arranged the parts on 30 x 50 cm area which it the maximum working area of our laser cutting machine.
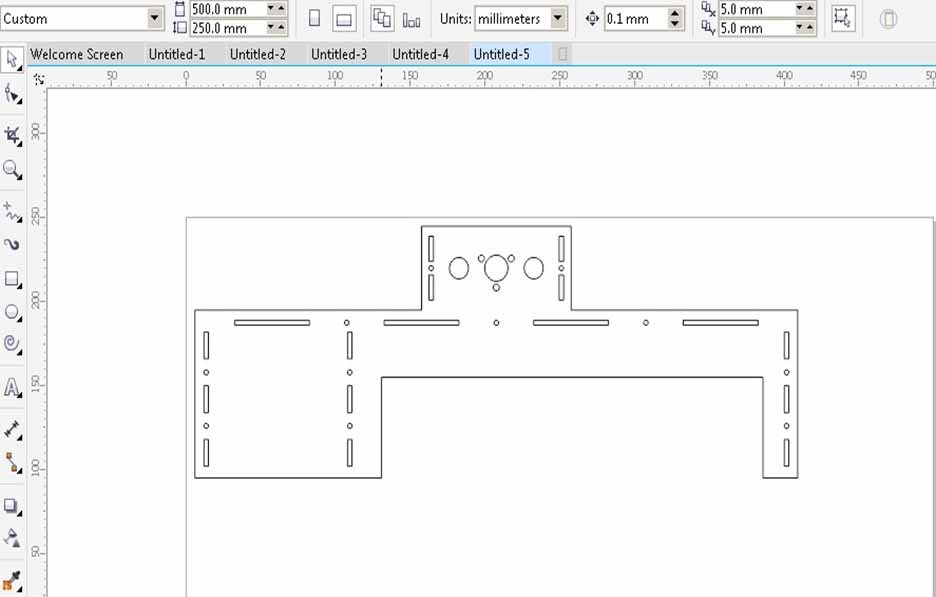
Arranged the rest of the parts
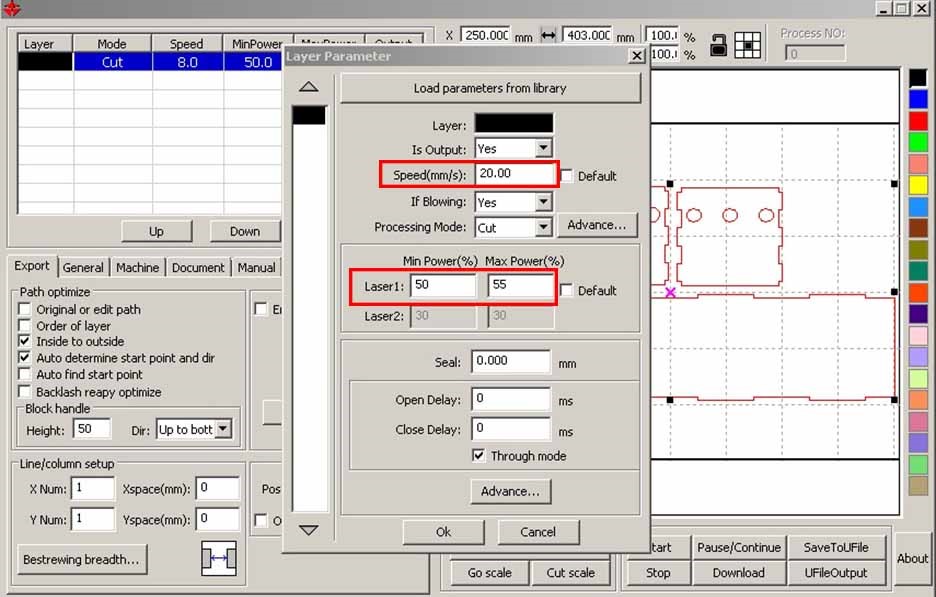
I then run the files to the lasercut software to adjust the suitable speed and power for the wood which is 20 mm/sec speed and 50% min power and 55% max power.
More details about our laser cutting machine and its softwares on Computer Controlled Cutting week.
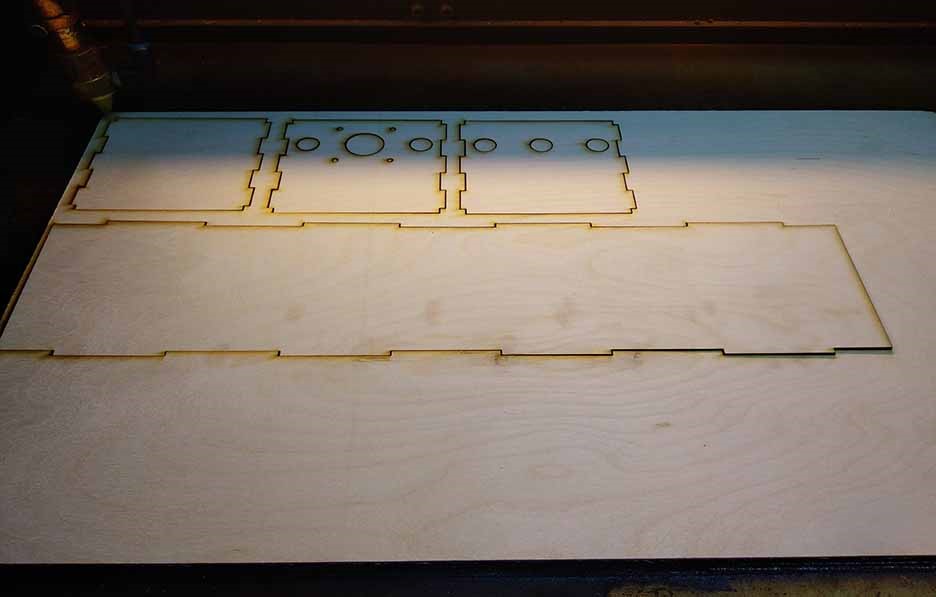
Step2: Assembling the chassis
The mechanisim constructs of X axis and Y axis to allow the x, Y movement.
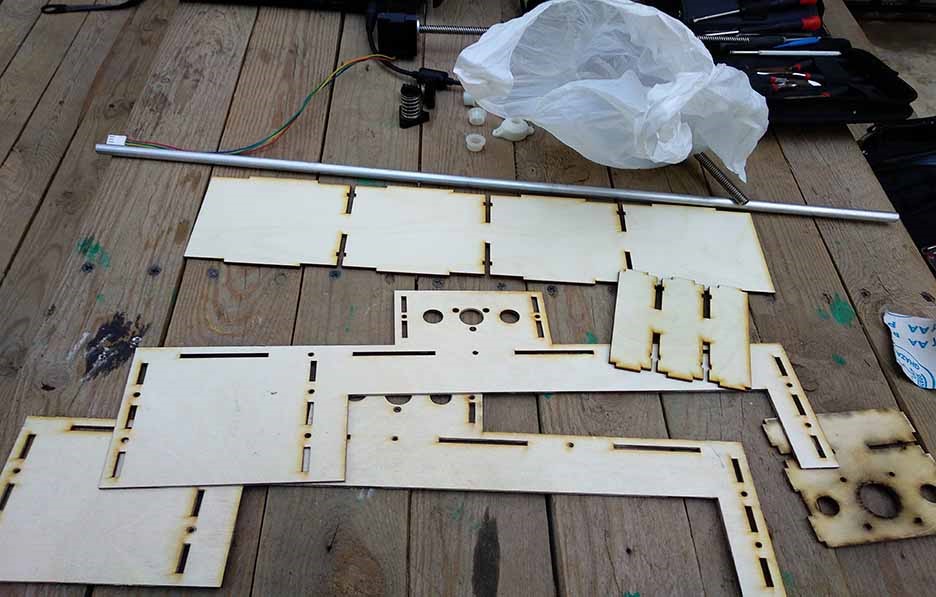
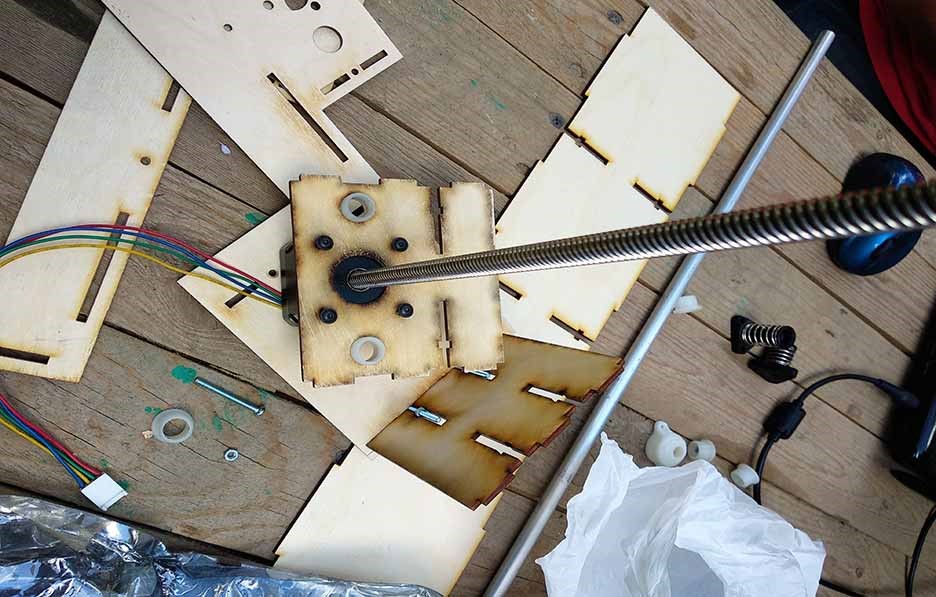
We used the MTM motors, Screws and nuts
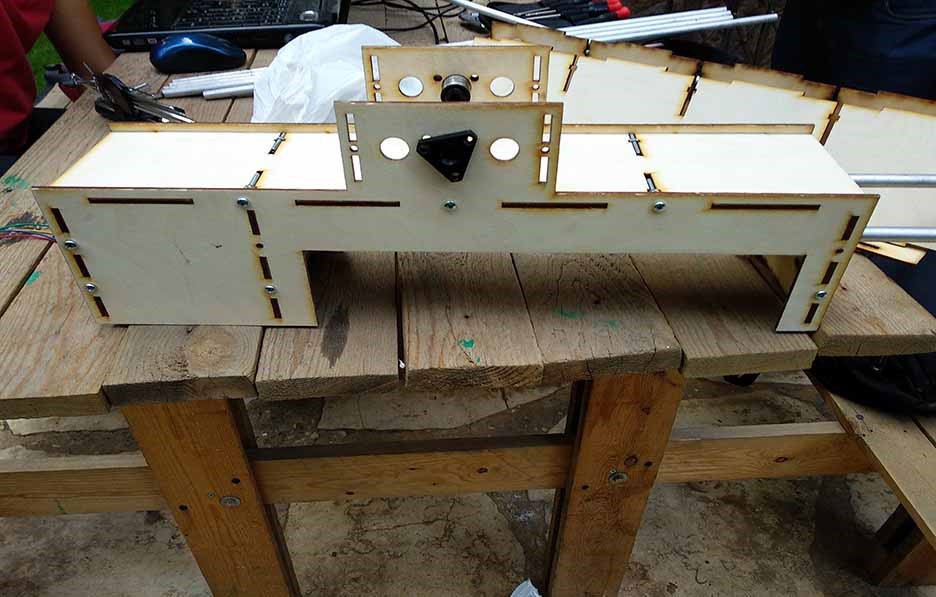
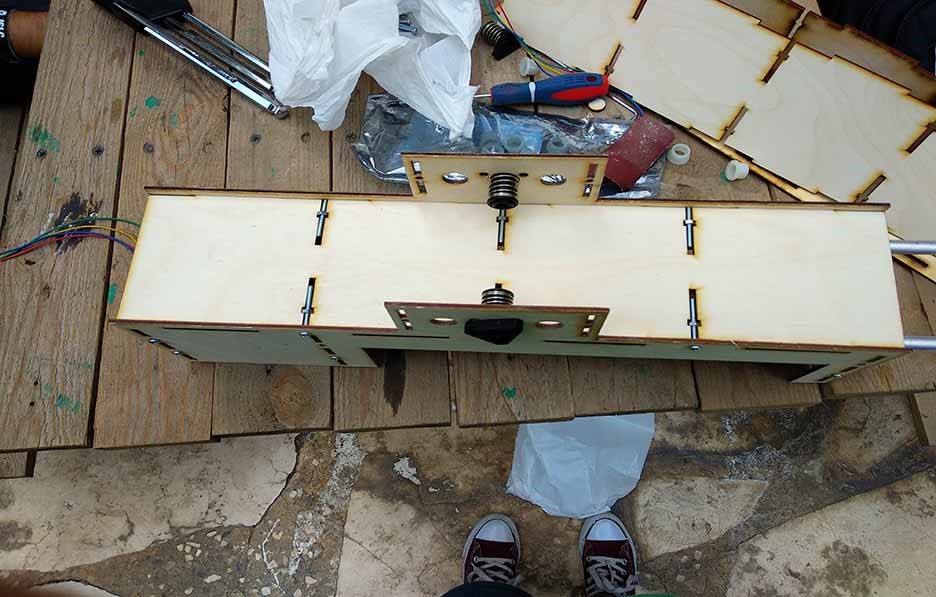
We started the assembly process using screws and nuts to fit the chassis together and we used the MTM motors, lead screws and nuts for the x,y Movement.

The Mechanisim showing the x,y Movement
Step3: 3D print the end effector
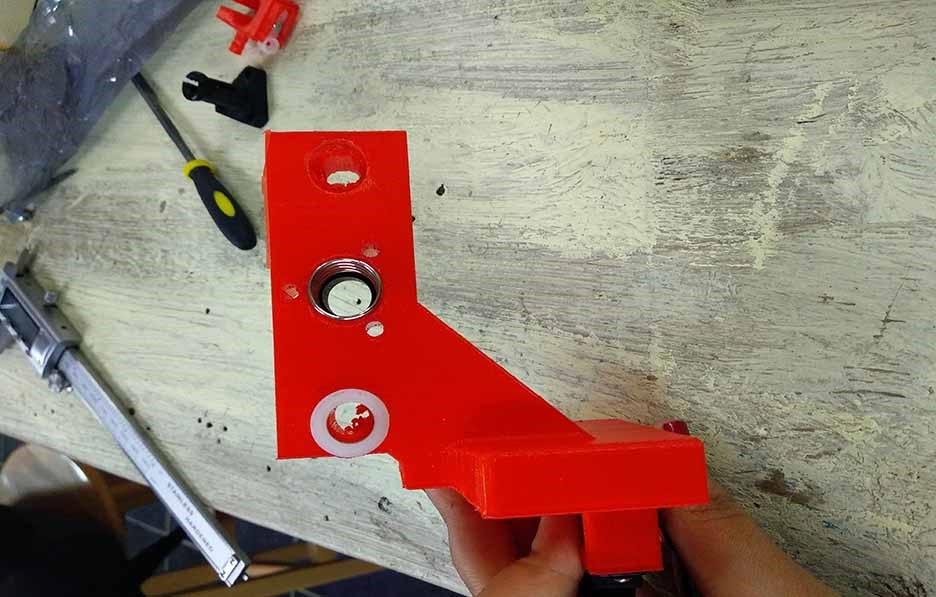
I got the designs from my colleague Mohamed Elsayyed who designed the end effector and from Ibrahim who designed the end effector holder. I sliced it using ultimaker cura and the new prusa 3D printer we got. Didn't find any problems with the end effector it self but we faced some problems with the end effector holder. The holes were not right in size to be able to fix the nuts on it so we had to do a lot of sanding to make it fit at the end.
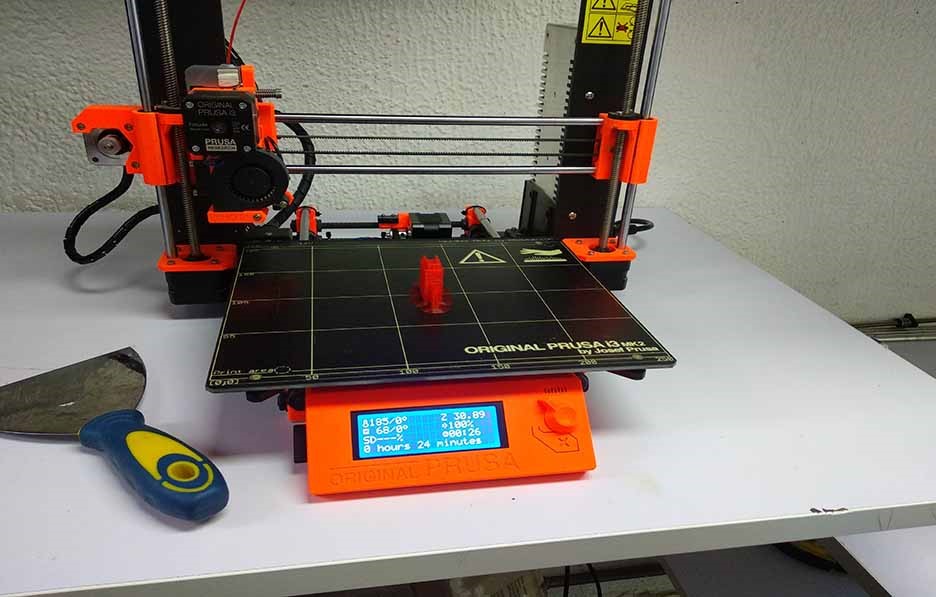
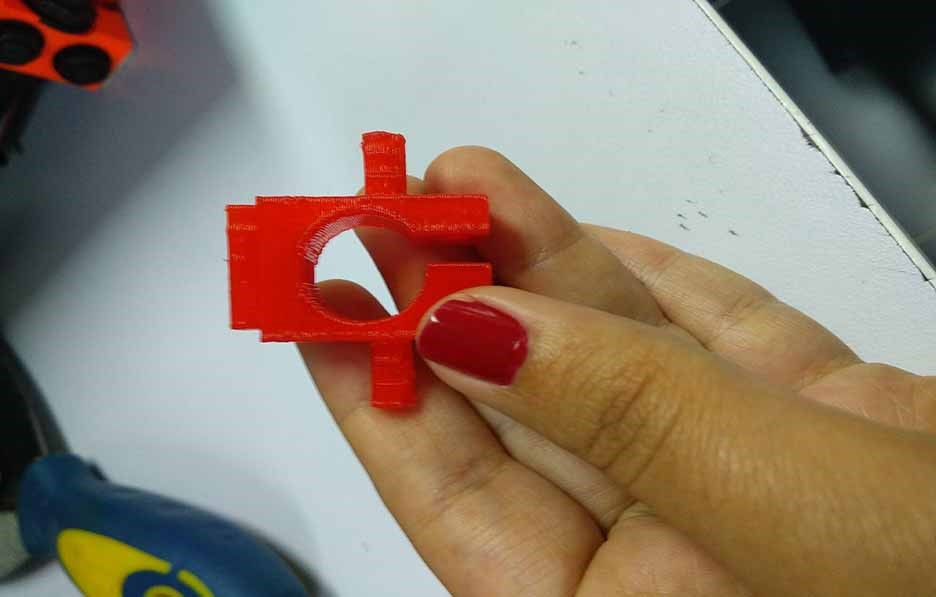
This was my contribution on these two weeks.
Files:
- The chassis DXF files.
- End effector STL and 3D printing files.
- End effector holder STL and 3D printing files.

