Electronics Production
Introduction
We were asked to make an in-circuit programmer by milling the PCB on CNC milling machine and I became nervous, which I've dealt with it before and was pretty hard cause I didn't have proper mentorship.
Components and tools used:
- 1 x FR1 (Copper PCB Board).
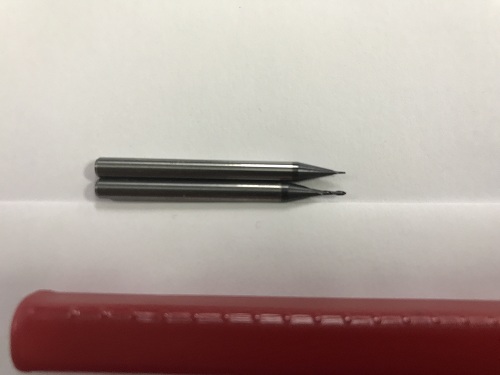
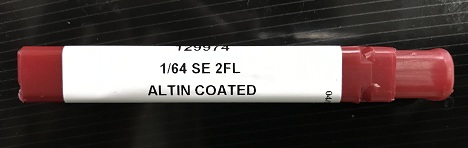
- 1 x 1/64 inch end mill bit.
- 1 x 1/32 inch end mill bit.
- 1 x double tape.
- 1 x Roland Modela MDX-20
- 1 x Soldering Station.
- Soldering wire
- AVO multimeter: to check if there's any short circuit.
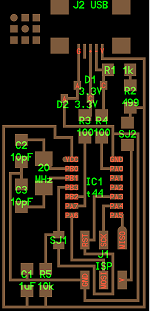
- Electronic Components: Resistors (1 x 10K Ohm, 2 x 1K Ohm, 2 x 100 Ohm. 1 x 0 Ohm, 1 x 499 Ohm, Capacitor, Resonator, USB Connector, ATiny44 microcontroller and male 2x3 pin header.
Working with Fab Modules:
Here's a brief video that illustrates how to use Fabmodules with the given PNG file. Offset is the number of the times the traces will be milled the greater the offset the easier to solder the components and avoid short circuits, but the greater the offset the more time it takes. Also, there's the (-1) option which mills all the extra copper like it's etched.Milling:
First, what is PCBs and their different types I read this tutorial to understand more about it.
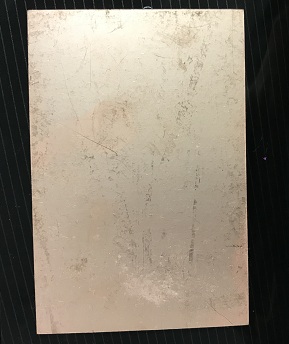
This is my FR1 PCB Board
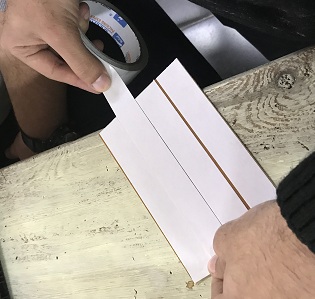
I added a double face tape:
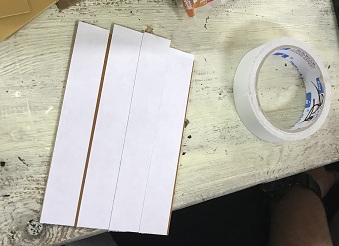
After removing the tape:
First I made the traces with 1/64 inch end mill then 1/32 to cut out the entire board.
The thinner one is the (1/64) and the less less thin one is the (1/32)
I lowered the end mill towards the PCB till it barely touched it.
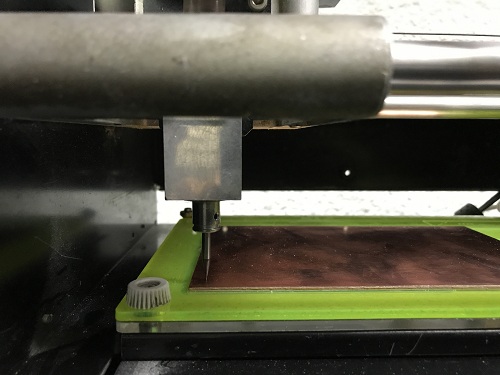

Then I repeated the same the process for the 1/32 end mill.

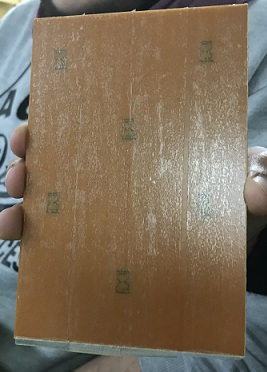
During machine cutting:
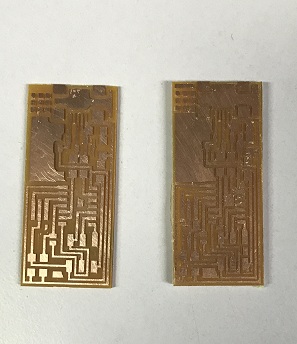
The offset:
What is the offset option in fab modules do is telling the machine how many times the machine should cut around the trace, more offset means more time, so the machine can go around the trace more and the cleaner the board board because if the traces are not already tight it will remove as much copper as it can between all traces.
Special Case (Offset = -1) in this option in particular it mills each and every copper on the board within the board frame so it's almost looks like an etched board (Only the traces are there no extra copper on the board.)
On the left a (4) offset board and on the right a (2) offset board.
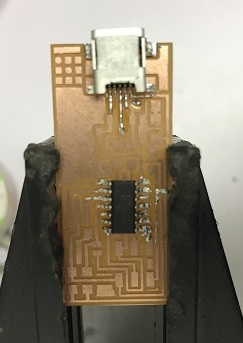
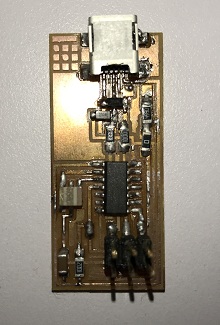
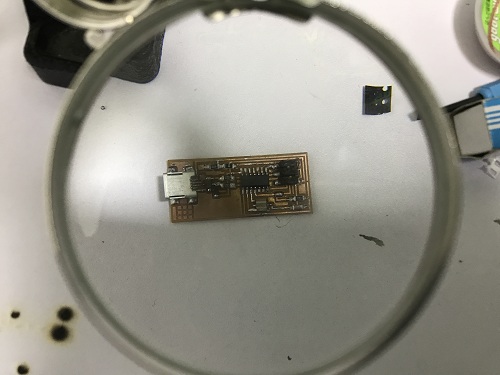
Soldering:
my reference in components putting was this picture provided by the academy.
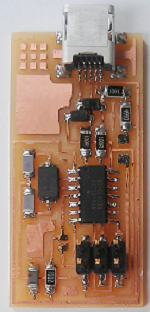
I started by soldering the IC and the mini USB socket cause I've been told that they're the hardest.
Our global guru Ohad told us to work on the bigger components first, so if there's a damage in the PCB itself in terms of the substrate you can know from the beginnsing that you'll work on milling a new one
Programming FabISP:
After soldering, I followed this TUTORIAL to know how to program my FABISP. I managed to get another FabISP of my instructor as a programmer to program my FabISP.- First, install the following:
- Download WINAVR from this link and install it. a
- Download Adafruit USBTinyISP Drivers this link and install it.
- Download FabISP Firmware from this link .
- I opened the MAKE file with brackets (The Editor) and I edited it the file to perform the following changes:
- I uncommented the line with USBTINY and commented the AVRISP2 line [ Because I was using another FABISP].
- I saved the Makefile.
- Extract the firmware zip file to a folder.
- In Windows OS: Open command prompt or any sort of Command prompt, go to the folder where you extracted your firmware file and execute the following commands:
- make clean
- make hex
- make fuse
- make program

Hint: Command (cd) : is what you use to move between folders
The error was : fuse error 1
I found out that my usb connector wasn't properly soldered so I did the soldering again and made it more clean and it WORKED!!
Finally, remove the zero resistance (SJ2) and remove the soldered short-circuit (SJ1) as they're used to make your fabISP a standalone programmer before programmed once finished they should be de-soldered and it's now a standalone programmer.
Connect the FABISP to the USB port in your computer and ensure it is detected and appears in the device manager OR open command prompt again and write: (lsusb)
This command will show all the connected usbs on your device and one of them should be related to your FabISP as shown below.
Command: lsusb
