Wild Card (Composites)
This week my objective is to make a composite that's illumnating in the dark as well as it could later on act as the final project chandelier (Chandella) frame.
Designing and Cutting:
In this phase I was making the mold that later on I'll build my chandelier frame composite on.
Because my design is just an orbit and very simple I didn't use SolidWorks as usual like my previous assignmnets, I used ArtCam which's the software responsible for producing the toolpath for the CNC router that I'll cut my frame on. For more details about CNC Machining and how to generate toolpath
Steps of Drawing the frame on ArtCam as basic as those 8 bullets:
- Create New Project
- Set you sheet width and press Ok.
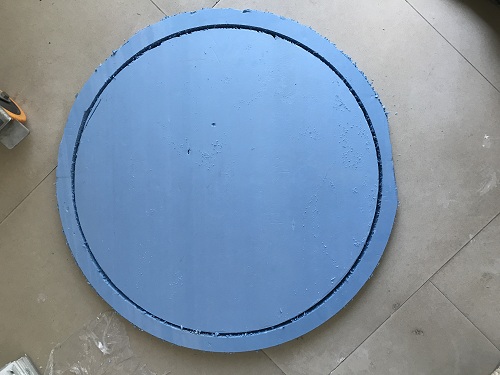
- From Vector Tools menu ---> Create Circles.
- Set its Diameter ( Mine was 580mm External and 530 internal) and click on Create
- Create another one
- Click on the first cirlce then from Position, Combine..etc menu ---> Centre In Page
- Click on the second circle and do the same as the previous step (Step 6)
- Move the two circles together to the edge for save space in your material.
After that, you have to export the toolpath file which's vividly explained in CNC Machining week
Also, I've decided to use a type of cork to make my orbit mold becuase it's easy to machine and takes almost 5 minutes.
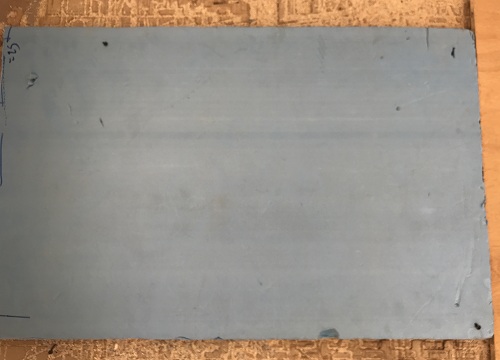
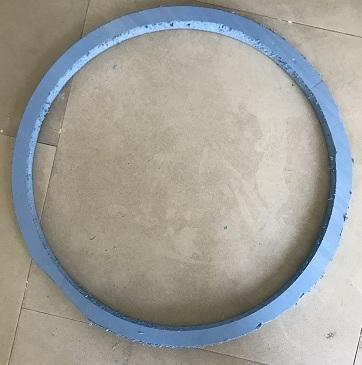
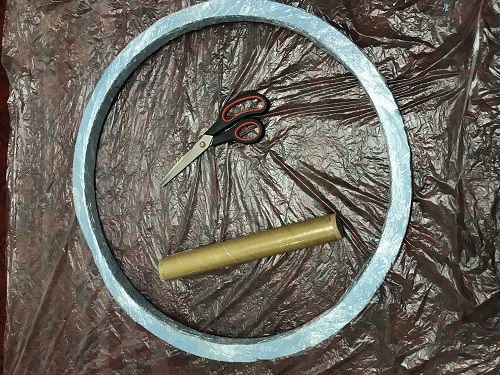
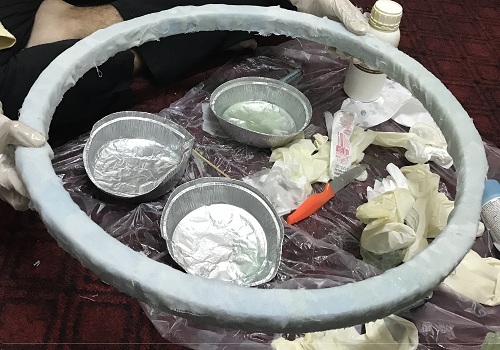
Mold Results:
Composite making process:
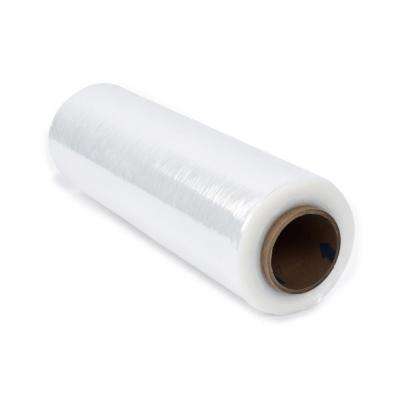
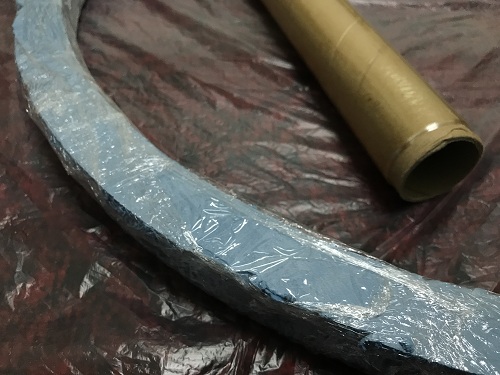
To start, I used the nylon wrap to isolate my mold from the composite I'll put on to remove the mold easily later on (if you want to) and to avoid sticking of the mold to the composite frame I'll make because it will ruin the mold or will be used only once and thrown away.
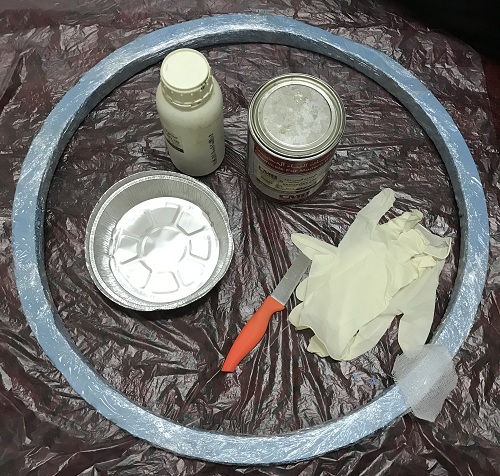
After that I brought,
- The Epoxy and its hardner that I used before in the molding and casting week.
- Knife
- Scissors
- A LOT of medical gloves
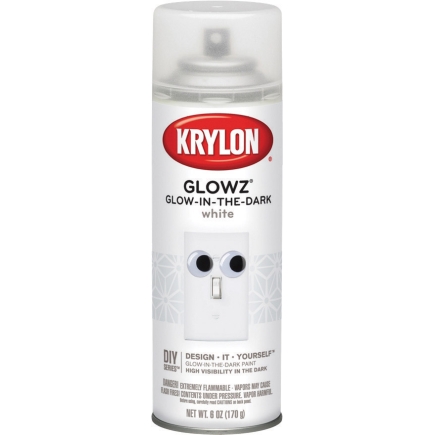
- Illuminating Spray (I used the light blue color)
- Medical Bandage Roll.
- Aluminium Foil dish to mix the epoxy with Medical Bandage Roll.
- Vaccuam Bag (Mine is 100cm x 70cm)
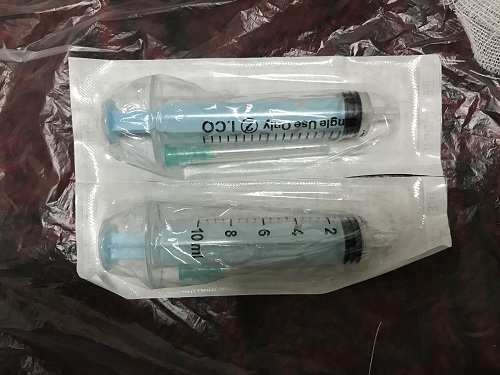
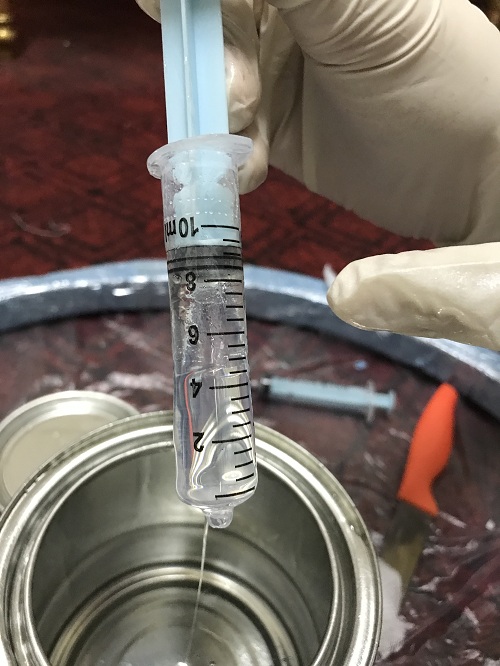
- 2 x 10 cm syringe (1 for the epoxy and 1 for the hardner.
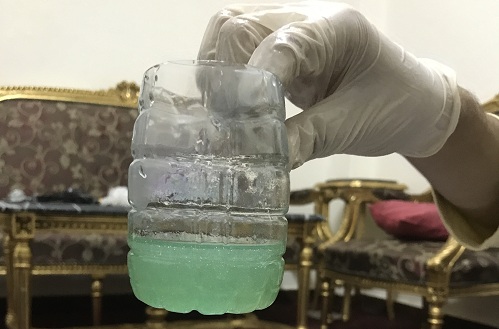
- Empty water bottle
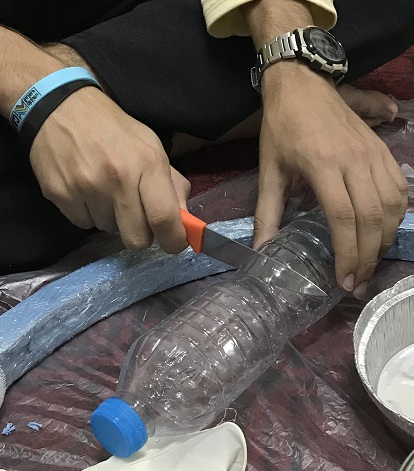
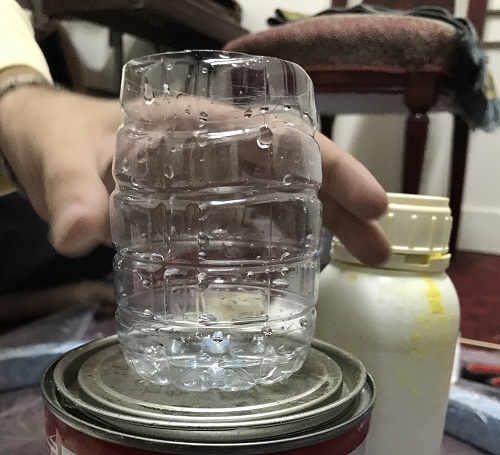
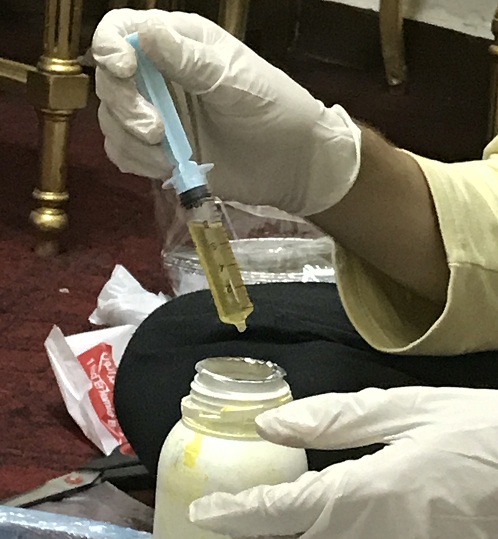
I needed a place to mix my Epoxy and its hardner before applying them to the bandage:
So I cutted the empty plastic water bottle and make it dry using tissue papers.
After that, I tried to use the syringe to pull the expoxy, but it was extremely hard becuase of its density and viscosity, so I cut the half of the syringe end to allow more epoxy to enter and ease the pressure entering the syringe.
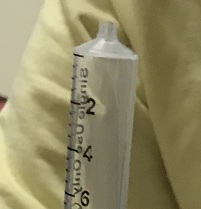
and it worked after this hack ^_^
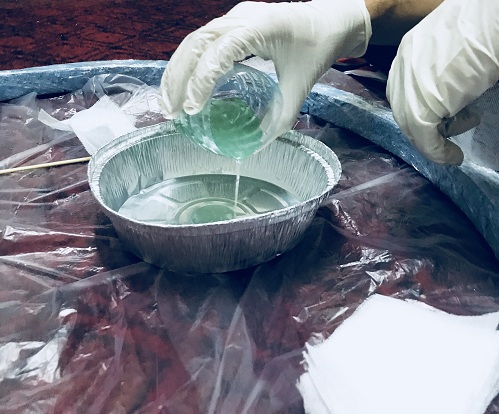
you should mix them well and don't allow air bubbles to get through as much as you can. (Check Molding and casting week)
The difference here is in the illuminating spray that I added to the mold. (My color was light blue not white though)
Mixture before adding the spray:
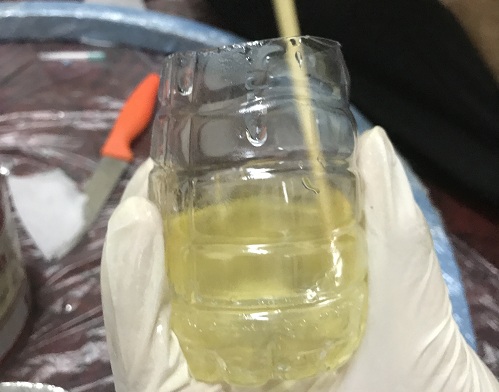
Mixture After adding the spray:
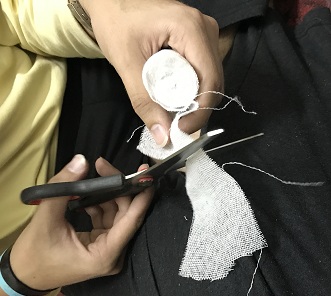
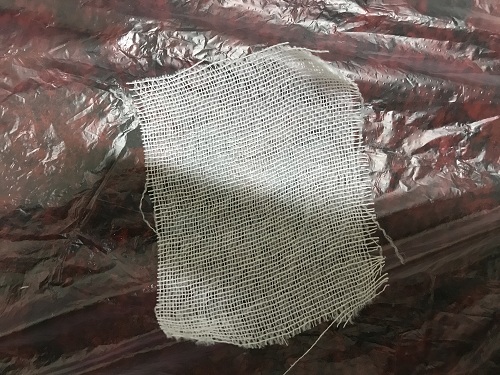
Now after I made the mixture, I started to cut medical bandage to fit on top of my cork frame and to be immersed in the epoxy mixture later on.
After cutting several bandages you should immerse them in epoxy or put them in the aluminium foil dish and pour epoxy mixture on them and make sure they're coated with it:
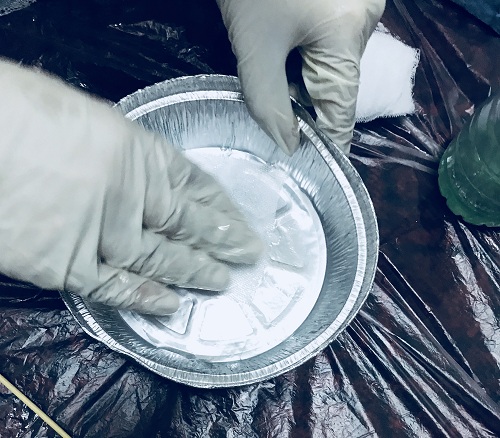
Repeat this process unitl you cover the entire frame as shown below:
After making the entire first layer and I suppose that they're all with same orientation you should do another layer or 2 or more depends on the thickness you want (but preferably make at least 3 layers to make sure the mold is not too thin!) the only difference you'll do here is the orientation...why?
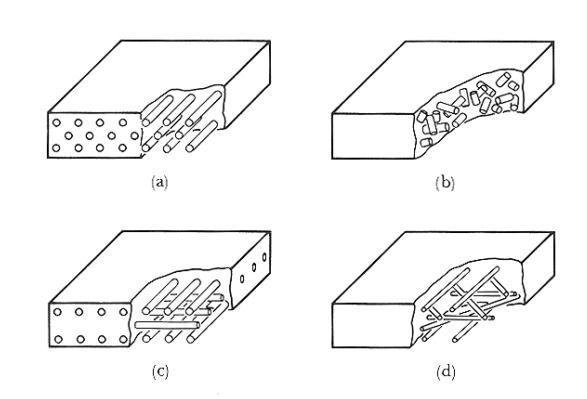
The photo above shows how different orientaion in a composite could be
a) unidirectional
b) random
c) bidirectional
d) multi-directional
and the simplest way to understand why orientation matters and makes your composite stronger is the basic example which's answered in this thread.
Why do we put steel in concrete for construction?
As a result, I made my 2nd layer with degree of inclination and the 3rd one with the same degree of inclination, but in the opposite direction.
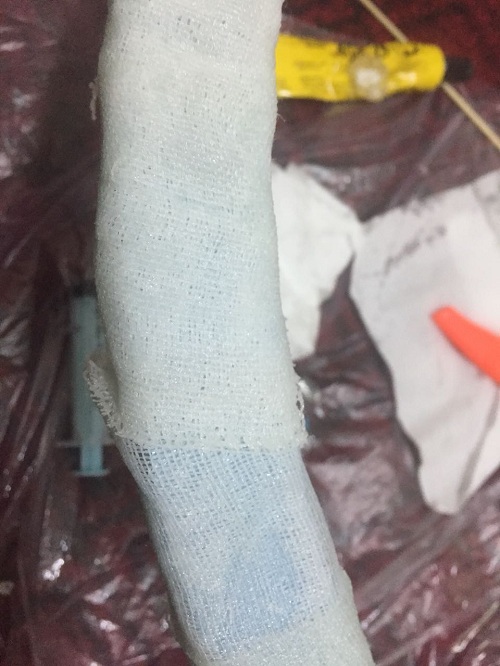
After layering up the 3 layers I added sprayed the entire part again with the luminating spray just to make that it will illuminate consistently.
Lastly, we need to apply pressure on the composite to make sure it's sticked to the mold without air gaps also to remove excess epoxy out of the medical bandage if there's any.
so I brought a vaccum bag:
![]()
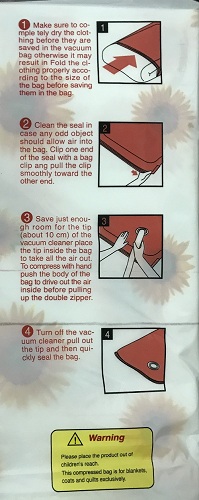
Then I read the instuction about how to use it.
Then I entered the mold into the vaccum bag.
.JPG)
Afterwards, I brought my vaccum cleaner to absorb all the air from the bag.
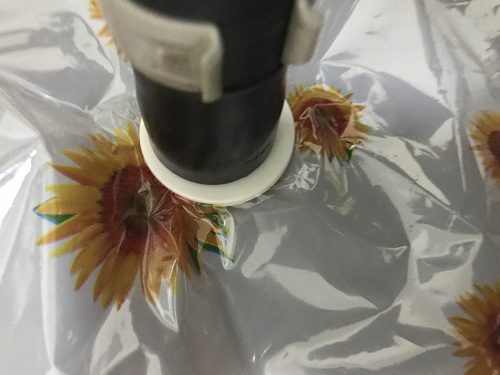
Here's the mold after air absorbed:
%20(Close%20up).JPG)
.JPG)
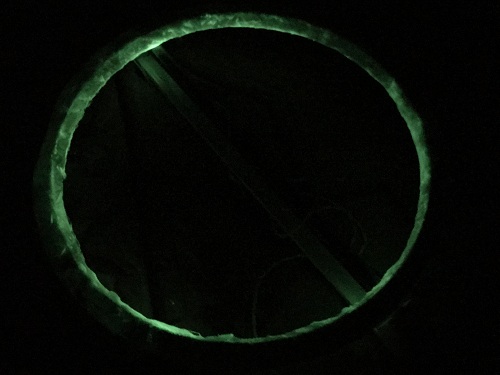
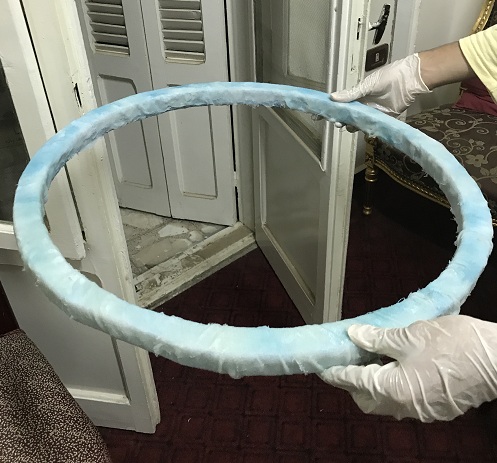
I left it for 24 hours then brought it out of the vaccum bag and that's the result:
With UV: (To show the luminosity using UV light because it's hard to capture this light in a dark room with a mobile camera)
.JPG)
Without UV: (Pure picture, no edit, effort during capturing it with a mobile phone)