Exercise 4. Electronic Production
Assignment: Electronics Production
- Make an in-circuit programmer by milling the PCB (program it, so that you can use it to program your board in Electronics Design week, and in other weeks)
- Optionally, trying other processes.
Learning Outcomes
- Describe the process of milling, stuffing, de-bugging, and programming
- Demonstrate correct workflows and identify areas for improvement if required
Evidence
Process
The tutorial for creating a FabISP was a good starting point. I made the FabISP referenced in the tutorial which uses an ATtiny44 microcontroller.
As a group we were introduced to the Mods program for our machine- Roland monoFab SRM-20, the machine itself, milling tools, and workflow. Luciano also demonstrated proper soldering/desoldering techniques with a sample board. Someone in the lab had previously completed the test files, useful in understanding why we need to set widths and clearances in Eagle before milling a board.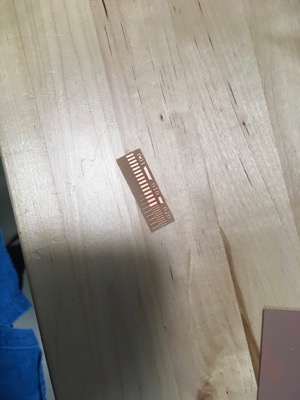
PCB milling
First I downloaded the traces and interior files.
I placed double-sided tape neatly on the back of the PCB material and firmly affixed it to the sacrificial material on the machine. I loaded the 1/64" bit for milling the traces.
I opened Mods, uploaded the trace file, identified the correct bit, and calculated for cutting.
1/64" and 1/32" bits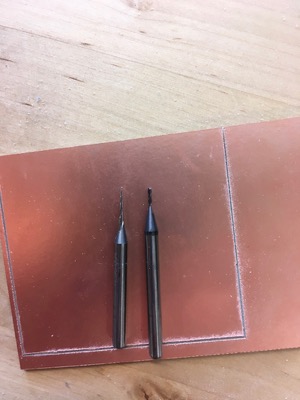
Next I set my x and y coordinates to be at the bottom left of the board. I carefully lowered the z so it was right above the material, then used Allen wrench to manually lower and tighten the bit so it touched the material snuggly. I ran "calculate" again with my new z and was ready to go.
Milled traces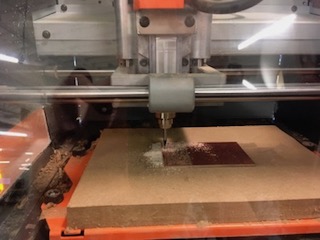
I switched to the 1/32" bit and reset my z on the machine. In Mods I loaded the interior file, switched to 1/32", calculated the job, and then sent to the Roland.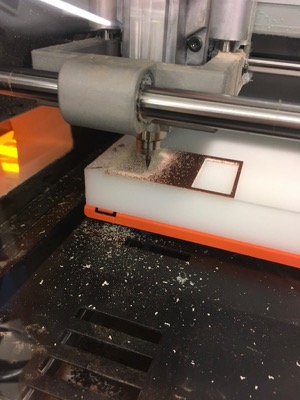
Milled board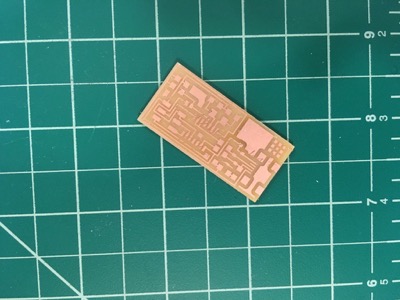
Stuffing Board
I used the BOM from the tutorial to find my components. Good practice is to ensure you have all components before milling.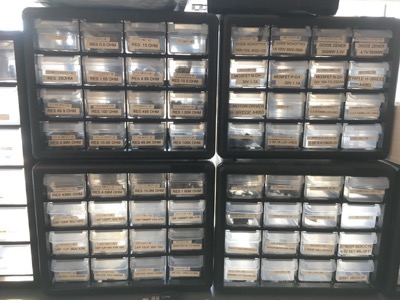
Many different components come in identical or similar packages.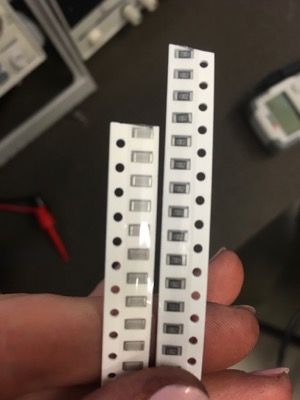
Materials needed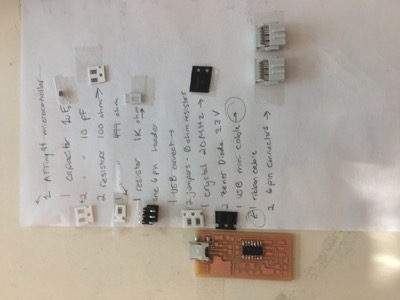
I started with the most difficult components first- the microcontroller and port, and then worked my way from the inside of the board out to solder and wick. I tried my best for smooth and shiny solder connections but it will take some practice. Had to be extra careful with diodes and the microcontroller as orientation matters
Not my finest videography- first two components added to the board.
Had a bit of a panic thinking I'd used the wrong header, checked the BOM and I'd chosen correctly.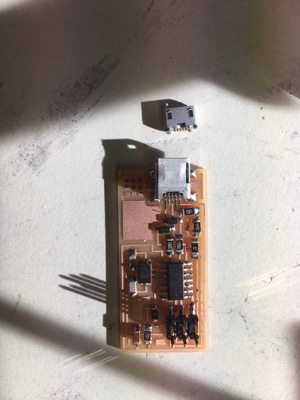
My first finished board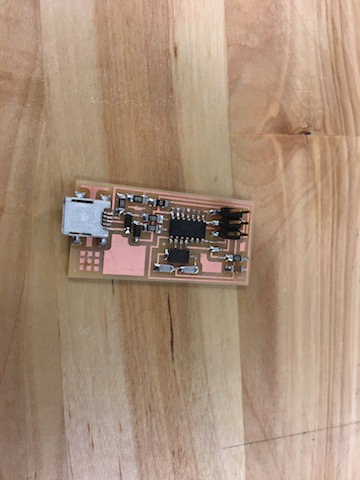
Testing
I used the multimeter to make sure everything that was supposed to be connected was.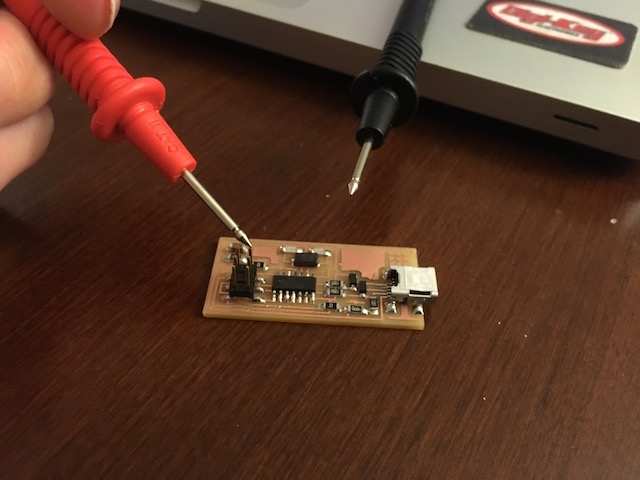
Later on I'd test again, painstakingly rechecking every single connection was only connected to what it should be when I was unsucessful in programming my board.
I did a smoke test by plugging the board in to my computer to make sure it wasn't drawing too much power. Since this seemed to check out I went ahead to programming with the ATAVRISP2.
Programming
I followed the instillation instructions from the tutorial by installing Crosspack AVR, XCode, Make, and FabISP firmware. I created a firmware file on my desktop.
Next I opened my terminal and moved to the firmware file I'd created on my desktop.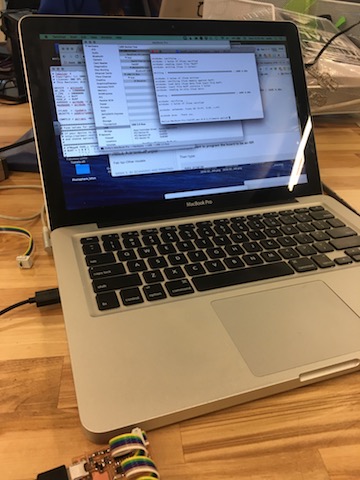
The next series of steps seemed simple...
make cleanmake fusemake hexmake program
...but I encountered many problems before I could make program.
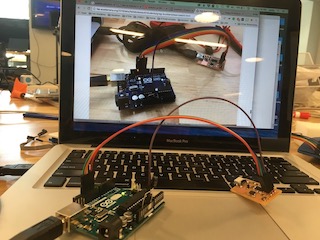
I followed the tips on the tutorial, did some online research, and when I heard that others weren't having luck, moved from the ATAVRISP2 to Arduino as programmer.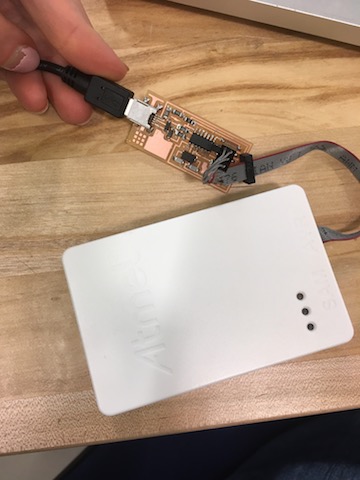
In order to use the Arduino I had to edit the makefile for the FabISP programmer.
AVRDUDE = avrdude -c usbtiny -p $(DEVICE) # edit this line for your programmer#AVRDUDE = avrdude -c avrisp2 -P usb -p $(DEVICE) # edit this line for your programmer
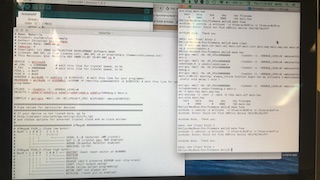
Terminal errors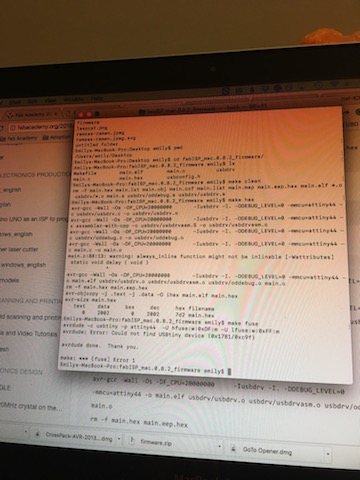
Troubleshooting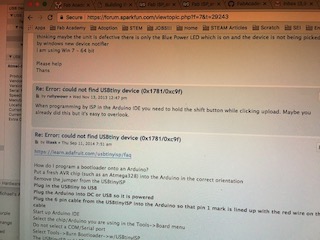
Because I'd spent significant time trying to get the board programmed without much luck, Luciano suggested a better use of my time would be to mill and stuff a second board.
I'd tried to load the file I'd saved from my Mac with my USB stick but ended up with a board that was too large. More on this later...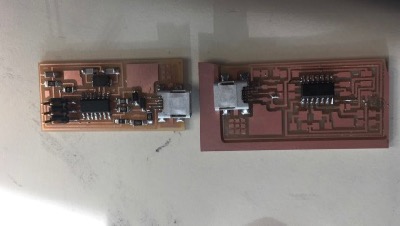
Loading from the computer connected to the Roland, which I can run using Windows and Ubuntu depending on my needs, I loaded the board files again, repeated the milling and stuffing process again and voila, now I have two FabISP boards.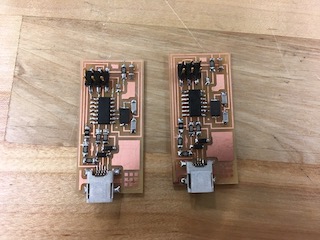
I still didn't have any luck with Arduino.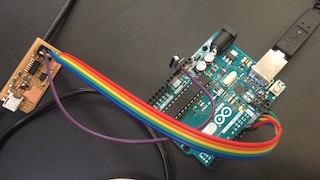
Luckily, by this time Greg was successfully able to program his FabISP. Finally I received that lovely "arvdude done. Thank you." message in my terminal after "make fuse" and was able move on to "make program".
Programming with FabISP
With my board now programmed to be an AVR programmer it was time to remove the 0ohm resistor to program other boards. This enables me to program boards that don't use 5V as the FabISP does, but it does mean that any target board I'm looking to program needs to be powered separately (shared ground) from the FabISP.
The most satisfying part of the whole process was having my peers utilize my newly programmed FabISP to program their own FabISP boards.
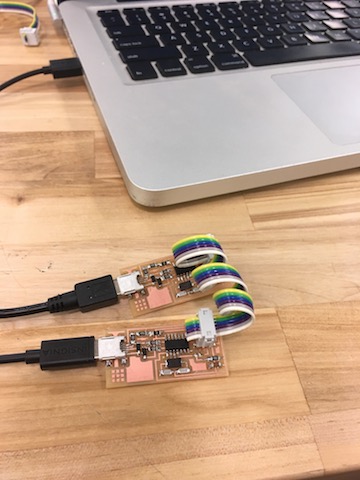
Success!!
File
Neil's FabISP