


STEP 01: Download and install git bash from given link and Open Git bash window in your computer
download link :https://git-scm.com/downloads
STEP 02 Open gitlab and sine up or login to Gitlab account
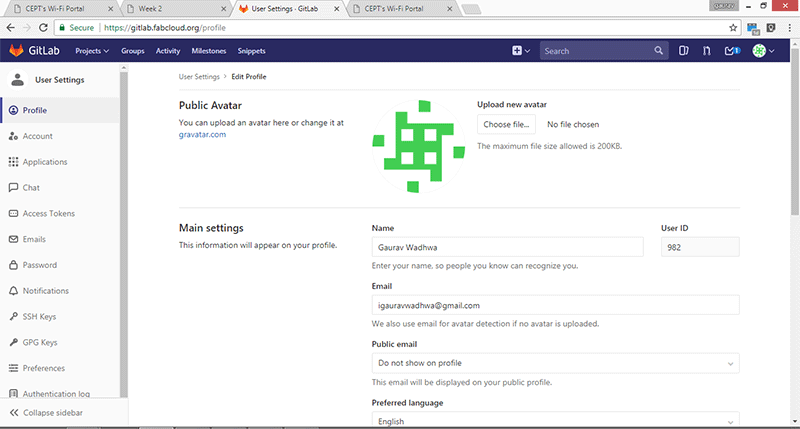
As fab academy has already created our account in gitlab so we just want to login if you are using independently you have to create gitlab account first ,one can also reset password and add photo and information in profile
STEP 03: Generate SSH key
SSH (Secure Shell) is cryptographic network protocol, used by Gitlab to secure authentication of user on remote Gitlab server.
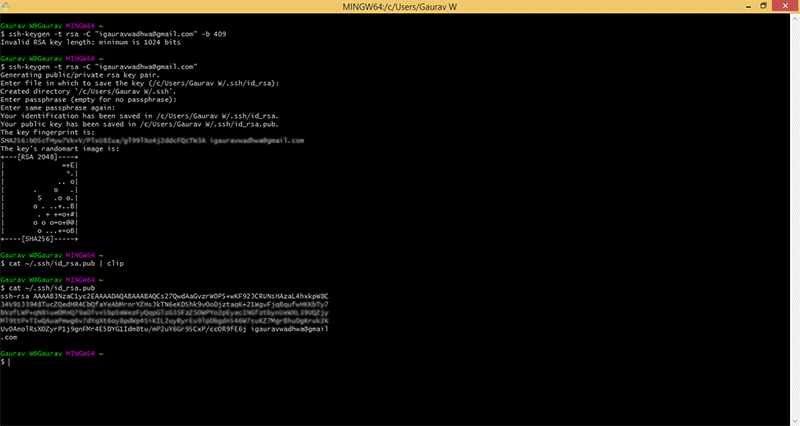
In order to generate SSH key we have to run command in Git bash :ssh-keygen -t rsa -C "registered email address"
Git will ask for file path and to set password, if you don't want to specify either of those simply hit enter to move ahead
STEP 04: Clone public SSH key
In the this step, we have to copy public SSH key which we will use in next step for verification
For this git command is
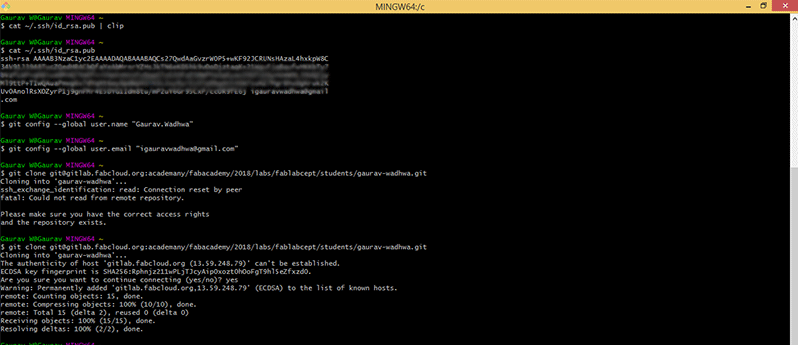
cat ~/.ssh/id_rsa.pub | clip
STEP 05: Add public SSH key to Gitlab account
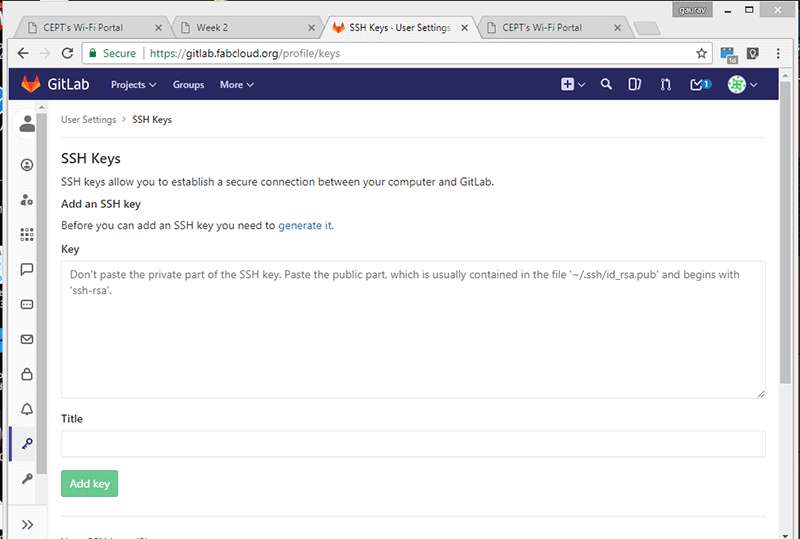
For this one has to go in "Settings" menu of your Gitlab account, and click on "SSH key" tab from left option bar.
Paste SSH key in given box, and click on Add key
STEP 06: Add Environmental variable in computer system
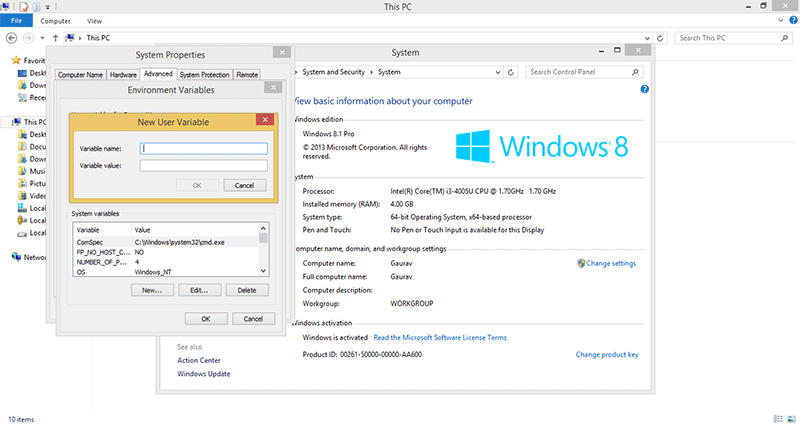
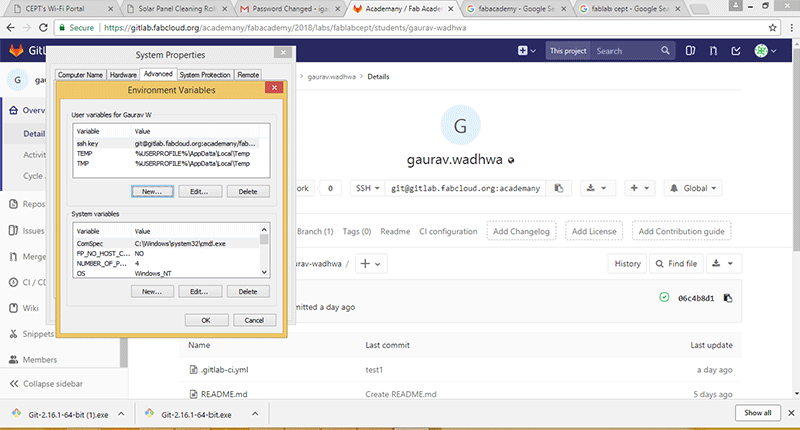
We have to create environmental variable by going in computer properties in order to add SSH manually in system. This is optional if your system does not have security issue ,for this go to System Properties Advanced < Environmental variable < System variable New < Add Name and value as Gitlab repository link
note add name as ssh key and copy git lab repo link and paste it here for repository link
STEP 07: Git user configuration in Git bash
Here we have to provide our Gitlab registered name and email address.
Command to do so are as below
git config --global user.name "USERNAME" and
git config --global user.email "EMAIL ID
STEP 08: Clone Gitlab repository to local drive
To execute this, first copy Repository link from Gitlab account which can be found on your project home page.
After that run following git command to clone it locally,
git clone "repository link which you have copied"
STEP 09: Locate local system files in Git
This is to ensure that if you have modified location of git repository folder in your computer system. than you need to locate that folder for which Git command are cd /"drive or folder name" and "ls" to list files in that folder as i have copied my folder in e drive so i will now locate my files in e drive , i open that folder there and it is showing my location in e/ 2018_website_upload
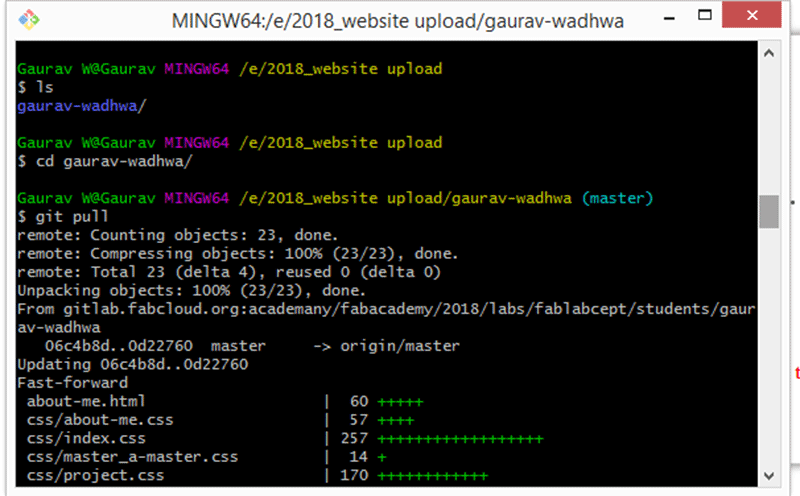
Step 10 write git pull as using git pull ,i clone all my repository inside this folder , this is necessary as now you can recovered your previous data and add more data on this
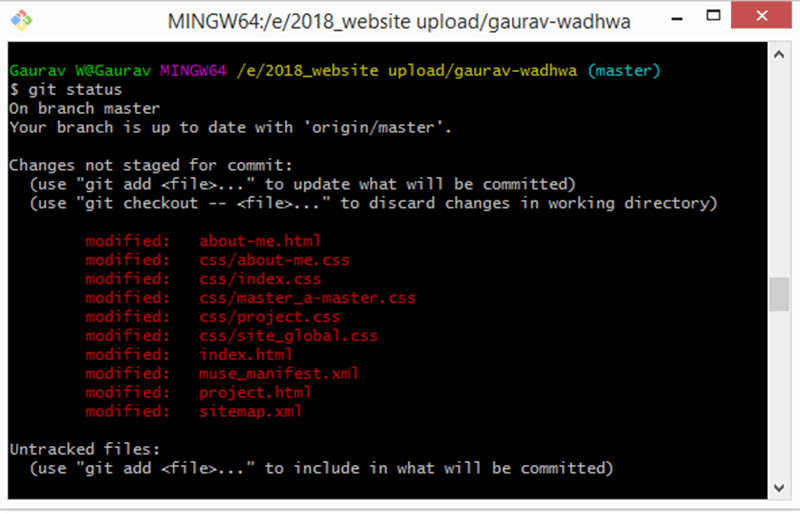
Step 11 Write git status as it will check status of your repository
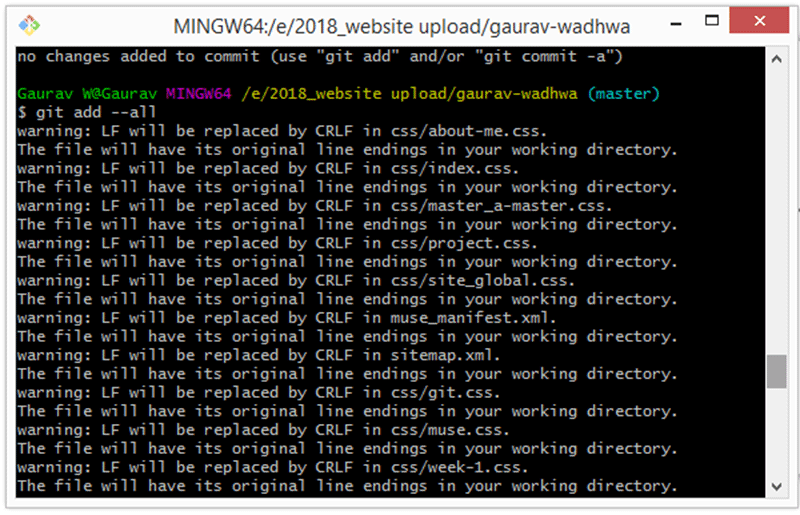
Step 12 write git add as it will add new files which you copied into your repo for further addition
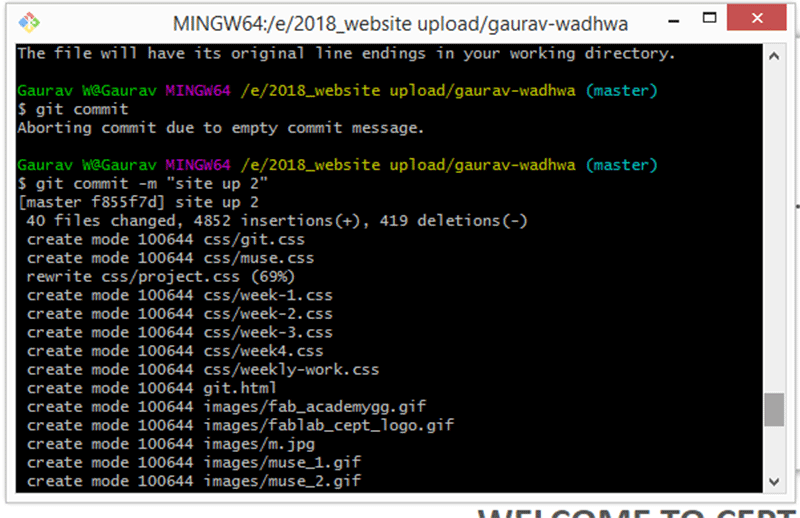
Step 13 write git commit as will commit all new changes in your repo
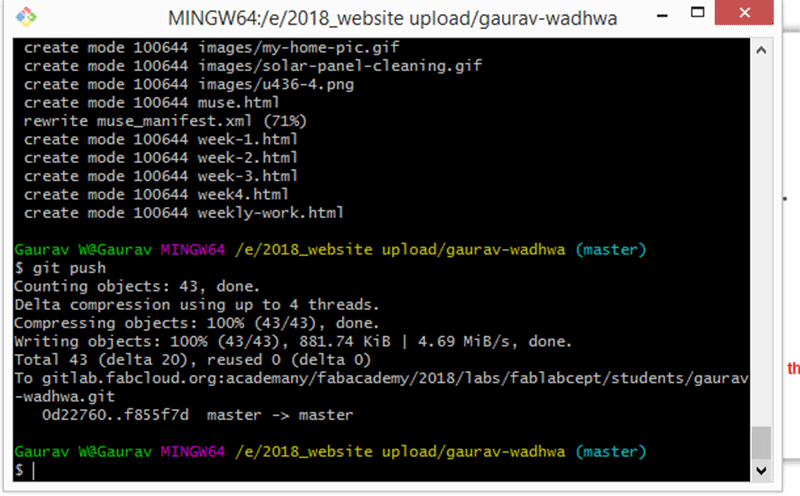
Step 14 git push - this is final command to push your data to global repository
i successfully pushed data in my repository , all done for more refer links i shared on week 2

This work by Gaurav wadhwa is licensed under a Creative Commons Attribution-NonCommercial 4.0 International License.