AND NOW! THE LAST AND FINAL STEP - the 2D!
I will be using Vectr, an online in-browser tool for vector editing.
I have never used this software before, and have in fact never known about it until 3 minutes ago when I searched Google for "Free vector graphics software" and came across it, so let's dig in!
First I need to sign up.

After I sign it it puts me straight into the software and lets me open up a new file. Now is learning time.

I have extensive experience with Vector based softwares due to years of working with Macromedia (and then Adobe) Flash, ever since 4th grade, so I have a feeling I will get this quick.
I have decided that I'll be making the model in transparent lines, without actually filling the lines with solid color, so I'm going for that sexy schematic kind of look. I'll be doing the model similar to the 2.5D, in the sense that there'll be multiple angle views of the various parts of the model.
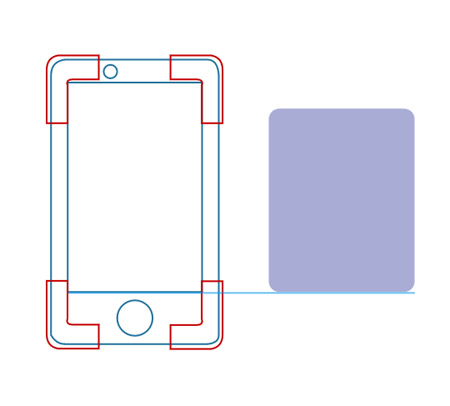
Starting off, I select the pen tool and start making a simple path to make the phone.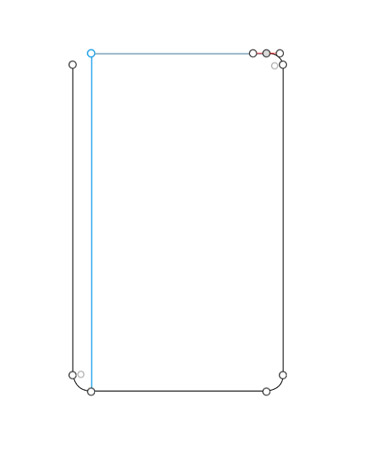
I'm quite happy to find that the software has helpful markers that appear in order to help with symmetry, like the blue line shown in the above picture.
I use the Square and the Circle tool from the left toolbar to complete the form of the (front facing) phone.
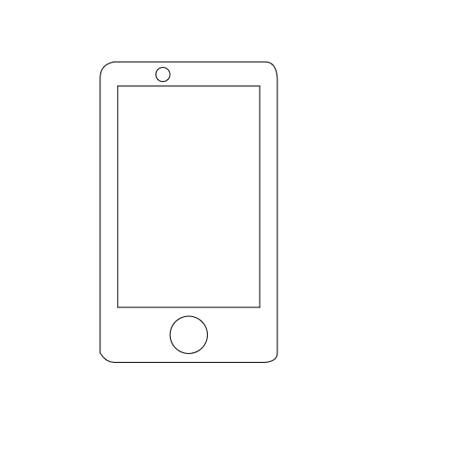
I then selected the whole thing, and to the right there is a little menu where I can fiddle with the "Border" (the lines) settings. I changed the border to a 2px thickness and a light blue color:

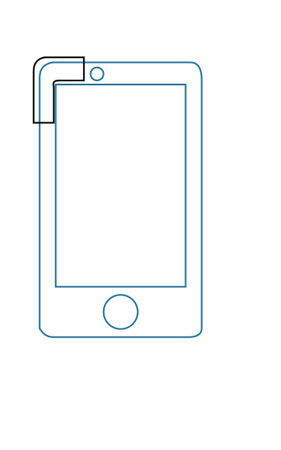
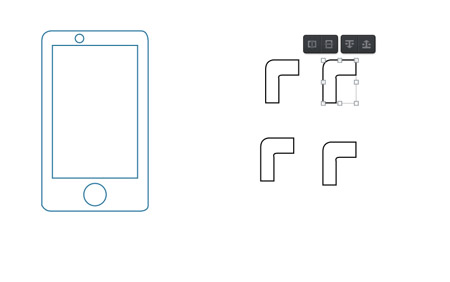
Now to make the holders for the phone, for which I once again use the pen tool.
Copy and paste the thing 4 times:
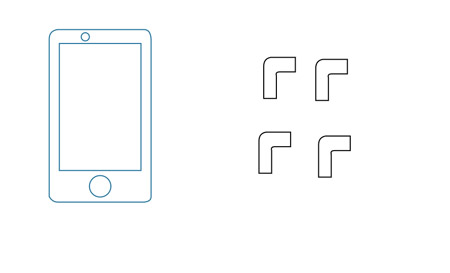
And now I'm hoping I'm gonna be able to easily flip and rotate them all.
Selecting the top right holder I want to flip it to the other direction.
And there is an amazingly convenient hover menu that appears, which also has the most convenient "mirror" button in the world.
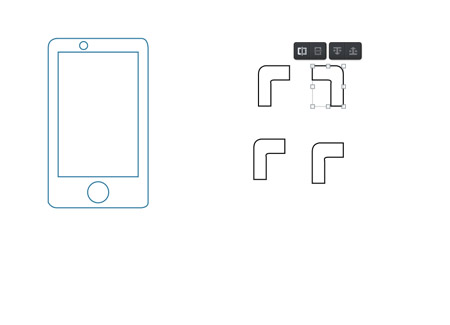
I select the mirroring and press Enter. I flip the other holders as well, and position them around the phone, and the position markers once again are absolutely helpful. I also change their color to red.
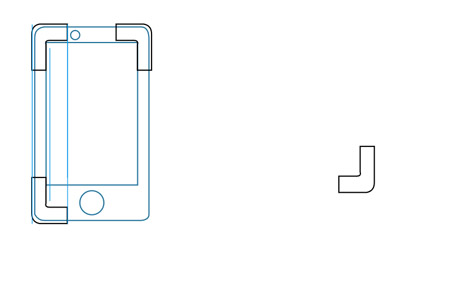
Looks good!
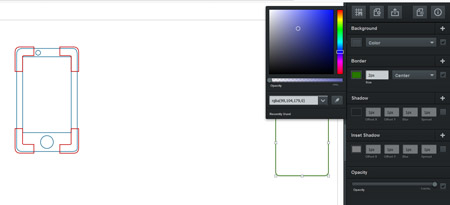
Now to make the back body, I use the "Rounded Rectangle" tool from the left menu.
It's worth noting that when first creating a shape, it's all filling and no border. So this is change from the righthand menu by setting the filling transparency to Zero and changing the Border settings.
I add a few additional circles to the read holder to which the holding sticks are attached:
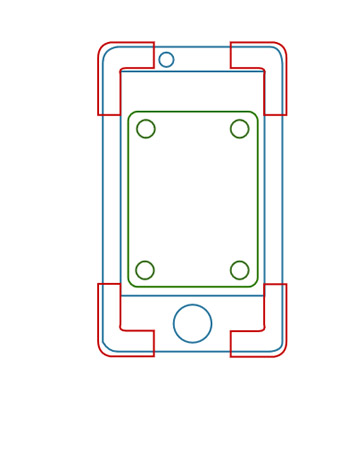
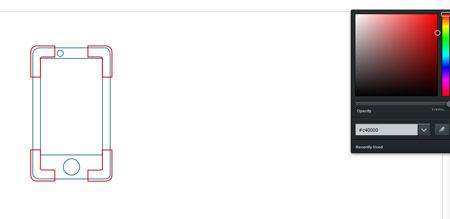
The shapes of the model are starting to actually feel a little cluttered and unclear, so I decide to fill them in with a solid color (like the border color) with a 20% opacity, done in the righthand menu.
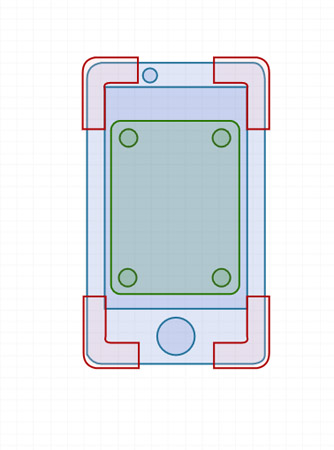
Beautiful.
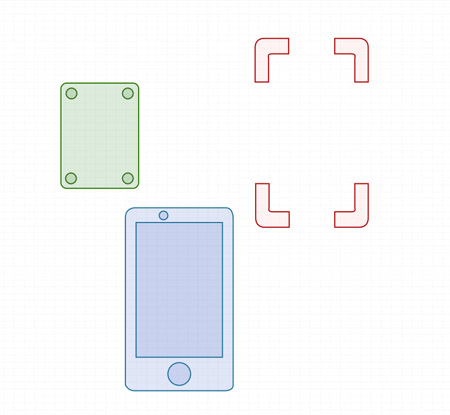
I make another rounded rectangle to make the holder stick. Copy them 4 times, rotate them to the right orientation, and place them in the right spot.
I also use the "[" and "]" buttons to move the objects back or forward in the layers, which I discovered from the program's Cheatsheet that appears every time you press the "?" button.
Here's how it all looks:
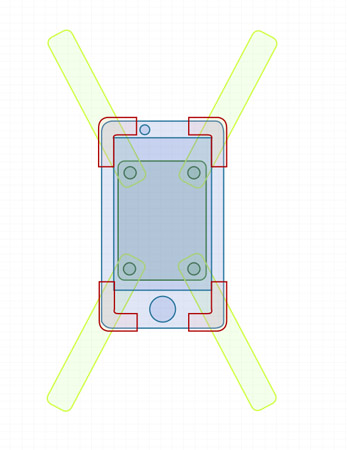
Beautiful!
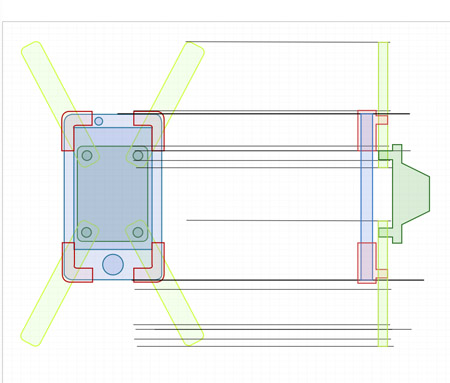
Next is the side view, which will include all components, including the ball, ball-stick, and box it all resides in.
Using the same methods as above, as well as the front-to-side sketch method I demonstrated in the 2.5D model making part, I just sketch out the phone from the side.

Then a stick, a circle, a square, the pen tool, just a few basic operations to create the last finishing touches, and Voila!!!
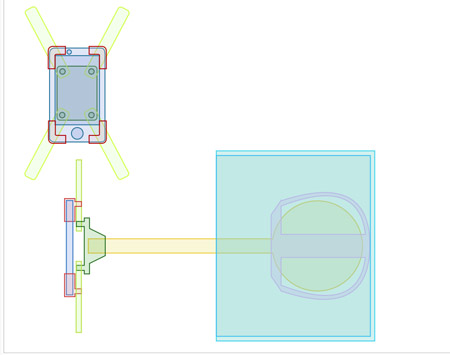
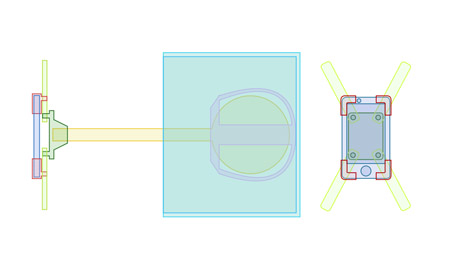
Ta da! Conclusion? Use Vectr. It's free, it's in browser, it's super easy to use, it allows you to export an SVG file off of it, and is actually, surprisingly, a really nice and useful tool.
Cheers!
MOVE BACK TO THE LAST PART - 2.5D