On to the next work!
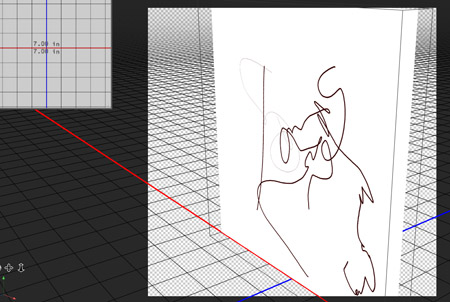
This one I'll do in 2.5D. That is, a three dimensional shape extruding from a flat surface.
I'm using Photoshop for this.
I've never done this before, so I'll actually be documenting my learning process as well. I looked online and found some explanations about making what I want in Photoshop. Starting off with a 3D postcard! No idea what that means, so let's see:
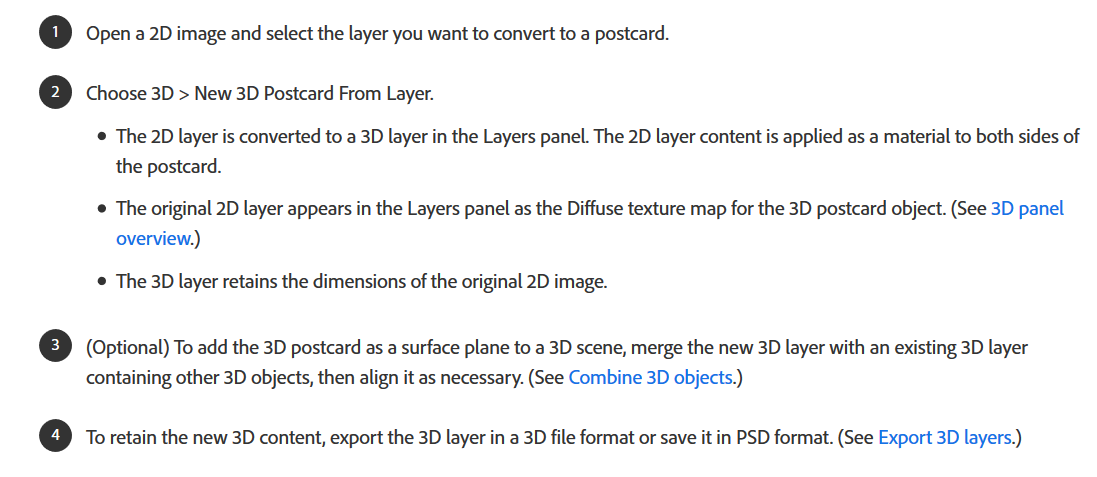
So I'm making a little squiggle image for testing and following the instructions.
So it looks like it basically just keeps the doodle as a flat object, but puts it upright in a 3D space. Okay cool.
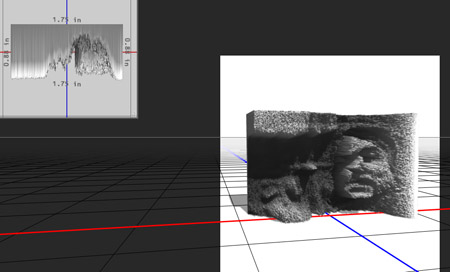
Next - a 3D mesh from a Grayscale value map!

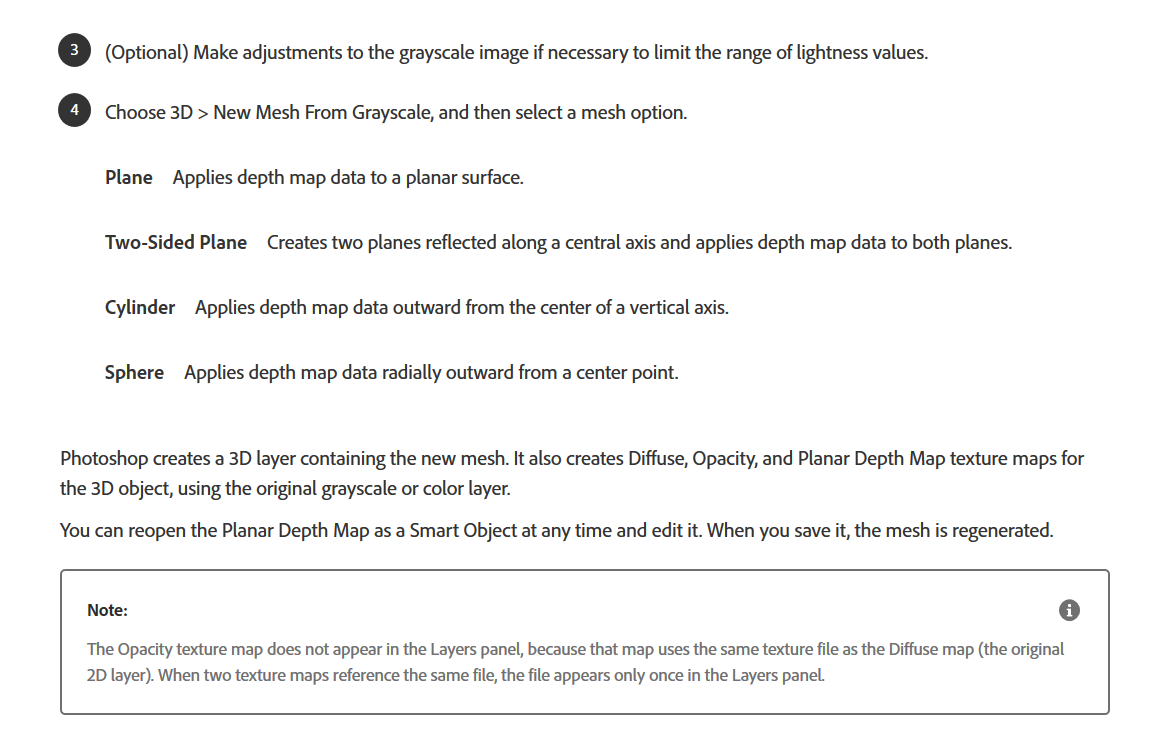
I'll be doing this from a noisy black and white photograph of my last trip to France.
Plane:

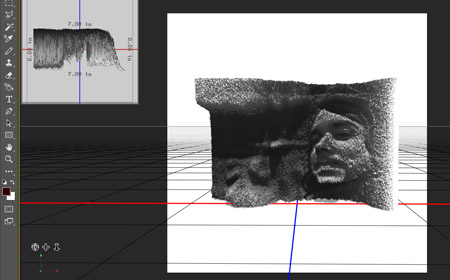
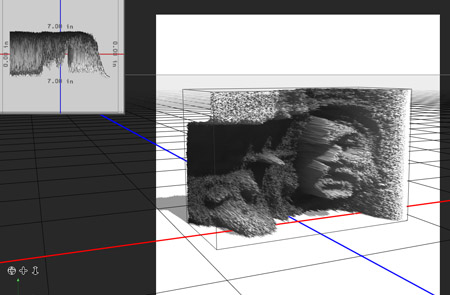
Um, okay.
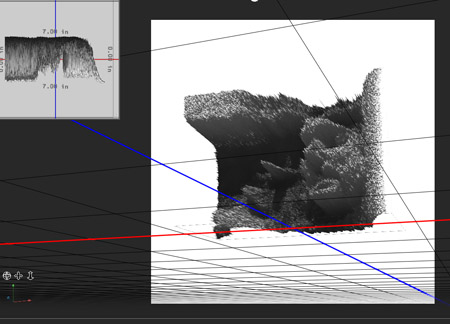
Two-Sided Plane now:
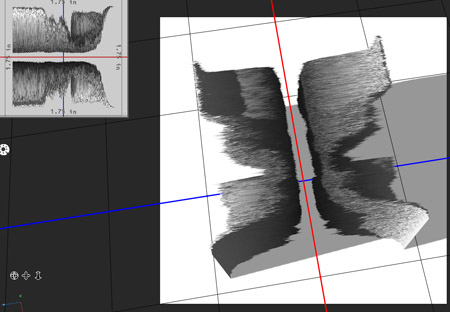

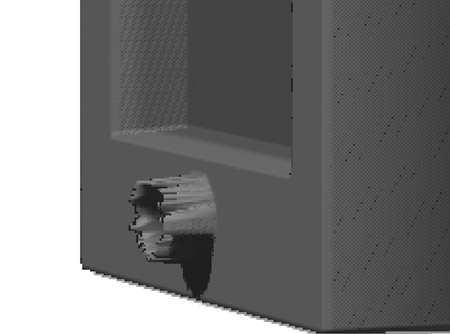
Cylinder:
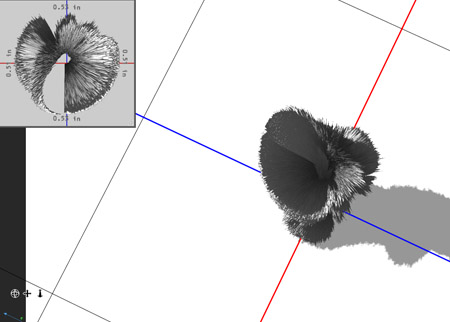
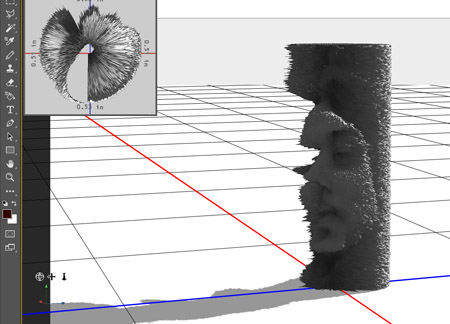
Oh god why.
Sphere:
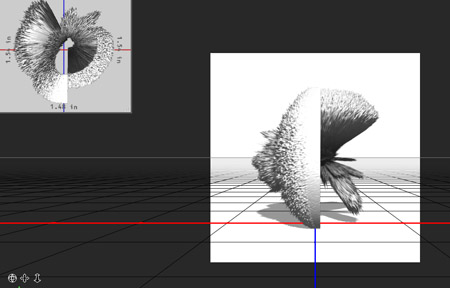
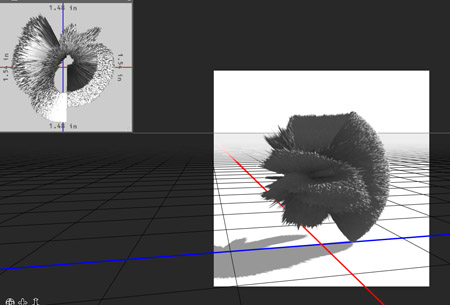
OH GOD WHY.
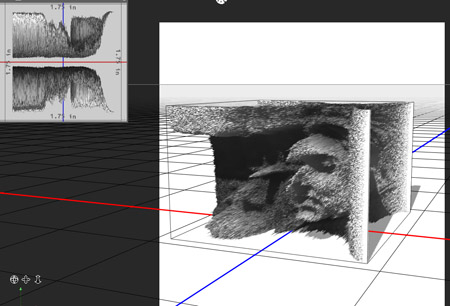
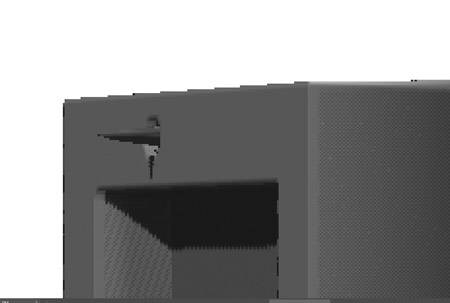
I also got a "Solid Extrusion" option which I'm gonna check out:
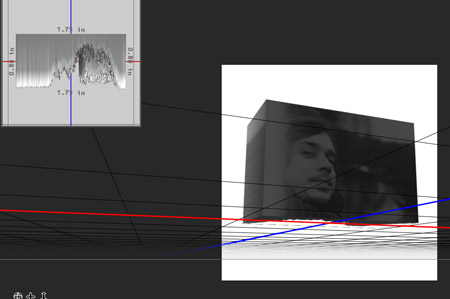
It's exactly the same as "Plane" but the back of the model is still the flat image.
Okay - got it all.
Now to make an actual sketch!
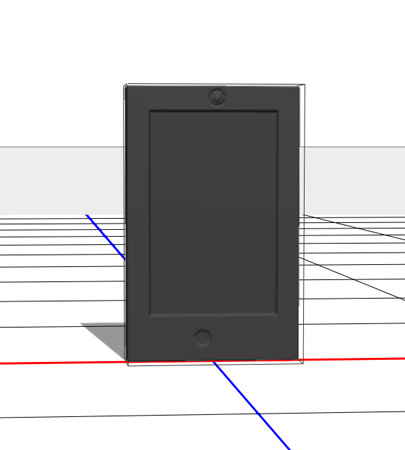
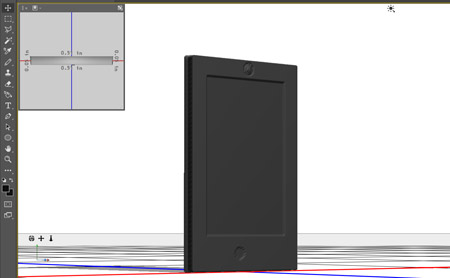
First I just made a phone to check out how it's gonna look with "Solid Extrusion":

Okay so not the most usable phone on earth...
I wonder if the pixel tone value (0 - 255) has a direct correlation to the depth of the model?
So, if it's completely black (0) it's at the point of Zero, and if its entirely white (255) it's at 255 px distance, and if it's at 100 then it's at 100px distance, etc.
To test it out, I'll plan the dimensions I want the phone to have, and THEN make a color depth map of it.
Let's say, I want a 20px thickness of the phone. The screen should sink into the phone by 3px (17px thickness), the camera lens should start sunk into the phone by 1px (19px thickness) and extruding in a lense-like fashion until the 23px.
The button at the bottom should start sunk by 1px (19px thickness) and sink in more towards the center until a 5px sink (15px thickness).
So let's set the color map values to these tonal values above.
Phone's body color value is a gray with a tonal value of 20, the screen color is gray with a tonal value of 17, etc.
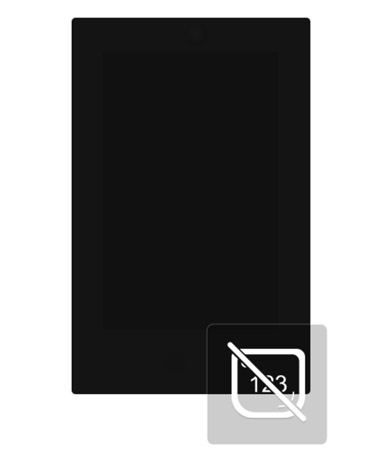
It looks almost completely black in the image, but the color values are right. Let's model it!
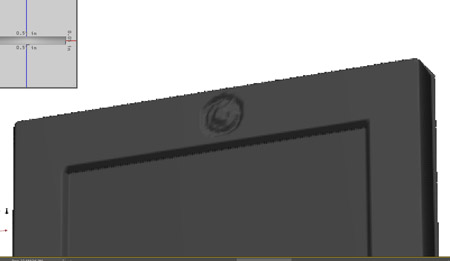
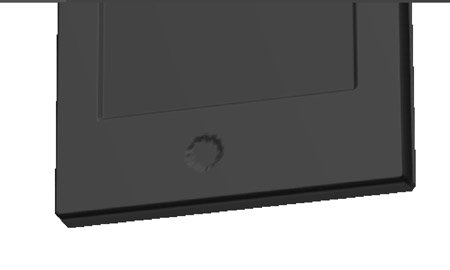
This is still absolutely hideous, but works exactly as suspected.
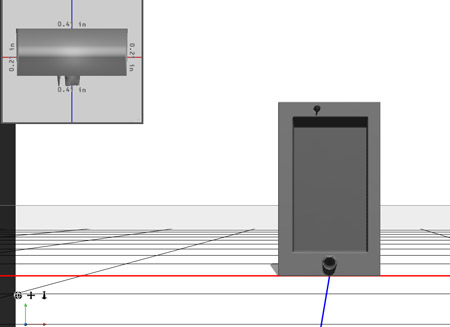
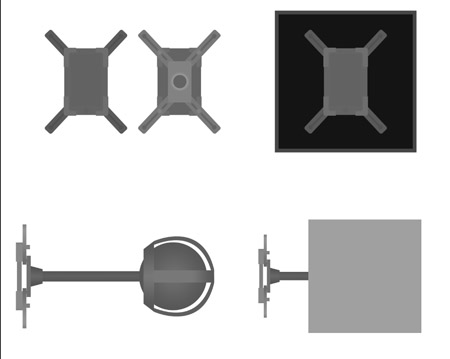
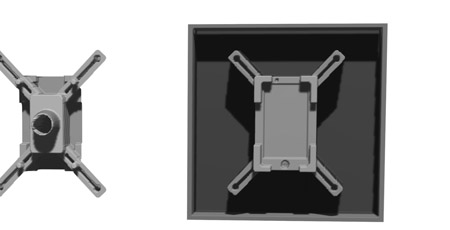
Using this knowledge, I build a new depth map of the phone and the phone-holder object. I made the model brighter, and used the "Plane" setting, because I want to see it more clearly in the sketch form.
The phone base value is 100, so 100px extrusion, I'll use that as the ground point and the rest is based on that.
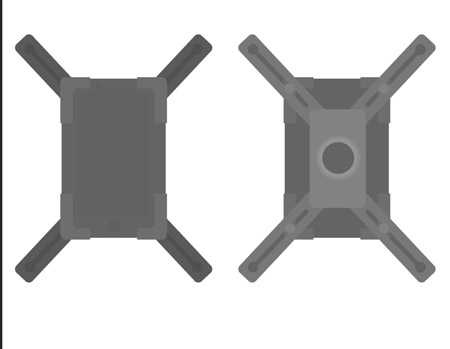
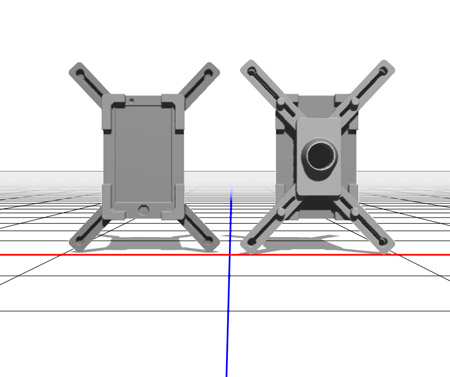

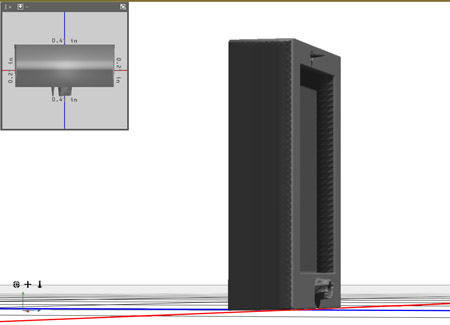
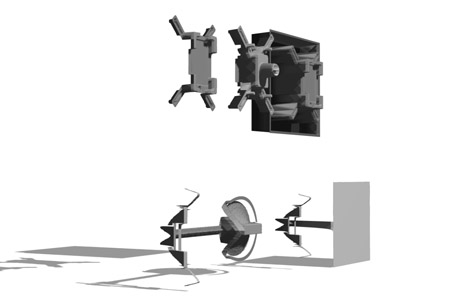
This actually looks pretty great. I like it! So I think in order to properly demonstrate the model in this form, I'm gonna need to come at it from a few angles. The two angles as seen above, as well as one from the side. I'm going to show several of the components both together and apart in different configurations.
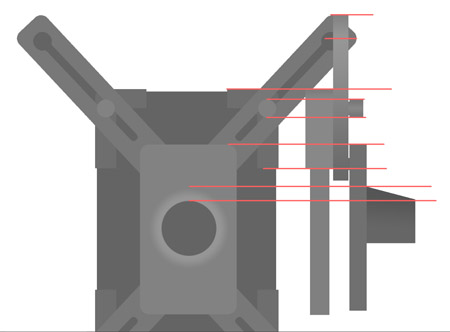
To make the side view of the phone and holders, I just put up the rear phone & holders view and projected lines from them that tell me where each point should be And also used a lot of gradienting to better capture the circular and tilted shapes of the various objects and angles.
I then duplicated the part I made and flipped it upside down for symmetry.

Here is the final color depth map of the 2.5D model:
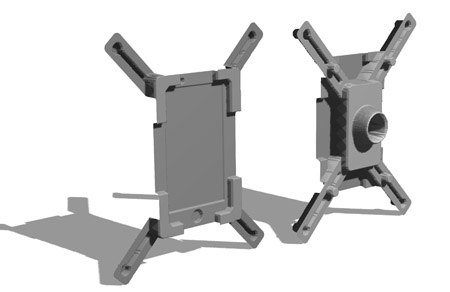
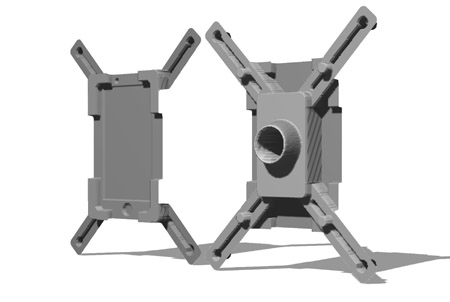
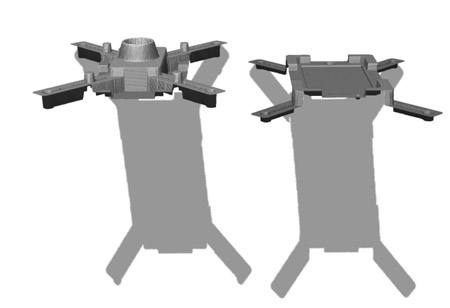
And here it is modeled!
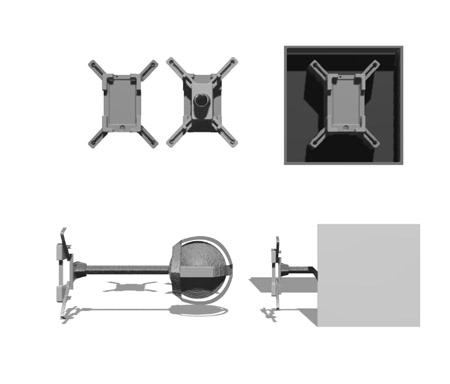
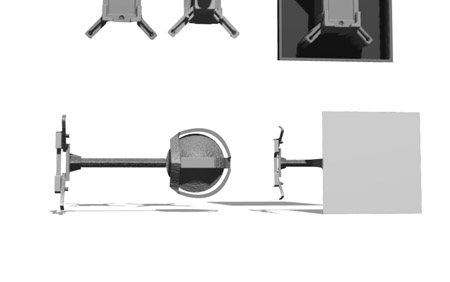
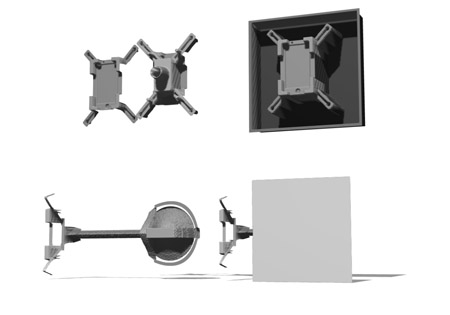

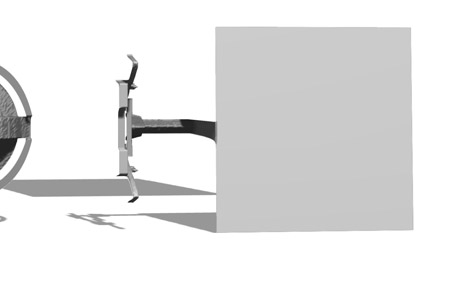
This looks absolutely hideous, it's creepy. Looks like Photoshop gives the color tones a relatively organic interpretation, with no 3D dedicated smoothening, and takes all the pixel values very literally. This really make for some ugly textures, like an old hospital wall, or dead skin. It's really interesting, and might actually come in handy for other projects.
All in all I give it a 6 / 10 for the 3D from color depth map feature.
MOVE ON TO THE NEXT PART - 2D
OR
MOVE BACK TO THE LAST PART - 3D