Week 14 - Wildcard week / Composites
Assignment
Design and produce something with a digital fabrication process not covered in another assignment, document it.
Design and fabricate a 3D mold and produce a fiber composite part in it
Designing and fabricating a 3D mold
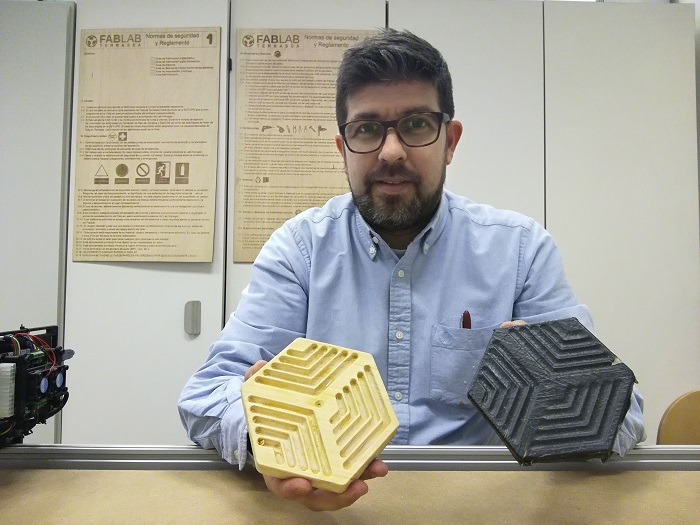
One of the factors for the manufacture of parts through the method of composites are the characteristics of the material, it is not easy to make a good piece if it has holes or difficult places to apply the fiber.
For this exercise I will try the difficult way. I have designed a difficult object for composites, I want to see what happens.
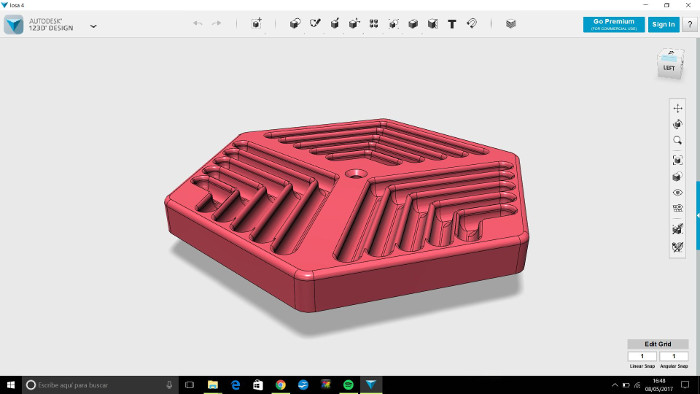
I made the design in 123D design and then I have exported to STL. The design is small because I want to use the roland monofab for its manufacture.
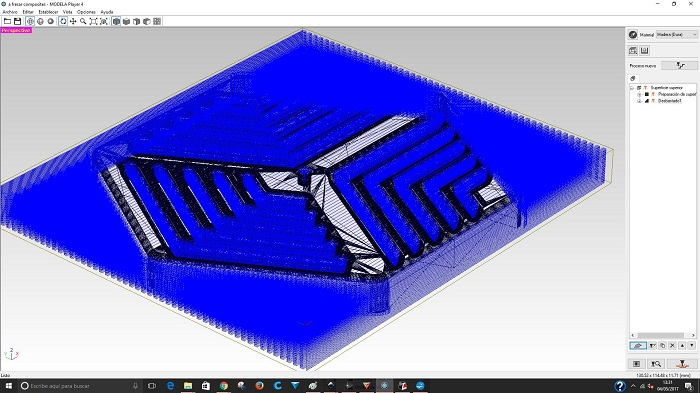
I used the softwre Modela player to configure the milling of the piece. The first thing to do is always "prepare the surface", then the "desvastate" that I made with a 3mm flat tip tool and for the "final finish" a tool with a 3mm ball tip.

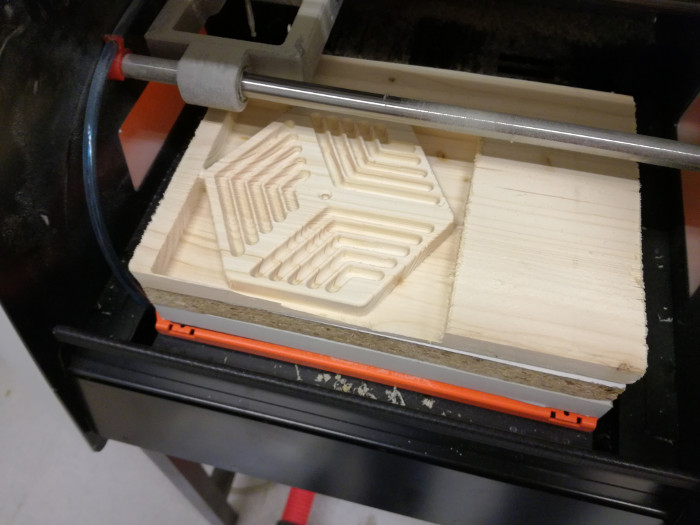
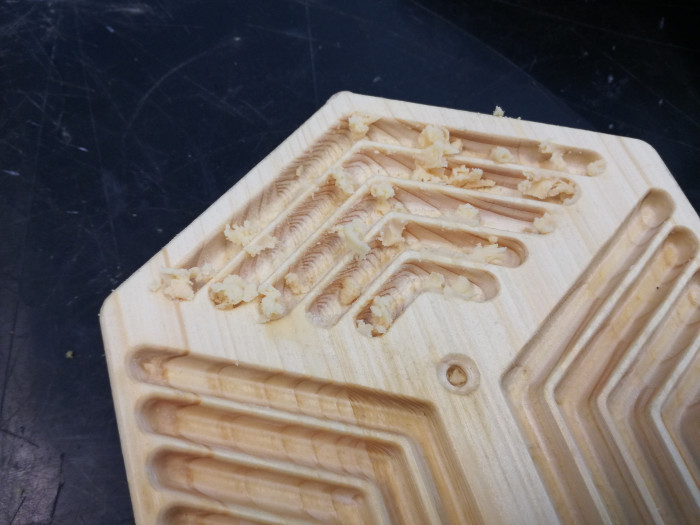
As you can see in the final result I have made a bad setup of the work area and not done the milling on one side, this will solve with the bench saw when remove the rest of material that does not interest for the mold.

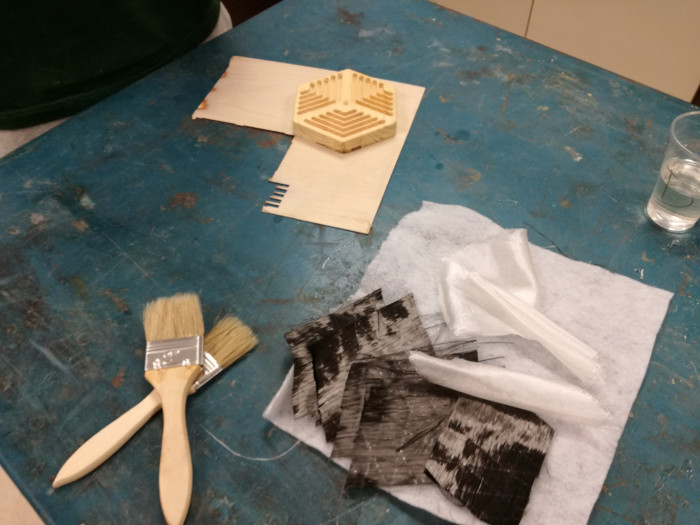
Cut and some sandpaper work
Composite process
Hand Lay Up Process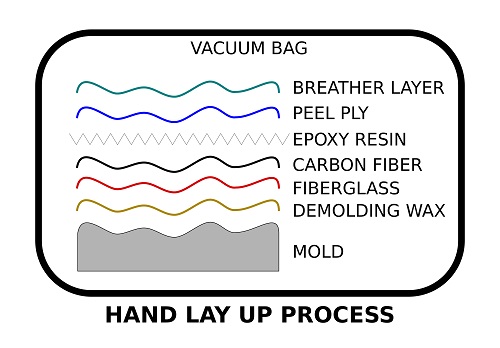
Preparing the mold
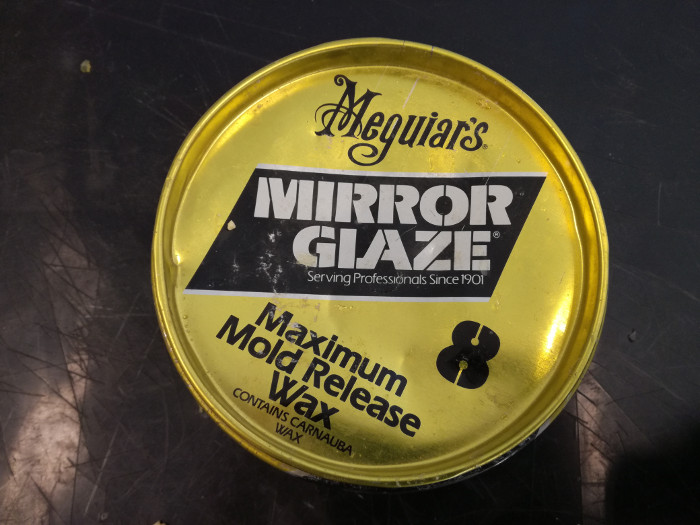
I will apply fiberglass and carbon fiber to the mold but before it is necessary to apply some material to prevent the mold from sticking to the resin, in this case I will use a specific wax for this.
Meguiar's #8 Mirror Glaze Mould Release Wax 100g / Description, specification, Data sheet and SDS
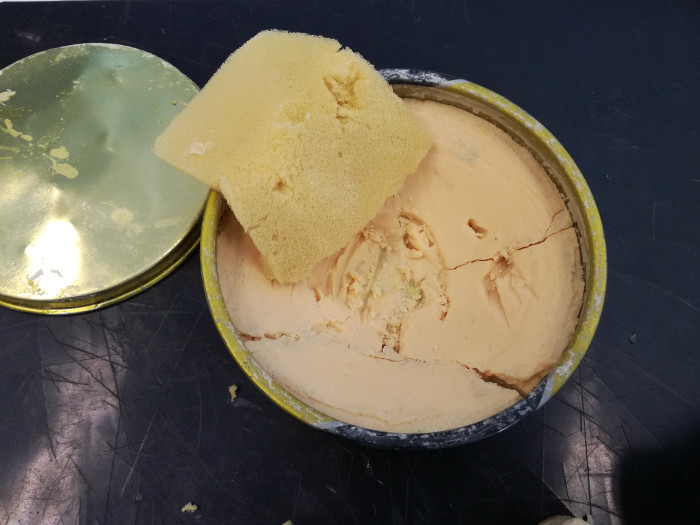
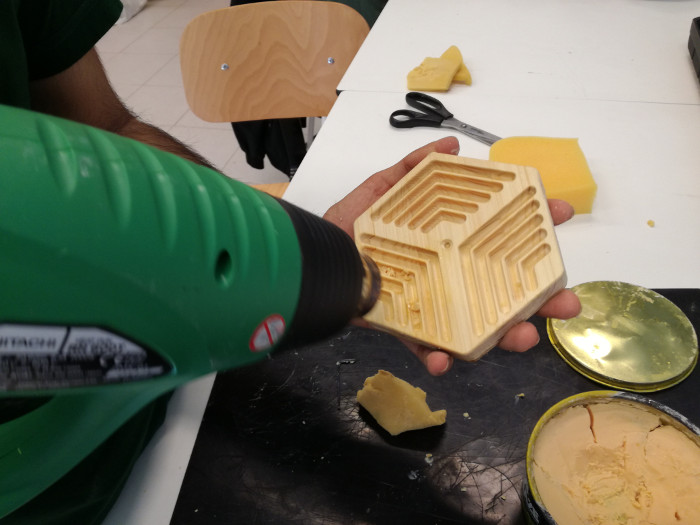
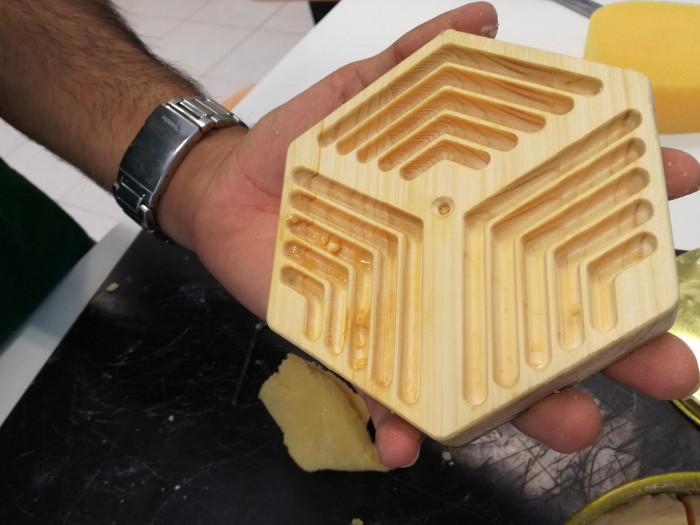
The wax should be applied with a foam, by smearing the foam from its container. Due to the complicated shapes of the mold I will apply small pieces of wax inside the cavities of the mold and then heat them with a heat gun and then scatter with the foam. The result is correct.
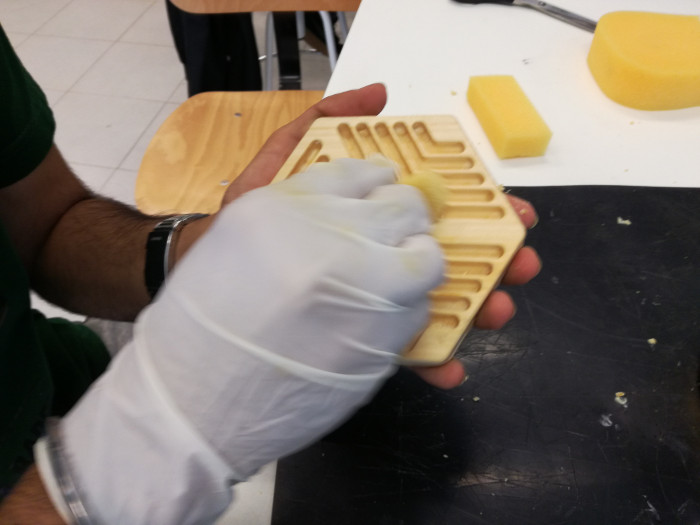
It is necessary to apply at least 5 layers of wax leaving to dry for 15 minutes each layer of wax
Preparing the materials
Explanatory text about the image
I started by cutting pieces of fiber in such a way that with 3 pieces I would cover the mold, 3 pieces of fiberglass and 3 of carbon fiber.
The fiberglass used is a glass fiber of density 80 grs / m2, the fiber has orientation in both directions and it is advisable to apply it before the carbon fiber for jobs in which we use few layers of carbon fiber. The carbon fiber used has a single orientation and has a density of 100 grs / m2
Woven Glass 2/2 Twill 100g 1m Wide / Description, specification, Data sheet and SDS
Carbon Fibre Unidirectional 100g 1m Wide / Description, specification, Data sheet and SDS
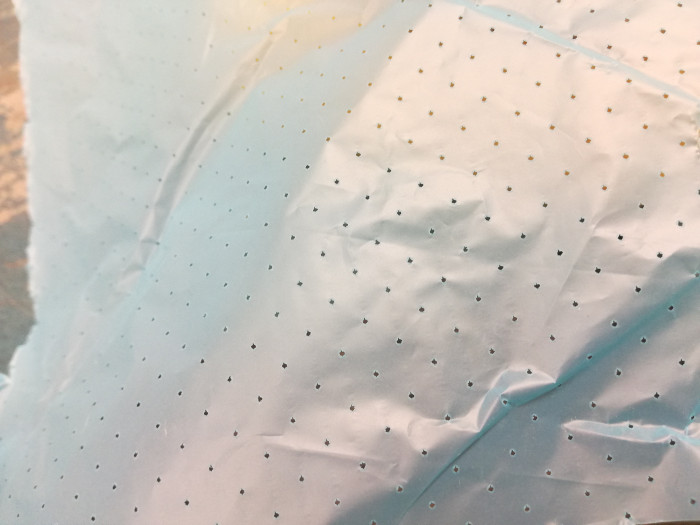
I use "Peel ply" a material to filter the resin and prevent it from adhering to the mold, this material has a perforations to allow the drainage of the resin to the "Breather Layer" that will be responsible for absorbing the excess resin.
PP180 Economy Peel Ply / Description, specification, Data sheet and SDS
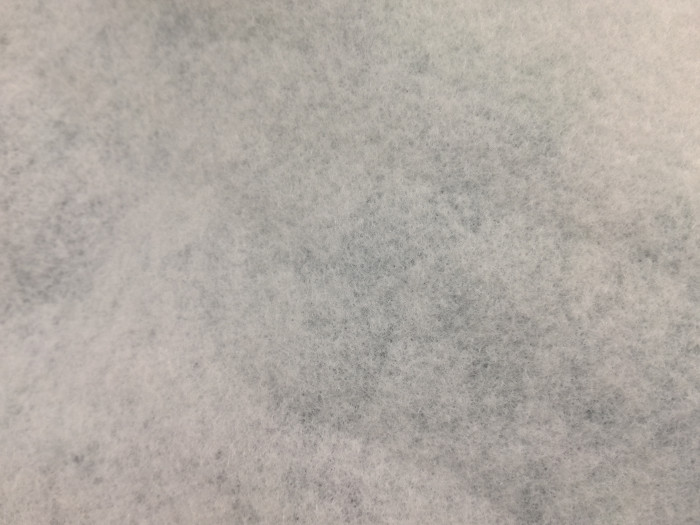
BR180 Breather Layer Cloth / Description, specification, Data sheet and SDS
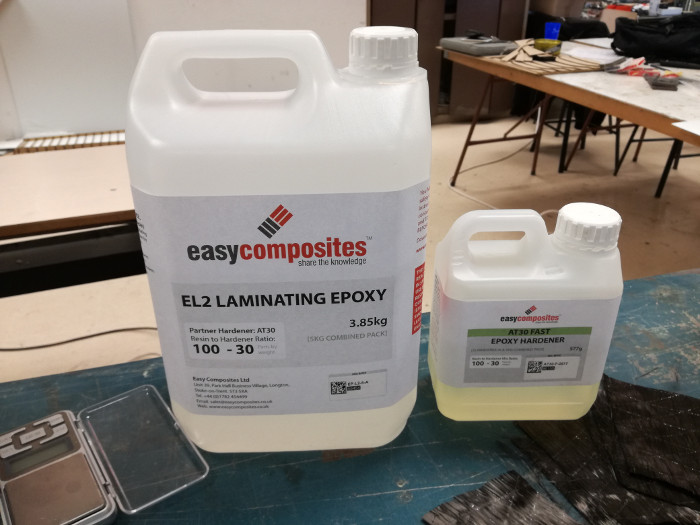
The resin to be used comes in 2 different containers which we must mix in a proportion of 100-30.
EL2 Epoxy Laminating Resin FAST / Description, specification, Data sheet and SDS
AT30 Epoxy Hardener FAST / Description, specification, Data sheet and SDS.
Reading the SDS I realize that we do not value enough the SDS information, there are risks that we do not know and someone can be harmed
Attention! It is important and required to read the SDS (Safety Data Sheet), accidents often come from ignorance about the correct use and necessary precautions. APPLY IT!

Universal Thinner / Description, specification, Data sheet and SDS.
It is important to have a container with a little thinner near to wipe away any dirt on the resin.
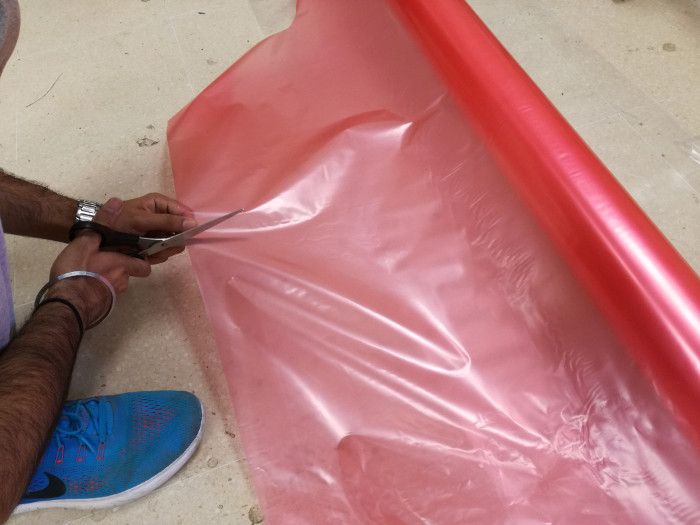
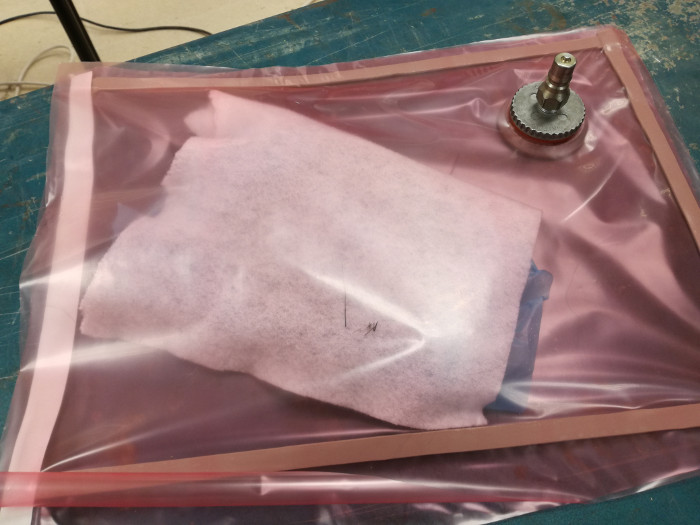
To make the vacuum we need a bag which we will make with a vacuum bagging film which is a specific plastic for this, this plastic prevents the resin from attaching to the easing to remove the part without problems.

Vacuum Bagging Gum Sealant Tape 15m - Individual Rolls / Description, specification

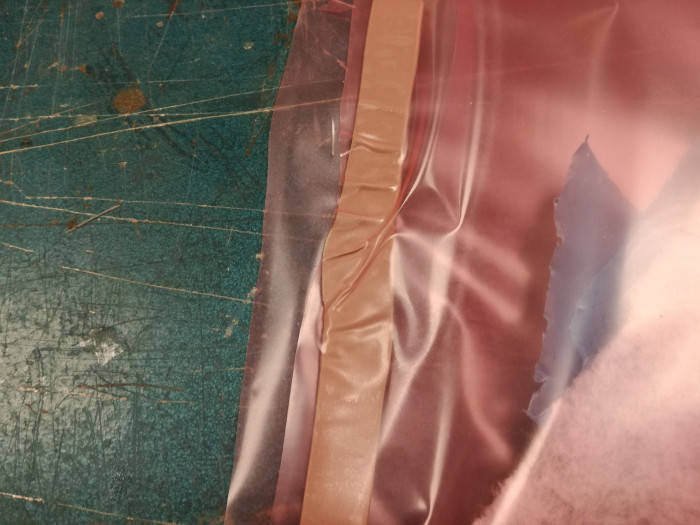
The bag is made by cutting a piece of the size that we want and attaching each end with a Gum sealing tape called "Taky Tape", this tape is quite gummy and when applied we must superimpose it in the corners. The protective paper of the tape should only be removed when we are going to join the 2 layers of plastic leaving one end not removed, whereby we insert the mold and then remove the protective plastic and finally seal the bag
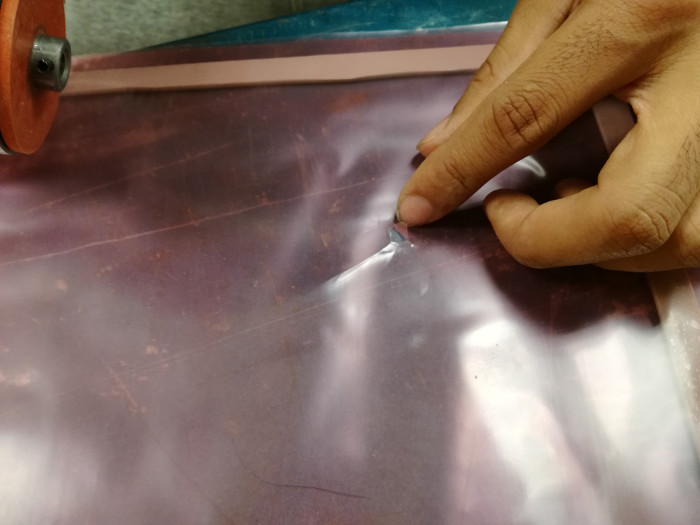
Before inserting the mold and sealing we must make a small diamond-shaped cut to introduce the through bag connector which has a part that is assembled from inside the bag to make a pressure sealing. Then connect the hose that goes to the vacuum machine to this bag connector.
Applying fiber
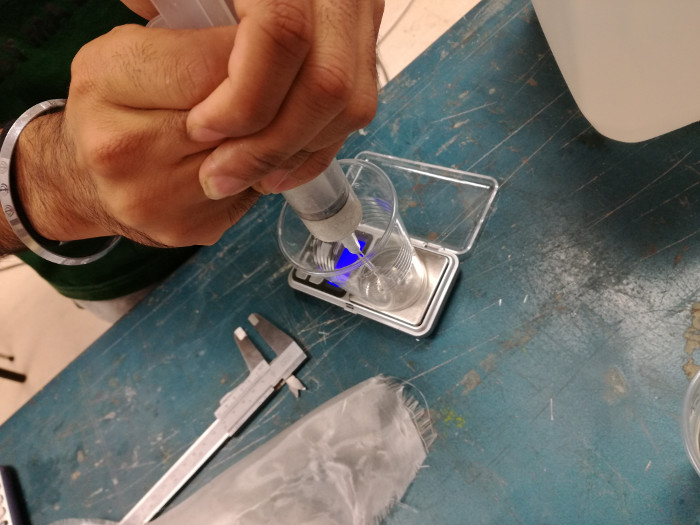
The ratio of fiber and resin is important. For 100 grams of fiber we will need 79 grams of epoxy resin. It is important to properly weigh the material for good results. The amount of fiber that I will use is 20.2 grs so I will need 16 grams of epoxy resin, so the mixture should be 10 grams of EL2 laminating Epoxy and 3.9 Epoxy hardener. This material has its advantages and disadvantages, it is quick curing and I only have 15 minutes to work with it.
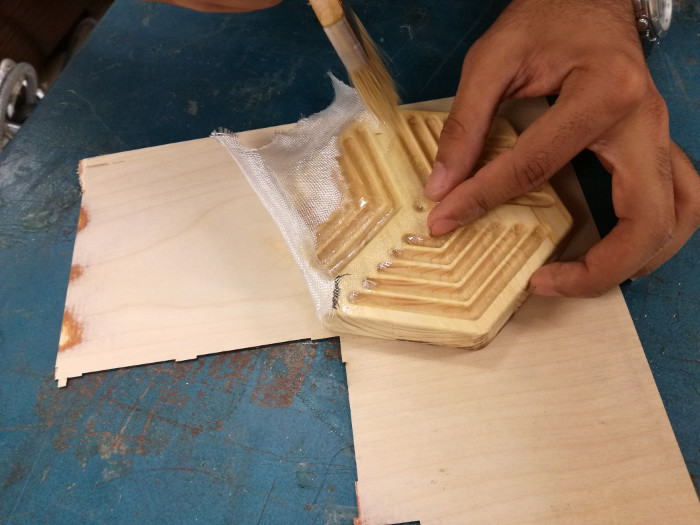
I use a small brush to apply the resin and try to shape the fiber. The correct way to do this would have been cutting the fiber into very small pieces trying to fit into the mold cavities but I have decided to test as far as it can take the shape of the mold with the vacuum.
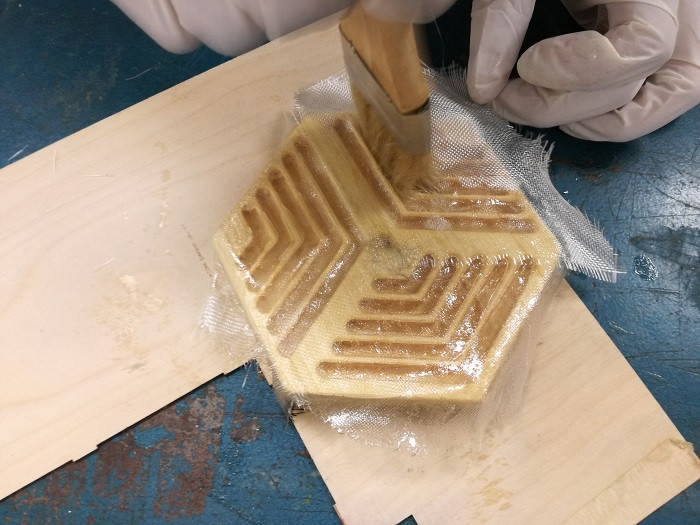
Apply a first layer of fiberglass that given the orientation of its fibers will allow us to work more easily and then another layer of carbon fiber.
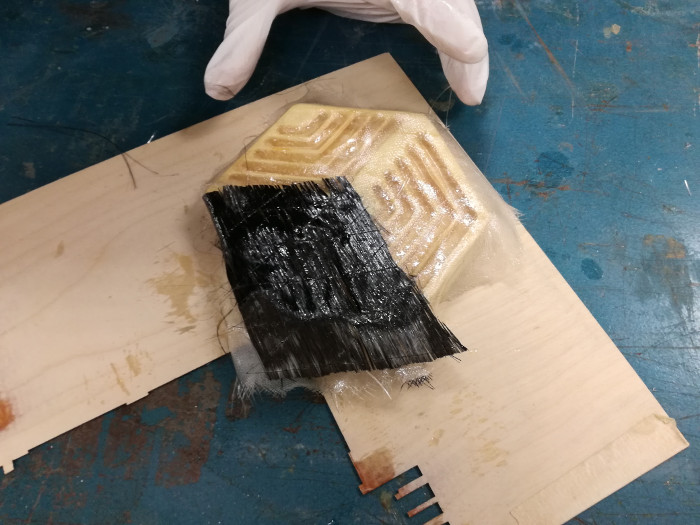
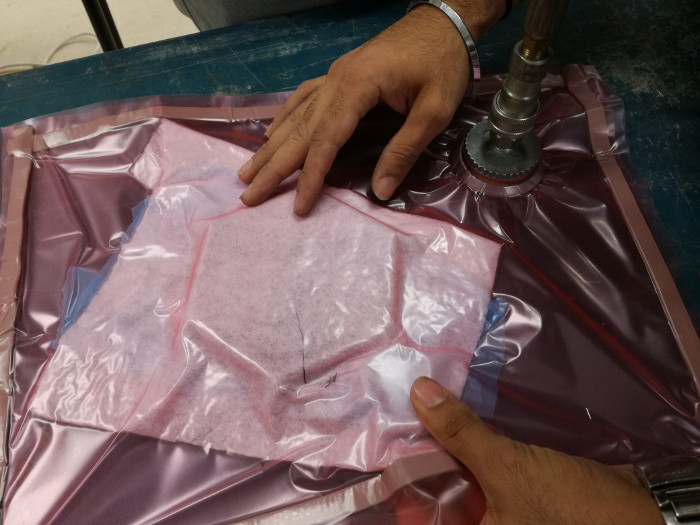
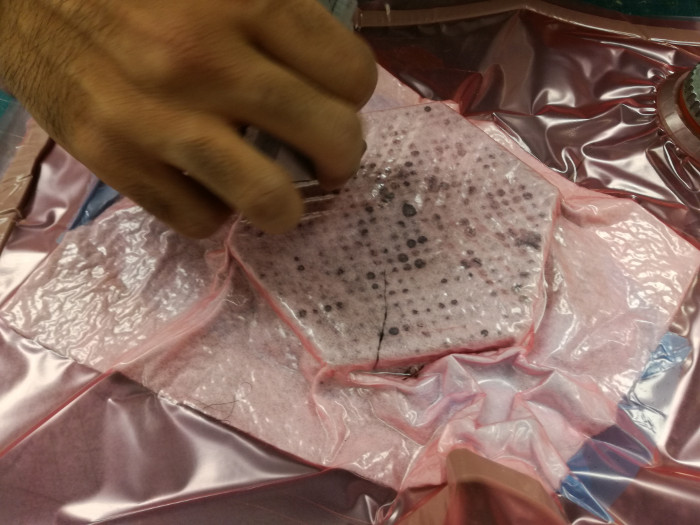
Once the fiber is applied I cover the mold with the peel ply and the breath layer
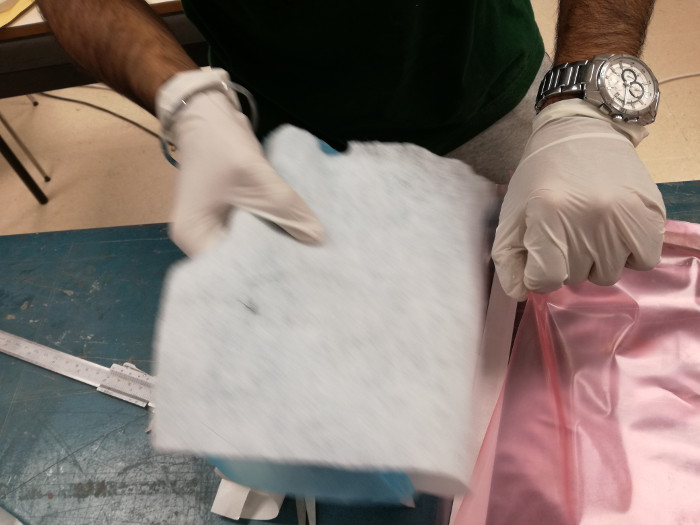
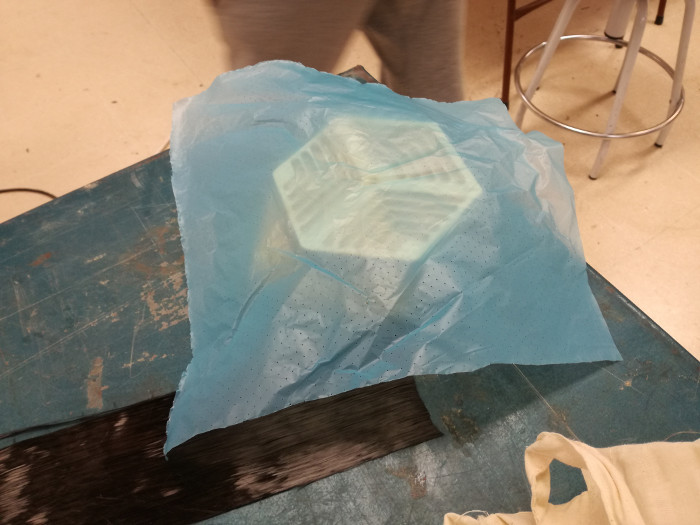
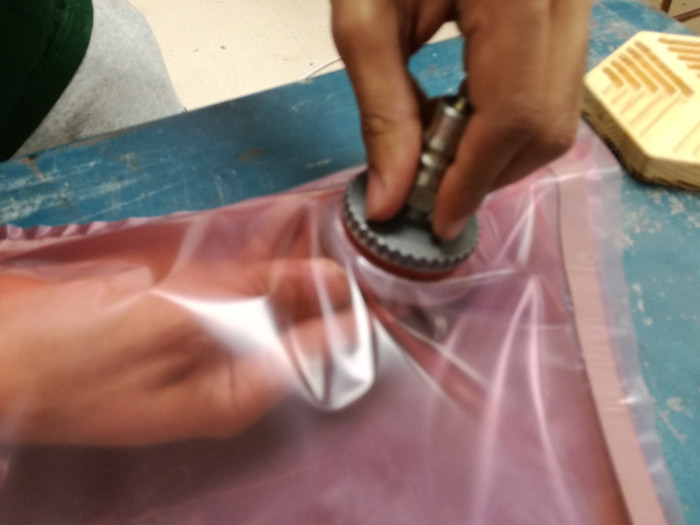
I insert the mold into the bag
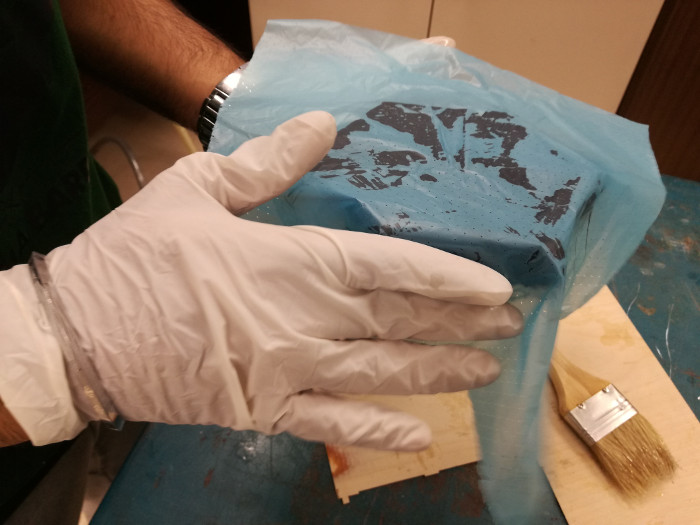
Vacuum process
I sealed the bag by removing the protective paper from the Taky tape and pressed it, always trying to avoid wrinkles where air can enter.
It has not been very well, we will see if the vacuum fails.
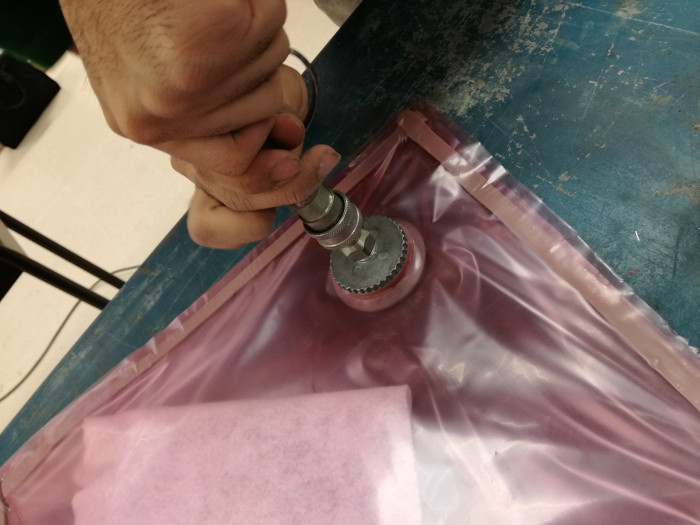
I connect the hose of the vacuum machine, which is composed of a compressor and a vacuum degassing chamber which serves to house the waste that can reach through the hose and prevent them from reaching the compressor.
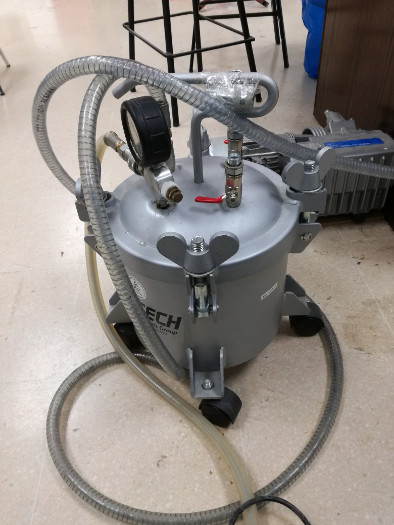
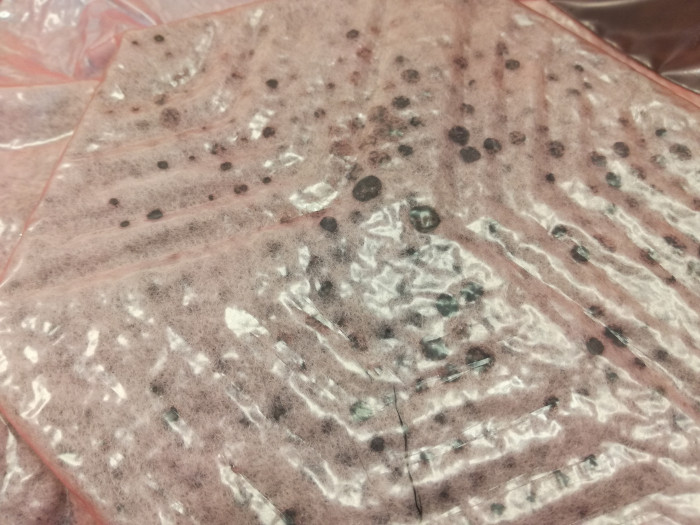
We turn on the vacuum machine and we see how the bag begins to empty and the excess epoxy resin is released, which becomes visible in the breath layer.
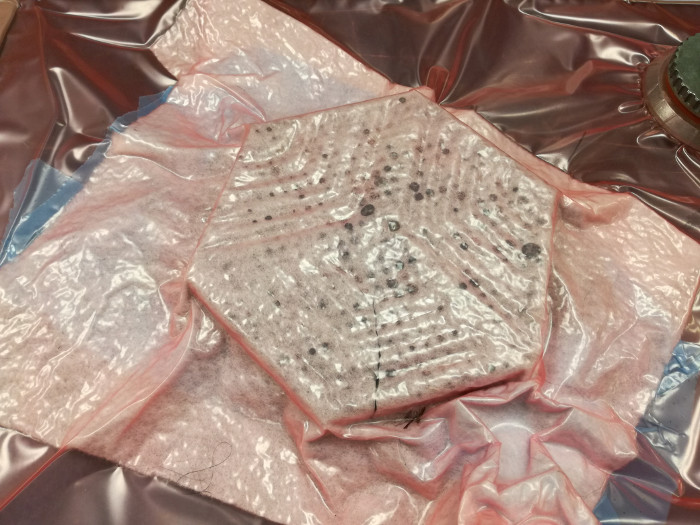
I try to press on fits to push the fiber into the bottom but I see that I really do not do anything. All the work will be done by the vacuum machine.
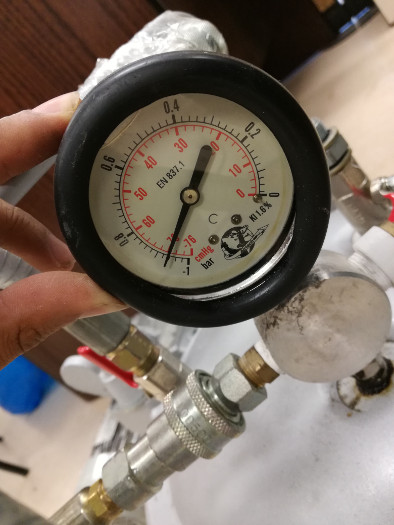
The pressure the machine has reached is -9 bar, with -6 bar would have to be enough. Now only wait and watch that you do not lose pressure
Demolding
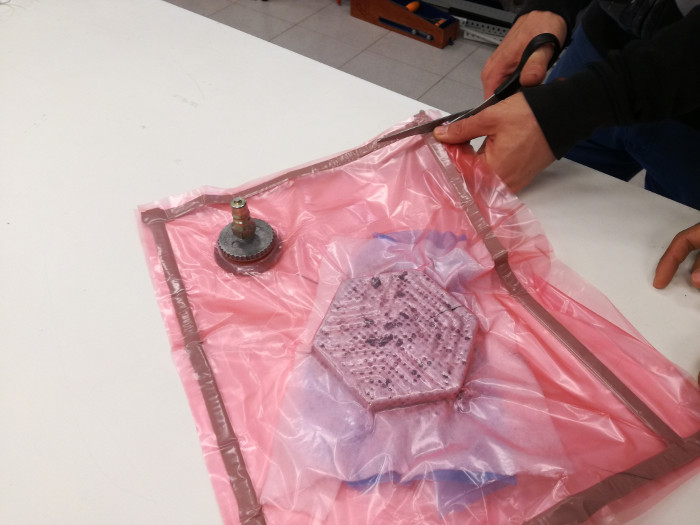
Cutting the bag, the bag is for use only.
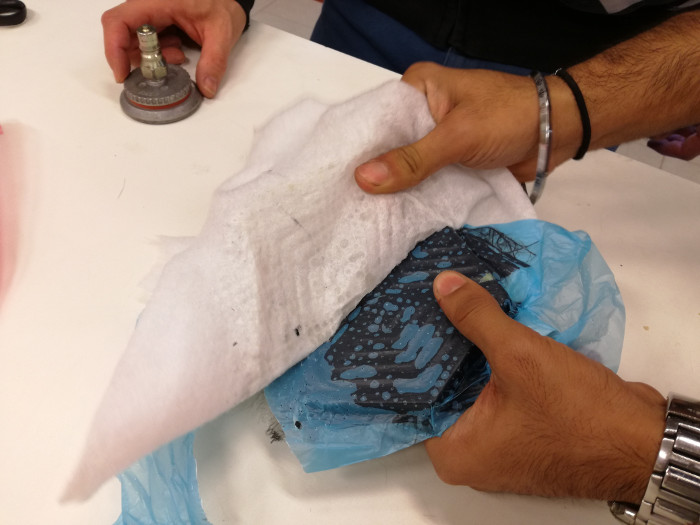
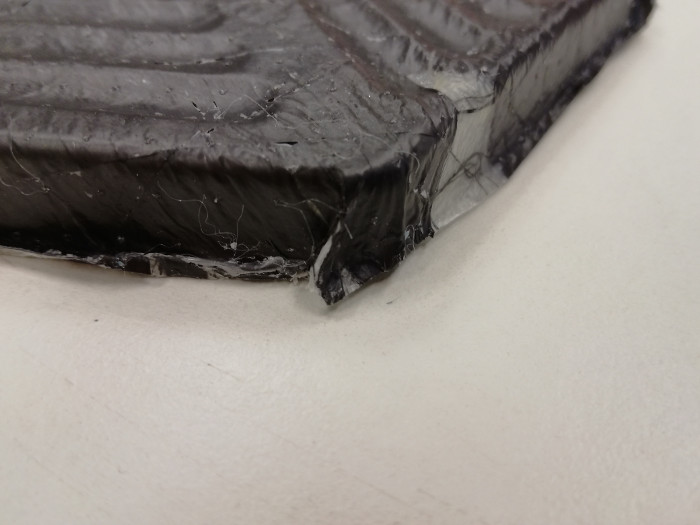
I must remove the layers very carefully since I have used only 2 layers of fiber and the final piece is very thin.
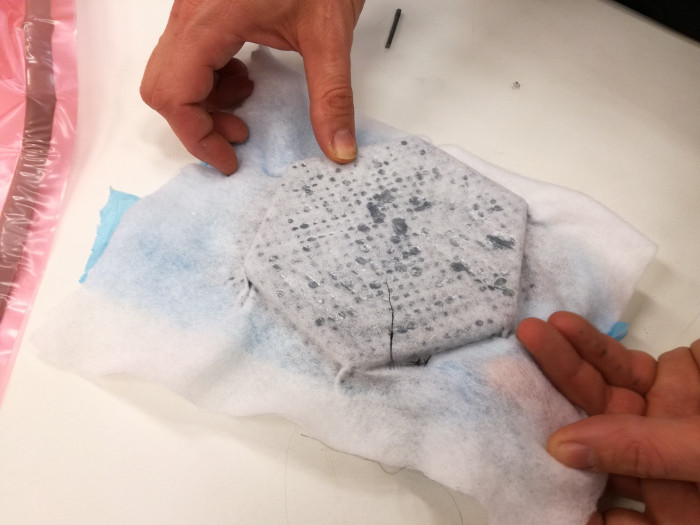
Some pieces of fiber have stuck to the mold, I think for a first test is normal. I separate them carefully.
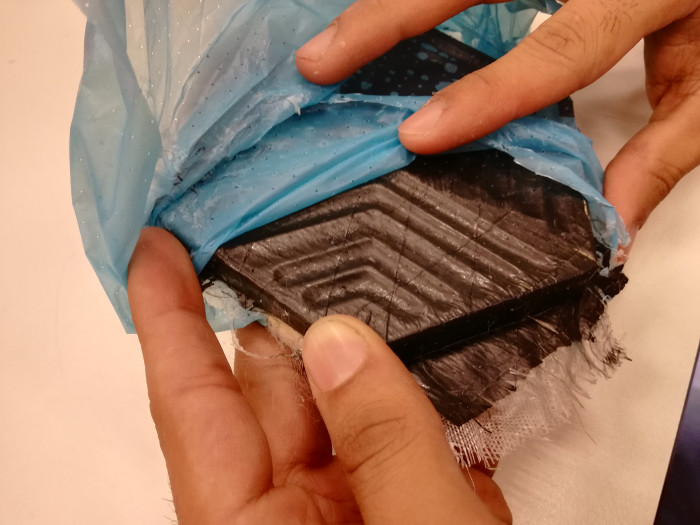
Once removed the mold cut out to give a final shape.
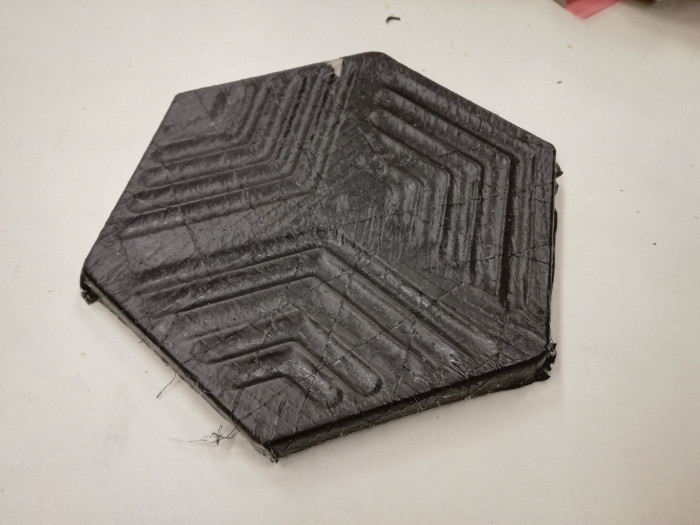
I like the result, it's more or less what I expected, now I can measure how much fiber can enter into a fit without applying it in the form of small cuts
There are errors! Of course, it was what I was looking for.
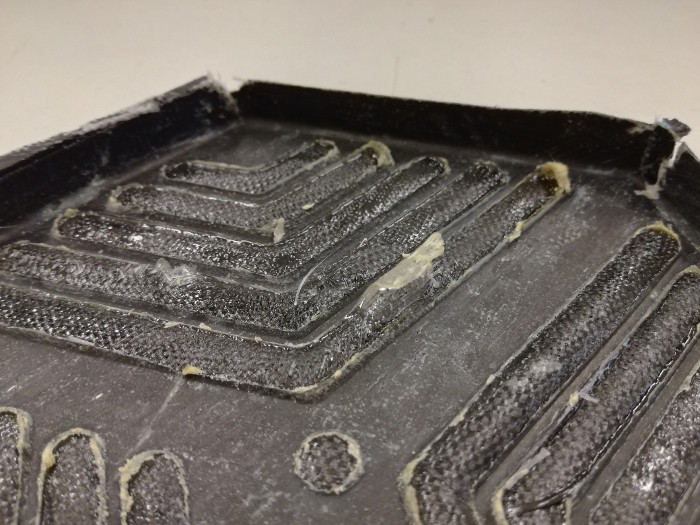
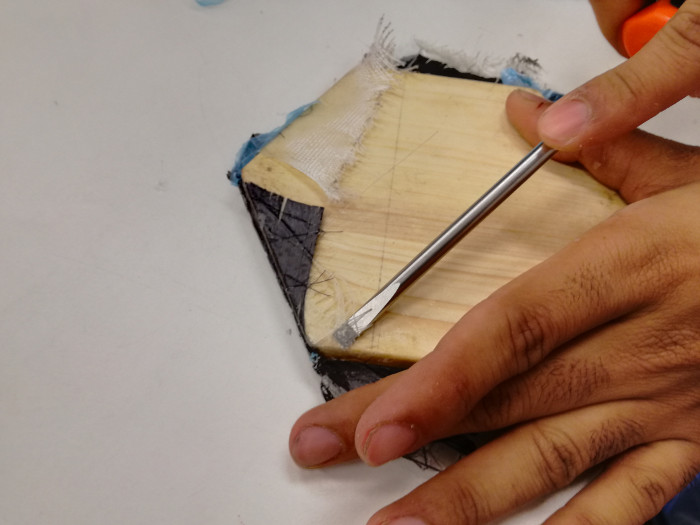
The corners require a more detailed treatment, cuts in the fiber to avoid folds.
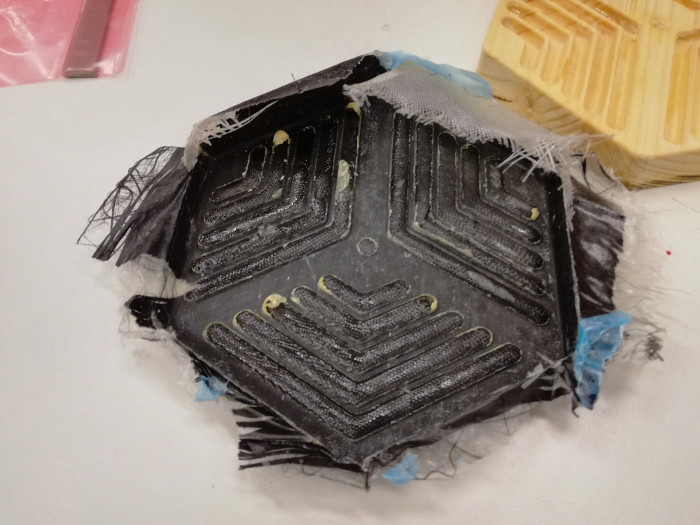
Being only 2 layers of fiber I have left to cover a small piece.
There are excesses of resin that were not evacuated properly, this may be due to the cavities that are very deep.