Week 12 - Molding and Casting
Assignment
Design a 3D mould, machine it, and cast parts from it
Designing to make a mold
I thought it would be interesting to make a mold to make candles and with the little material I have I want to make a design in which the two parts of the mold, male and female are iqual.
I made the design in 123D design as it is the software I use to work with FabKIDS.

To design an object for molding, the materials used must be taken into account, both for the mold and for the final object.
A flexible mold will give us more facilities to unmold, the shape of the object and how it is placed in the mold is important to make it easier to demould.
It is also important to establish certain tolerances between the parts that make male-female.
Designing with 123d design

Use the "primitives" tool to make an eight sides polygon and a rectangle, they most be centered between them
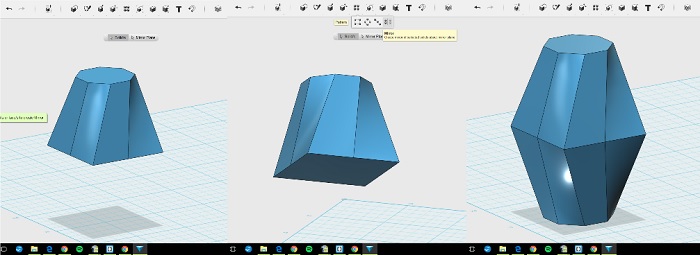
Make a union between the two figures. Construct/Loft, ten make a copy mirror of the object. Pattern/Mirror

Place a large cilinder centered in the top of the figure, then move it down until it is centered with the figure. Now merge all the elements. Combine/Merge.
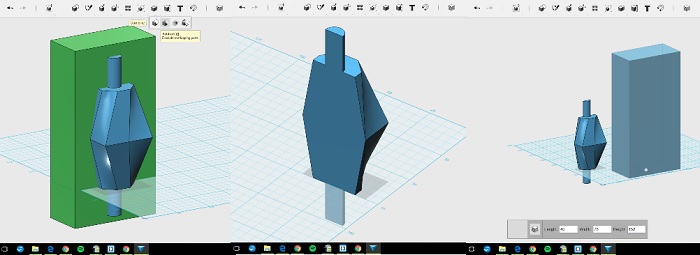
Place a box to subtract the half part of the volume, use conbine/Subtract. Place another box to start making the mold.
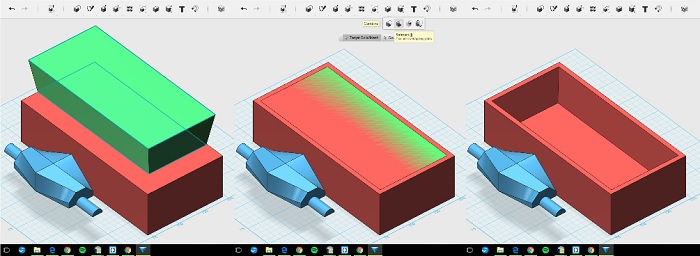
Place 2 rectagles one biger than the other to construct a volume, this volume will be used to subtract a part of the mold box. Use Construct/Loft, and the Combine/Subtract.
Move the first volume and centered. Inthis case a change the scale of the firs volume to make it larger usin the 2Smart Scale" and canging the value on one of its sides. Use Modify/Press pul to shorten the large cylinder
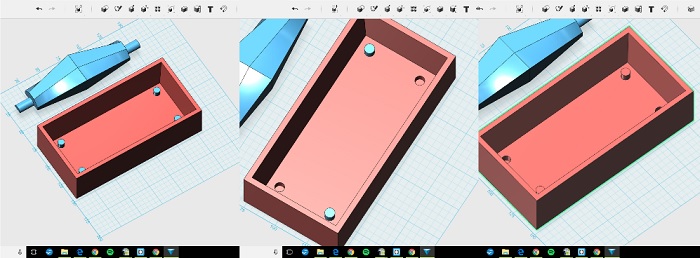
Place 4 cylinders and distribute them in a simetrical way, those cylender are going to be the fit elements (male and female).
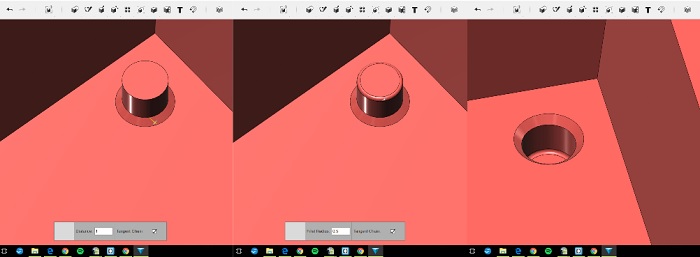
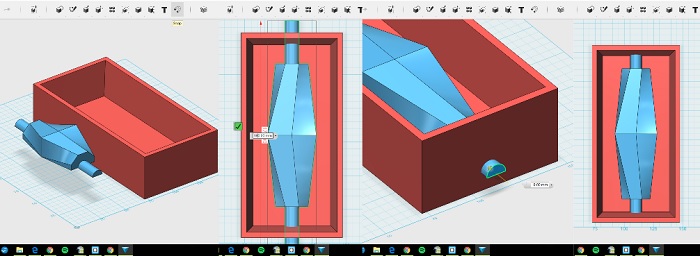
Chanfer and round it
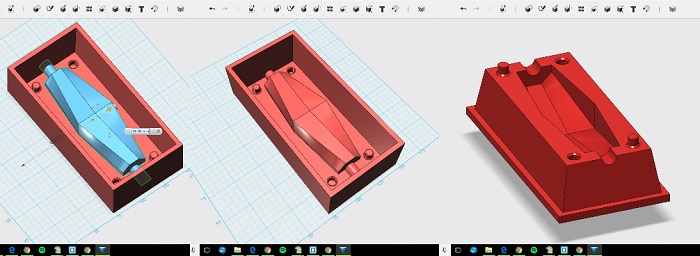
Merge everything and thats all. Here you can see de object to mill and the mold tha we can obtain filling it whith silicon or other moulding materials. We will need two.
Milling Process
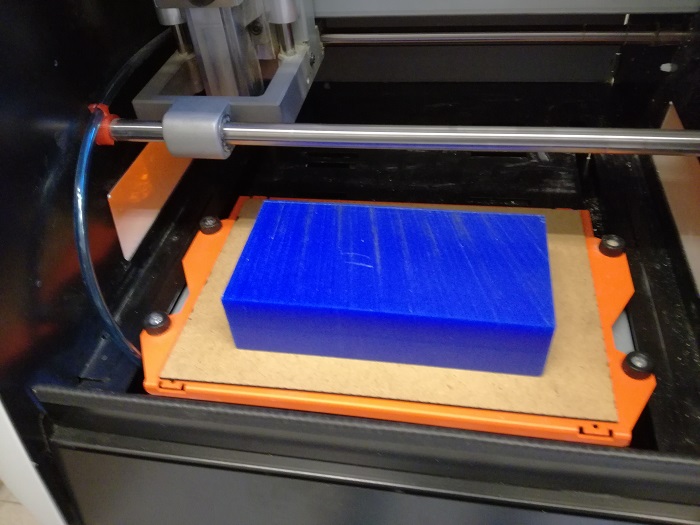
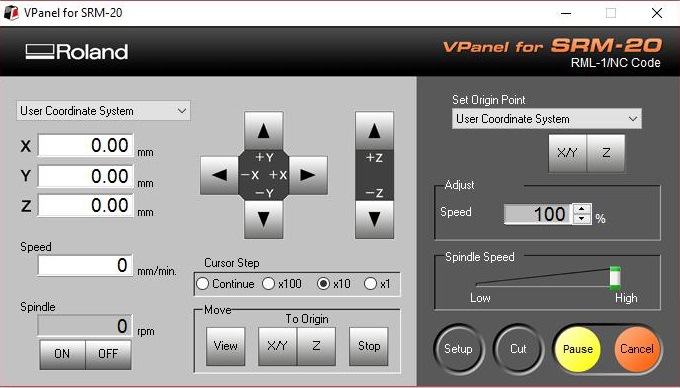
For the milling process I used the Roland SRM-20 machine and the Modela Player software.Tutorial.
The material to be milled is Machinable Wax, is an extremely hard wax with a high melt point that has been formulated to deliver exceptional machining properties with high resolution detail, Ideal for making molds with soft materials such as silicone or similar, this material is soft and does not maltreat the tools, the surplus material can be reused so it is necessary to perform a good cleaning of the milling machine (monofab srm-20) so that The surplus material does not mix with other previously used material.
Machinable Wax Safety data sheet MSDS
As in the process of milling PCB's it is convenient to use an additional surface to raise a little the material to mill, In this case the piece is high so I will use a 3mm board. Unlike the milling of PCB's we will not prepare the surface, we must prepare the surface of the block to be millied.
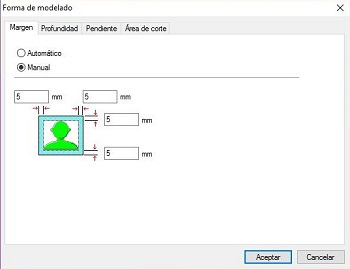
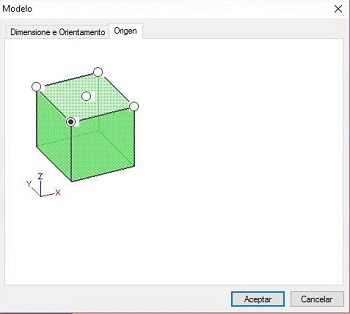
We will use the software of the monofab SRM-20 “modela player”. The first thing to do is to insert the STL file by opening and selecting the file. It is important to define the "model" and the "modeling way", I have left the default values escept the "origin", modifying it and establishing the lower left corner as the origin.
The three basic operations to perform are:
Prepare the surface.
Devastated.
Final finish
Preparing the surface.To prepare the surface of the wax block we use a flat tip tool and the bigger the faster we finish. This is the first operation that we must do with the monofab.
Once the surface is prepared we must re-determine the Z, as with the PCB's with the free fall method.
I used a flat 3mm tool, and I made the mistake when I determined the cutting area, I took the whole piece with which I also milled the outside. This has cost me time to mill. For a next time I must establish a partial cut.
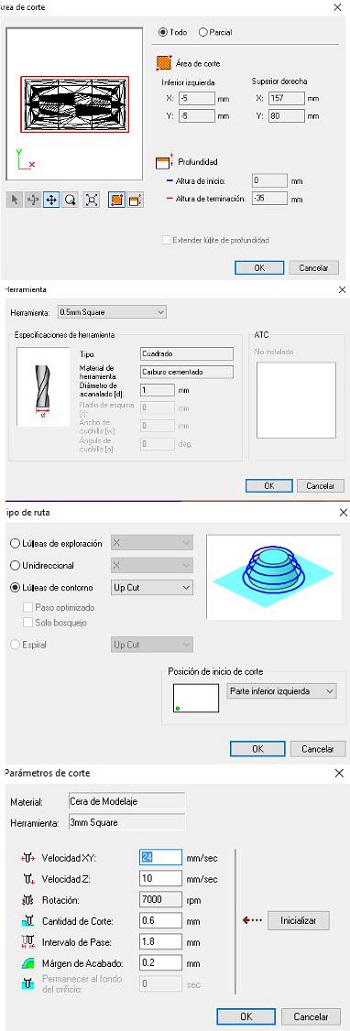
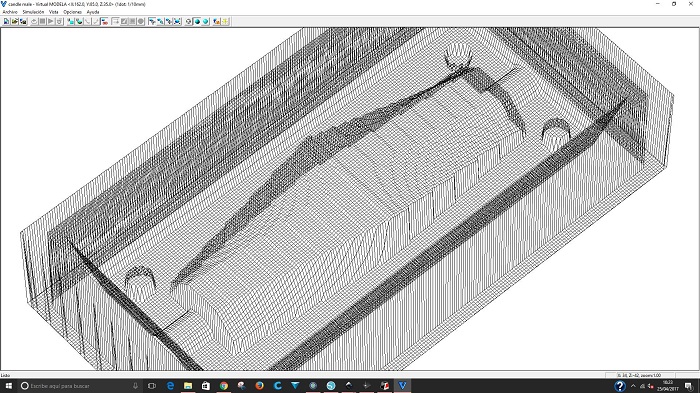

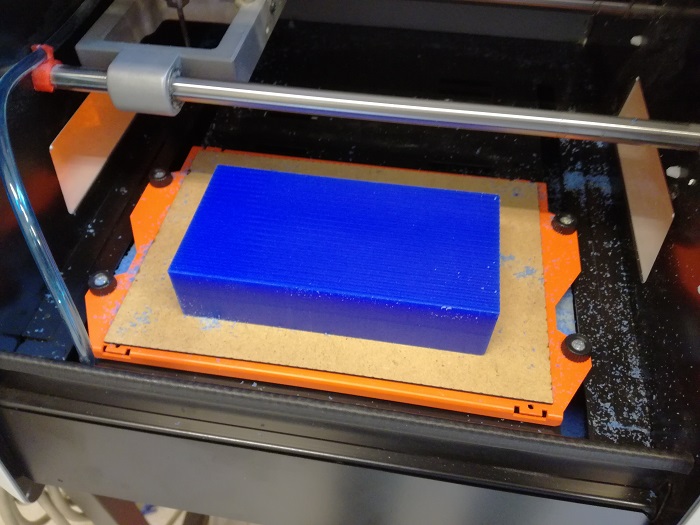
I tried with flat tools at first and I did not like the finish so I switched to a ball tip and establishing very short steps on both the horizontal and vertical axis. This will make it slower. In this case I have delimited the cutting area.
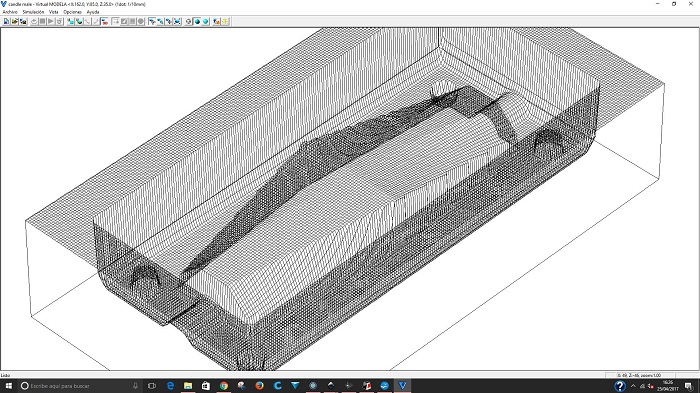
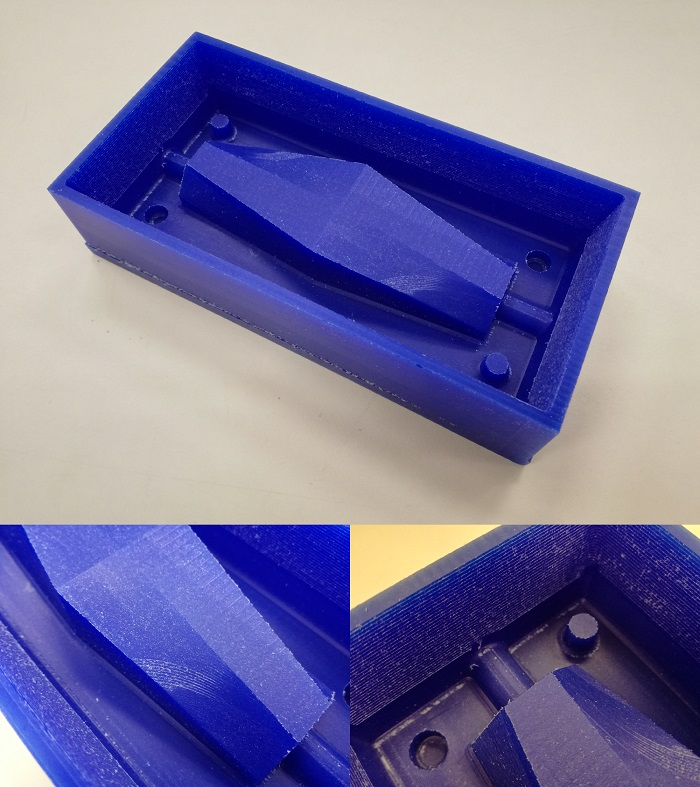
The final result is acceptable, a little texture on the surfaces but this also gives it a special touch. I must continue testing with other configurations in futures millings to get a smooth finish.
Fabricating the mold
To make the mold I will use PMC 121-30 Wet, a urethane rubber material, exceptionally strong and abrasion resistant for soft urethane mold rubbers. It exudes oil that aids in demolding hard plasters and concrete.
- Mix Ratio By Volume 1A:1B
- Mix Ratio By Weight 1A:1B
- Specific Gravity 1.04 g/cc
- Specific Volume 26.7 cu. in./lb.
- Shore Hardness 30 A
- Tensile Strength 400 psi
- Elongation @ Break 1,000 %
- 100% Modulus 82 psi
- Pot Life 30 minutes
- Cure Time 16 hours
- Shrinkage < .001 in. / in.
- Die C Tear Strength 75 pli
- Mixed Viscosity 1,800 cps
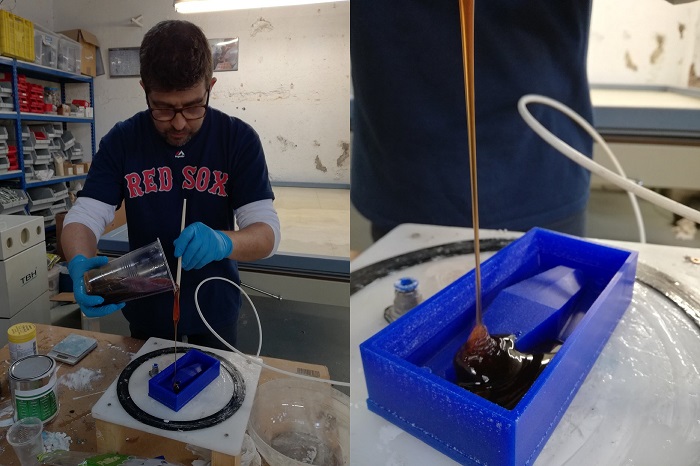
First we must make the mixture as indicated by the manufacturer's instructions (50-50) until a homogeneous mixture is obtained, trying not to generate bubbles.
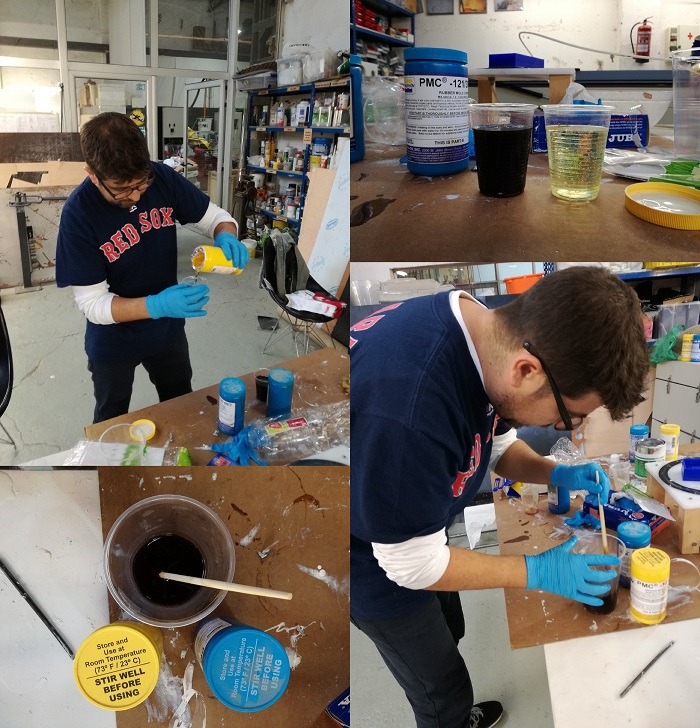
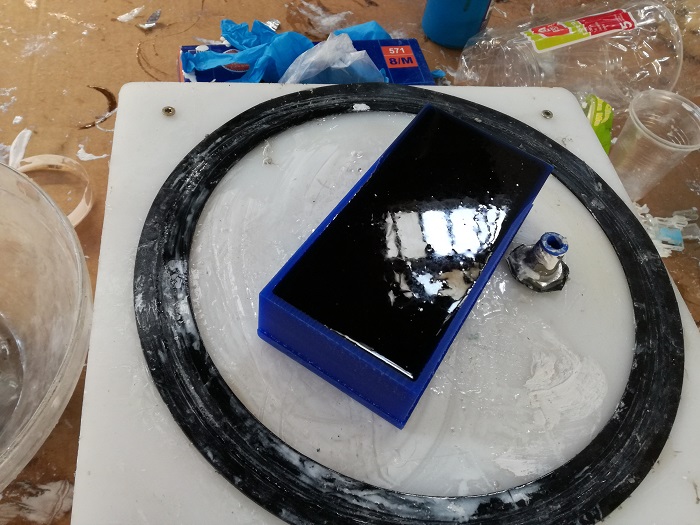
To pour the mixture into the male mold we try to do it in such a way that no bubble is generated trying to create a fine thread with the material.
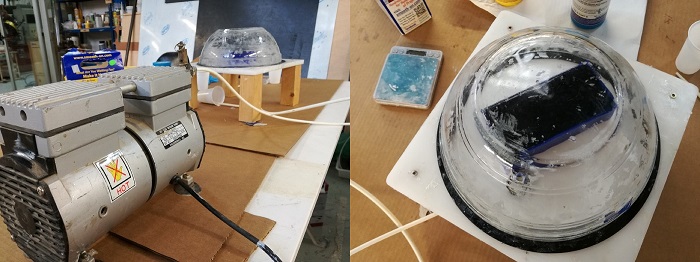
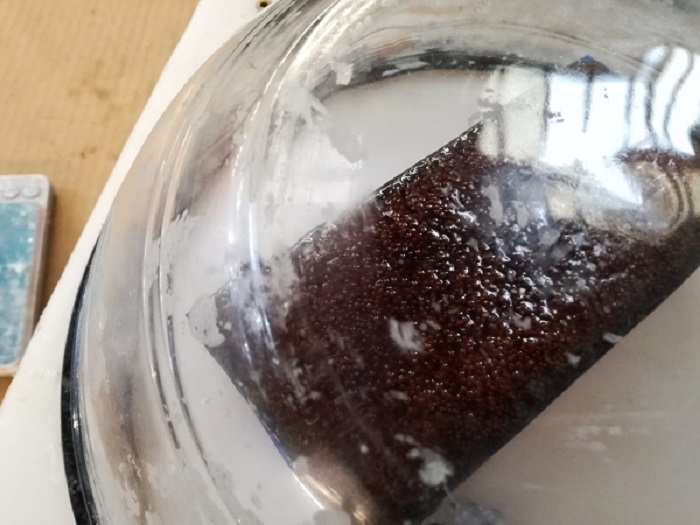
The next step is to extract the bubbles that may have been created during mixing and pouring using a vacuum machine. This process could have been performed before the material was spilled. As I have to make 2 molds I will try to do it this way for the second and see the differences.
Making the cast

As I manufacture a single mold I have 2 material inputs, so I have to cover one of the inputs. To do this design a plastic plug with a hole to pass the filament of the candle.

I am not sure if I will need a release agent but just in case I will use some oil in spay.
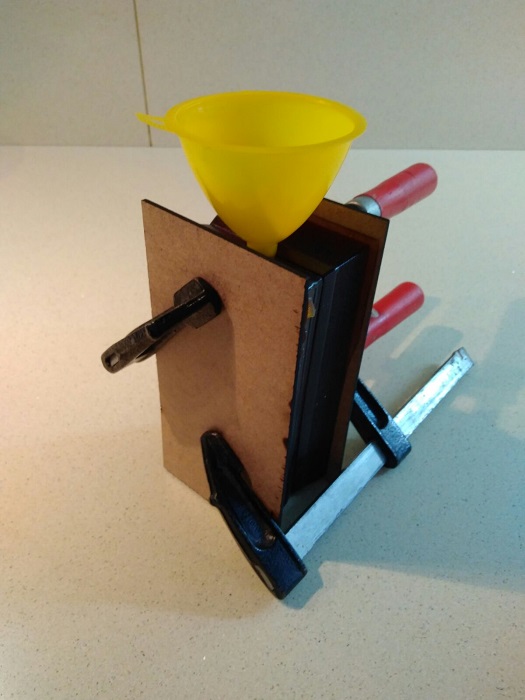
I cut some small pieces of mdf to try to make a uniform pressure on the two molds and avoid that the molten wax leaves the union sides.
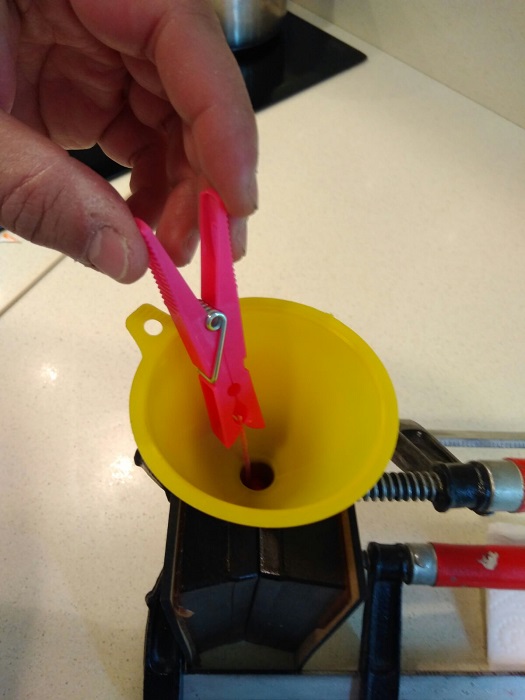
I have to hold the thread of the candle, a clamp for clothes serves for many things.

Here melting the wax and almost ready to pour it into the mold.
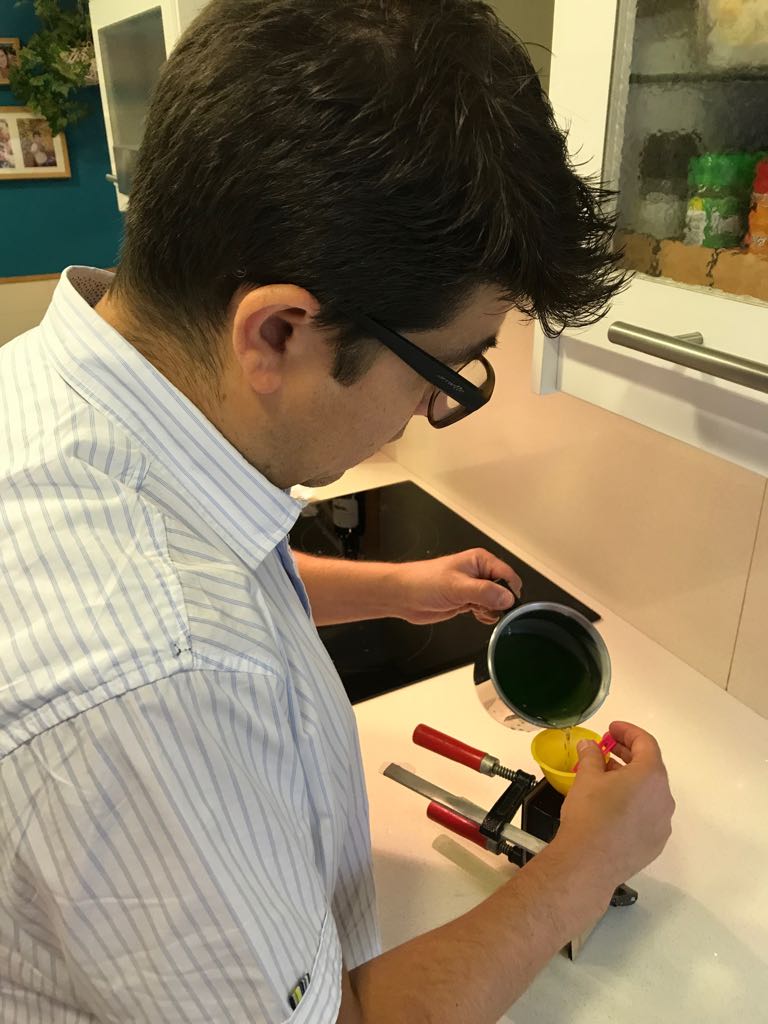
I try to make a fine spill but it is not easy, the wax is embedded in the funnel and I have to wait for it to come down. I fear the worst. "BUBBLES".
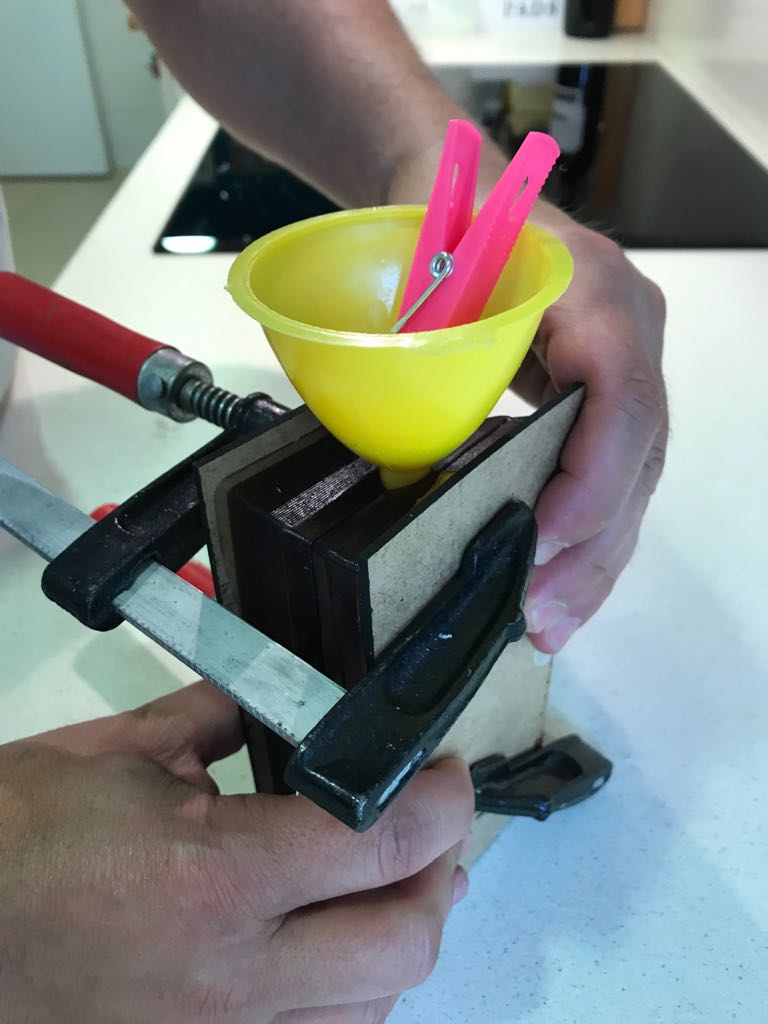
I make a small pressure in the mold to extract the air that remains inside and thus manage to fill the mold completely.

I have allowed the wax to set for 8 hours, to proceed to demold the candle.
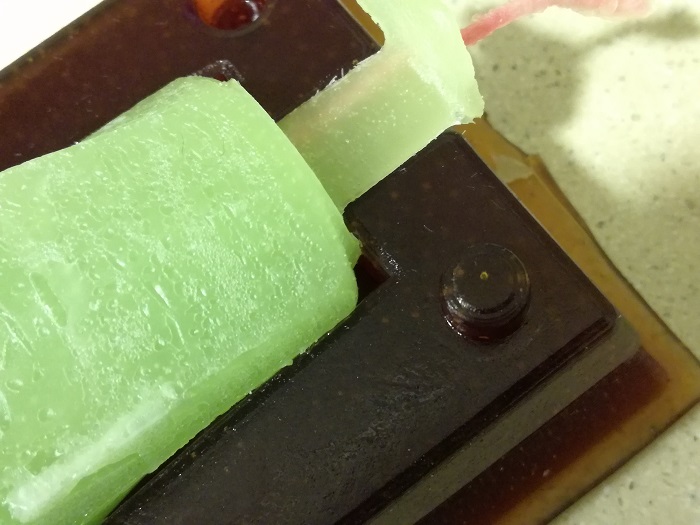
There have been spaces to fill and there are some bubbles, a process of vacuum would have helped improve the result.
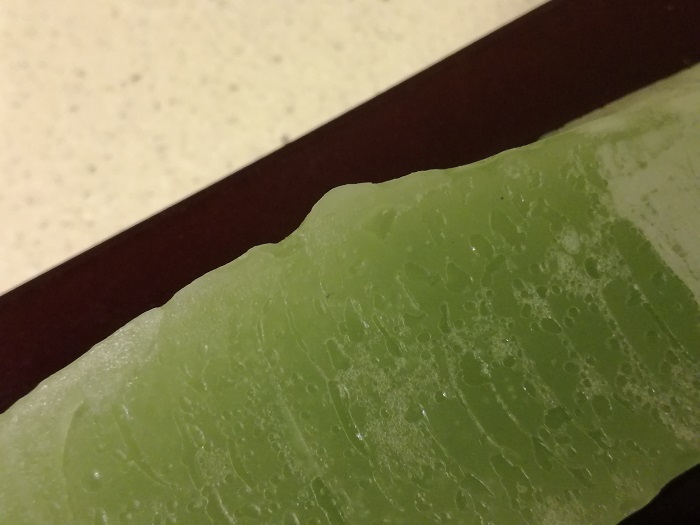
There are also irregularities in the faces which were in contact with the union of the molds.

At least it fulfills its function.